
Mastering Destiny 2: Crush the Phalanx Echo with These Proven Strategies
Defeat the Phalanx Echo in Destiny 2's Prophecy dungeon with our expert strategies Conquer this formidable boss and emerge triumphant in this thrilling encounter
Destiny 2 players will quickly come across the first boss of the Prophecy dungeon. Thankfully, defeating the Phalanx Echo is not overly challenging, and the mechanics are quite straightforward. If players have already grasped the Light and Dark Mote mechanics and successfully dunked them, they have essentially understood the main mechanic of the entire dungeon.
However, merely understanding the dungeon's mechanics is not sufficient. Without adequate preparation, the Phalanx Echo can swiftly eliminate players. This guide will provide Destiny 2 players with all the necessary information to triumph over the first boss in the Prophecy dungeon.
How to Beat Phalanx Echo
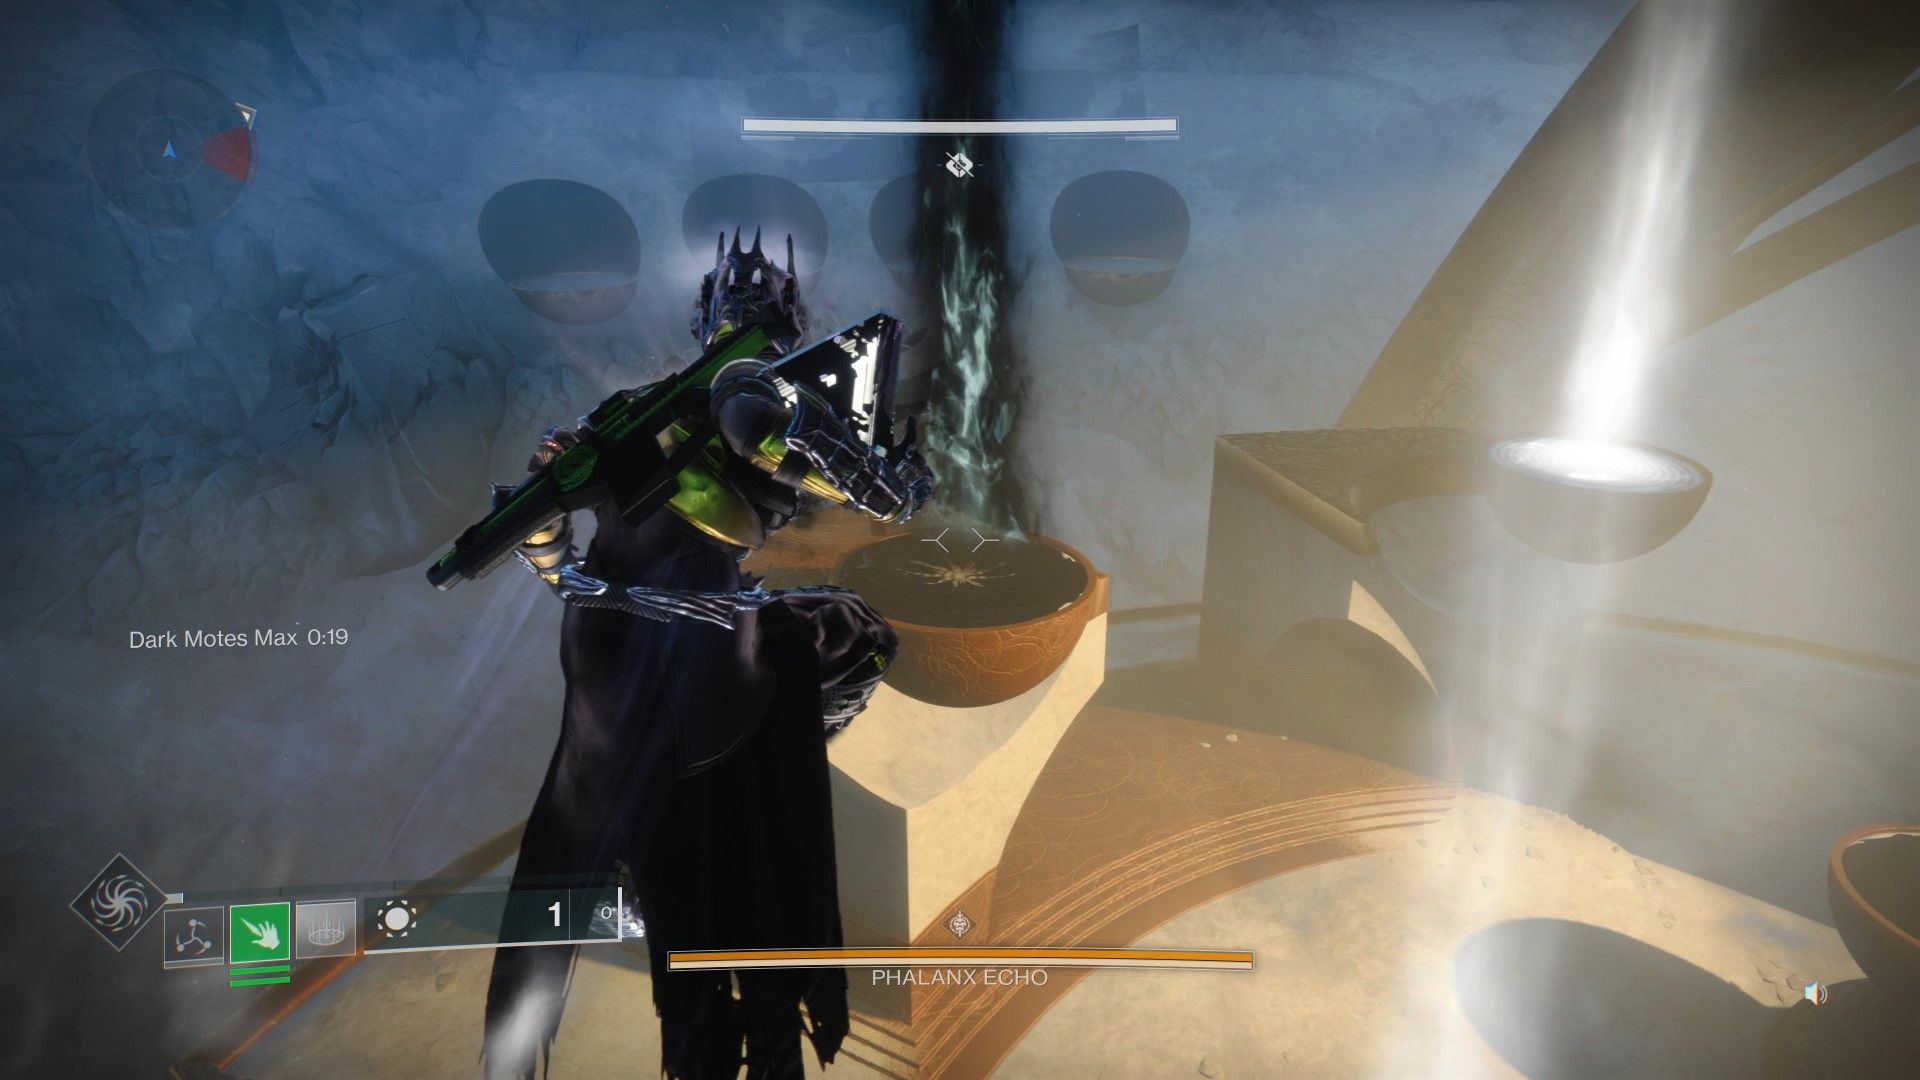
To initiate the encounter, players must interact with the radiant sphere, often referred to as Toland due to its resemblance to a former member of Eris's Fireteam. It is advisable to have a build that excels in eliminating additional enemies and a close-range DPS heavy weapon. The Lament and Heavy Grenade Launchers are particularly advantageous in this situation. Once the boss battle commences, numerous Taken Knights will materialize alongside packs of Taken Psions. Swiftly dispatch the Psions and then locate the energy pillars. These pillars will consist of two columns of luminous energy and two columns of shadowy energy.
Similar to the beginning of the Prophecy mission, players must position themselves in either illuminated or shaded areas while eliminating the Taken Knights. This action will generate motes that need to be collected. Once a player accumulates five motes of a specific color, they can deposit them into the corresponding pillar of matching color.
After dunking the motes, the arena undergoes a shift, resulting in changes in lighting and shadows. It is important to choose a well-lit or shadowed area strategically when preparing to eliminate Taken Knights.
While collecting the motes, players must remain attentive to their surroundings and the boss's location. Similar to other Taken Phalanxes, the Phalanx Echo utilizes a shield to perform a pushing attack. Failure to avoid this attack could prove fatal as players may be thrown off the arena. Additionally, an increased number of Psions will spawn throughout the encounter, so players must prioritize eliminating them in order to prevent being overwhelmed.
To effectively solo this encounter, players must constantly move and avoid staying in one spot. The boss, Psions, and Taken Knights will attempt to flank and take down players who stay behind cover for too long.
Once players successfully activate all four pillars, the Phalanx Echo's shield will be disabled, signaling the start of the damage phase. The Phalanx Echo has relatively low health, making it feasible for a well-equipped Fireteam to eliminate the boss in a single damage phase. However, players should remain vigilant for the emergence of Taken Goblins during this phase. These Taken Goblins will try to shield the boss, so it is crucial to eliminate them swiftly to prevent wasting precious ammunition while the boss is immune to damage. If the Phalanx Echo remains alive, continue activating the pillars to initiate additional damage phases until the boss is defeated.
Destiny 2 is available on PC, PlayStation 4, PlayStation 5, Xbox One, and Xbox Series X/S.


