Unlock Evil Spirit Greaves in North Lomei Labyrinth - Zelda Walkthrough
Unleash your inner warrior in Zelda: Tears of the Kingdom as you embark on the exciting side quest 'The North Lomei Prophecy' Navigate through the intricate North Lomei Labyrinth and triumph over three challenging mazes to acquire the coveted Evil Spirit Greaves Are you up for the test?
To obtain the coveted Evil Spirit Greaves in The Legend of Zelda: Tears of the Kingdom, players must embark on the "The North Lomei Prophecy" side quest, which takes them through three challenging mazes in the Tabantha Tundra's North Lomei Labyrinth. The entrance to this labyrinth is situated in the northeastern corner of Hebra at -0958, 3534, 0234. If players have previously visited the Oshozan-u Shrine, they can conveniently fast travel to its location and walk eastward to begin the quest.
Upon arriving at the entrance of the labyrinth, players will be greeted by a stone tablet inscribed with the ancient Zonai language. Fortunately, a previous researcher has left behind a series of notebooks throughout the maze to aid players in their journey. The first notebook can be found beneath a nearby tent and provides a translation of the stone tablet's message, which encourages players to venture into the labyrinth and complete its challenge in exchange for valuable compensation.
To navigate the twists and turns of the labyrinth, the researcher has left a trail of Hylian Pine Cones to guide players along the way. These pine cones can be thrown into fires to create a strong updraft, enabling players to traverse over large areas of Gloom on the ground. Alternatively, players can opt to run through the Gloom, as the damage from it quickly disperses while Link is on the surface.
Creating a fire is a simple task that can be accomplished by dropping Wood and Flint on the ground and striking the Flint with a weapon.
Players can easily navigate through the labyrinth by following the path marked by pine cones, as indicated in the map above. However, considering the low temperatures in the area, players are advised to increase Link's resistance to the cold before entering.
Additionally, there are three images that showcase the beauty of the surroundings, as seen in the placeholders numbered 4 and 5.
Although there are faster routes available, deviating from the marked path may lead players to come across a Gloom Spawn wandering around. For the daring explorers, some of the branching paths lead to hidden Zonai weapons and chests waiting to be discovered.
Upon reaching the end of the researcher's path, players will enter a central chamber where the Mayaotaki Shrine and a stone Zonai terminal await. As they approach, the Zonai terminal will light up, signaling their arrival. Additionally, a secret chest containing a Big Battery can be accessed through a small hole in the ceiling.
Upon activating the terminal, players will trigger "The North Lomei Prophecy" side quest in their Adventure Log. A mysterious voice will guide Link towards the labyrinth hovering above.
North Lomei Labyrinth Shortcut
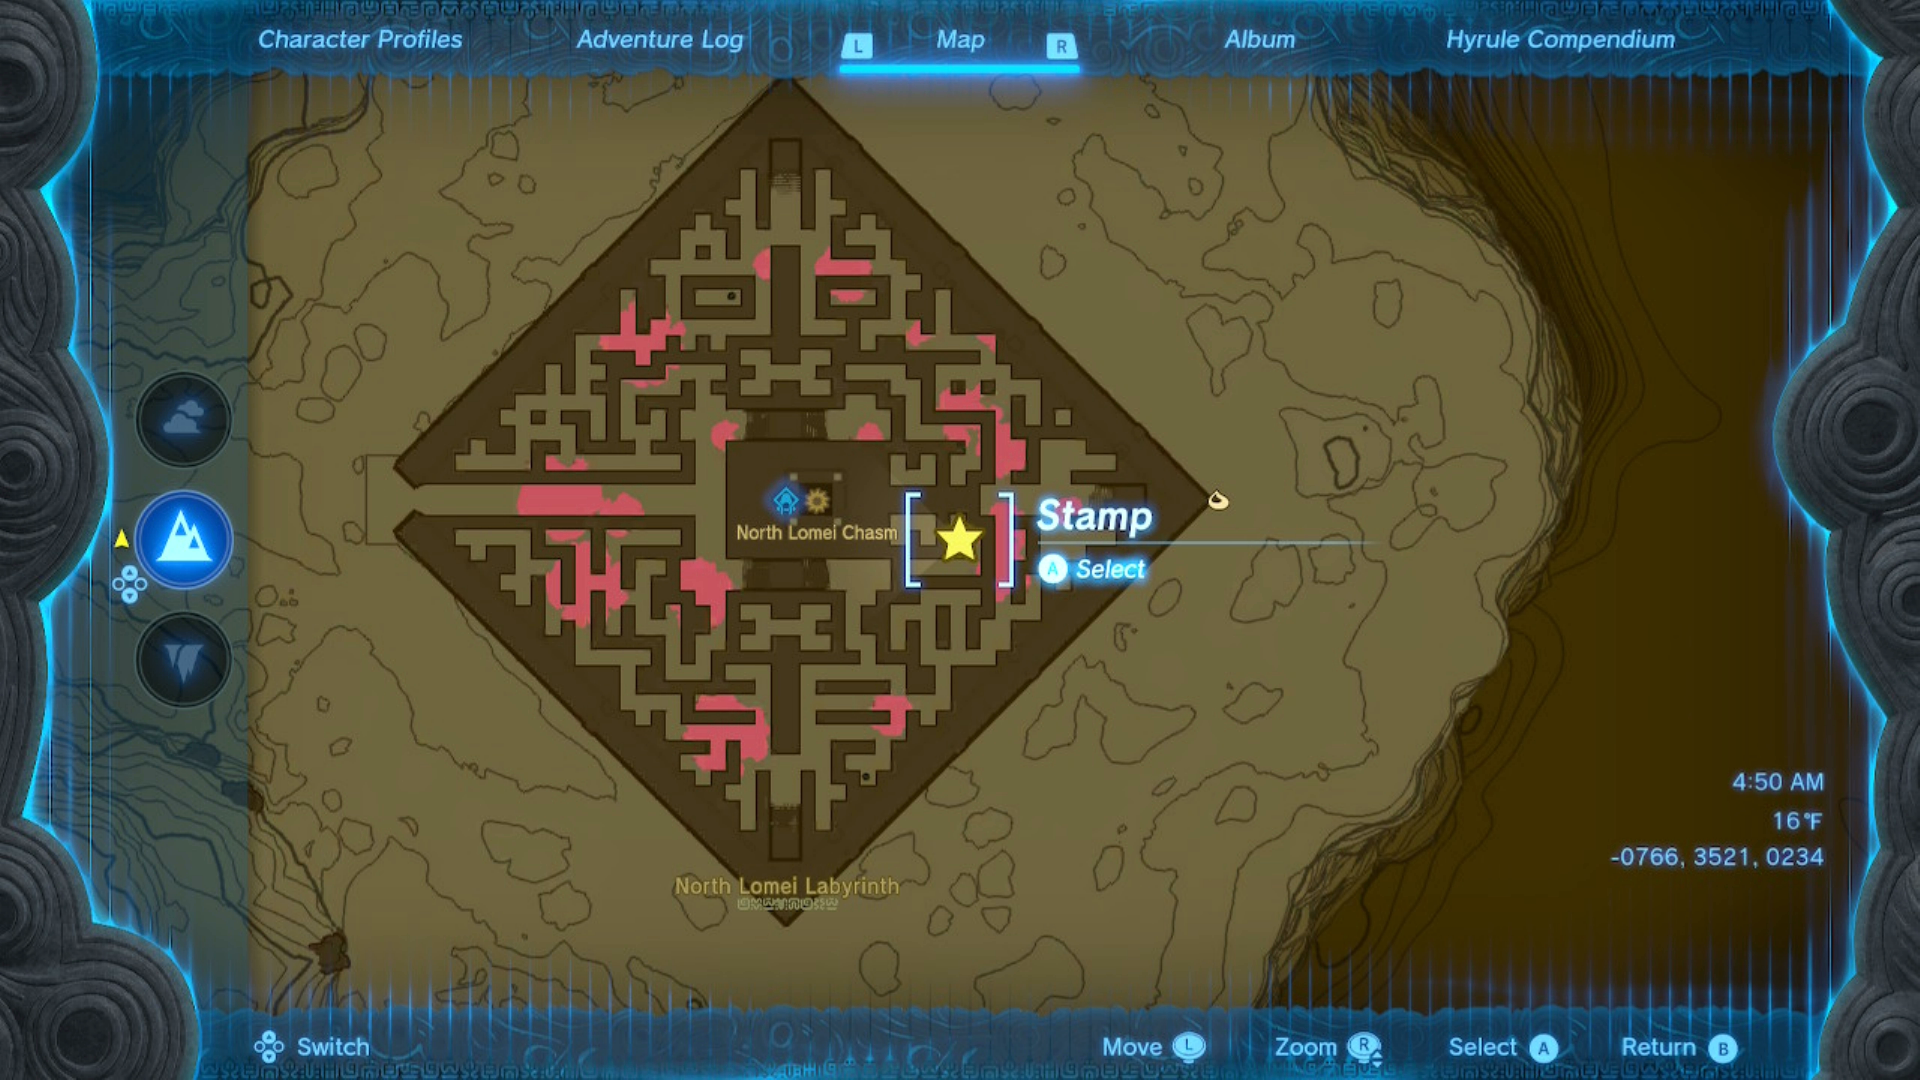
For those who manage to reach the roof of the North Lomei Labyrinth, they can opt to head towards the coordinates -0766, 3521, 0234 instead. From there, Link can drop down to the corridor below, marked with a star on the map above, and locate the end of the researcher's pine cone trail.
Upon finishing the North Lomei Labyrinth, Link is directed to the upper section known as the North Lomei Castle Top Floor. This location can be found in the sky at approximately -0956, 3535, 1011. Don't forget to check out the stunning views along the way!
.
Players can access the North Lomei Castle Top Floor by launching into the sky from either the Pikida Stonegrove Skyview Tower or the Thyphlo Ruins Skyview Tower.
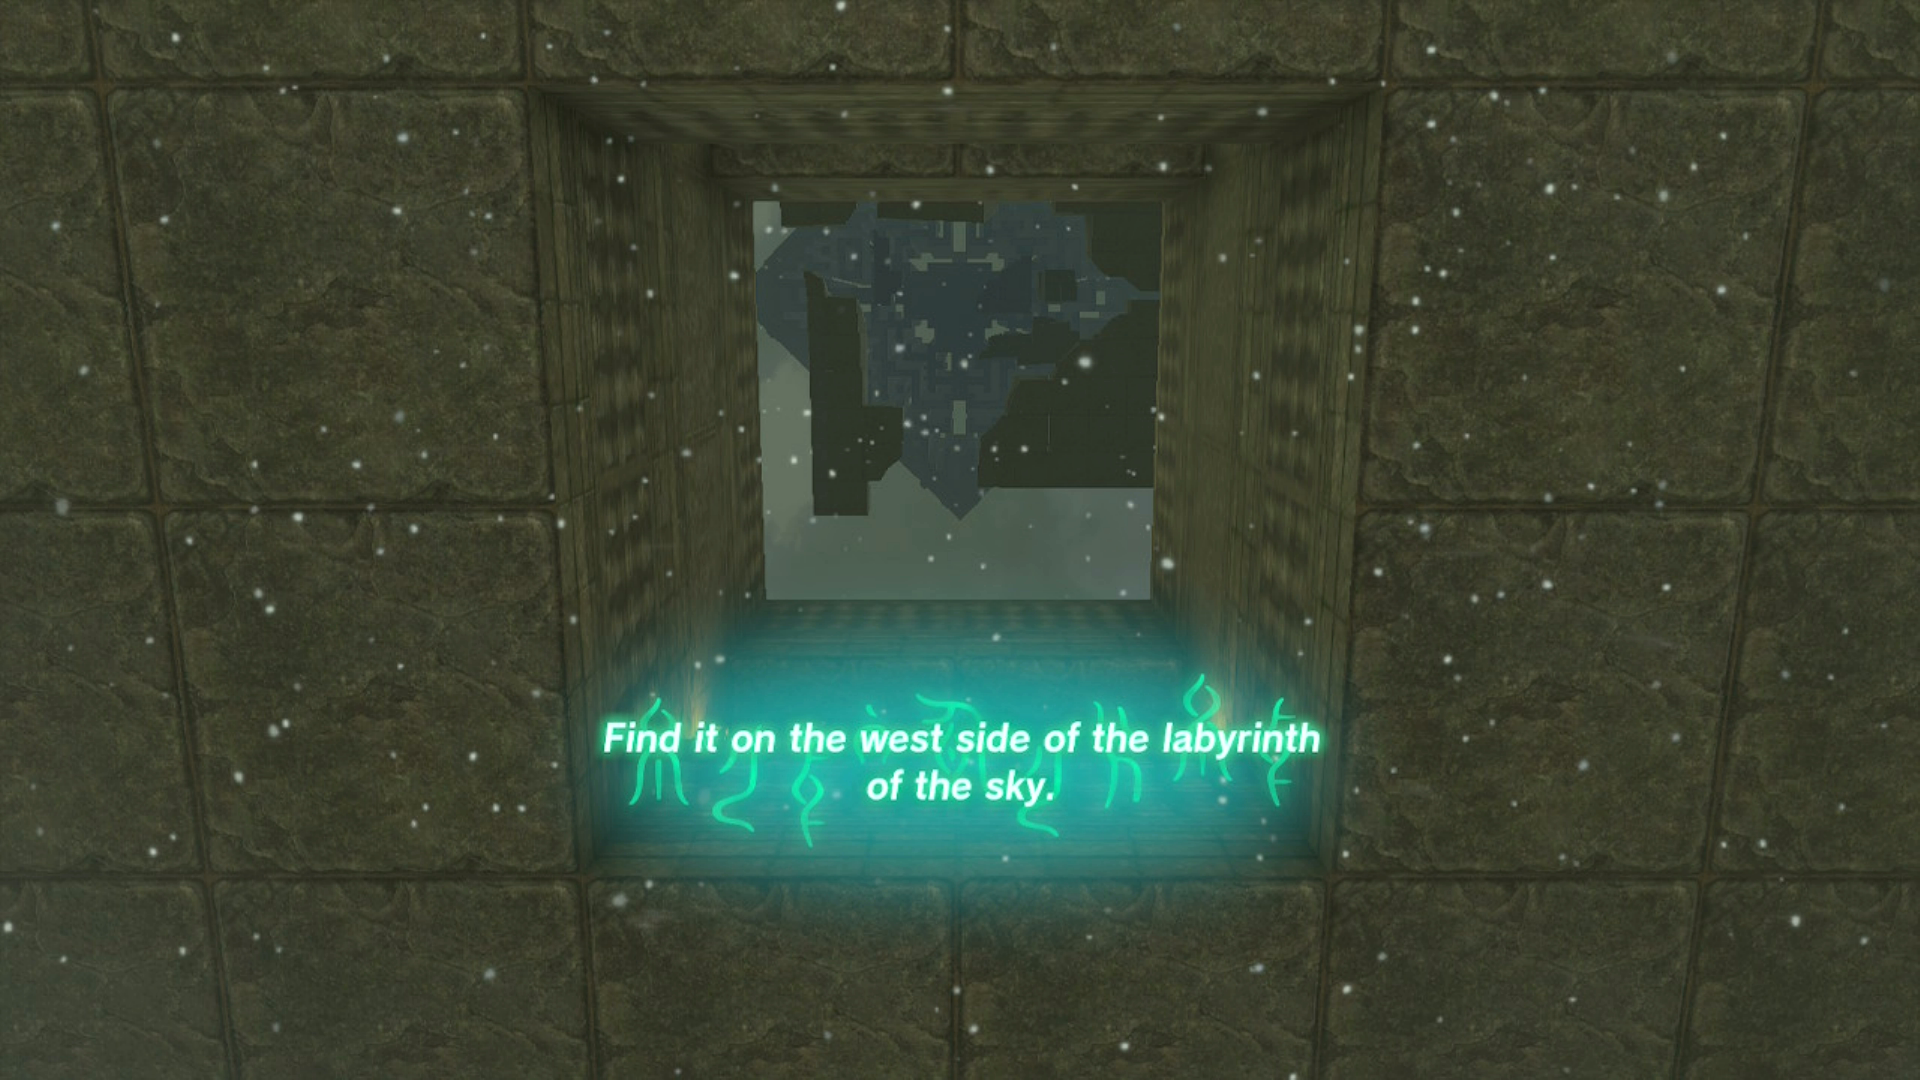
Players will need to have a good supply of Stamina Elixirs or build a flying machine to cover the distance between the labyrinth and the towers. Once they land on the roof of the labyrinth, they can make their way to the entrance located on the west side of North Lomei Castle Top Floor. There, they will find the Tenbez Shrine and a large Zonai terminal. However, activating the terminal near the shrine outside is necessary before players can do anything on the North Lomei Castle Top Floor, regardless of how they enter.
After receiving instructions from the mysterious voice, Link must activate four other terminals within the labyrinth in order to open the door in front of him.
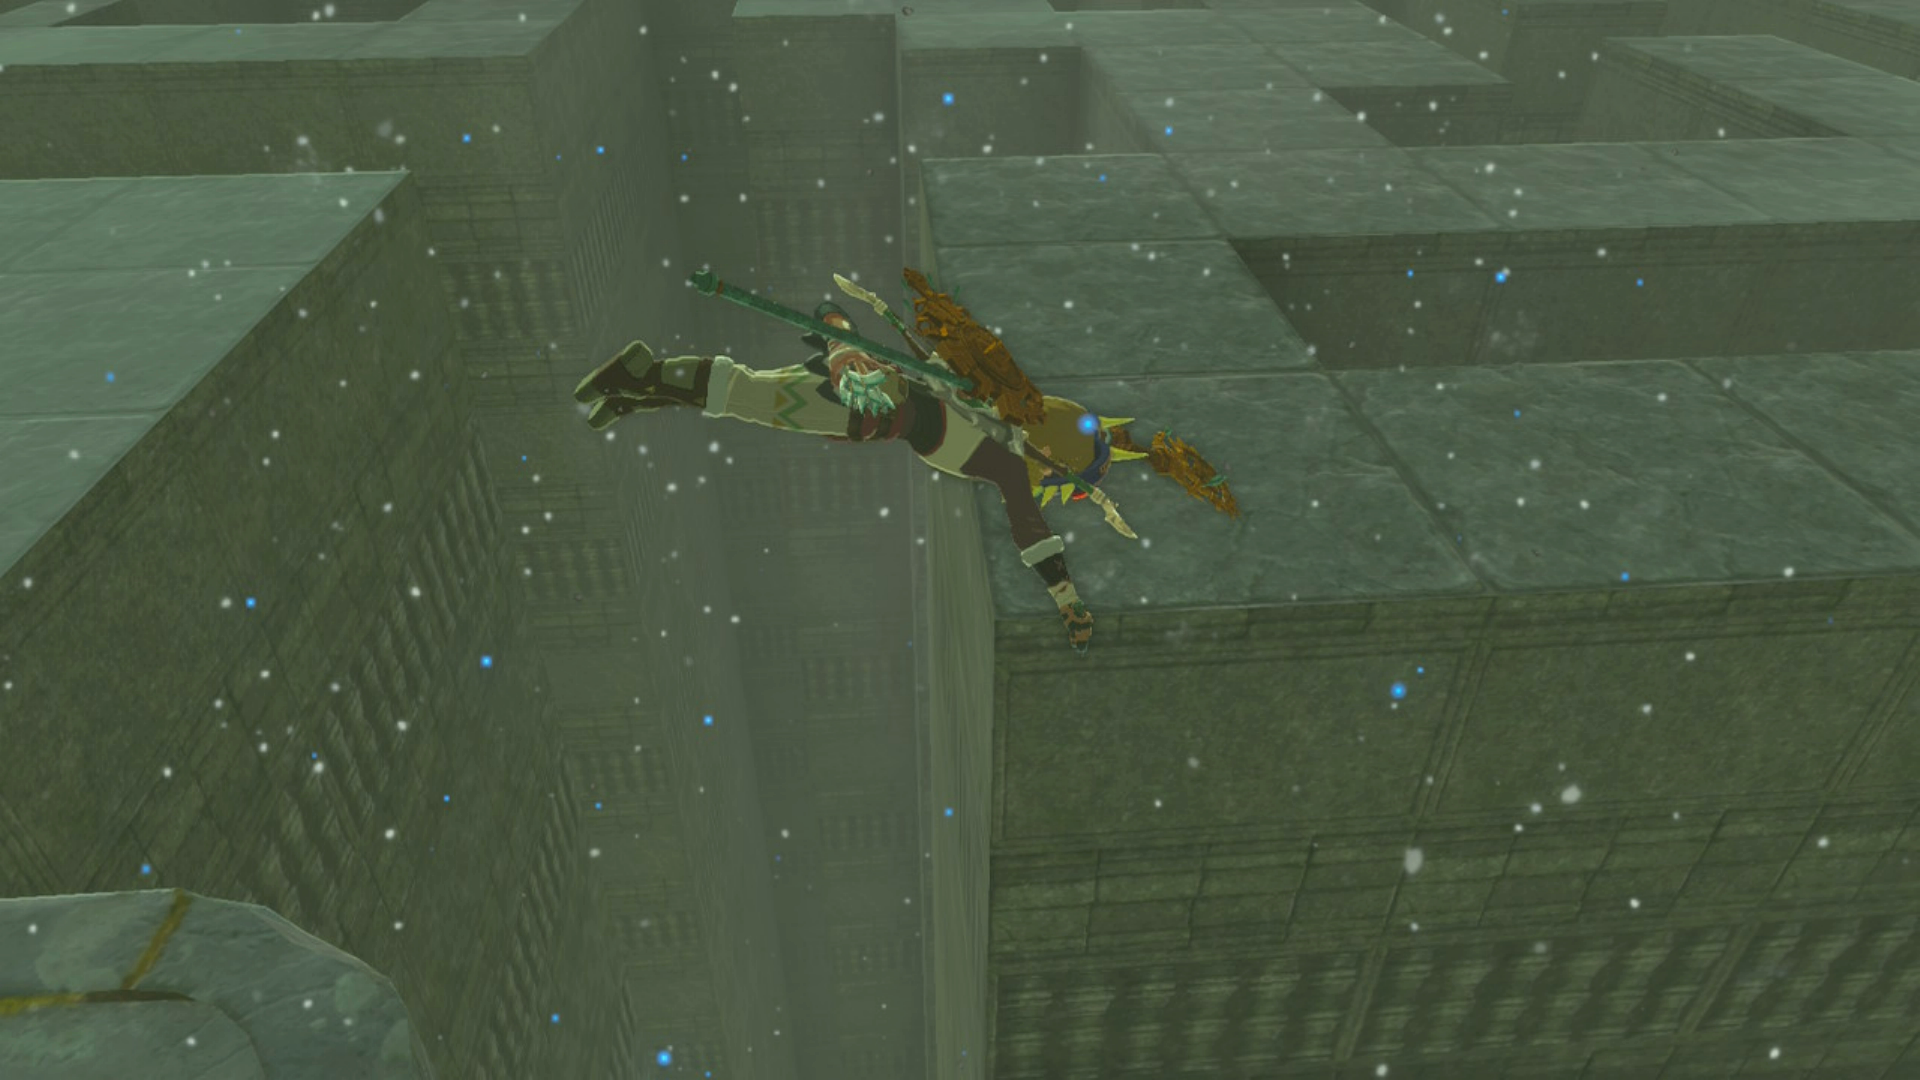
To navigate the North Lomei Castle Top Floor, players must be prepared for the lack of a solid ground beneath their feet. However, the area offers a unique advantage with its low gravity and steady updraft which allows Link to glide through the air. The first terminal can be found behind a grated wall and is accessible by following the corridors on either side leading to stairs that descend into the chamber.
With the first terminal activated, players can access the other three terminals located in the remaining corners of the labyrinth. The map above highlights each path leading to the terminals in different colors for easy navigation.
Alternatively, players can utilize the low gravity of the labyrinth to their advantage. By using either a Zonai Spring or the updraft from a fire, they can soar above the maze and make their way to each corner before dropping down to access the terminal. This method may be preferred by players who have low stamina or are less confident in navigating the passageways with their glider.
It's important to note that both methods have their advantages and disadvantages, and players should choose the one that suits their play style and abilities best.
After successfully activating all four terminals, Link will be able to access a new terminal on the roof of the labyrinth. The gusts of wind will intensify, providing him with the opportunity to glide effortlessly to the top without any additional assistance.
Upon activating the new terminal, Link will hear the voice once again, urging him to show courage by leaping straight down into The Depths of the labyrinth from his current position.
North Lomei Depths Labyrinth Walkthrough
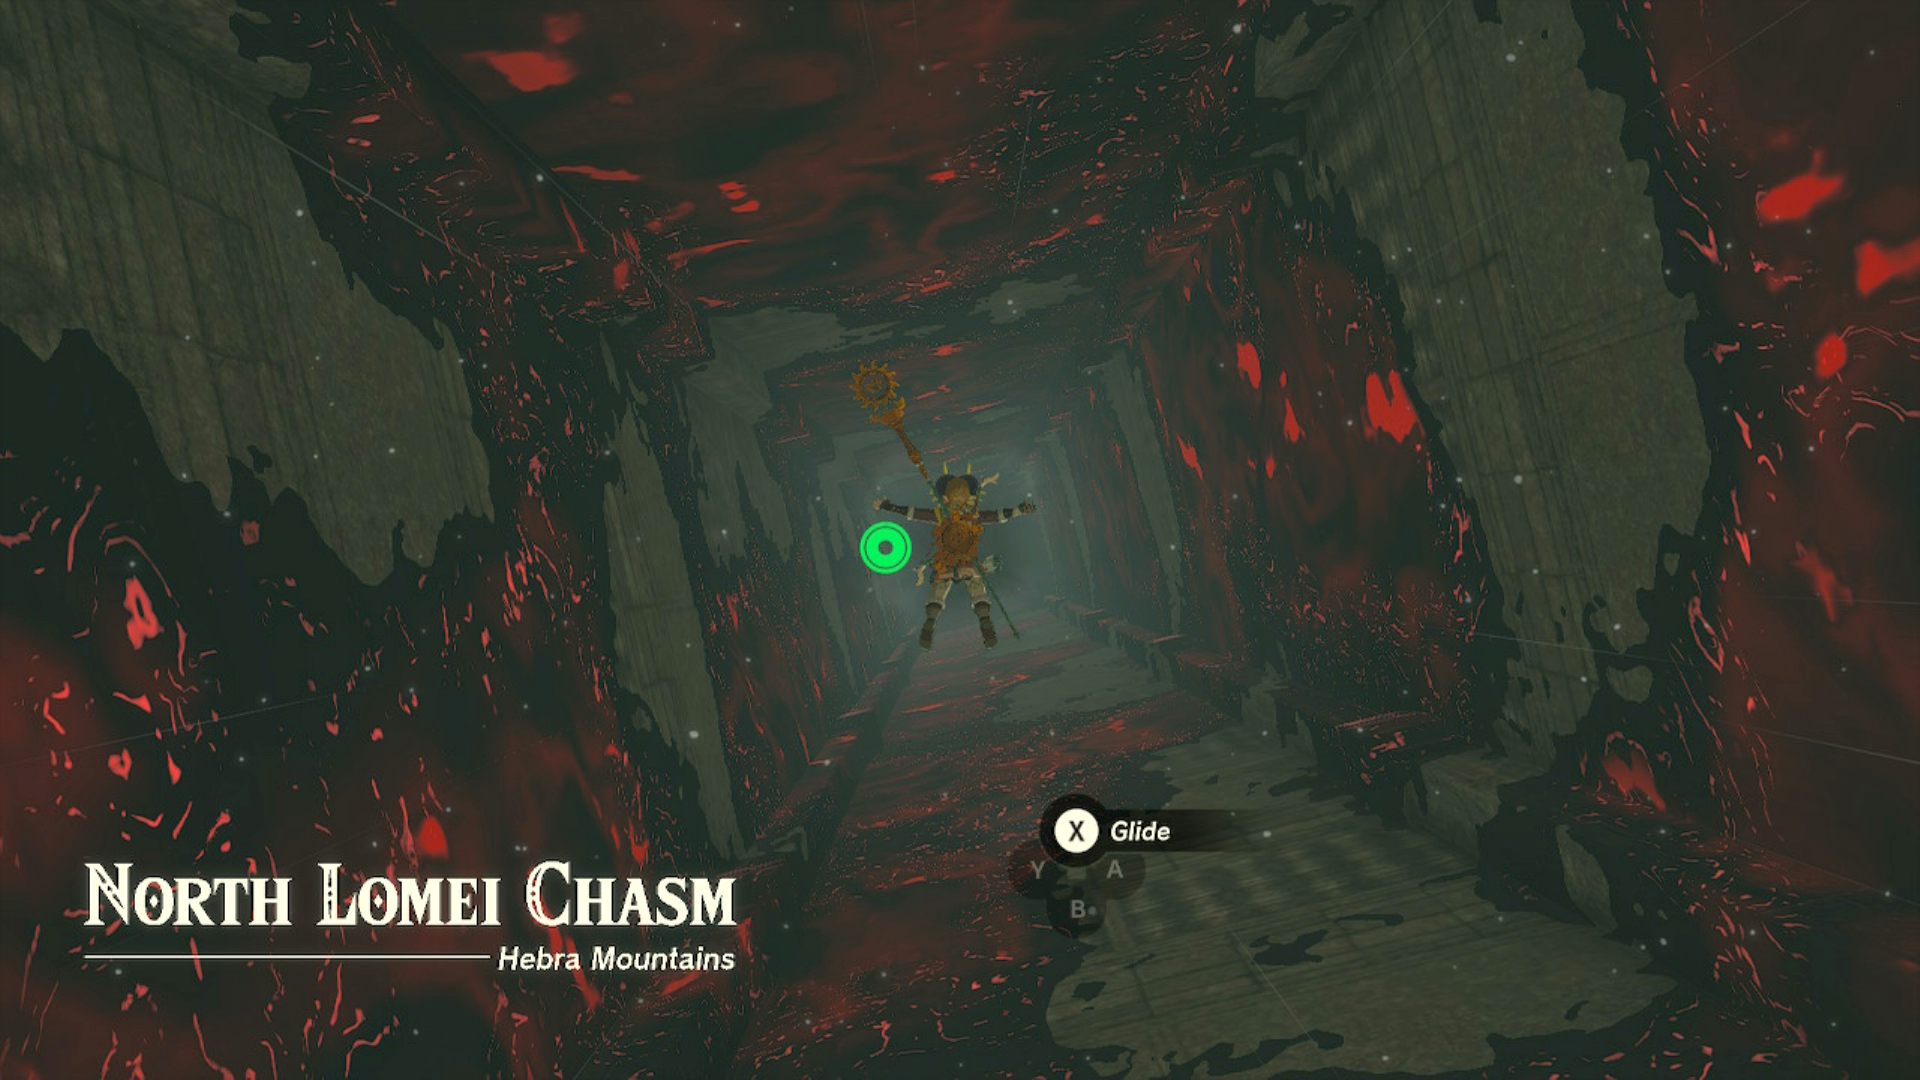
Players can expect an exhilarating dive through a newly opened door in the North Lomei Labyrinth, followed by a dark descent into the North Lomei Depths Labyrinth. It is recommended that players have some Brightblooms on hand to avoid any mishaps during the final stretch of the dive. Once players touchdown, they will be presented with a choice of corridors, all leading to the same destination. Players should choose one and make their way towards a Flux Construct III, ready to engage in battle.
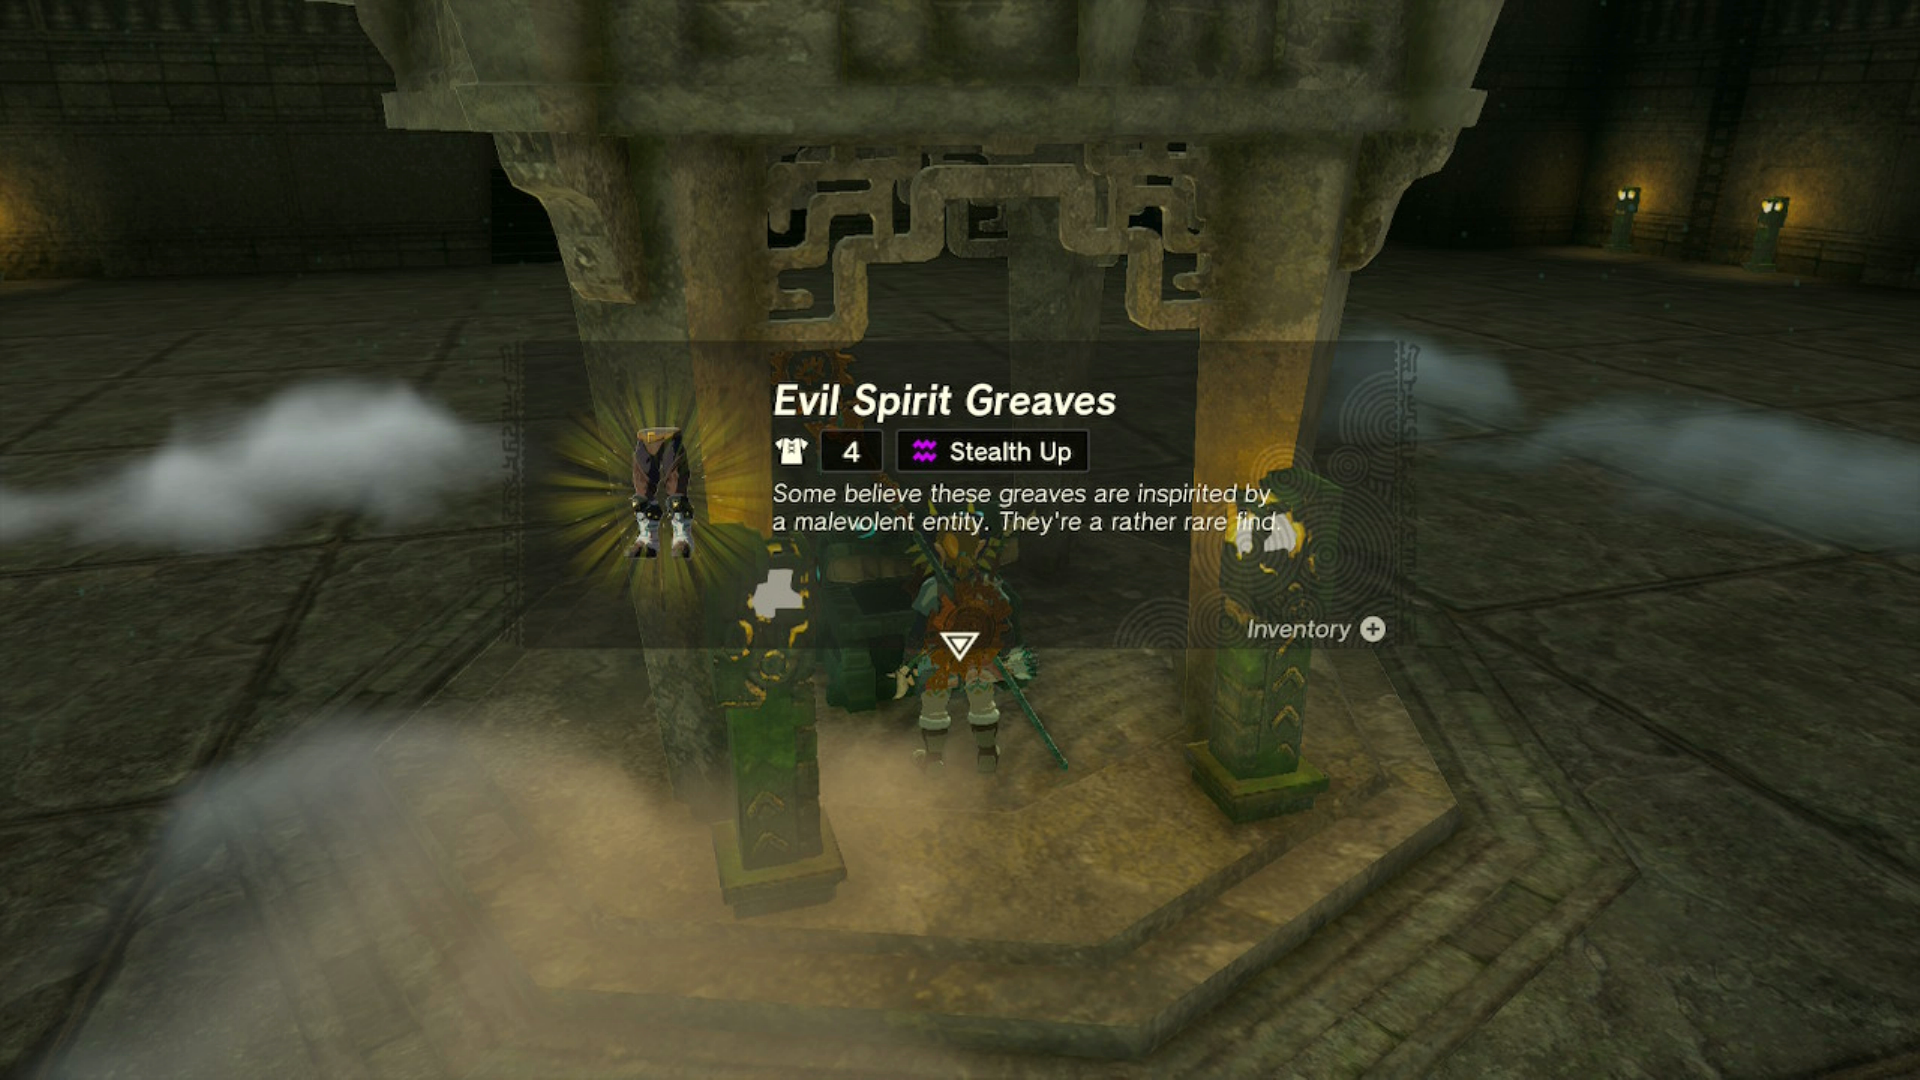
If players are able to emerge victorious in their battle, they will be rewarded with a lit terminal against the wall. Activating this terminal will raise a hidden chest from the floor, providing players with valuable loot. Additionally, the mysterious owl ruler will present Link with the coveted Evil Spirit Greaves as a reward for his success in conquering the three labyrinths. As players explore the North Lomei Depths Labyrinth, they may stumble upon various Poes and Zonai weapons scattered throughout the maze-like corridors, adding to their arsenal and increasing their chances of success in future battles.

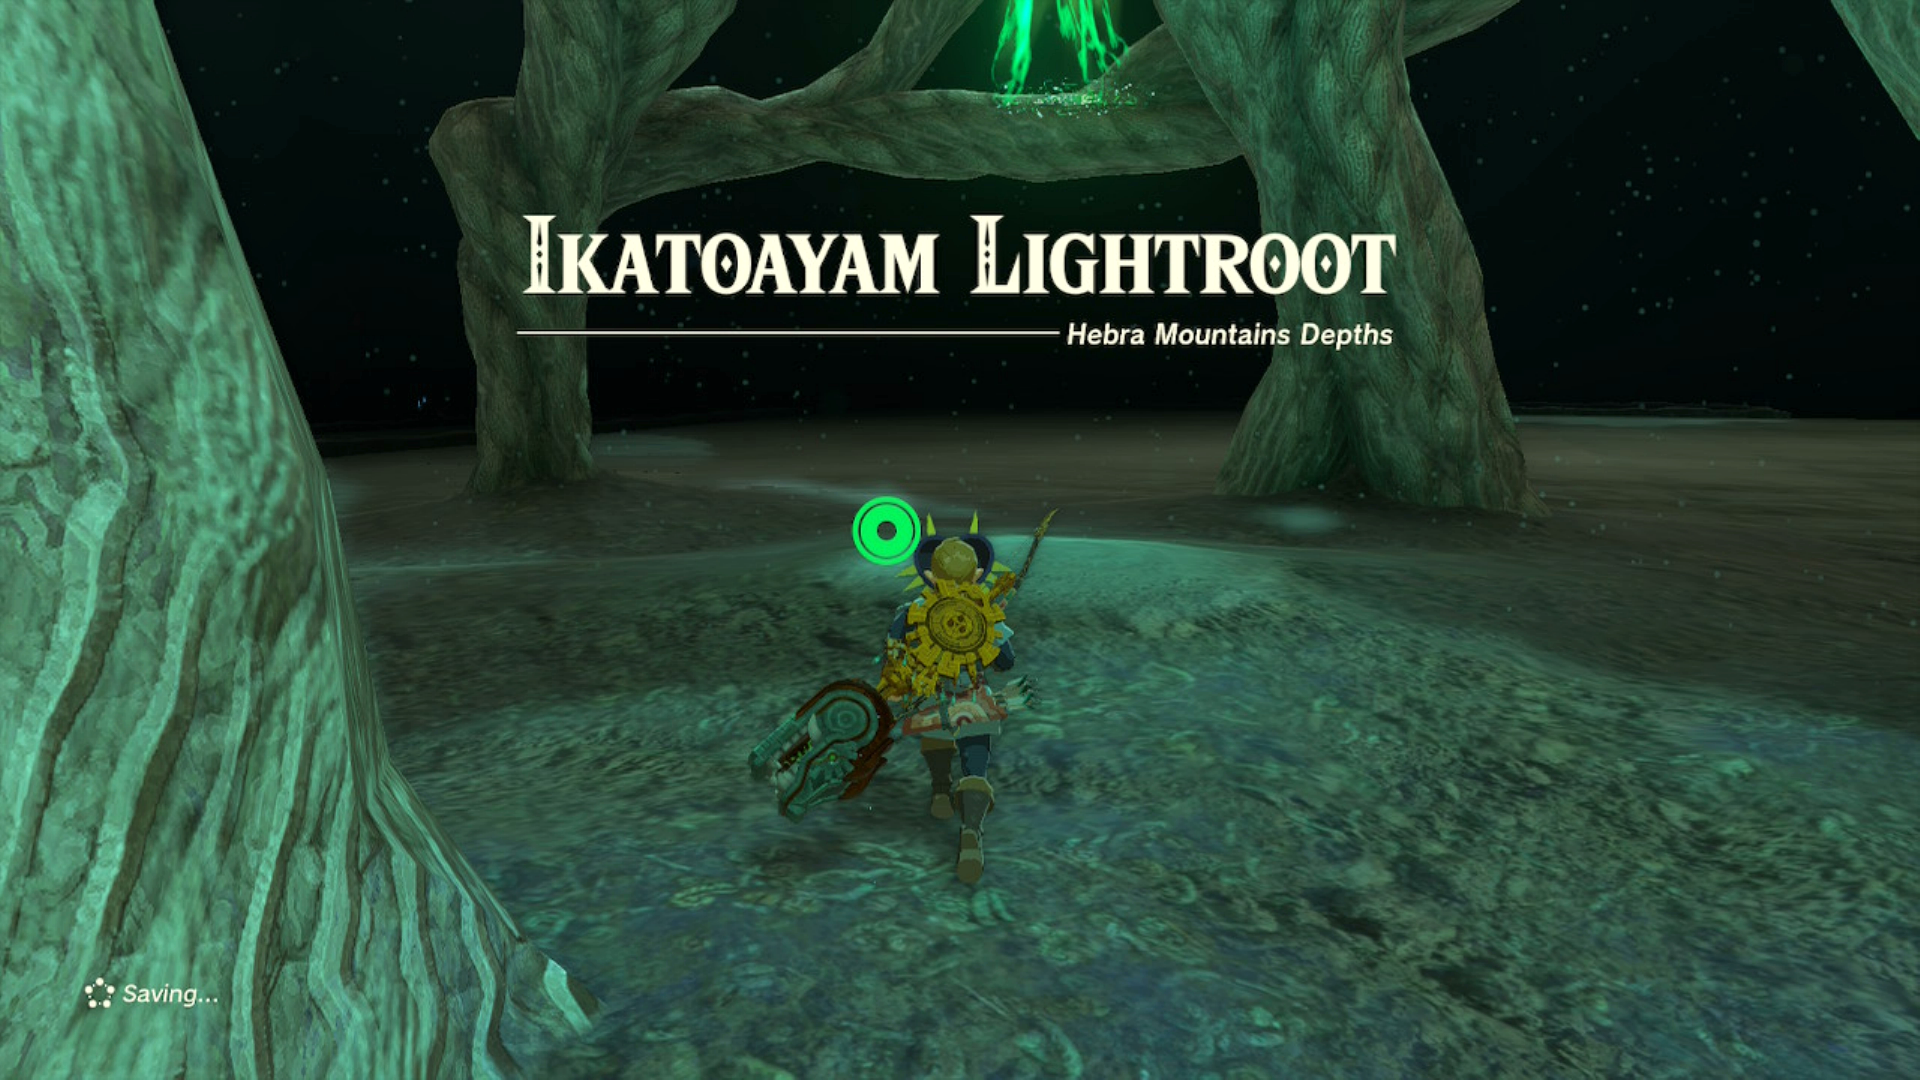
To complete the thrilling journey, players have the option to ascend or climb on top of the labyrinth itself to activate the Ikatoayam Lightroot. This illuminates the surrounding area of The Depths, adding an extra layer of excitement to the adventure.
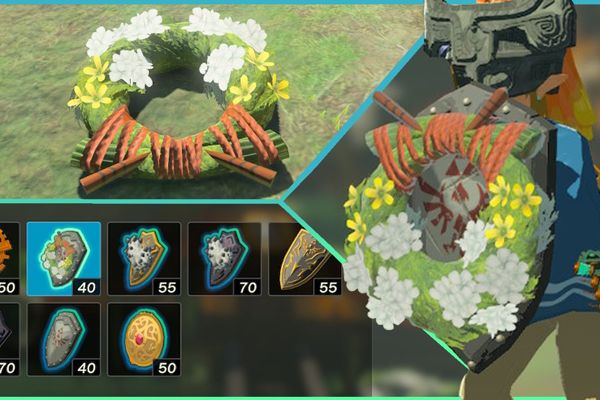
As for the Evil Spirit Greaves, they are part of the three-piece armor set inspired by Phantom Ganon's appearance in The Legend of Zelda: Ocarina of Time. When worn alone, these leg armor provide one level of stealth to Link's overall abilities. However, when paired with the other two pieces of the set, Link gains a disguise against most Stal enemies and proficiency with any bone weapons that he may find.
Experience the enchanting world of The Legend of Zelda: Tears of the Kingdom, now available for the Nintendo Switch.