Unleashing the Secrets: Mastering the Miryotanog Shrine - Zelda's Proving Grounds Unveiled
Prove your combat skills and master the art of luring enemies into cunning traps in the challenging Miryotanog Shrine of Tears of the Kingdom Navigate this TotK location with our expert walkthrough
In The Legend of Zelda: Tears of the Kingdom, players will face the daunting task of exploring the vast Gerudo Desert in search of numerous shrines. Among these shrines, the Miryotanog Shrine stands out as a particularly challenging one, especially for those who are ill-prepared. To add to the difficulty, it also presents a combat challenge within its walls, putting players' skills to the test.
Miryotanog Shrine Location in TotK
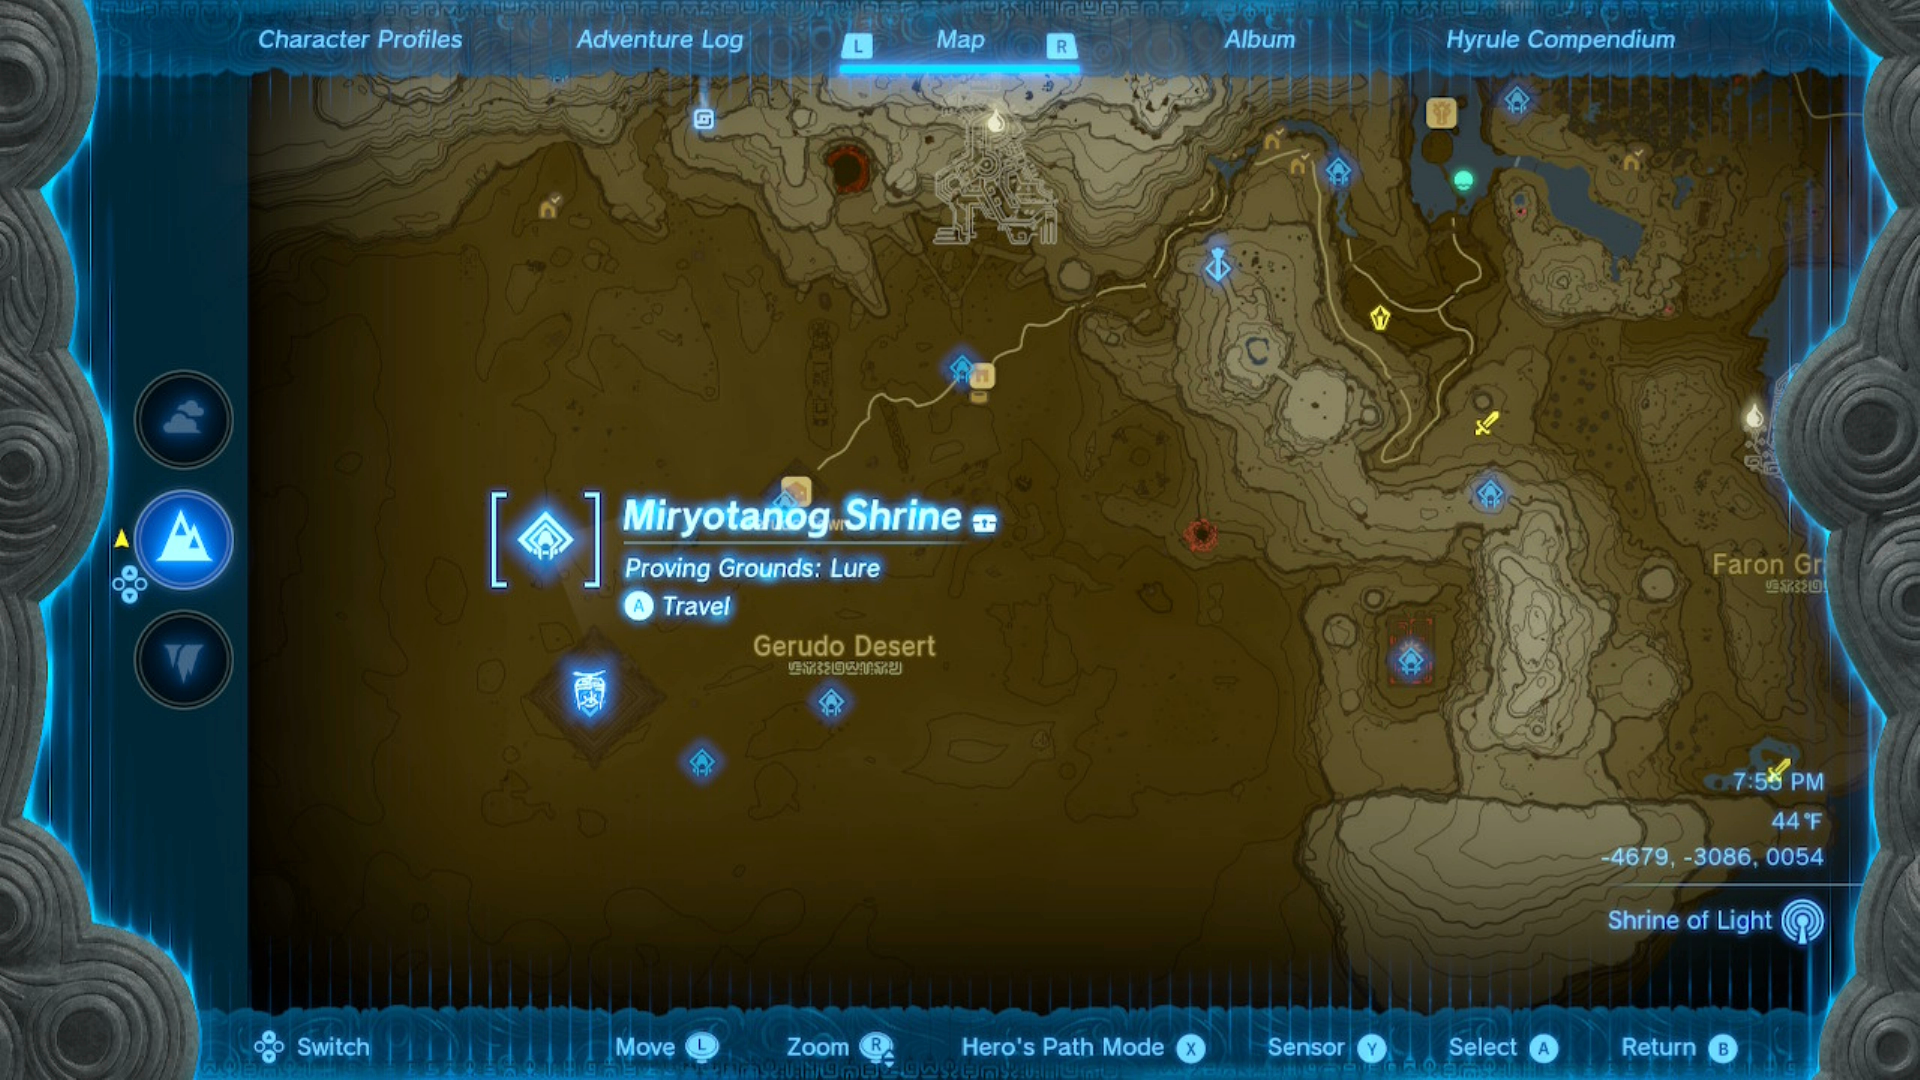
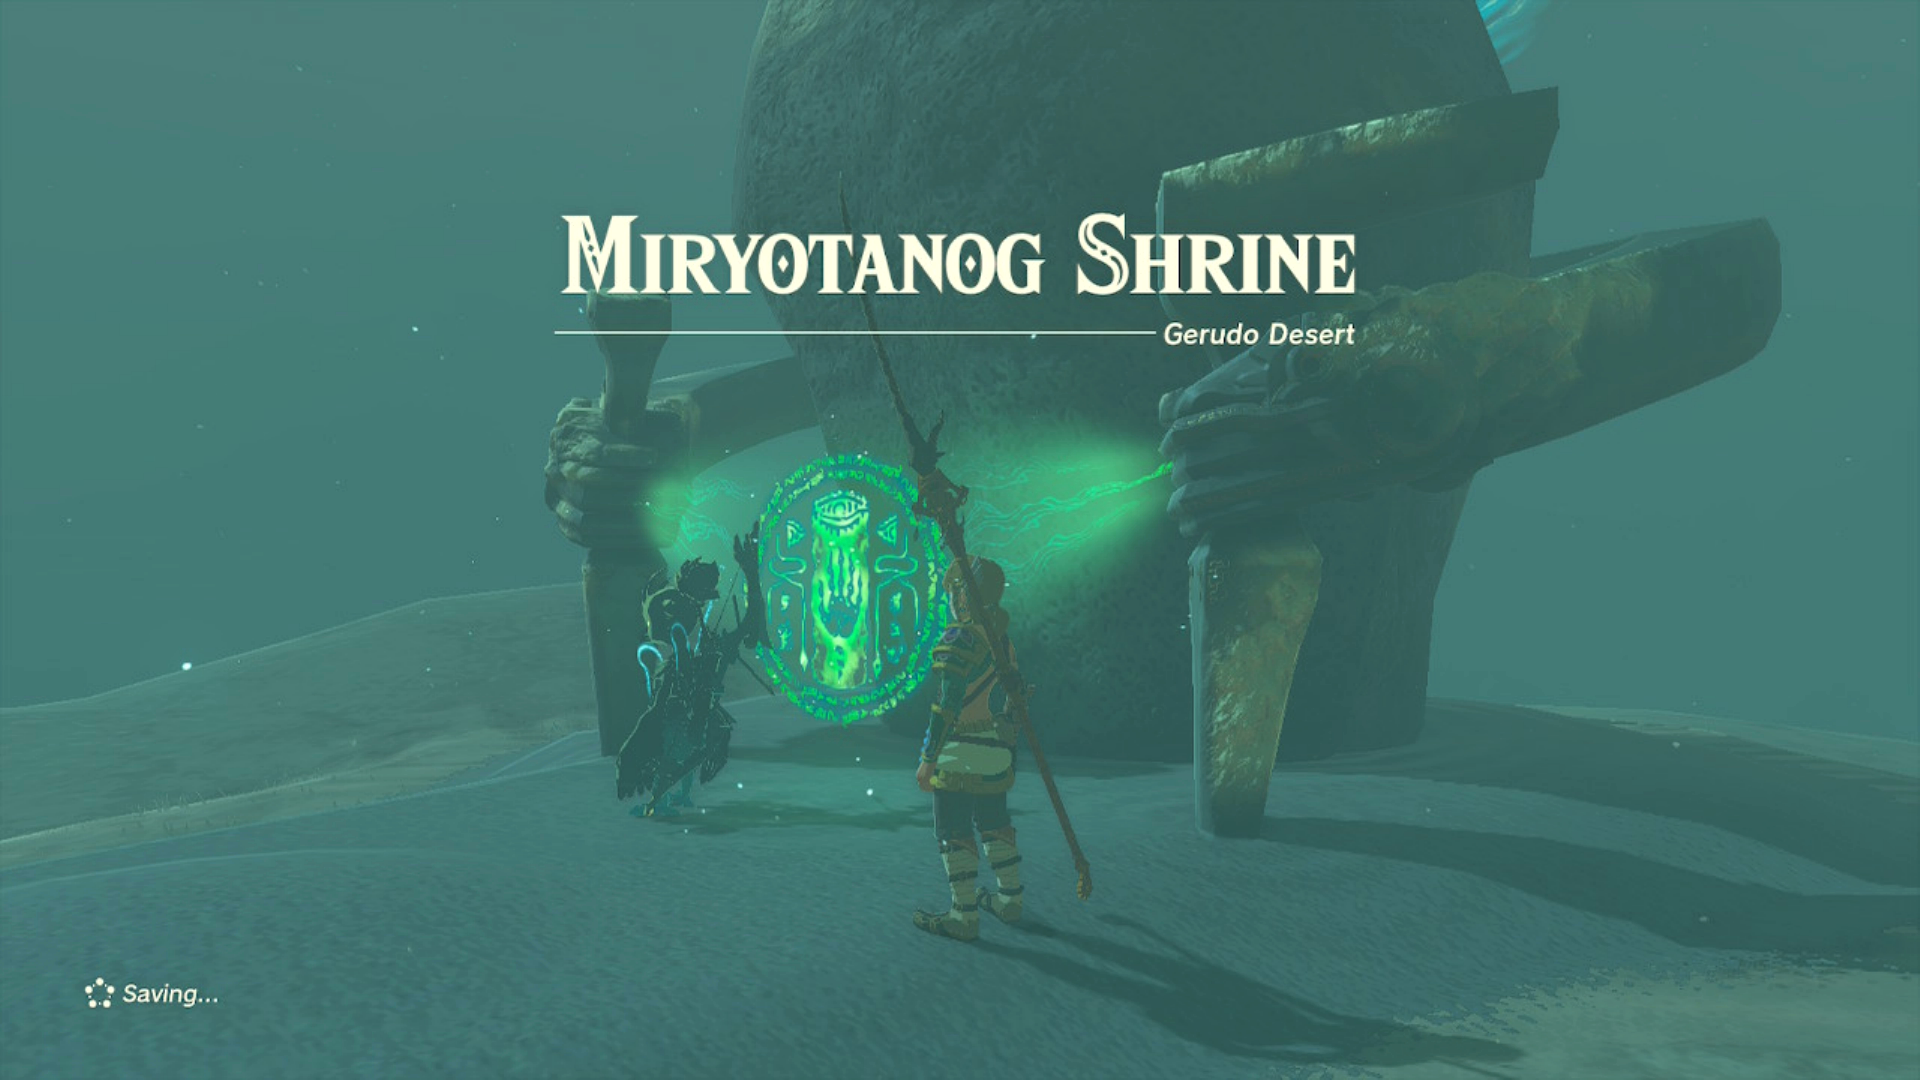
The Miryotanog Shrine is a significant location in the Gerudo Desert, situated at the coordinates -4679, -3086, 0054. Positioned to the east of Gerudo Town and north of the Lightning Temple, it holds great importance in Tears of the Kingdom.
3 Images
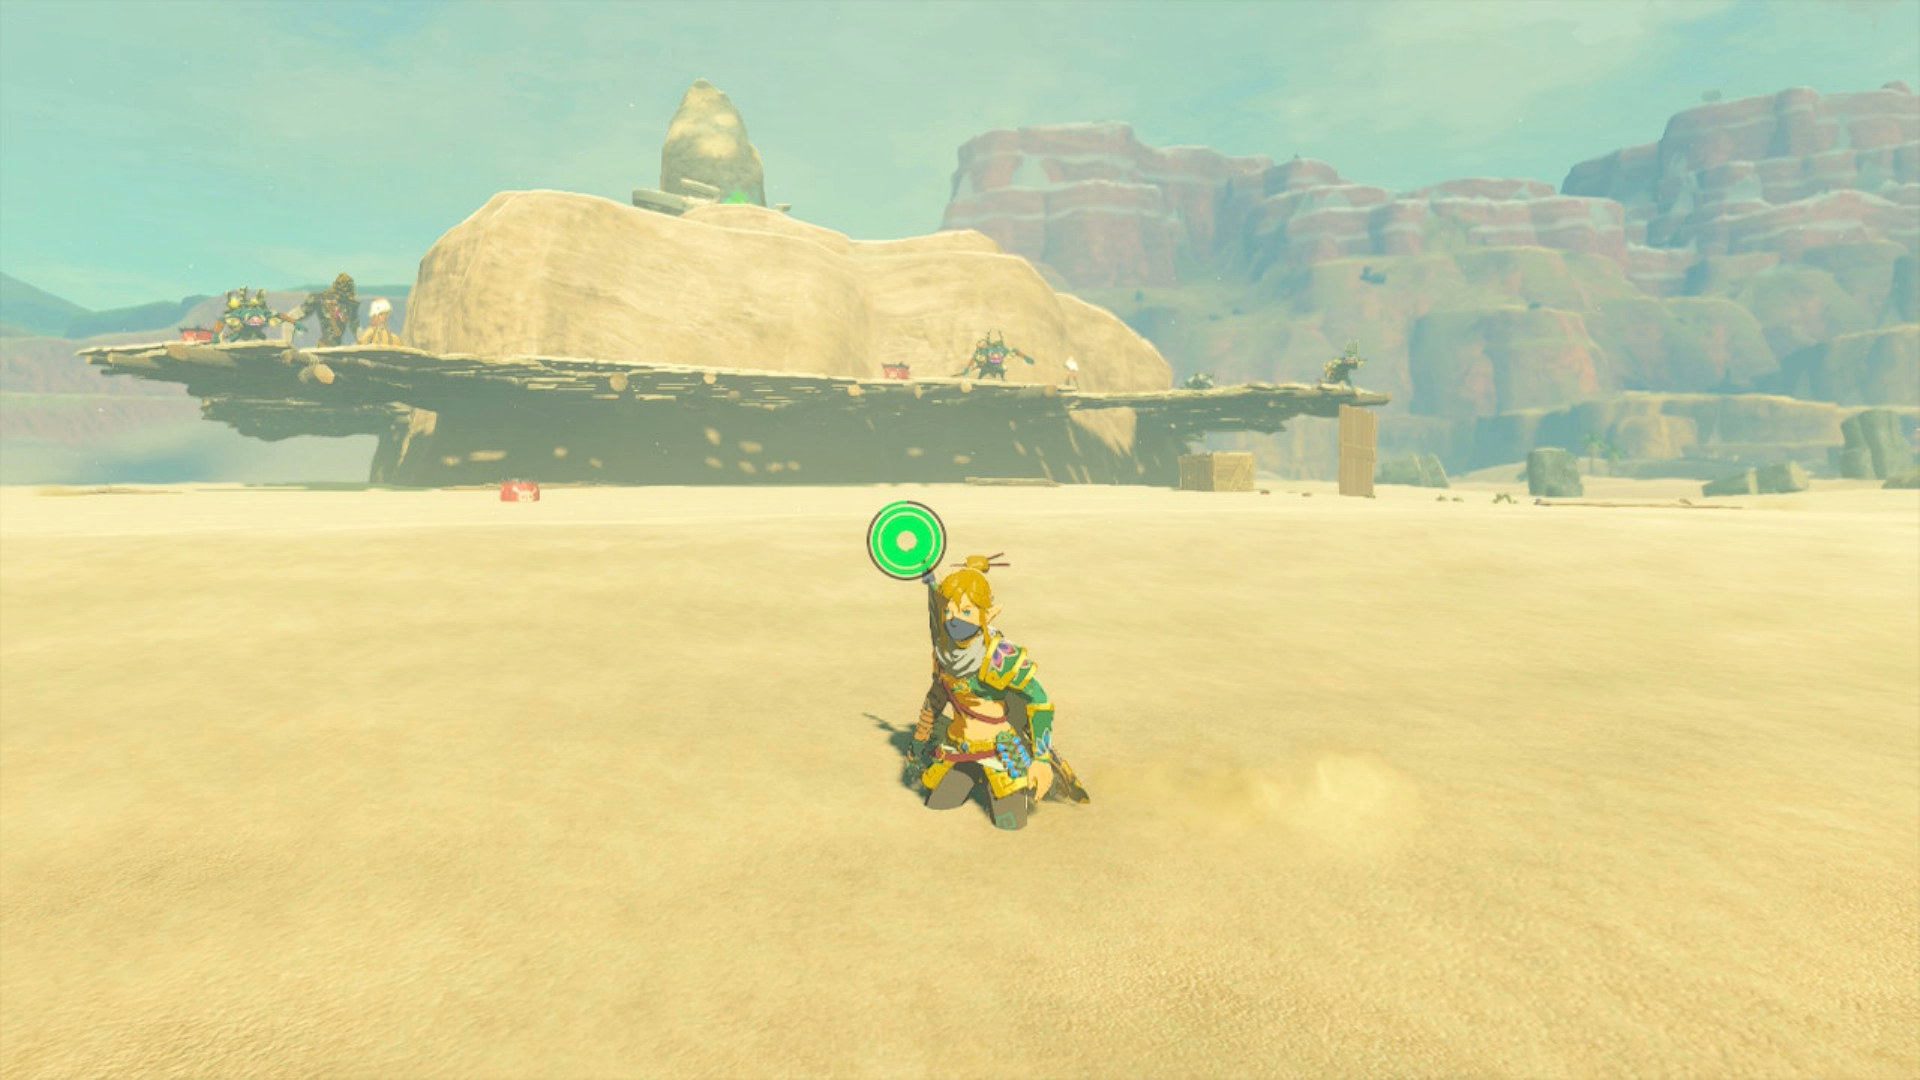
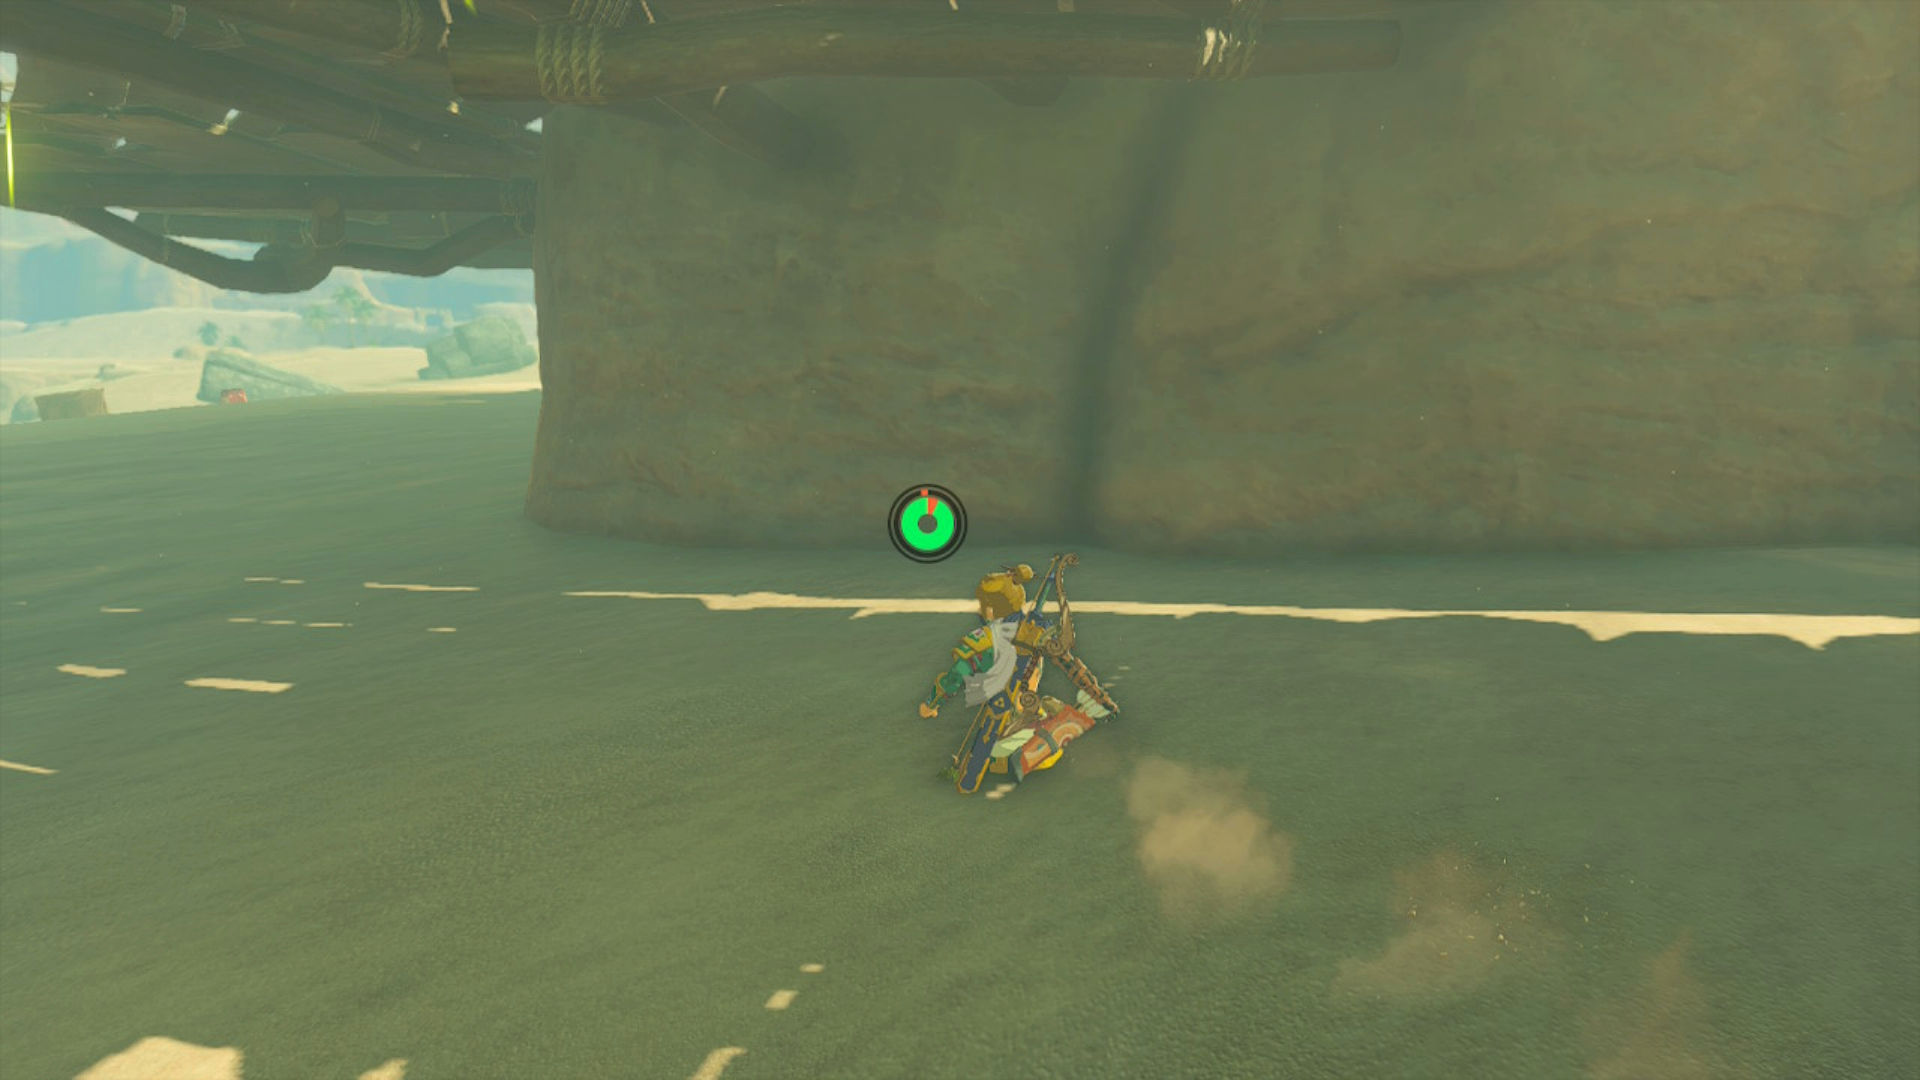
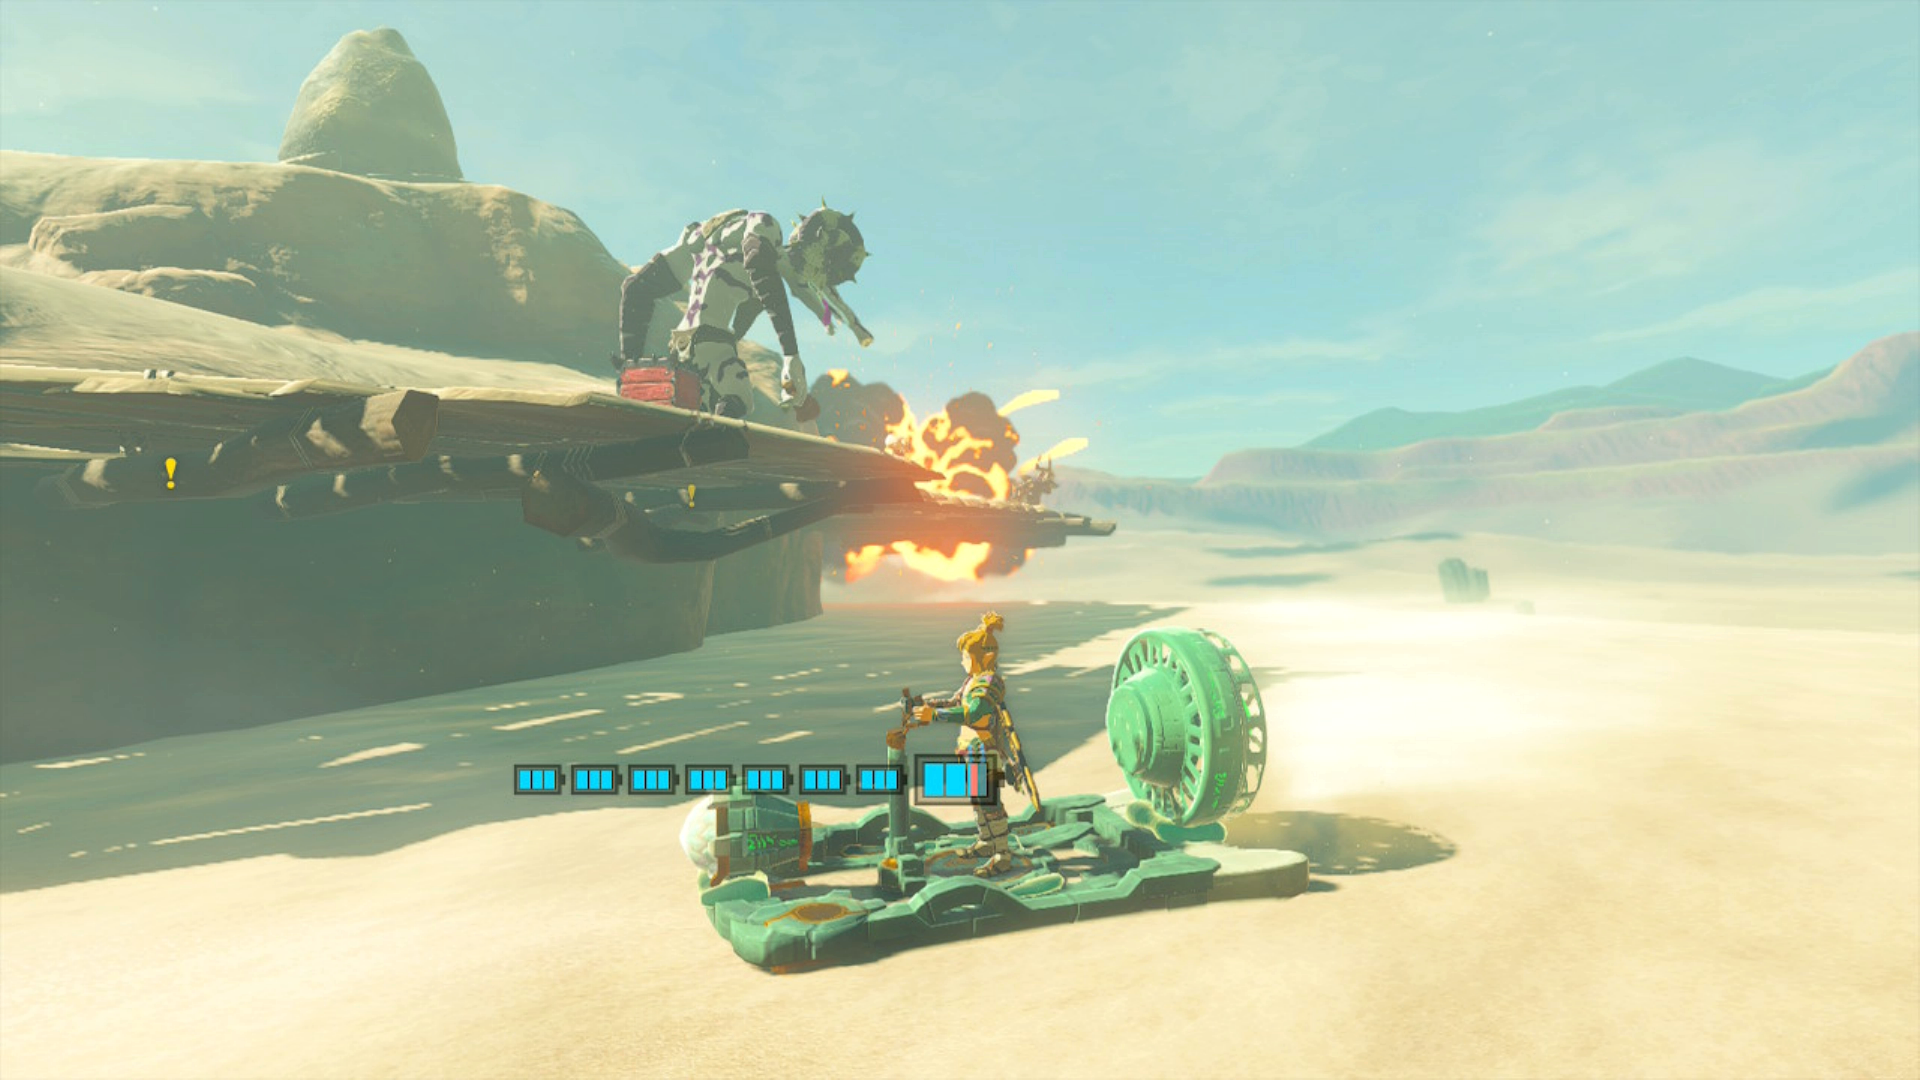
Players will encounter the shrine while approaching it from land, finding it enclosed by an improvised fortress made by monsters and a swirling whirlwind of shifting sands. To access stable ground, players have the option to wade through the sand with intermittent breaks to restore Link's stamina. Alternatively, they can opt for a hovercraft or powered sled to effortlessly glide across the ever-moving sand.
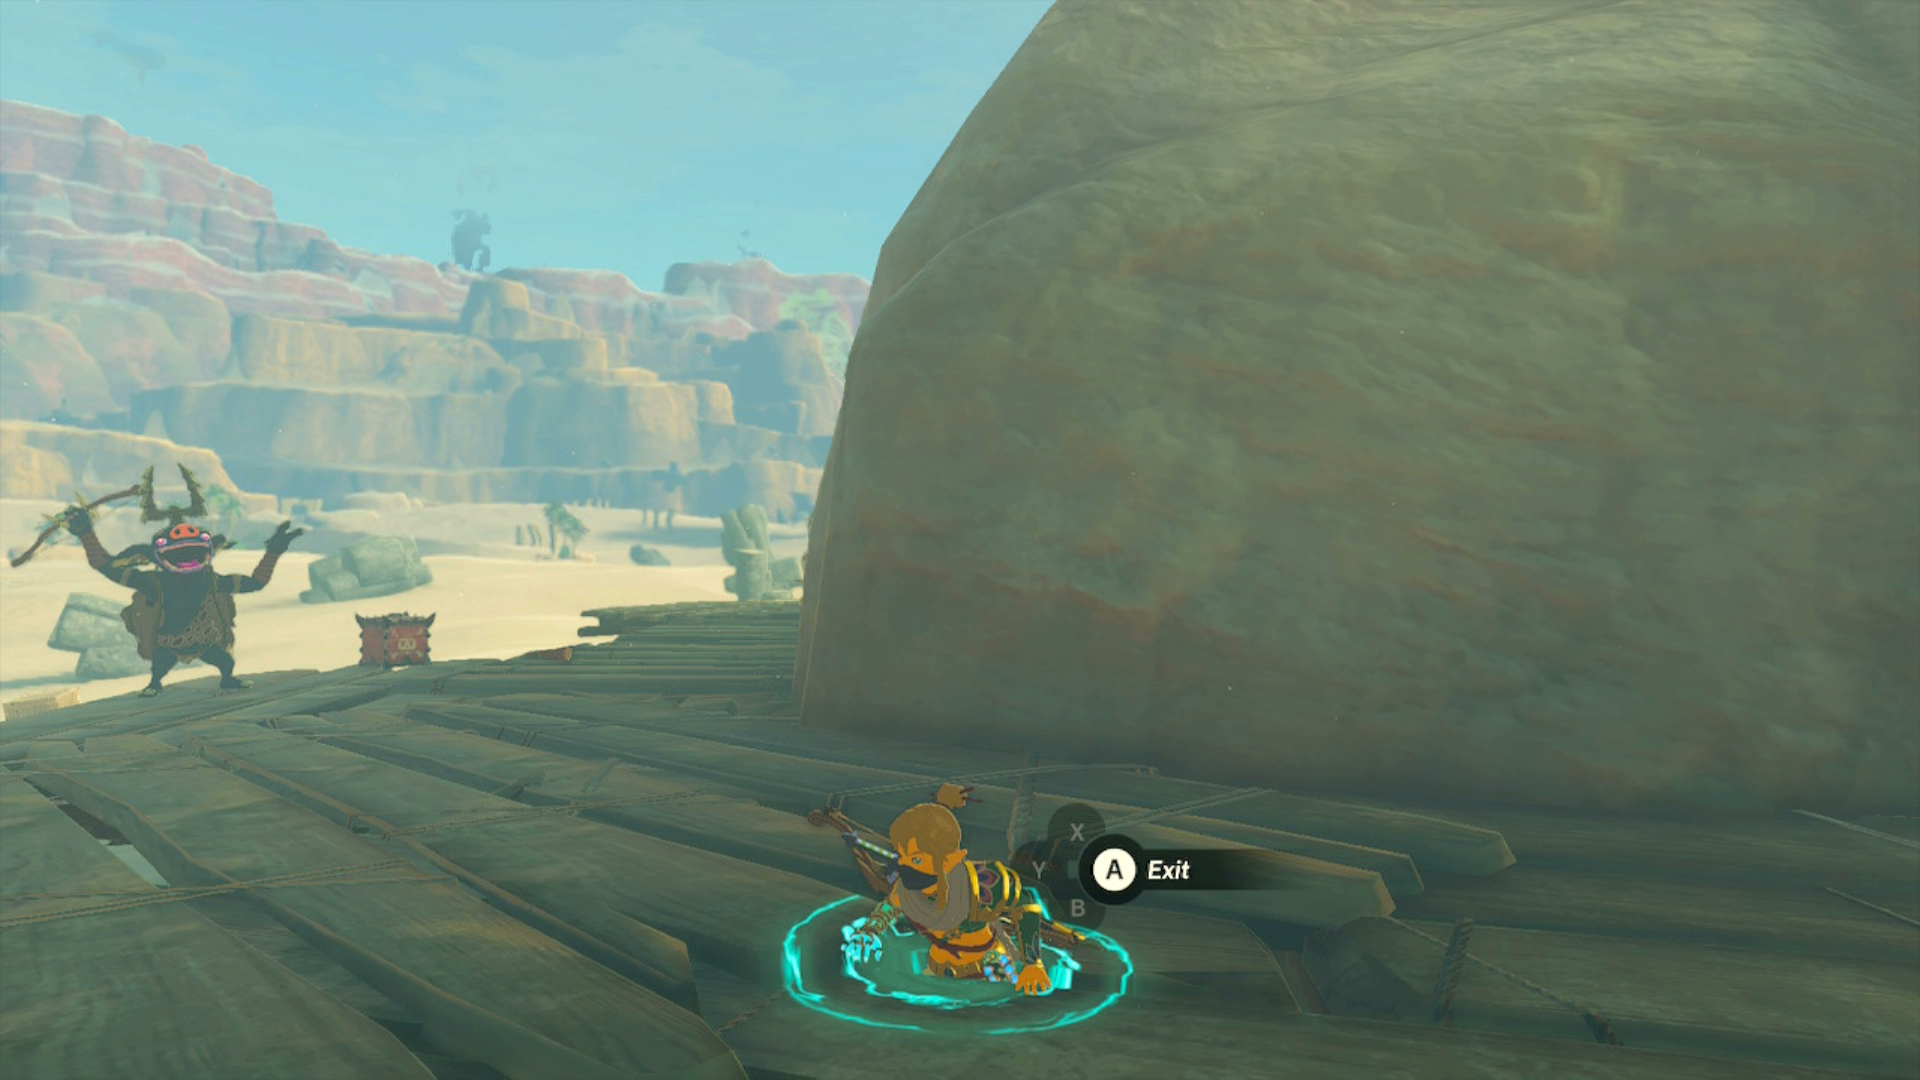
Once underneath the wooden platforms, players can use Ascend and make their way up to the shrine at the top of the hill.
Players can also quickly reach the Miryotanog Shrine by directly flying to it using any airborne vehicle, which can be a preferable option if the Sand Shroud still persists in the Gerudo Desert.
Miryotanog Shrine Walkthrough
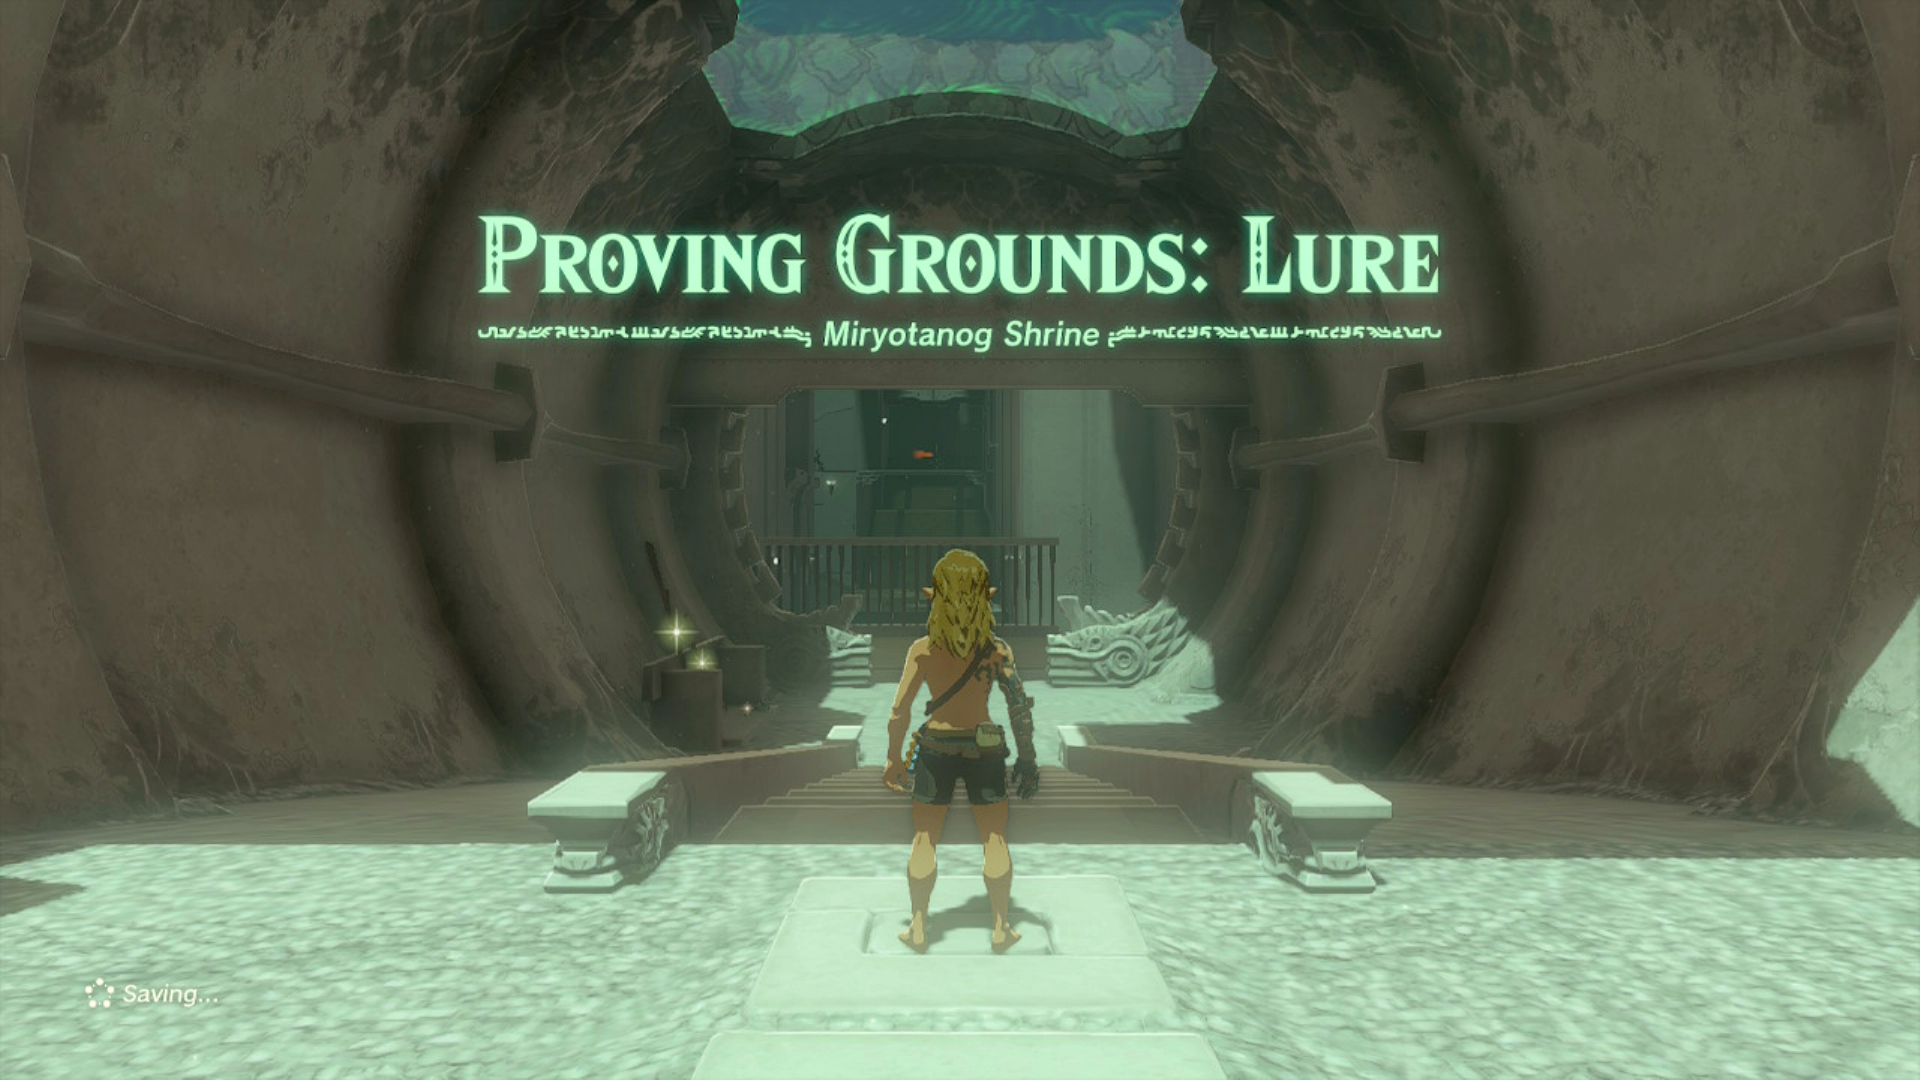
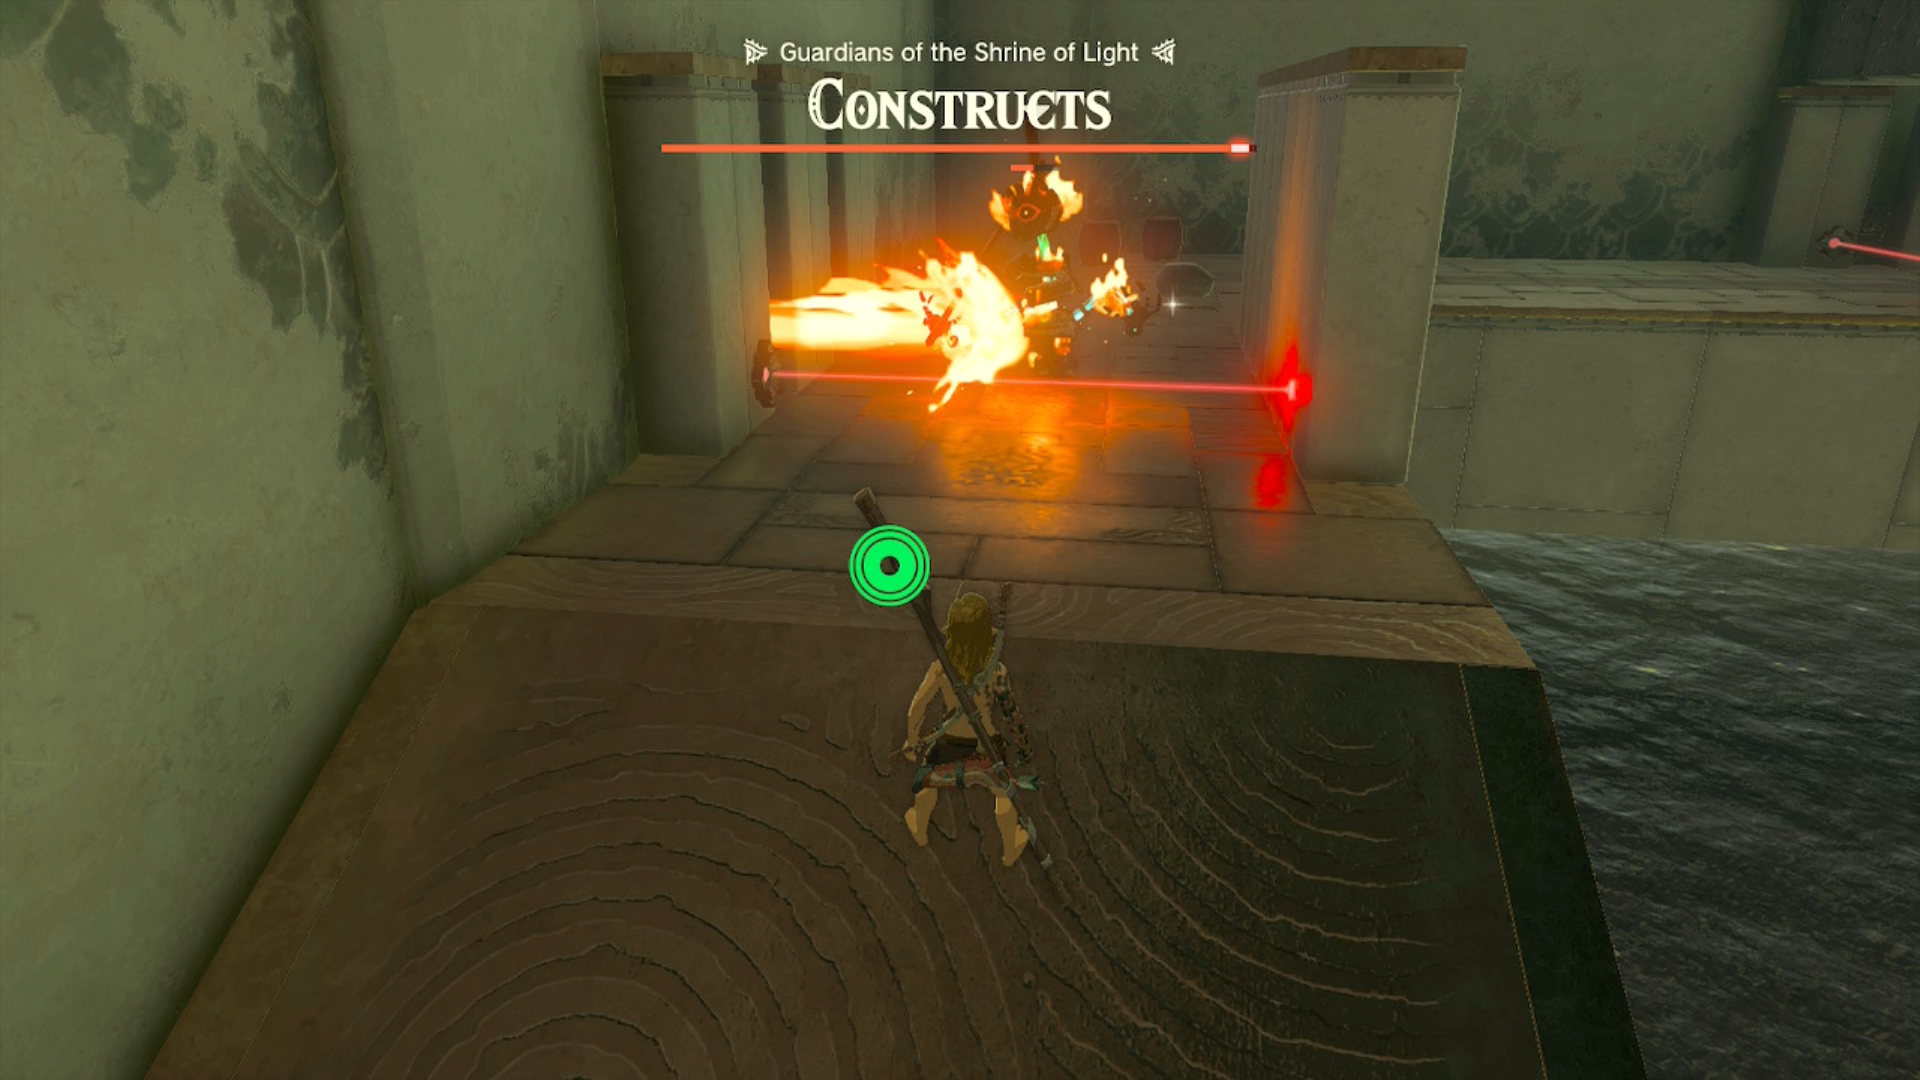
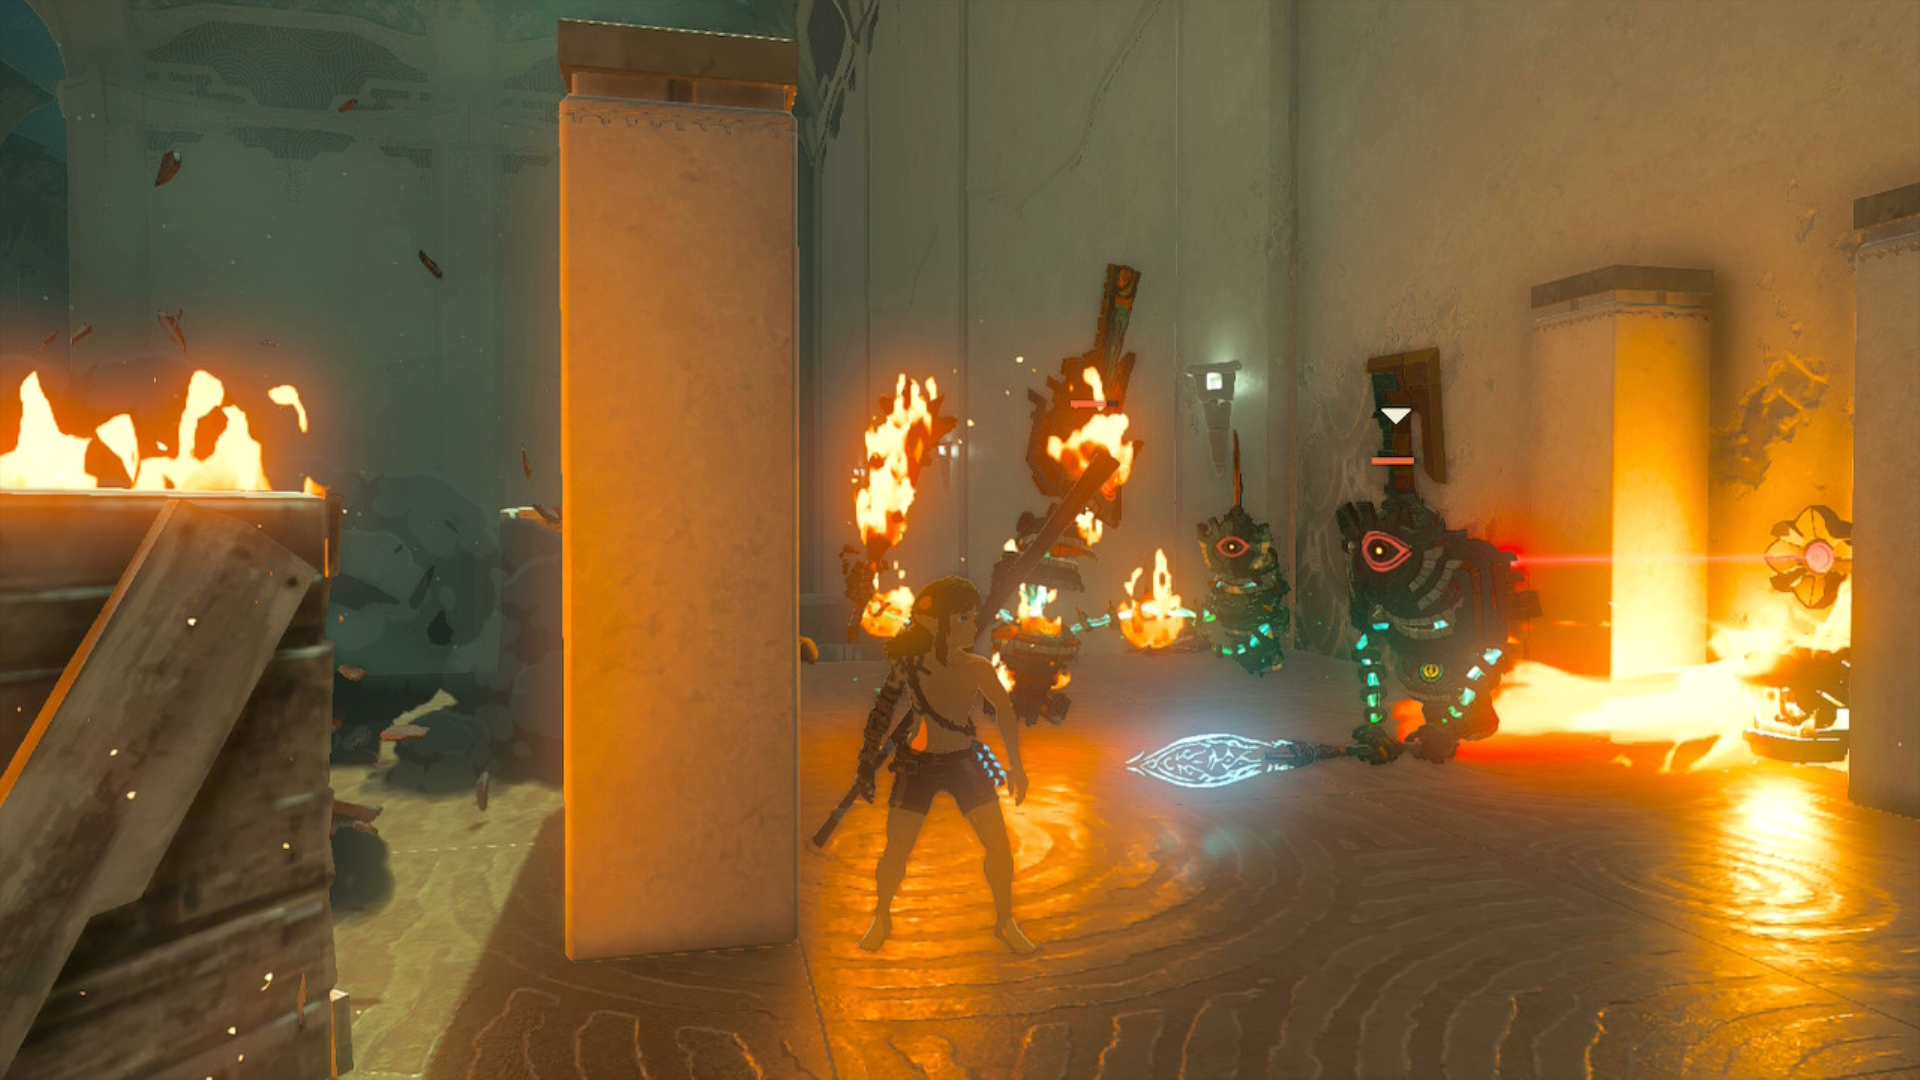
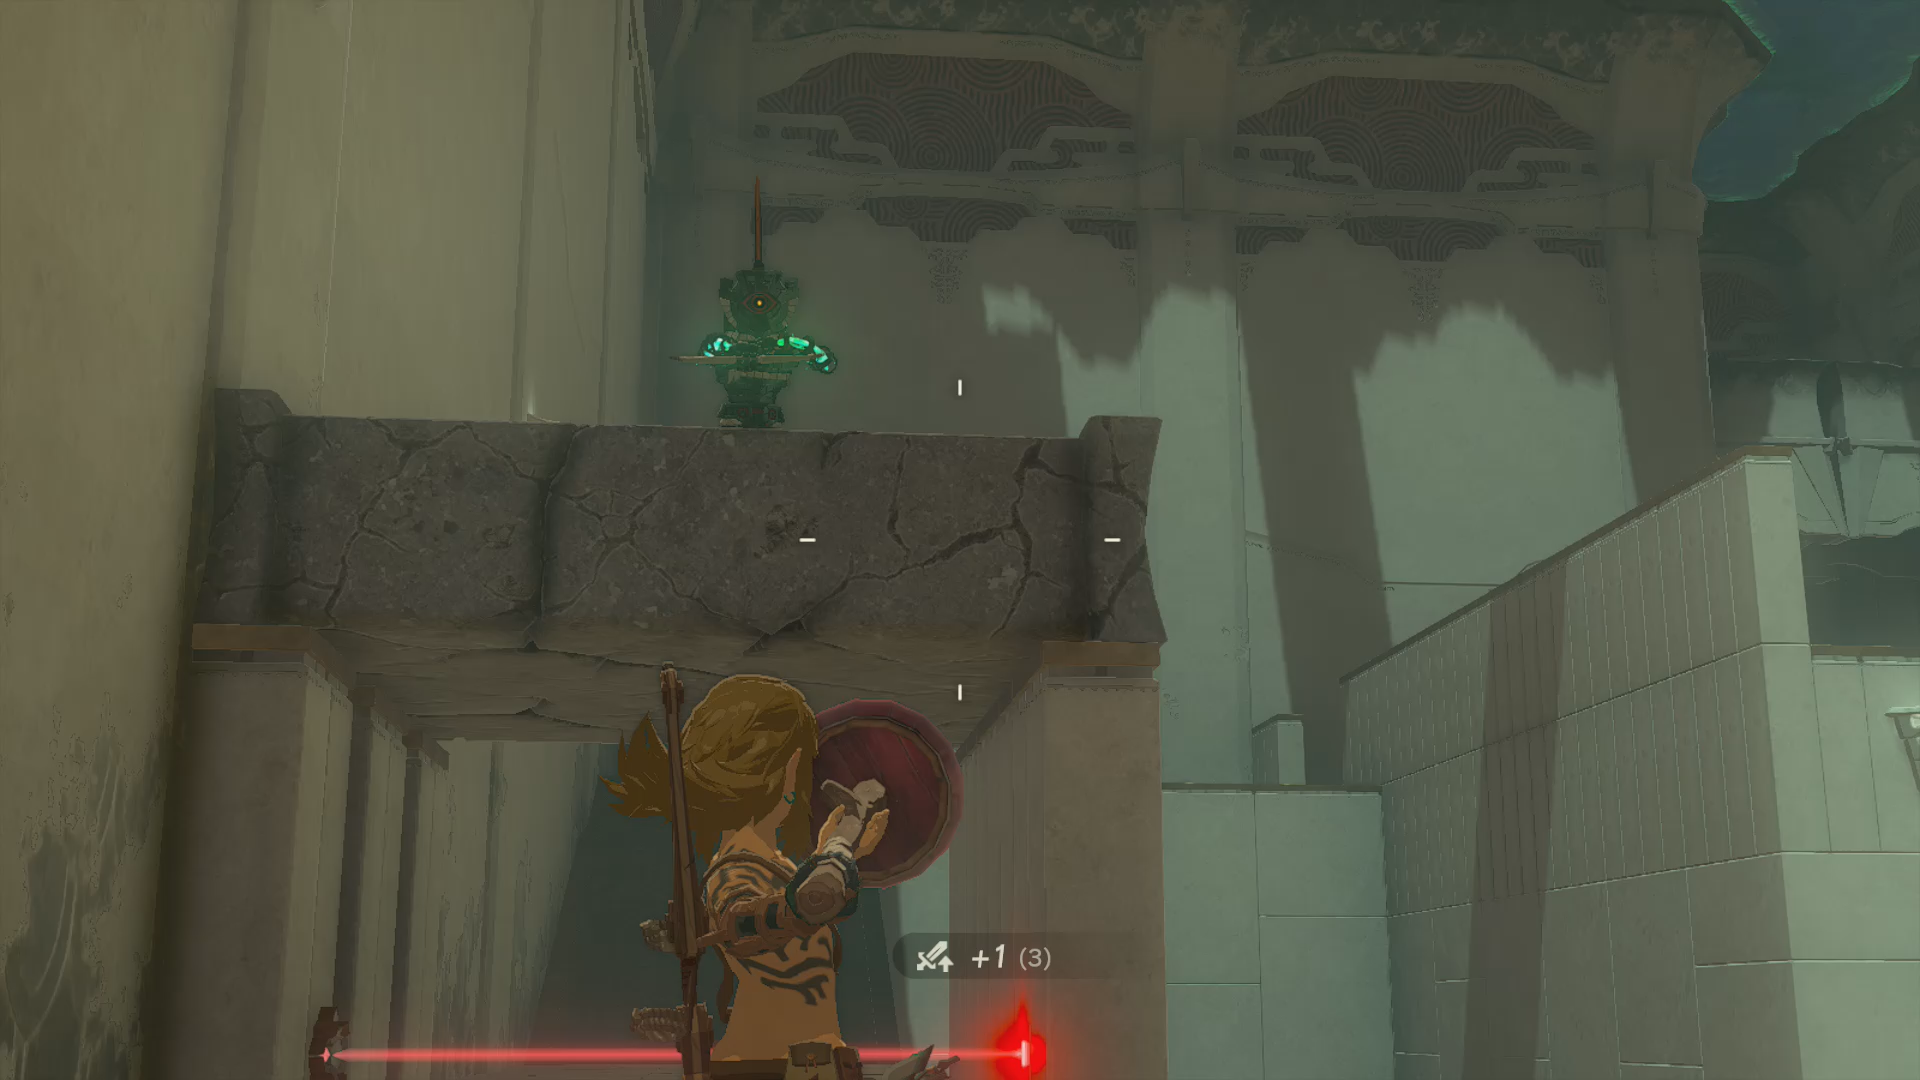
Inside the sacred shrine, players will encounter a formidable Proving Grounds challenge, where they will be deprived of their armor and weapons. The objective of this challenge is to vanquish all five of the constructs housed within the shrine, strategically employing traps to lure and ultimately defeat them.
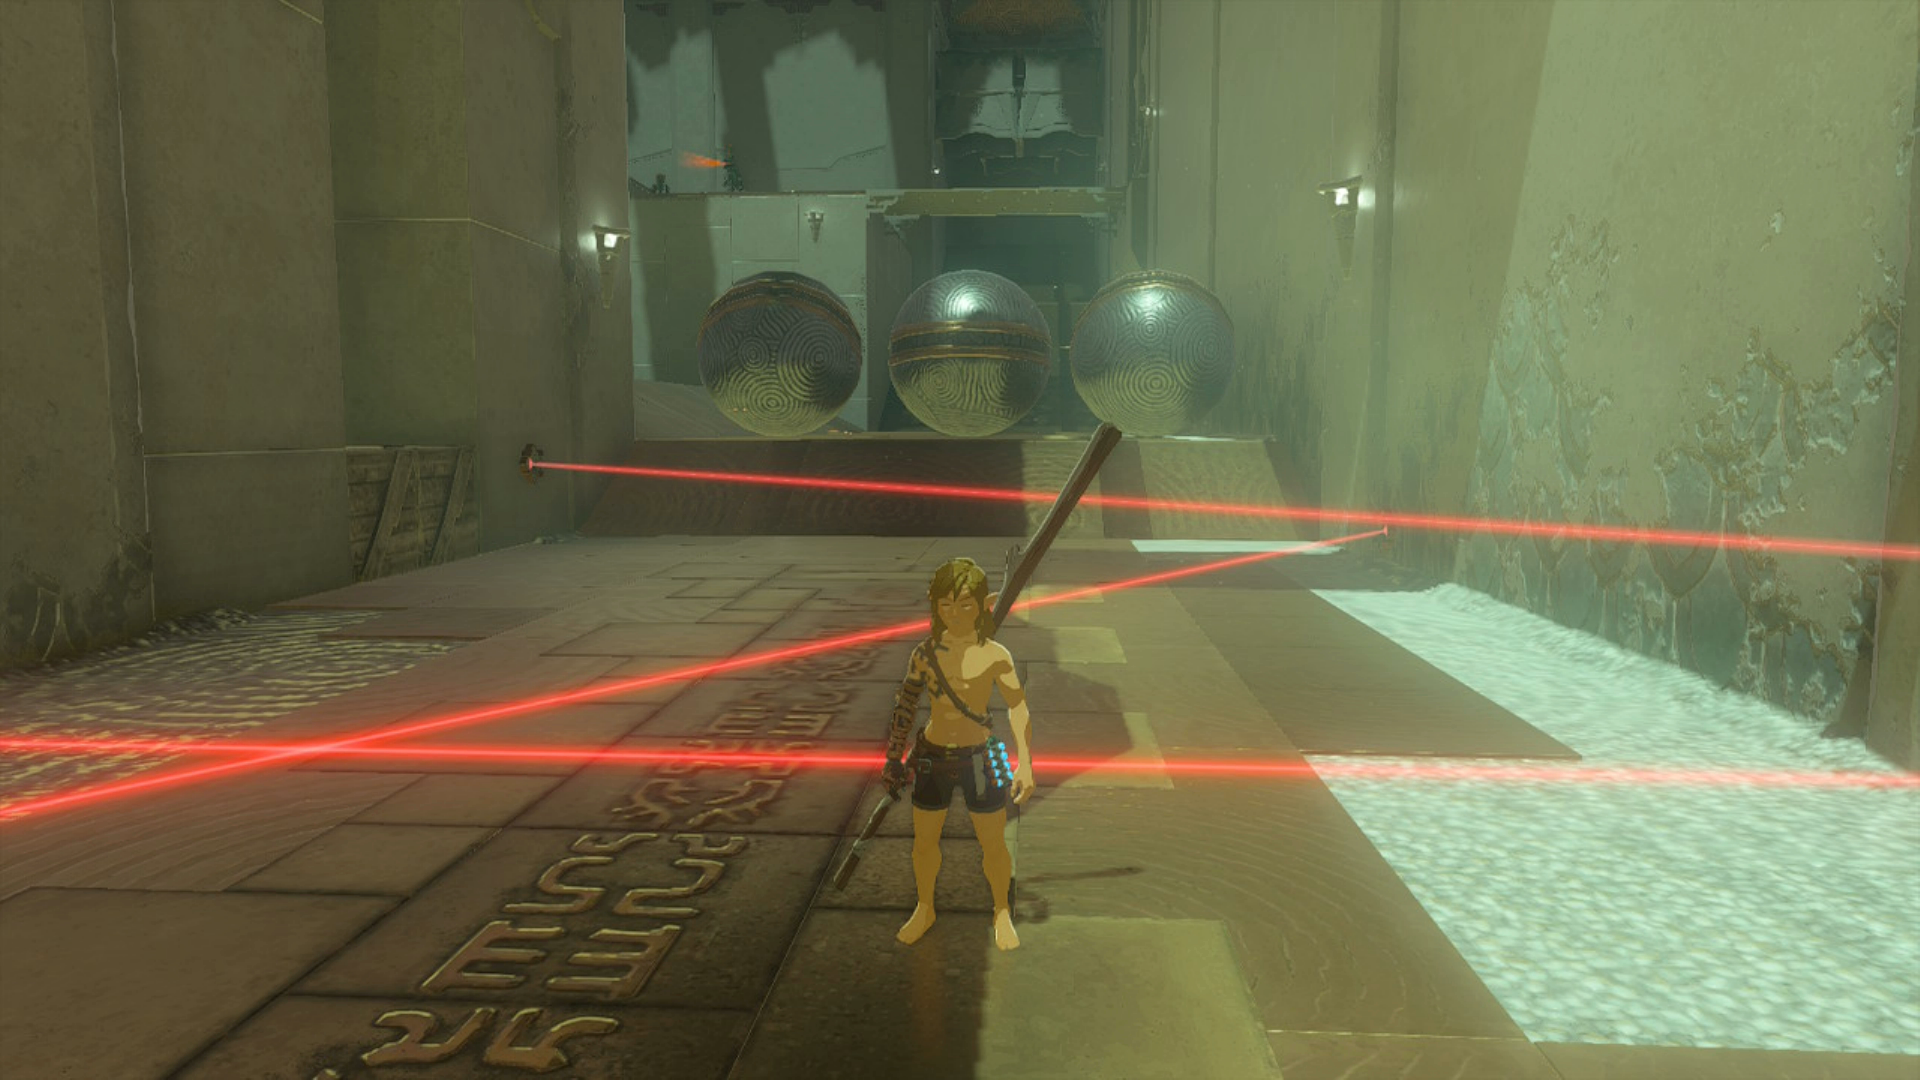
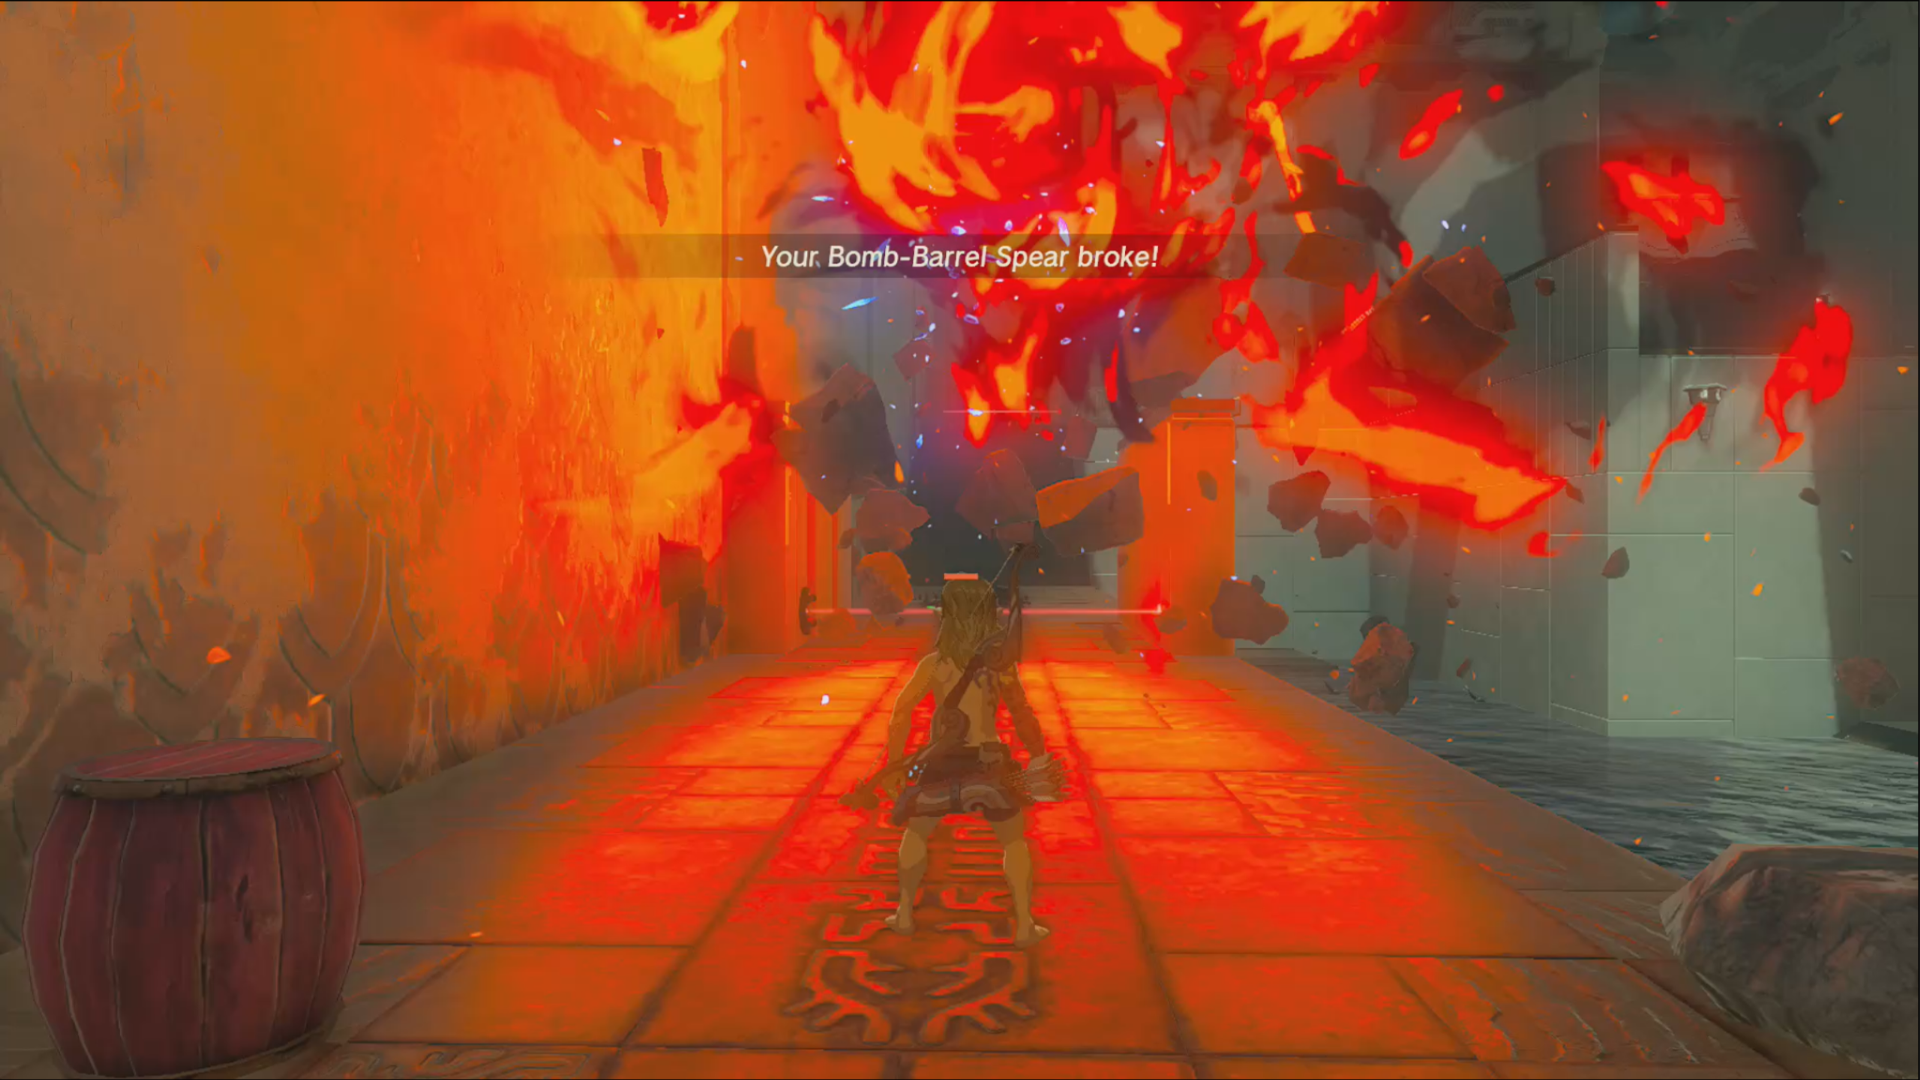
As Link steps into the area, players will encounter their first set of traps – laser tripwires. If triggered, these cunning devices unleash a thrilling chain of events, as hefty metal balls descend and swiftly roll towards the laser-infested zone, evoking the iconic scenes from Indiana Jones.
Close
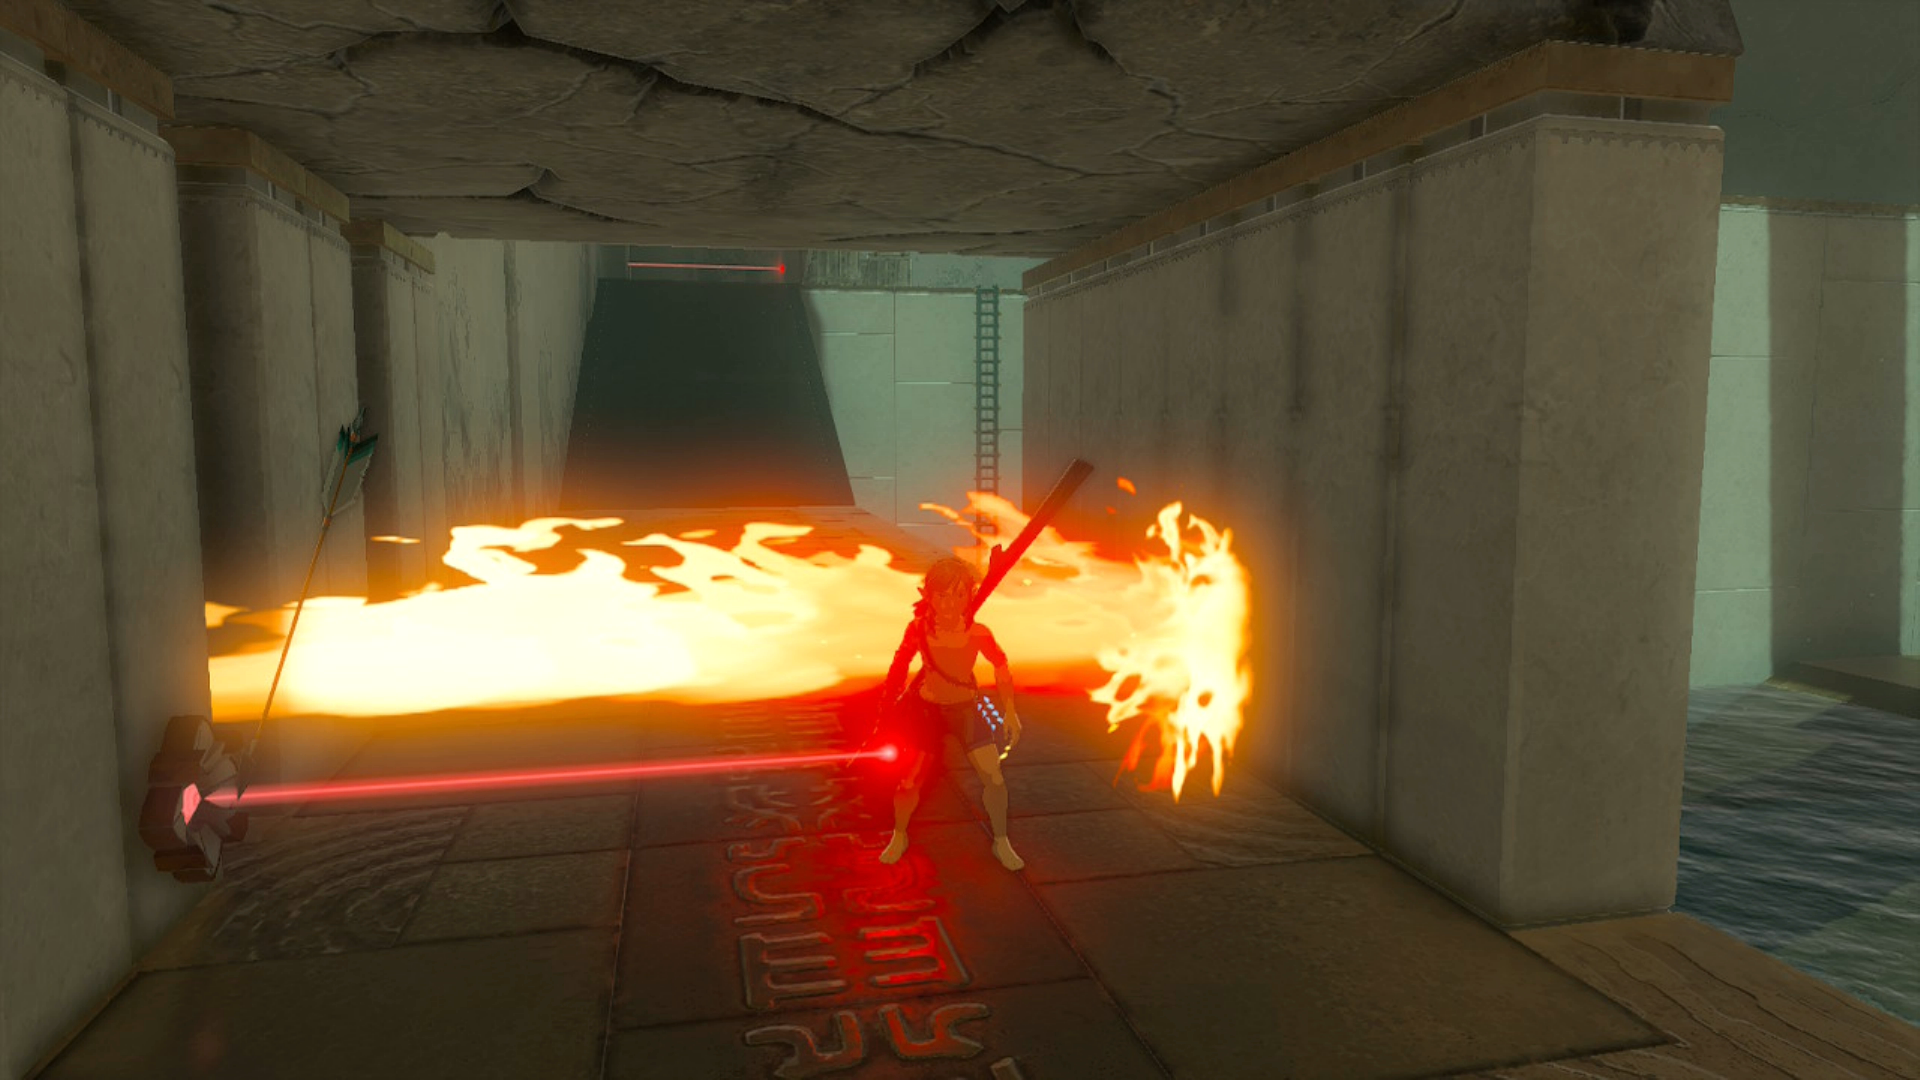
Players have the option to activate the hidden flamethrower within the shrine by triggering the other laser tripwires. They can strategically lure the constructs through the lasers to inflict damage or utilize various objects to remotely set off the trap.
There are also plenty of trap-related objects, such as spikes and bomb barrels, that players can place in strategic areas throughout the shrine.
They can alternatively be fused to any of the weapons Link picks up to attack the constructs head-on.
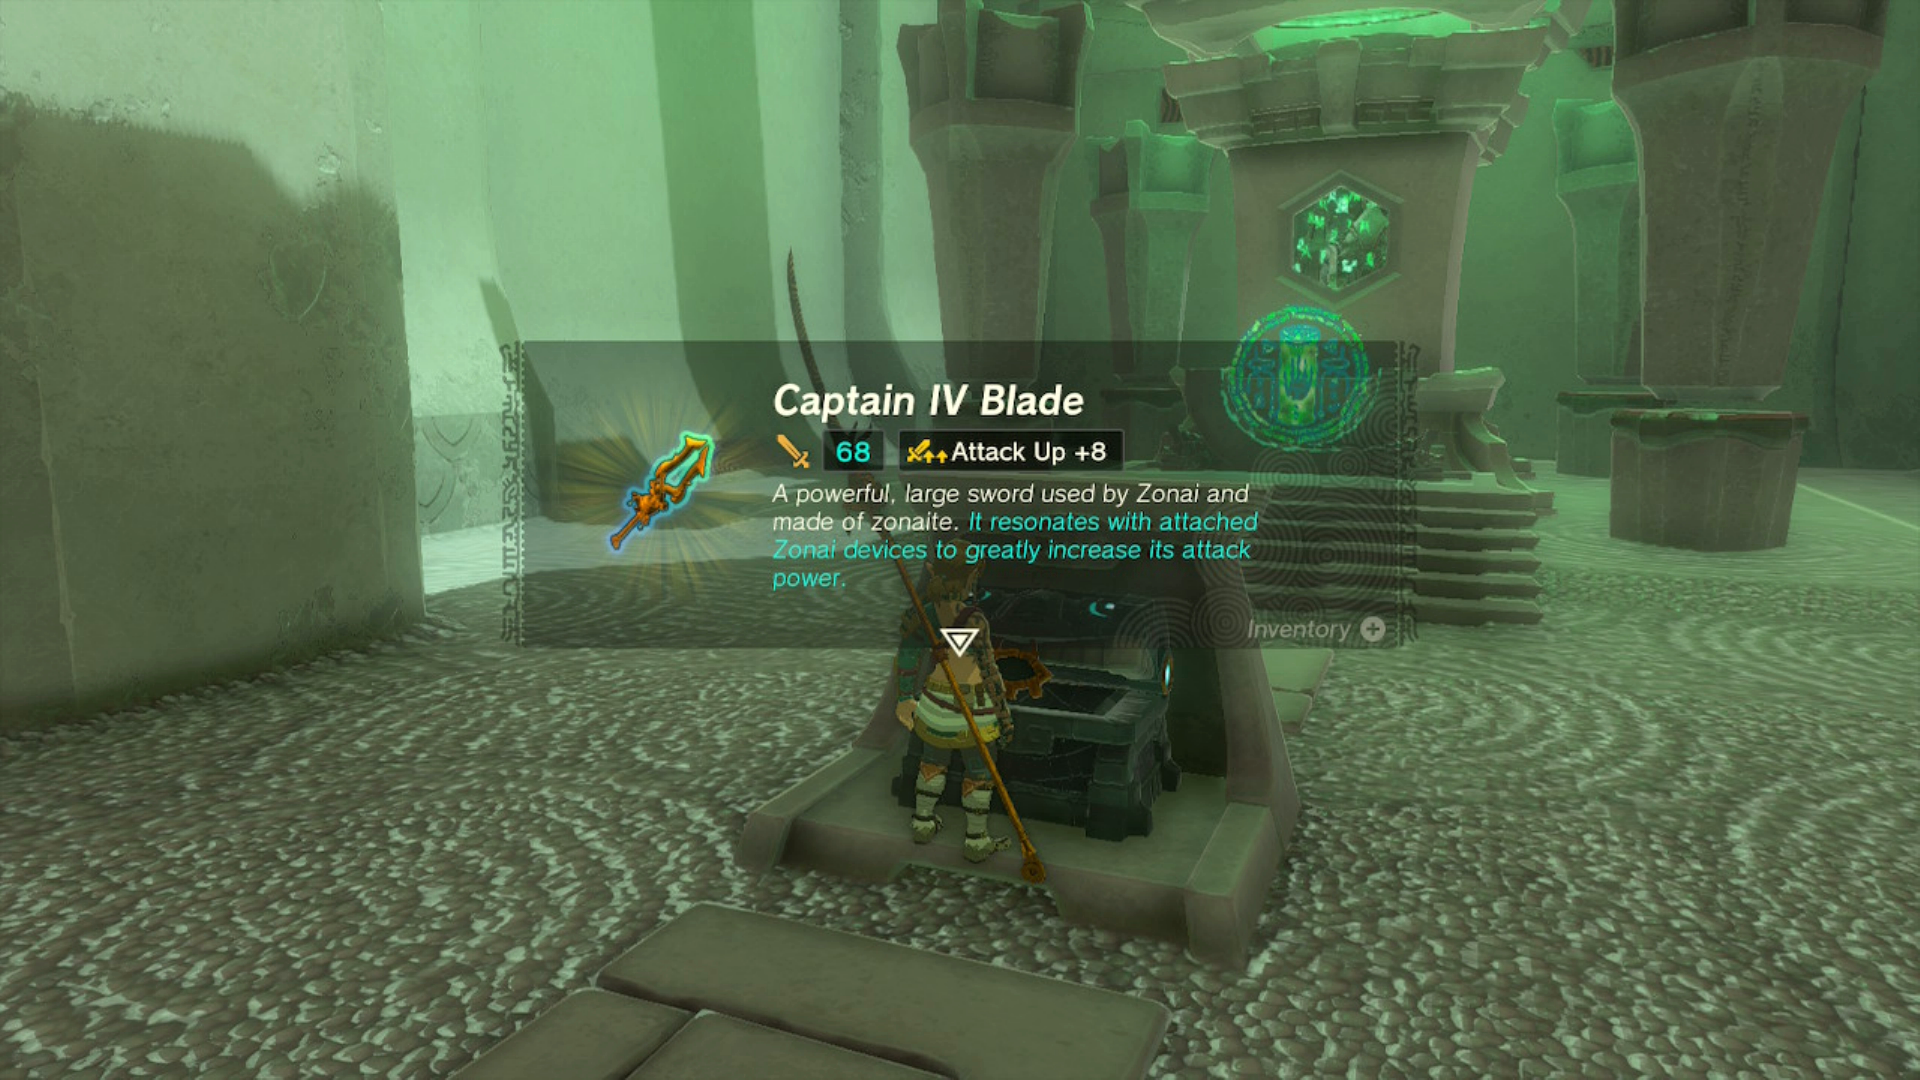
In the statue chamber, players can finally claim their well-deserved Light of Blessing after conquering all the challenges and defeating all the constructs. Additionally, an enticing chest awaits in this room, holding the mighty Captain IV Blade, a formidable weapon for players to wield and unleash their power.
Experience the captivating adventure of The Legend of Zelda: Tears of the Kingdom on the Nintendo Switch platform.