Unleashing the Light: Siyamotsus Shrine Walkthrough in Zelda
Unlock the secrets of Siyamotsus Shrine in Zelda: Tears of the Kingdom and earn a valuable Light of Blessing Discover this hidden treasure as you progress through the The South Lomei Prophecy side quest and complete a simple task to claim your reward
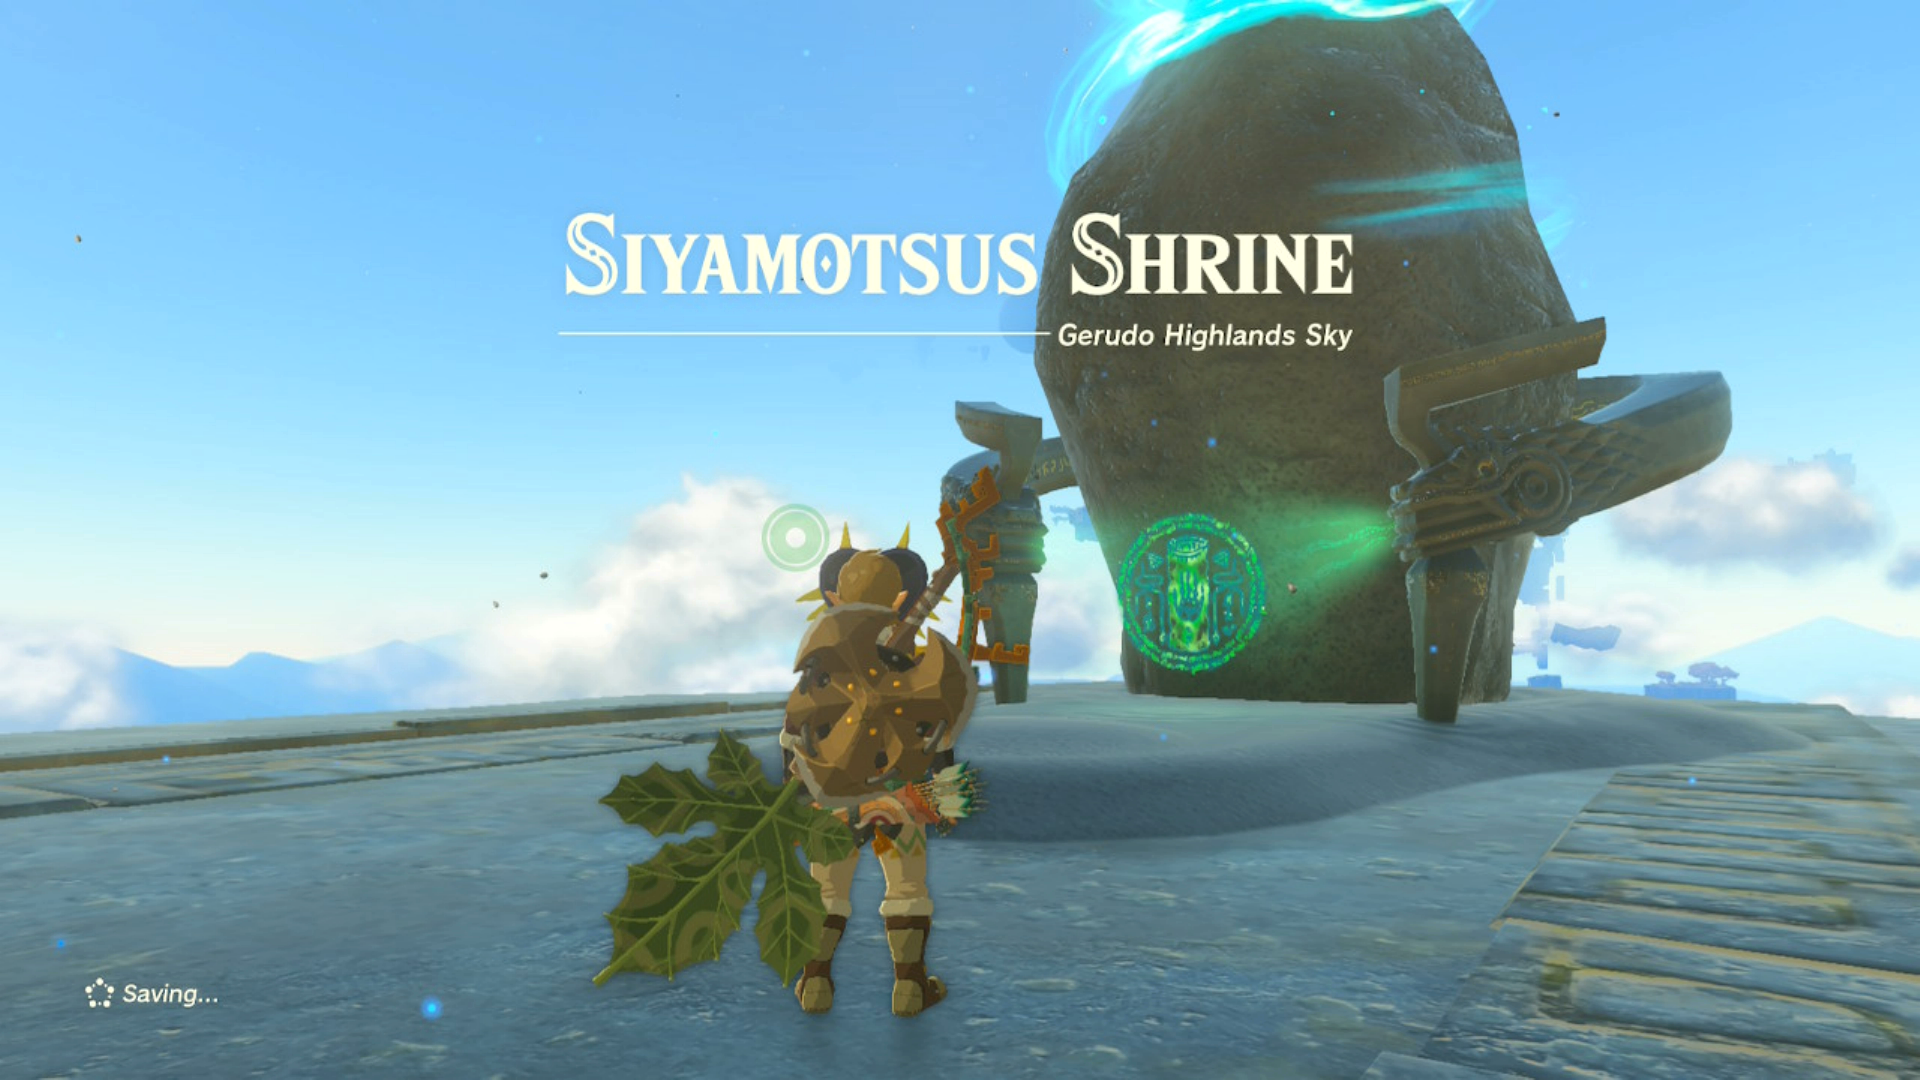
Players of The Legend of Zelda: Tears of the Kingdom are bound to stumble upon the Siyamotsus Shrine as they make their way through the "The South Lomei Prophecy" side quest. Nestled in the southern skies of Hyrule, this shrine can be accessed with minimal effort and rewards players handsomely.
Siyamotsus Shrine's location in TotK is as follows:
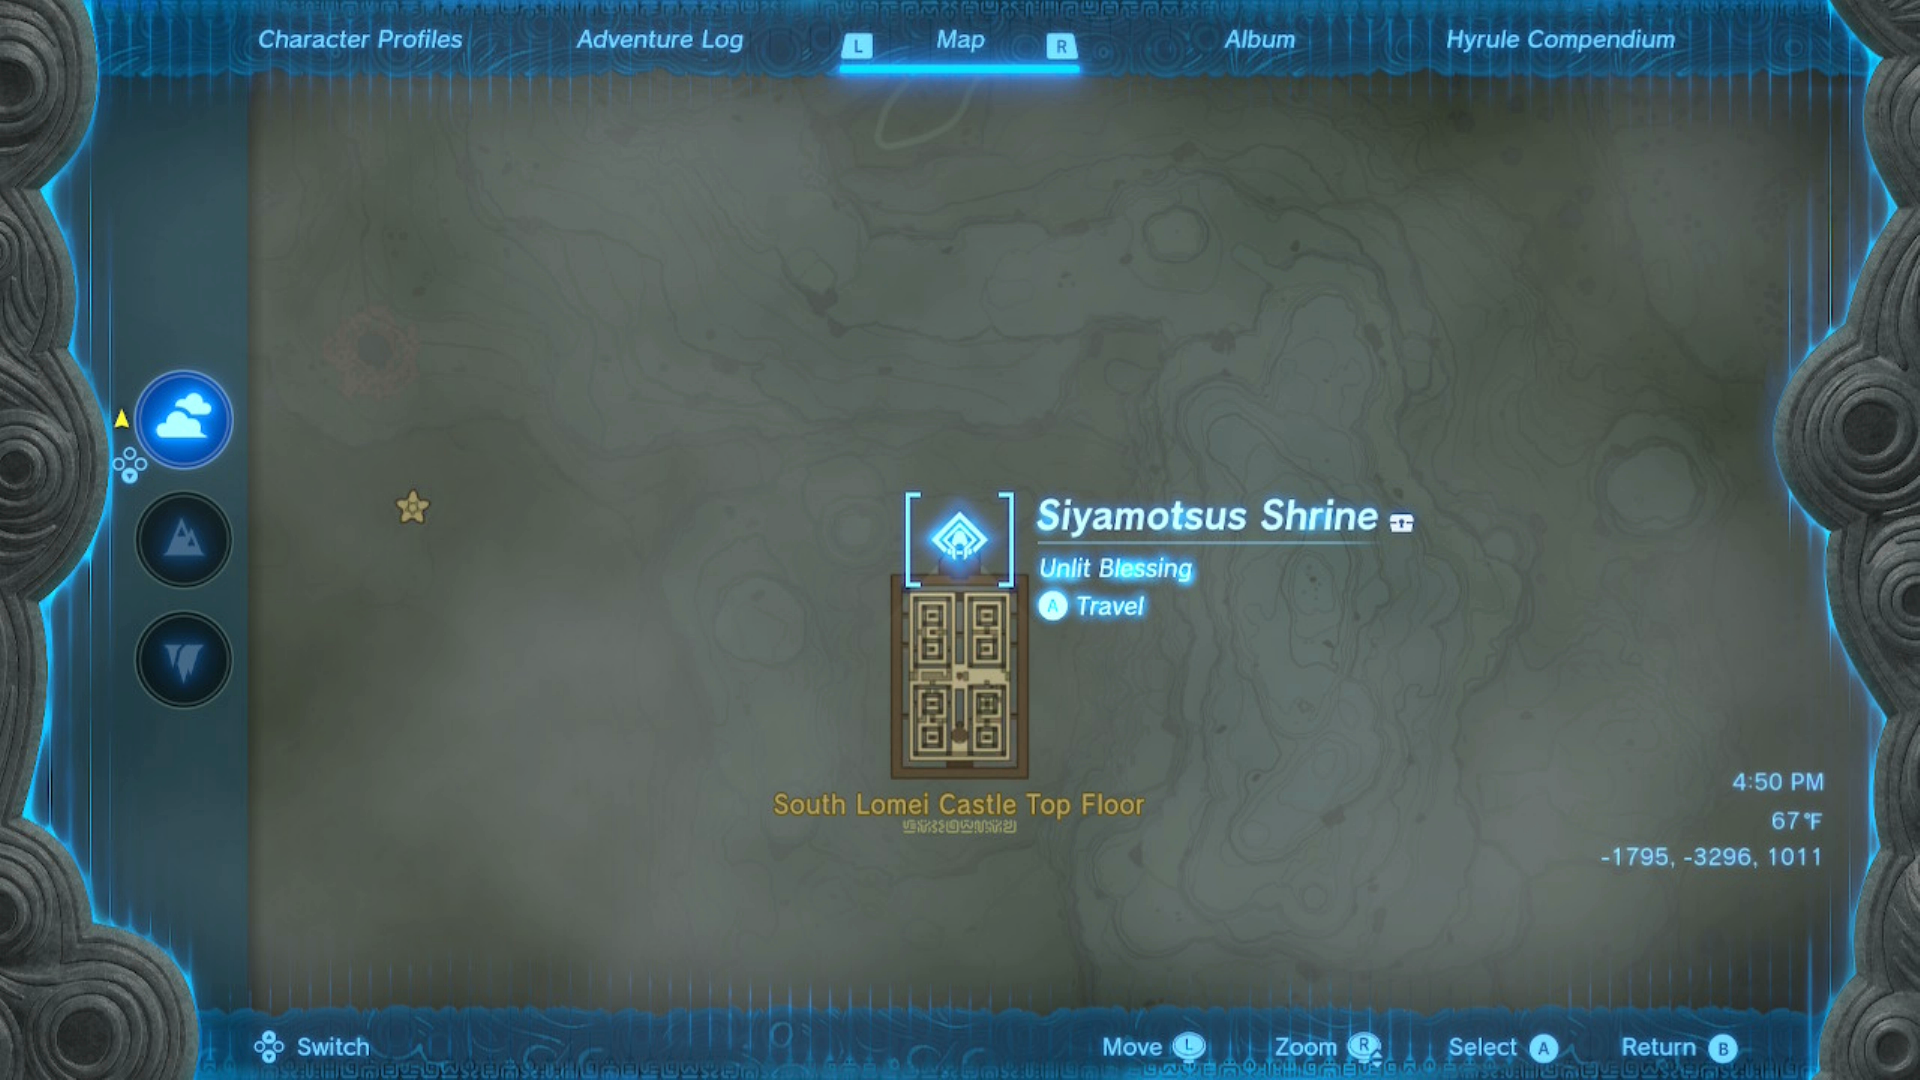
The Siyamotsus Shrine, located on the northern edge of the South Lomei Castle Top Floor, is a significant landmark in Tears of the Kingdom. This imposing labyrinth hovers in the Gerudo sky at coordinates -1795, -3296, 1011.

Close
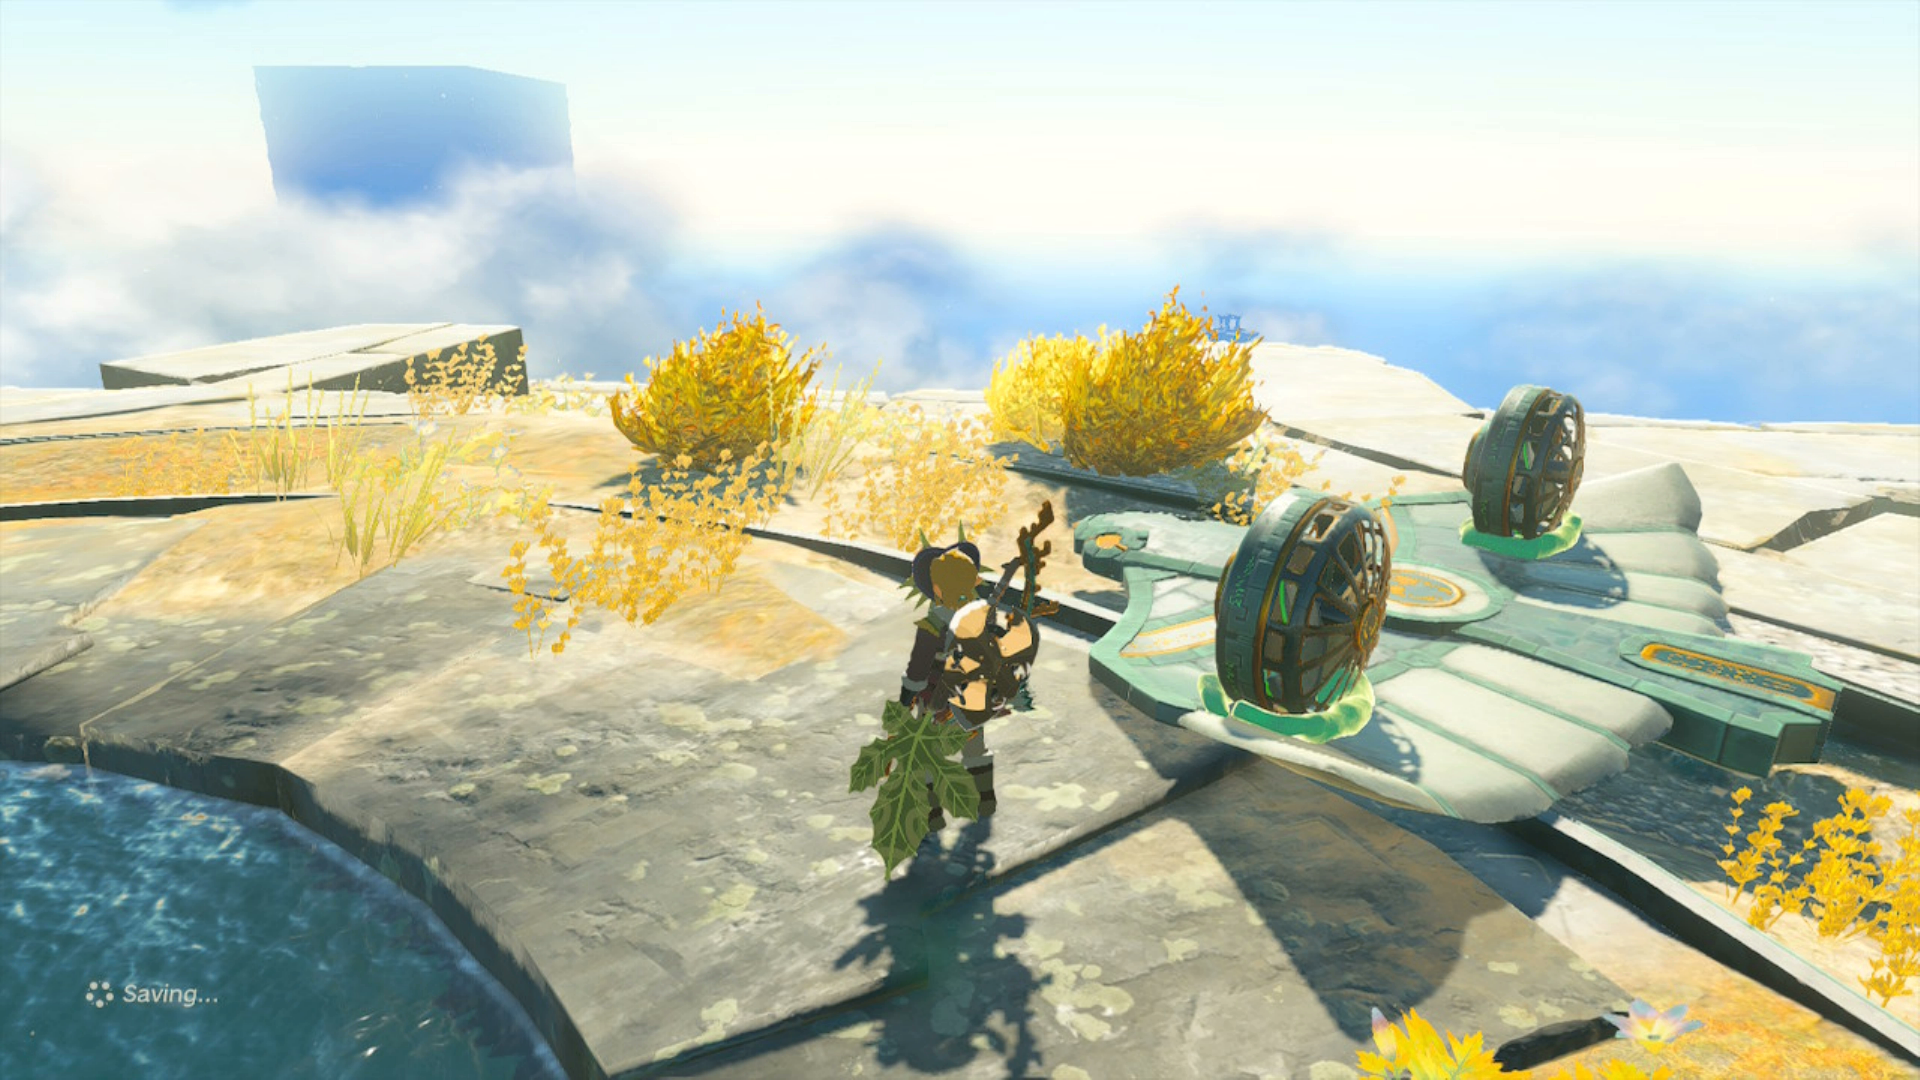
To reach the shrine, players must use the Gerudo Canyon Skyview Tower to launch Link up to the East Gerudo Sky Archipelago. Once on the sky islands, players can utilize Zonai devices found on the island or in their inventory to construct a flying machine.

It is important for players to ensure that their contraption is equipped with enough Zonai Charges to refuel on the journey to the labyrinth, especially if they possess only a limited number of Energy Cells.
To reach the South Lomei Castle Top Floor, players should head directly south of the island and aim to land on the small platform protruding from the larger labyrinth structure. This area can be accessed during the Siyamotsu's Shrine walkthrough.
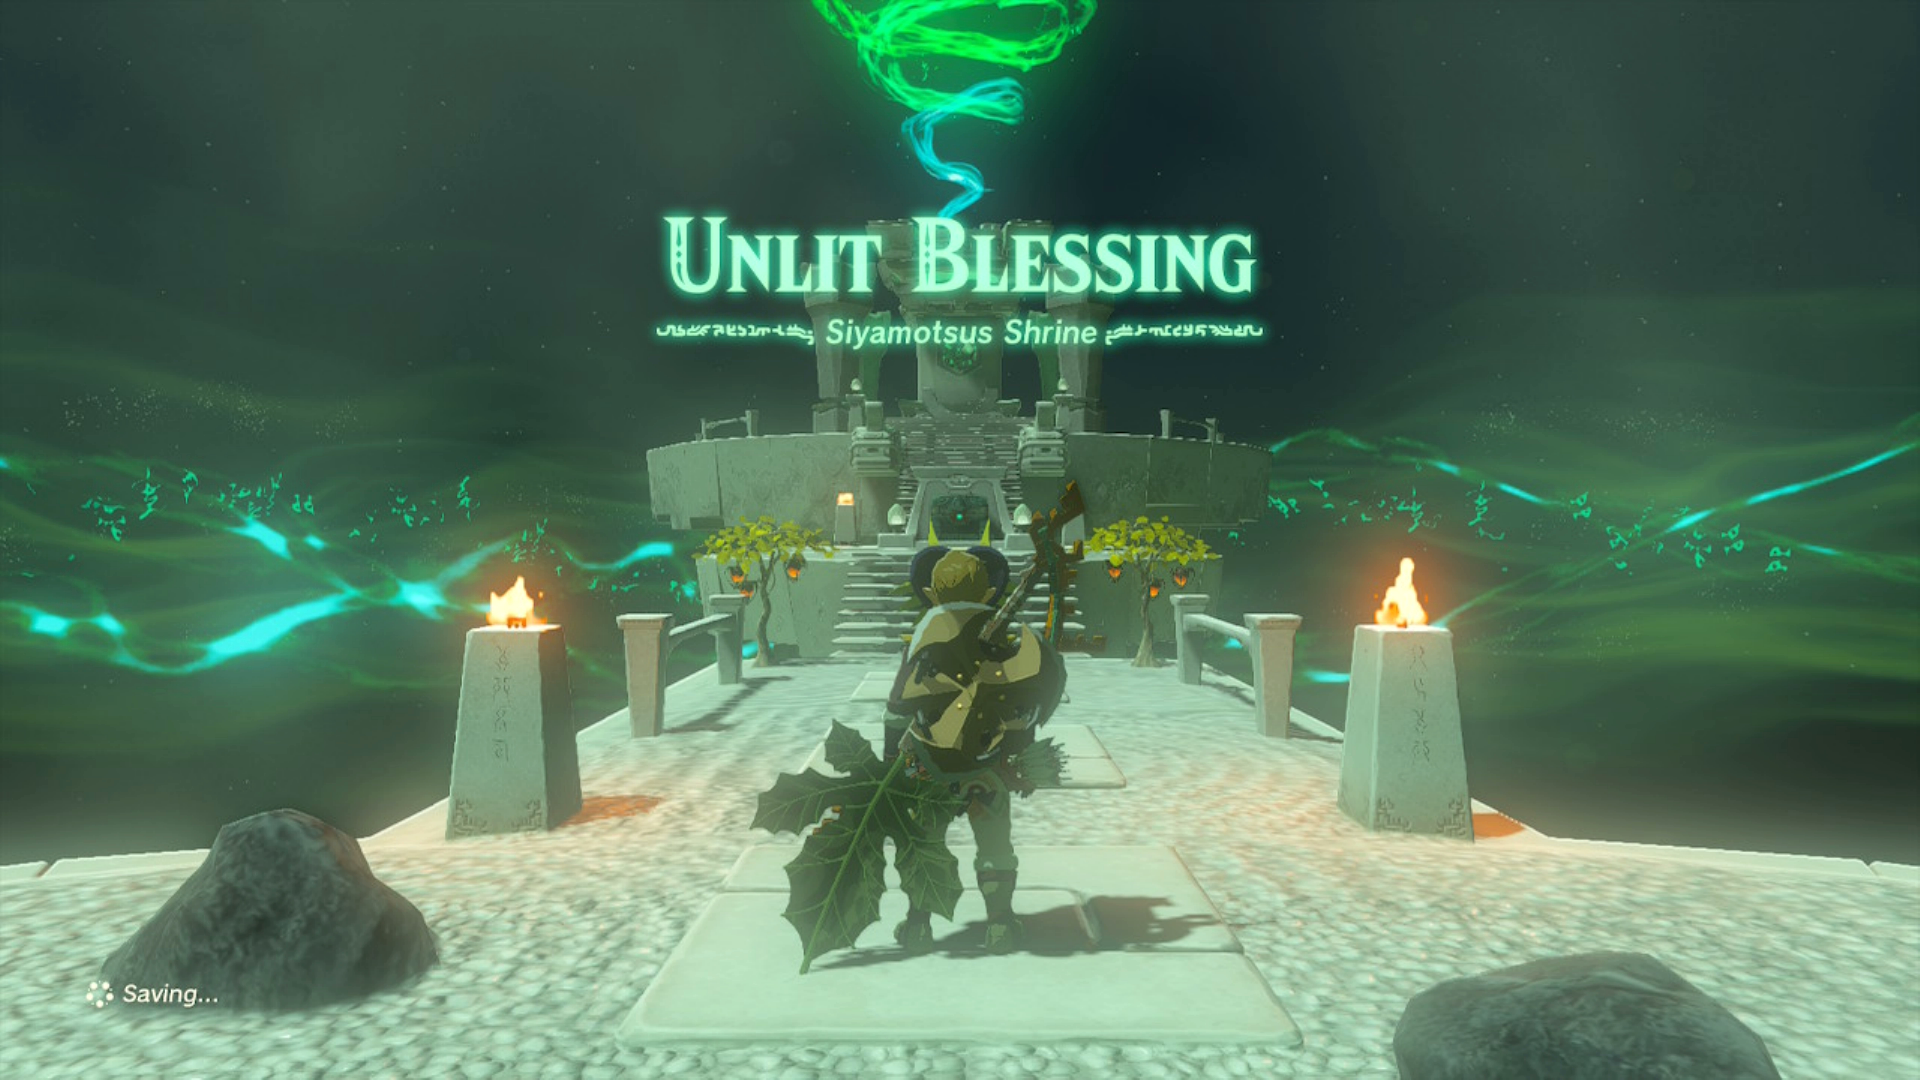
When players enter the Siyamotsus Shrine, it will appear to be a chamber similar to "Rauru's Blessing". However, this shrine has a small catch.
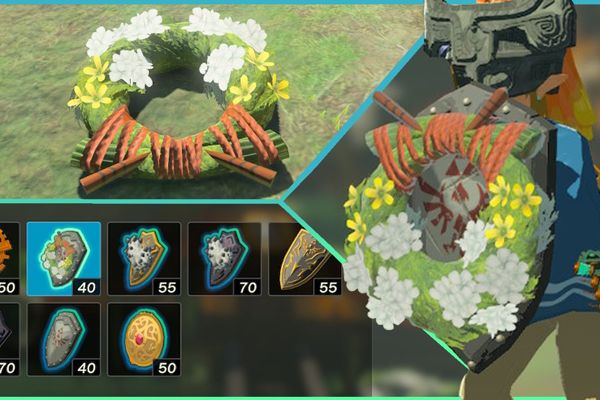
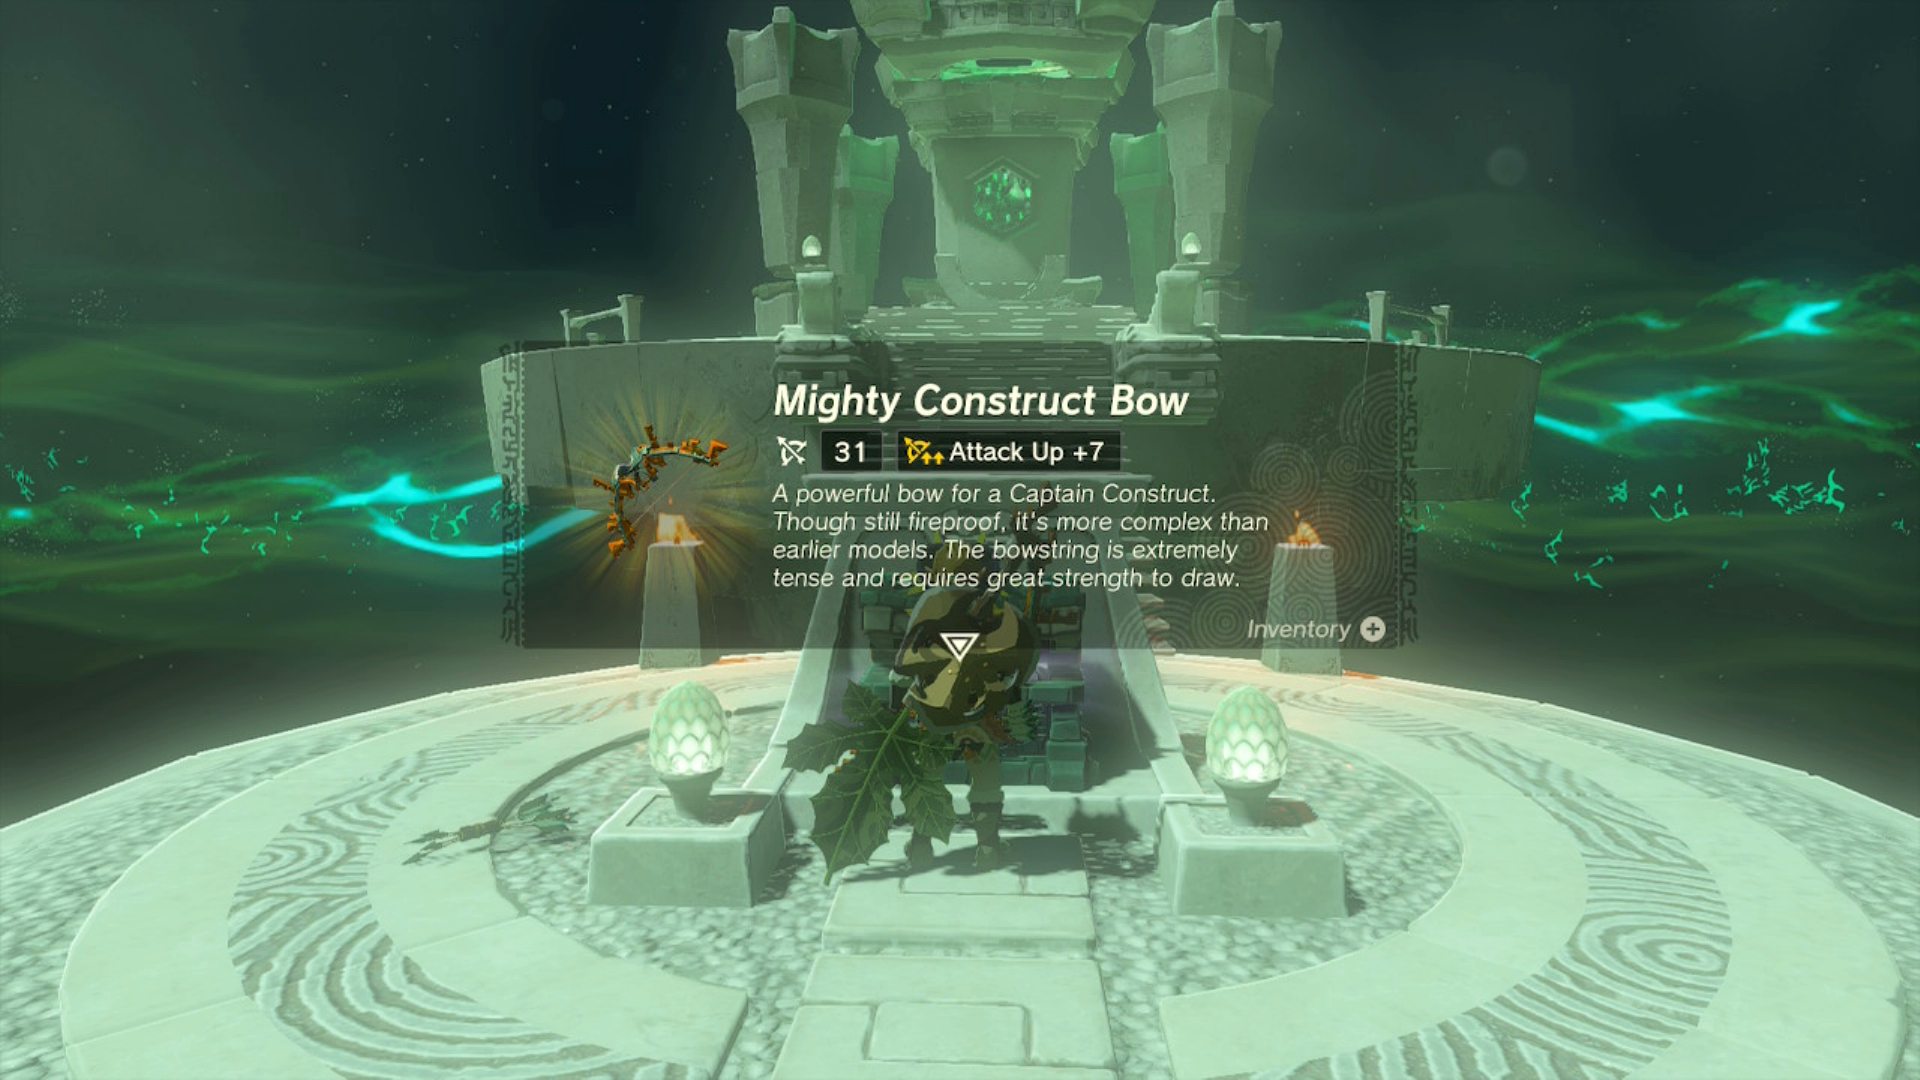
Instead of trying to reach the statue, players should grab the Mighty Construct Bow from the chest, pick up the arrows on the ground, and gather some Fire Fruit from the nearby bushes. The shrine's structure will shift as they approach, making it impossible to reach the destination.
At the forefront of the shrine, players will come across two unlit braziers - one situated at the top left and the other at the bottom right. It is crucial for both of these braziers to be lit up in order to successfully finish the shrine.
Players have the option to utilize the items provided to craft fire arrows and ignite the braziers independently. Another approach is to light their arrows on fire by drawing their bow and using the nearby braziers.
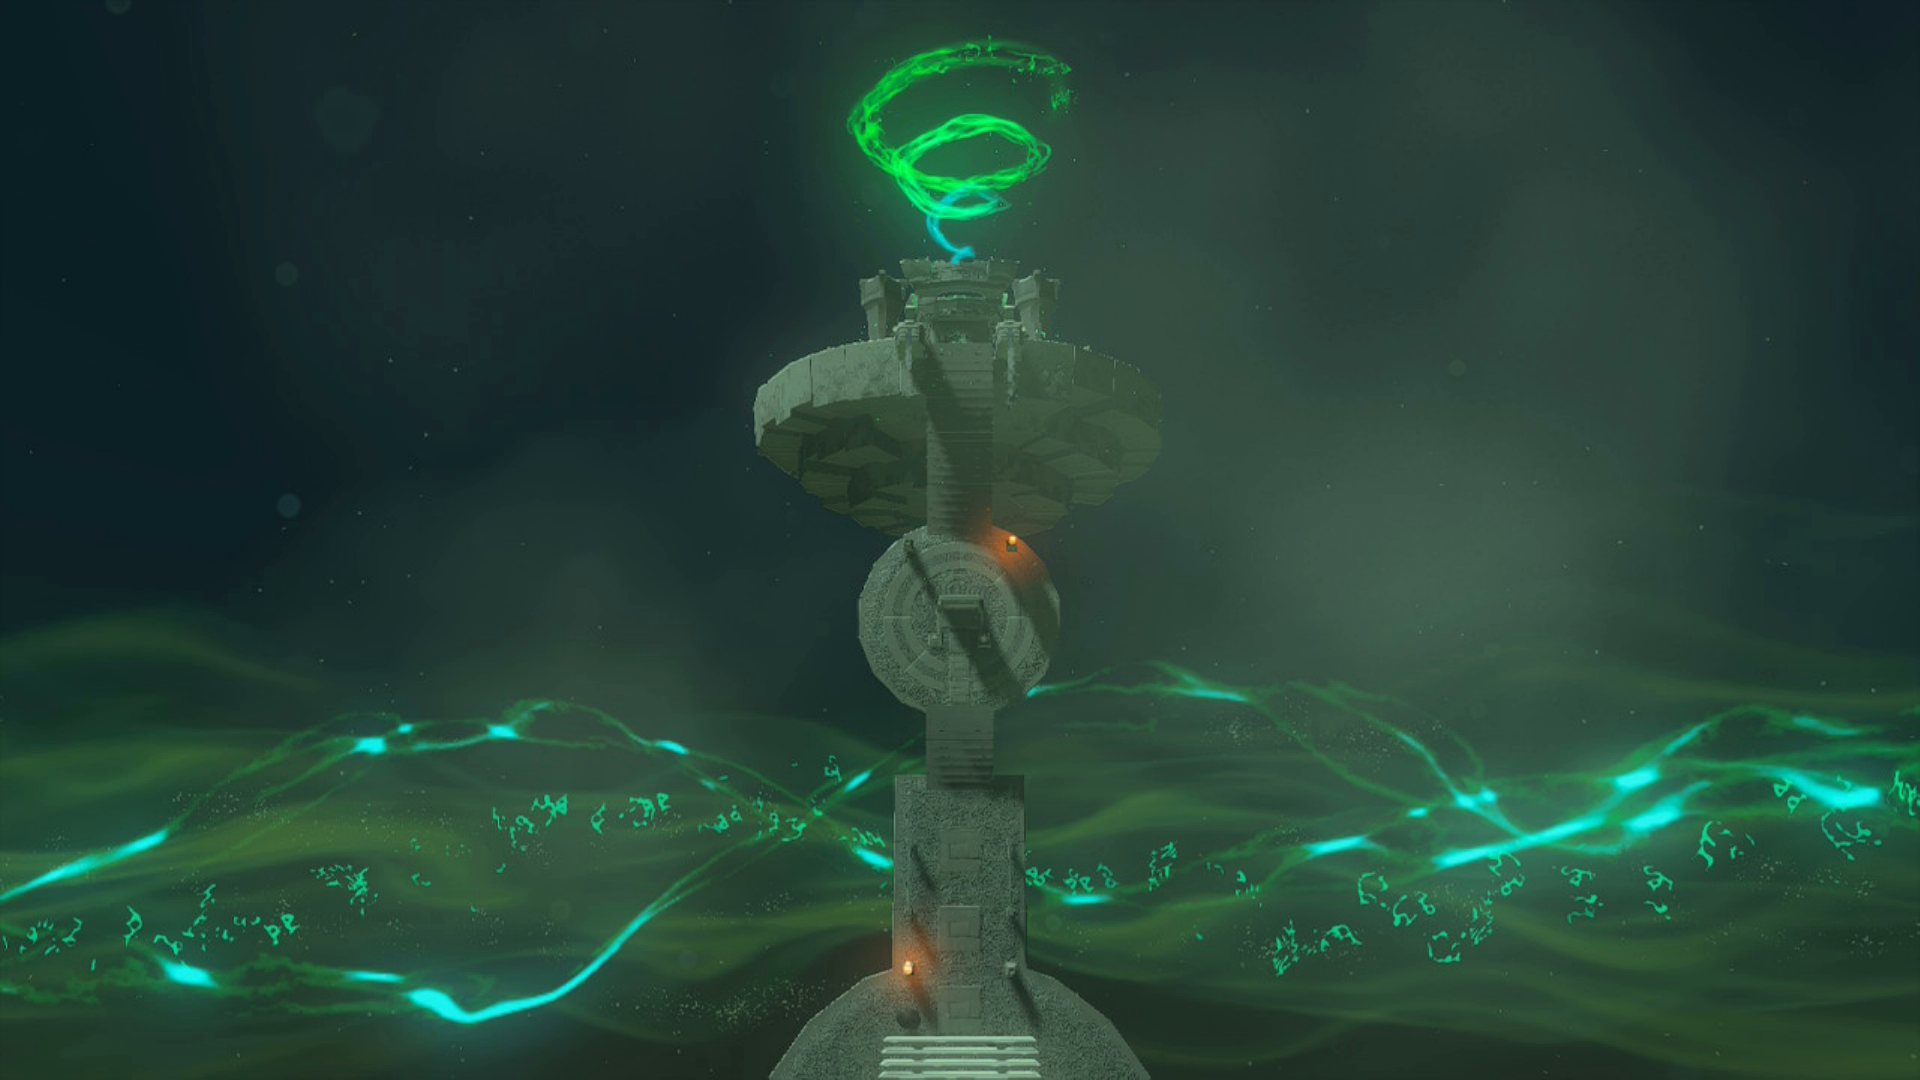
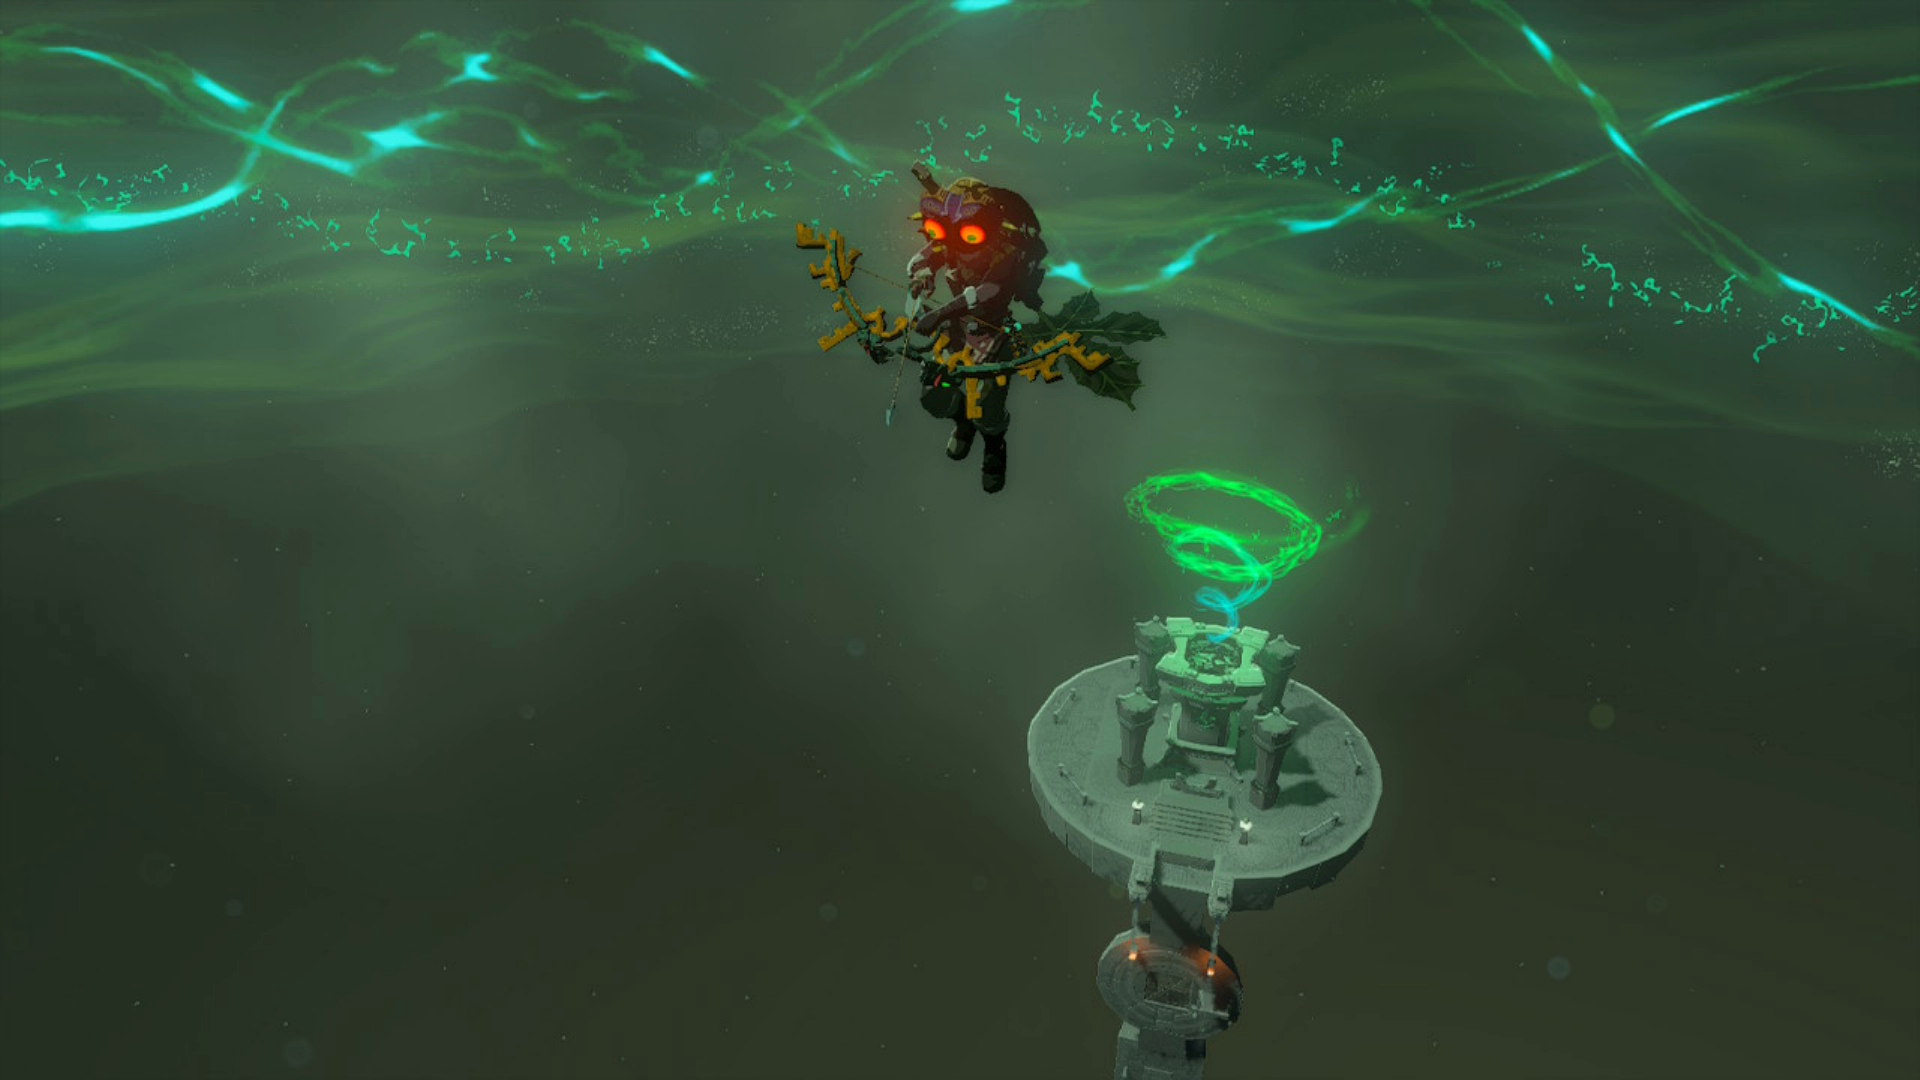
Players can aim for the unlit braziers before the shrine shifts if they prefer a closer target. It's important to note that the shrine won't shift until players start climbing the last set of stairs. Once all the braziers are extinguished, a launcher will be revealed underneath the chest platform. This launcher can propel players to a height that's sufficient to reach the statue and obtain the coveted Light of Blessing.
The Legend of Zelda: Tears of the Kingdom is available for the Nintendo Switch.