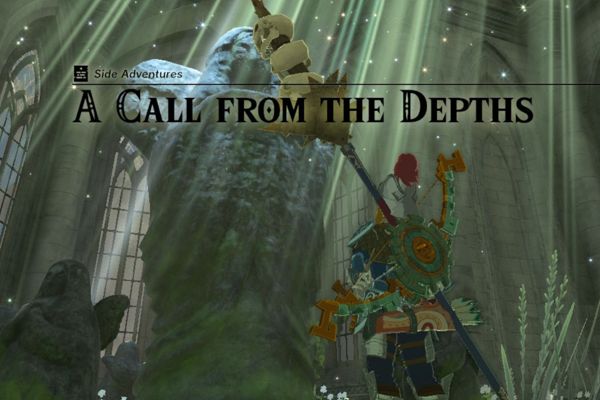
Uncover the Secrets of Zelda's Depths: A Call Walkthrough
Unlock hidden treasures and gain rewards! Our guide helps players complete The Legend of Zelda: Tears of the Kingdom's A Call from the Depths side adventure Follow our detailed walkthrough to deliver four stone eyes and earn a Heart Container or Stamina Vessel
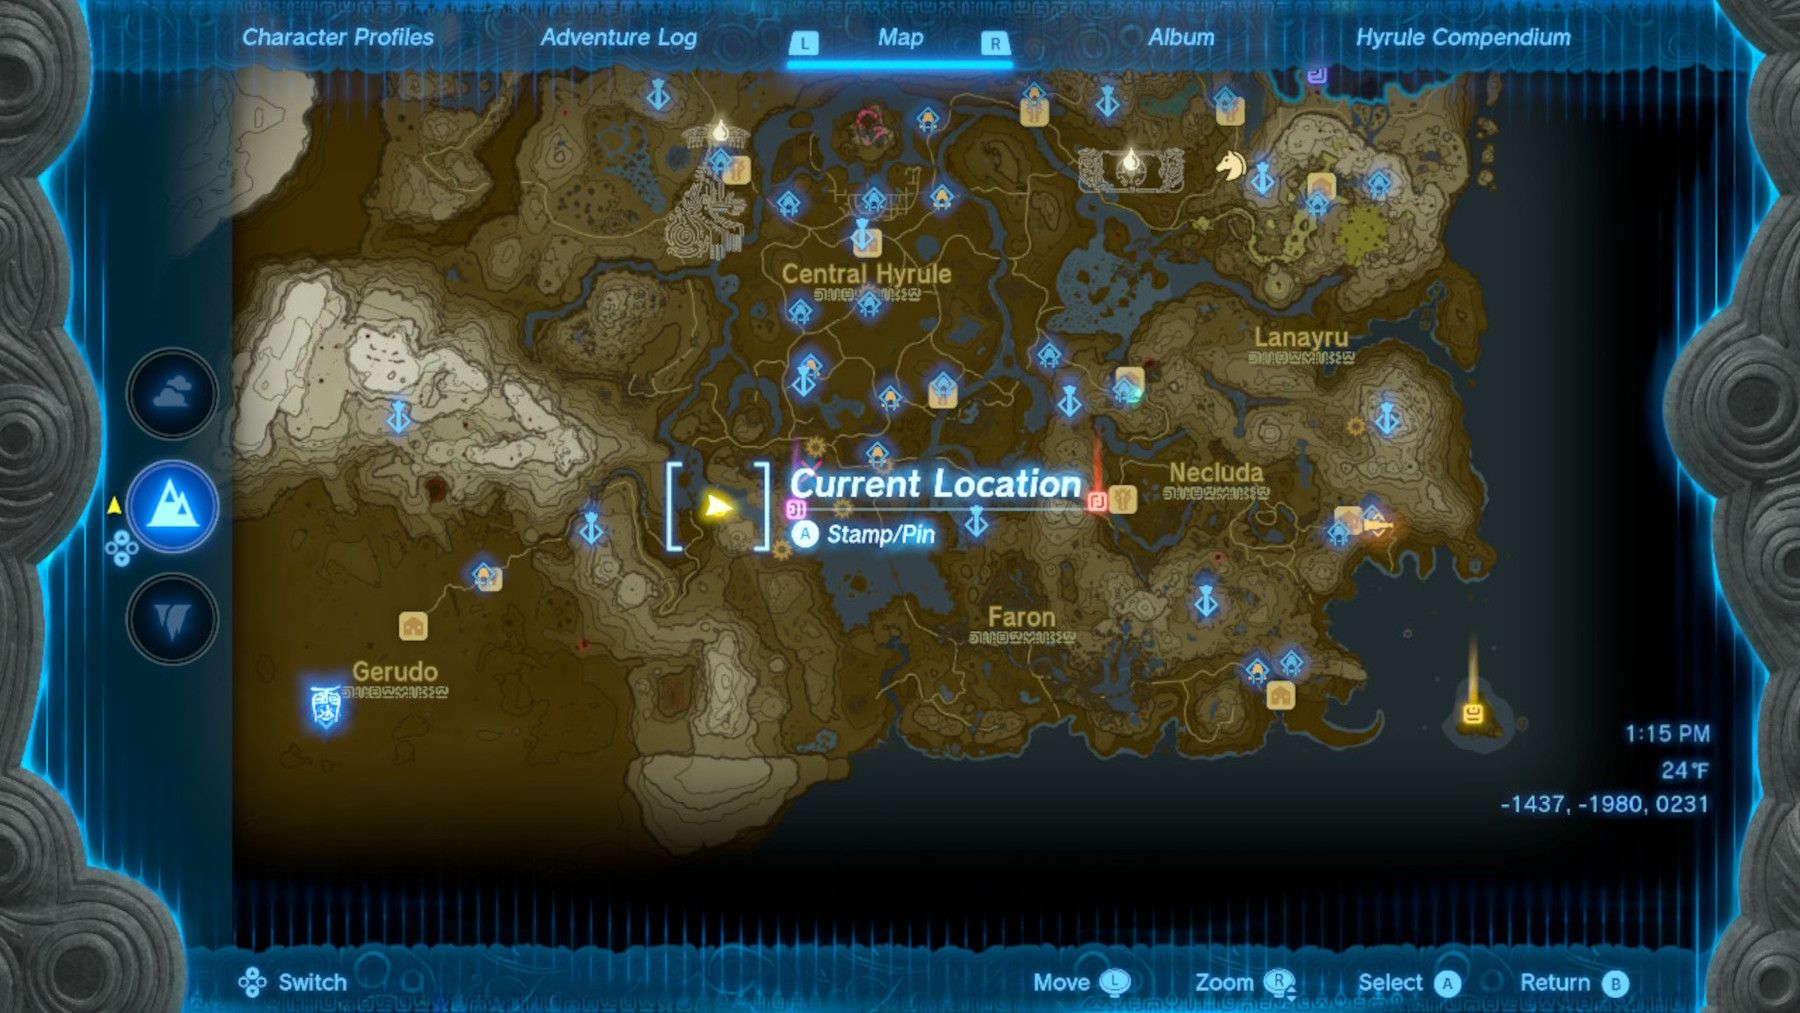
To initiate A Call from the Depths in The Legend of Zelda: Tears of the Kingdom, players must speak with the Goddess Statue at the Temple of Time Ruins after draining the water at coordinates -0561, -1506, 0018. This side adventure involves delivering four stone eyes to a statue in the Depths, and completing it will reward players with a Heart Container or Stamina Vessel. For a full walkthrough, refer to the guide below.
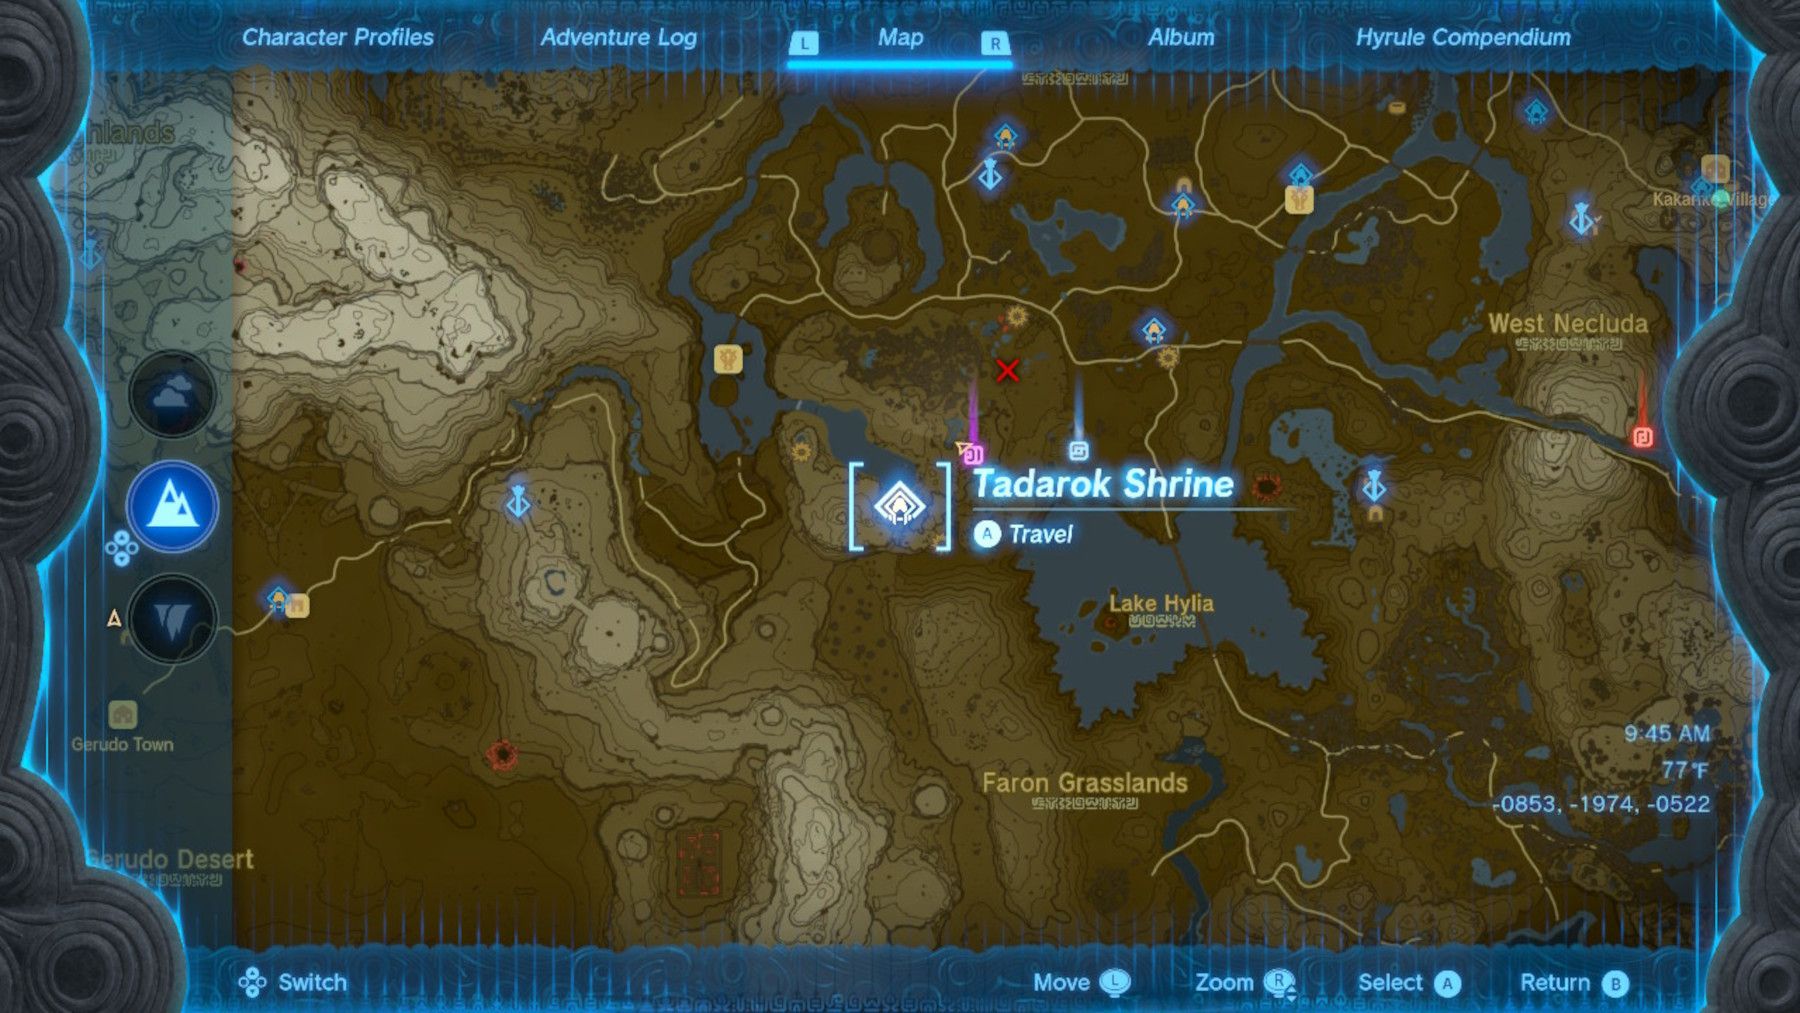
Before embarking on the quest, players may want to activate the Tadarok Shrine at coordinates -1082, -2187, 0129. This can be reached by entering the cave behind the waterfall on the south side of the River of the Dead, and using Ascend to quickly exit. While not mandatory, activating the shrine as a fast travel point can significantly reduce the tedium of the quest.
It's important to note that if a player loses track of a stone eye, they should check the location where they initially found it. The eyes will respawn near their original positions on the surface of the Depths, even if misplaced.
The Legend of Zelda: Tears of the Kingdom - A Call from the Depths Walkthrough
Statue Location
3 Images
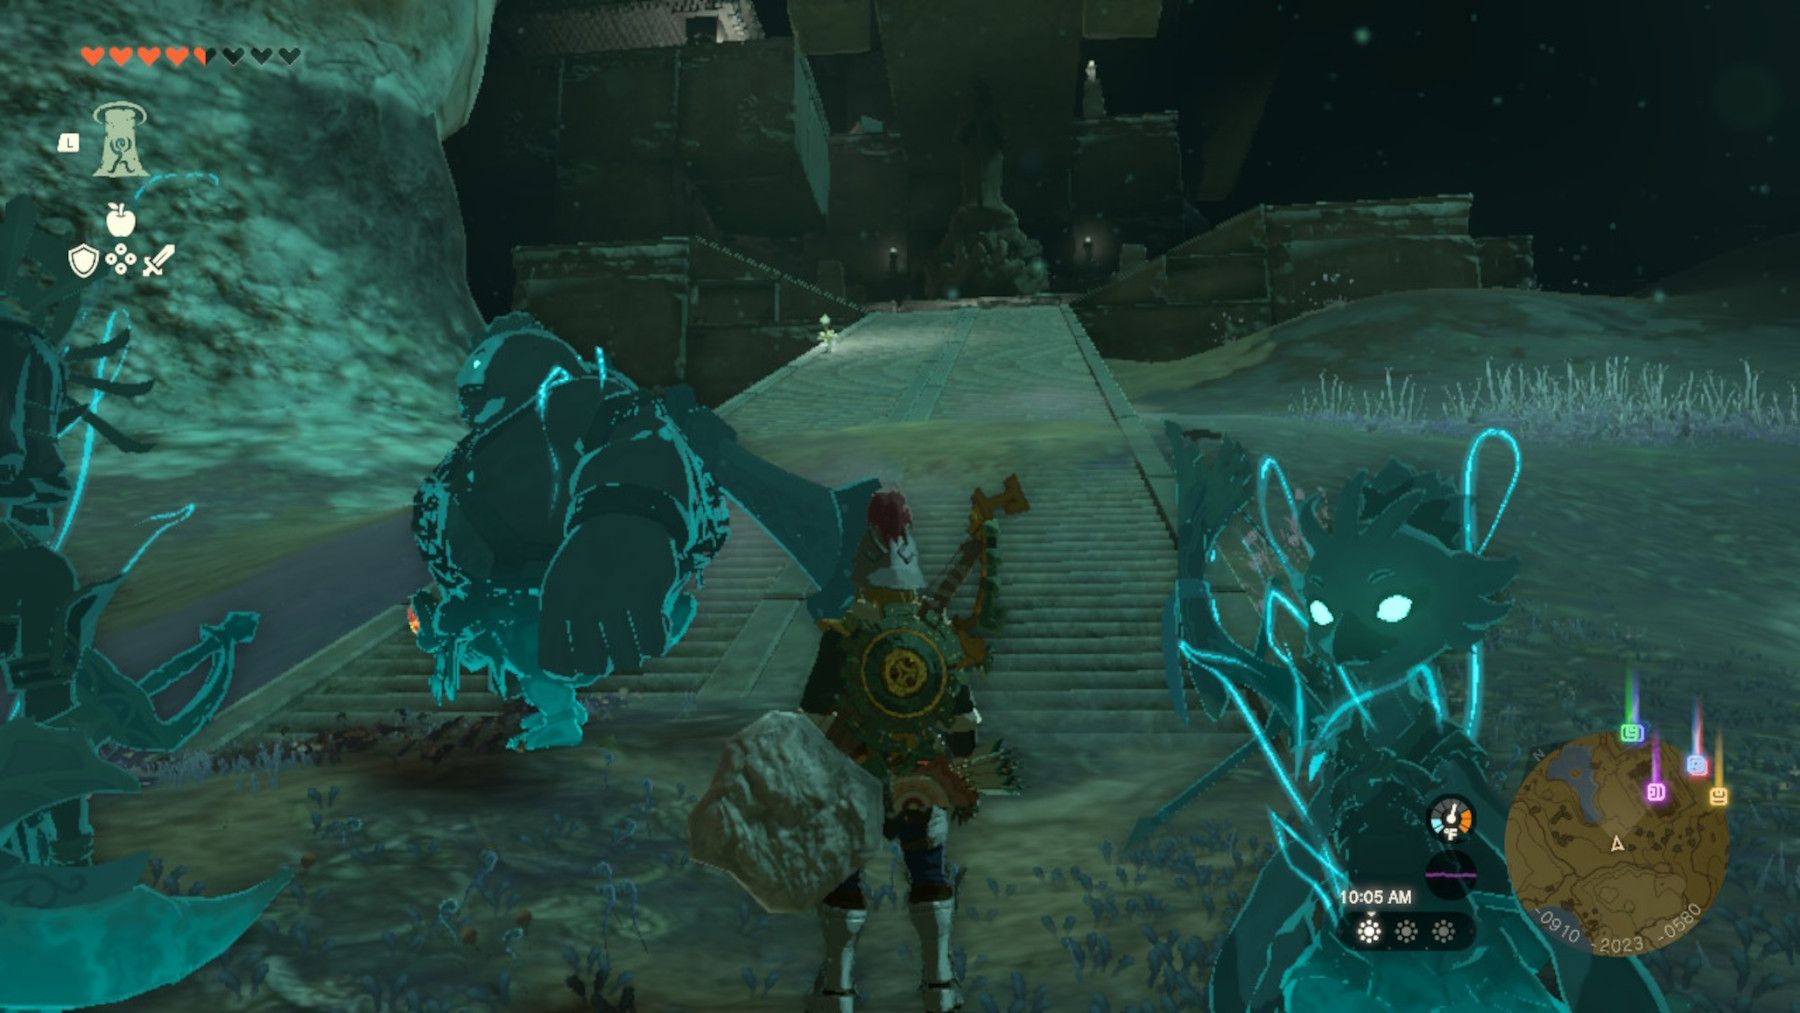
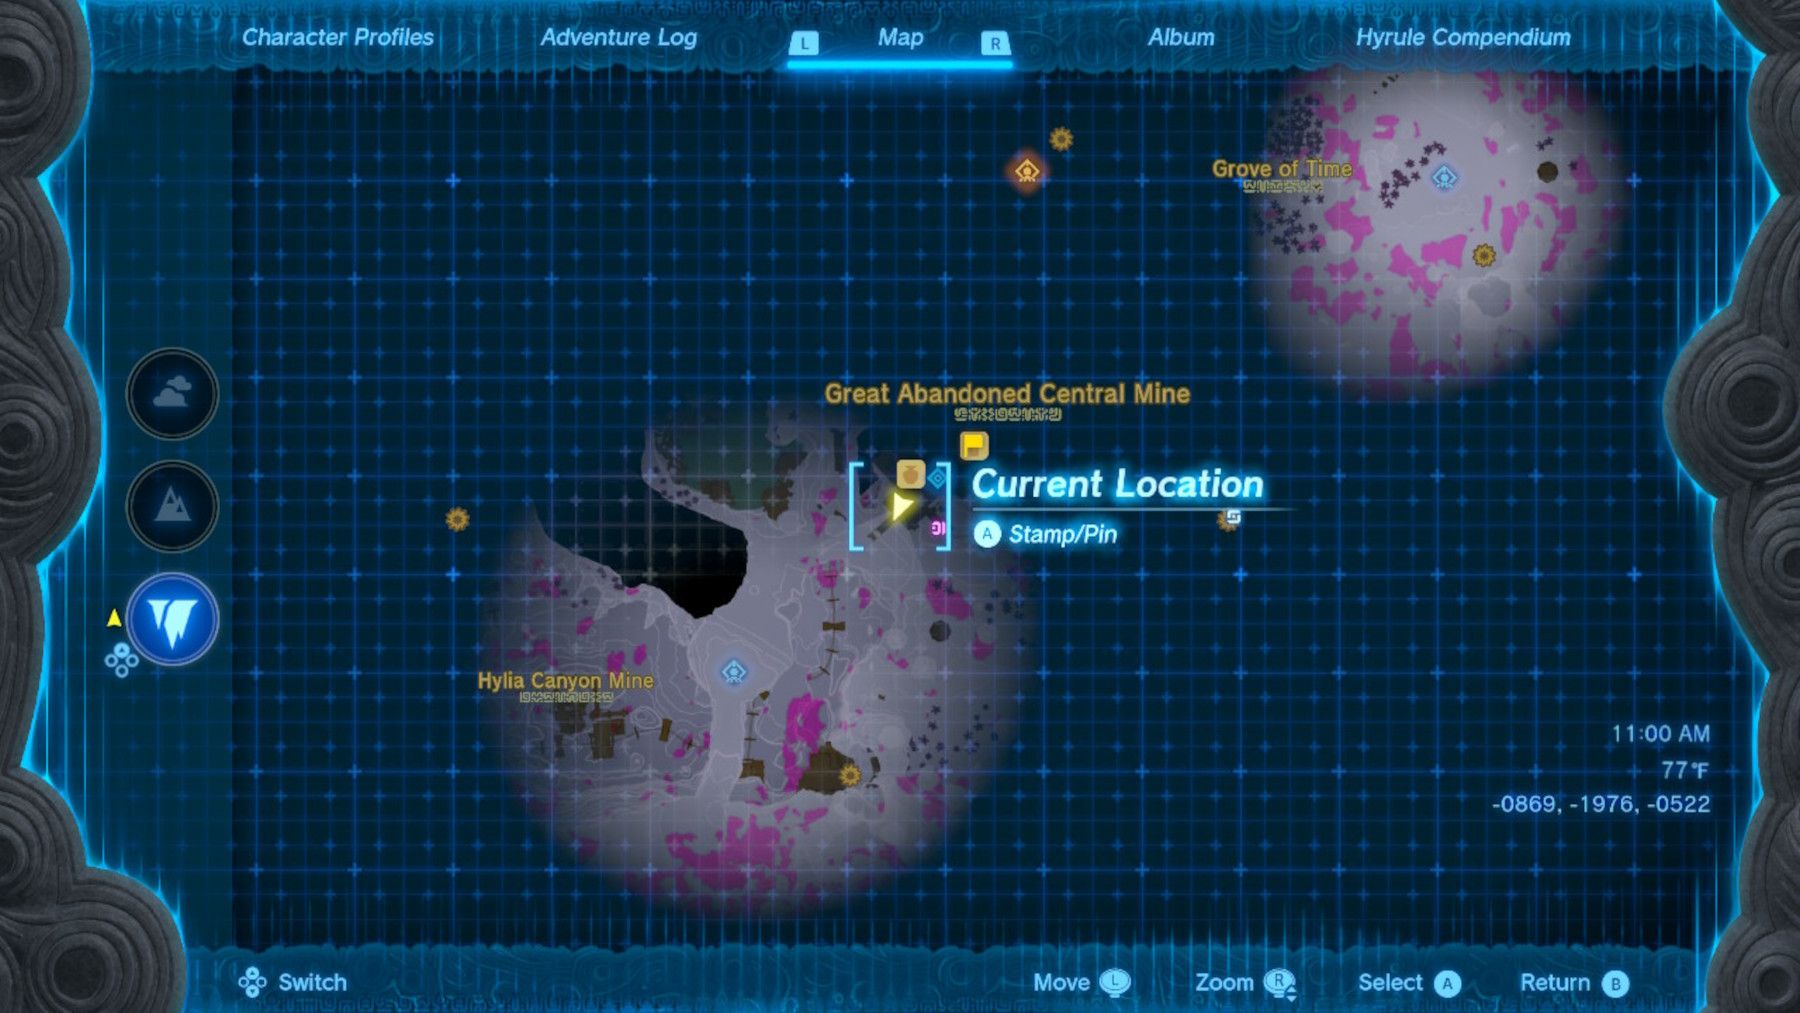
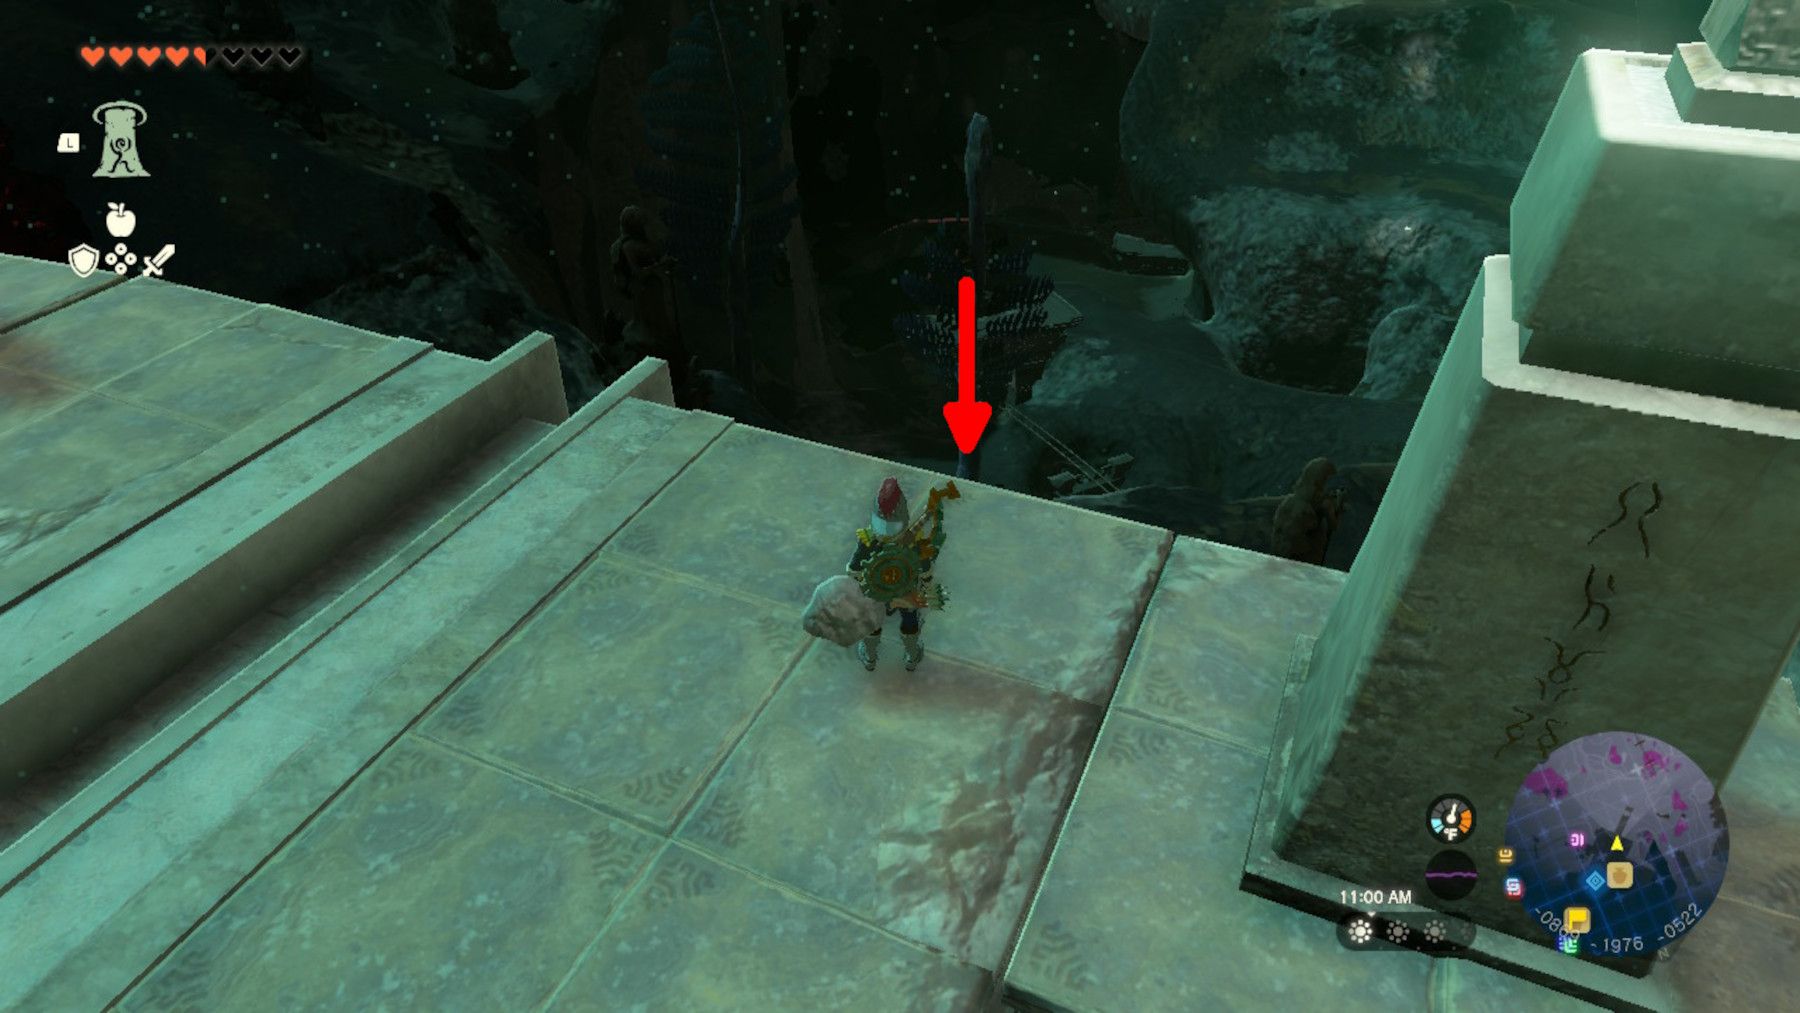
To locate the Call from the Depths statue, players should head to the Depths' Great Abandoned Central Mine at coordinates -0775, -1899, -0564. To reach this spot, players are advised to target the stairs found at coordinates -0909, -2018, -0579, as they provide direct access to the statue. However, for Eye #4, a different approach is required, which will be explained in detail later on.
Eye #1
2 Images

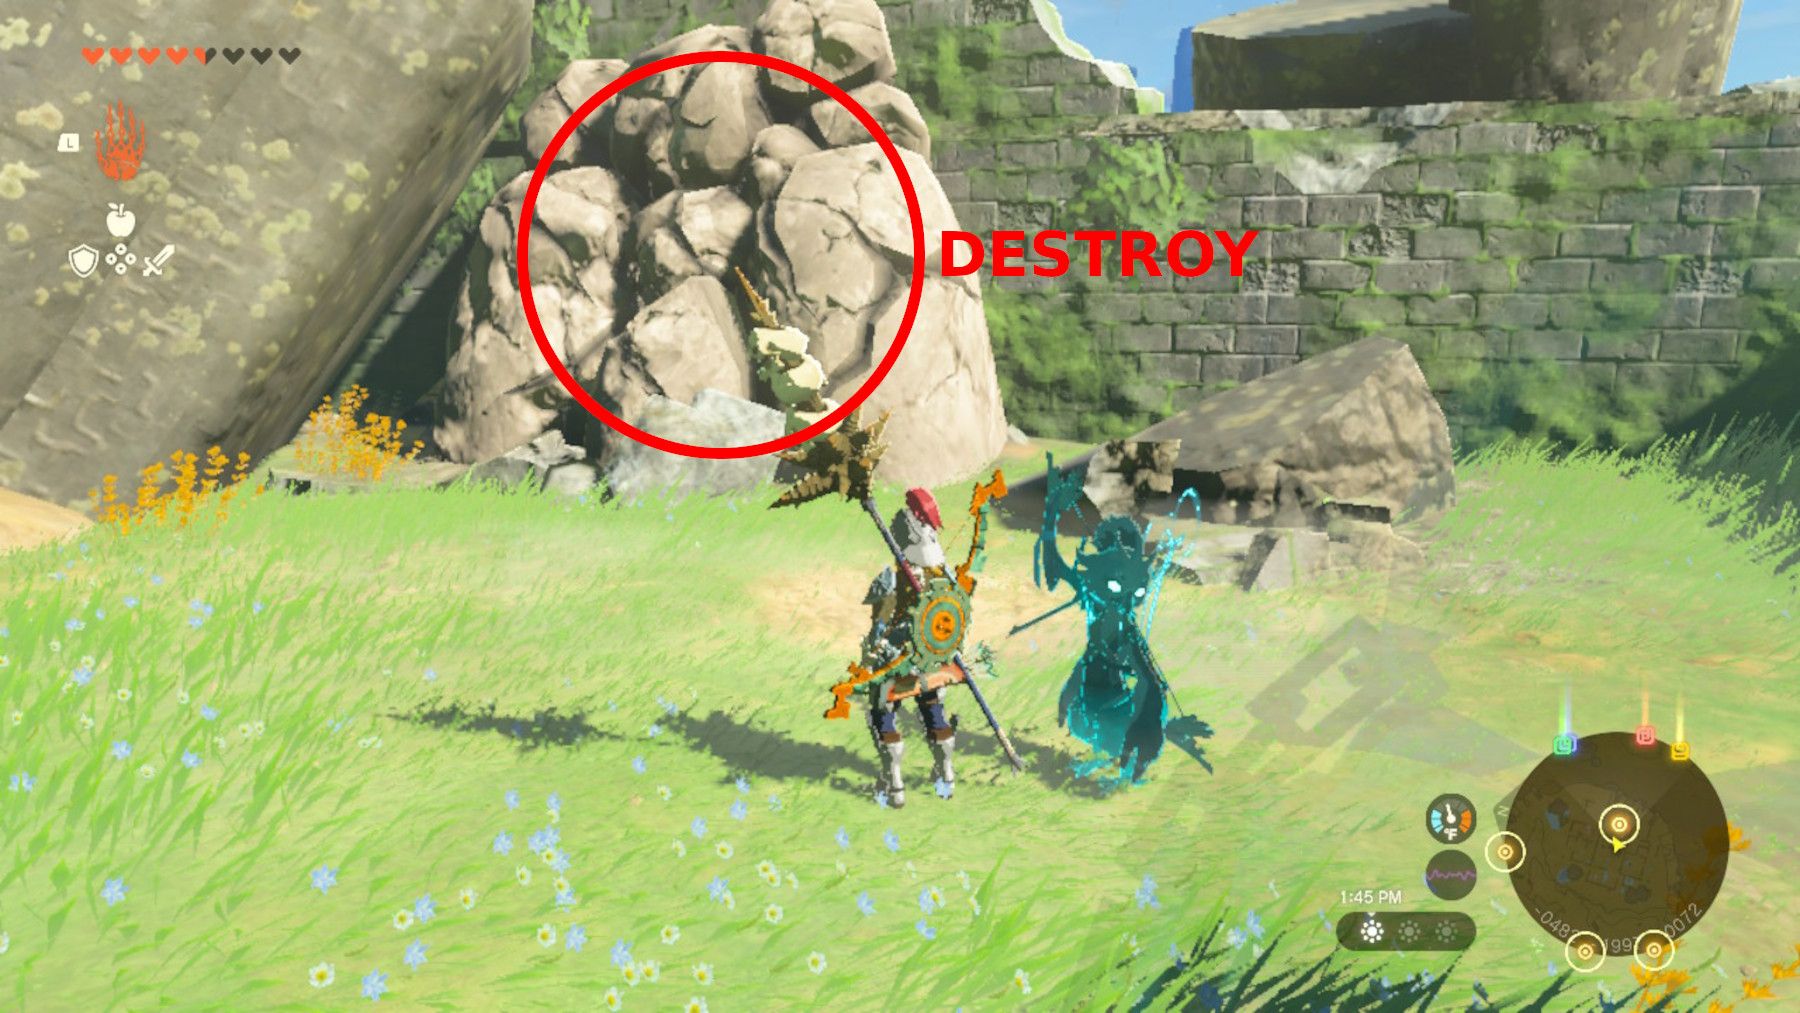
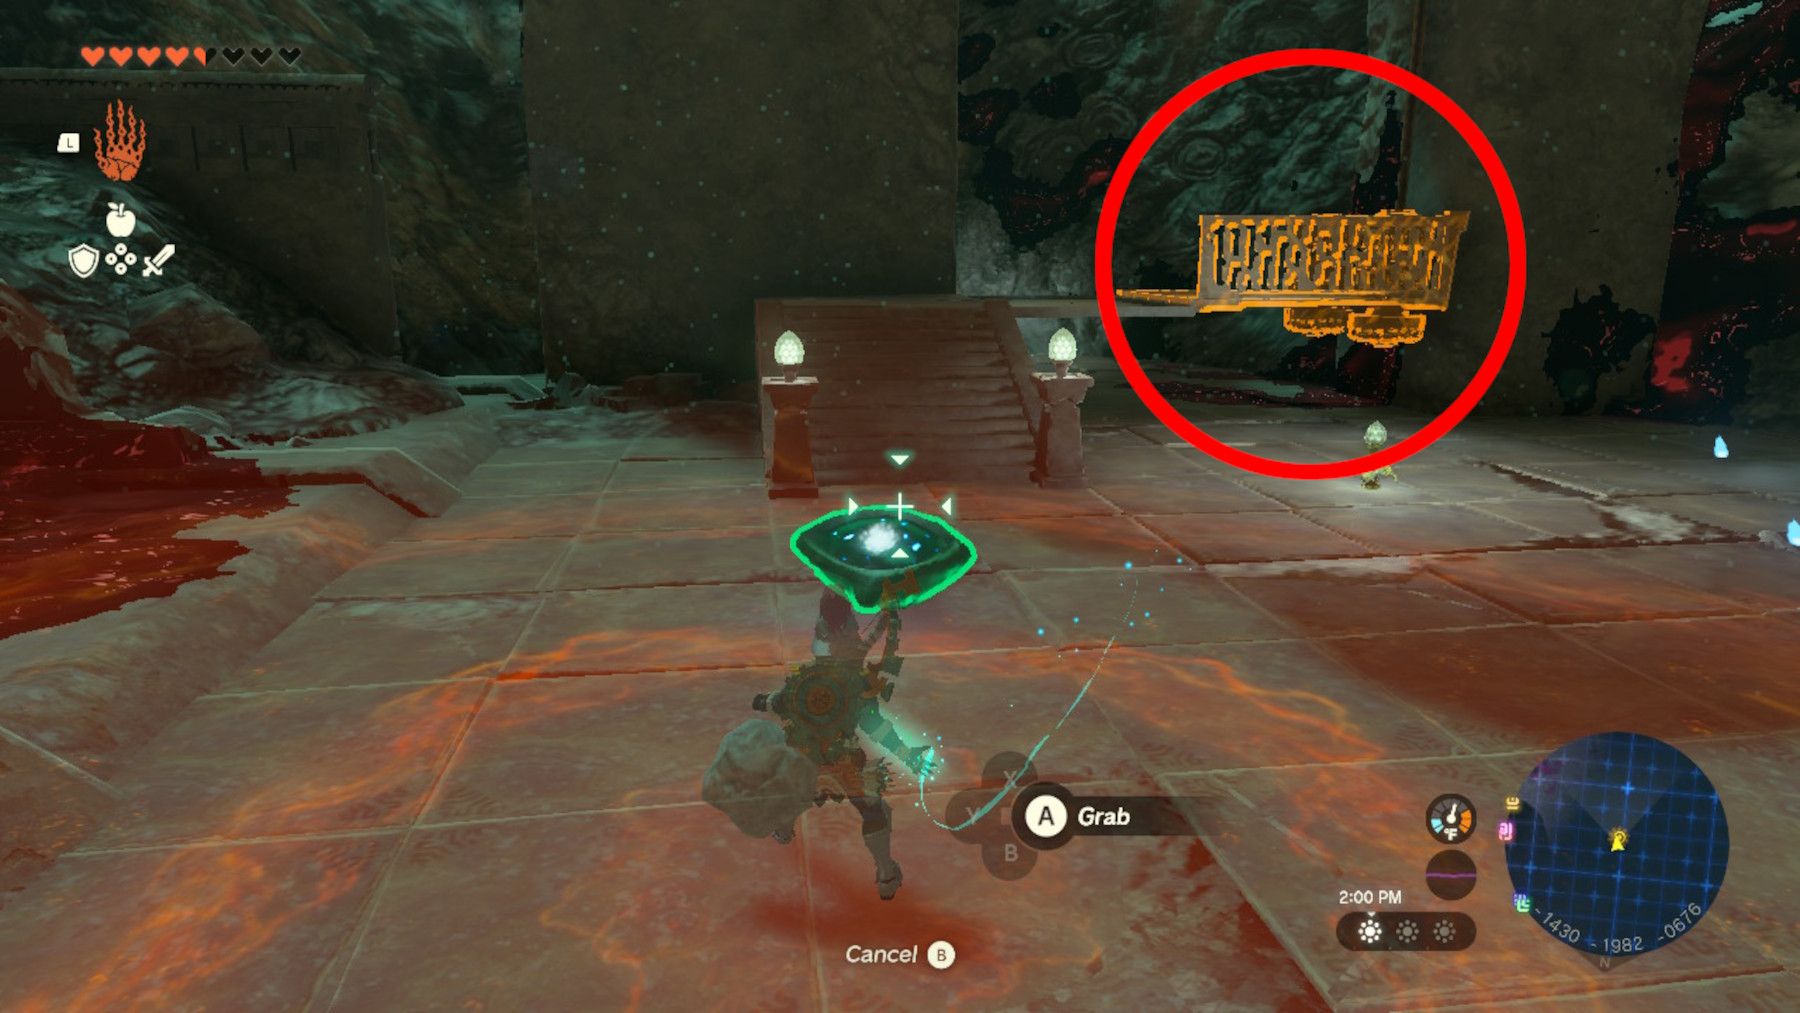
The Eastern Abbey hides a mysterious secret in the form of the first eye located at coordinates -0472, -1993, 0772. Its discovery requires players to demolish the pile of cracked rocks using either a TotK Bomb Flower or a suitable melee weapon. Once the eye is in sight, players can use Ultrahand to drop it into the nearby Great Plateau East Chasm and follow its lead. Keep an eye out for any obstacles that may obstruct the path to the eye's final destination.
After touching down, head southwest to the coordinates -0498, -2026, -0522. There, you'll come across a track and with the help of TotK's Ultrahand ability, assemble a cart powered by fans atop it. Use this cart to ferry the eye to the stairs mentioned earlier. Once you've climbed up to the statue, rotate the object until it fits snugly into its designated slot.
2 Images
Close
.
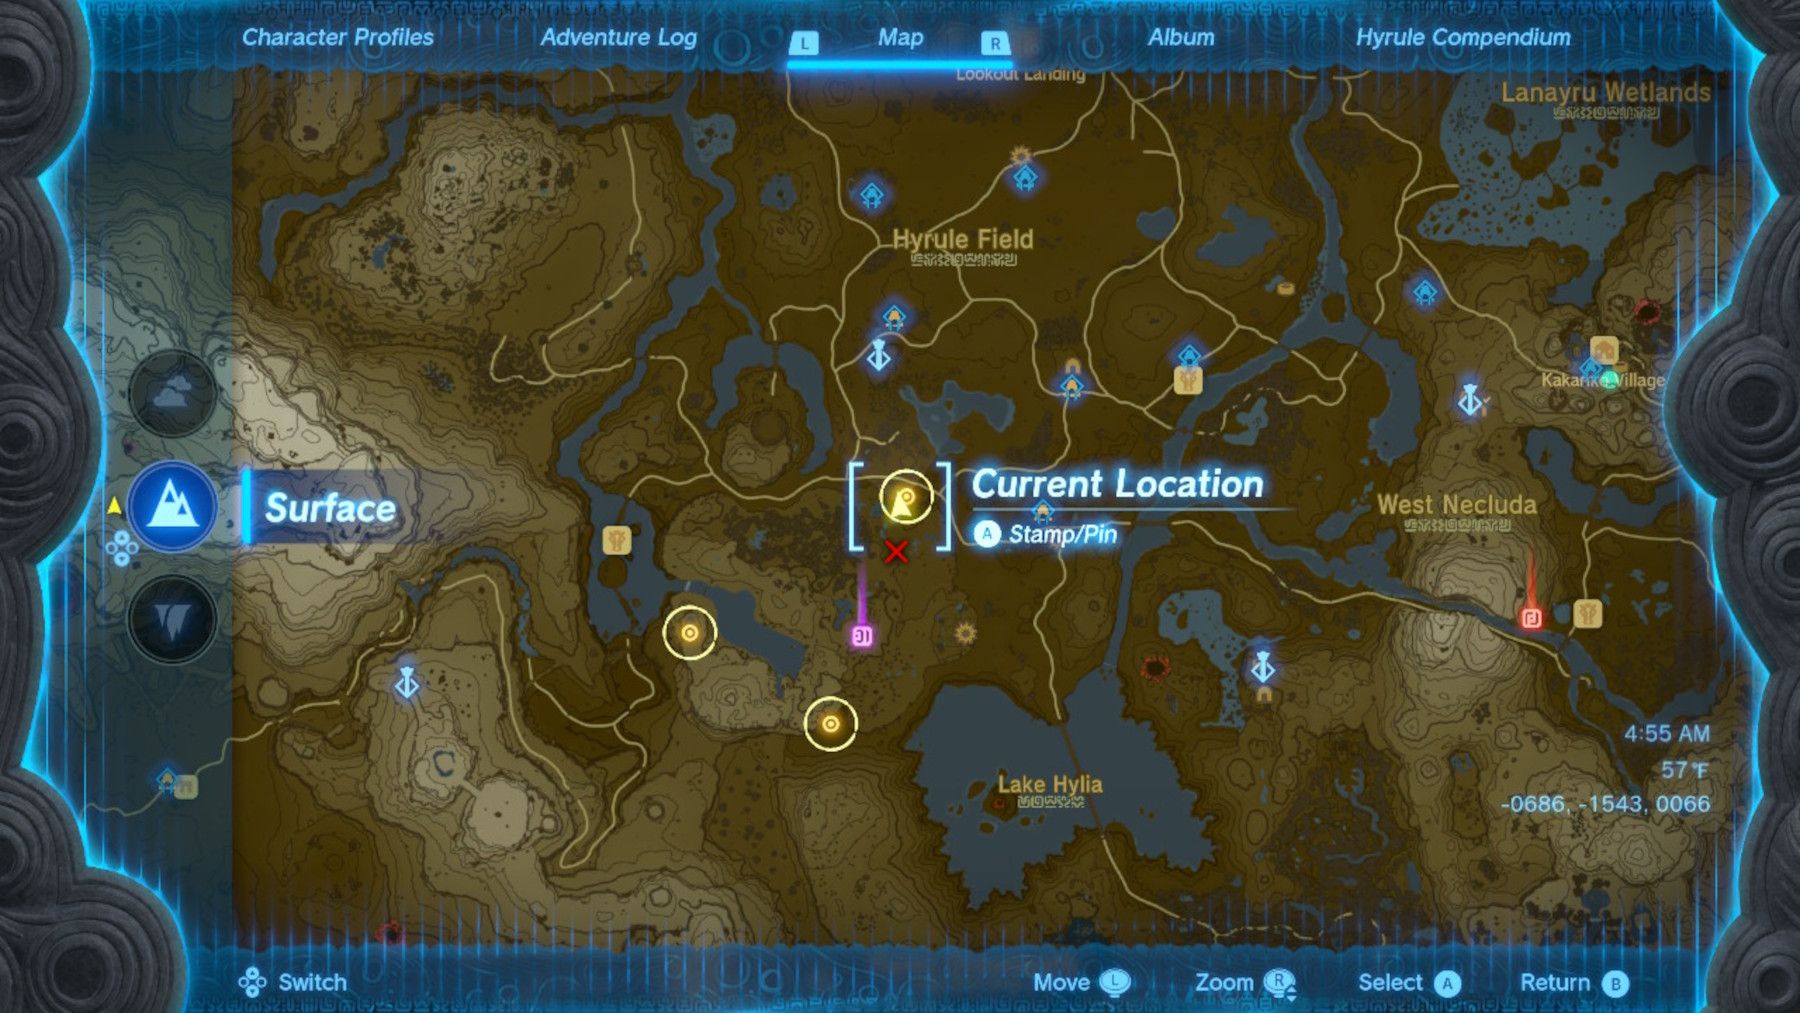
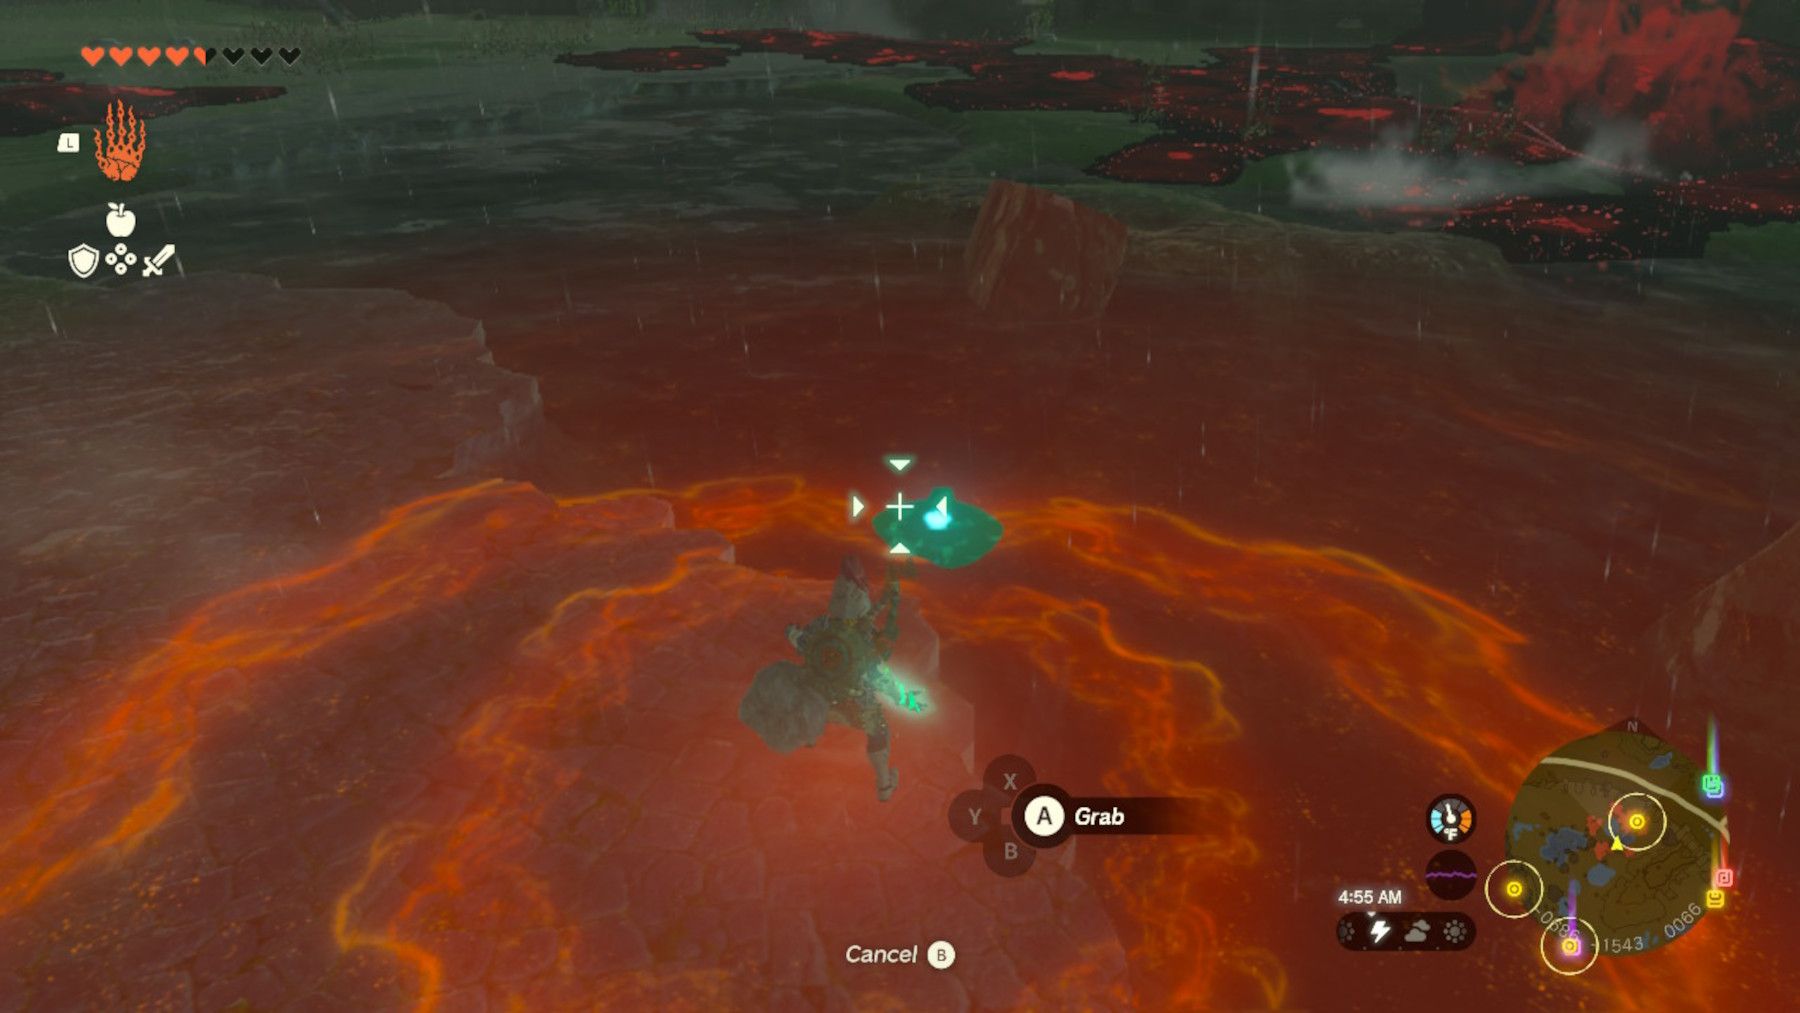
After obtaining the second eye from a pool of water located at coordinates -0686, -1543, 0066, players can utilize Ultrahand to extract it. The next step is to drop the eye into the Great Plateau North Chasm, which is situated nearby. Fans should then make use of TotK's paraglider to descend into the Depths. To aid in visualizing the process, refer to the accompanying images.
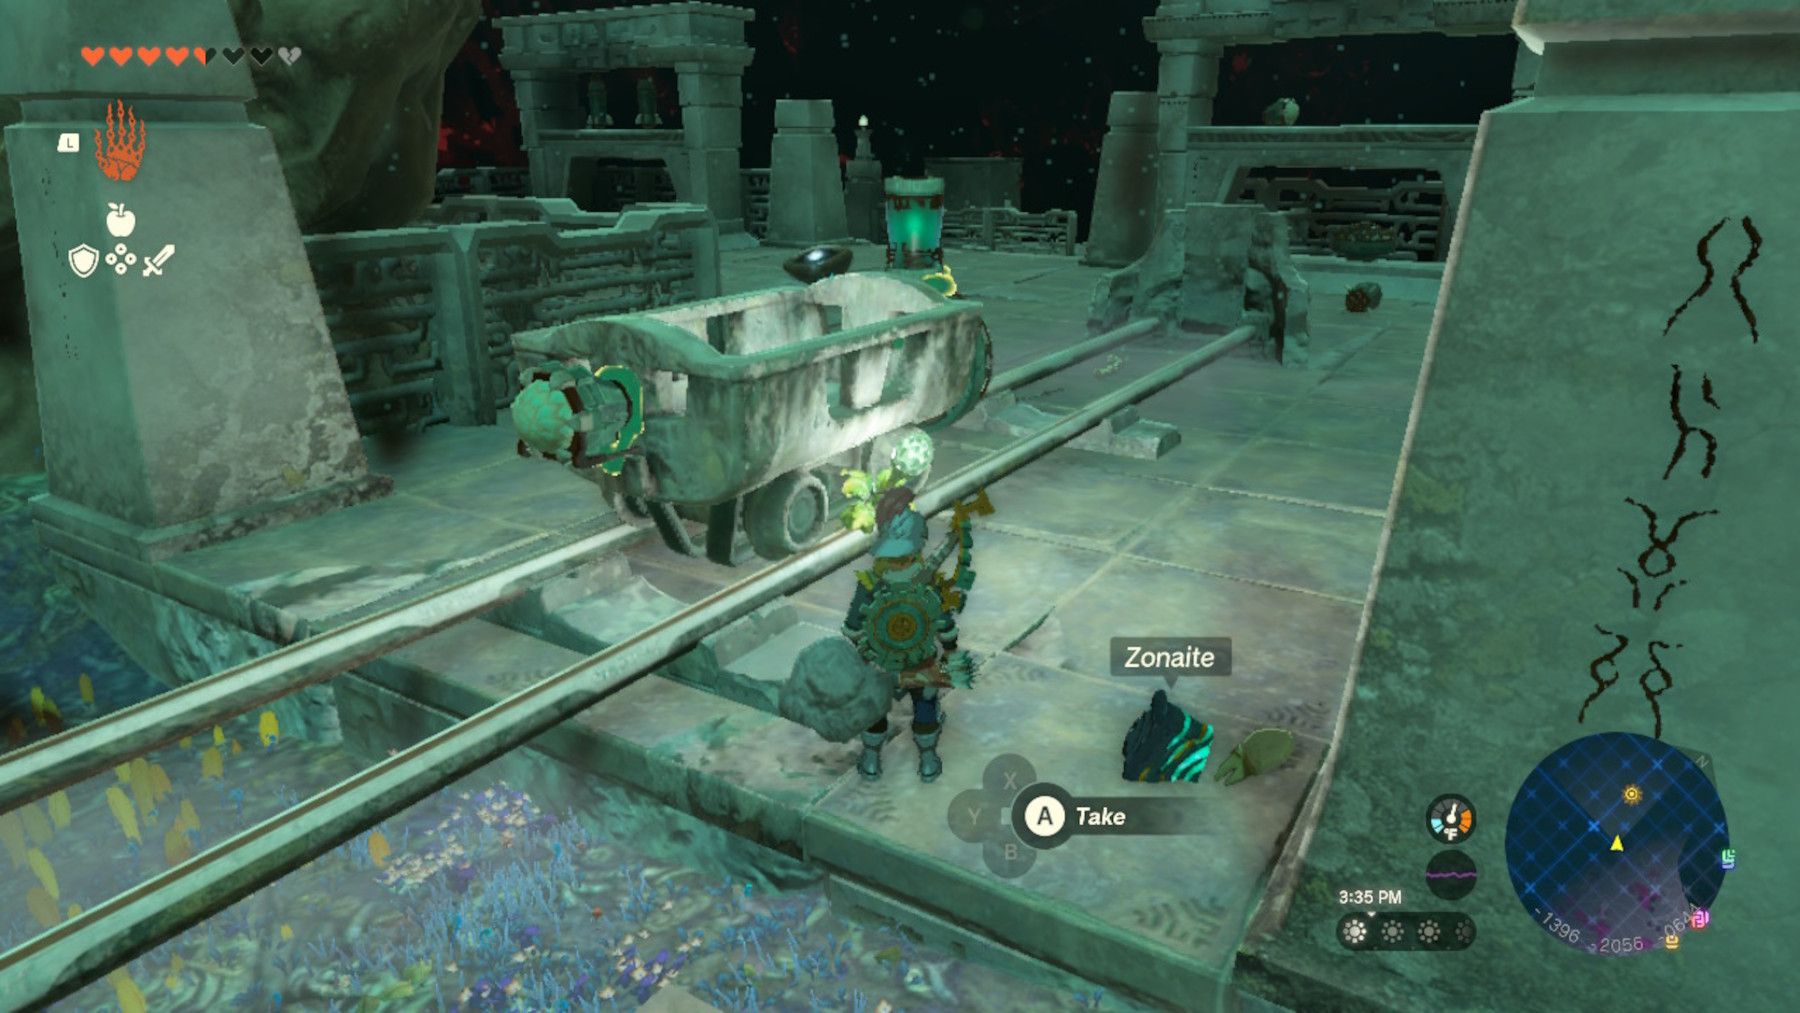
To reach the Forge within the Great Abandoned Central Mine in Depths, players must head southward while carrying the eye. Fans can access the stairs leading to the Depths statue by jumping down from this area. Additionally, Eye #3 can be found with the help of two images.
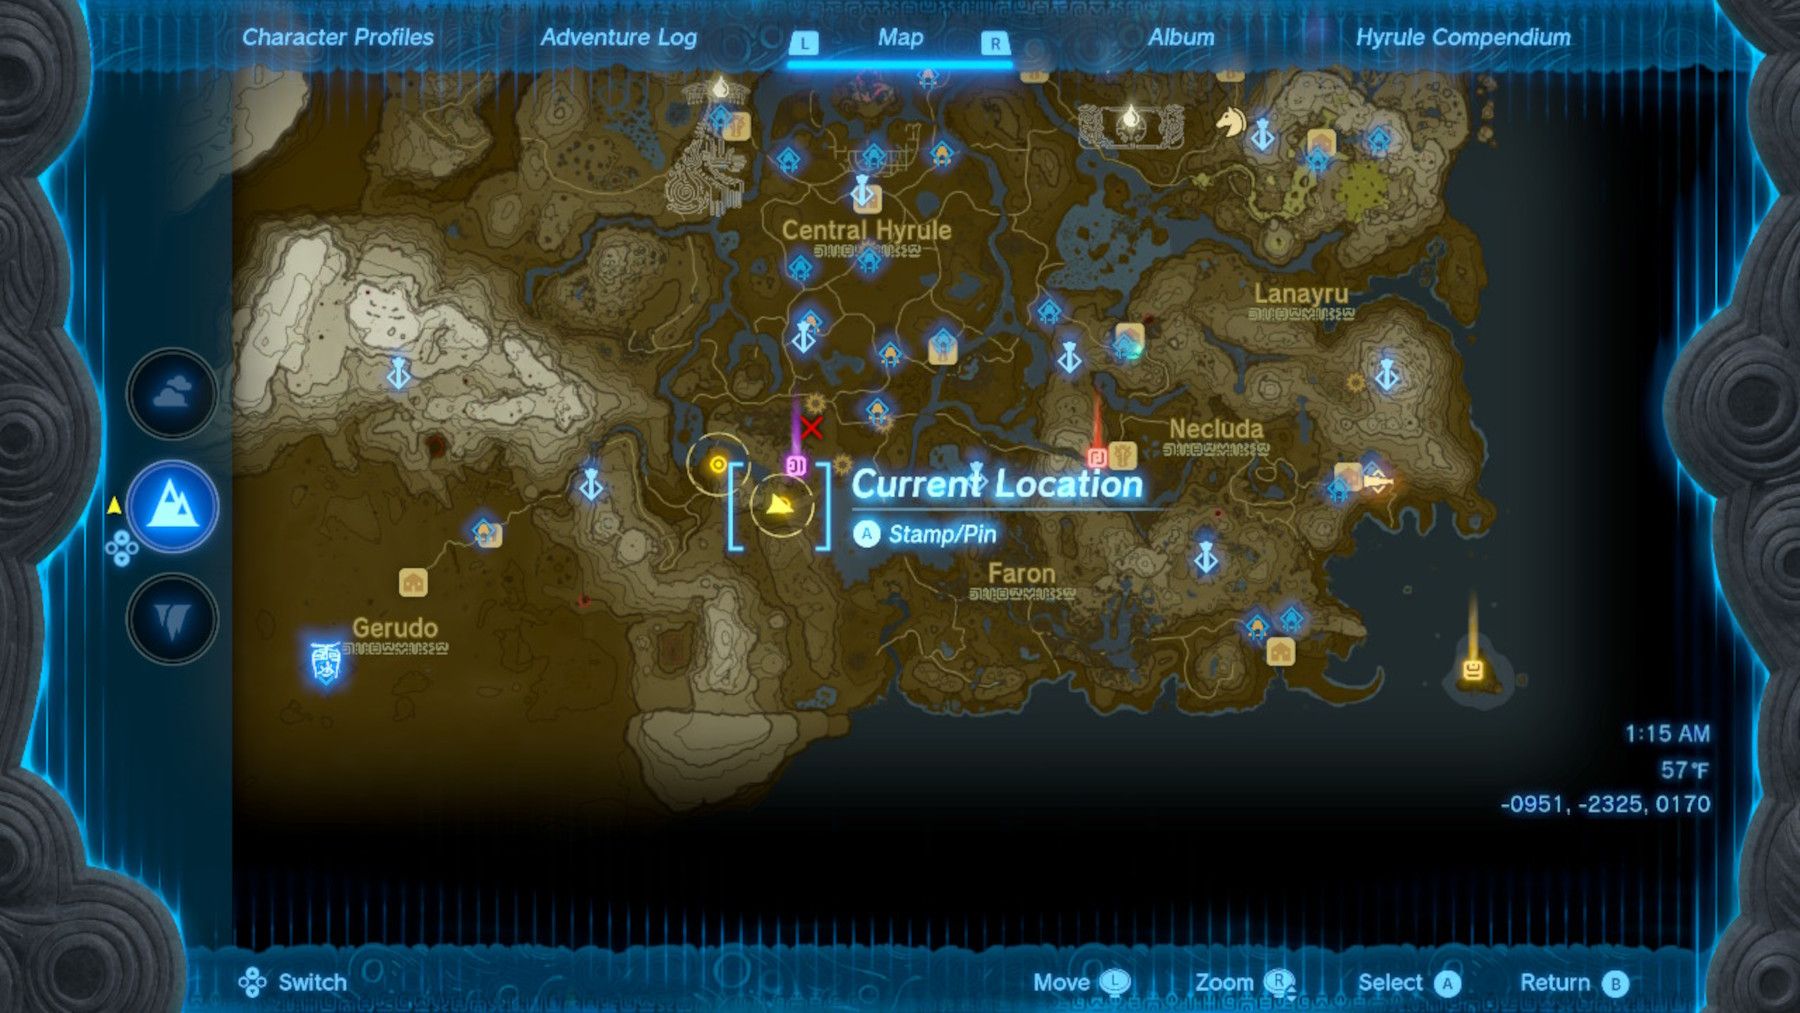
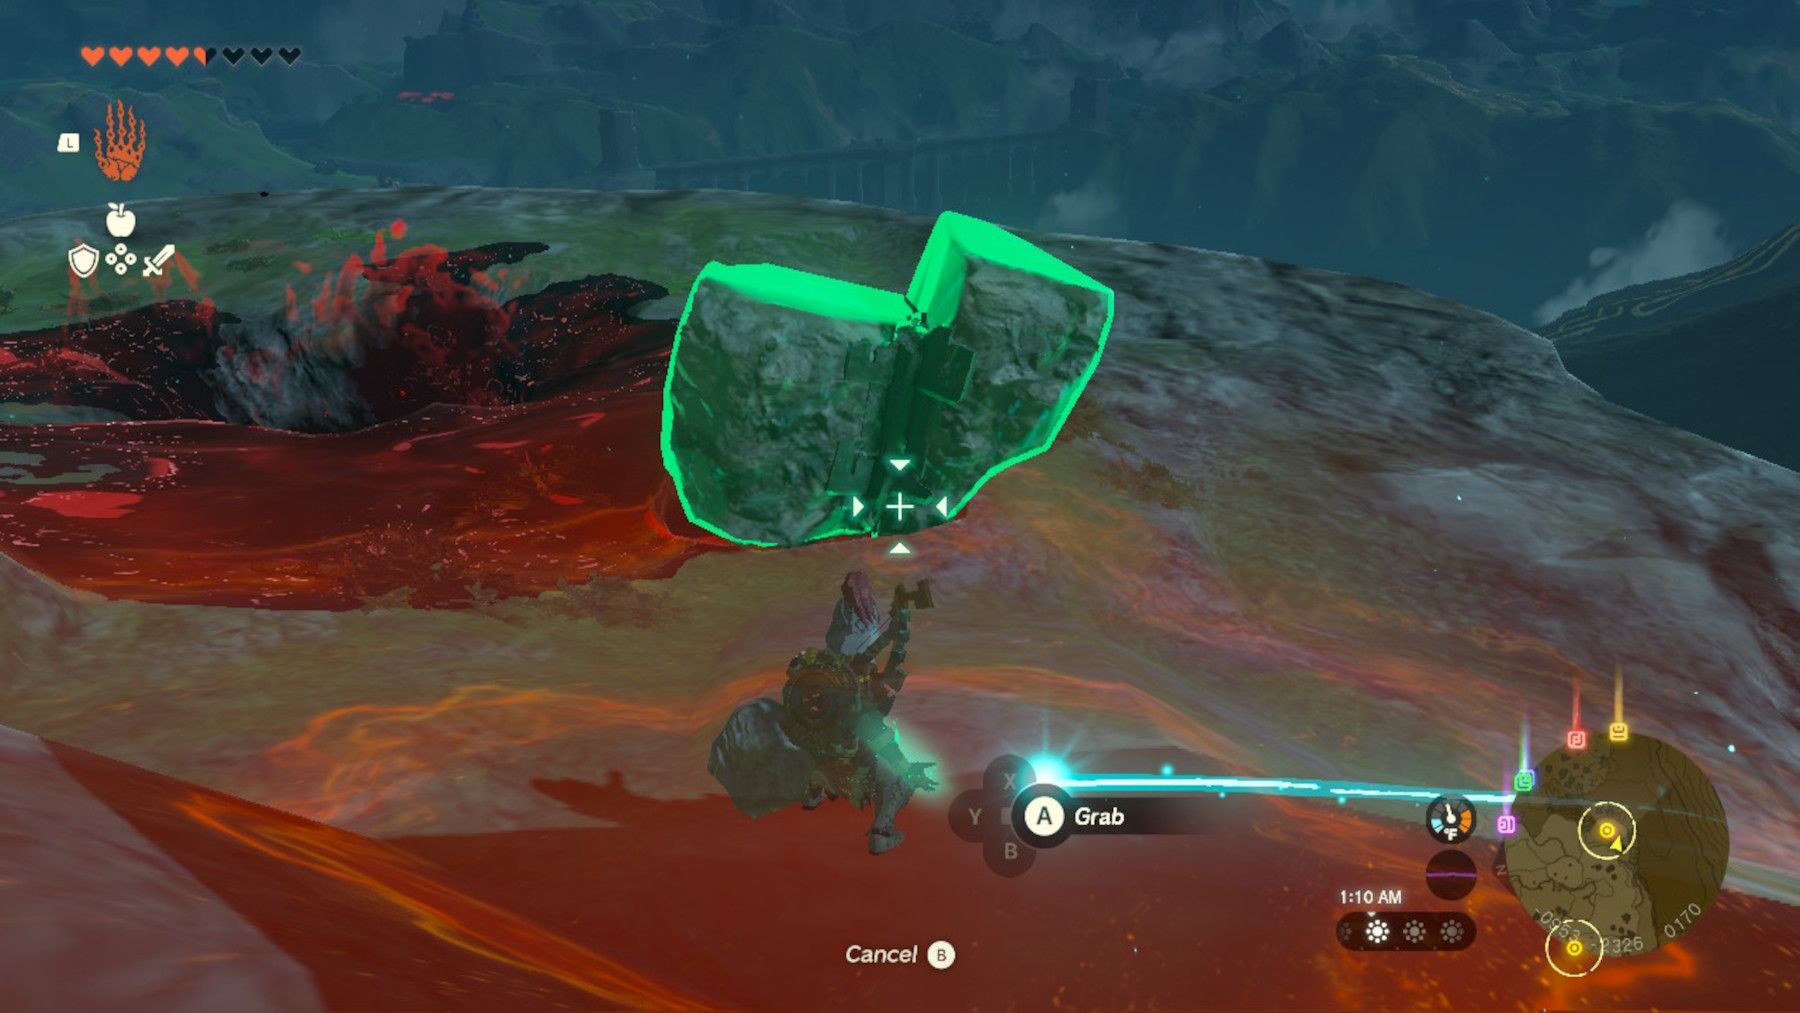
To access the third eye, players need to head to coordinates -0951, -2325, -0170 and use Ultrahand to move the rock covering it. Once the eye is within reach, it should be picked up and dropped into the Great Plateau South Chasm. This will send TotK's Link downward, opening up new possibilities for exploration.
3 Images
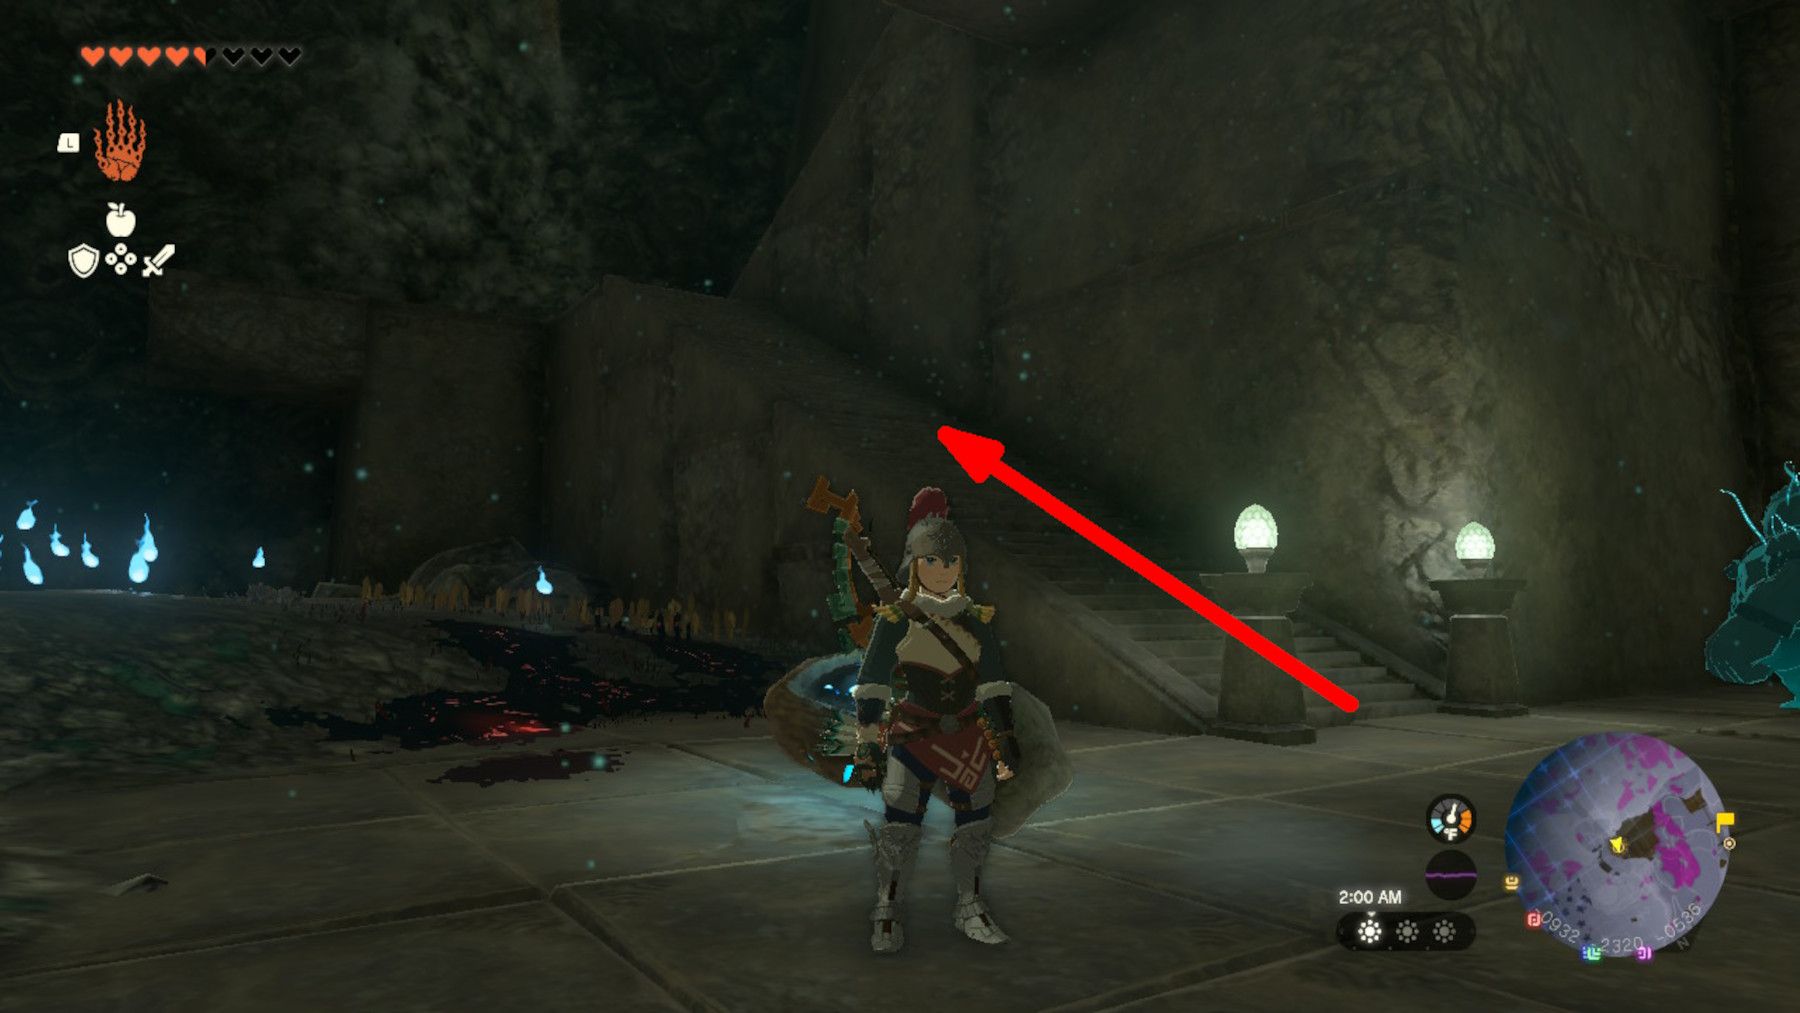

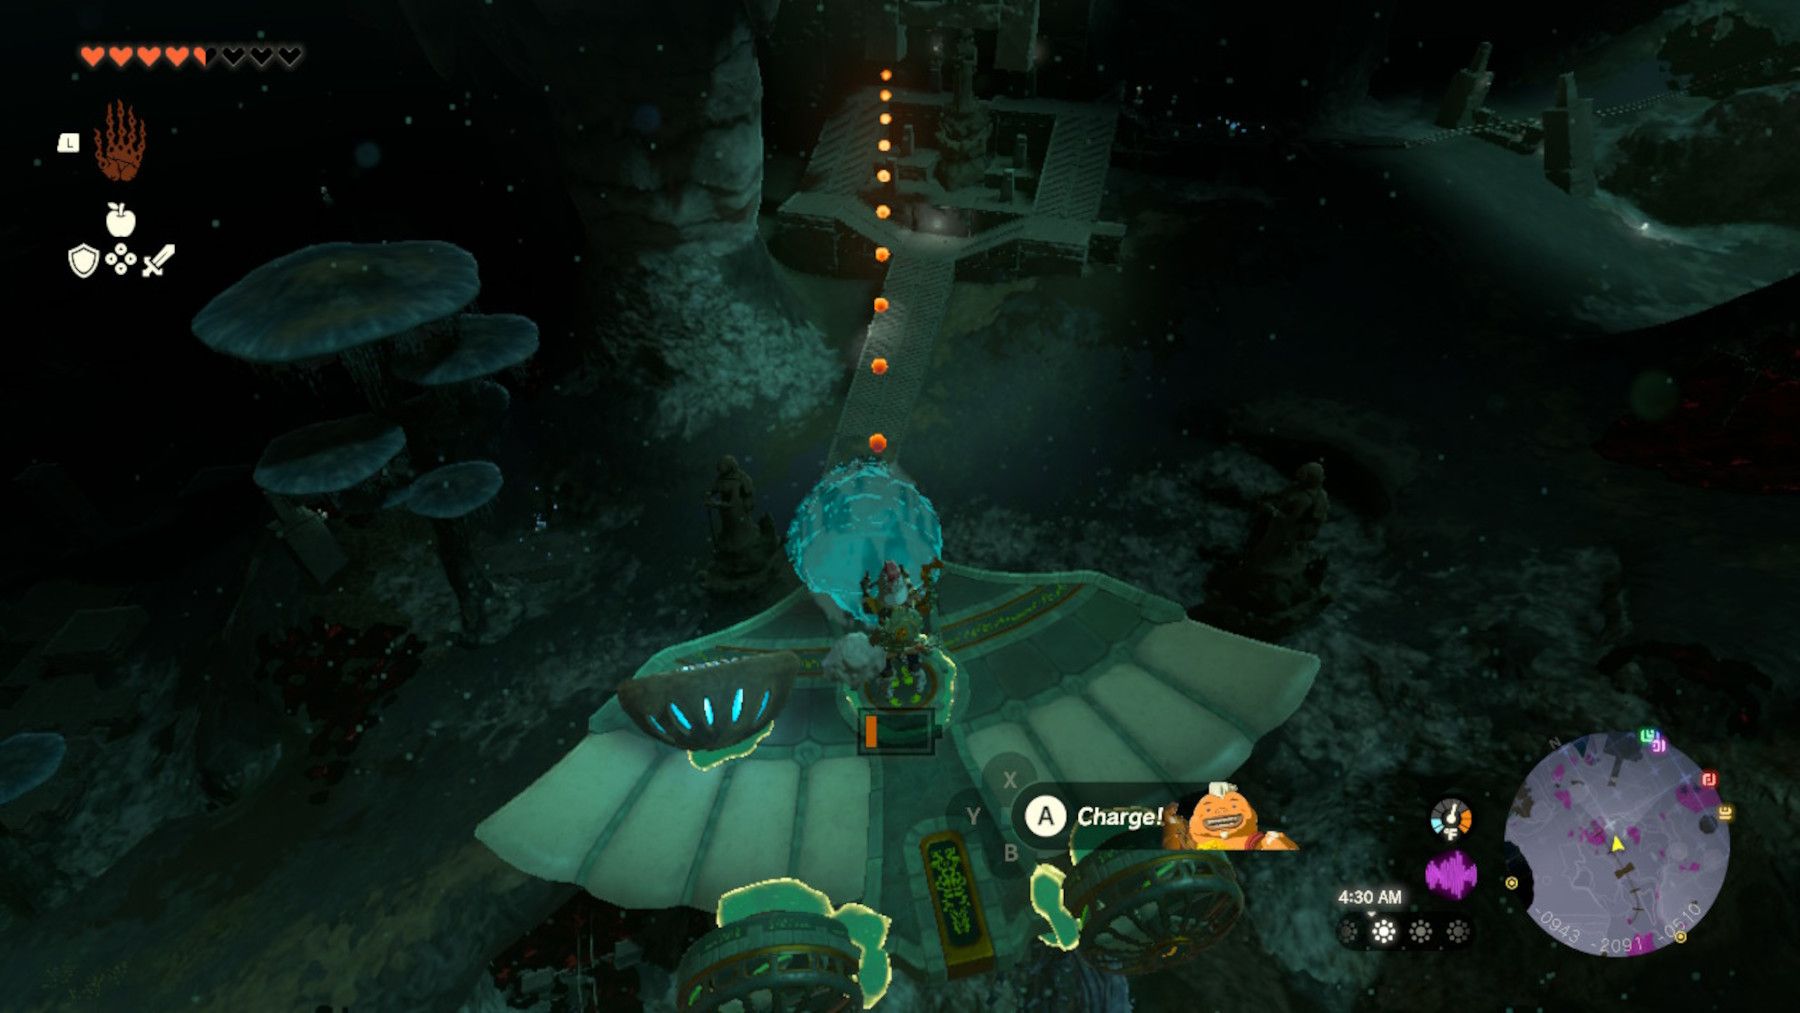
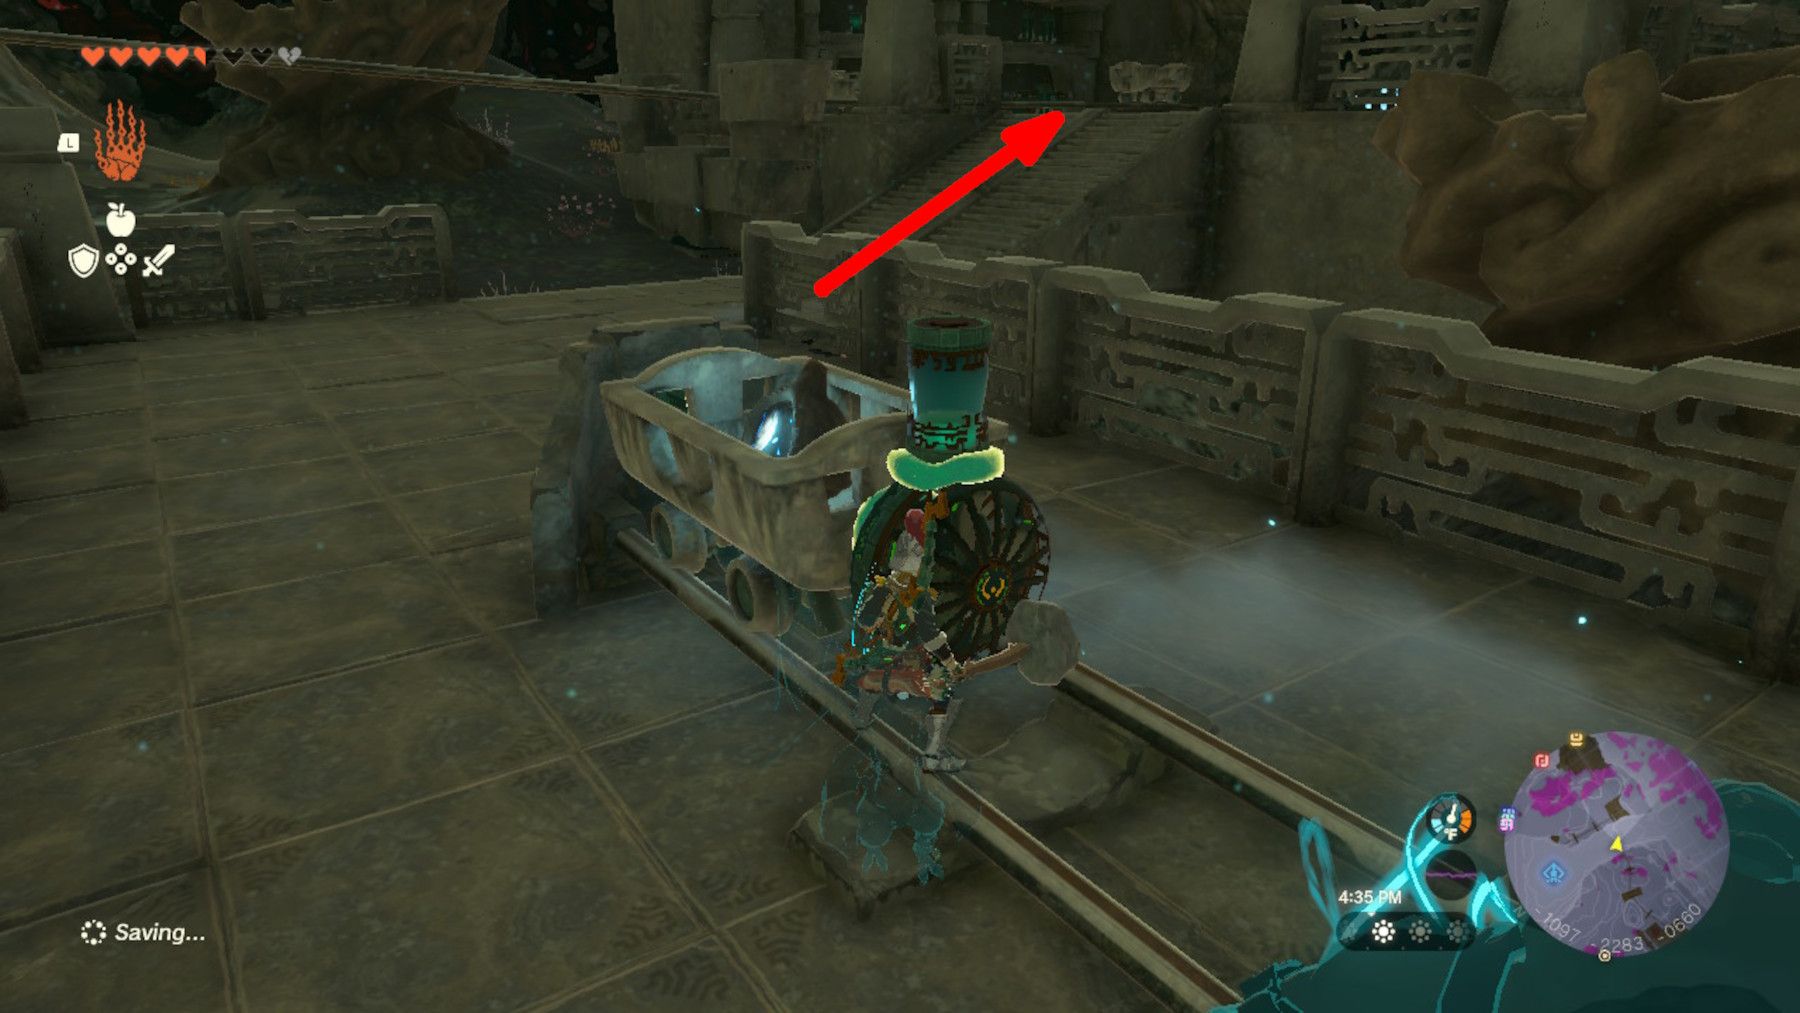
To transport the eye underground, players will need to bring it up the stairs located near coordinates - 0932, -2320, -0536. Once there, they will find themselves in an area with numerous Zonai devices. Utilizing these devices, fans can create a fan- and rocket-powered glider, similar to the one depicted in the image above, to fly northward with the eye. As players travel in this direction, they will soon spot the relevant stairs below, where they can land and carry the eye to its destination at the statue.
Close
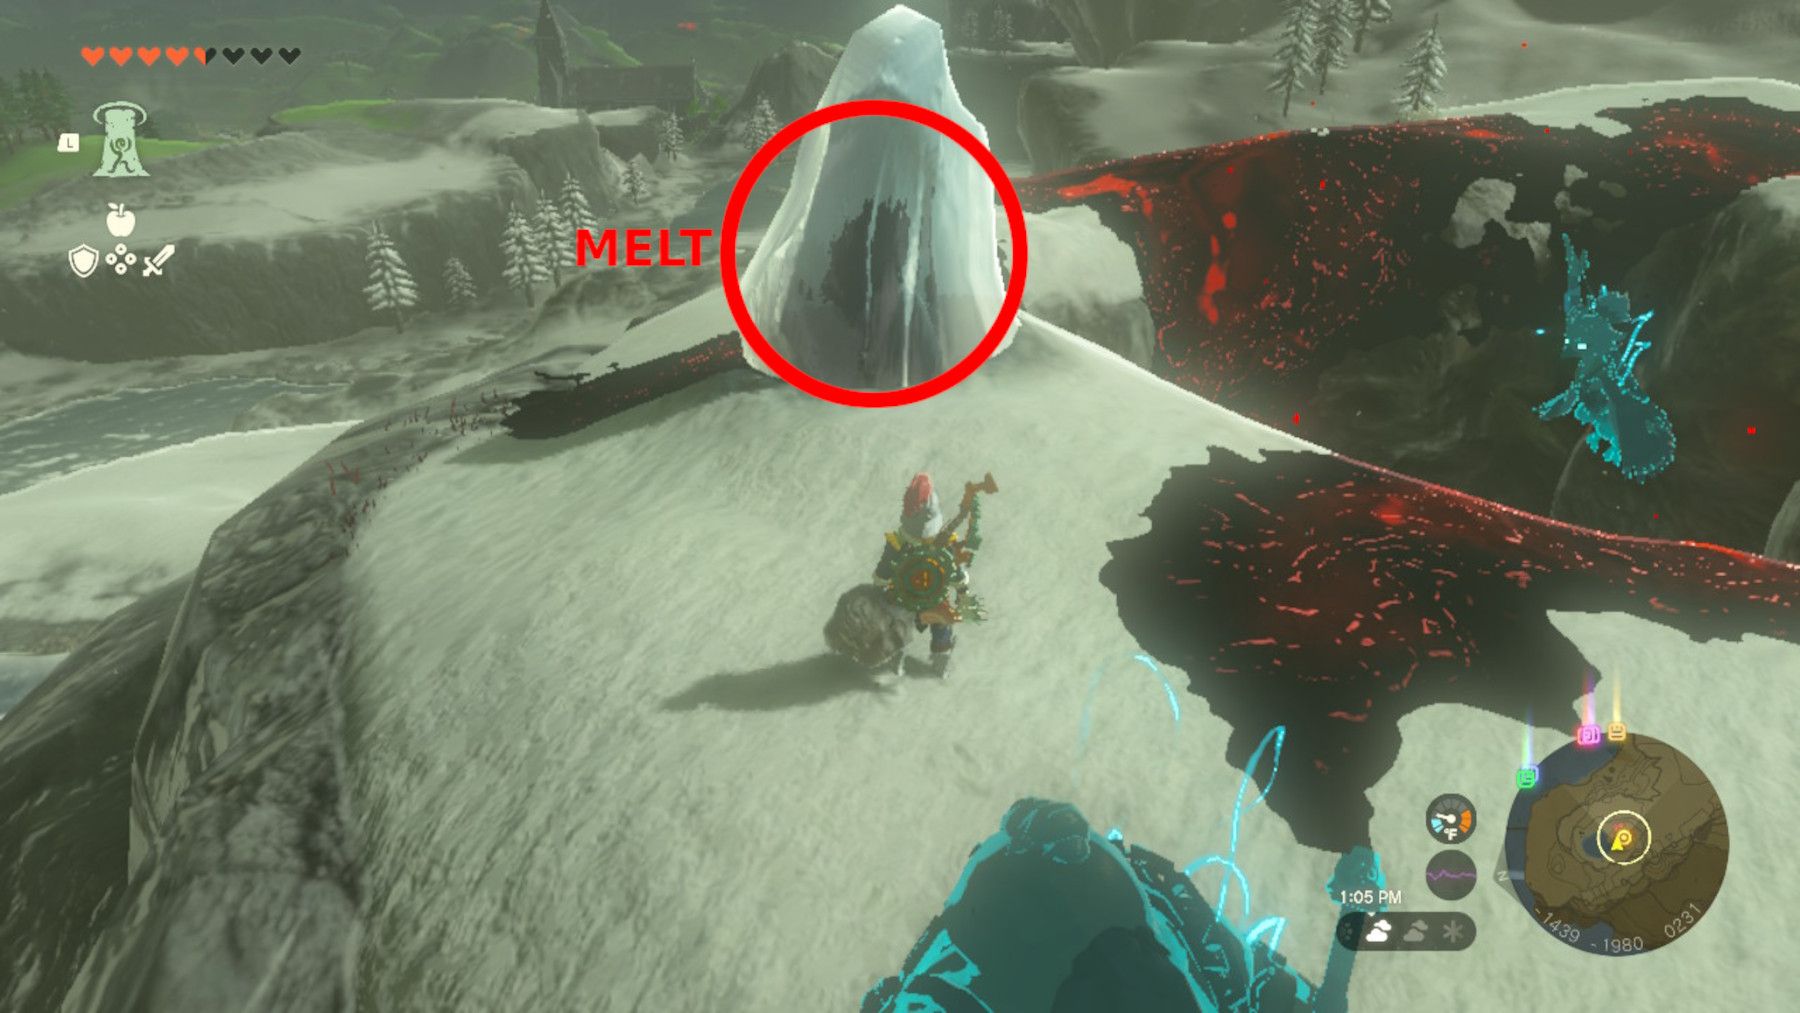
To release the final eye, players will need to head to coordinates -1437, -1980, 0231 and use an item such as TotK's Fire Fruit. The eye is encased in ice and must be freed before sending it into the Great Plateau West Chasm. Once the eye is free, players should prepare themselves for the transport in the Depths.
4 Images