The Ultimate Ranking of Zelda: Tears of the Kingdom Bosses!
Tears of the Kingdom features a thrilling lineup of formidable boss fights Discover the ultimate ranking of these challenging encounters, from the menacing Ganondorf to the cunning Master Kohga Prepare for intense battles and epic showdowns in this epic Zelda adventure!
Is the challenge of the boss fights in Tears of the Kingdom greater than that of Breath of the Wild? In Breath of the Wild, Link had to contend with Ganon Blights and Calamity Ganon himself. However, the same cannot be said for its sequel.
After experiencing Tears of the Kingdom, some Breath of the Wild enthusiasts might argue that the Ganon Blights became monotonous, despite the fact that defeating them required different tactics. Although the highly anticipated showdown between Ganondorf and Link in Tears of the Kingdom received admiration, some of the new bosses were met with both praise and frustration during their respective battles. The difficulty of these bosses in Tears of the Kingdom is a matter of discussion, but it is clear that certain bosses are intentionally designed to be easier than others.
10 Moragia

While Moragia may appear impressive, it is actually the least challenging among the "Regional Phenomena" bosses. Moragia deviates from the typical boss archetype, serving primarily as an opportunity for players to become accustomed to Yunobo's Ability.
Upon arriving at Death Mountain with Yunobo, players will witness a cutscene where Moragia emerges from Death Mountain Crater. Since Moragia is situated at a height that Link cannot reach, players must utilize the nearby Zonai Plane. The plane is equipped with two batteries, meaning that even with just one bar of the Zonai Battery, players can still defeat Moragia.
9 Colgera
Defeating the boss is a breeze: Direct the plane towards Moragia and press the A-button to launch Yunobo at one of its heads. The main concern is the final head, which will unleash a barrage of meteors towards Link and Yunobo. However, these meteors are simple to avoid, and even if they do land a hit, it won't cause the plane to crash. With each successful strike on a head, Moragia's HP decreases by a quarter, making this boss battle incredibly easy.
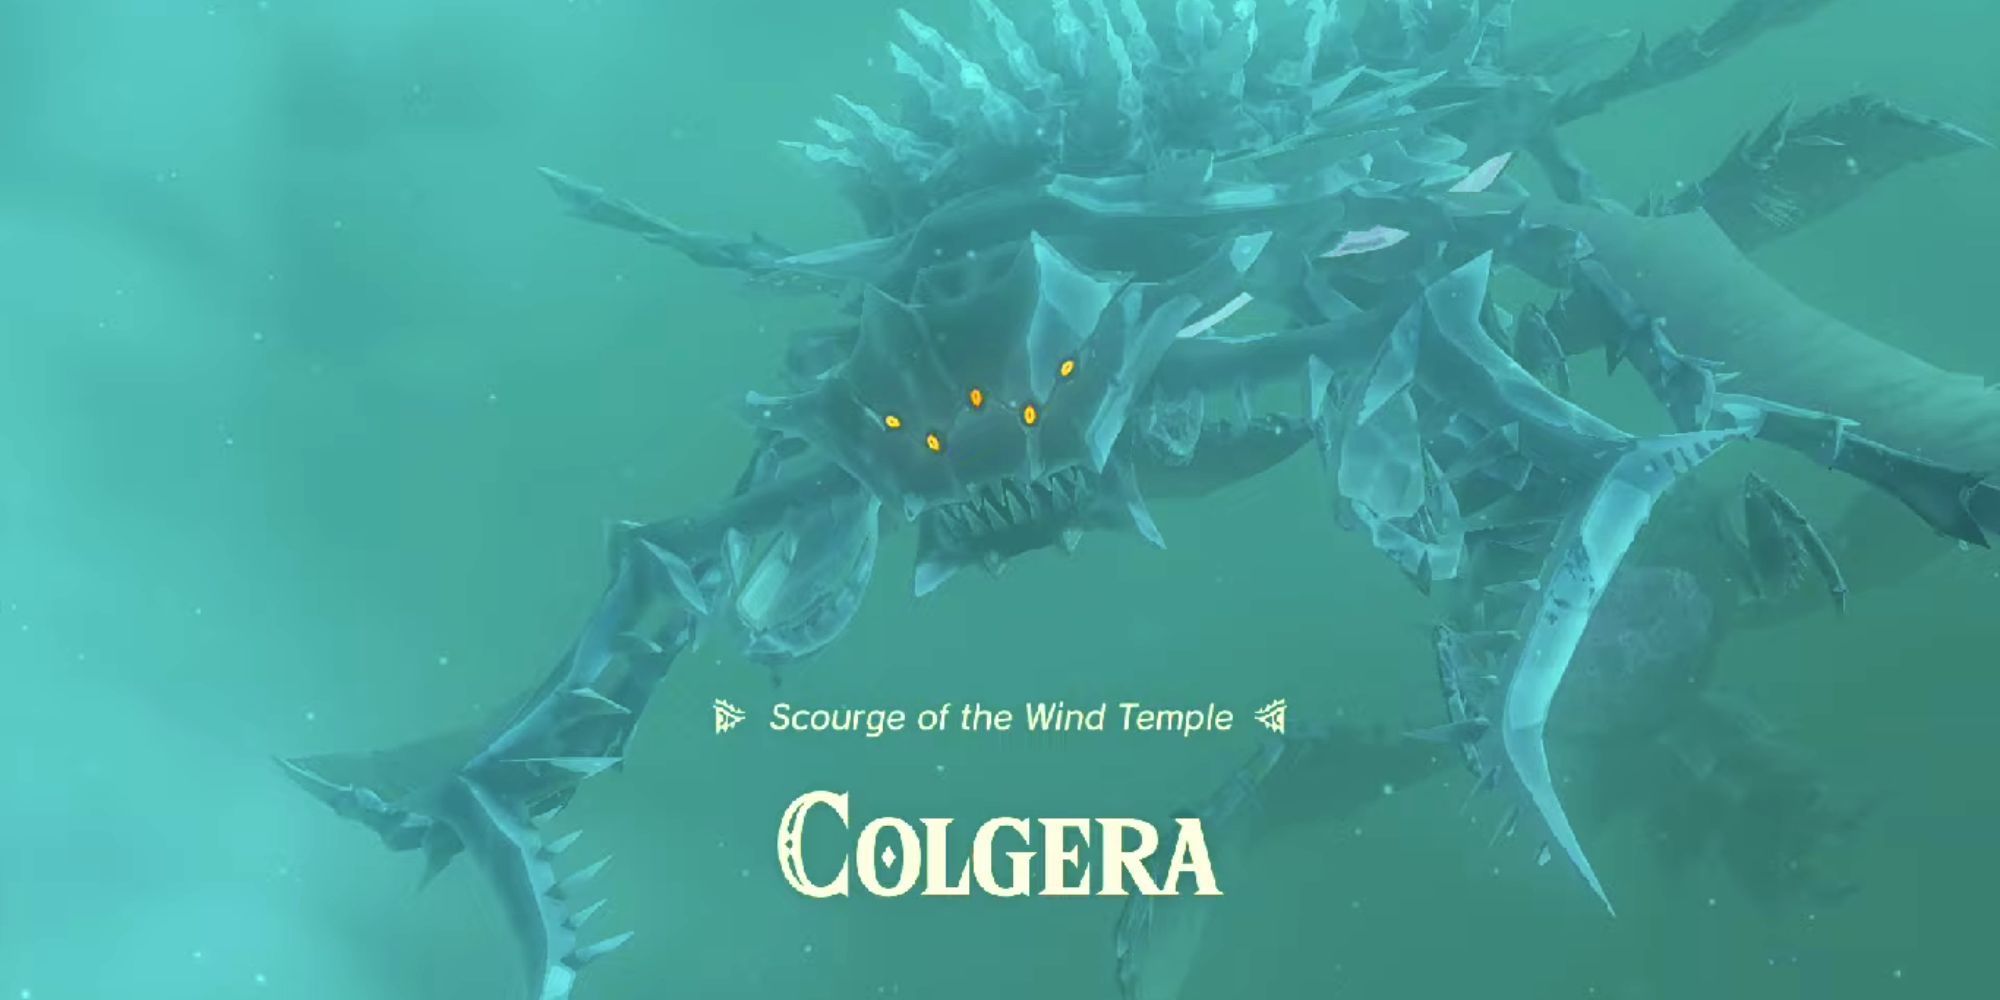
In Tears of the Kingdom, players are encouraged to prioritize visiting Rito Village. This could be attributed to Tulin's Ability or the presence of the formidable Colgera, an icy and airborne incarnation of a Molduga. Fans of Wind Waker may find Colgera to be reminiscent of the boss from the Wind Temple. Despite its imposing size, Colgera is surprisingly the easiest of all the Temple Bosses to defeat.
Colgera is fought in two stages, with the objective being to navigate through the three rings comprising Colgera's body. The constant wind keeps Link airborne with his paraglider, facilitating high-flying maneuvers to dive through the rings. If players encounter difficulties with this, an alternative approach is to shoot arrows at Colgera's cores from beneath its body.
Phase two of the battle introduces a new challenge as tornadoes are summoned, posing a threat to Link's stability. Nevertheless, the strategy for defeating Colgera remains the same as in phase one. Similar to Moragia, taking down one ring depletes a quarter of Colgera's health, allowing for a quick victory once players become adept at implementing the strategy.
8 Master Kohga
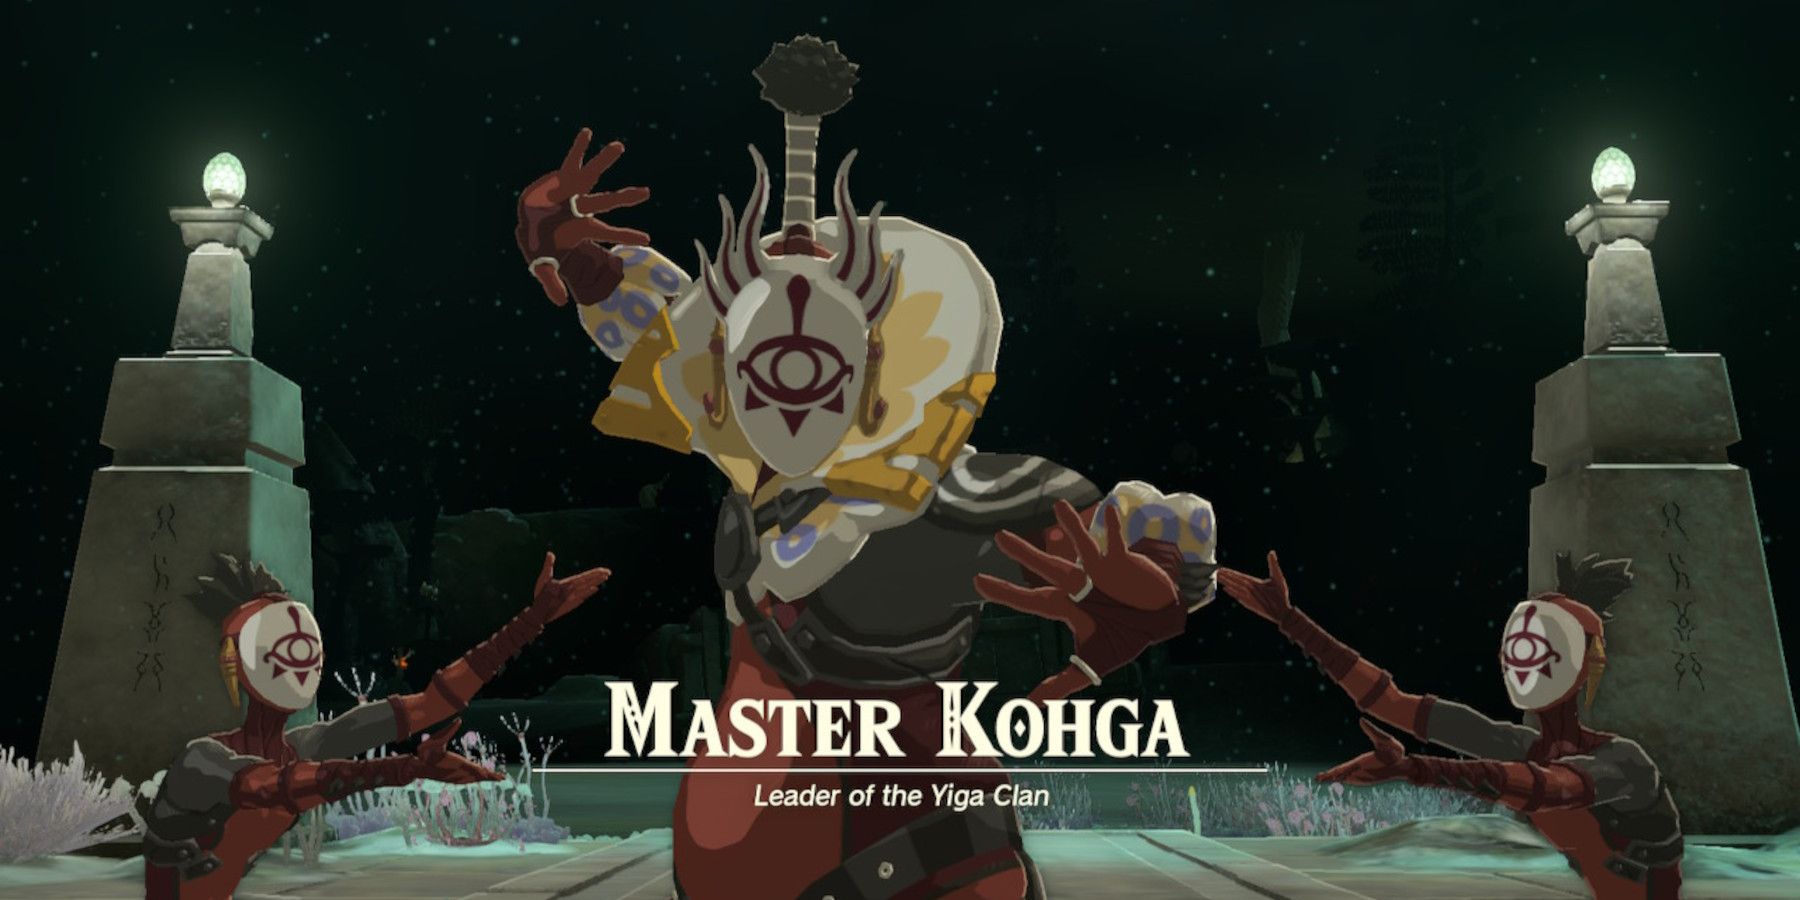
Surprisingly, Master Kohga from the Yiga Clan returns in Tears of the Kingdom, delighting BotW players. This time, he can be found battling in The Depths. Encounter him by visiting the Great Abandoned Central Mine, which also grants access to Rauru's Hand's final ability: The Auto-Build Ability.
Throughout TotK, players will face Kohga in a total of four encounters. After their initial confrontation at the Great Abandoned Central Mine, he will escape to the Gerudo Mine, then the Lanayru Mine, and finally, the Hebra Mine. Kohga employs different Zonai devices in each battle, but defeating him does not require elaborate strategies. Players can easily defeat him by utilizing nearby Zonai devices during the fight and shooting arrows at his head. This tactic stuns him, causing him to lose his grip on the Zonai device, thus enabling Link to quickly attack with a melee weapon.
In the ultimate showdown at Hebra Mine, players have the opportunity to cleverly deploy the Recall ability to deflect the mines summoned by Kohga right onto his noggin. However, despite his comical nature, Kohga remains a formidable adversary and can pose a genuine threat if players fail to exercise caution. It is highly recommended to stock up on additional stamina wheels and equip useful Vows (such as the Vow of Yunobo, which works wonders in the Lanayru Mine) before engaging in combat with him.
7 Marbled Gohma

Fans of the Zelda franchise will undoubtedly recognize the name "Gohma." Similar to its counterparts in Ocarina of Time and Wind Waker, the Marbled Gohma is often referred to as an "eyeball boss" by fans. Its body is fully enveloped in impenetrable rock, rendering melee attacks useless. For the first Temple Boss Fight, players will need the assistance of the respective Sage, in this case, Yunobo.
Gohma possesses a sluggish movement speed, but it possesses a ground pound move that produces a shockwave. Additionally, it hurls explosive clusters of marbled rock that can either be recalled or eliminated using Yunobo's Ability. Players can also utilize Ascend to climb onto Gohma's head. Nevertheless, the most effective approach to defeating this monster is to utilize Yunobo to eliminate its legs. Once two legs have been destroyed, Gohma will become stunned. At this point, Link must ascend near its eye and commence melee attacks.
When Gohma's health reaches half, Marbled Gohma will modify its tactics. It will enclose Link within a wall constructed of detonating marbled rock. To escape, one can employ Recall on one of the rocks or have Yunobo collide into one. Additionally, Marbled Gohma will crawl on the ceiling during this phase, and shooting its eye will not cause it to descend. Players will need to utilize Yunobo's Ability to roll up the walls and into one of the legs. Once this strategy is mastered, the remaining battle will be history.
6 Sludge Like
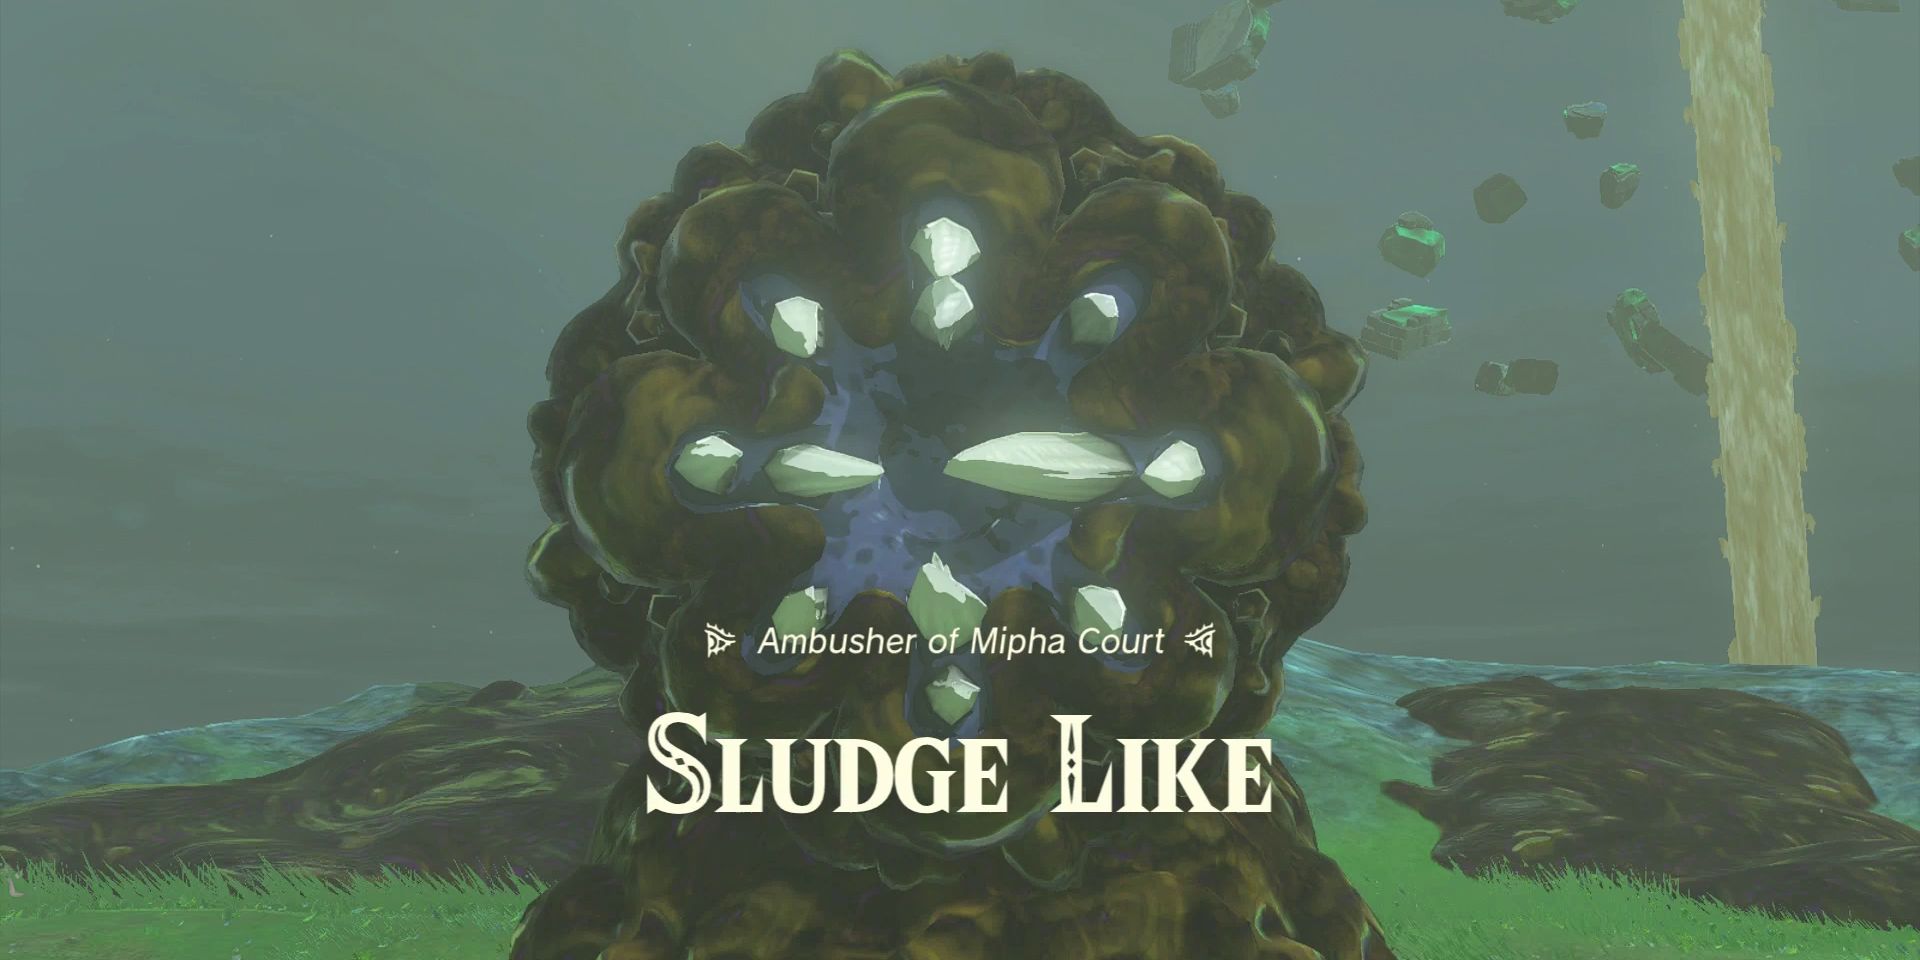
The Sludge Like behaves similarly to other Like Likes, but it emits sludge that greatly impedes Link's movement. Just like with Marbled Gohma and Moragia, players will heavily rely on Sidon's Ability to defeat this creature. Another means of clearing the sludge is by using a Splash Fruit.
Encountering the Sludge Like can be a rude awakening for unsuspecting individuals. This monster possesses formidable strength, and the only way to reveal its weak point (thus inflicting damage) is by dousing it with a water blast. If Link becomes trapped in the sludge, the Sludge Like will not hesitate to launch an attack.
5 Mucktorok

Mucktorok may appear to be a comical boss, but it possesses surprising speed and can lead to a frustrating fight. It initiates the battle by concealing itself within a sludge resembling a shark, swiftly maneuvering across the battlefield to launch sludge attacks on Link and Sidon. Similar to the Sludge Like enemy, players must eliminate the muck, specifically the sludge shark, in order to proceed. This can be accomplished by utilizing Sidon's Ability or the Splash Fruit.
The potential challenges presented by Mucktorok stem from two factors: its speed, particularly during the second phase, and Sidon's AI behavior. Players have expressed their shared annoyance towards certain powers possessed by the Sages, which becomes evident in this battle where Link's reliance on them is essential. In Phase 2, Mucktorok begins to evade Link by leaping around in the sludge puddles. The most effective approach in impeding its movements is either stunning it with an arrow or clearing the sludge.
4 Phantom Ganon (Hyrule Castle)
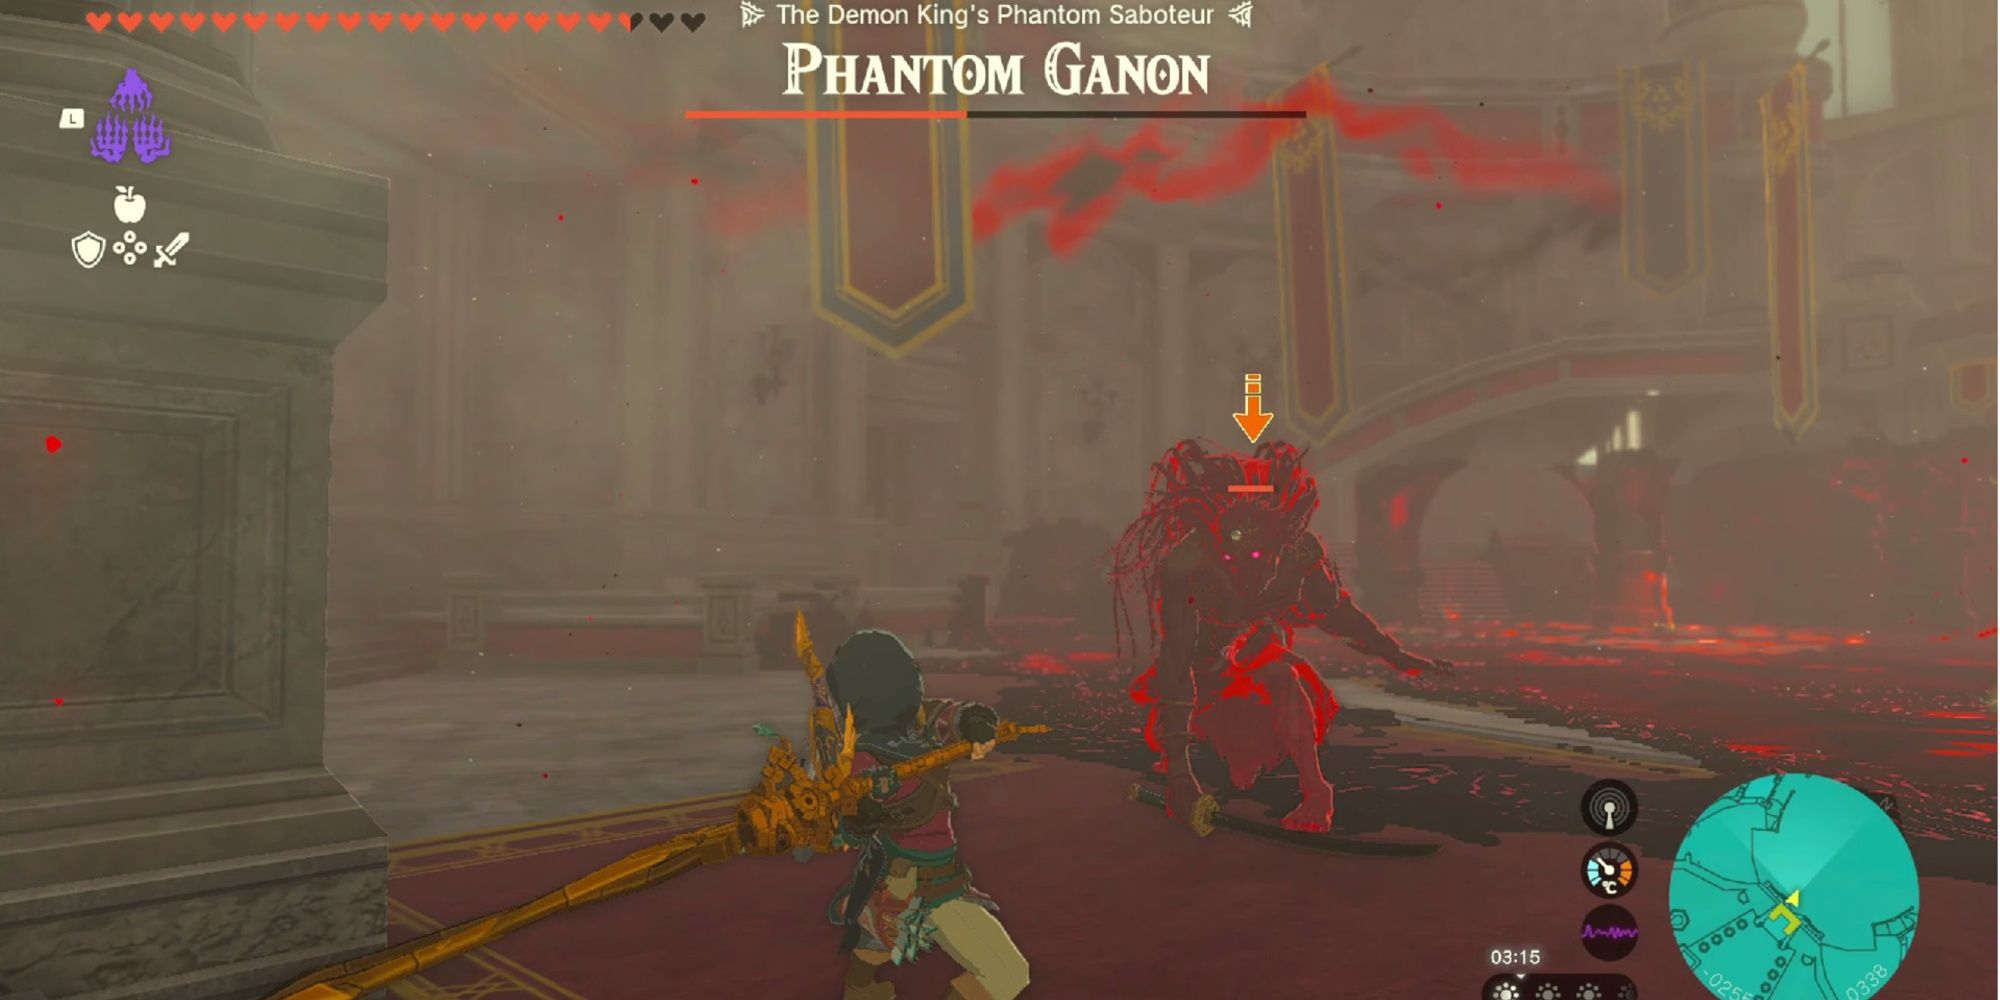
After completing all four temples, players can proceed to Hyrule Castle to confront Ganondorf. However, their encounter takes an unexpected turn. "Zelda" engages Link in a game of cat and mouse, unleashing waves of monsters whenever he gets close. Eventually, Link locates her in the Sanctum, only to face off against Phantom Ganon instead of Ganondorf. Those familiar with battling Gloom Spawn will find Phantom Ganon to be a familiar opponent, especially with the assistance of all four Sage Avatars. The true challenge lies in the second phase.
In phase 2, Link must confront five Phantom Ganons simultaneously. To further complicate matters, one of the Phantoms begins filling the room with gloom. If the Avatars become trapped in the gloom, they will become immobile. The most effective method to halt the spread of gloom is by ascending the stairs and leaping down to trigger bullet time. By launching fire arrows at the Phantom Ganon responsible for summoning the gloom, its spread can be halted. Additionally, it is advisable to focus on defeating one Phantom Ganon at a time, as battling all five simultaneously can prove challenging and perilous.
3 Queen Gibdo
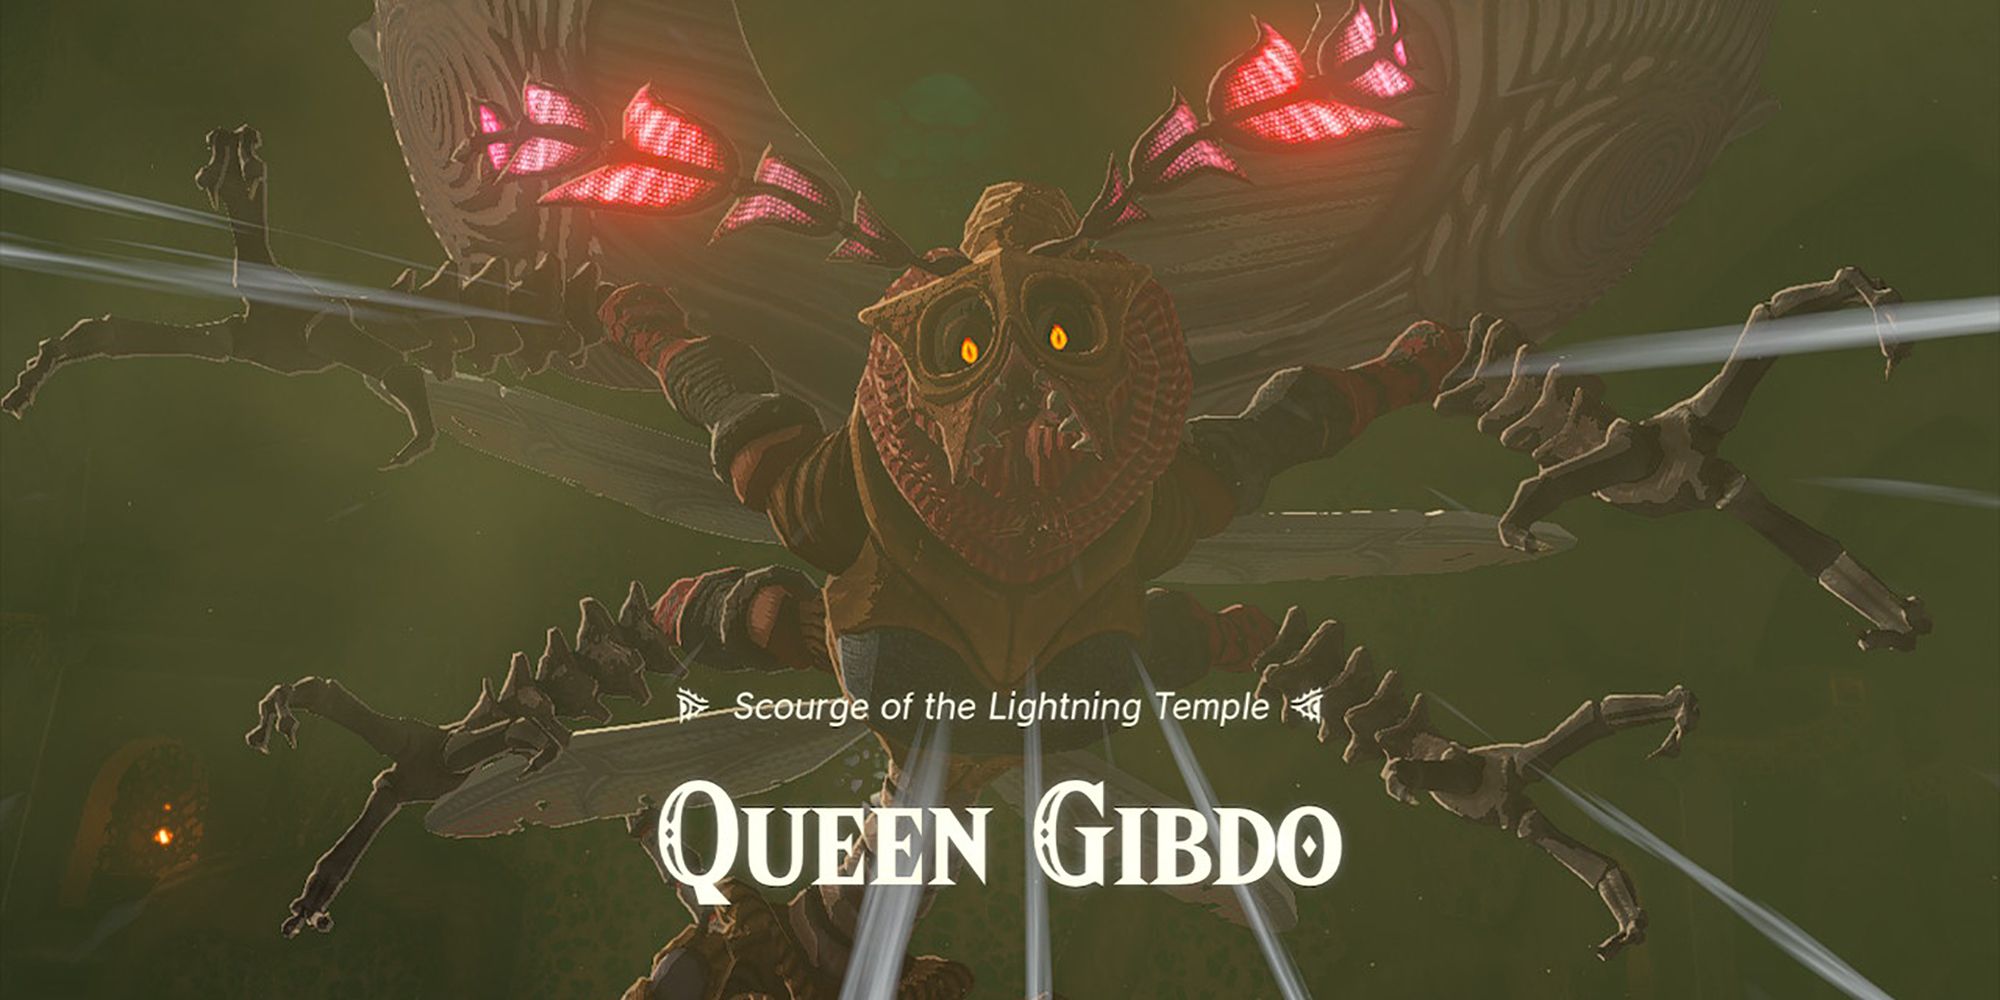
If dealing with Mucktorok was troublesome, facing Queen Gibdo is even worse. While players can encounter her before Phantom Ganon in Hyrule Castle, she is undeniably one of the most challenging bosses in TotK. To overcome this formidable foe, players will heavily rely on Riju's Lightning abilities or ensure they have an ample supply of Shock Fruit or Yellow Chuchu Jelly. The difficulty of Queen Gibdo's boss fight is attributed to the overall chaos and complexity it presents. Particularly during Phase 2, the situation can become extremely hectic, especially for those who struggle with Riju's AI.
In order to inflict damage on Queen Gibdo, players must strike her with lightning. Once her body turns white, players should quickly approach and unleash a flurry of close combat attacks. This will cause her to collapse, making her more susceptible to damage from melee weapons.
Phase 2 is the point where things become challenging. Queen Gibdo will arouse the four Gibdo nests encircling the battlefield. Additionally, she will ascend into the air and unleash acid towards Link and Riju. The optimal approach here is to eliminate the Gibdo nests, although this can pose difficulties for players. It is necessary for Riju's Lightning Field to envelop the entire nest before players can shoot an arrow. The challenge intensifies as Riju can be struck by either one of the monsters or the queen herself, thus requiring players to repeat the process of charging the lightning. Furthermore, Queen Gibdo will generate sandstorms using her wings, reminiscent of Colgera's ability, and if Riju or Link is hit, they will be knocked off their feet.
2 Seized Construct

The boss of the Spirit Temple is known as the Seized Construct, and players will only be able to defeat it if they are riding Mineru's Construct. To reach the Spirit Temple, players must utilize a variety of Zonai Devices to enhance the abilities of the Construct. Neglecting this task will result in a challenging boss fight. The Seized Construct cannot be damaged unless it is knocked into the barbed wire that surrounds the battlefield. The main difficulty of this battle arises from the slow speed of Mineru's Construct. Fortunately, this is the only instance where players are required to use the Construct to secure victory.
1 Ganondorf
In phase 2, Zonai devices will be employed by the Seized Construct for flying purposes. It will then bombard Link with cannon balls and any other objects fused to its arms. The Canon is a highly recommended asset to fuse with Mineru's Construct as it facilitates easily knocking the Construct out of the air, followed by a close combat attack. If players do not possess a Canon or any other suitable alternative, their only option is to patiently endure the Seized Construct's assaults until it eventually lands.
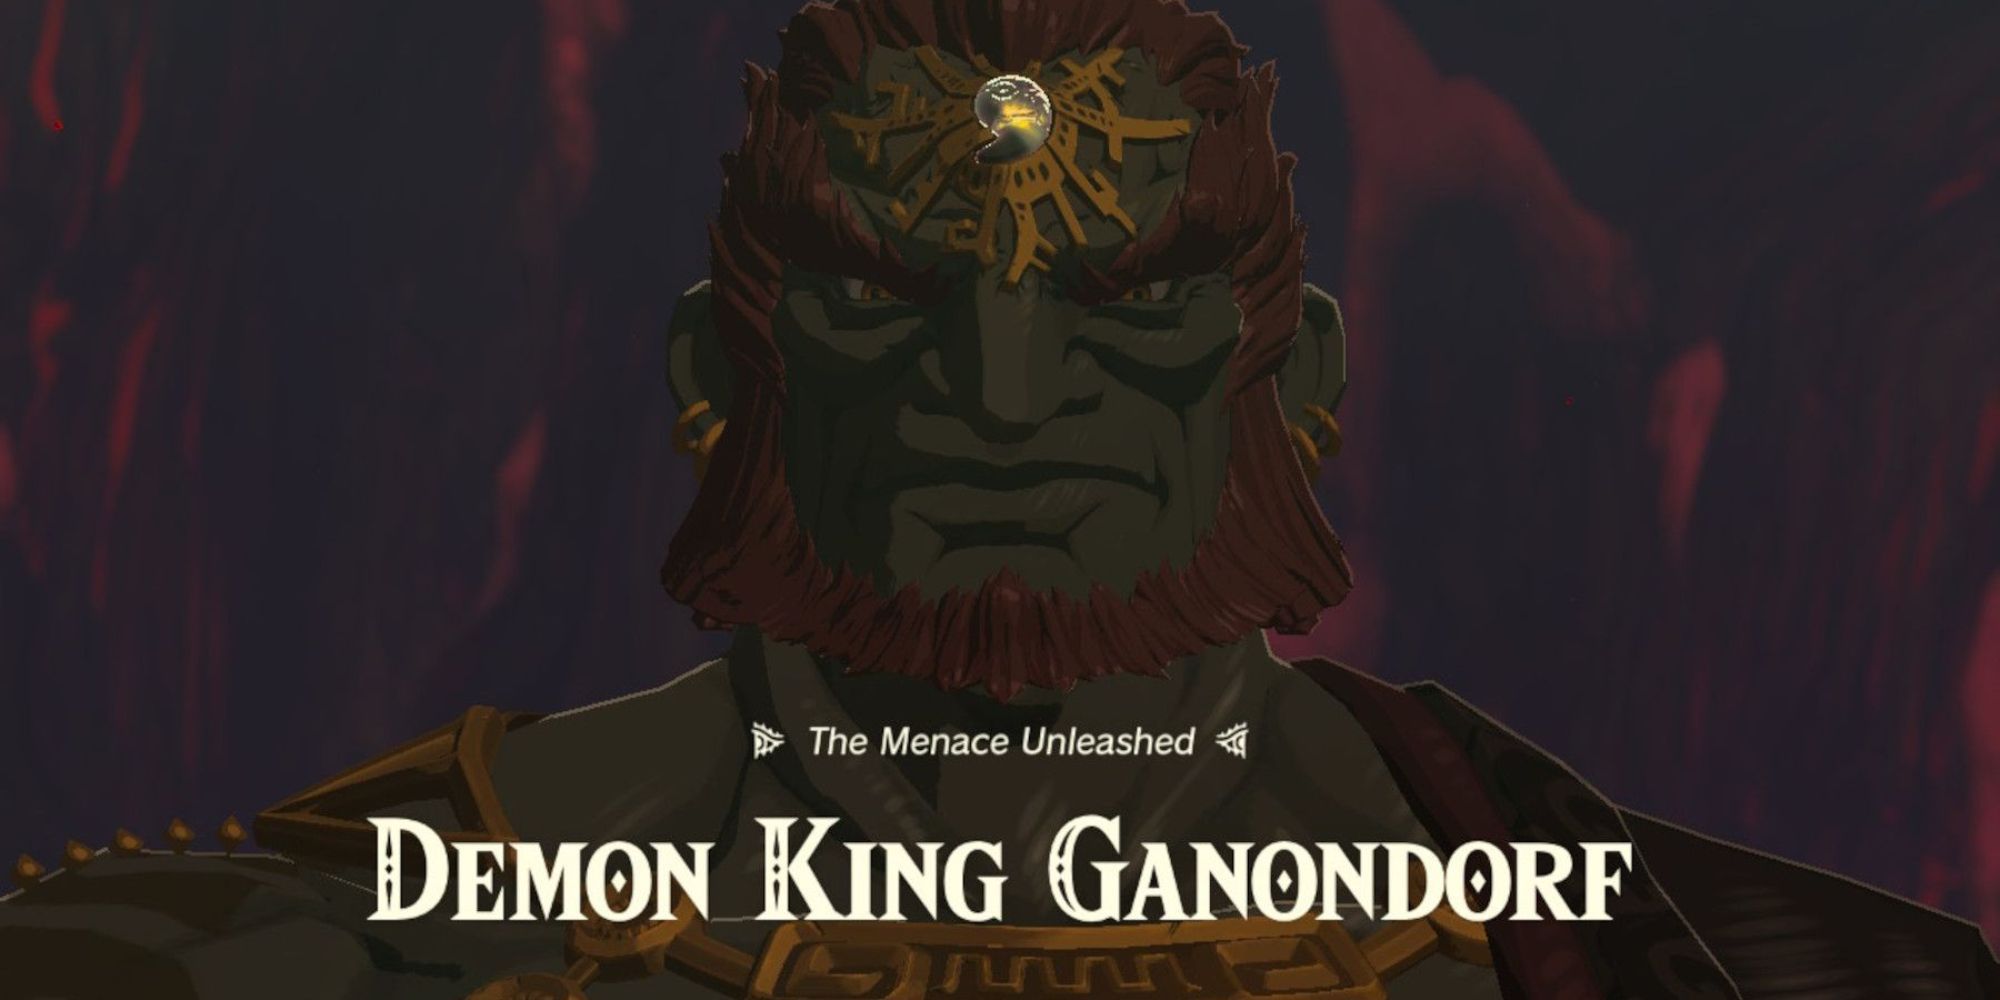
Undoubtedly, battling the Demon King himself proves to be the ultimate test in TotK. Divided into three phases, it is during the second phase where Link may encounter significant difficulties. The initial phase bears resemblance to the intense encounters with Phantom Ganon, while the final phase, although no less formidable, pales in comparison to the challenges posed in phase 2. The creators of Tears of the Kingdom had a clear vision of Ganondorf as the ultimate final boss, and it is undeniable that their goal was triumphantly achieved.
When Ganondorf's HP reaches zero in phase 1, he will utilize the power of Sonia's hidden stone, causing his health bar to expand across the entire screen. This grants him a significant boost in attack power and the ability to summon Phantom Ganons as reinforcements. By enduring the onslaught long enough, the five sages will arrive to support the player. While they confront the Phantom Ganons, Link can focus his attention on the real Ganondorf.
Once Ganondorf's HP reaches half in phase 2, he incapacitates the sages, leaving Link to face him alone. Players who attempt to flurry rush Ganondorf will be met with an unexpected response, as Ganondorf has the ability to counter Link's flurry rush with his own. In such instances, triggering another flurry rush is necessary to counter Ganondorf. Additionally, although players may have accumulated gloom-restoring items, Ganondorf's "gloom" attacks will permanently remove one of Link's heart containers. These hearts will be "broken" and vanish from his overall health. Fortunately, players can deflect the gloom spheres using a melee weapon, such as the Master Sword. Failure to realize this tactic promptly may result in a significant loss of hearts before the battle concludes.
The Legend of Zelda: Tears of the Kingdom is available for Nintendo Switch.