Unleash Tulin's Power: Zelda's Tears of the Kingdom Walkthrough
Discover the secrets of Tulin of Rito Village with this comprehensive guide for The Legend of Zelda: Tears of the Kingdom Uncover hidden treasures, navigate the Wind Temple, and assist Tulin in his quest to save the kingdom Follow these quick links to quickly find and complete each objective
To start the Tulin of the Rito Village main quest in The Legend of Zelda: Tears of the Kingdom, players must travel to coordinates -3596, 1802, 0212 within Rito Village. However, completing this quest requires players to face several objectives and puzzles, some of which can be challenging. If you're having trouble completing this quest, don't worry, this complete walkthrough will guide you through it all.
It is worth noting that before embarking on this adventure, it is advisable to obtain some form of Cold Resistance. You can choose to purchase the Snowquill Armor set from the armor shop in Rito Village, or rely on Cold Resistance-granting foods if you want to save your Rupees.
Visit Harth
3 Images

To start the quest, players must visit Harth, who can be found in a lodge located at coordinates -3581, 2252, 0141, just north of Rito Village. The lodge is easily accessible by using TotK's paraglider to sail northward, and it is identifiable by two large bonfires nearby.
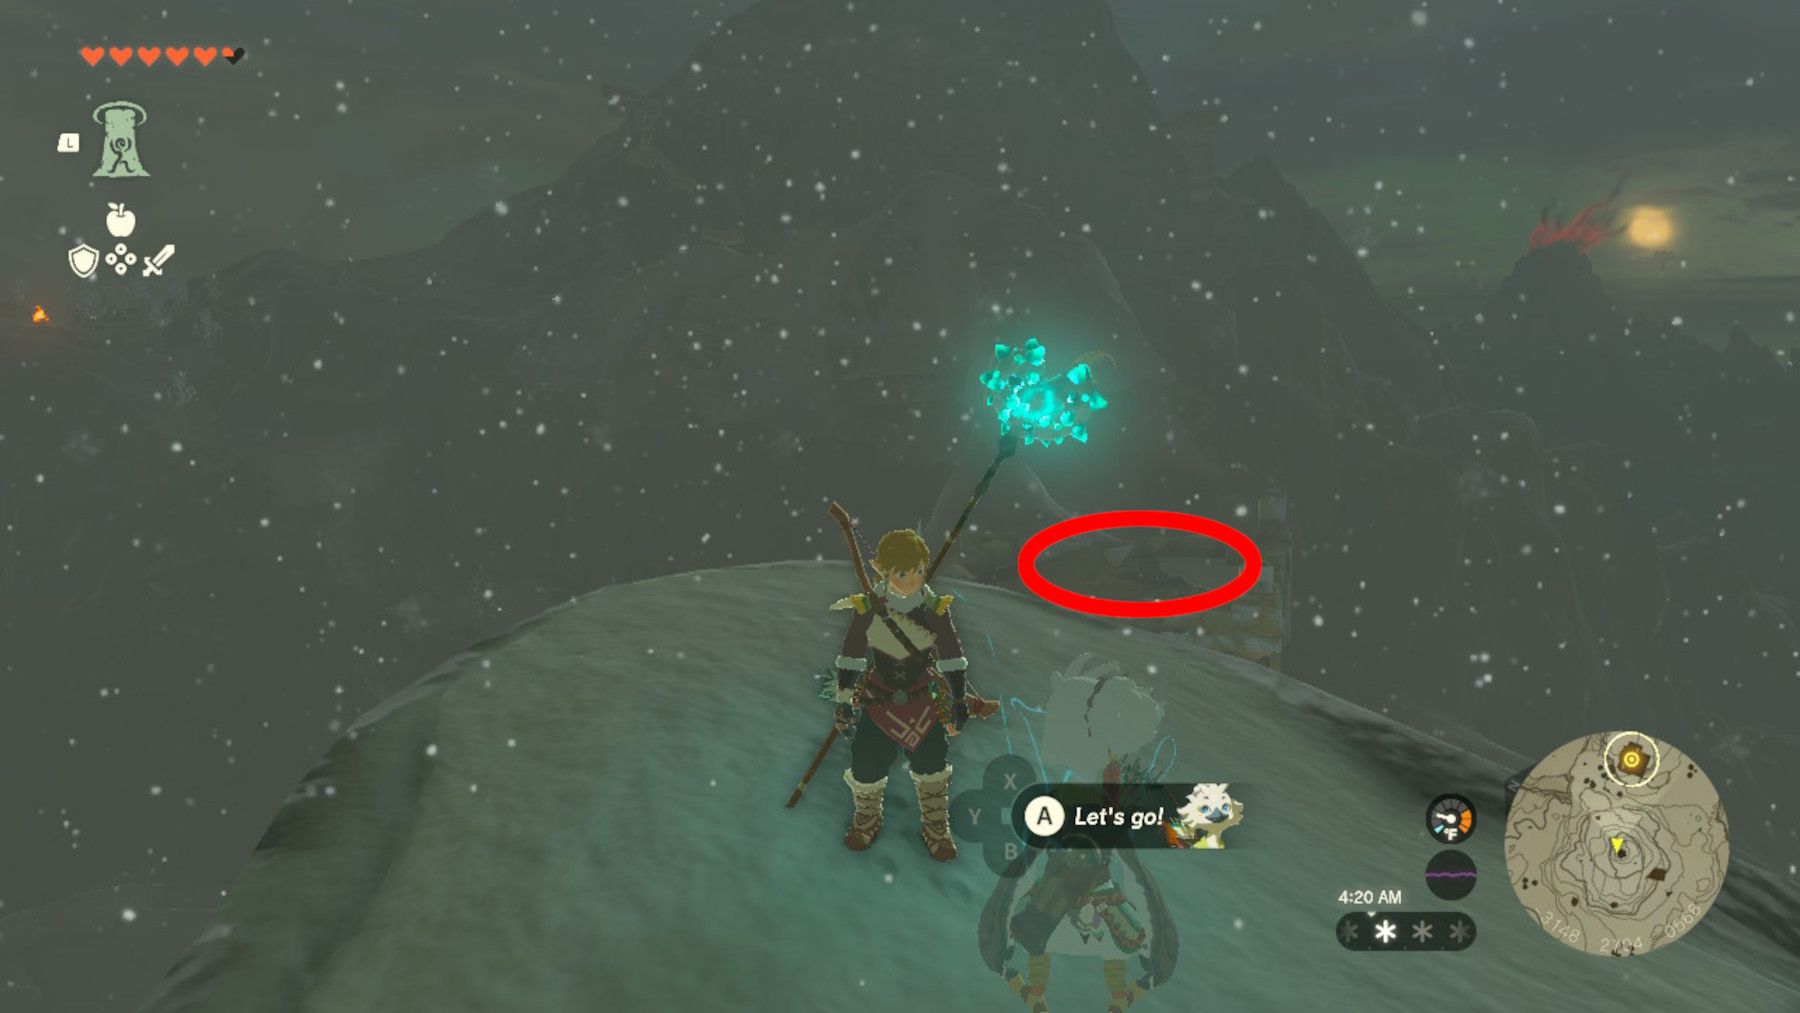
Once players meet Harth, they will be tasked with finding Tulin. Tulin can be found on Talonto Peak, located at coordinates -3152, 2688, 0567. While there are various routes that players can take to reach this location, we recommend the following path for a direct route.
4 Images
Close
.
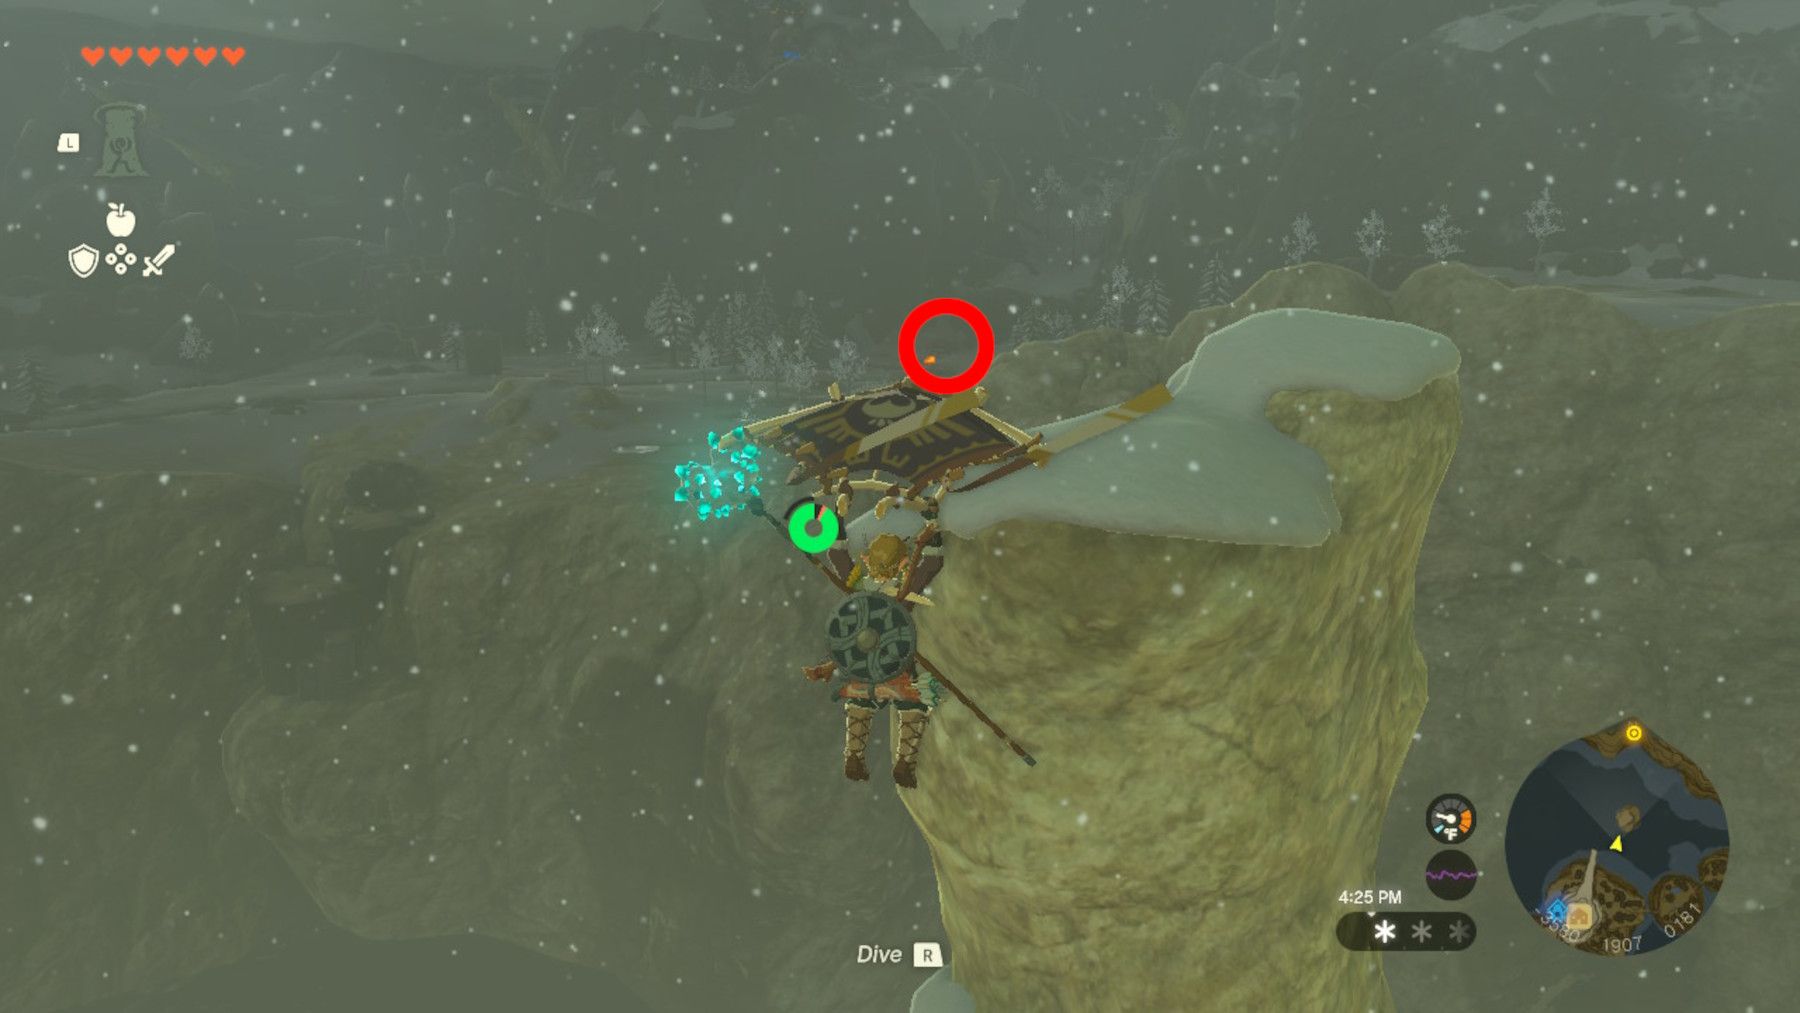
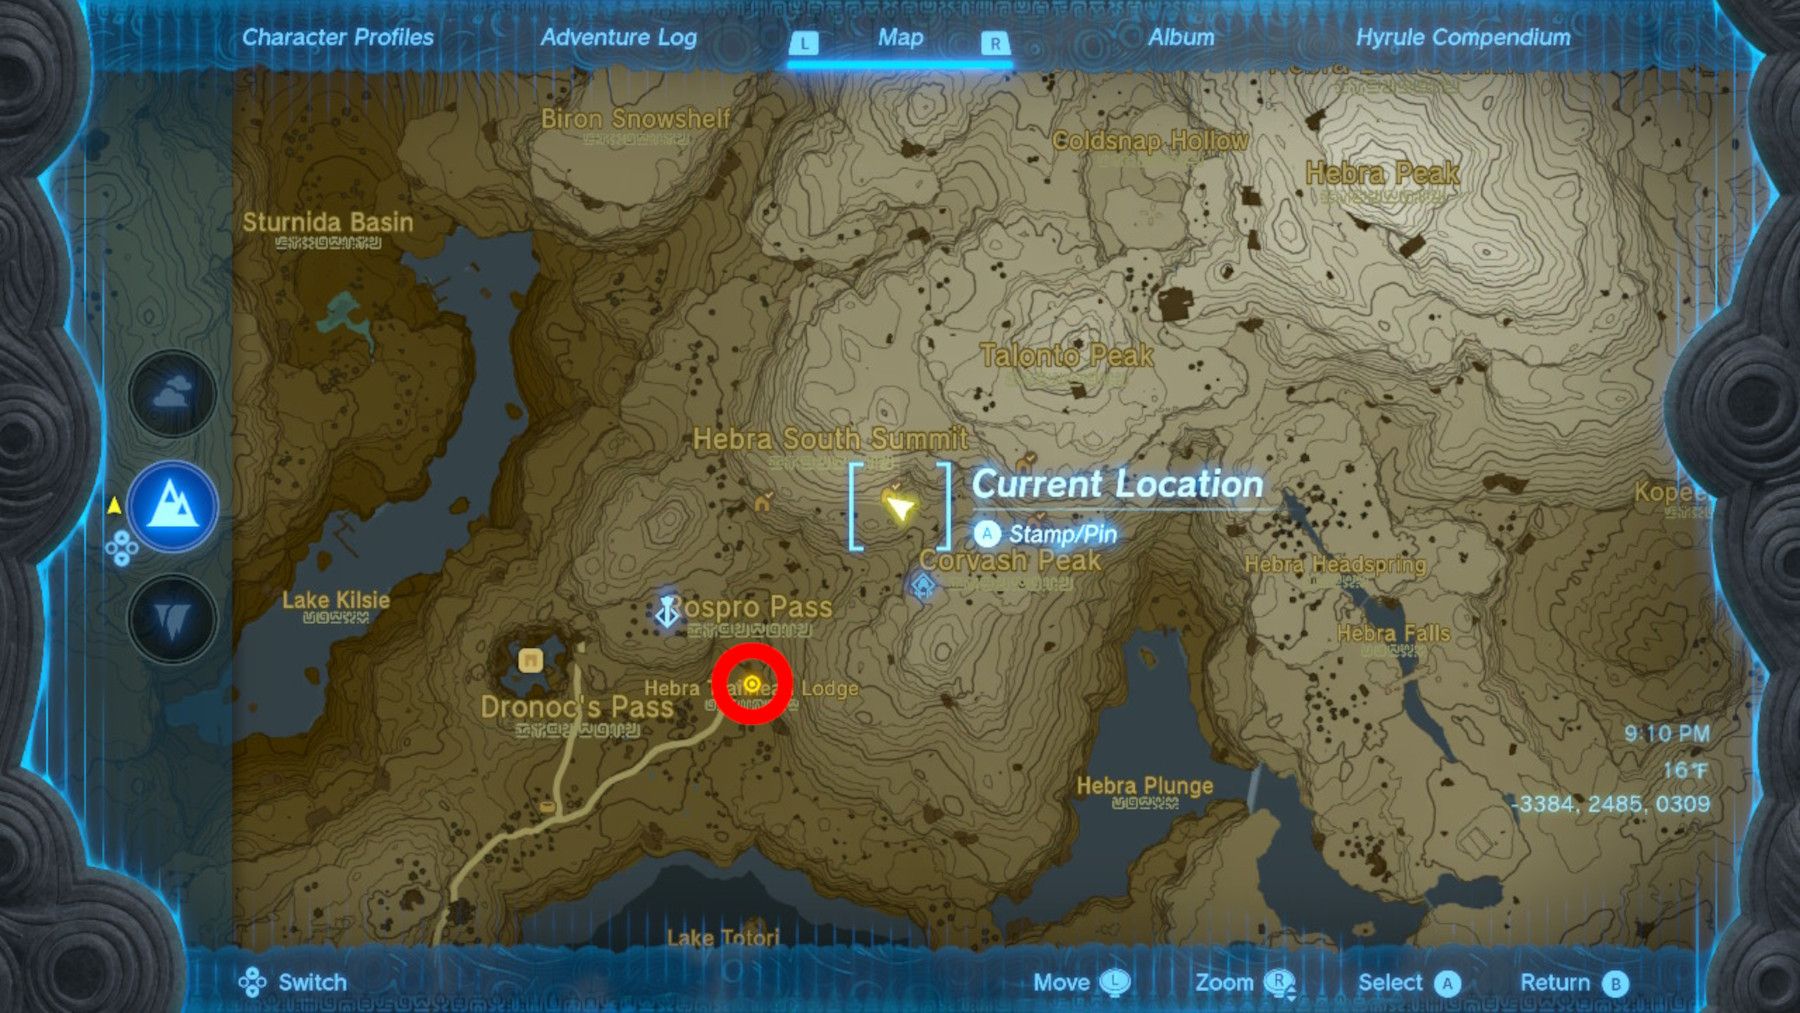
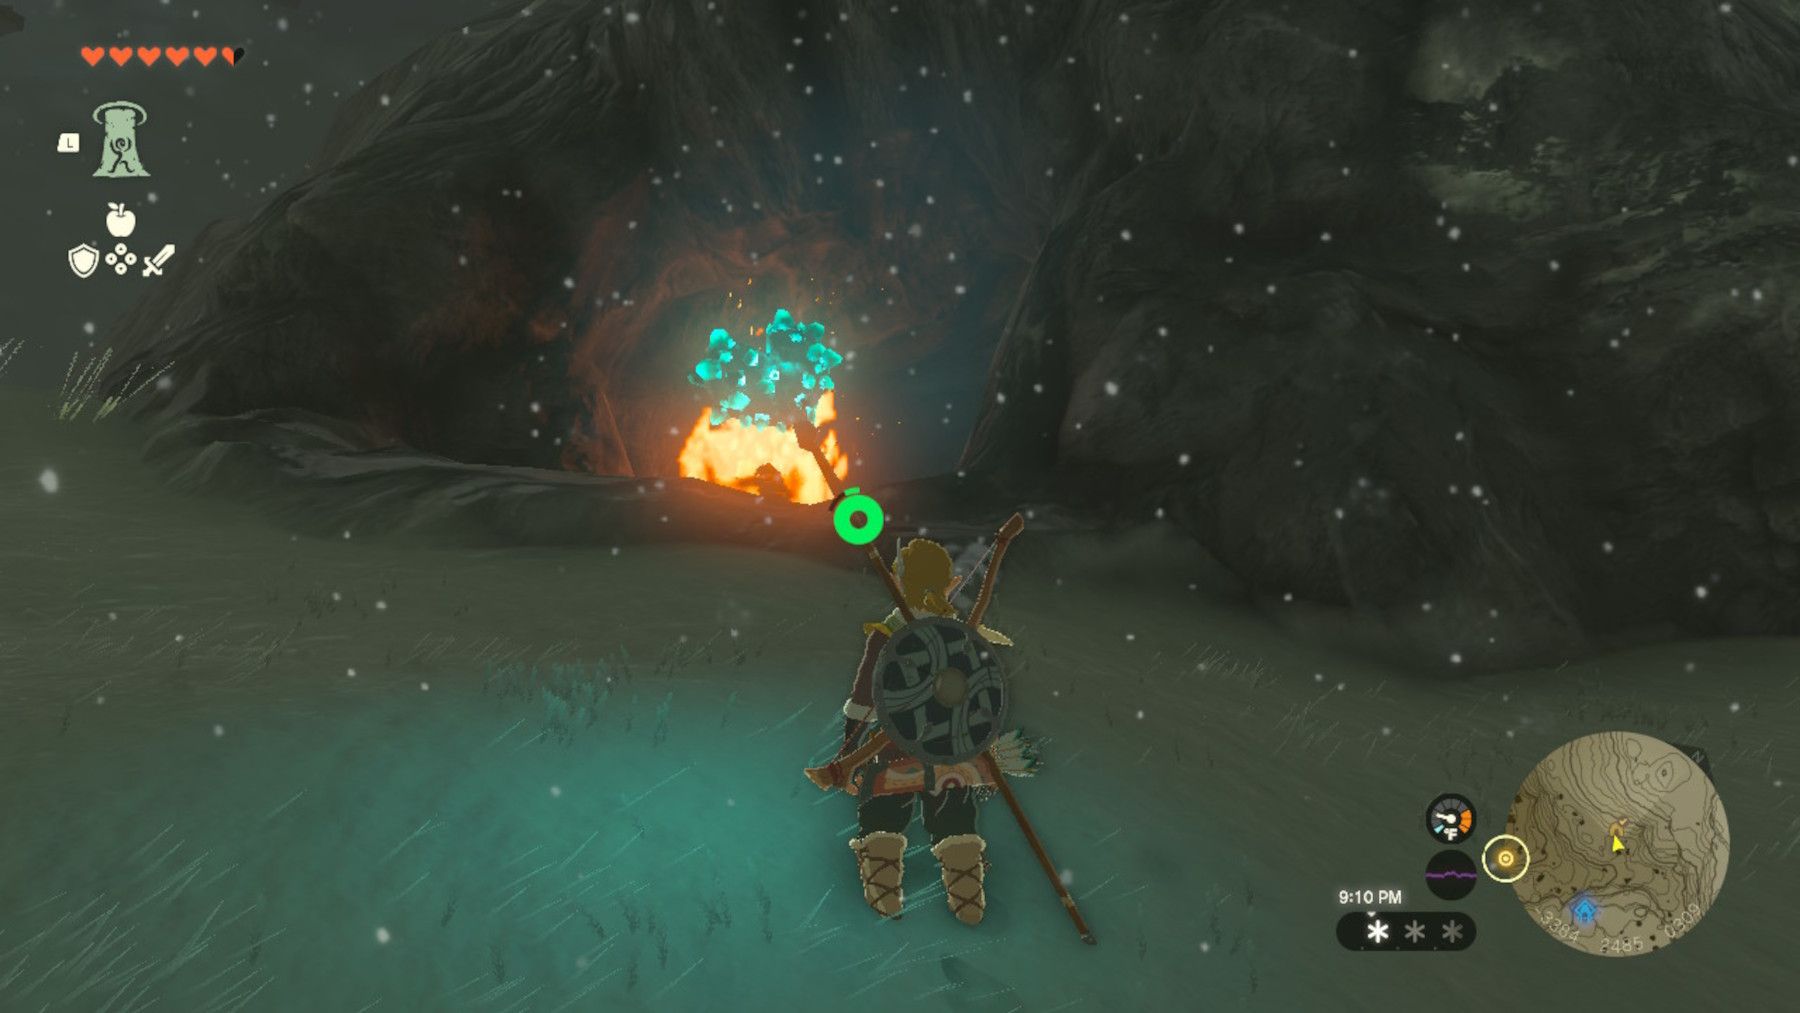
To reach the Hebra South Summit Cave, head northeast from Harth's lodge and make your way to coordinates -3384, 2485, 0309. Once inside the cave, you'll need to climb upwards. Be sure to bring Fire Fruit with you to burn away any thorns blocking your path. As you ascend, take in the stunning scenery around you. The cave is home to some truly breathtaking views, so don't forget to pause and appreciate them. And be sure to keep an eye out for any surprises that may be lurking around the next bend.
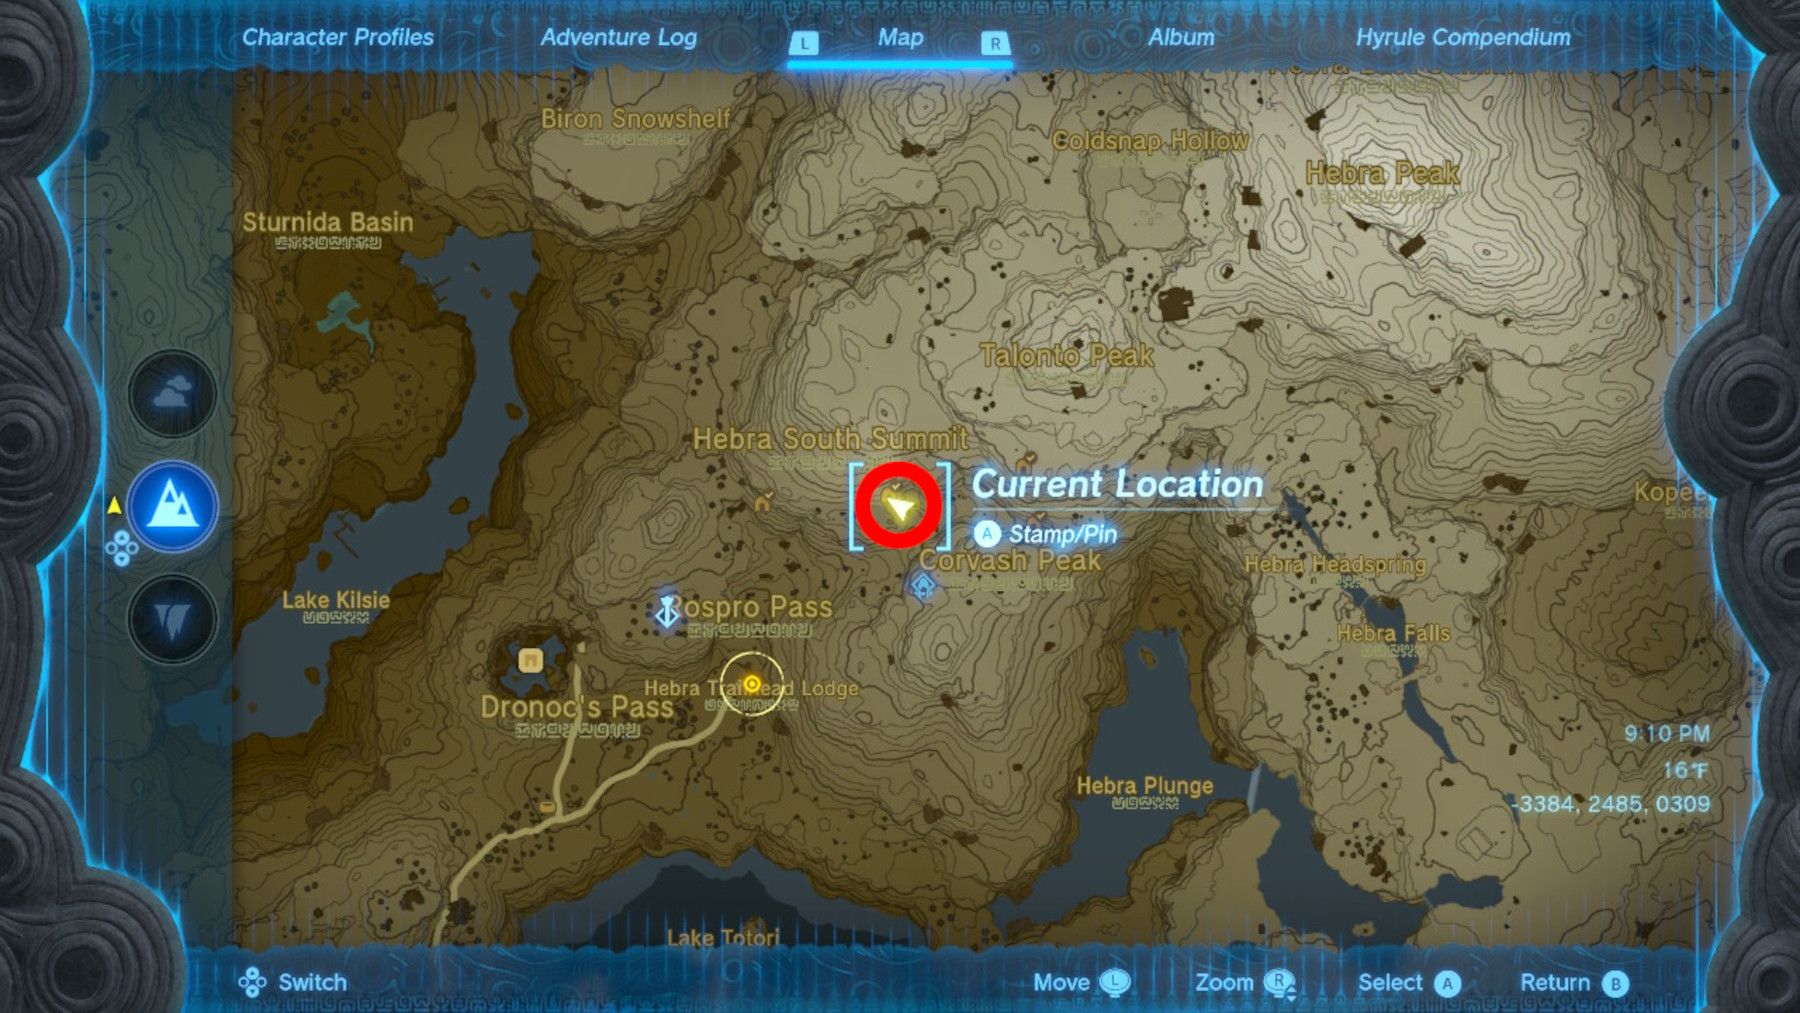
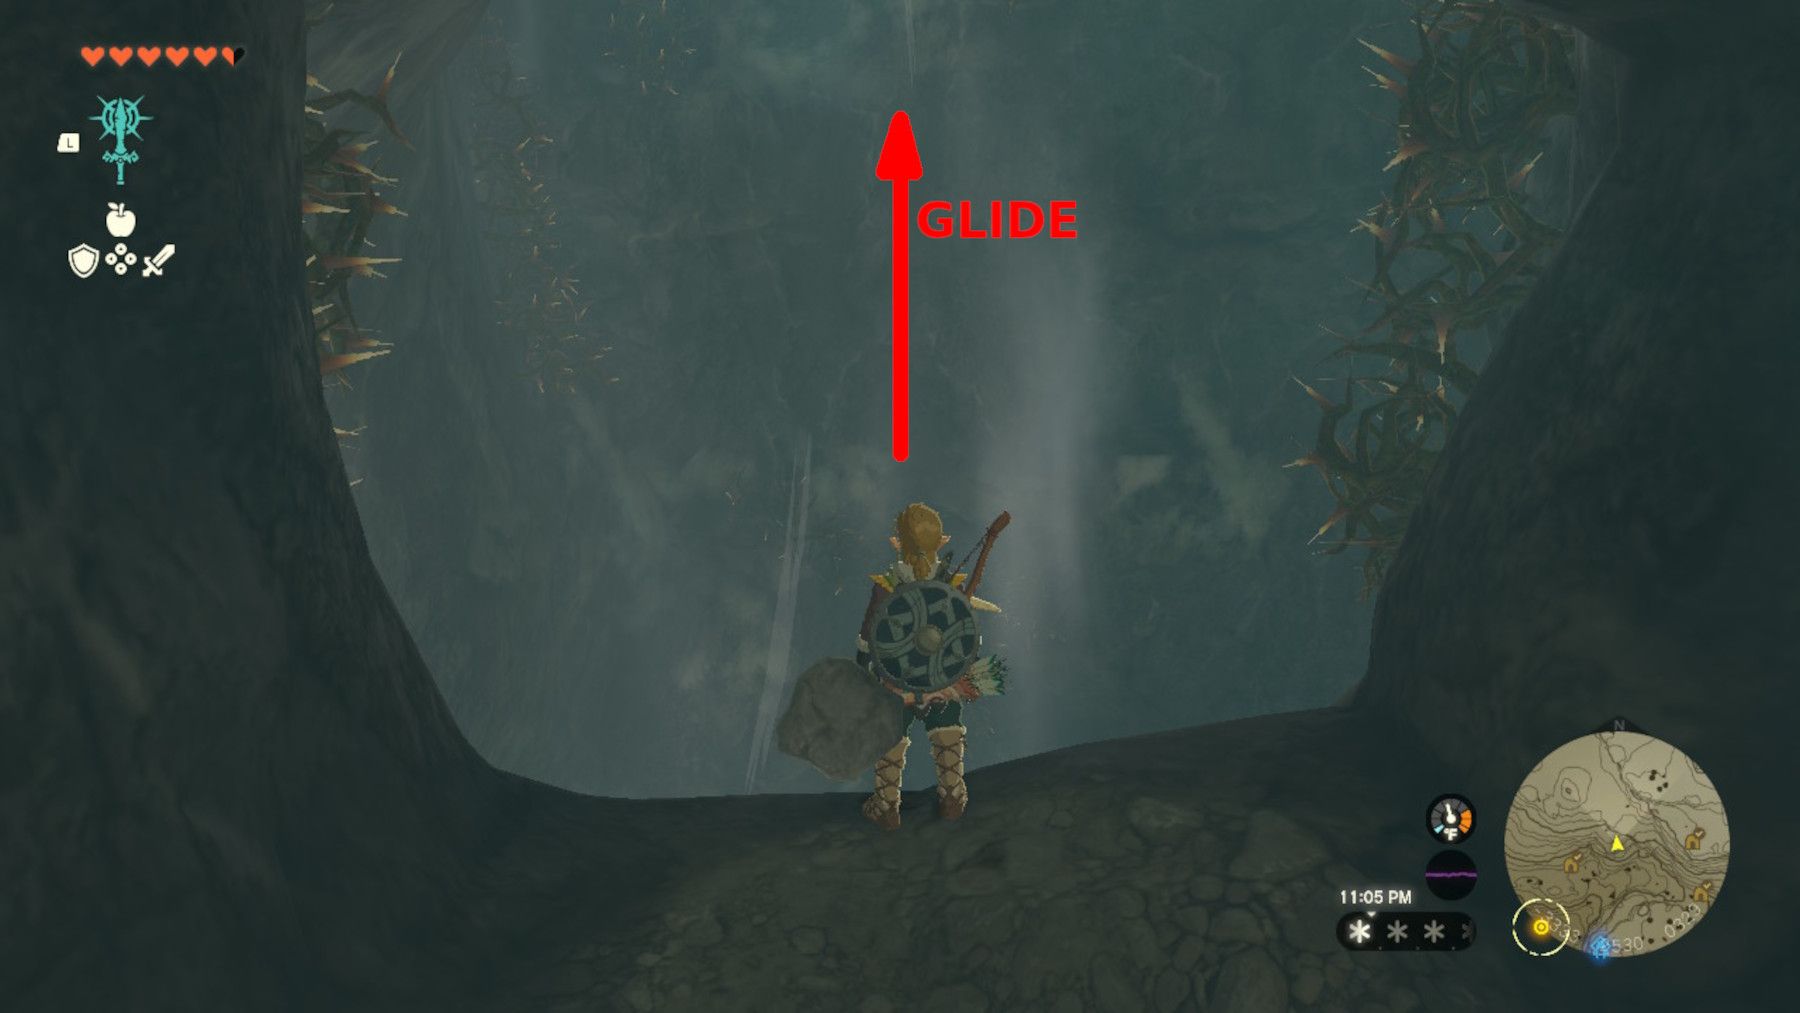
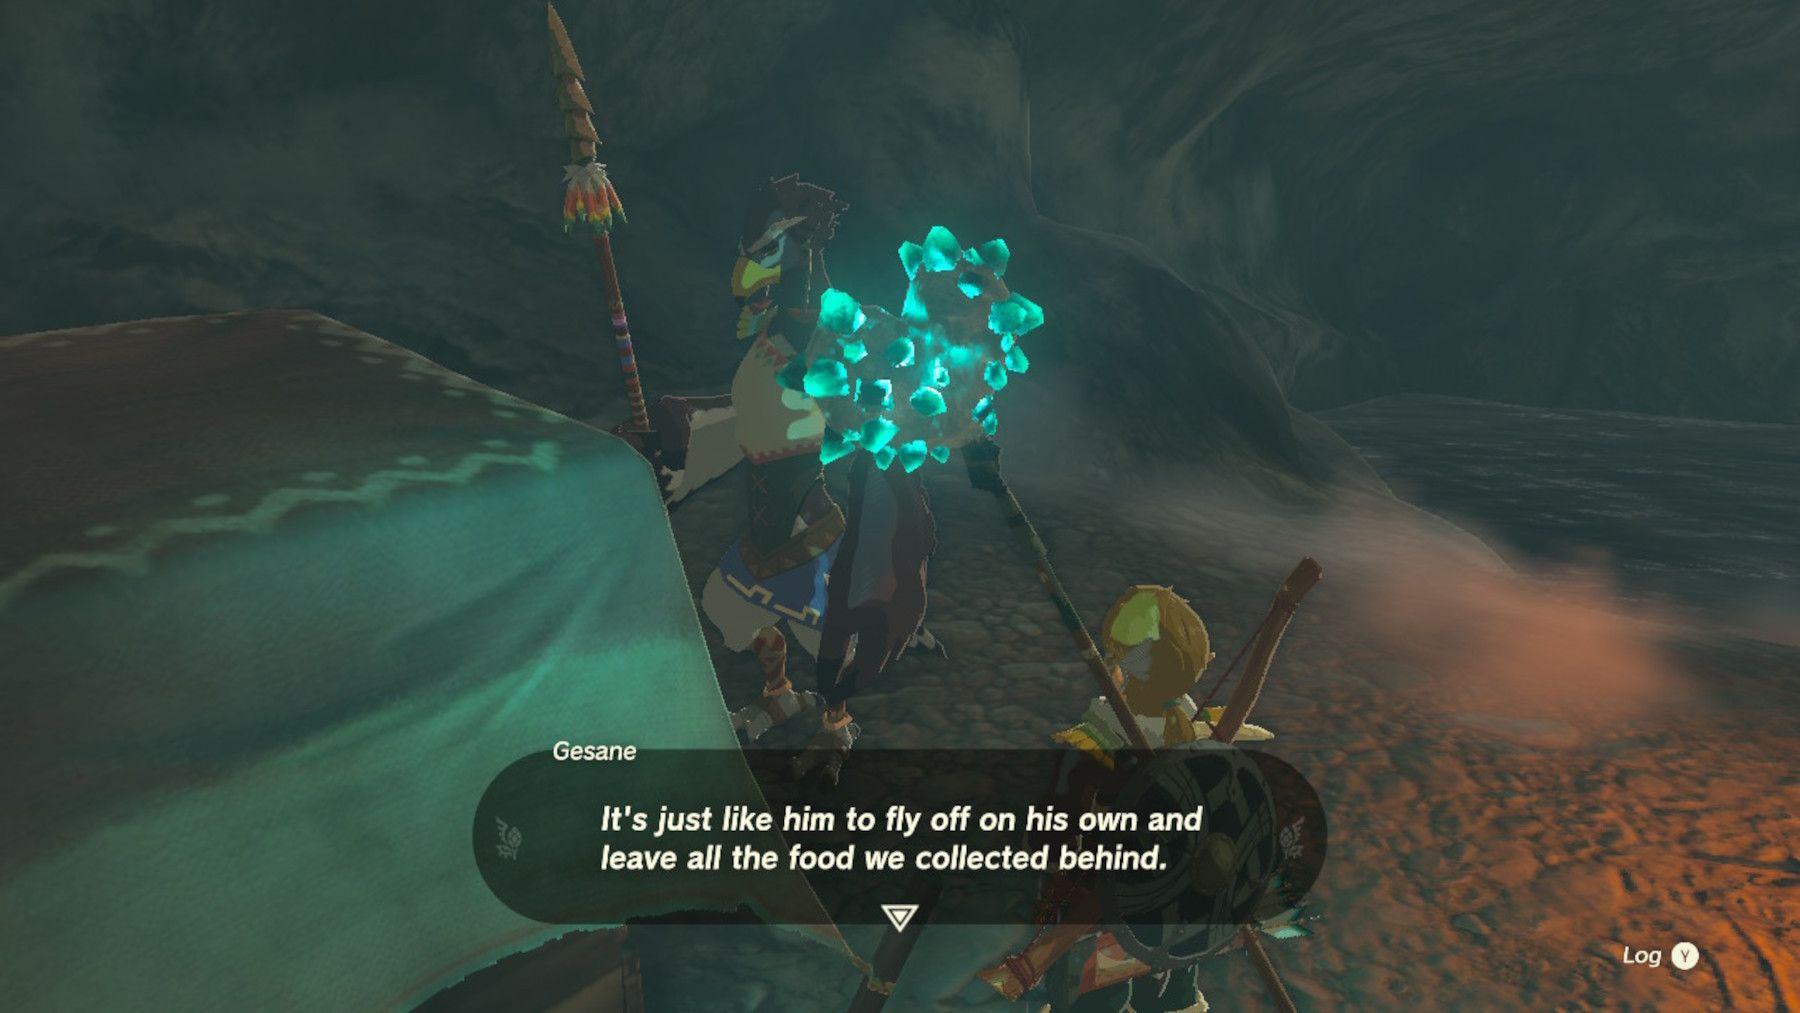
Ascend further to reach the exit after locating Gesane. Head north towards the "lone cedar tree on Talonto Peak" and use the Ascend ability whenever possible.
Retrieve Tulin's Bow
There are two images that showcase this location:
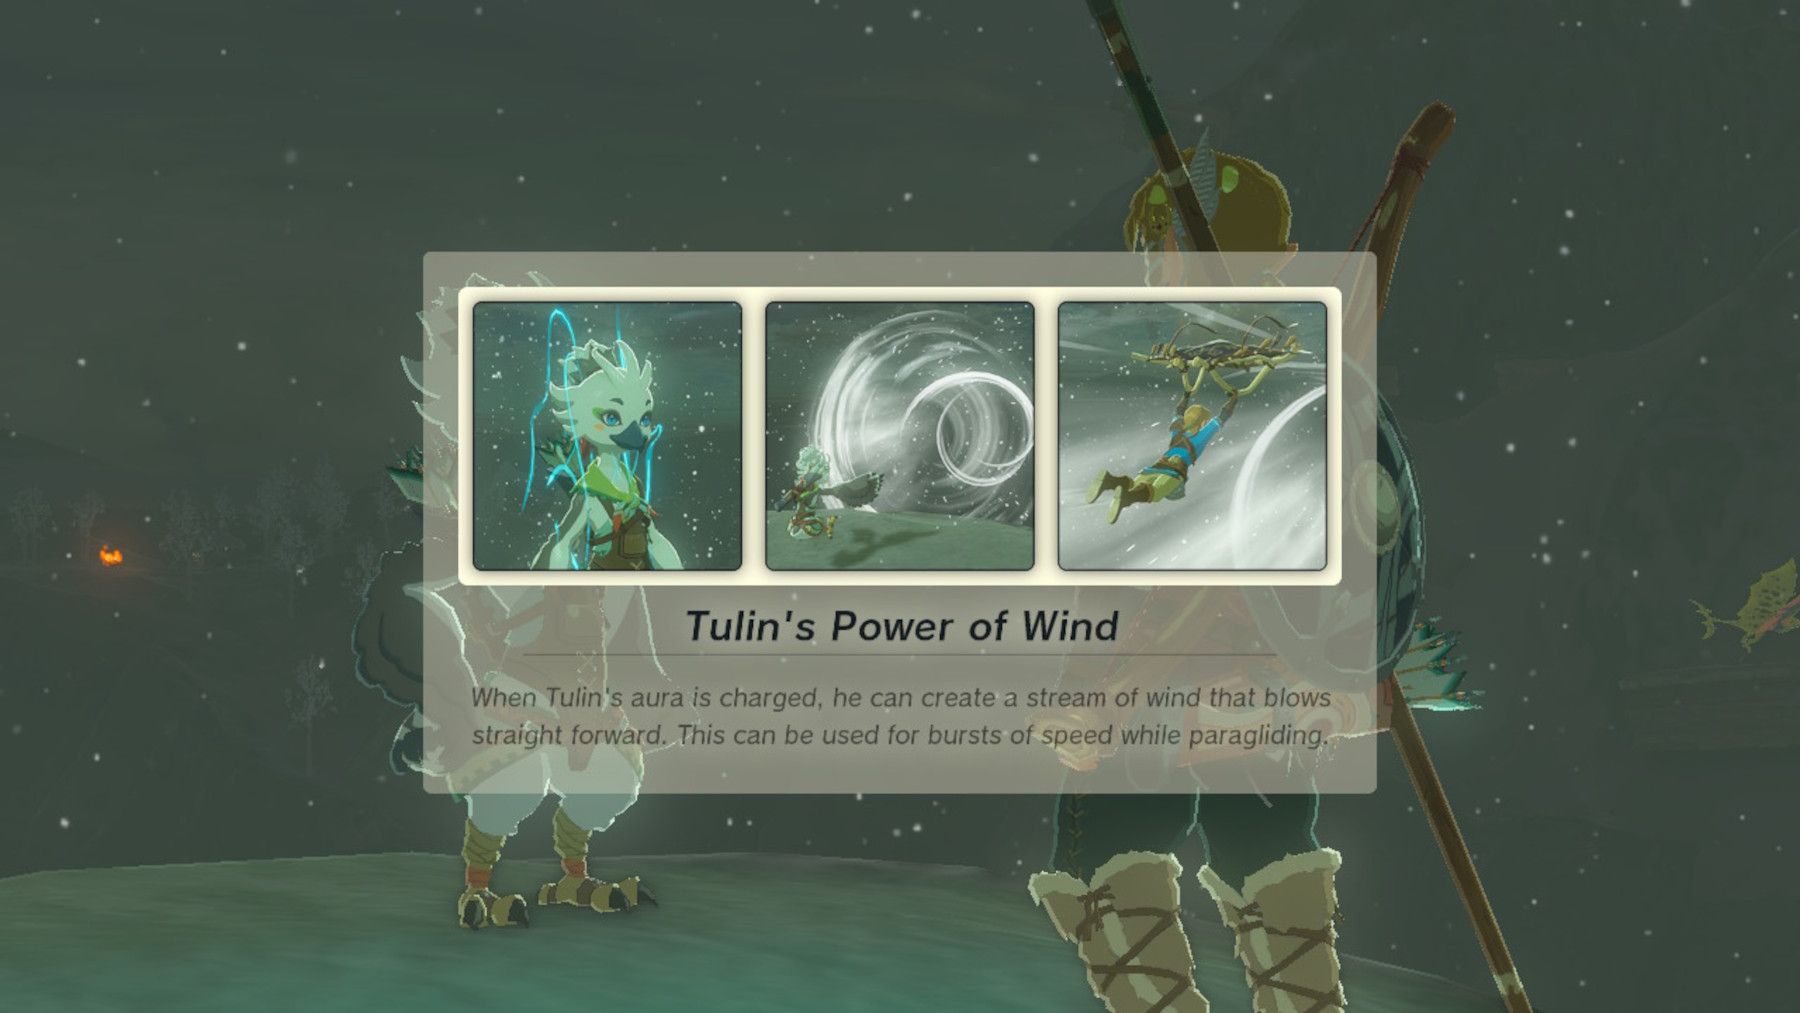
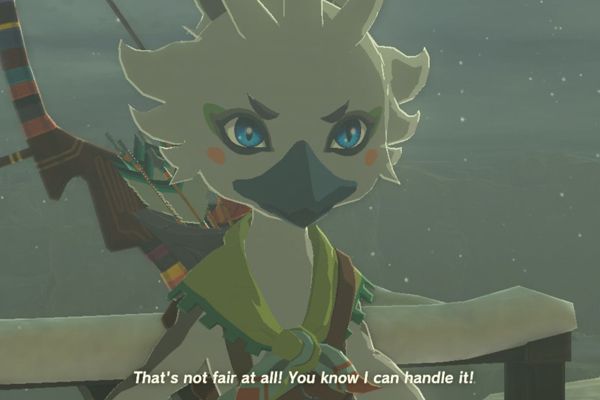
After finding Tulin, players will unlock his Gust ability, which allows for easy gliding across long distances. To activate the ability, players must interact with the Rito and then Tulin himself to activate the Gust ("Let's go!" followed by "Gust!"). With this ability, players should head eastward, land on a nearby platform, and shoot an arrow at the flying monster to retrieve Tulin's bow.
Next, players must focus on reaching the Sky Islands. They can make use of Tulin's Gust ability and TotK's Ascend ability to climb up. To follow a recommended path, players should Gust northeastward to a series of stone platforms embedded into a cliff face. From there, they can Gust across to coordinates -2939, 2872, 0557 and Ascend.
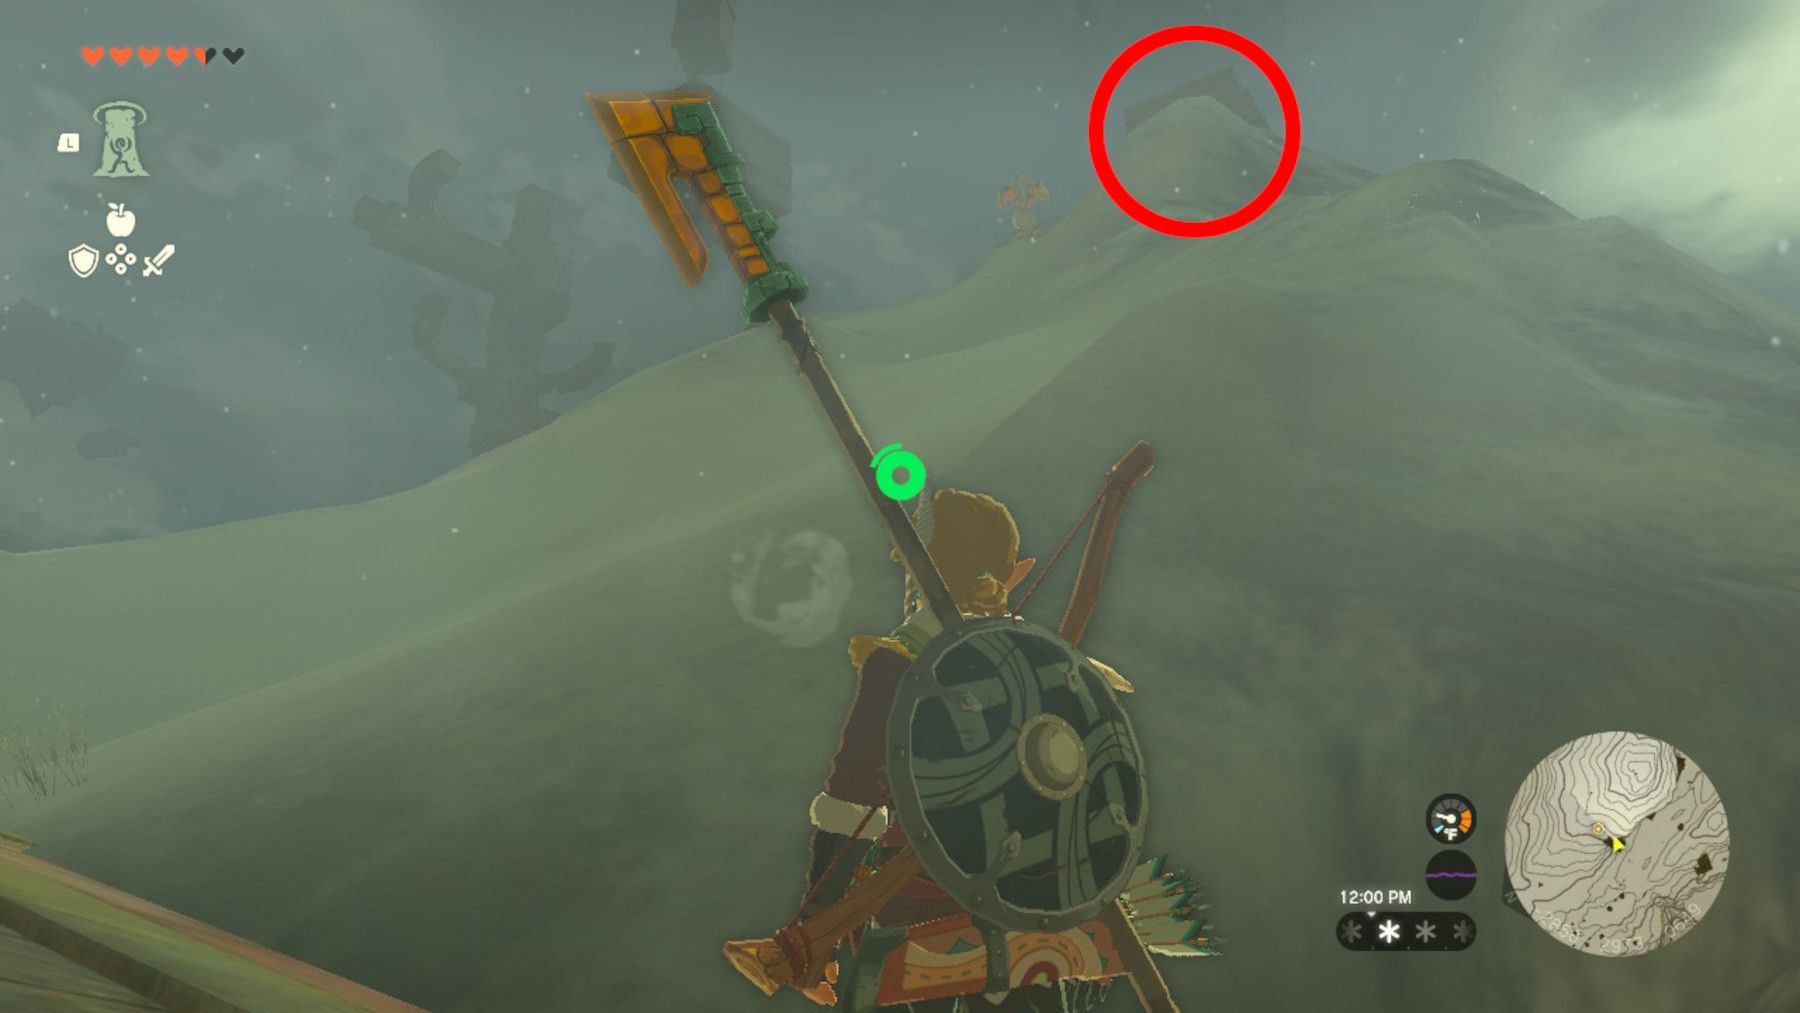
Walk towards the northeast direction until you reach a spot that gives you a clear view of a small enemy camp. Use the gust ability to reach the platforms located on the east cliff face. Proceed by climbing up and ascending until you have scaled all the platforms. Finally, perform another ascend near coordinates -2856, 2971, 0630 to complete the task.
3 Images
Close
Head south and climb the stone structure located near coordinates -2784, 2893, 0738. From there, move towards the east and use Gust and Ascend as needed to reach the platform and climb into the Rising Island Chain.
Into the Cloud
Upon entering the Rising Island Chain, Zelda fans will receive instructions to enter the cloud. Although the climb may seem similar to previous ones, there are a few tricky areas to be aware of. For more information on these spots, refer to this route:
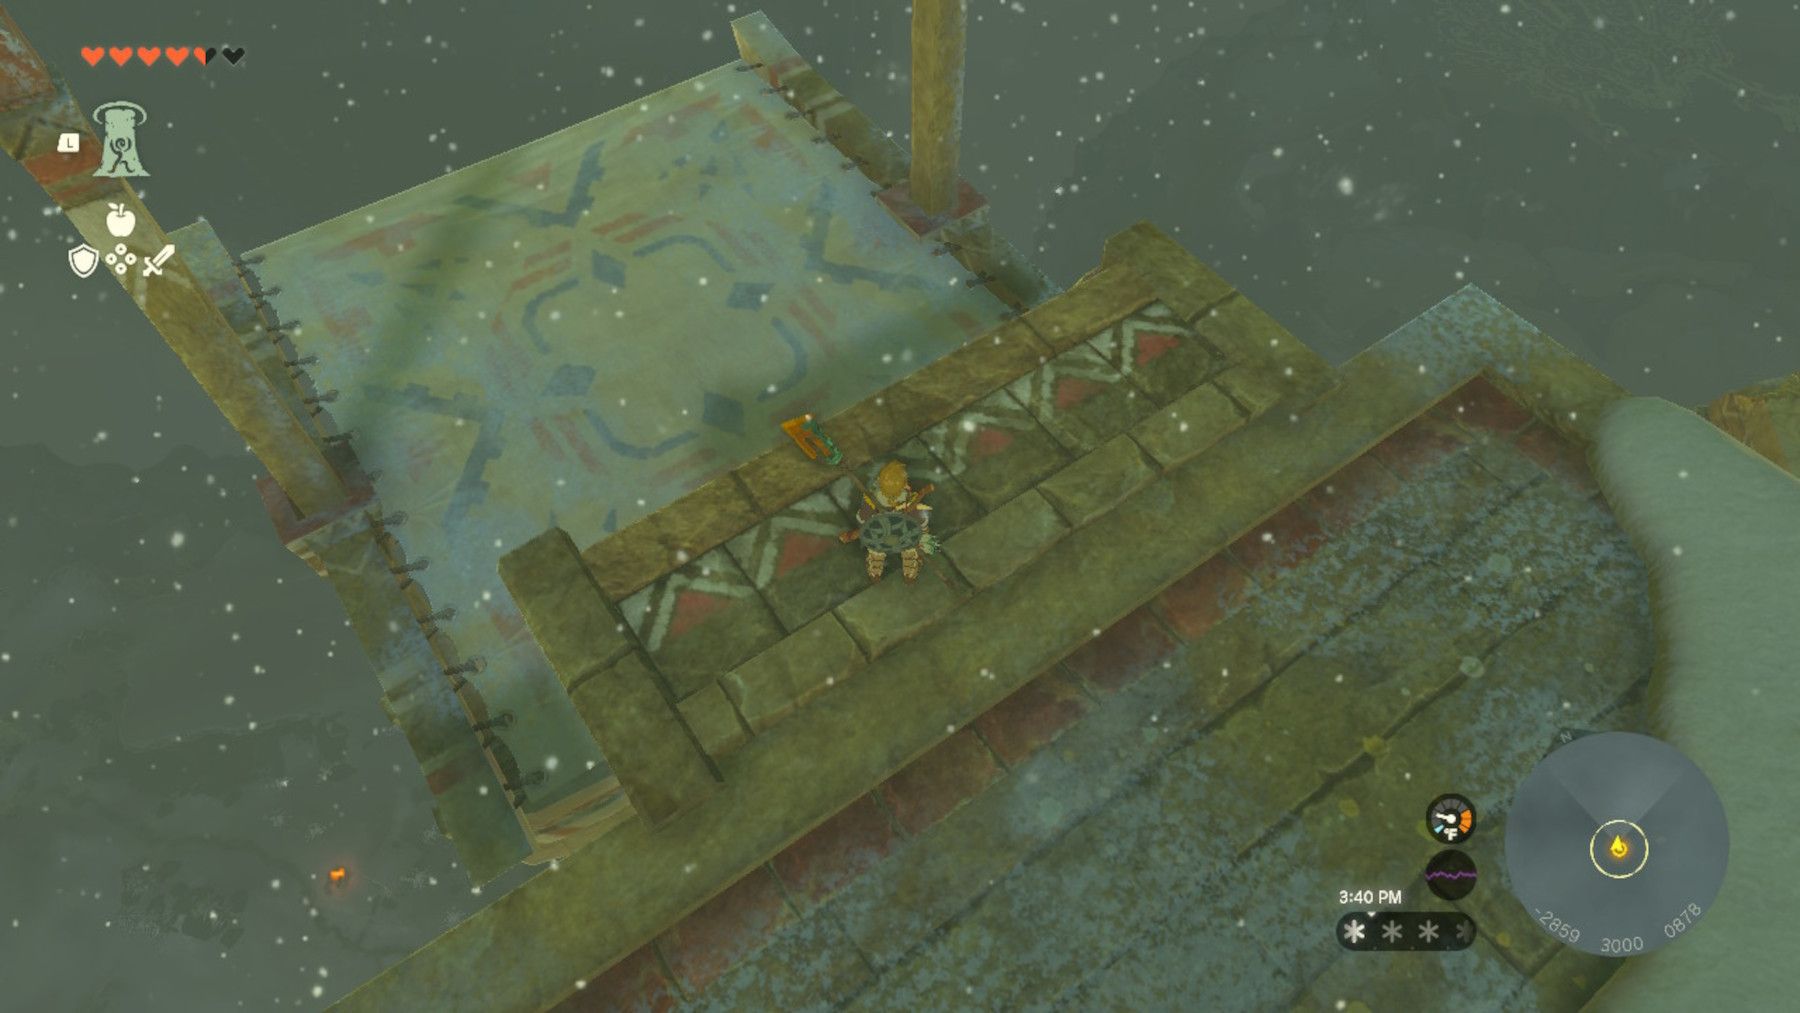
To reach the Mayaumekis Shrine, climb the stairs and jump onto the ship located at coordinates -2859, 3008, 0876. This will give you a boost that will allow you to glide towards your destination. Once you reach the shrine at coordinates -2938, 3050, 0896, activate it and continue northward by gliding, gusting, and climbing towards the second ship located at coordinates -3084, 3235, 0889. See images below for reference.

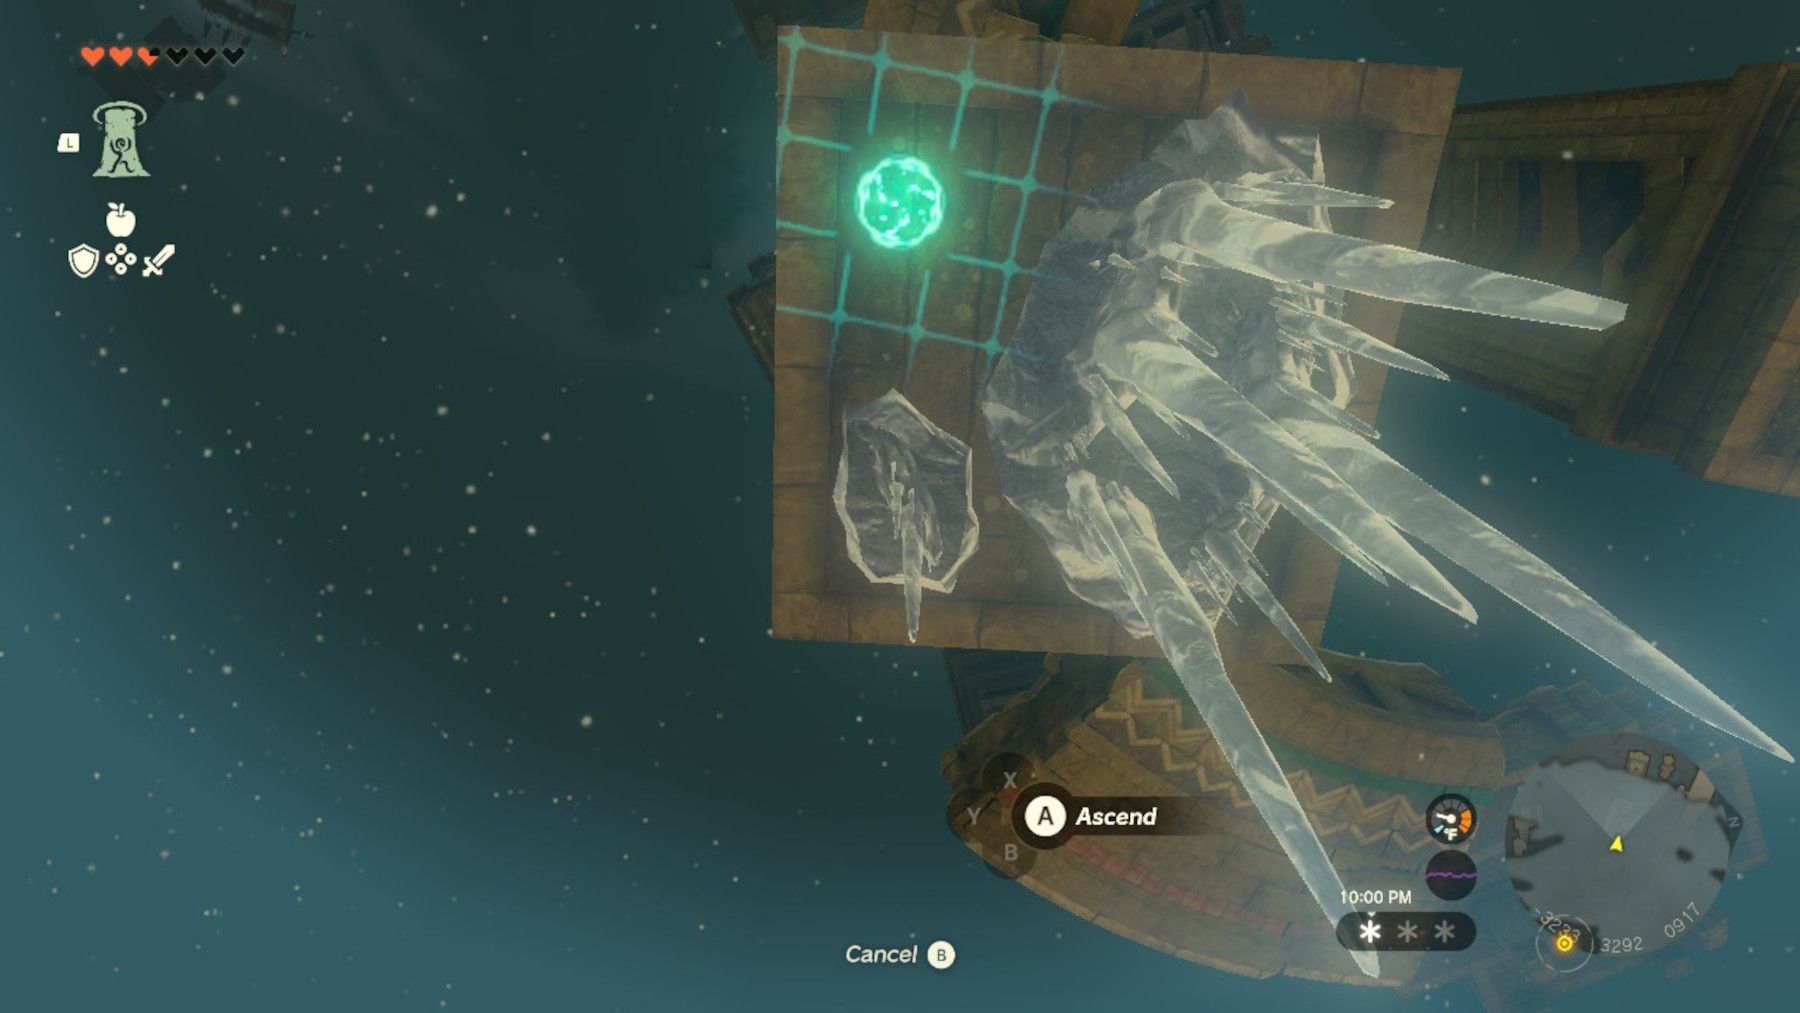
Use TotK's Ultrahand ability to stack the blocks or break the hanging icicles with arrows to clear the path and reach the platform above (coordinates -3231, 3322, 0913). From there, continue to cross platforms by gliding, gusting, and climbing. Don't forget to stay alert for any potential obstacles that may impede your progress.
After breaking through the ice at coordinates -3369, 3485, 0993, players will gain access to a bouncy ship. This strategy will need to be used multiple times as they continue to climb. Once past the ice-breaking section, players must bounce eastward across a couple of ships before resuming gusting, gliding, and climbing. However, at coordinates -3169, 3252, 1091, players will need to be cautious as the path will fall apart as they run across it.
To reach the next platform, climb to coordinates -3020, 3171, 1111 where you can find materials for crafting a hot-air balloon. Use Ultrahand to attach a Flame Emitter to a metal grate and place a balloon on top. Hit the device to send the balloon upward and glide to the platform at coordinates -2998, 3222, 1137. Once there, ascend through the vertical column, climb the structure at the top and bounce on the ship located at coordinates -3024, 3238, 1227. Glide westward by using the moving ships to reach the ice at coordinates -3198, 3356, 1205. Don't forget to check out the four images for visual guidance.
To access the Wind Temple, players need to break through the ice, bounce, and activate the Kahatanaum Shrine located at coordinates -3289, 3426, 1347. After bouncing on the ship found at coordinates -3297, 3385, 1366, players should gust and glide to bounce between the stationary and moving ships, working to get above the cloud. Once above the cloud, they can glide into the hole at the top to access the dungeon.
To complete the ultimate challenge in The Legend of Zelda: Tears of the Kingdom, players must face the Legendary Stormwind Ark. This task requires players to release five locks and defeat a boss, but don't worry if you find yourself stuck - simply refer to the full walkthrough of the Wind Temple. Once you reach the end of the temple, collect the Heart Container and interact with Tulin to trigger a cutscene that marks the end of the Tulin of Rito Village main quest. The game is exclusively available on the Nintendo Switch.