Master the Siwakama Shrine Challenge with These Sphere Moving Tips in Zelda: Tears of the Kingdom
Siwakama Shrine in Zelda: Tears of the Kingdom is a must-play level for any gamer This Ultrahand/Recall-based shrine introduces new movement mechanics that will challenge even the most seasoned players Follow our walkthrough for a step-by-step guide on how to solve the puzzles and uncover the treasure chest
Siwakama Shrine challenges players to utilize the Ultrahand and Recall abilities from The Legend of Zelda: Tears of the Kingdom, which work in tandem to solve various puzzles scattered throughout Hyrule. Successfully completing this Shrine puzzle will reward players with a Light of Blessing, which can be traded in by Link for either a Heart Container or a portion of a Stamina Wheel. Keep reading to discover the solution to Siwakama Shrine and uncover the location of the Treasure Chest.
Siwakama Shrine Location in TotK
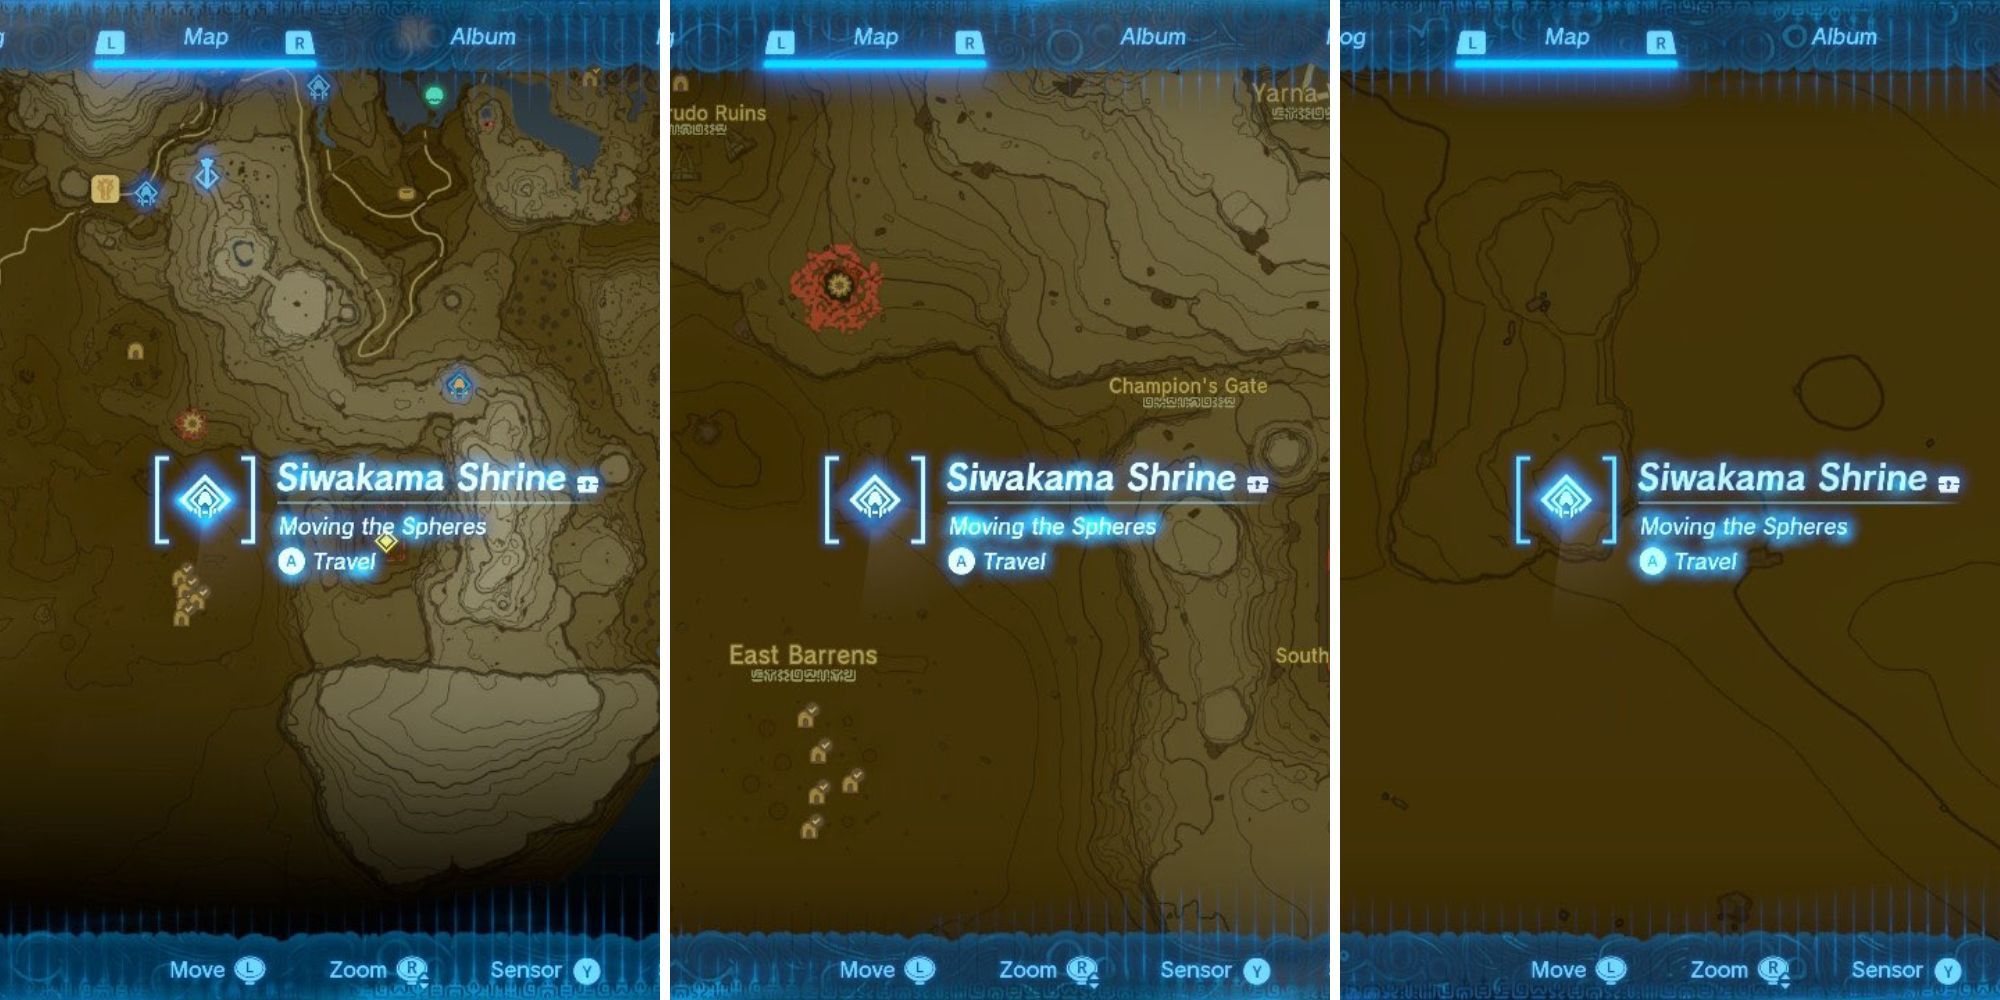
Hidden deep in the Gerudo Region lies the Siwakama Shrine, accessible by paragliding almost directly south from the top of Gerudo Canyon Skyview Tower. Requiring minimal stamina to reach, the shrine is visible from above, making it easy to locate and follow. Its exact coordinates are -2446. -3344, 0056.
Siwakama Shrine Solution in TotK
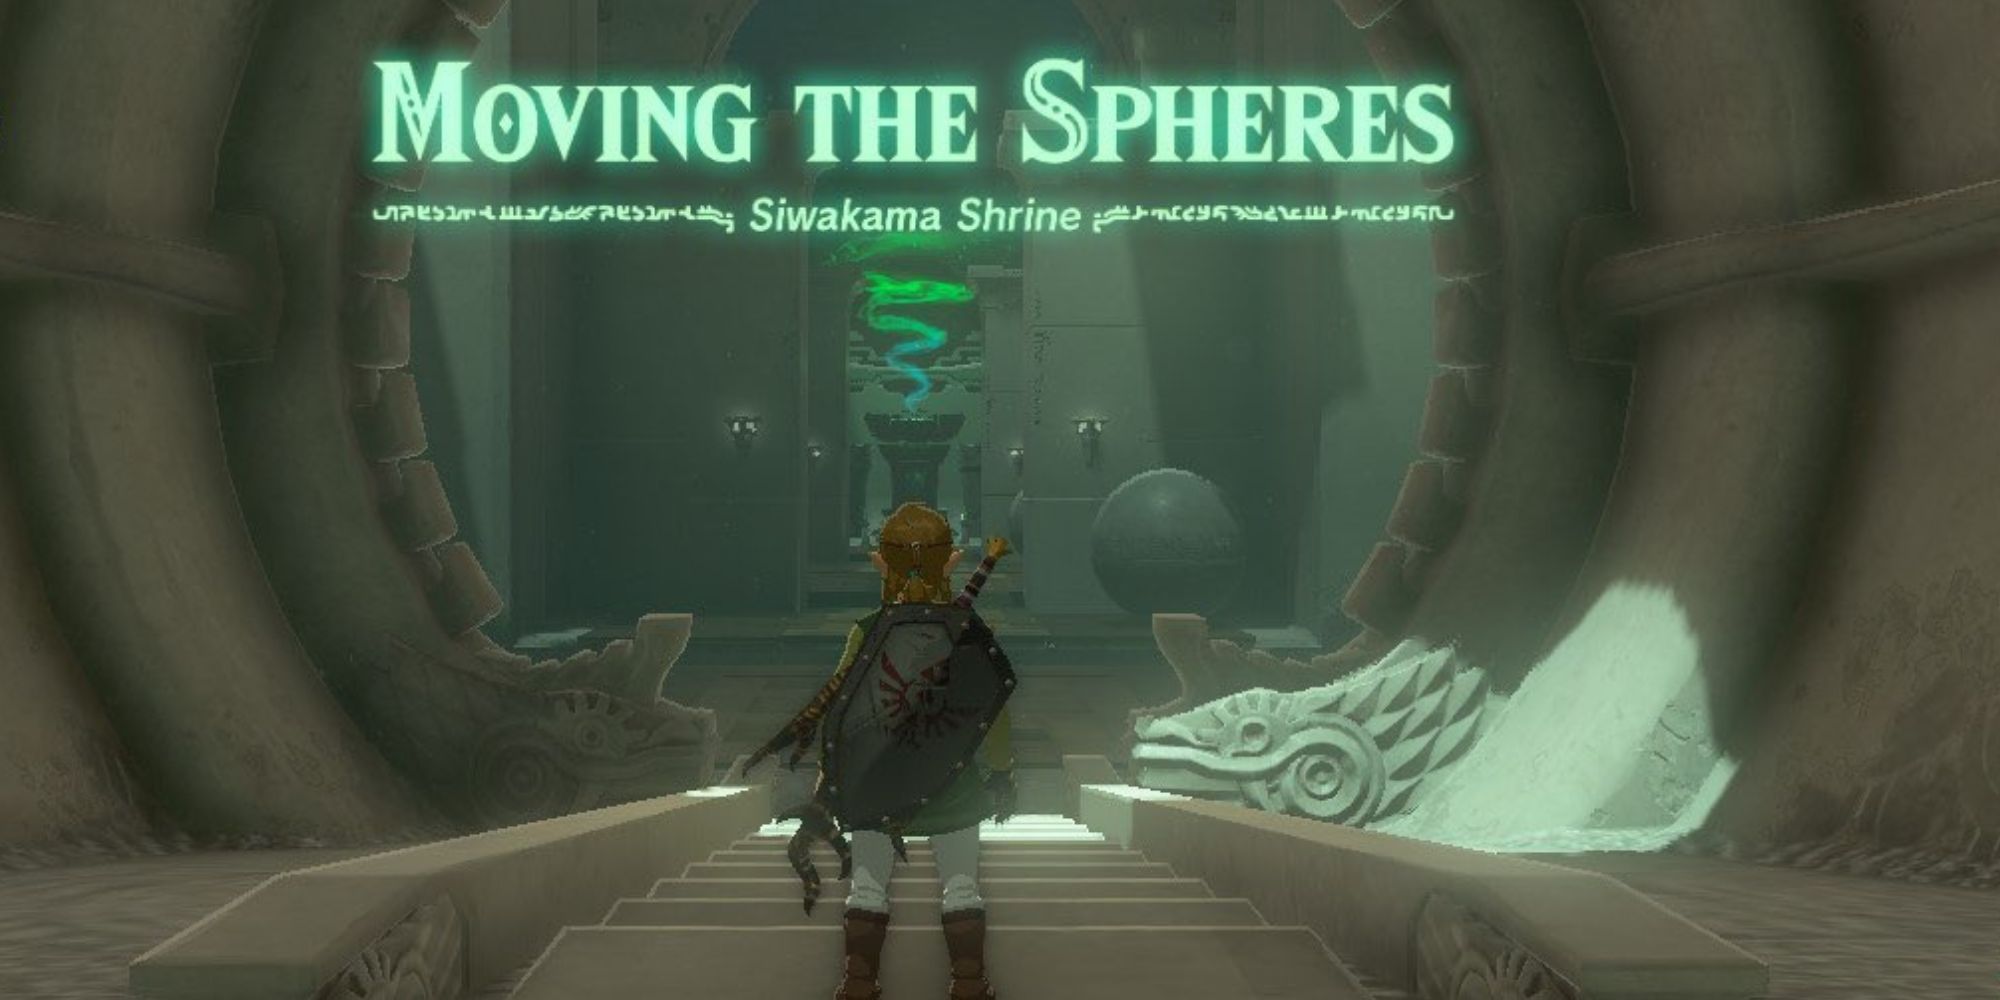
Siwakama Shrine (Moving the Spheres) features a trio of puzzles that center around the manipulation of spheres. These challenges require players to move the spheres in order to progress. While players have the ability to remove the spheres from the Shrine using the Fuse ability, it is important to exercise caution and only do so once the spheres have been safely crossed.
Puzzle 1
To progress through Siawakama Shrine, players must overcome a series of puzzles. The first puzzle serves as an introduction to the mechanics employed throughout the shrine. It is relatively easy to solve, requiring players to use Ultrahand to move a sphere into the center of a platform, allowing them to cross to the other side.
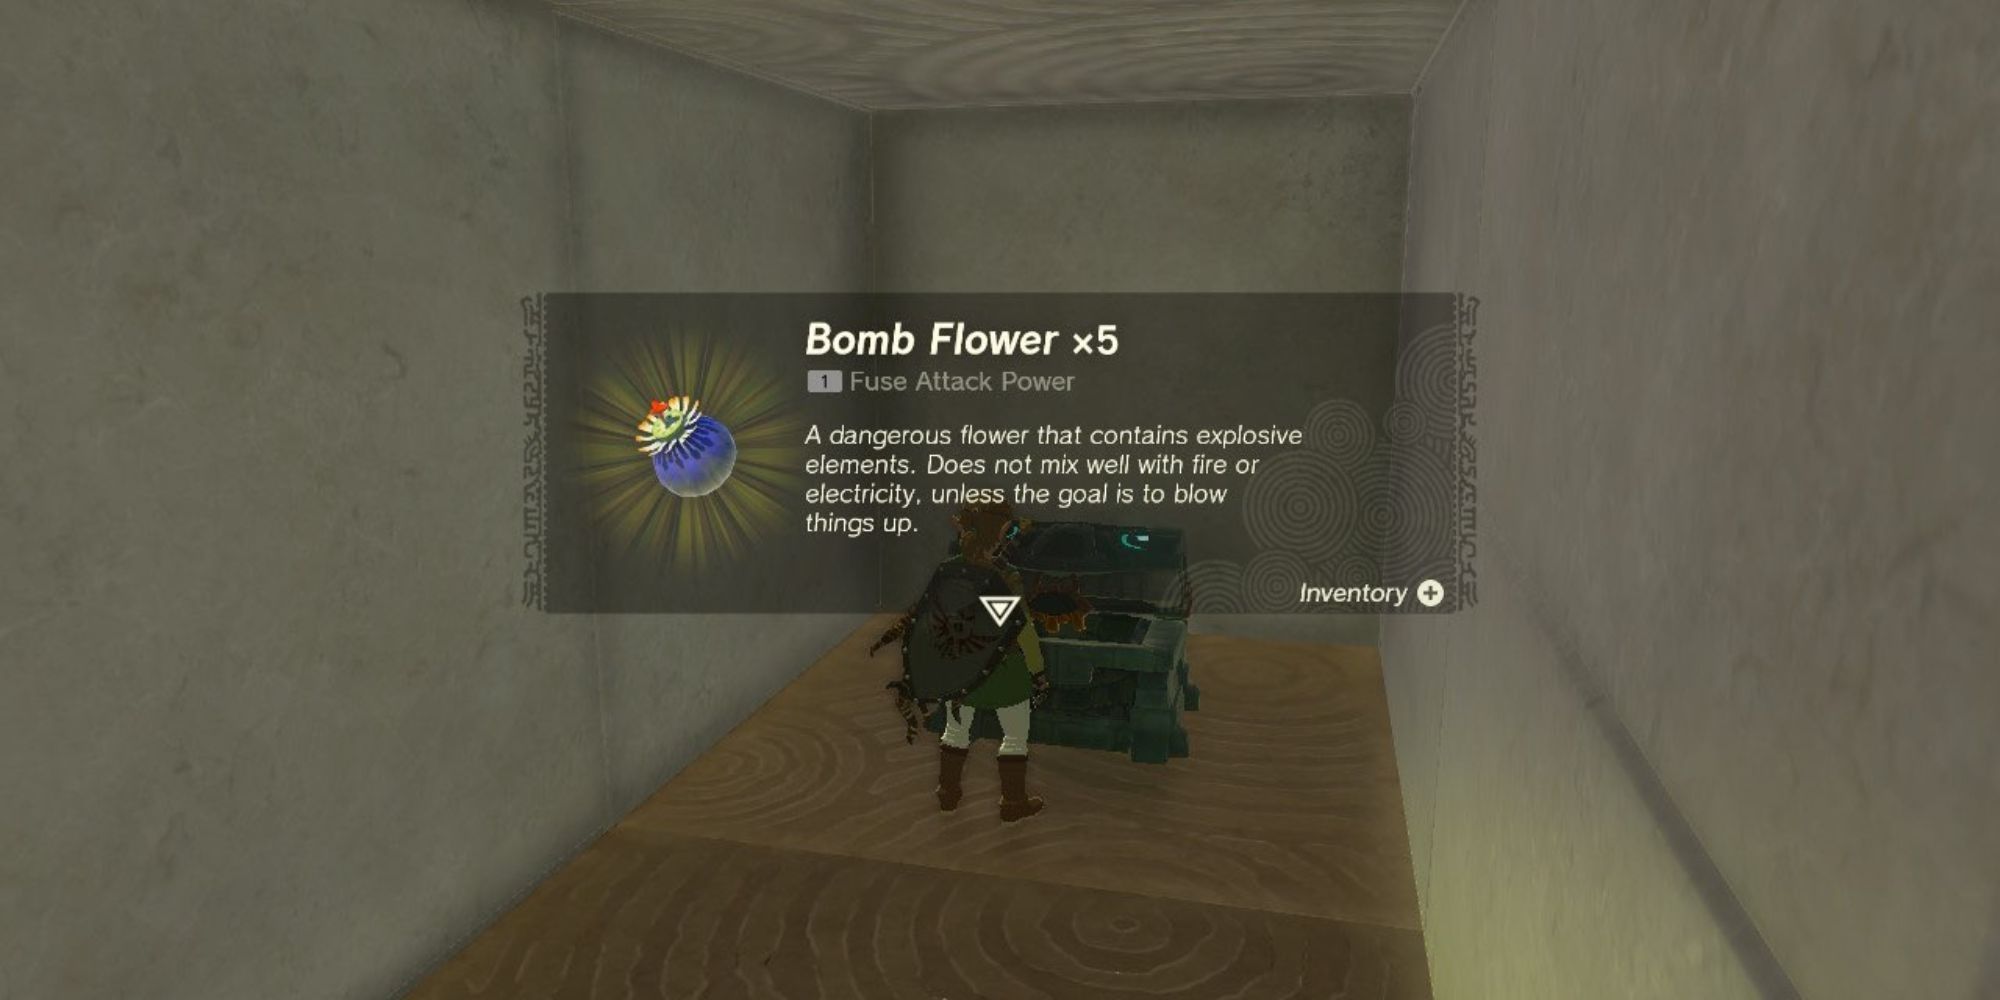
Players can continue to the second puzzle before tackling this one. To the right of the puzzle, there is a section of breakable rocks that can be destroyed with Bomb Flowers, Time Bombs, or a sturdy club. Inside the Treasure Chest that is revealed, players will find five Bomb Flowers that may come in handy for solving the initial puzzle. Don't forget to grab them before moving on!

Puzzle 2
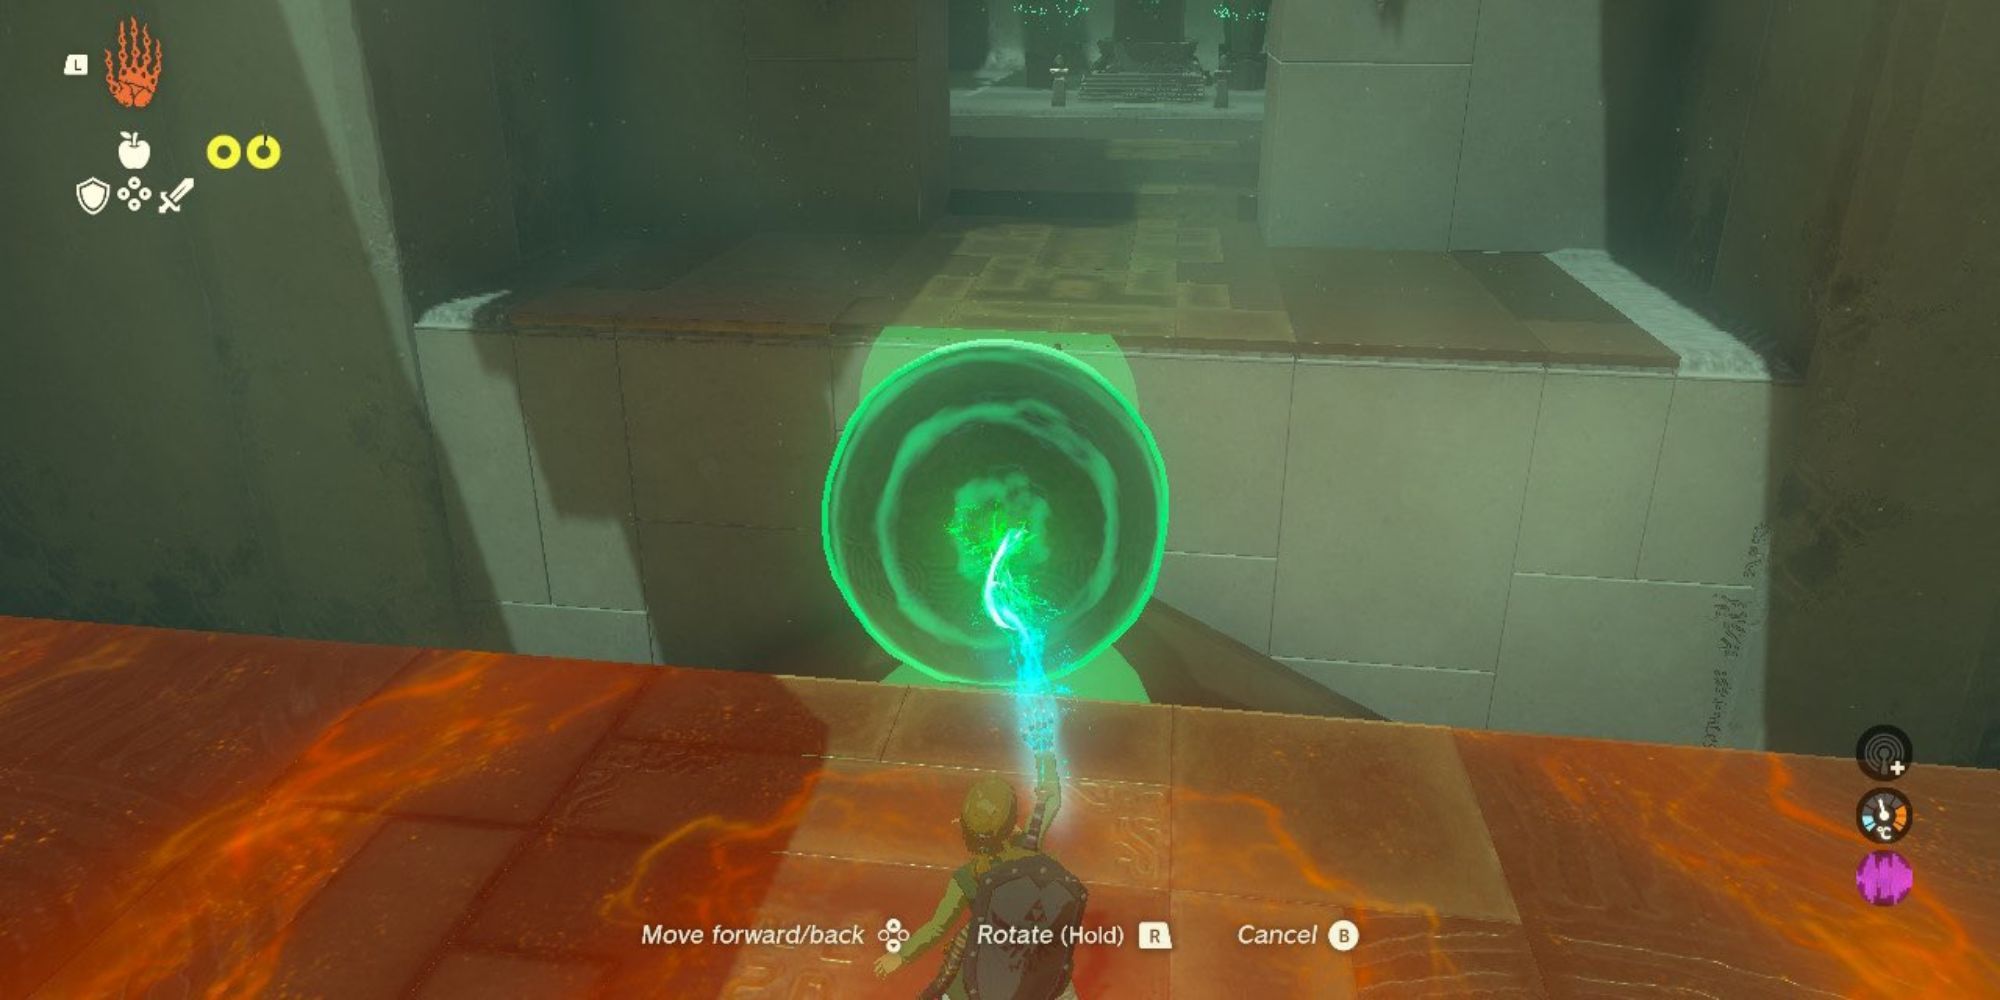
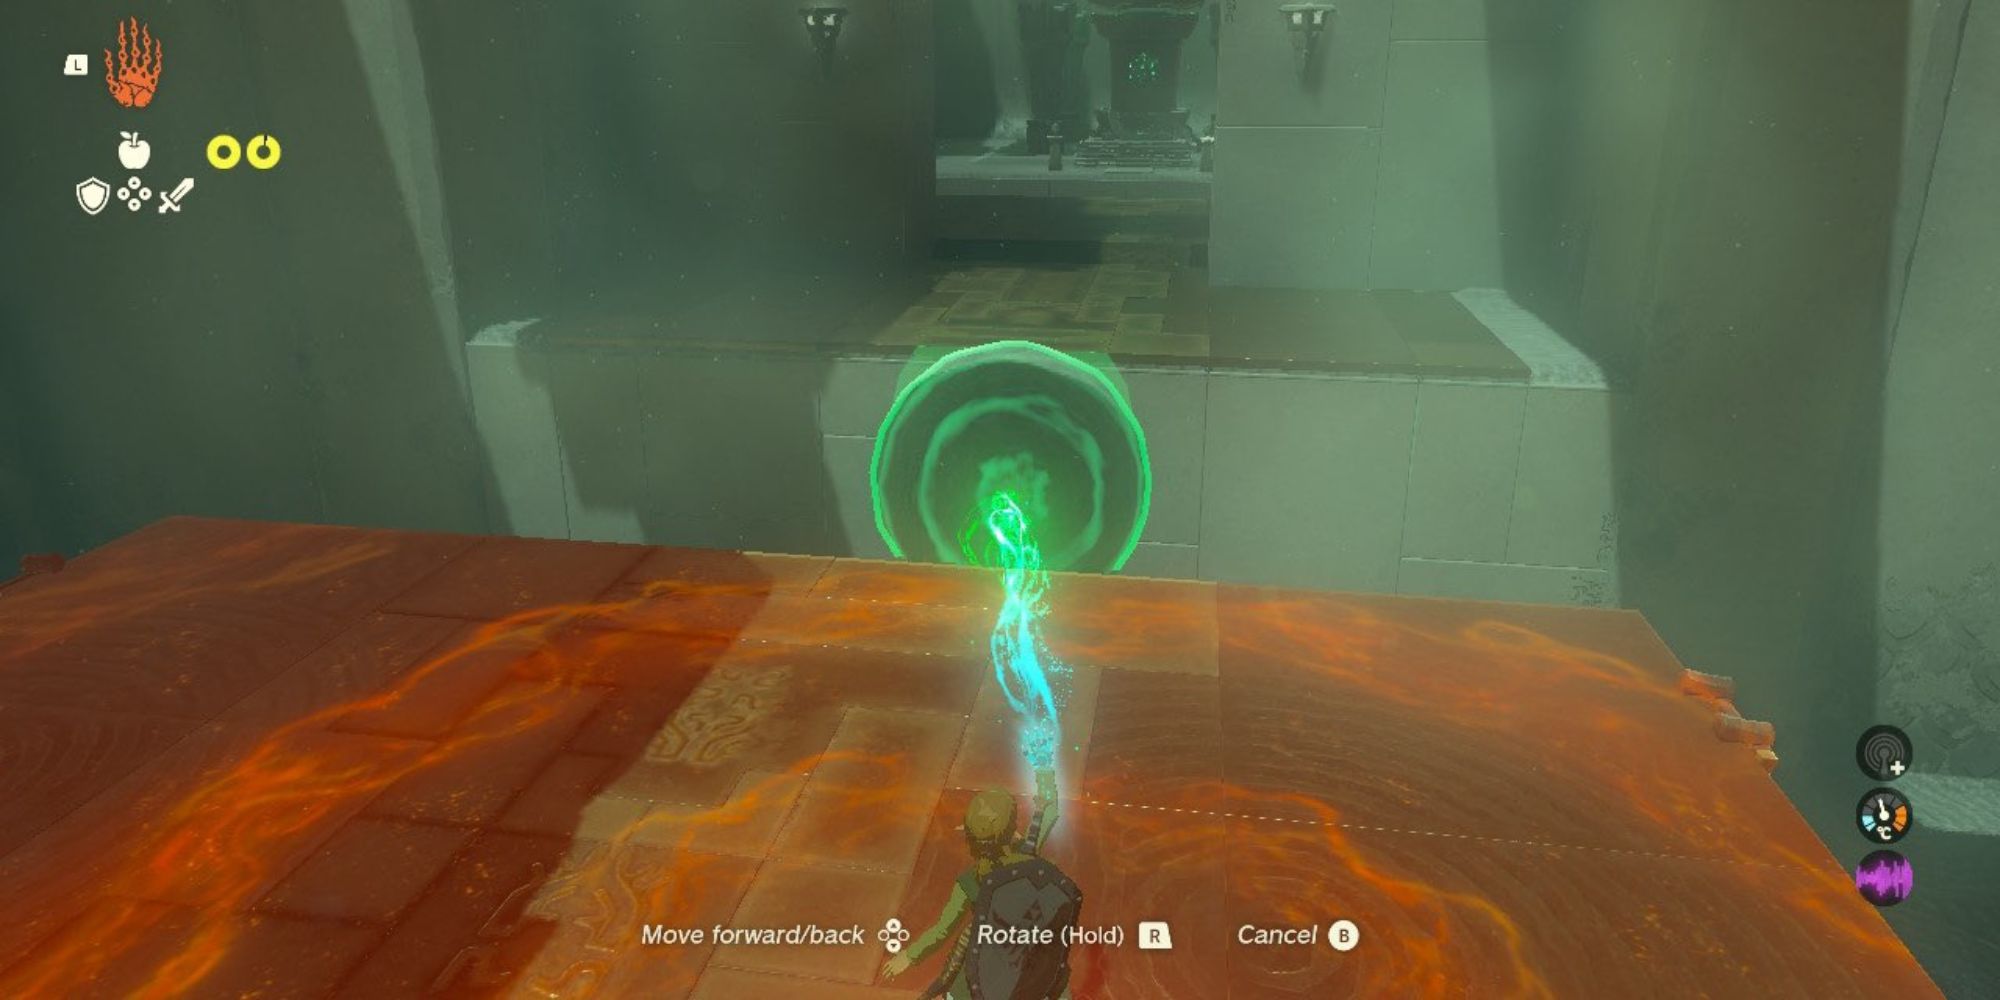
The subsequent puzzle incorporates the same mechanic as the previous one, but with a twist. This time, you need to utilize Recall to traverse to the other side. Begin by using Ultrahand on the sphere and holding it at the top of the ramp for approximately ten seconds. Then, quickly switch to Recall to ensure the sphere stays in place while Link moves across it.
Puzzle 3
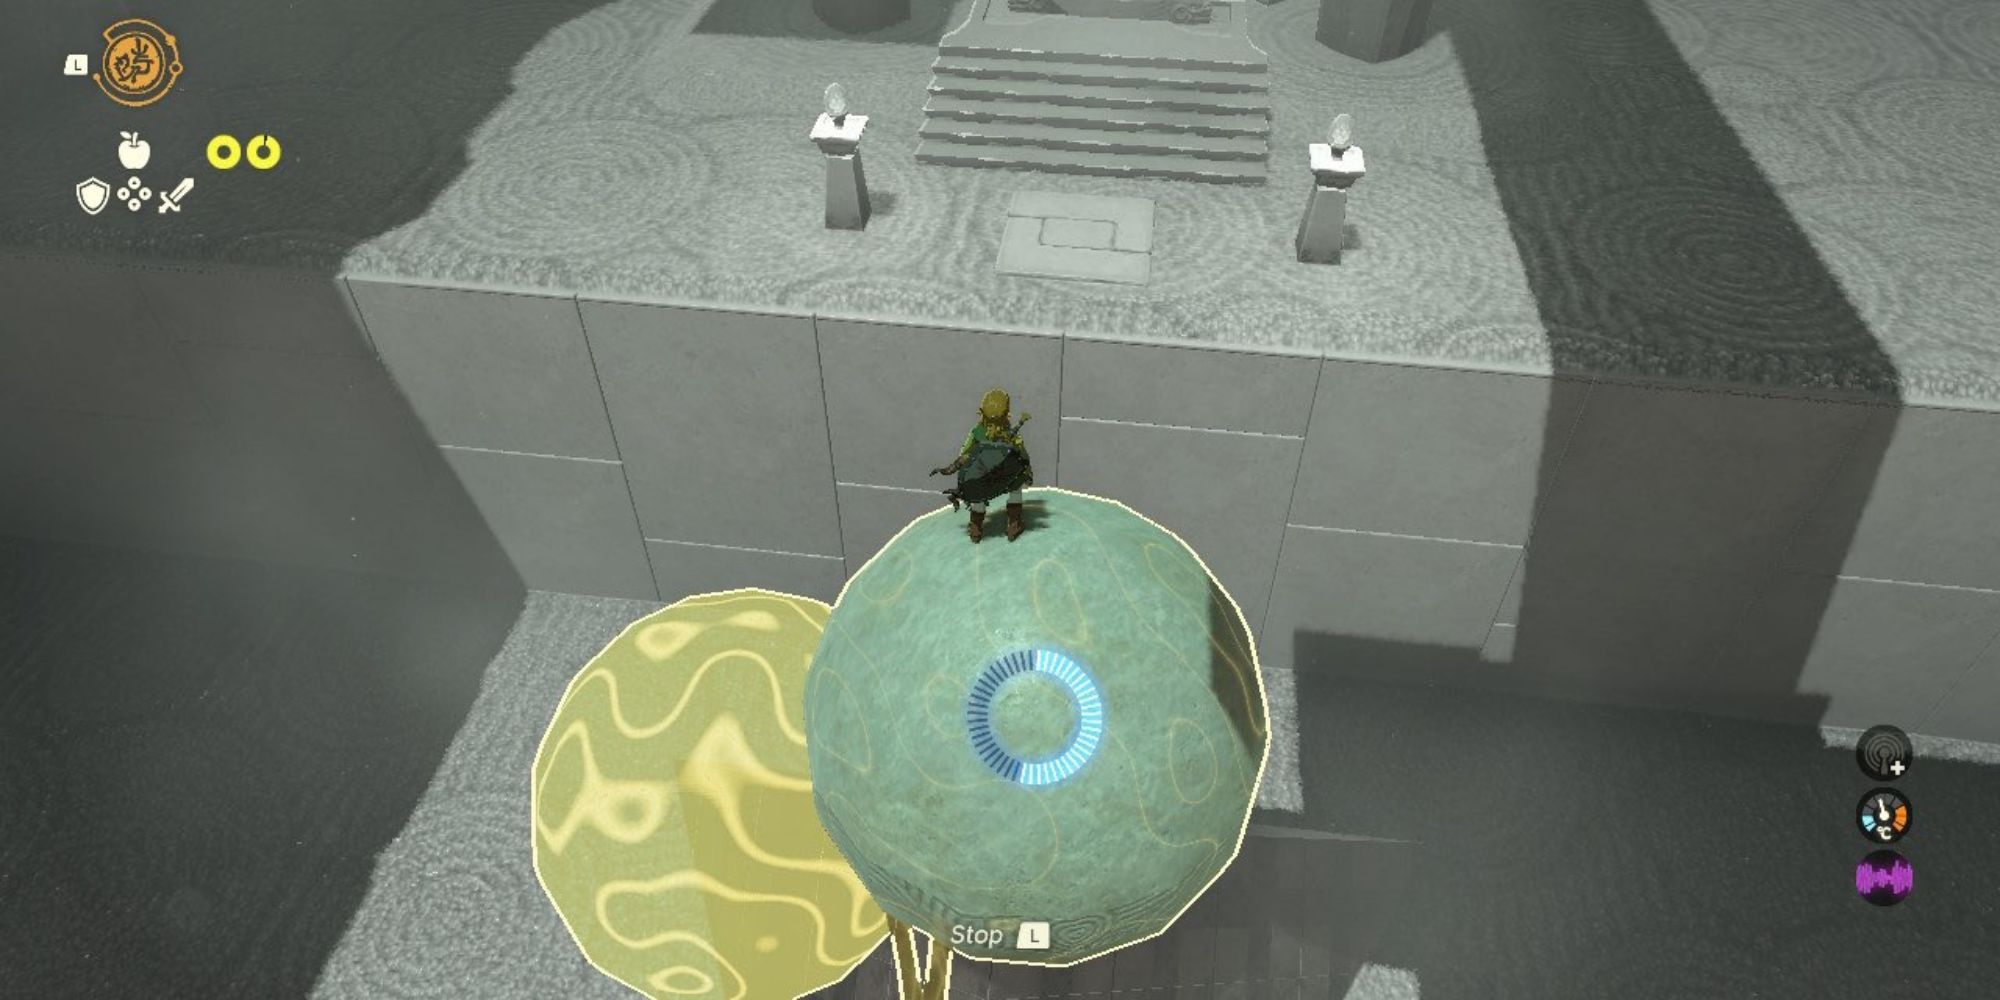
To overcome the third puzzle, Link faces a considerable gap that cannot be bridged by holding the sphere. The solution is to use Ultrahand to move the sphere across the ramp towards Link. Repeat this process a few times before switching to Recall when the ball is closest to Link. By doing so, Link can ride the sphere across the gap and obtain the Light of Blessing. The game, The Legend of Zelda: Tears of the Kingdom, can be played on Nintendo Switch.