Master the Kitawak Shrine: Hidden Chest & Puzzles
Embark on an exciting adventure through the Kitawak Shrine in Zelda: Tears of the Kingdom, where you'll need to use weight mechanics to solve puzzles and progress through the shrine Discover hidden chests and master each puzzle to unlock the shrine's secrets!
Players face a unique challenge in The Legend of Zelda: Tears of the Kingdom's Rakashog Shrine, where they must strategically attach platforms to overcome gaps and ledges. To succeed, players can rely on their understanding of the game's physics to their advantage.
Rakashog Shrine Location in TotK
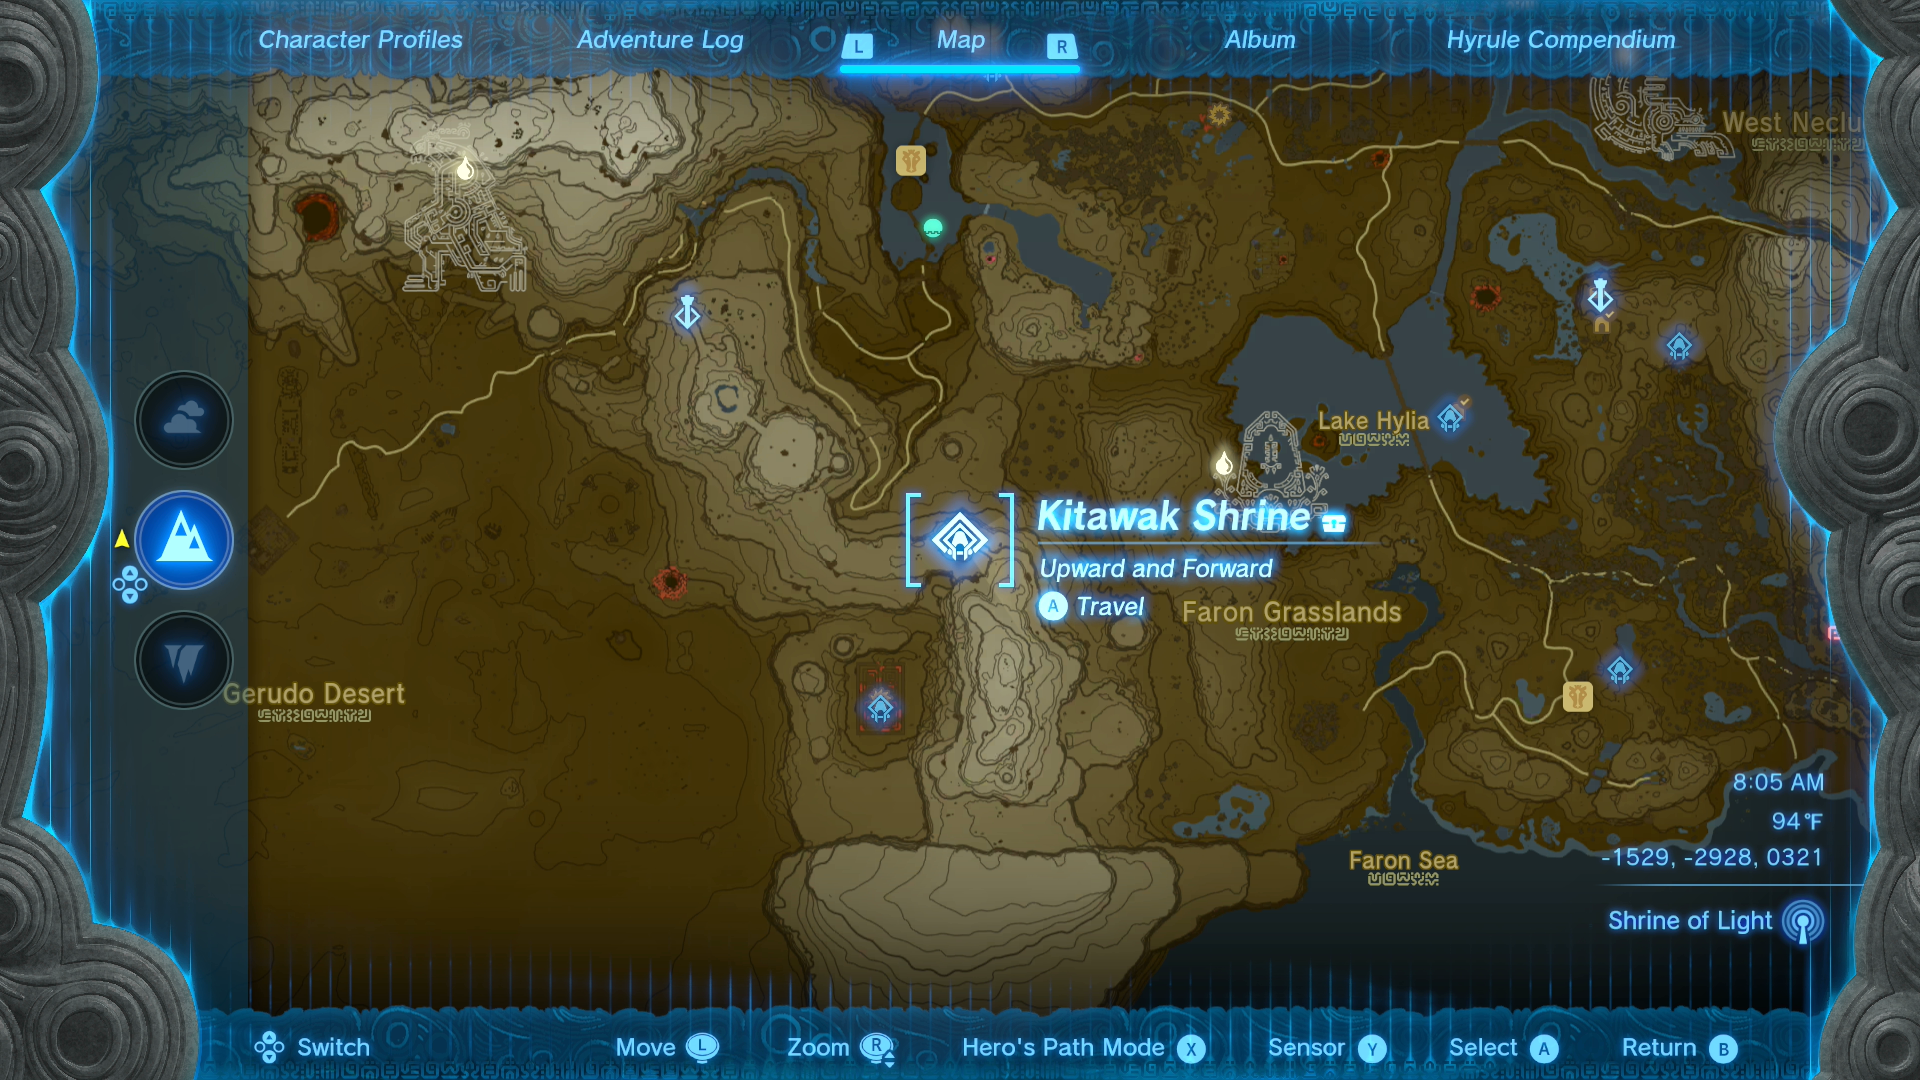
Players are able to find the Kitawak Shrine in the East Gerudo Mesa just north of the South Lomei Labyrinth.
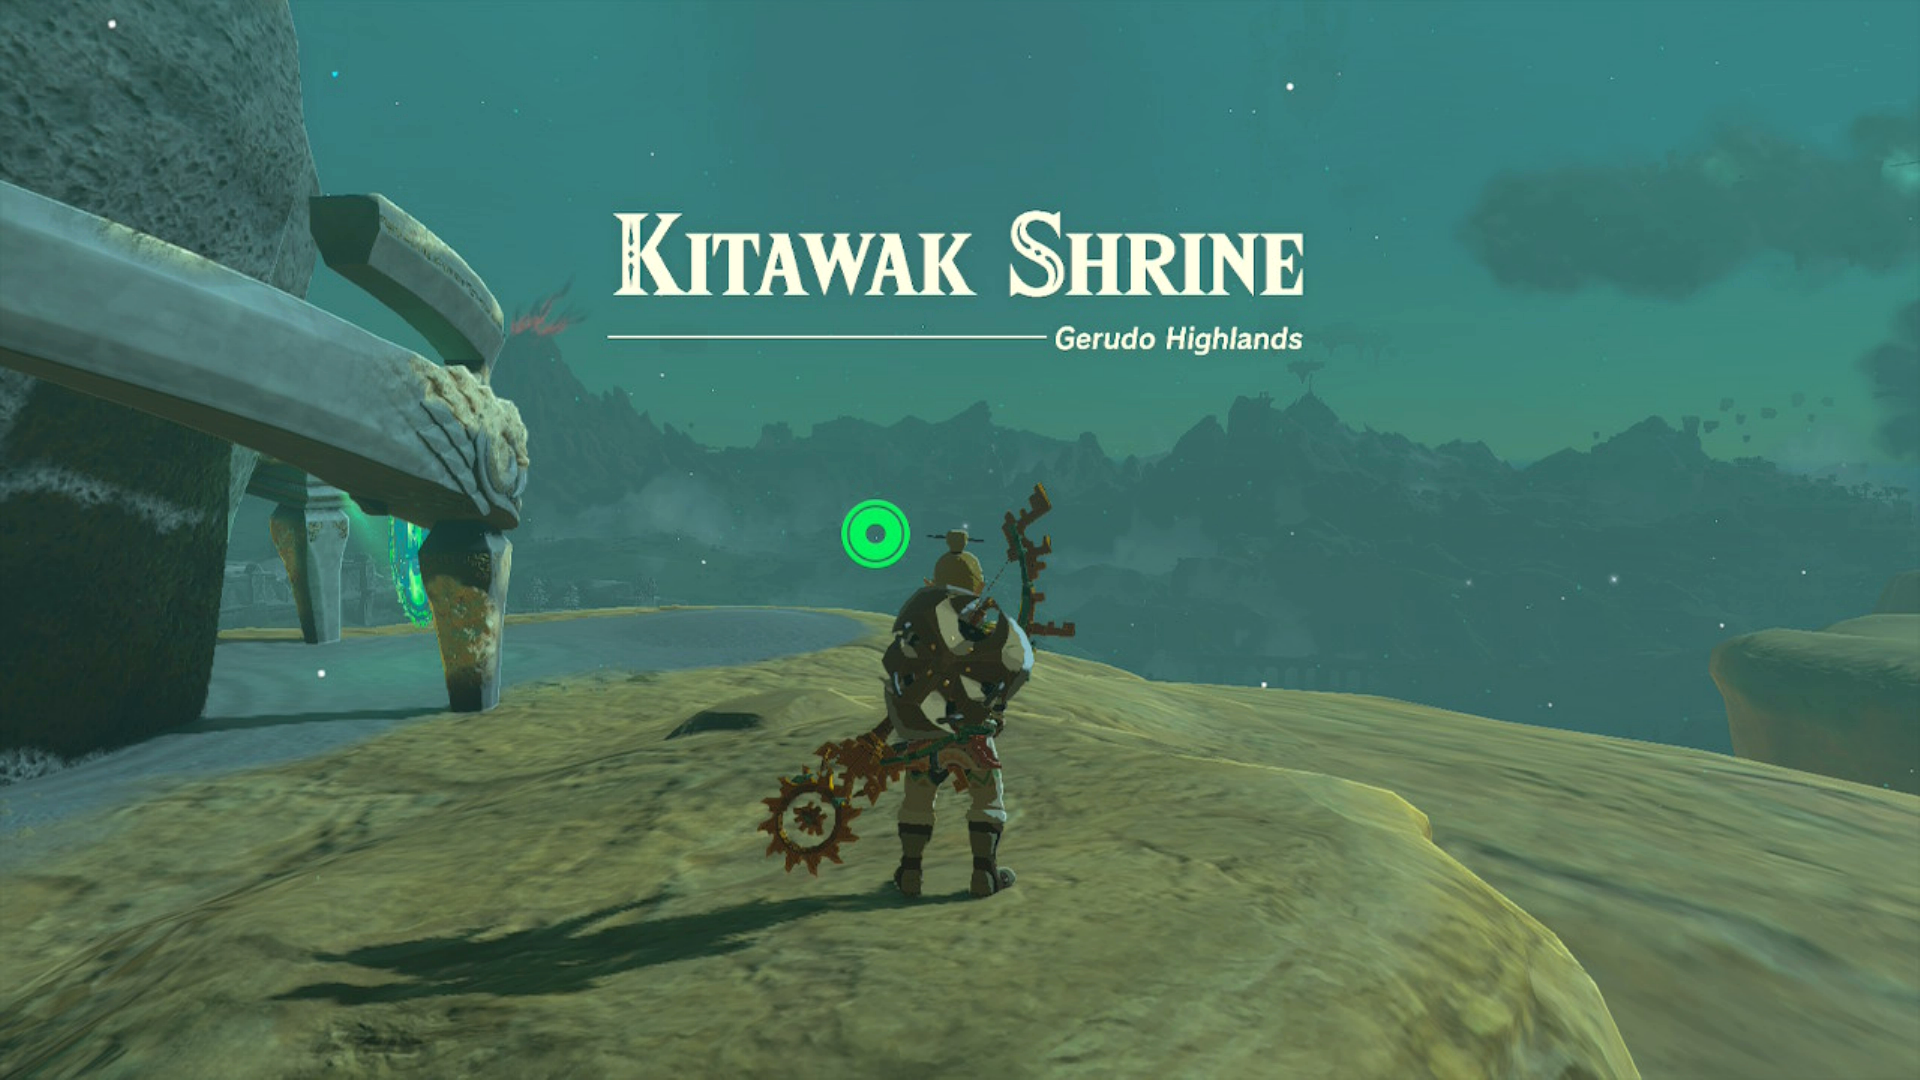
The shrine is located on top of a small ridge and can be easily reached by gliding southeast from the Gerudo Canyon Skyview Tower.
Rakashog Shrine Walkthrough
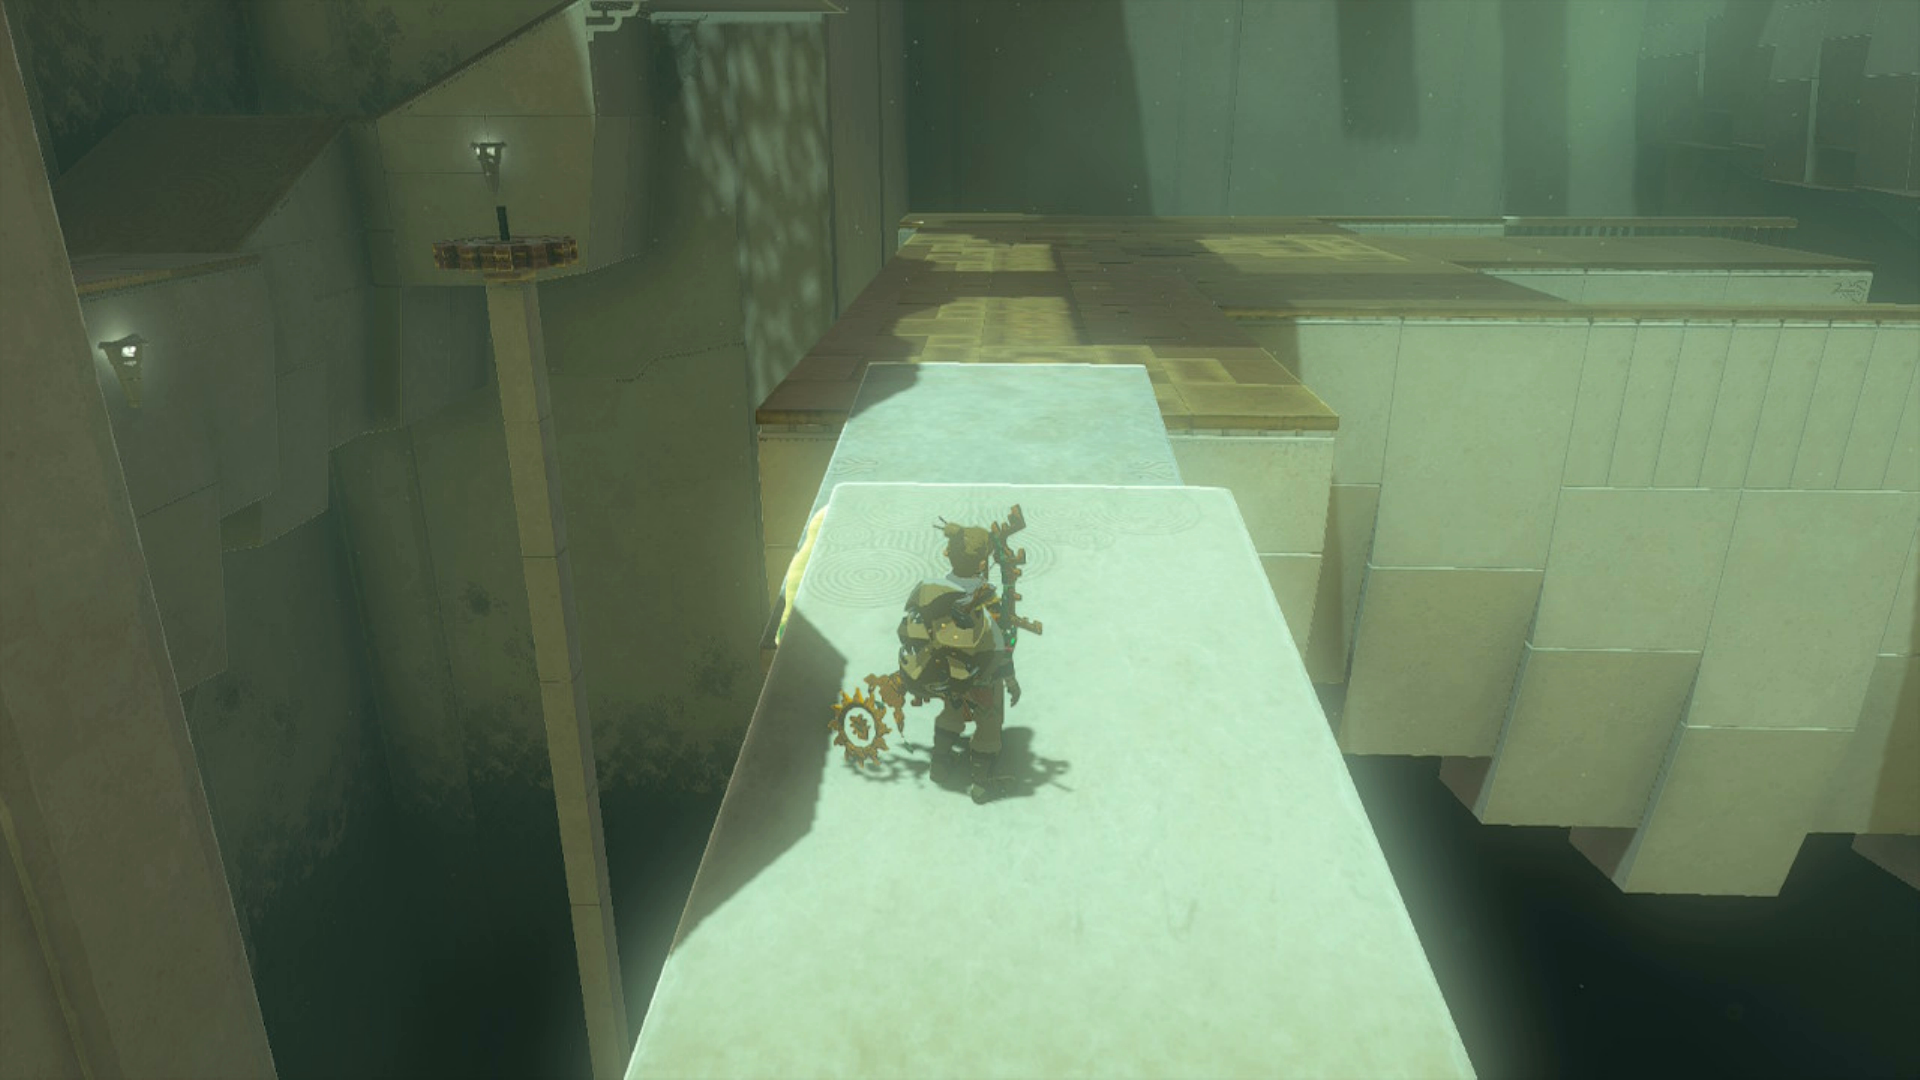
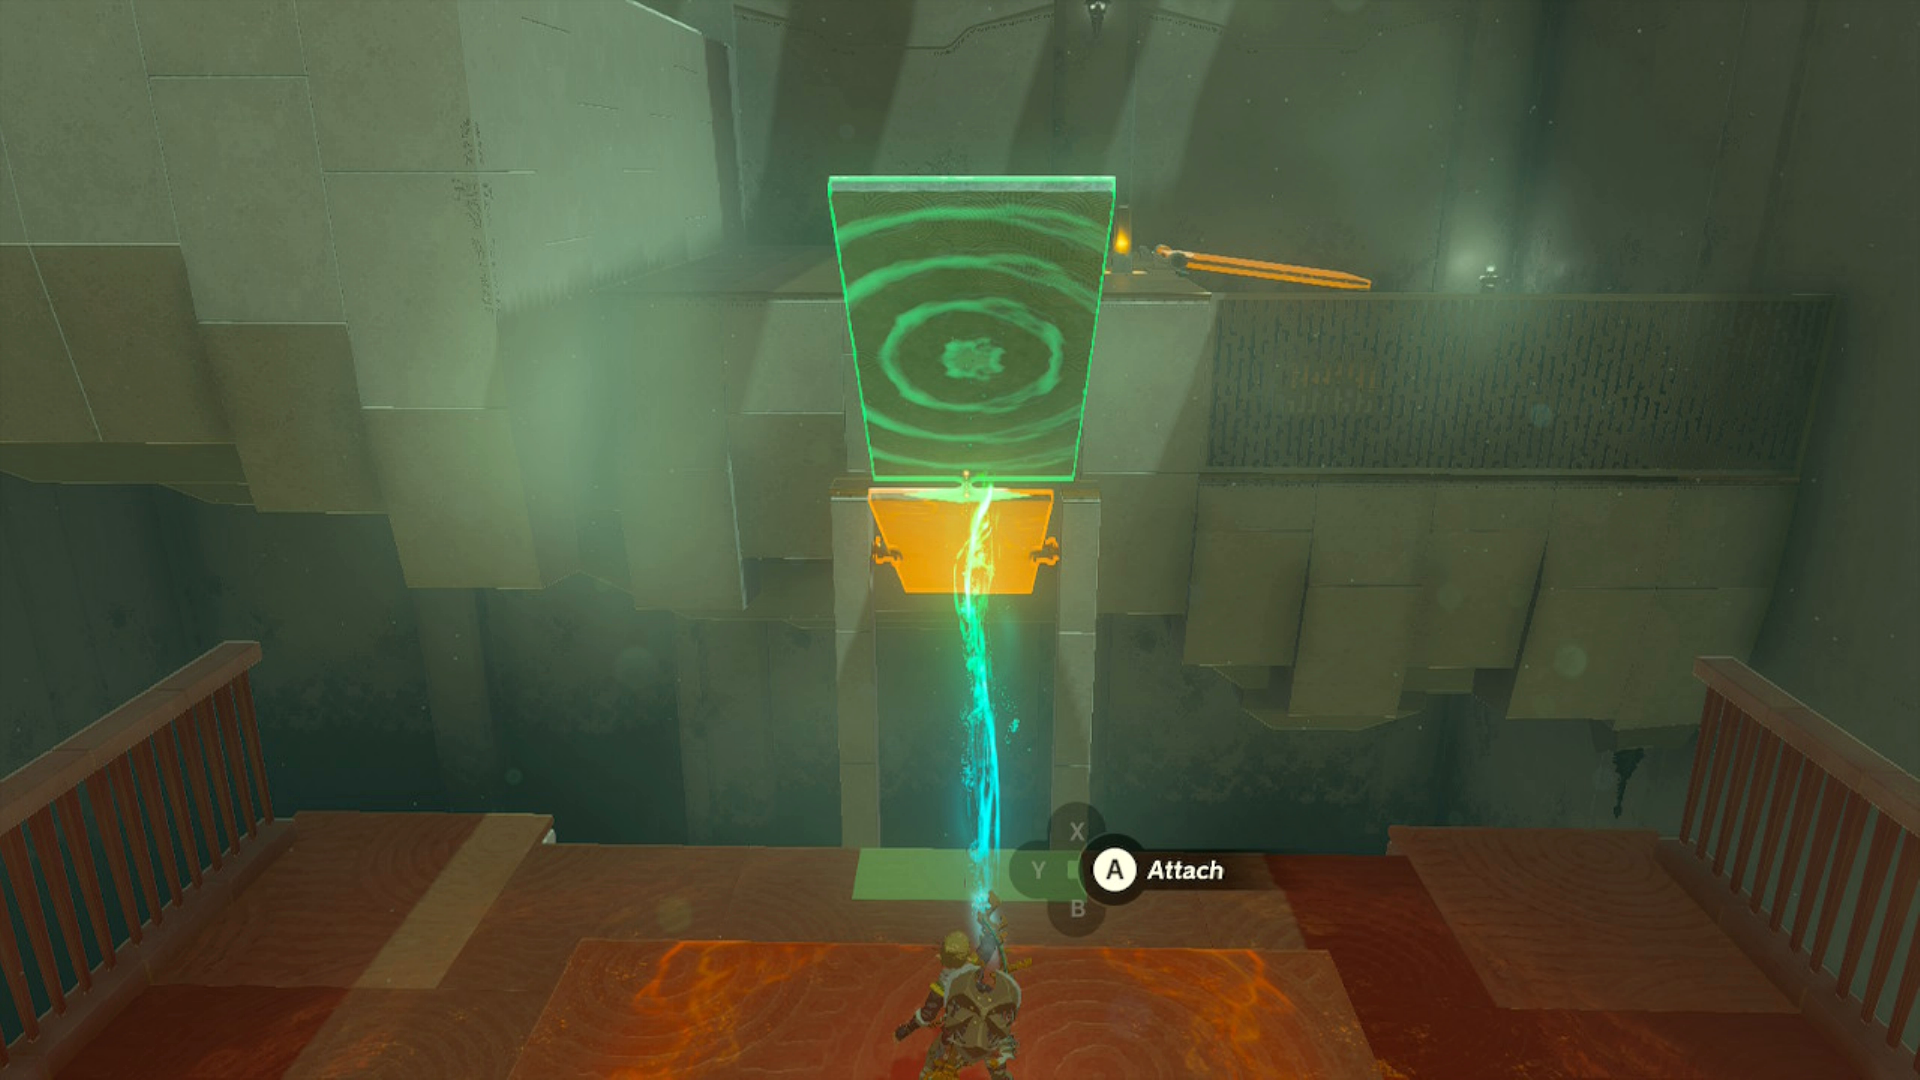
As soon as players step inside the shrine, they will encounter a gap that needs to be crossed. To overcome this obstacle, Ultrahand comes in handy. The nearby wall has a platform that can be attached to the hinged platform in front of the players. The combined weight of the two platforms causes the structure to fall over the gap, creating a makeshift bridge.
How to Get the Hidden Chest in the Kitawak Shrine

Players can take the platform from their bridge and attach it to the spinning gear in the middle of the gap to their left. Link is able to hop onto the platform as it rotates around to reach the chest on the other side and claim a bundle of ten arrows.
How to Solve the First Puzzle in the Kitawak Shrine
The first real puzzle of the shrine involves getting Link to reach a higher ledge using the levered platform in between. Players will find another platform on the ground nearby that they can attach to the middle platform as shown above.

Players can then take the platform from the previous gap and attach it to the other end as pictured to reach the ledge above.
How to Solve the Second Puzzle in the Kitawak Shrine

In the next section, Link will need to reach a much higher platform by creating a catapult. Players should remove a platform from the previous puzzle and attach it to the end of the new hinged platform in front of them.

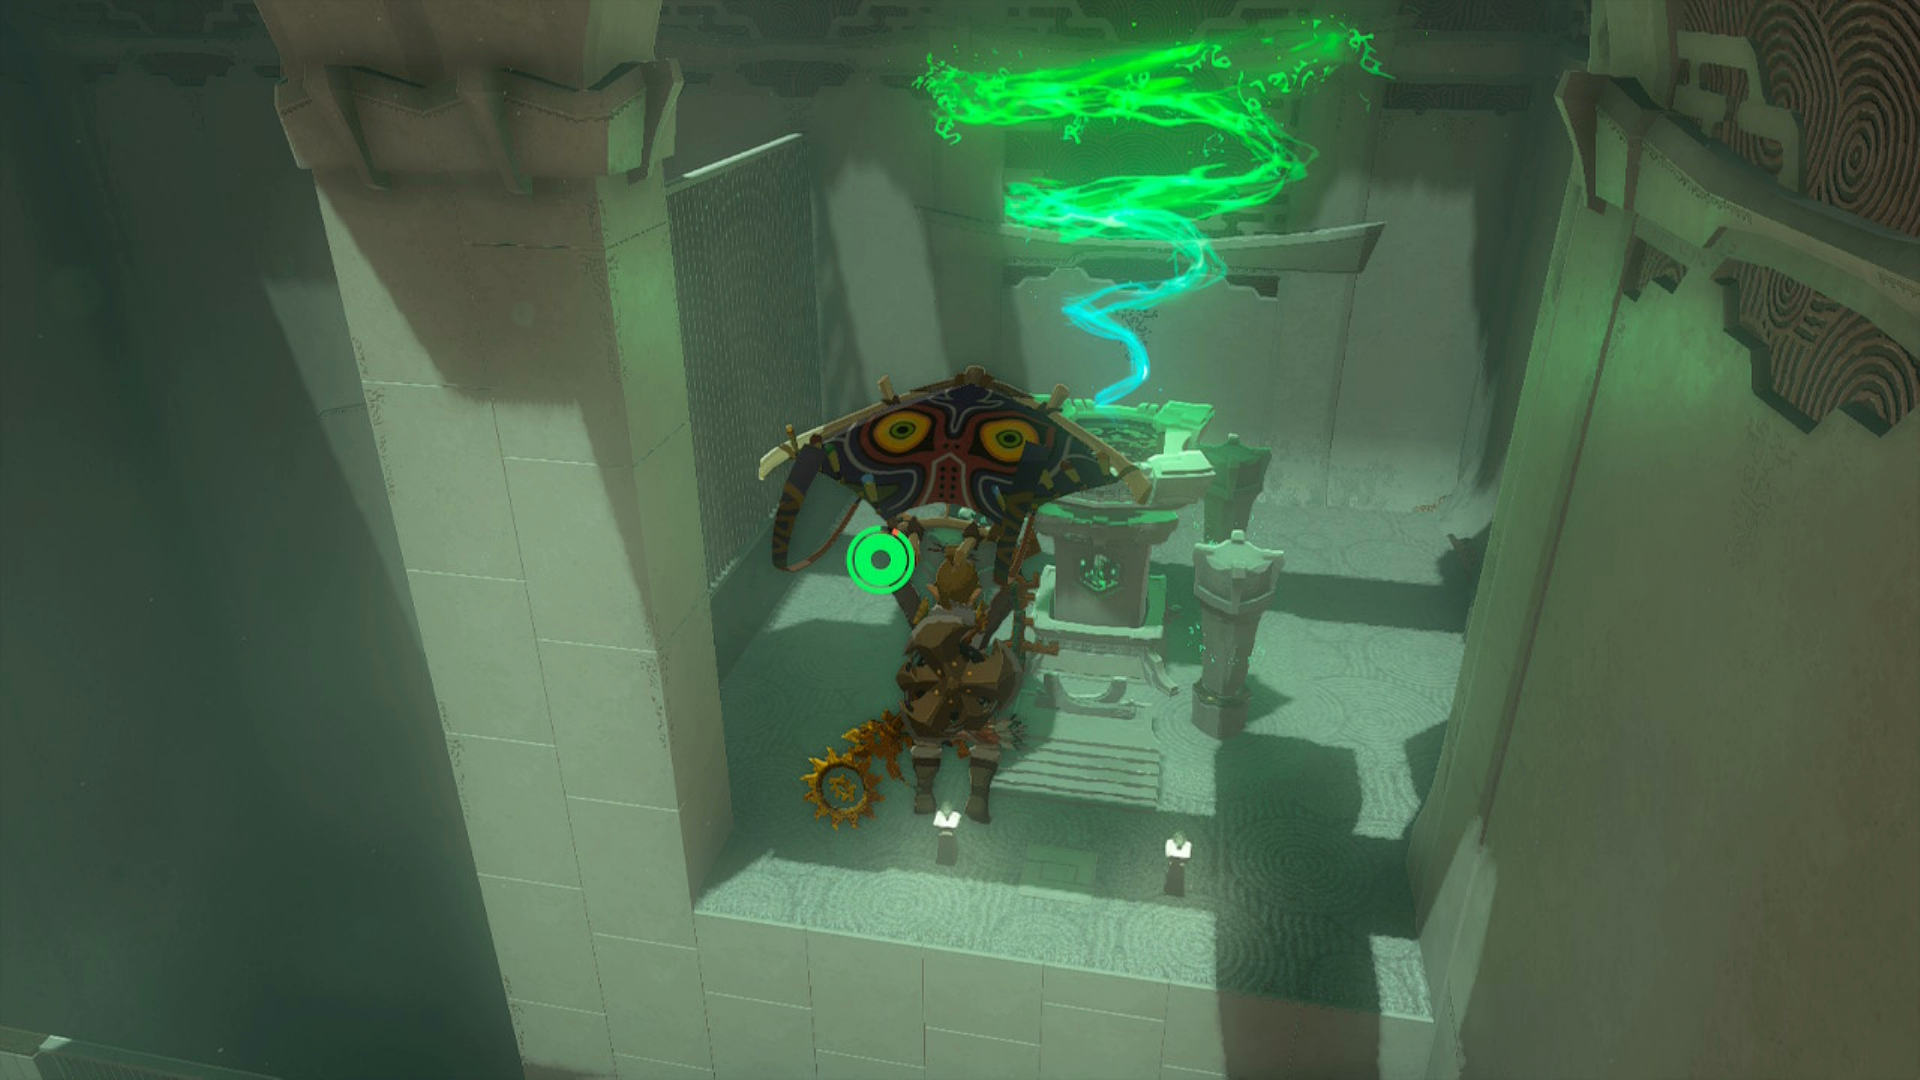
Shoot the glowing switch to activate the launcher underneath the platform where Link is standing. It is important to do this before attaching the other platform to ensure that Link gains enough height to reach the final ledge. The launcher can be reset by hitting the switch again. With the extended platform, the force applied to Link will be much greater, propelling him high in the air. From there, he can glide over to the awaiting statues that will reward him with a Light of Blessing.
The Legend of Zelda: Tears of the Kingdom is available for the Nintendo Switch.