
Lords of the Fallen: Unleashing Gerlinde's Freedom (Ultimate Blacksmith Location Guide)
Unlock the power of weapon upgrades in Lords of the Fallen by aiding Gerlinde, the crucial blacksmith NPC Discover the location and learn how to free this skilled craftsman for enhanced gameplay
Blacksmiths are a typical presence in soulslike games, and Lords of the Fallen is no exception. However, in this game, Gerlinde, the Blacksmith, is not available to welcome new players until they reach Skyrest Bridge, as she is imprisoned in Pilgrim's Perch.
Despite the challenge of locating her, freeing Gerlinde from captivity is not overly complicated. Once released from her cage, she becomes an invaluable Blacksmith who specializes in upgrading weapons in Lords of the Fallen. Through her expertise, players can enhance the power of their weapons and catalysts.
Blacksmith Location In Lords Of The Fallen
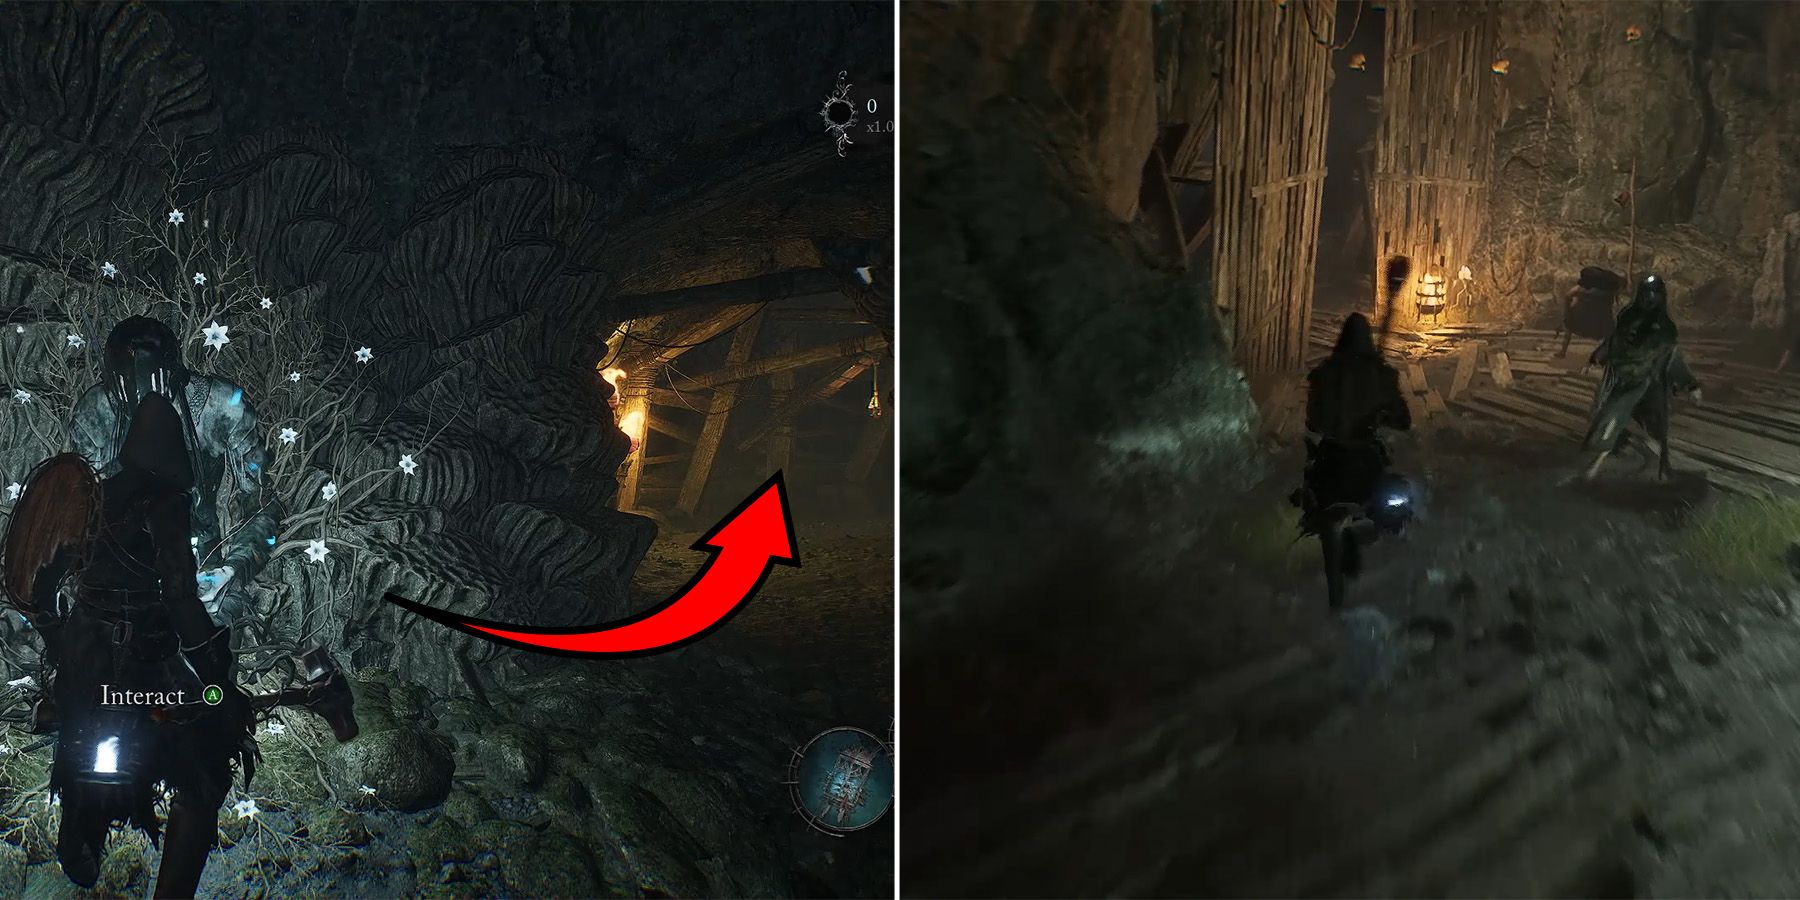
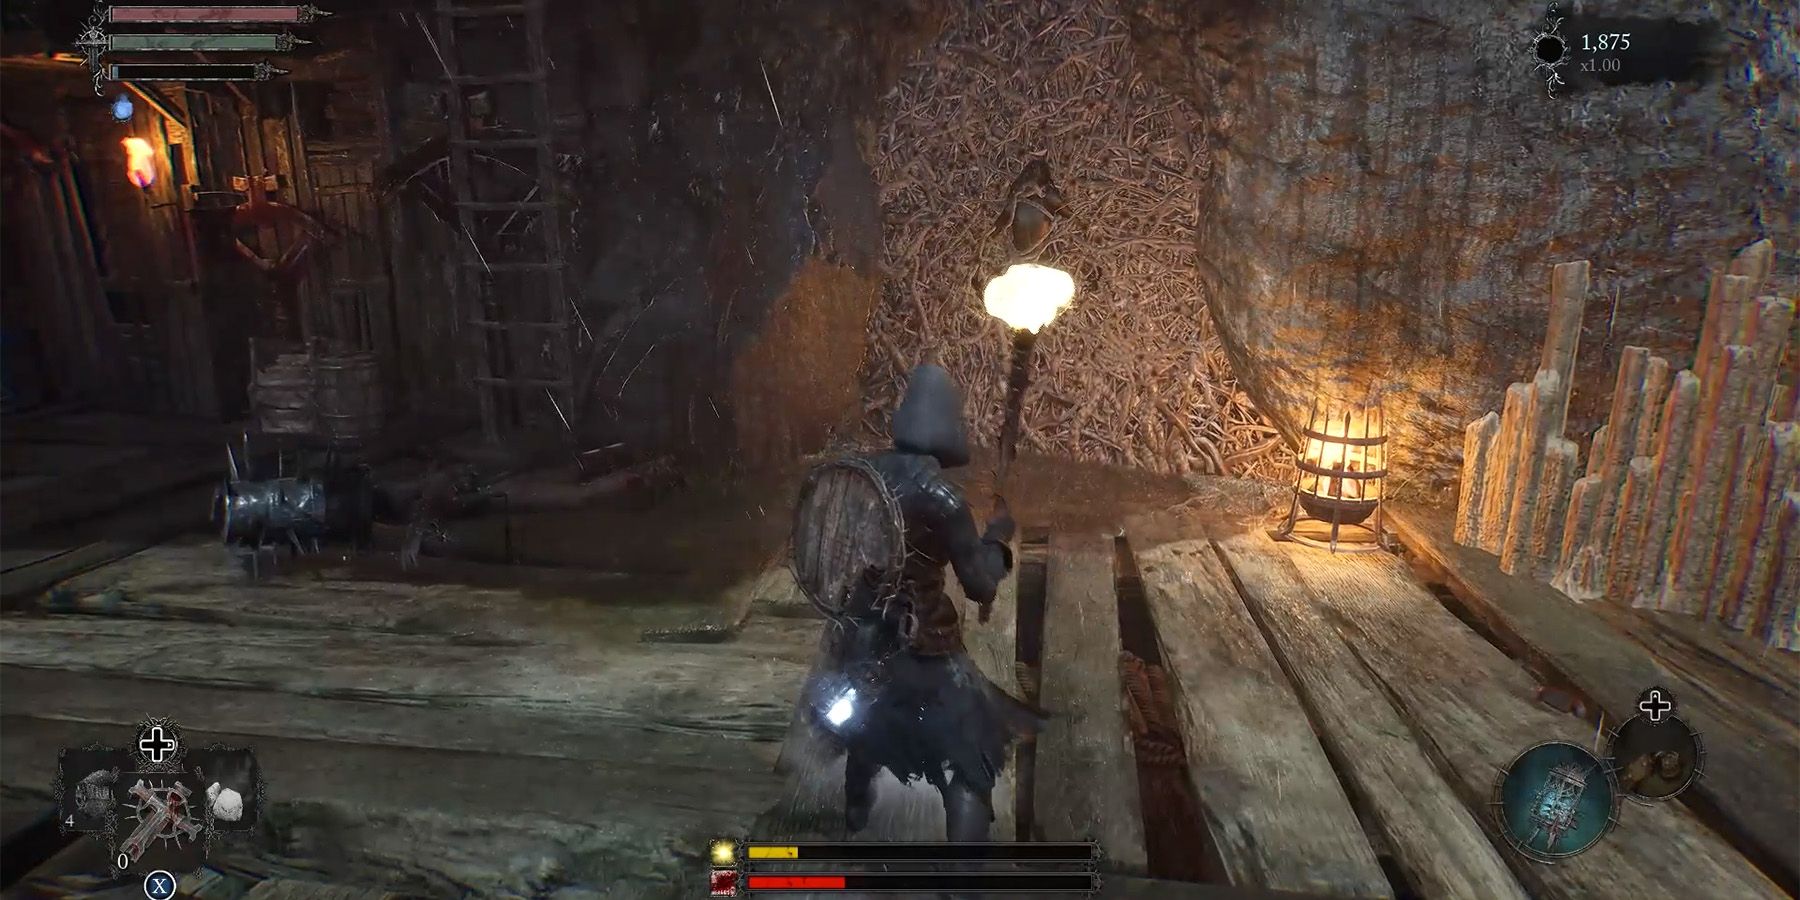
The Blacksmith, Gerlinde, is imprisoned in a cell deep within a cave located in Pilgrim’s Perch. To rescue Gerlinde in Lords of the Fallen, teleport to the Bellroom Vestige Point and proceed towards the right, navigating through a tunnel obstructed by beams. Conquer the cleric adversaries at the tunnel's end and make a left turn onto a wooden plank.
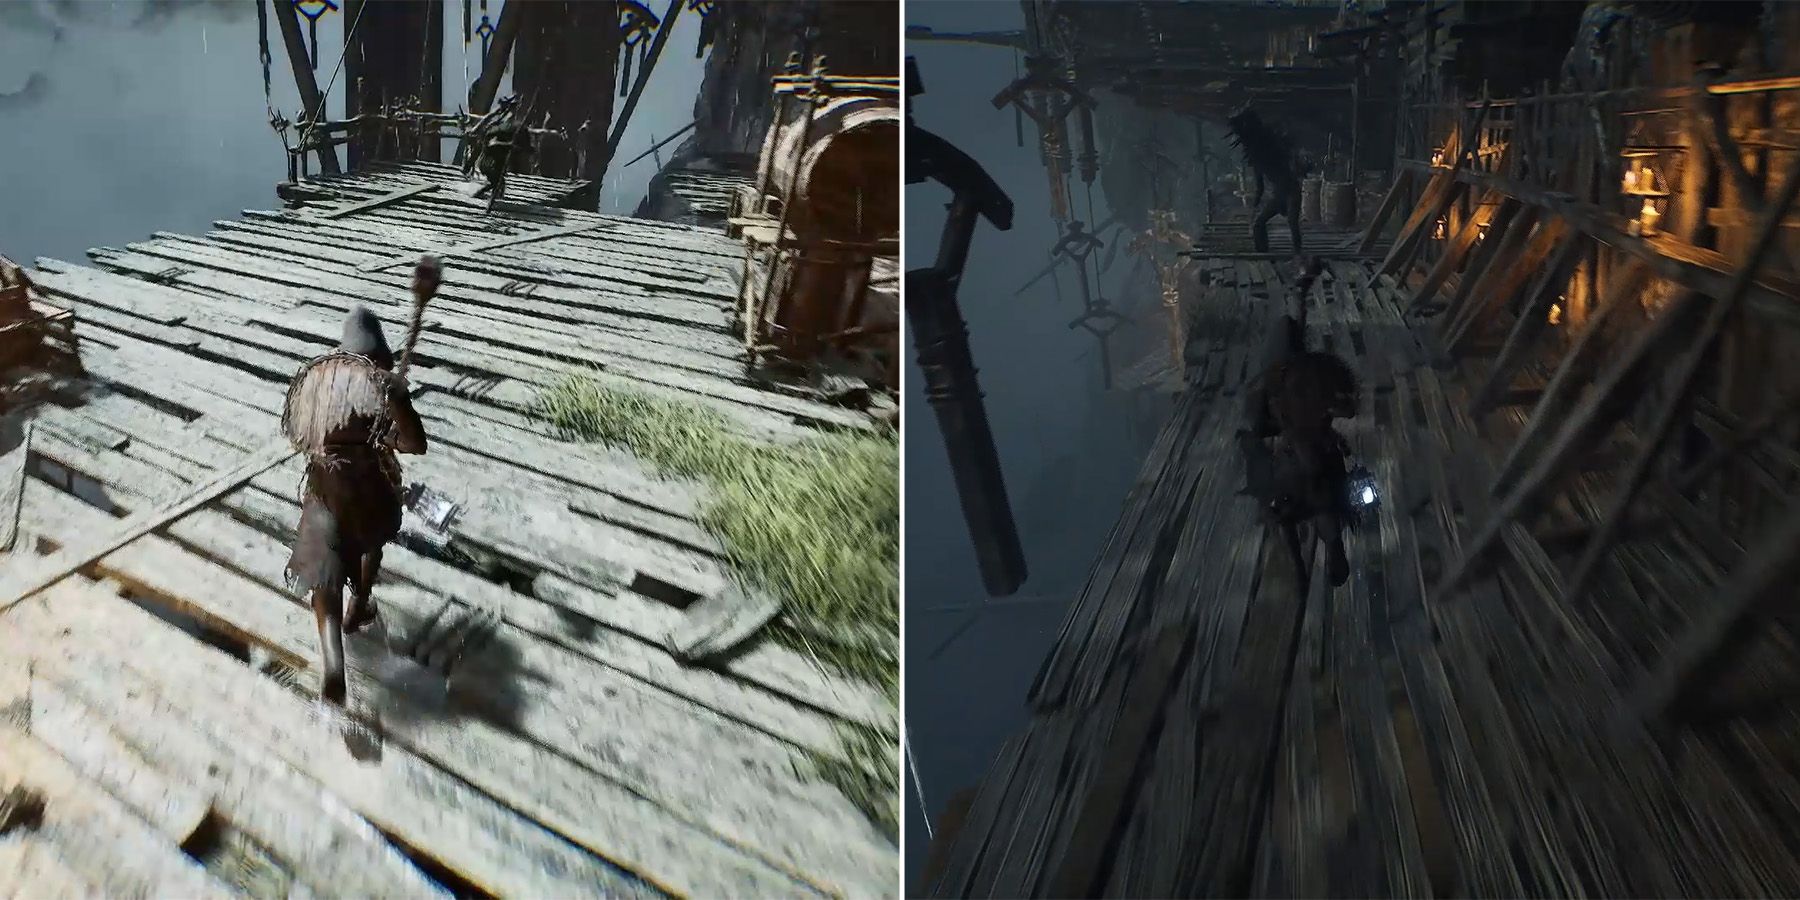
Get out of the room filled with crates, then ascend the stairs to reach a wooden platform that rotates. Wait for it to align properly and swiftly jump onto the platform. Now, hop over to the opposite side and dash towards the far end of the extensive wooden platform. Either evade or conquer the formidable adversary in Lords of the Fallen, and afterwards, descend gracefully using the stairs.
Immediately to the right, there is yet another ladder enveloped by flickering moths. This serves as an indication that the lampbearers ought to employ the Umbral Lamp, allowing them to journey into the realm of the deceased. Once you venture into Umbral, descend the ladder and proceed forward without hesitation, disregarding any adversaries along the way.
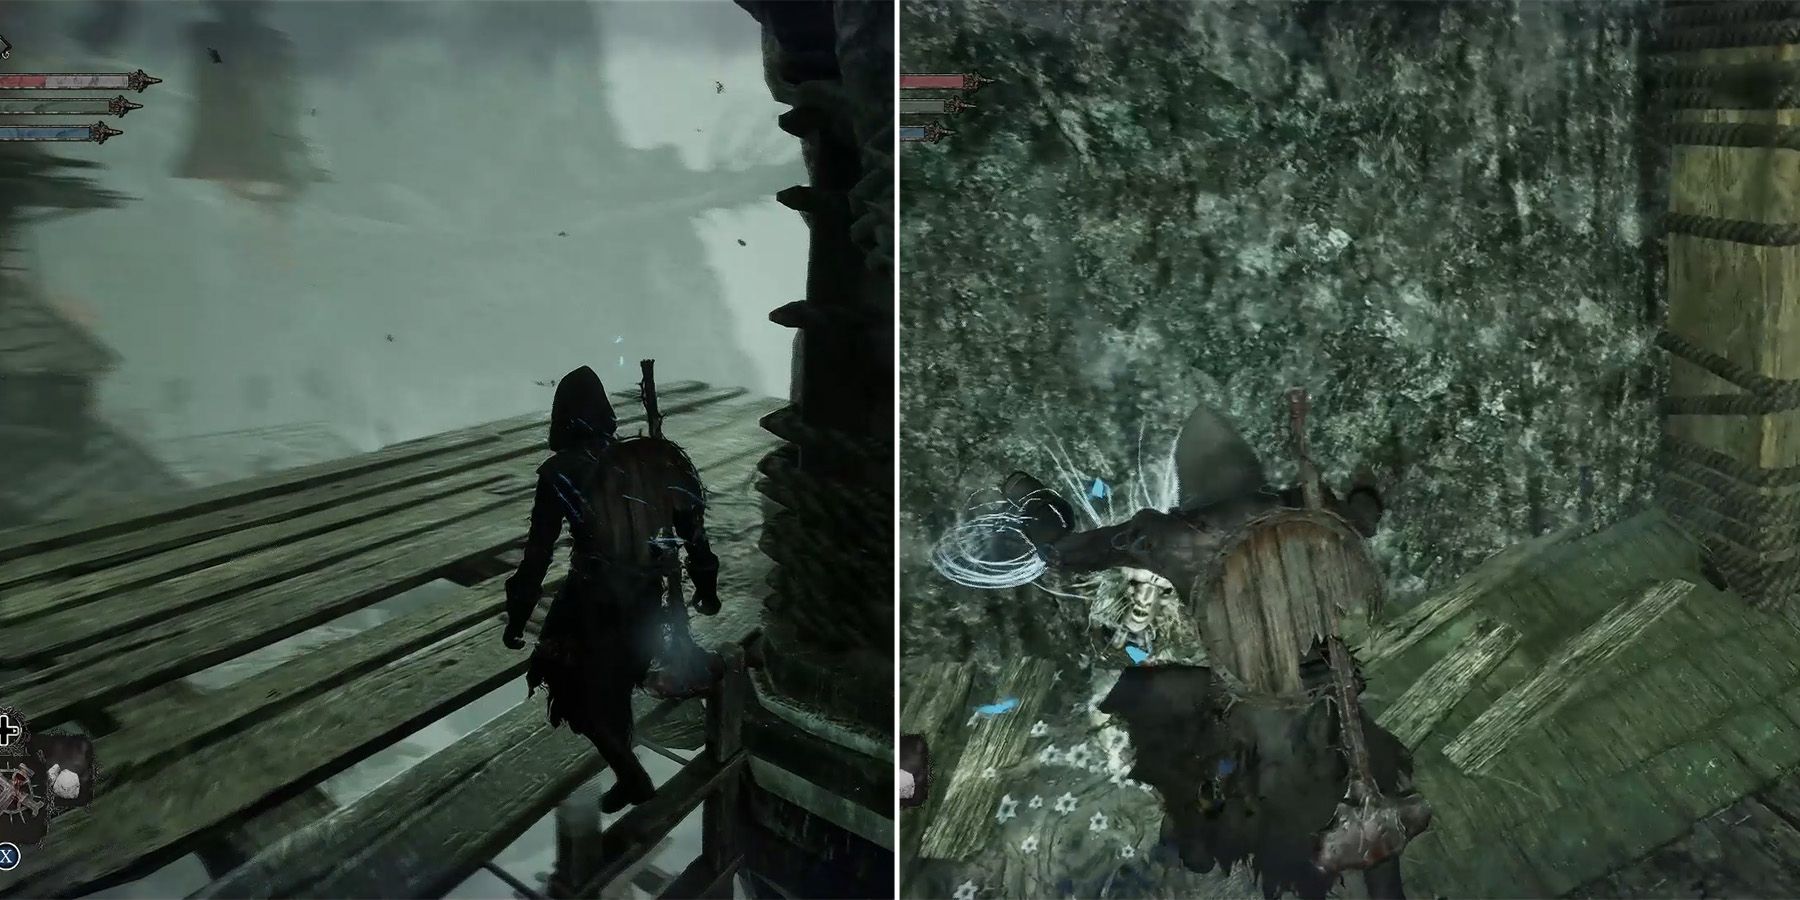
Go to the highest point by ascending two ladders and traverse the slender white bridge in order to engage with the Emergence Effigies. After returning to the Axiom Realm, descend to the lower level and eliminate the trio of adversaries before progressing down another ladder.
On the current platform, players are encountering an Umbral entity that acts as an obstruction in their progress. To overcome this obstacle, it is recommended to defeat all nearby enemies. This is crucial as players are required to thoroughly search for Soulflay Obstacles within the Umbral Realm. Be aware that enemies will continue to appear as long as lampbearers remain in the world of the dead, in addition to the already existing adversaries.

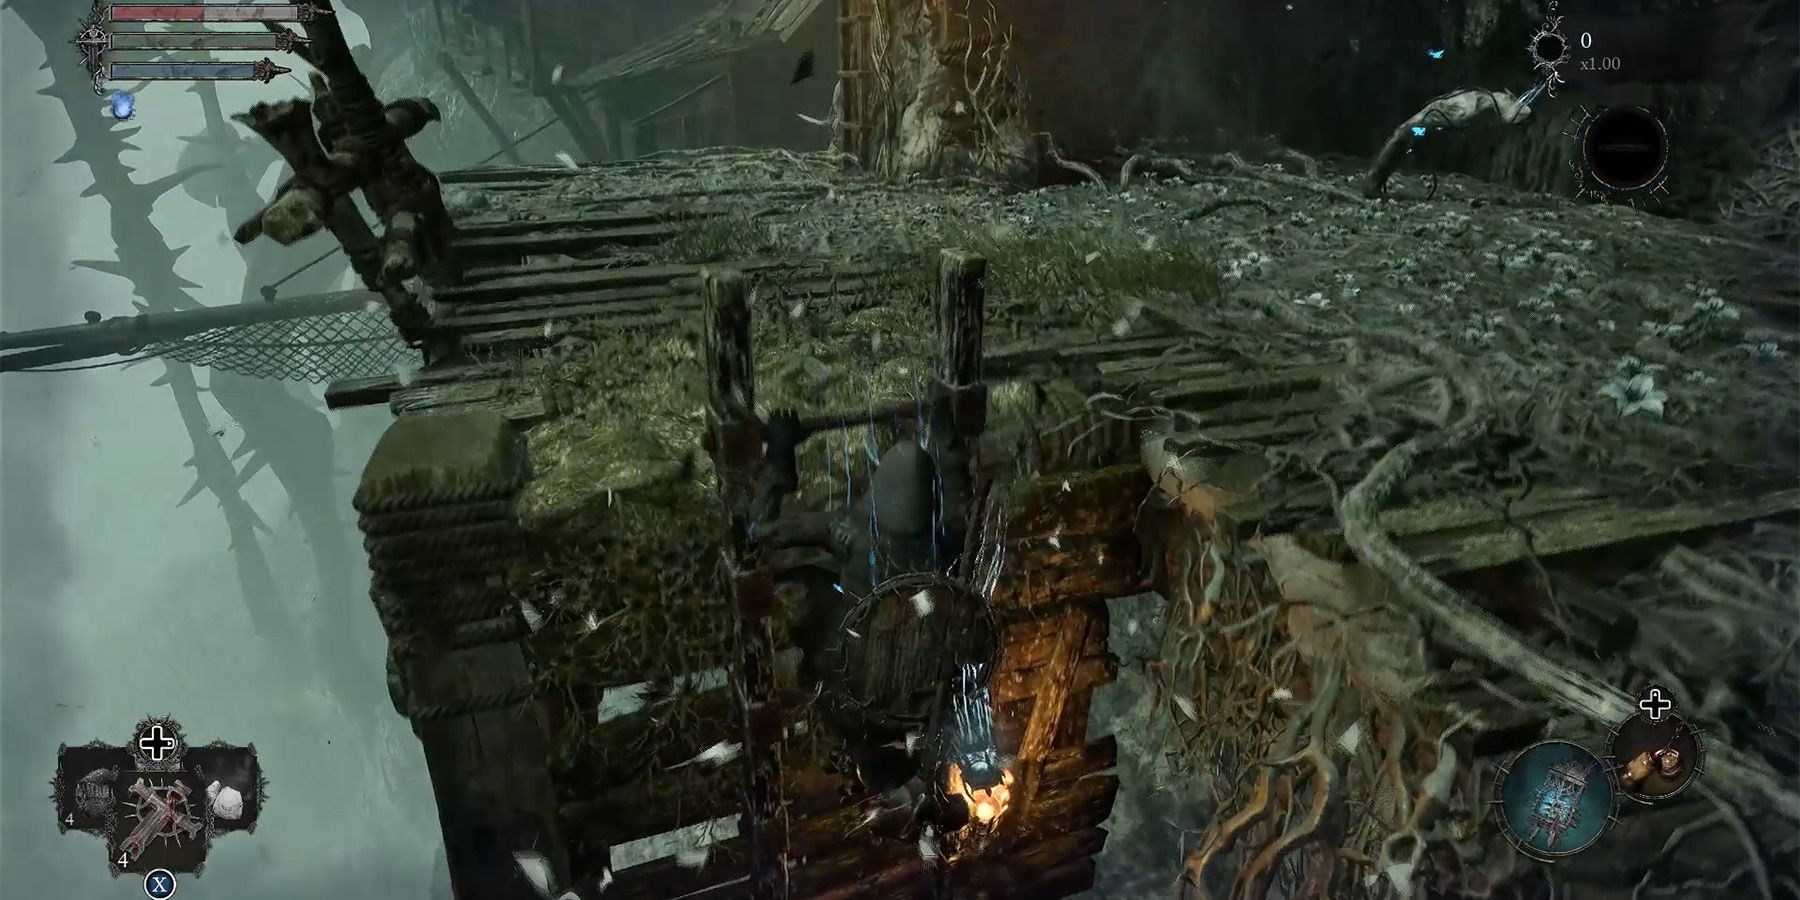
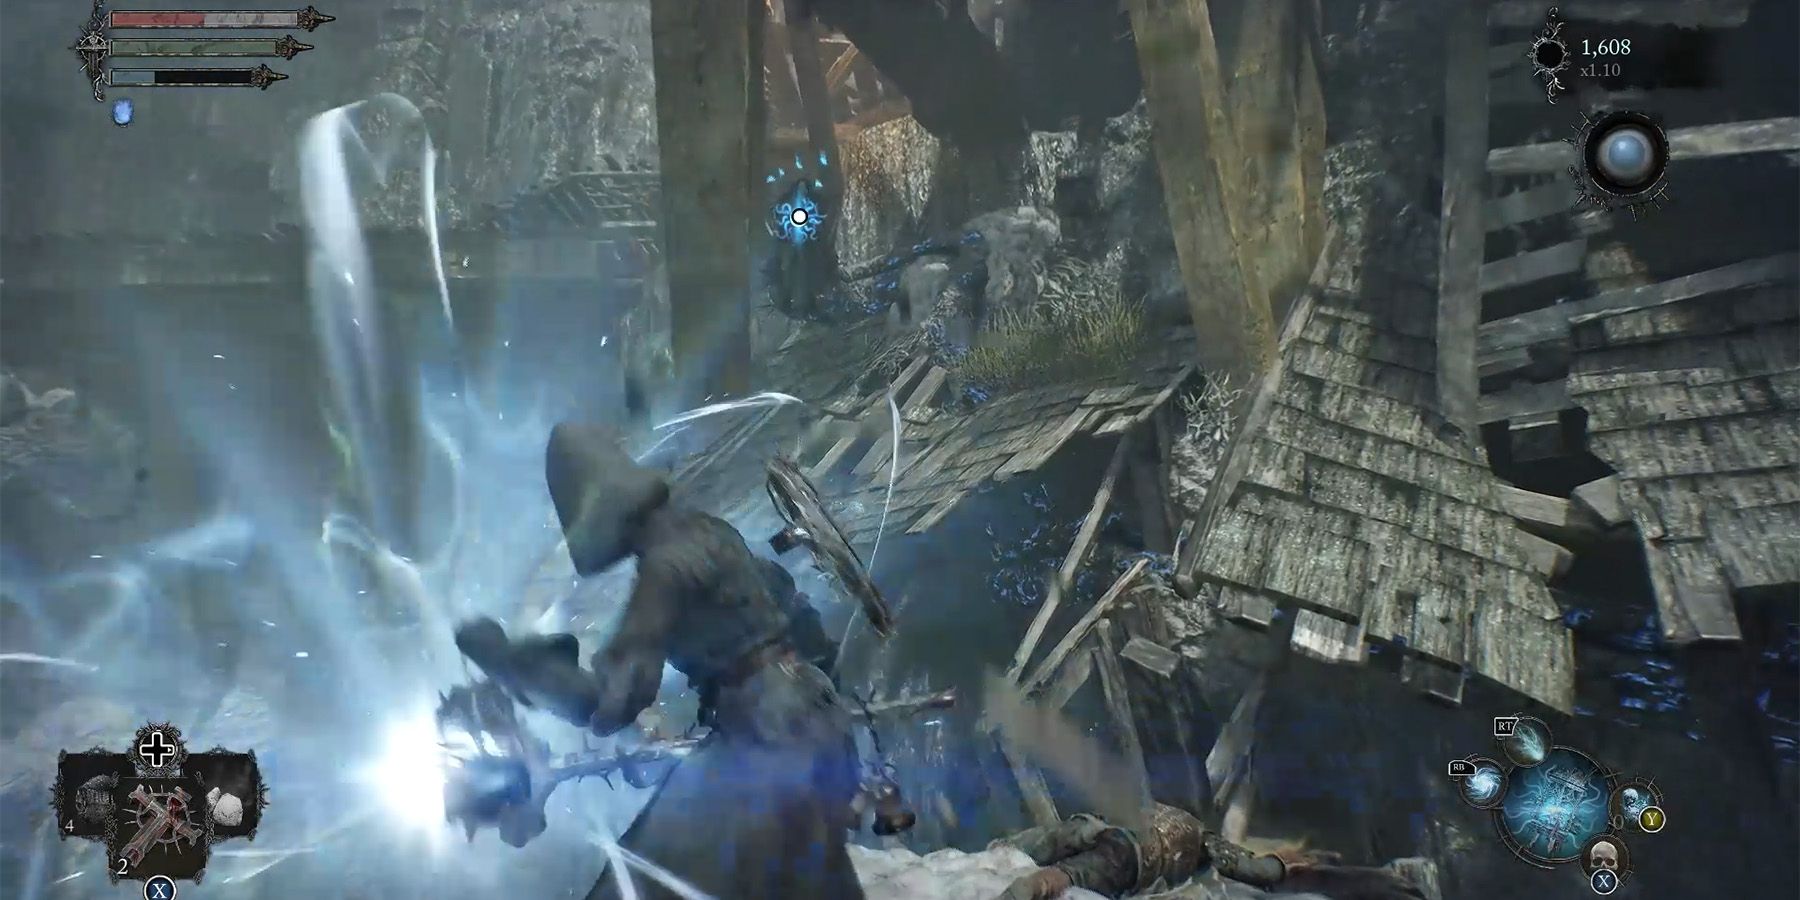
Return to the Umbral Realm and trace the path of the blue roots to locate the necessary Soulflay Obstacles. The initial obstacle can be found by traversing the bone bridge until its very end where a congregation of adversaries await. Direct your gaze downward and eliminate the tormenting obstacle that protrudes from the shattered dwelling.
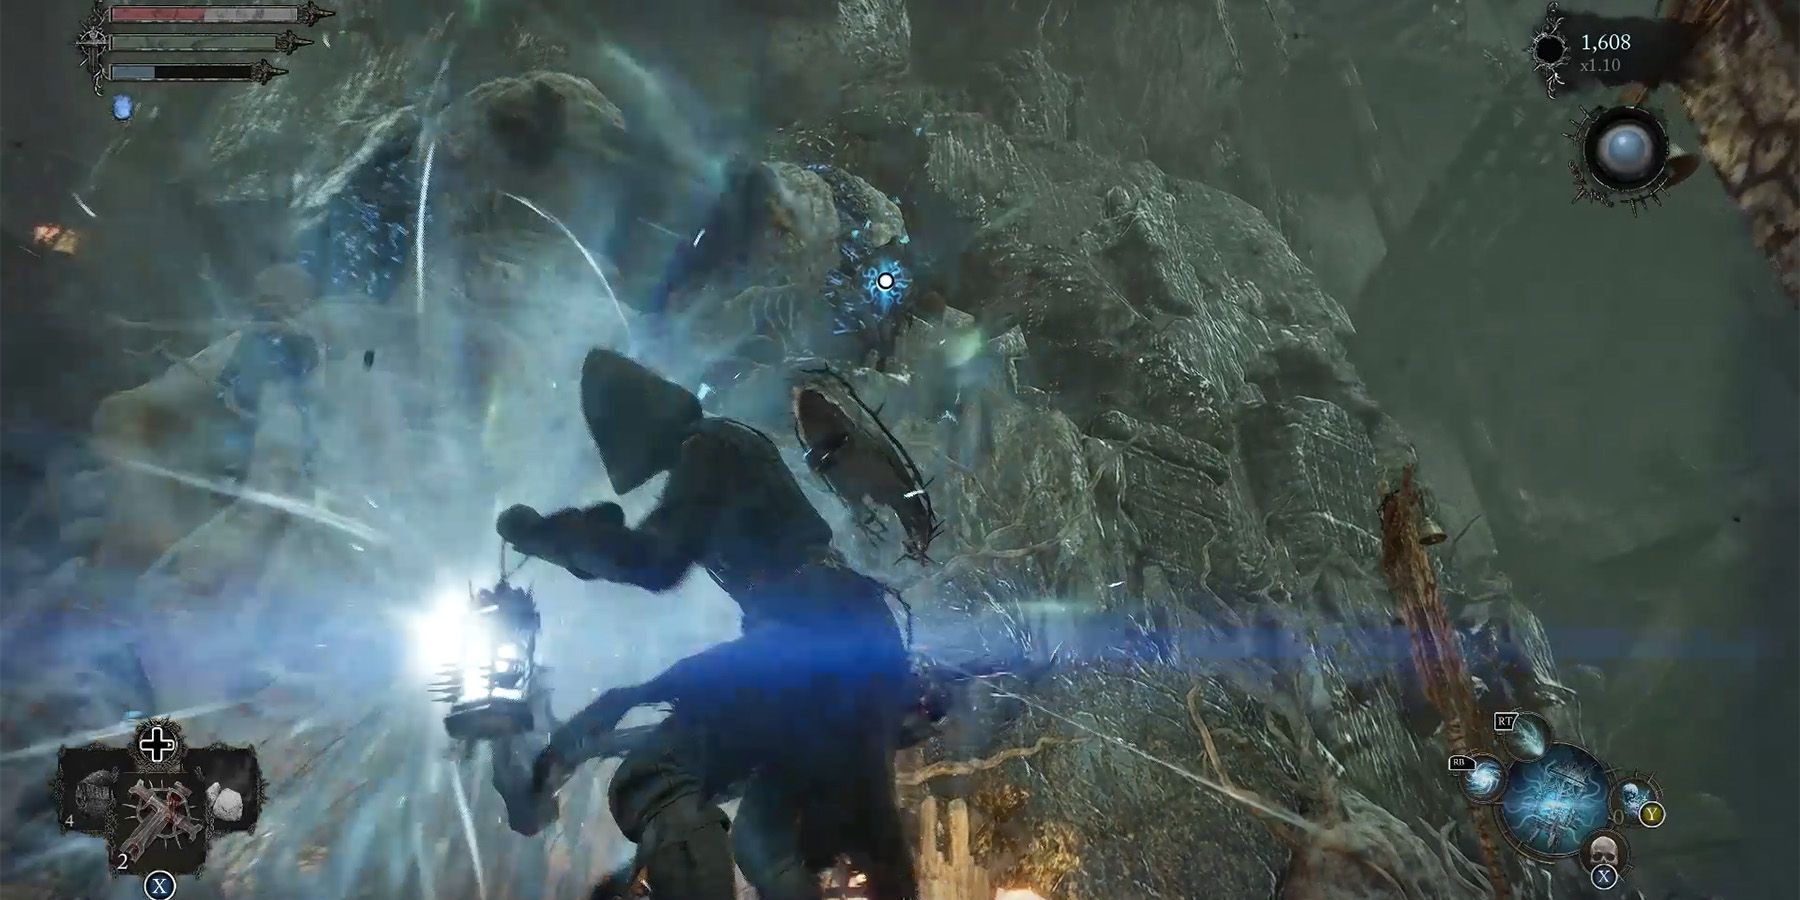
Return to the Umbral entity and ascend the adjacent white incline on the left to eliminate the second Soulflay Obstacle. The final obstacle is likely the simplest, situated on the right side of the entity, close to the summit of the hill.
How To Free The Blacksmith In Lords Of The Fallen
After removing all three obstacles, proceed to confront the last Soulflay Obstacle that is obstructing the cave entrance. Once resolved, venture inside. Descend down two ladders until a leftward elevator emerges. Continue down one last ladder to discover Gerlinde's cell, which is guarded by numerous adversaries.
To liberate the Blacksmith in Lords of the Fallen, players must overcome the formidable knight who stands watch over the cell. Additionally, there are a pair of loyal hounds at his side, so it is crucial to eliminate them first before engaging in combat with the knight. Once the adversary has been vanquished, employ the recently obtained Prison Cell Key to release Gerlinde from her captivity.
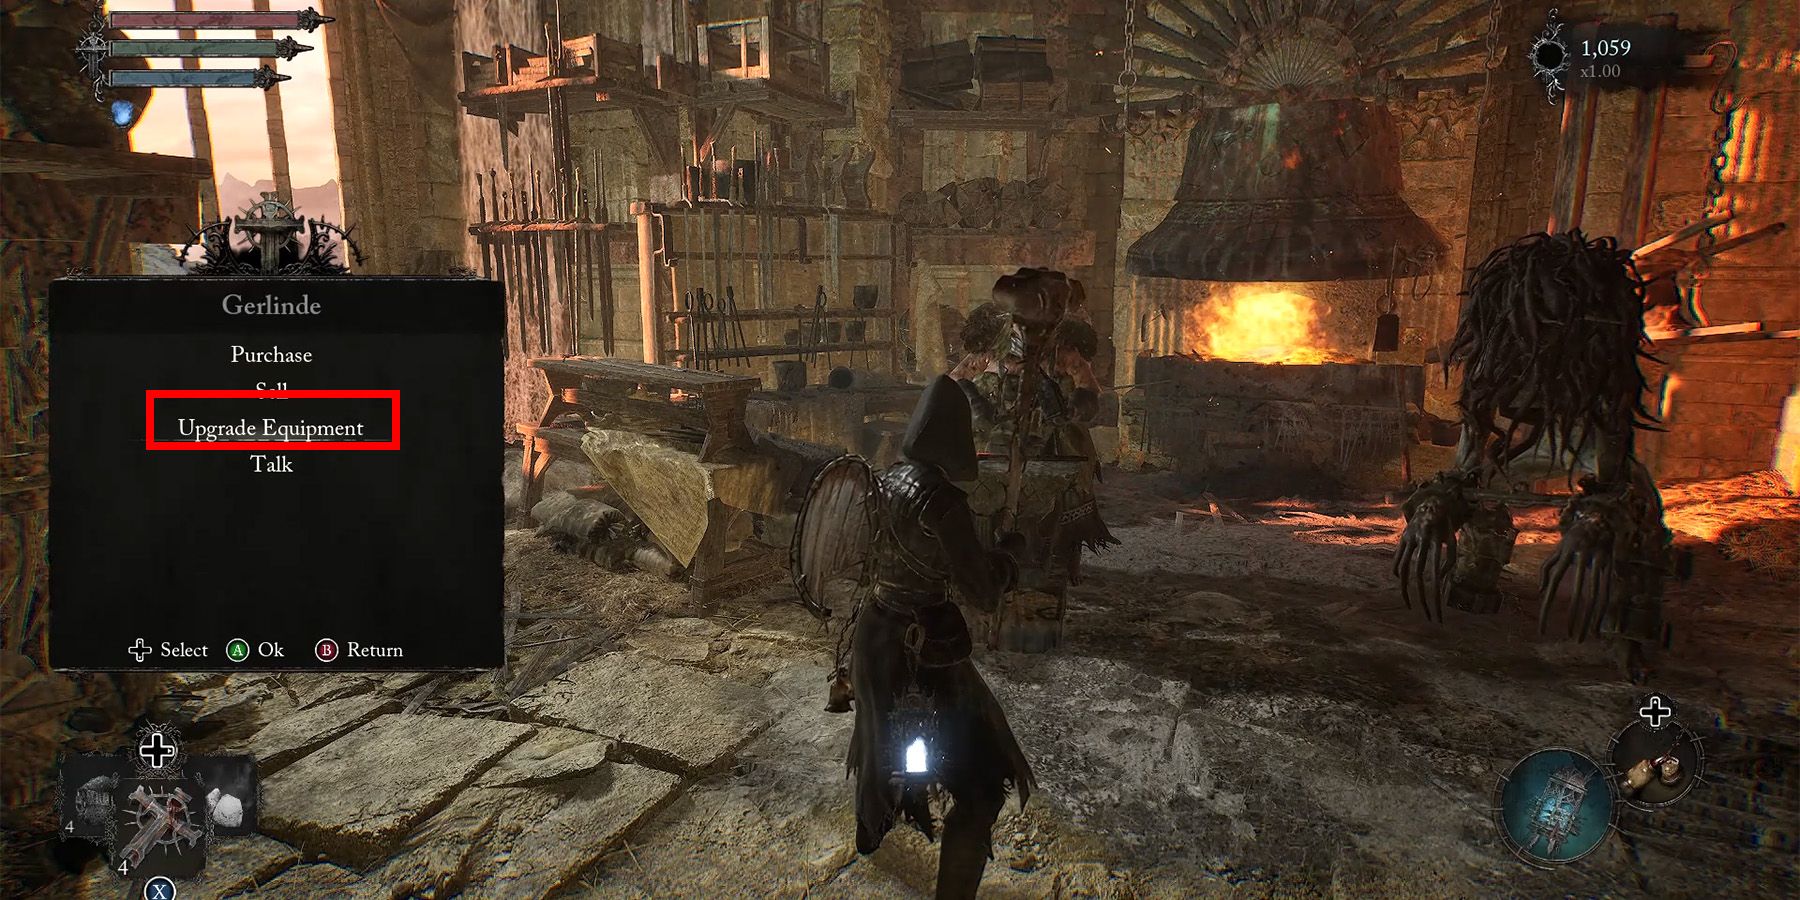
By resting at any Vestige Points in Lords of the Fallen, players can reload the area and enable the Blacksmith to relocate to the Skyrest Bridge. The Blacksmith can be located in the upper room opposite Molhu’s room. With Gerlinde now in a safe state, lampbearers can proceed to gather the necessary materials for weapon upgrades in Lords of the Fallen. Lords of the Fallen is available on PC, PS5, and Xbox Series X/S.


