Discover the Koboh Databanks in Star Wars Jedi: Survivor
Discover the Koboh Databanks in Star Wars Jedi: Survivor
Navigating through the vast galaxy of Star Wars Jedi: Survivor can prove to be a challenging task for players, especially when it comes to locating the numerous text and audio logs scattered across the game world. In the region of Rambler's Reach on the planet Koboh, players can explore more than 20 different locations, each housing valuable databank entries waiting to be discovered.
This comprehensive guide provides players with detailed information on key locations such as Rambler's Reach Outpost, Phon'Qi Caverns, and the Untamed Downs. Through the use of maps, images, and descriptions, players can easily locate and collect every databank entry found in Rambler's Reach on Koboh in Star Wars Jedi: Survivor.
The Southern Reach on Koboh features three databanks.
Databank 1 of 3 – Amphibian Blues
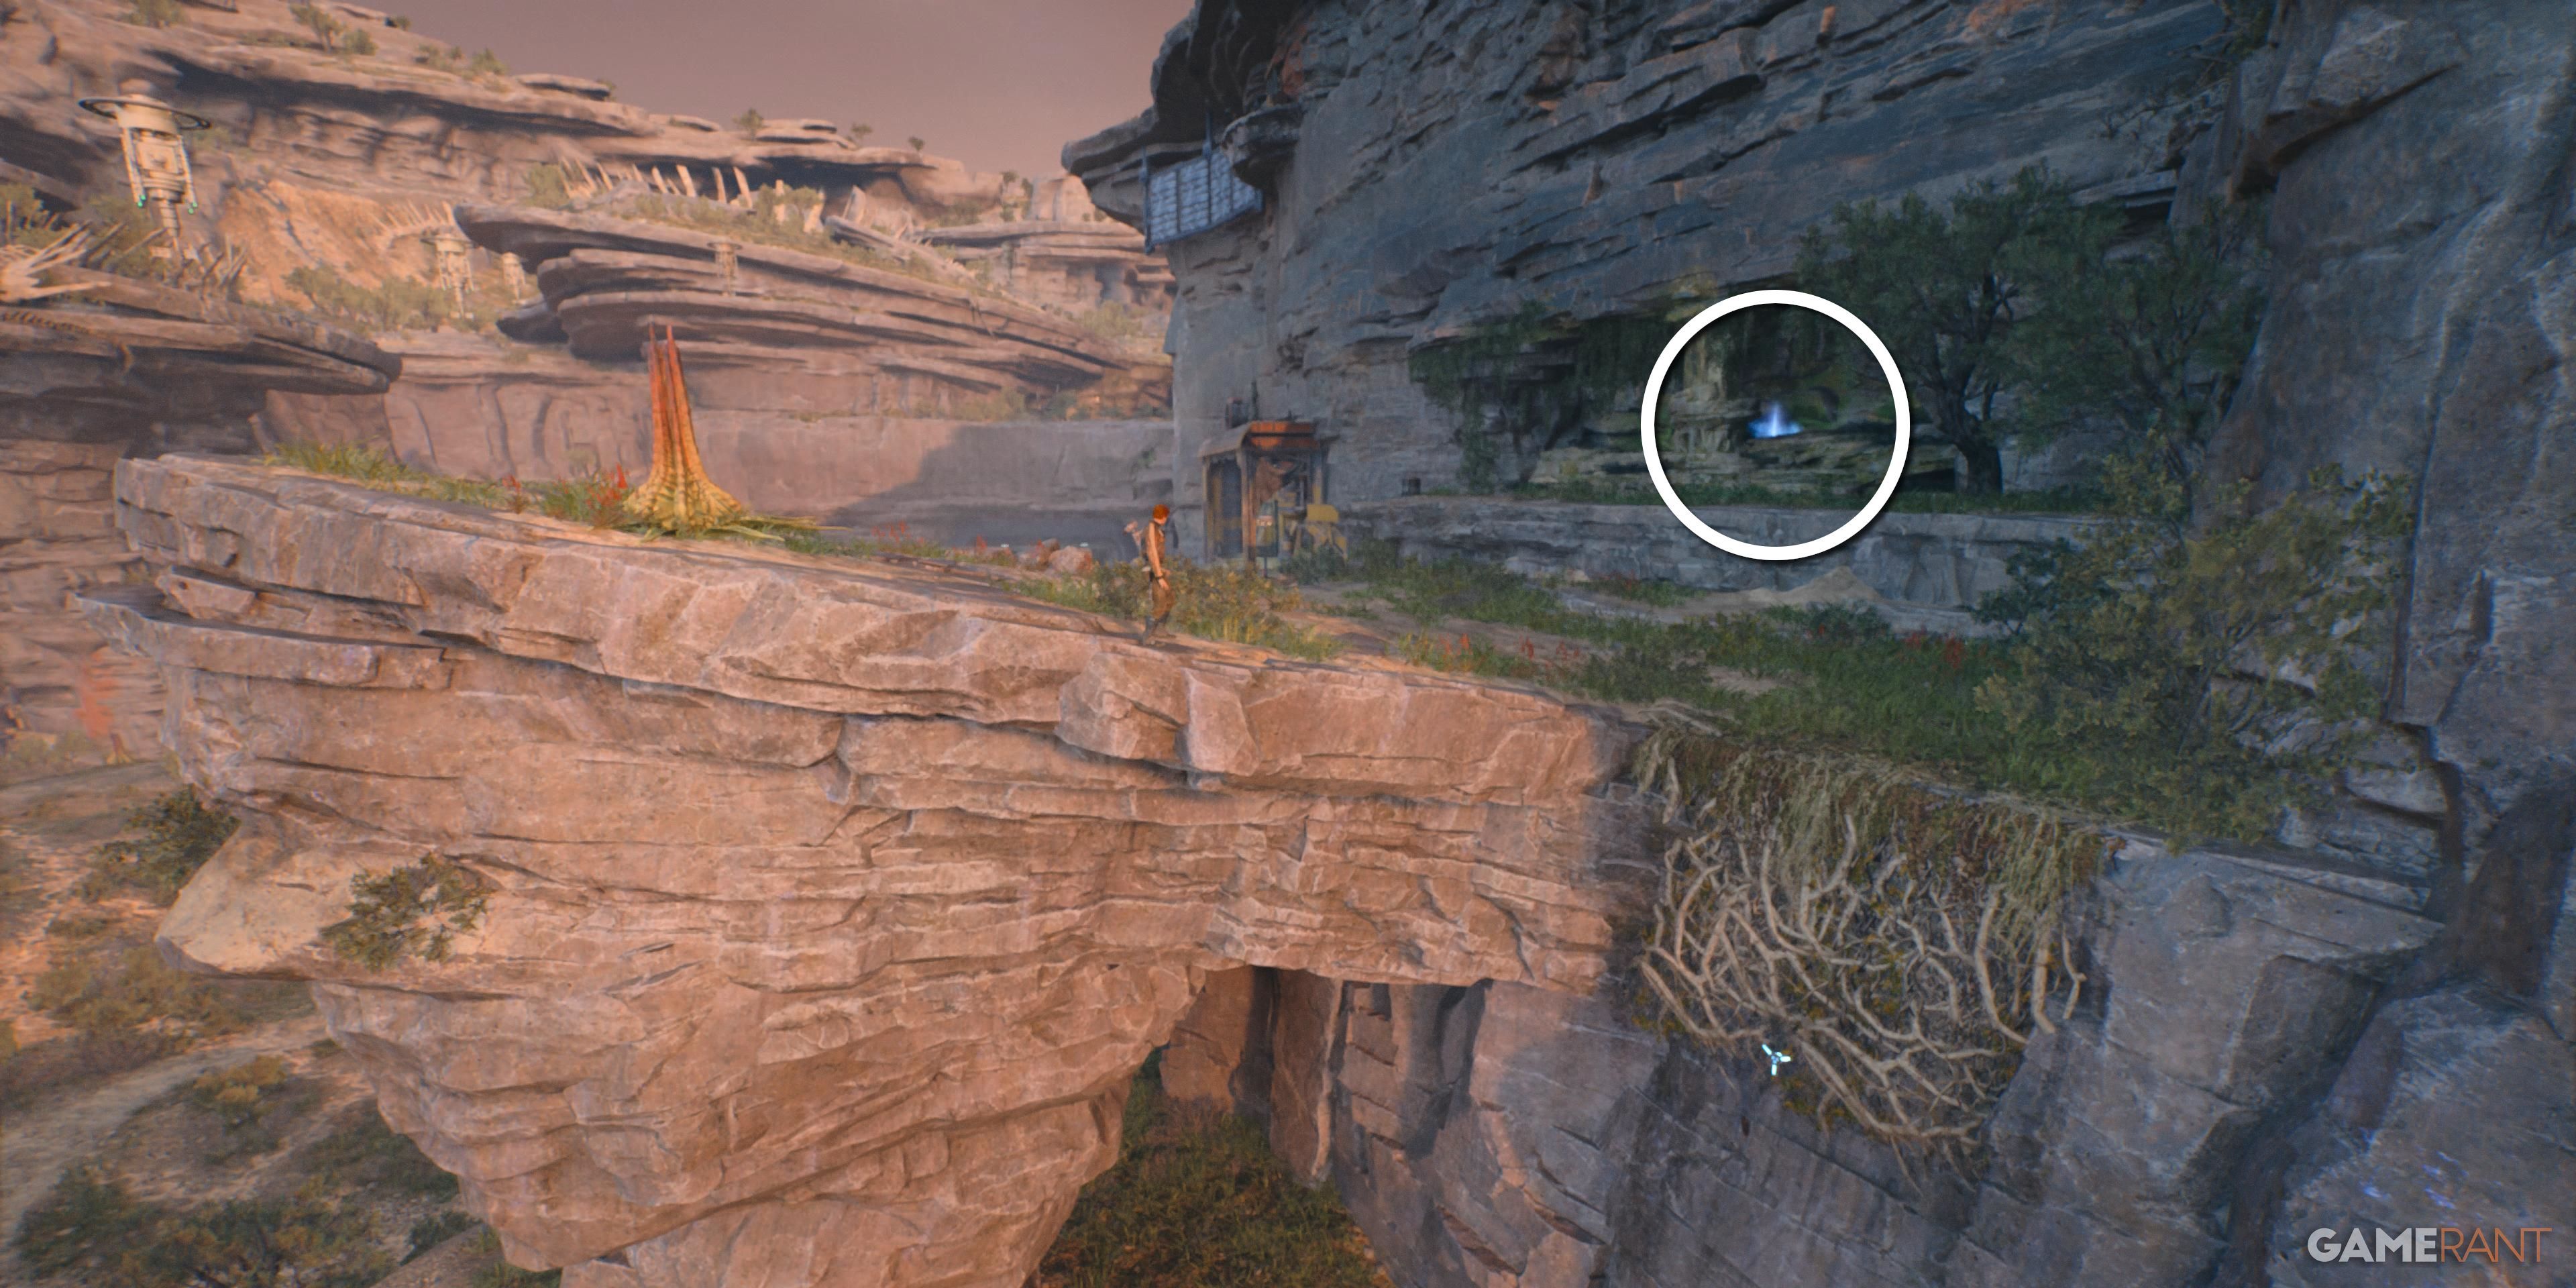
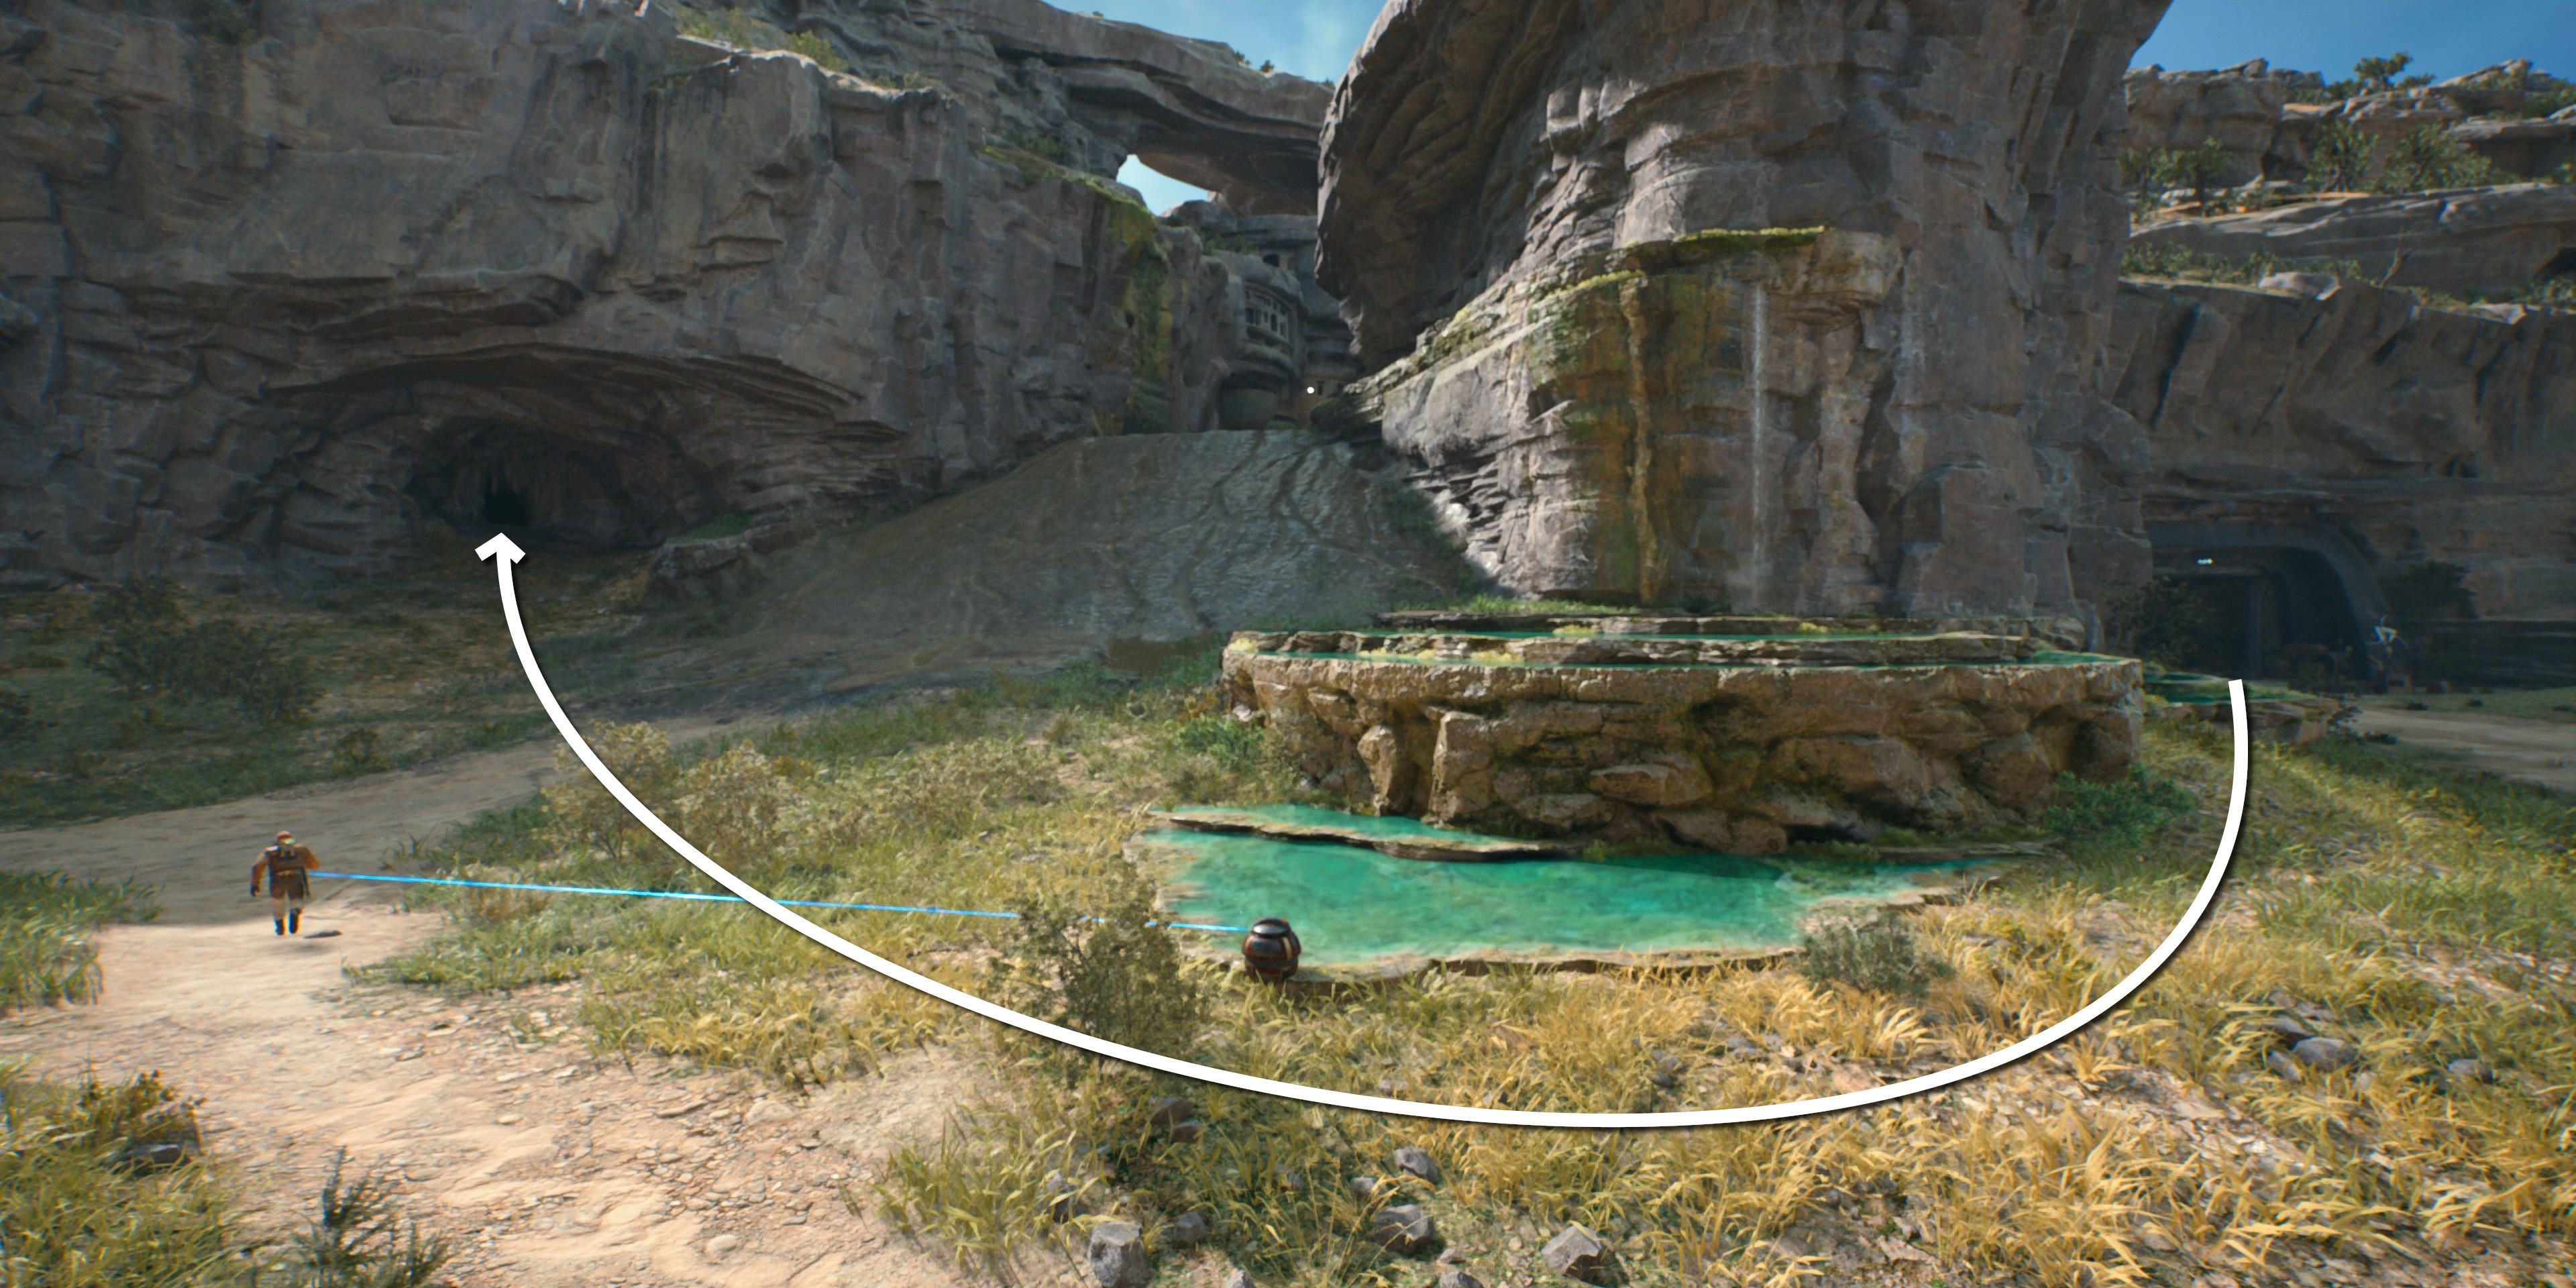
Retracing your steps at Mosey's camp, head towards the waterfall and scale the nearby vines. Following the rugged cliffs, players can discover a hidden cave on their right. By swinging across a pole, they can finally reach this elusive echo. If you explore further, you'll also stumble upon the Kashyyyk Paint chest.
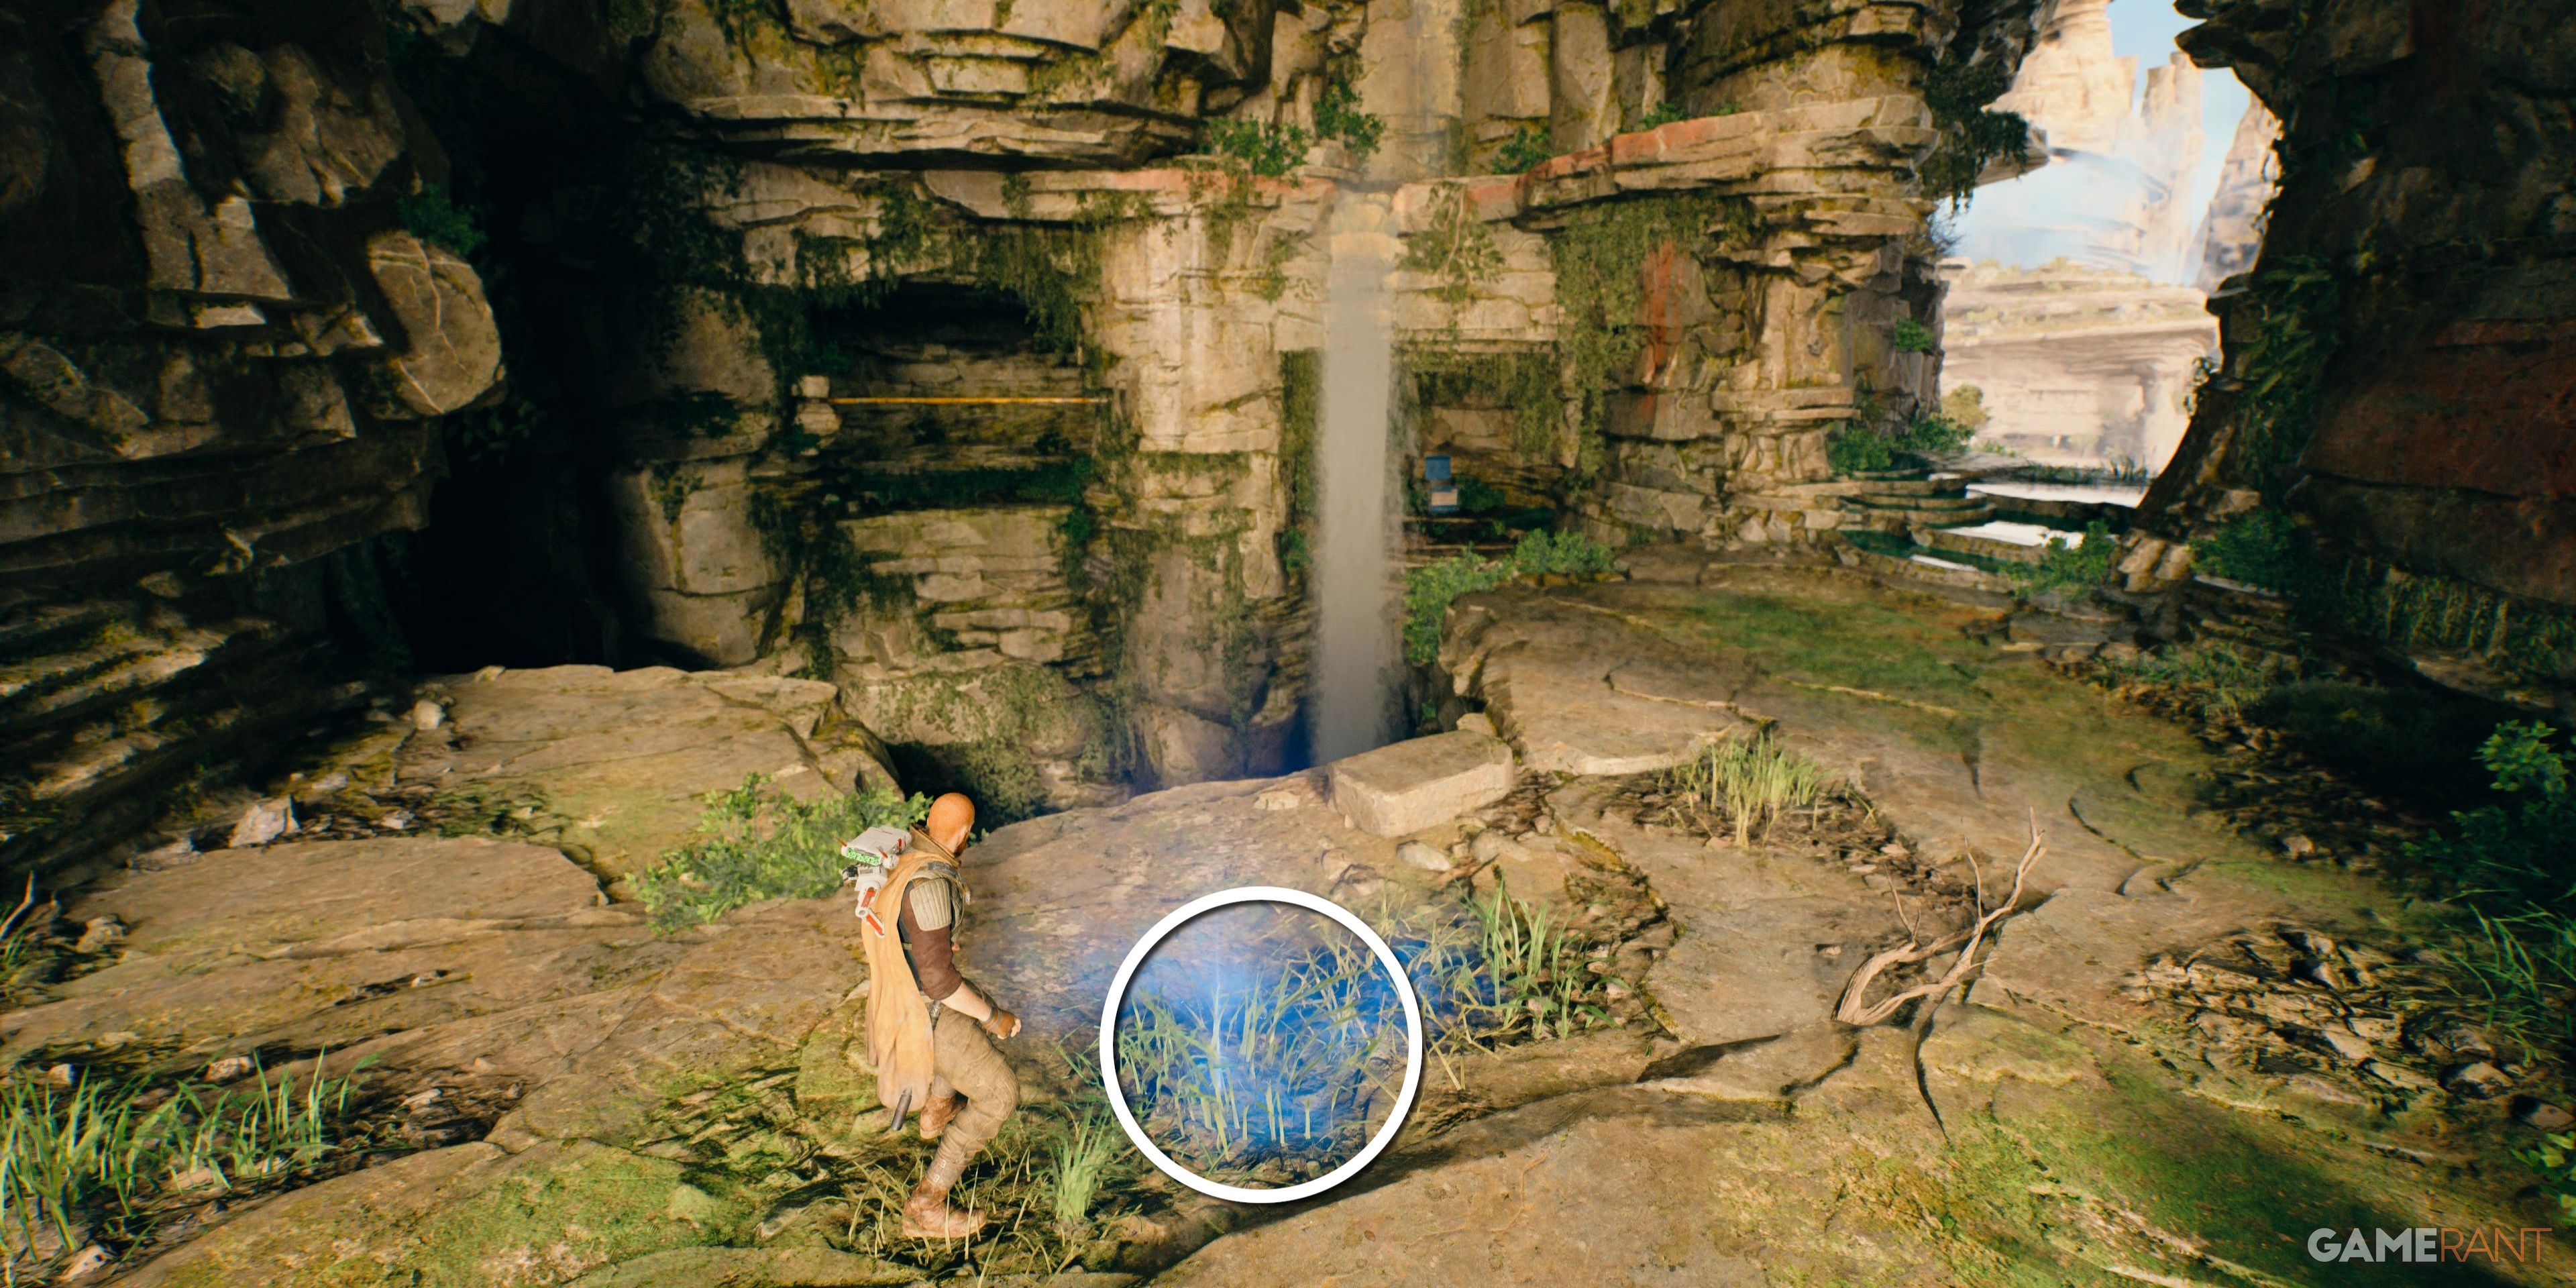
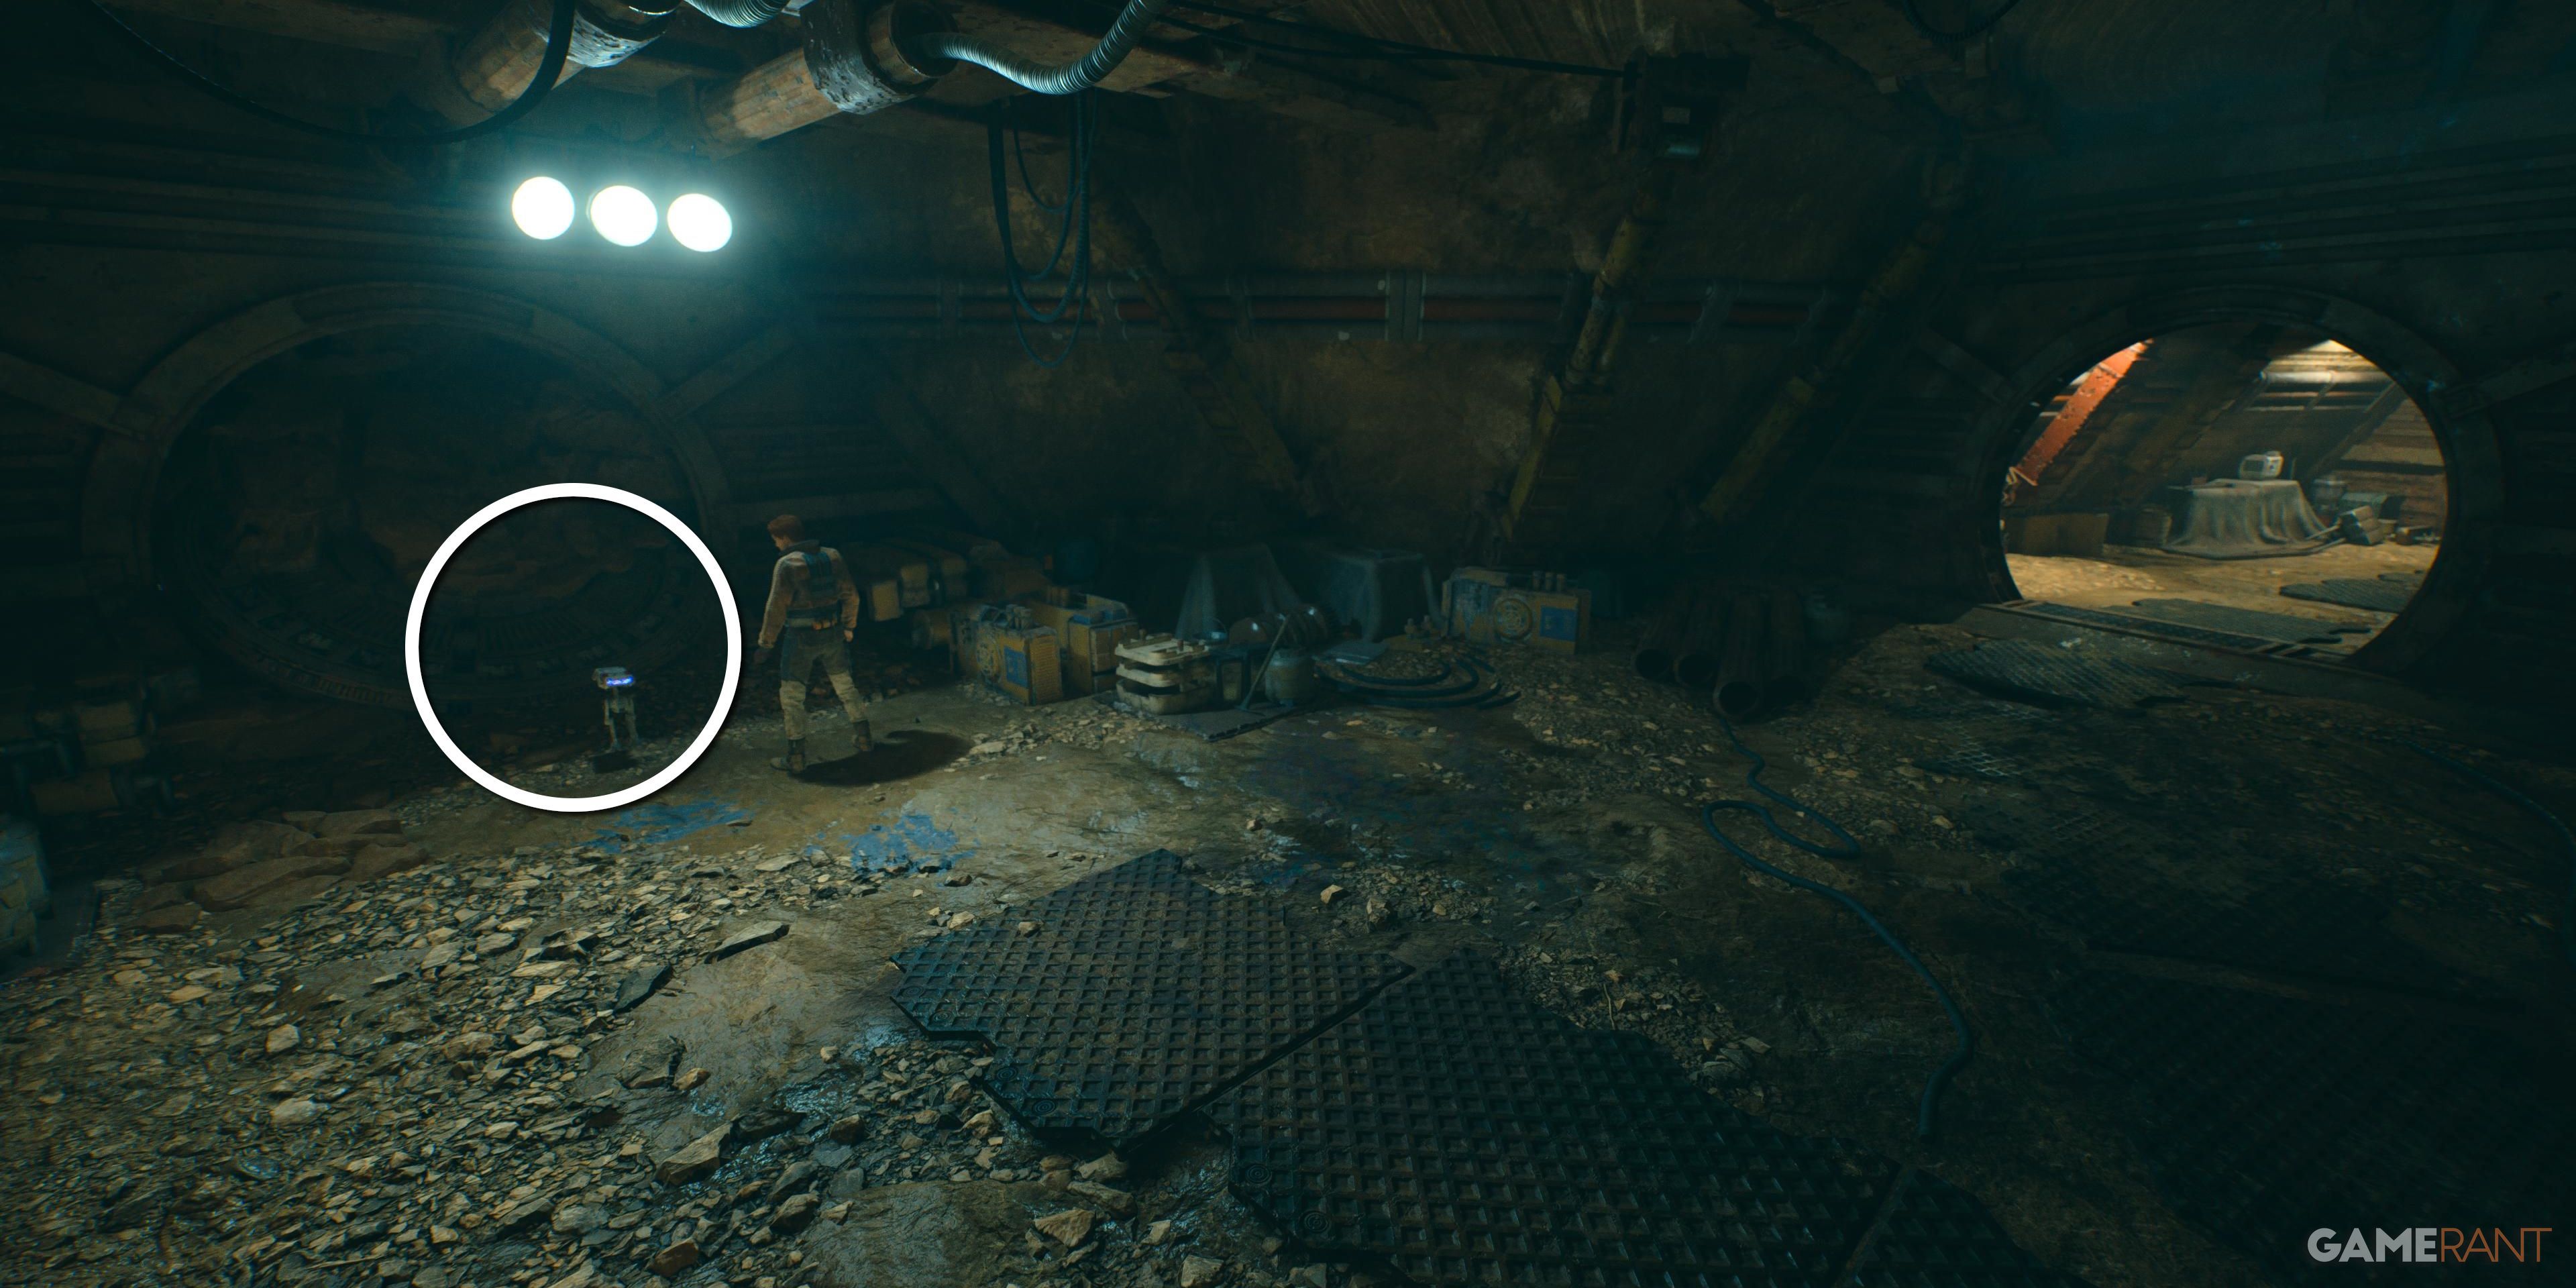
Use the databank to locate the Gorocco den and then pull the rope to the right using Force Pull to access a new ledge. Proceed forward and upward to the right to discover an echo hidden in a pile of dirt.
Databank 3 of 3 – Unusual Silo
Hunter’s Quarry
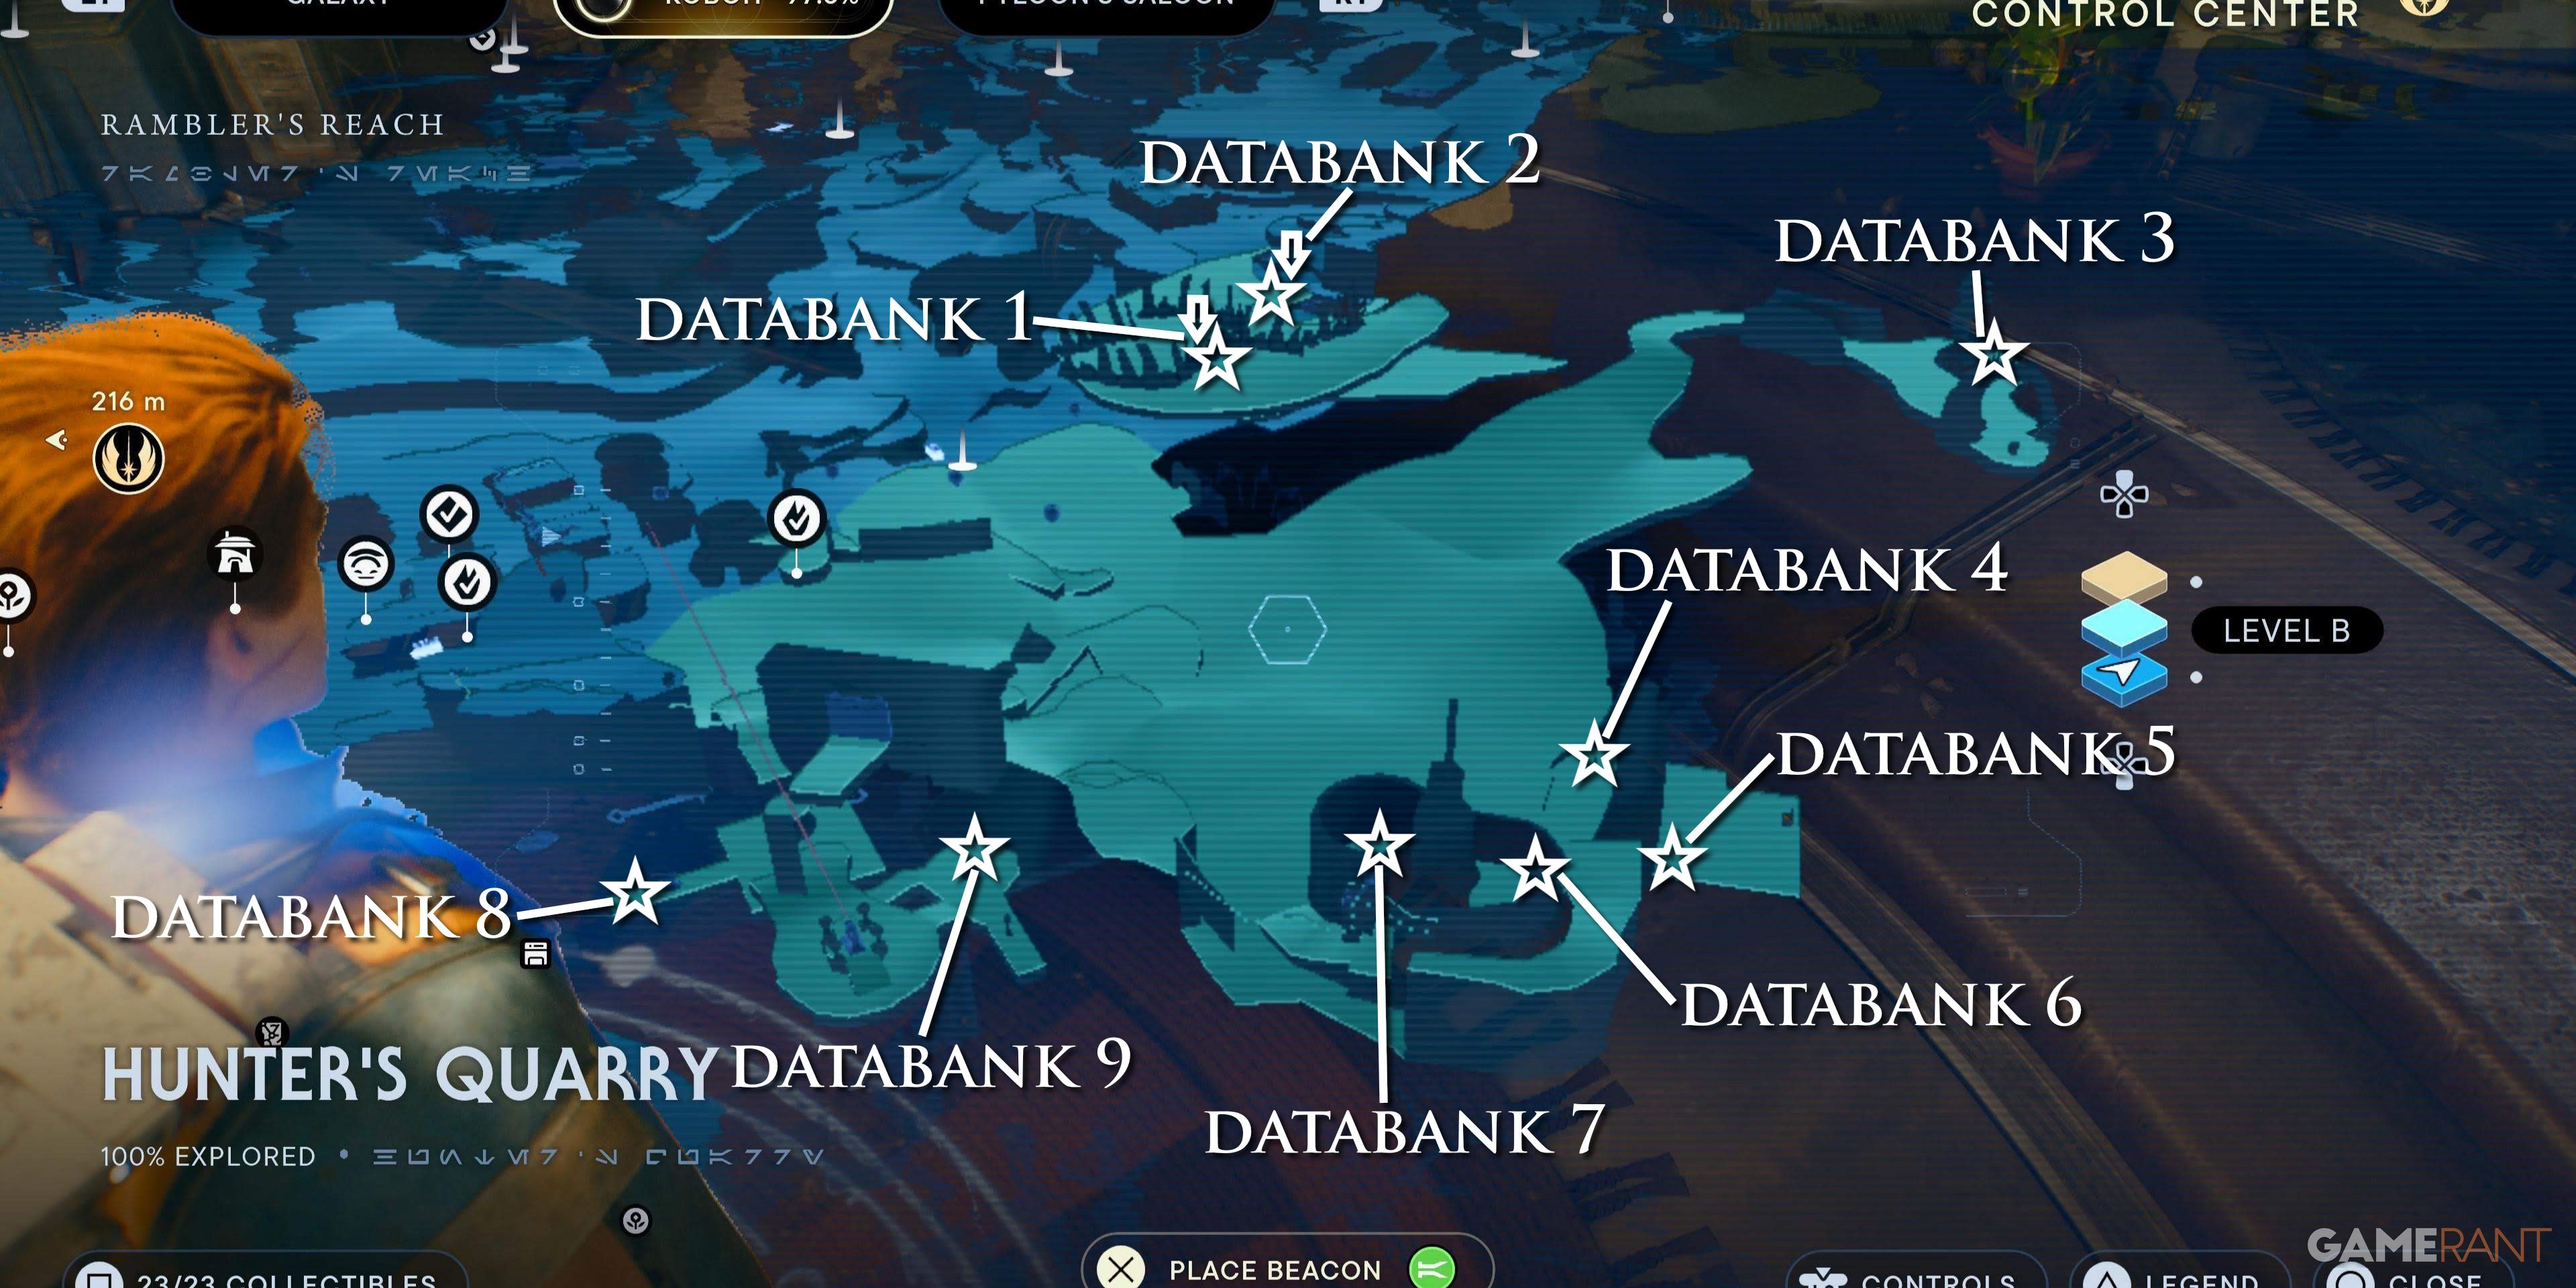
There are nine databanks to be found in Star Wars Jedi: Survivor’s Hunter’s Quarry.
Databank 1 of 9 – Gorocco Sanctuary
Databank 2 of 9 – Free Sample
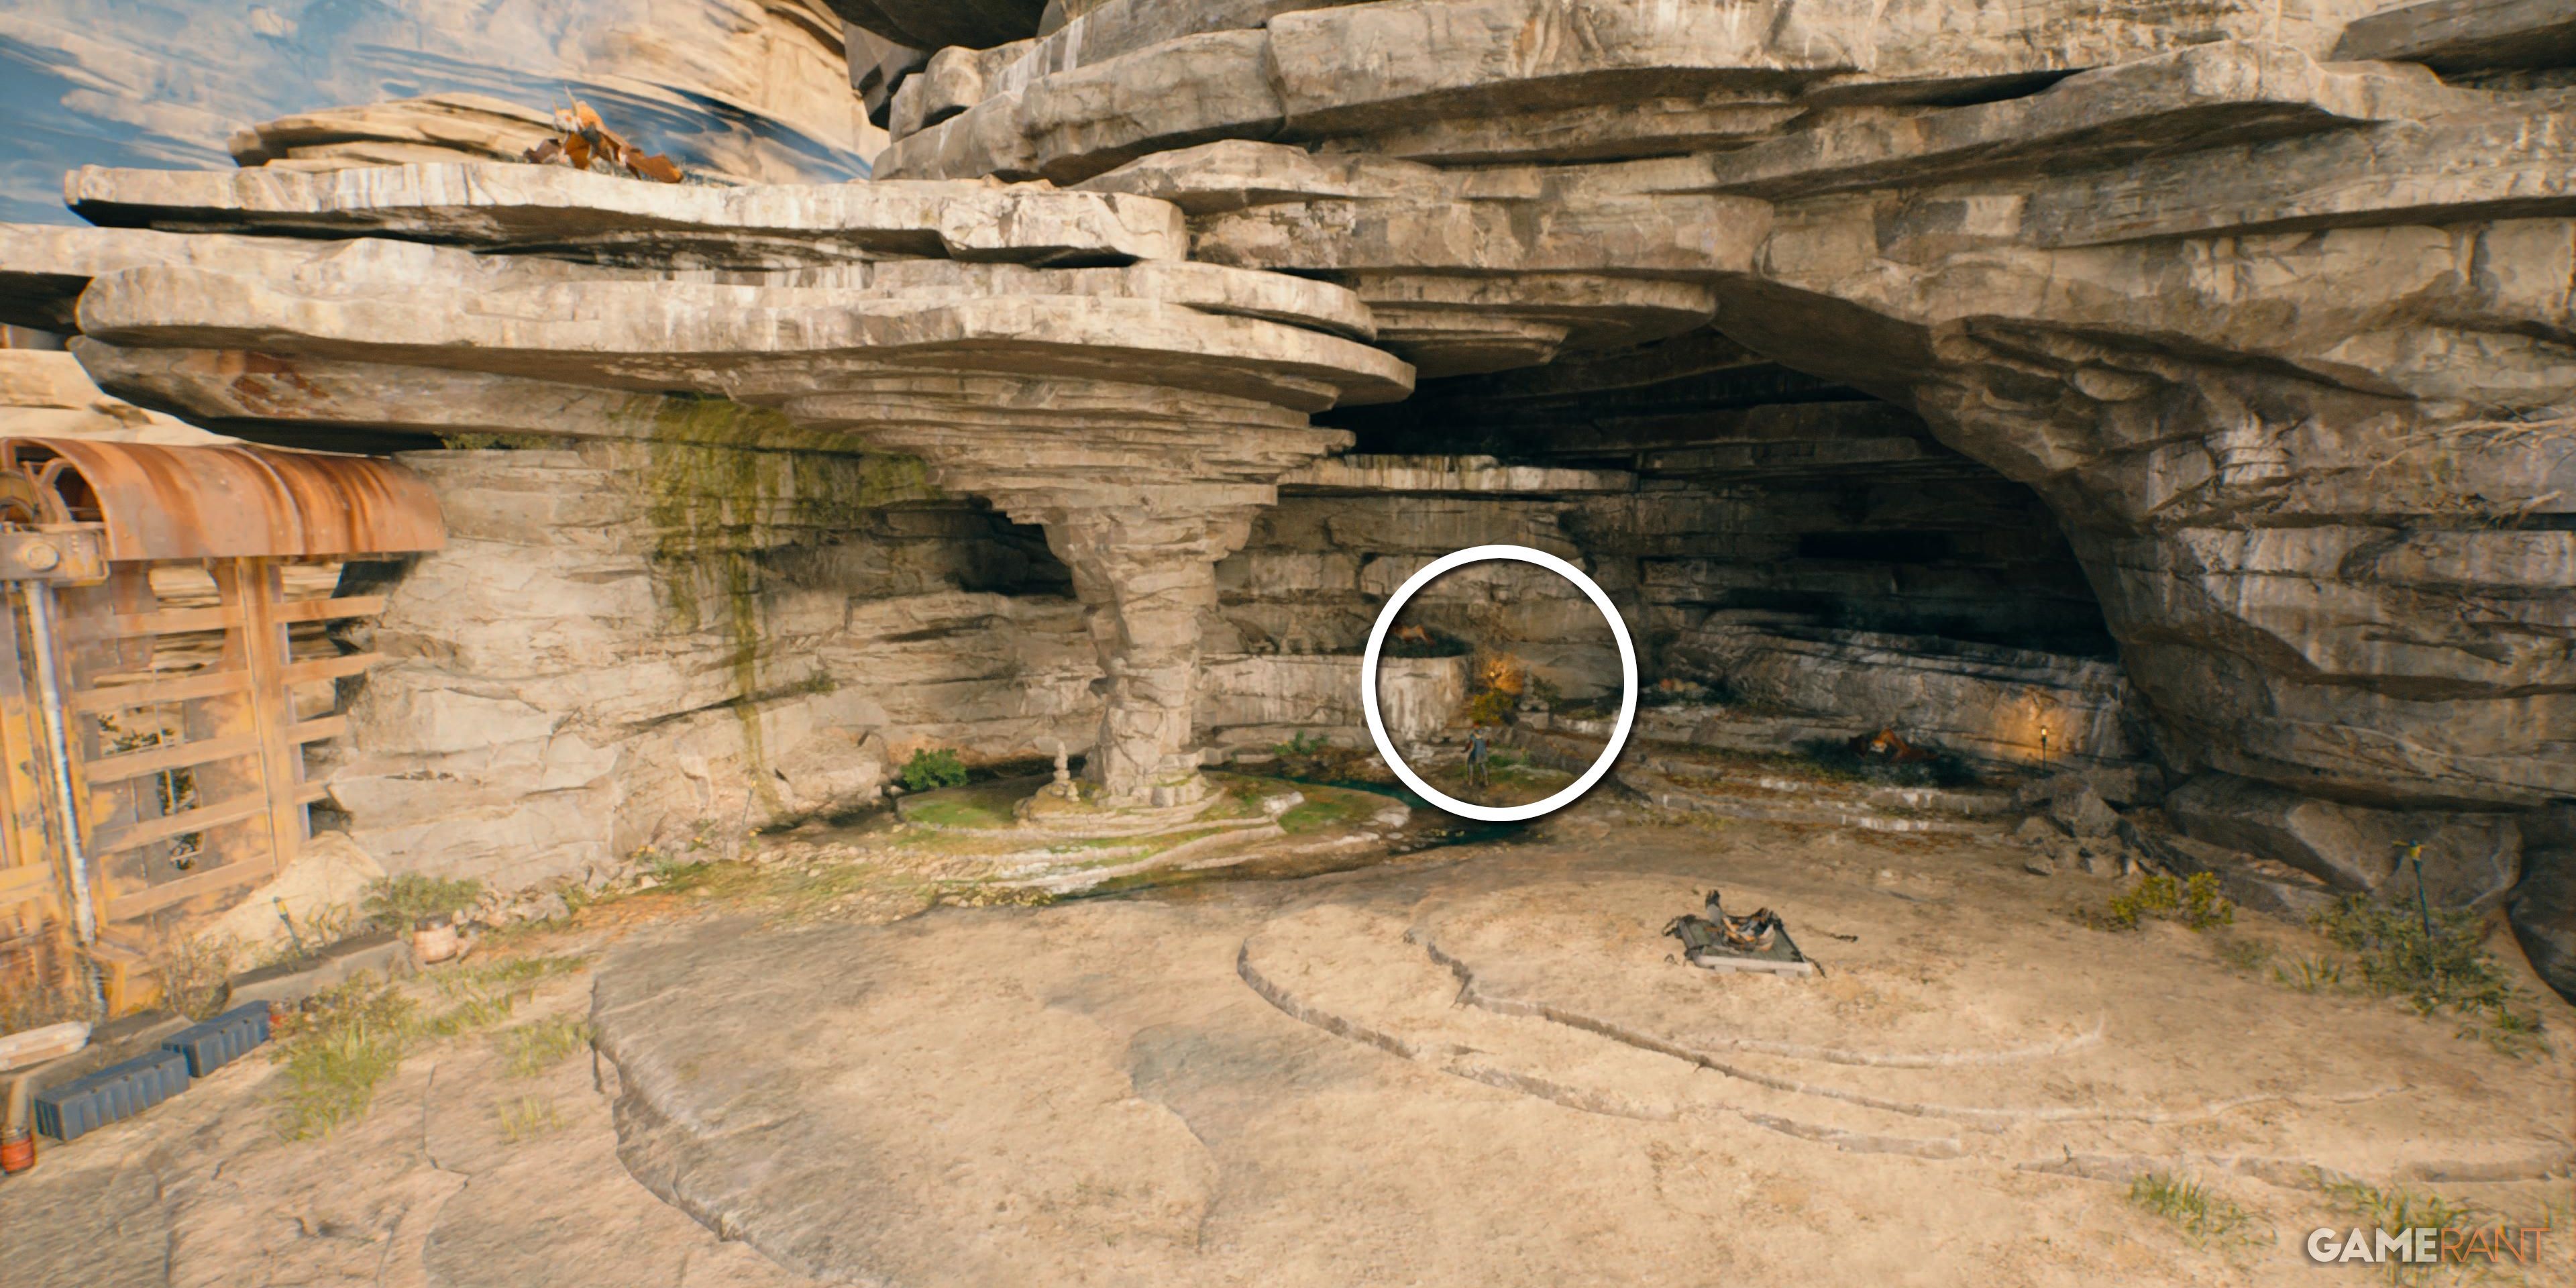
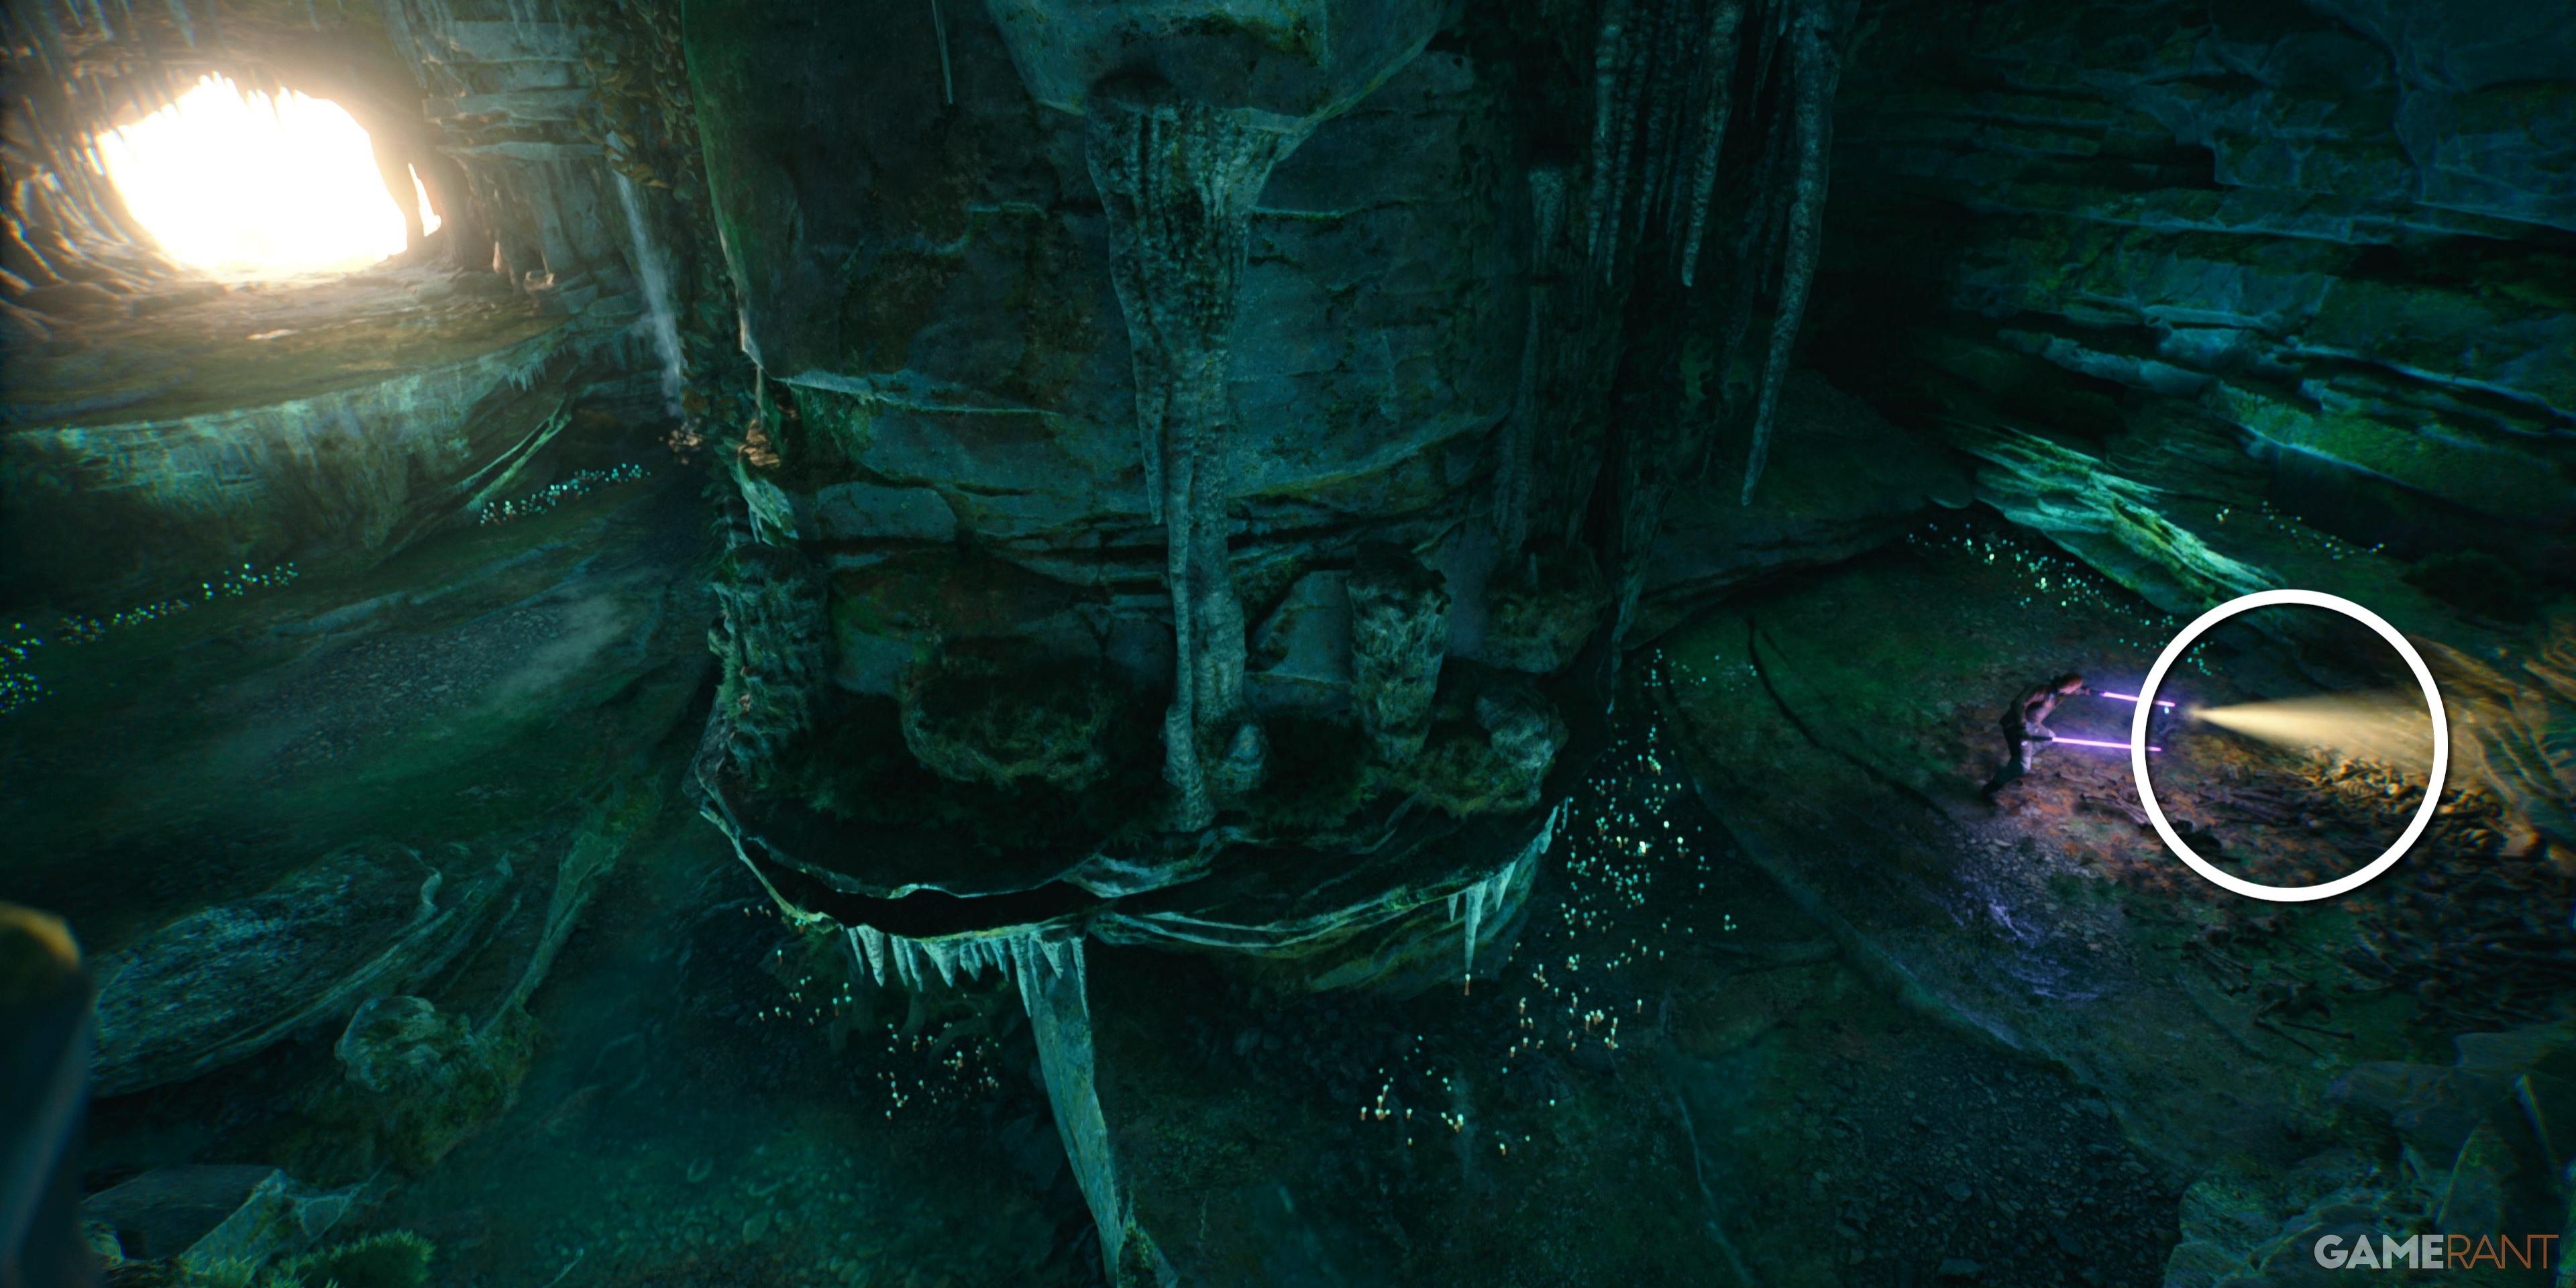
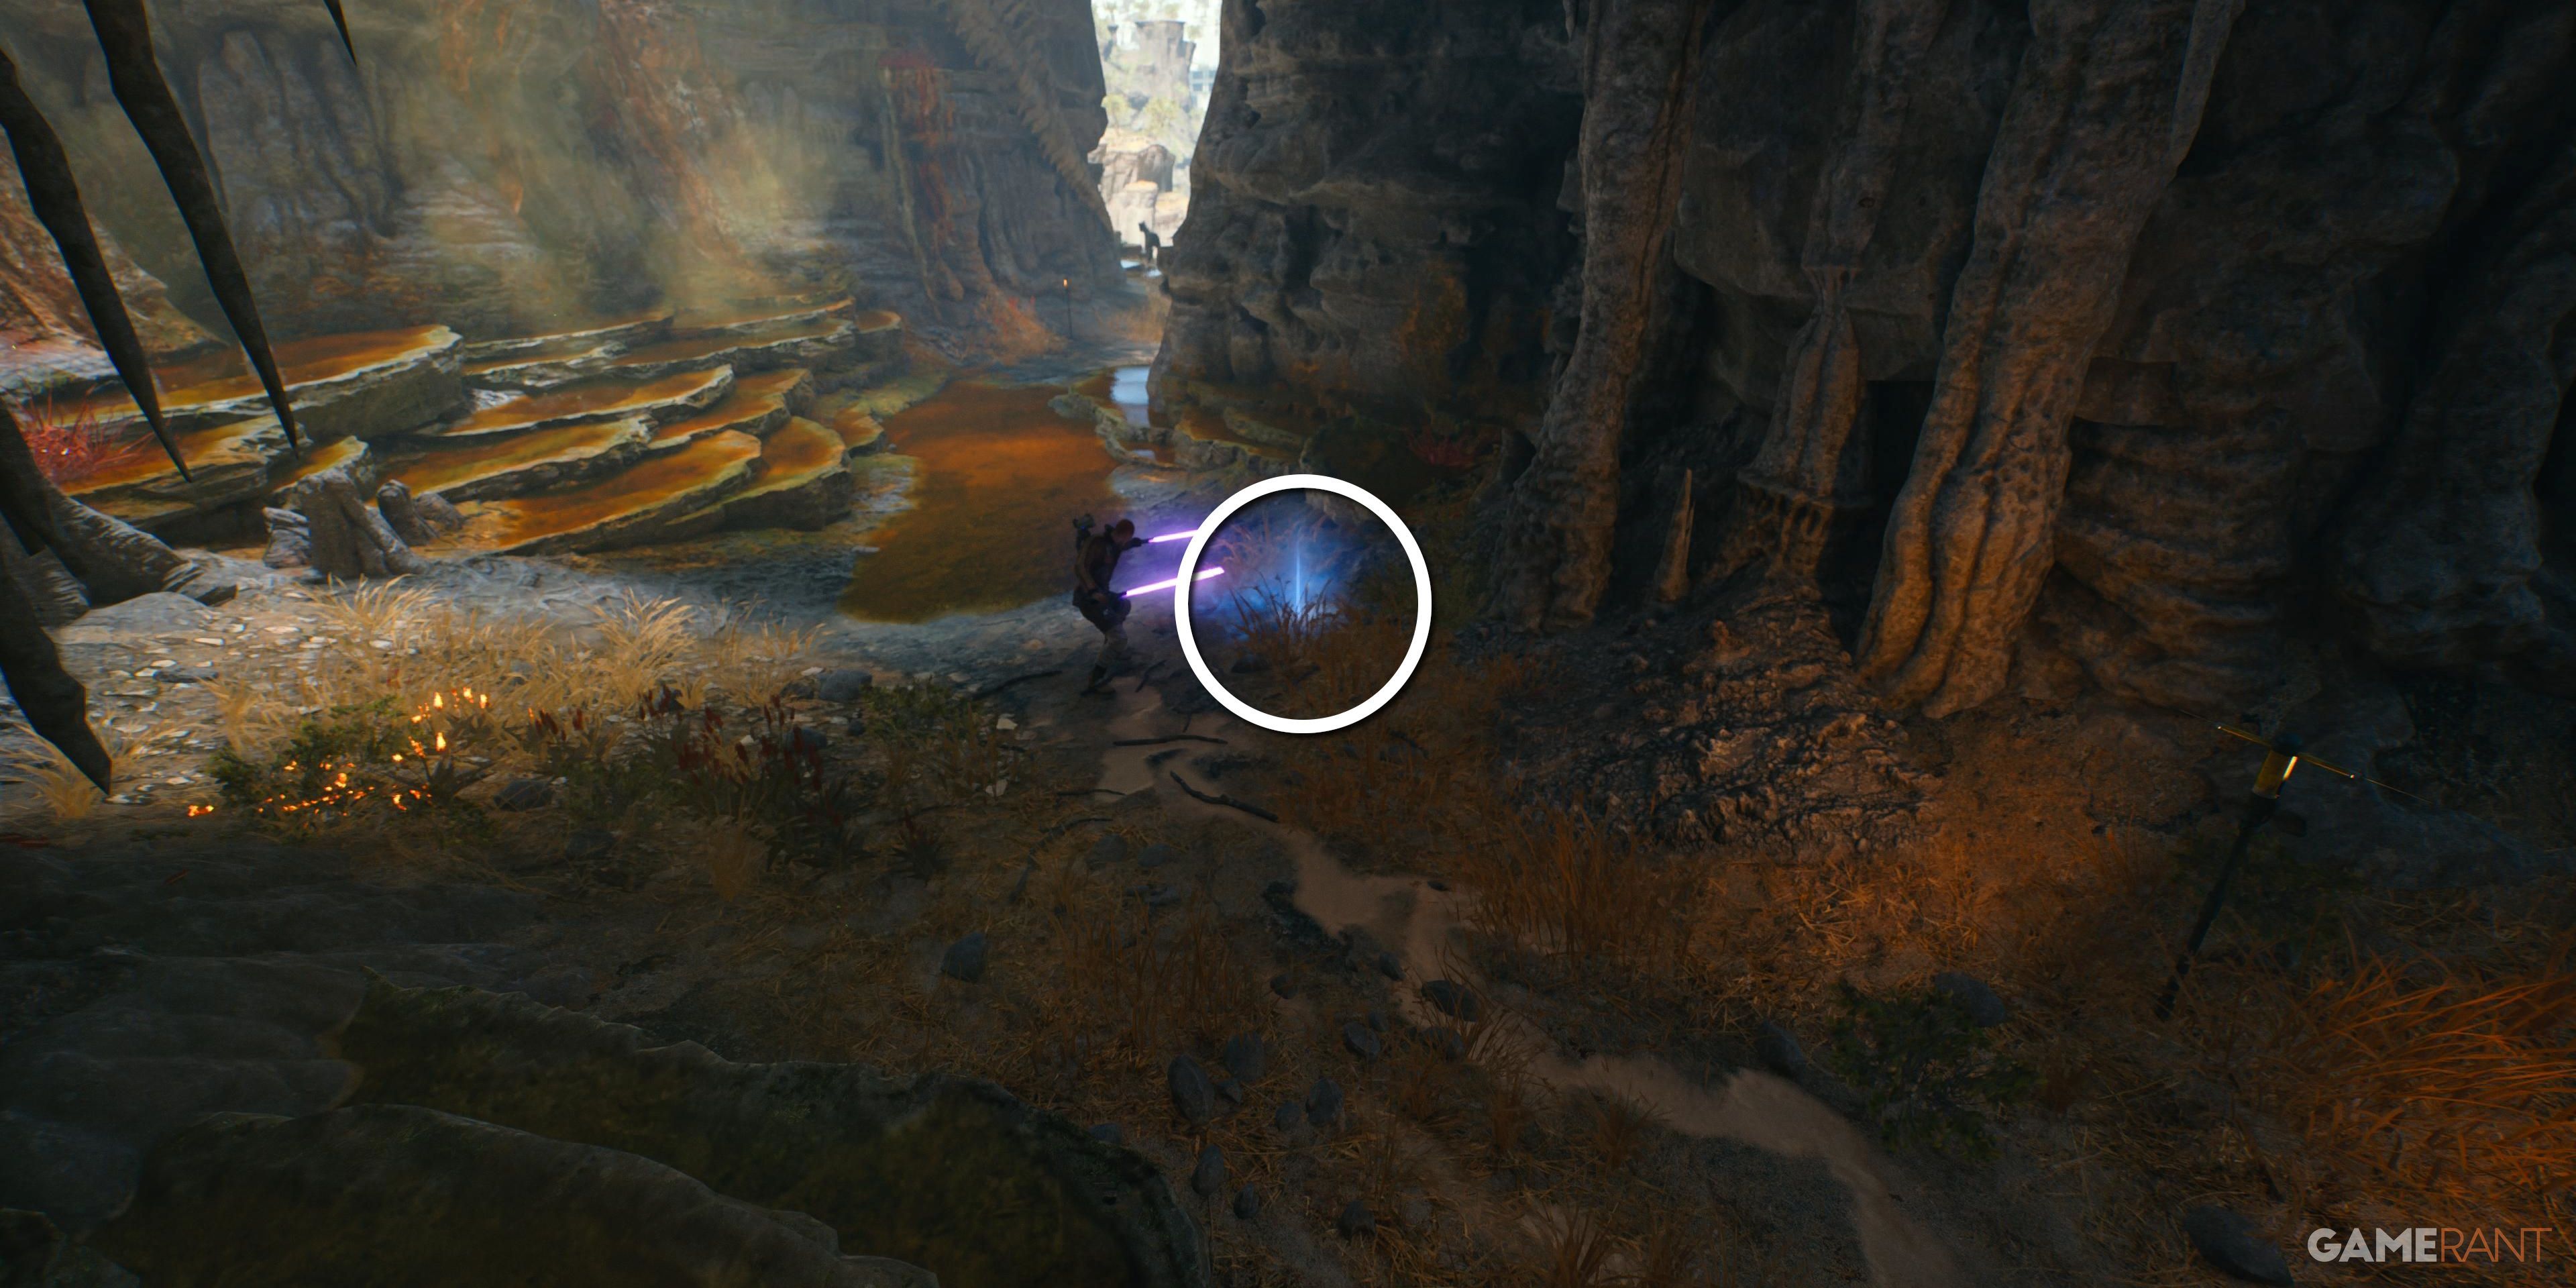
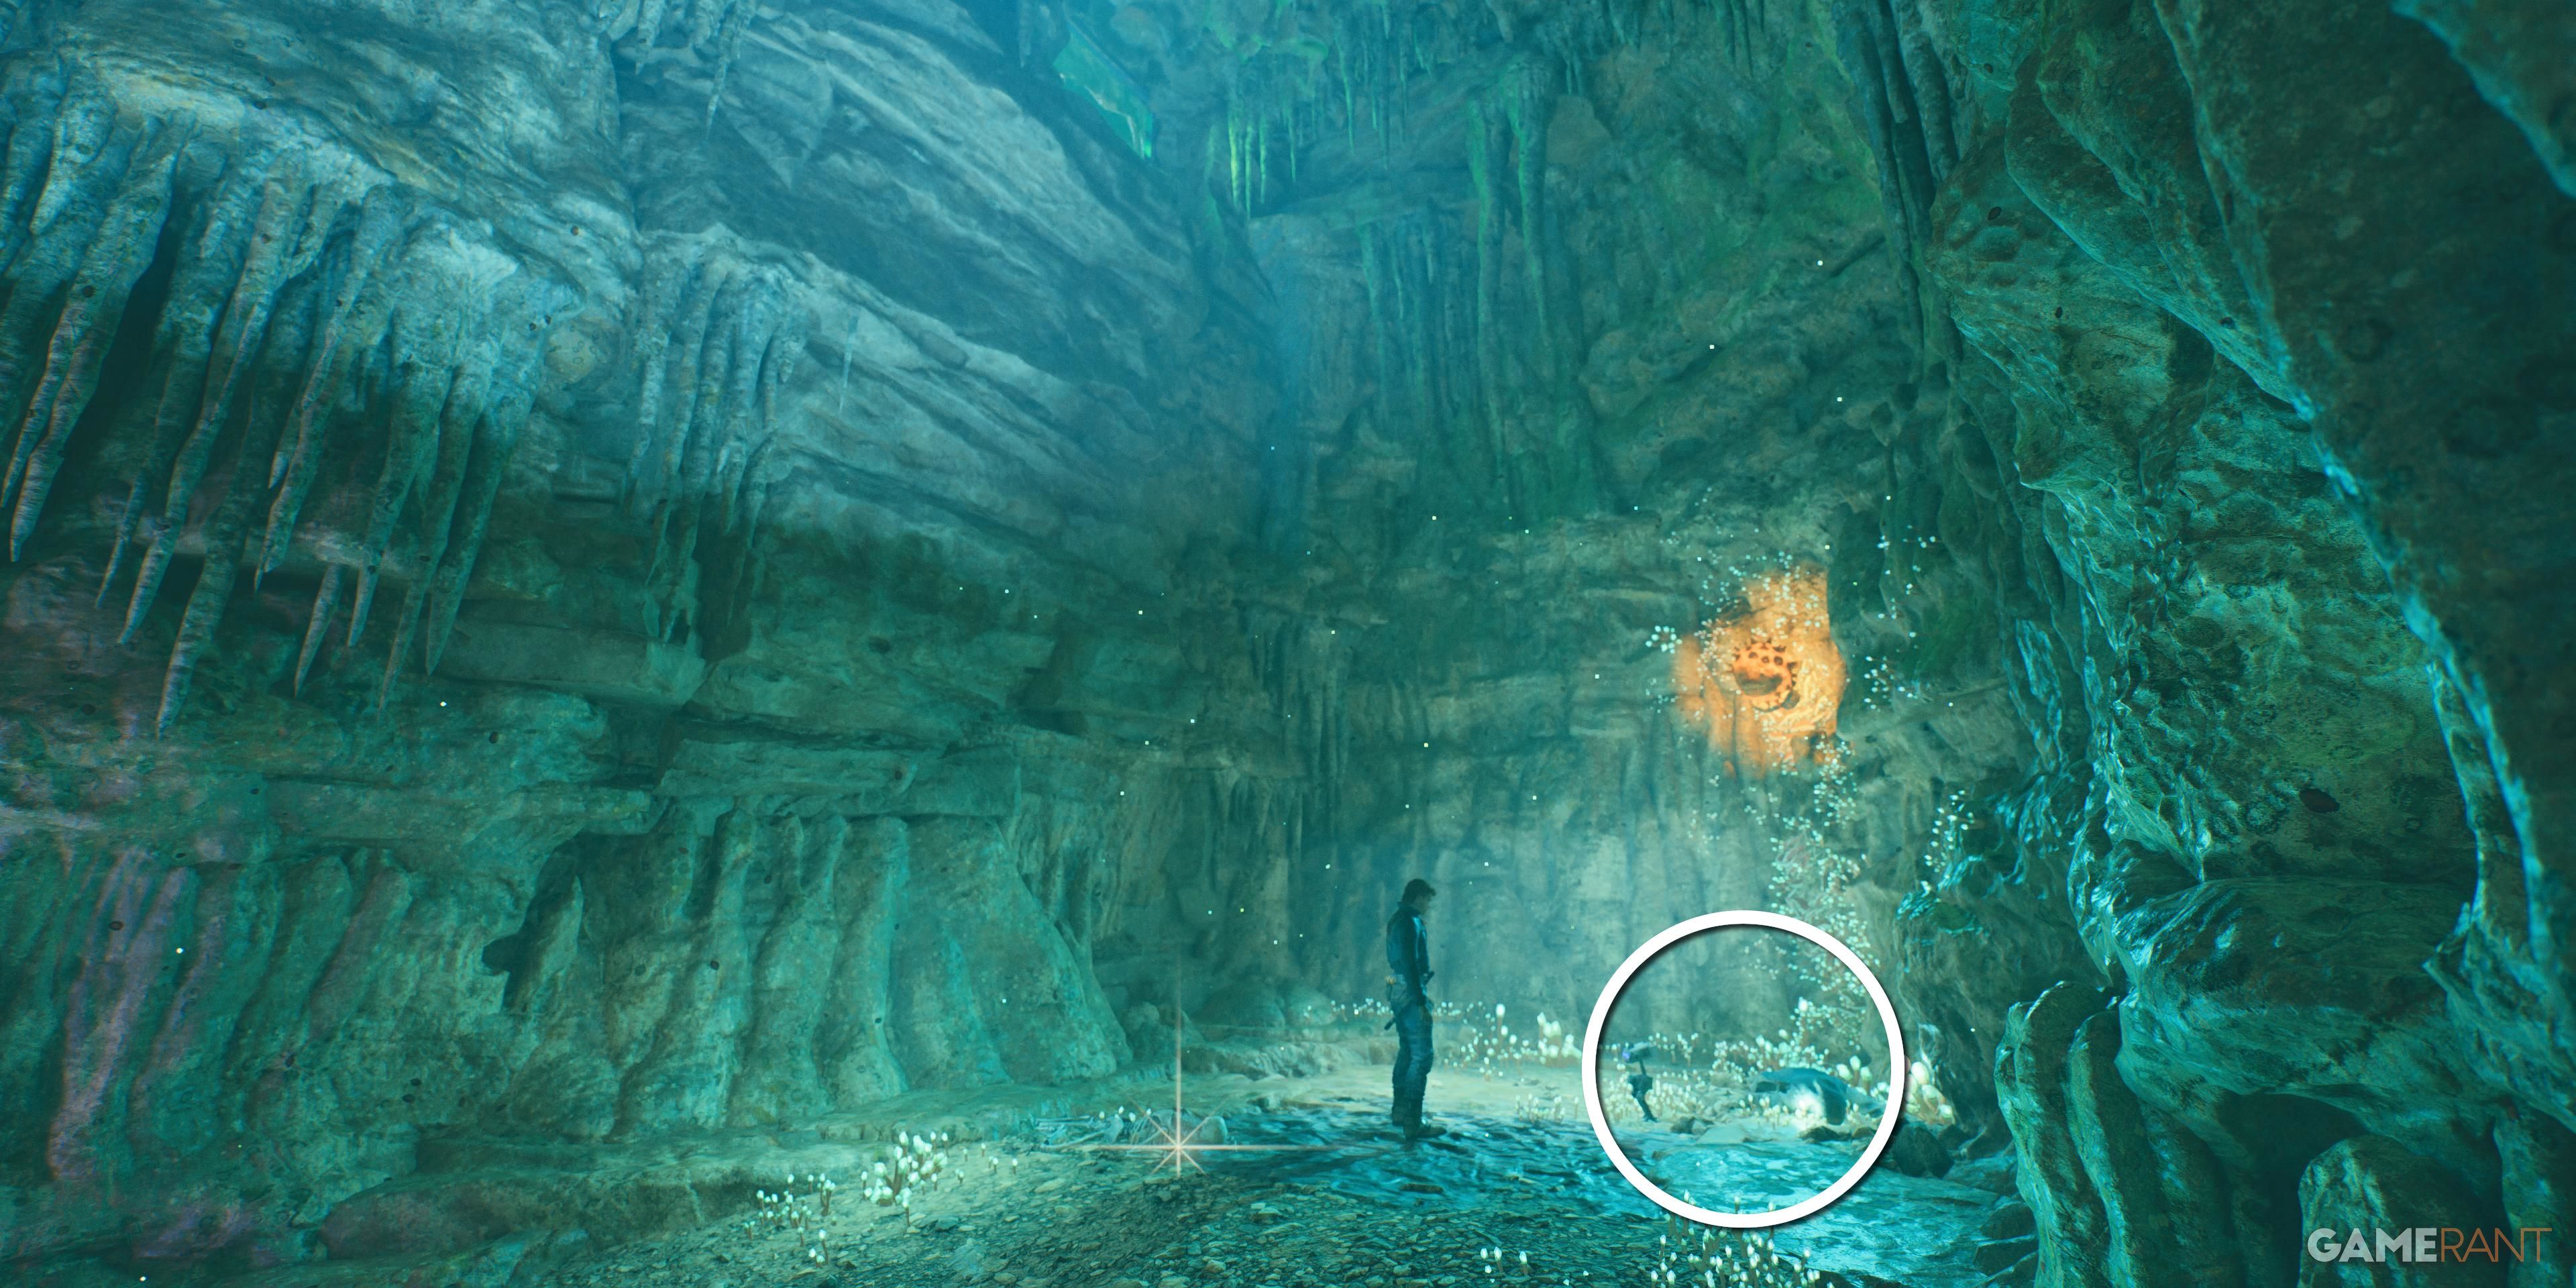
Return to the spot where Cal spotted the Gorgers entering the canyon and navigate through the narrow gaps between rocks. Once inside, eliminate the group of Gorgers and proceed towards the left side of the pillar to uncover the databank amidst scattered bones. This area also holds a portion of the Bomber gear set.
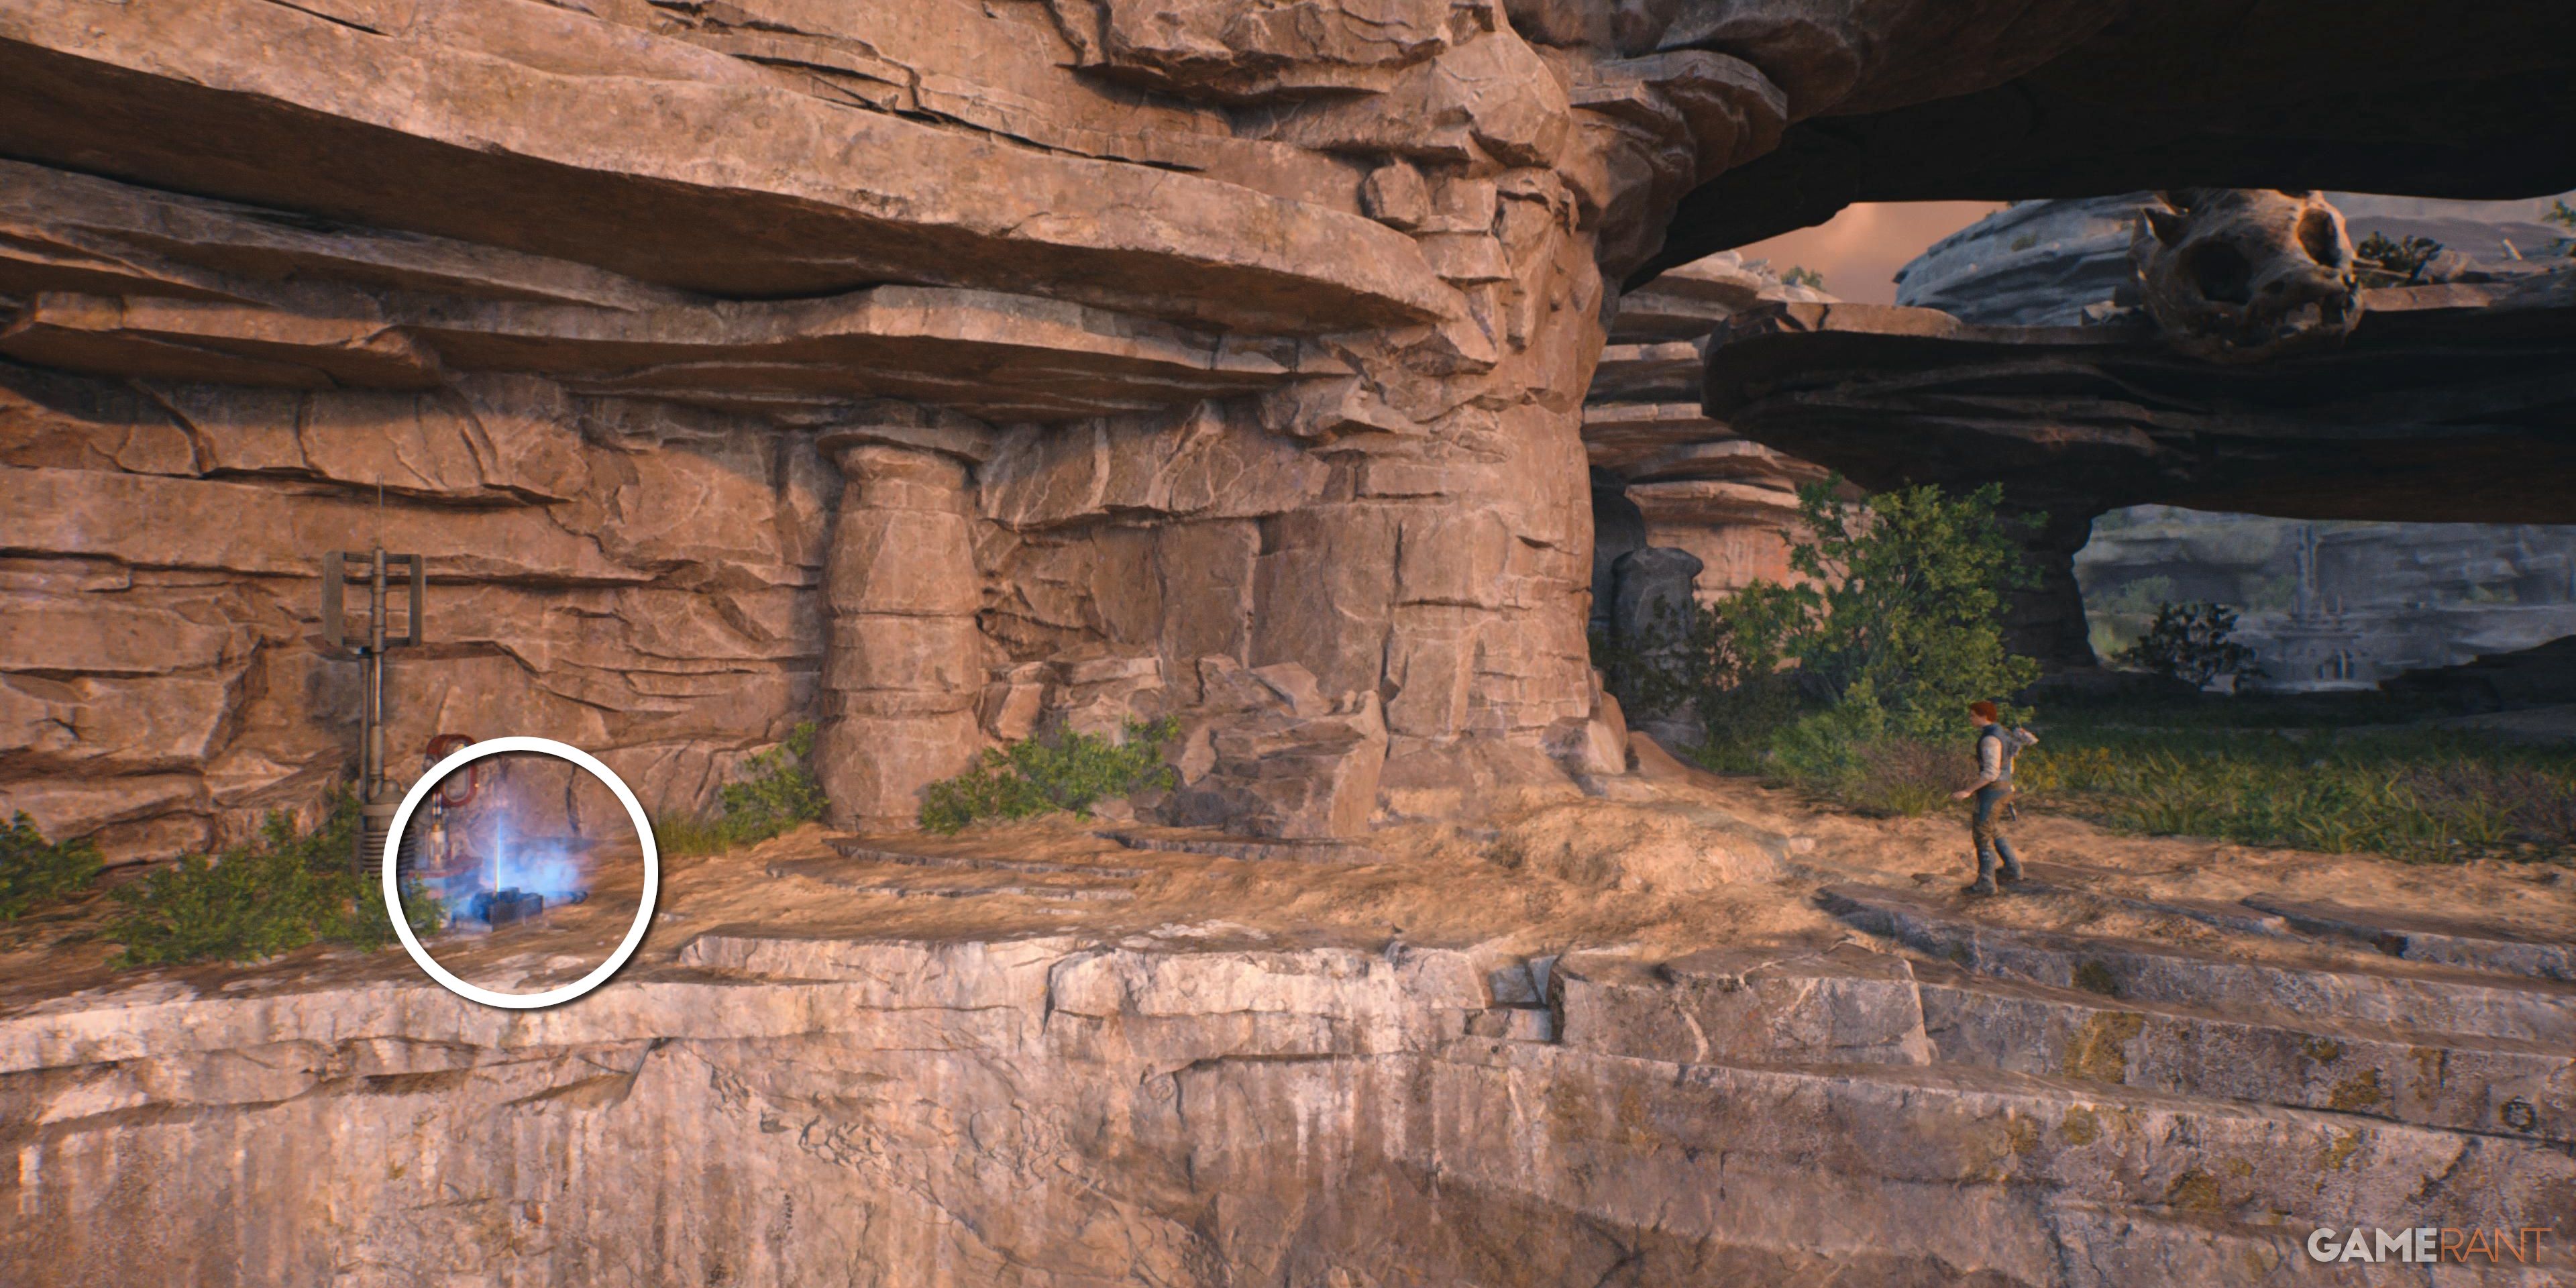
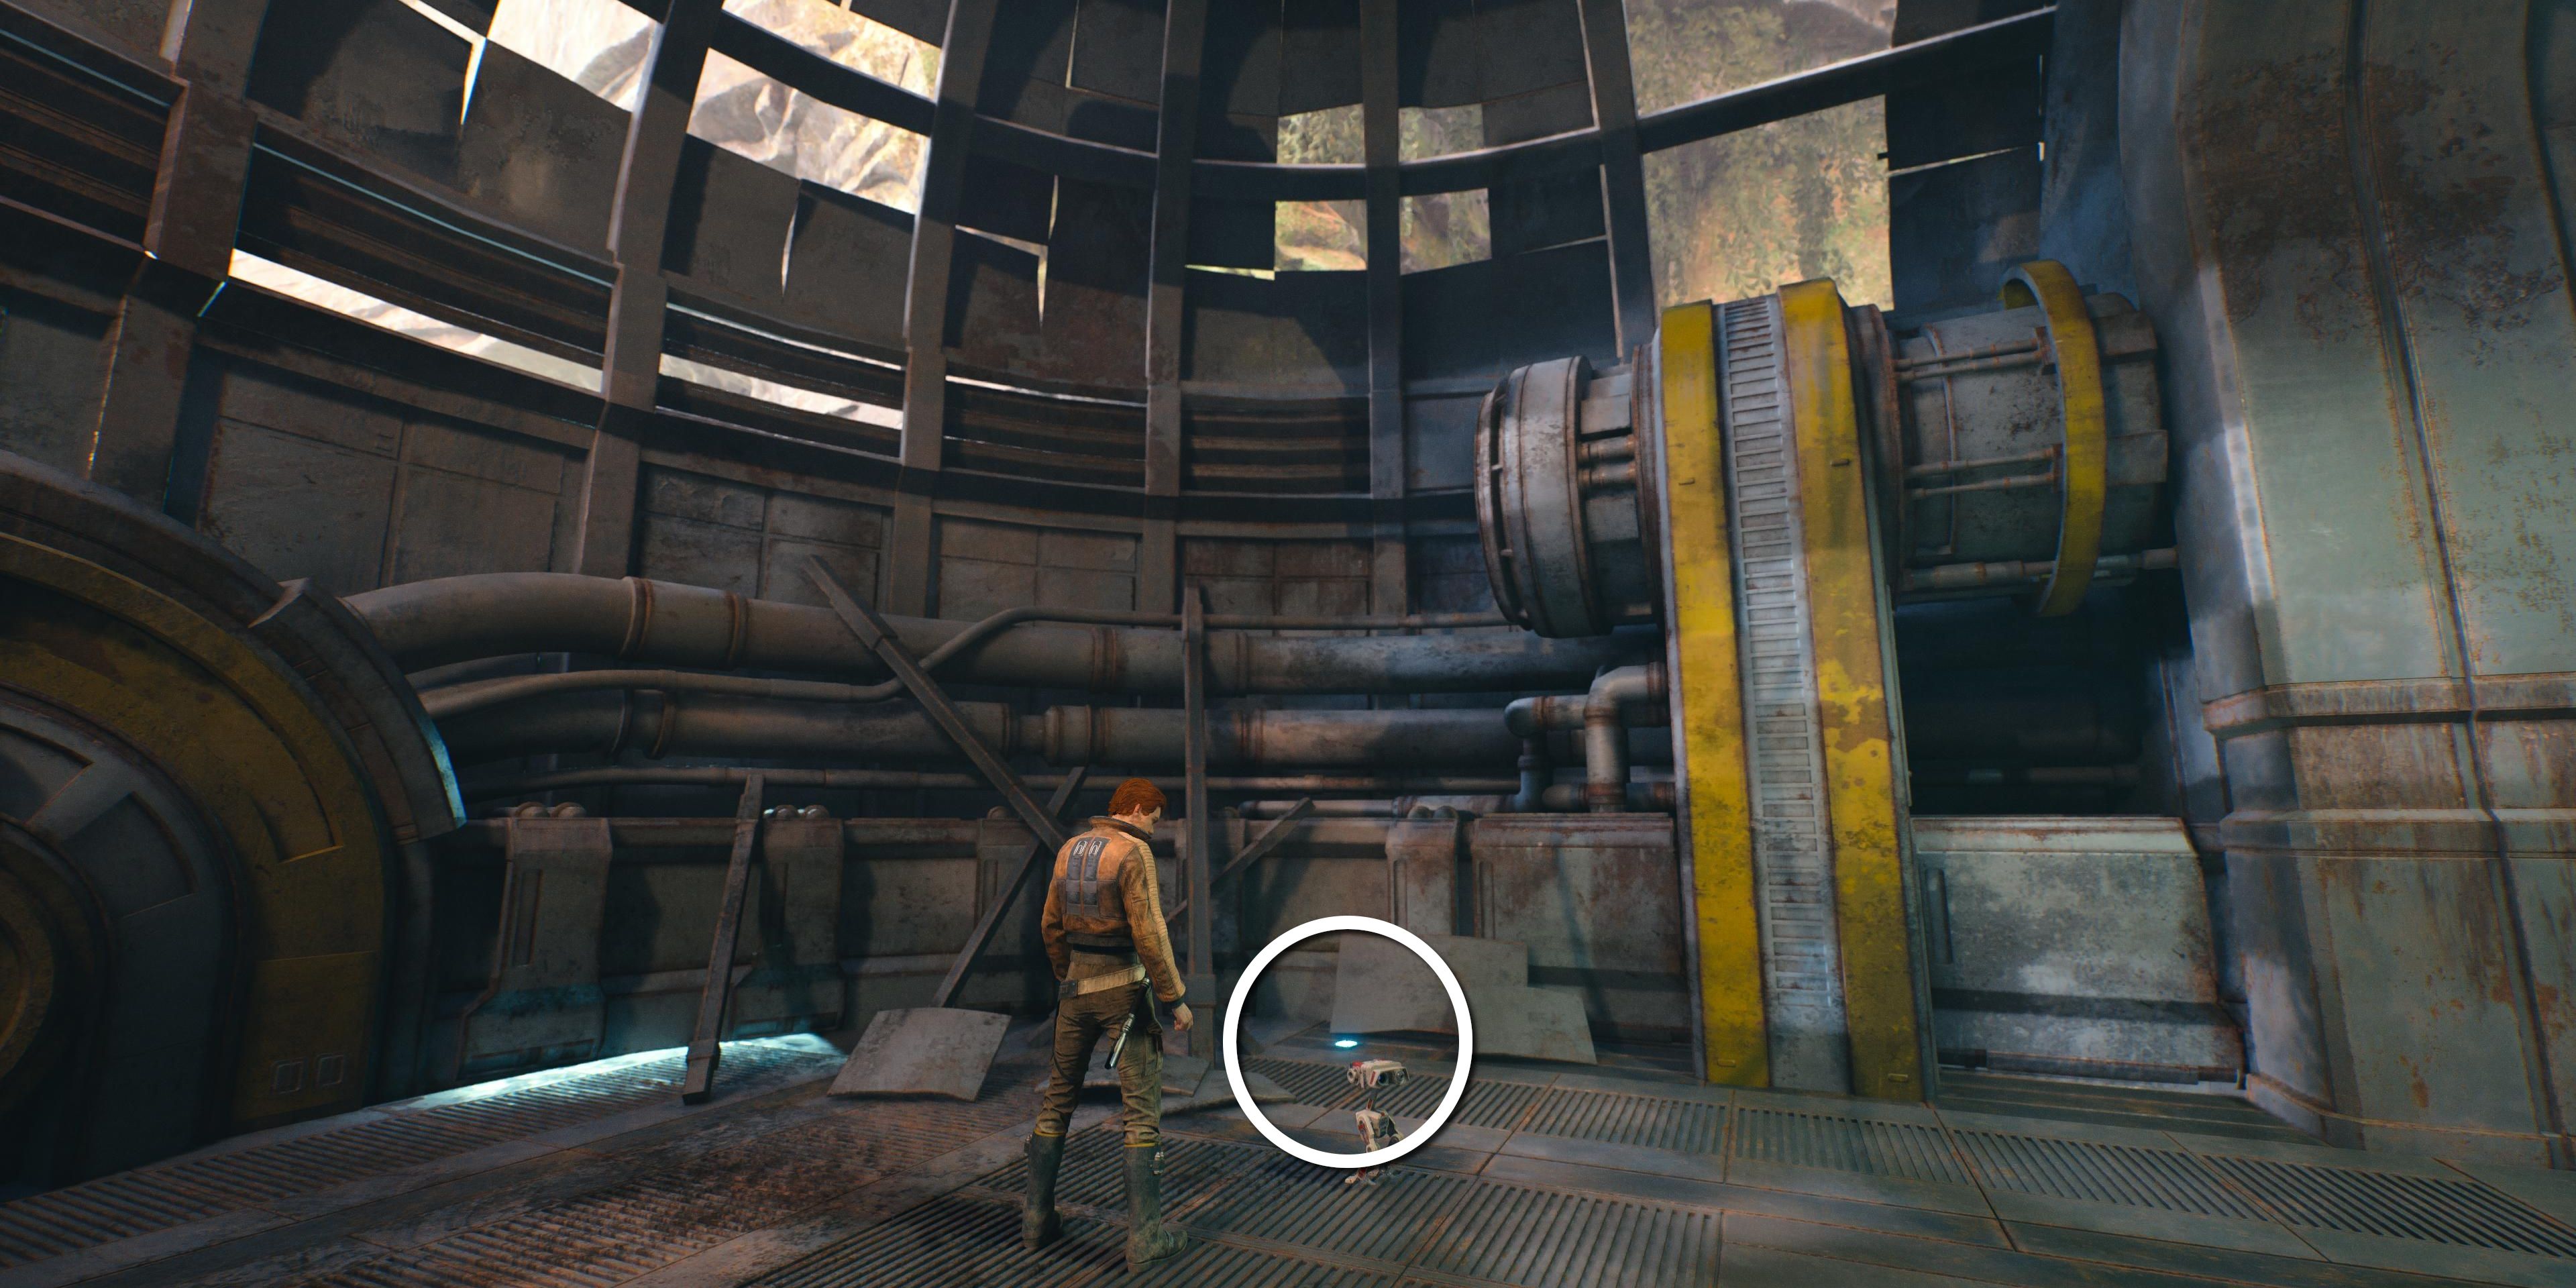
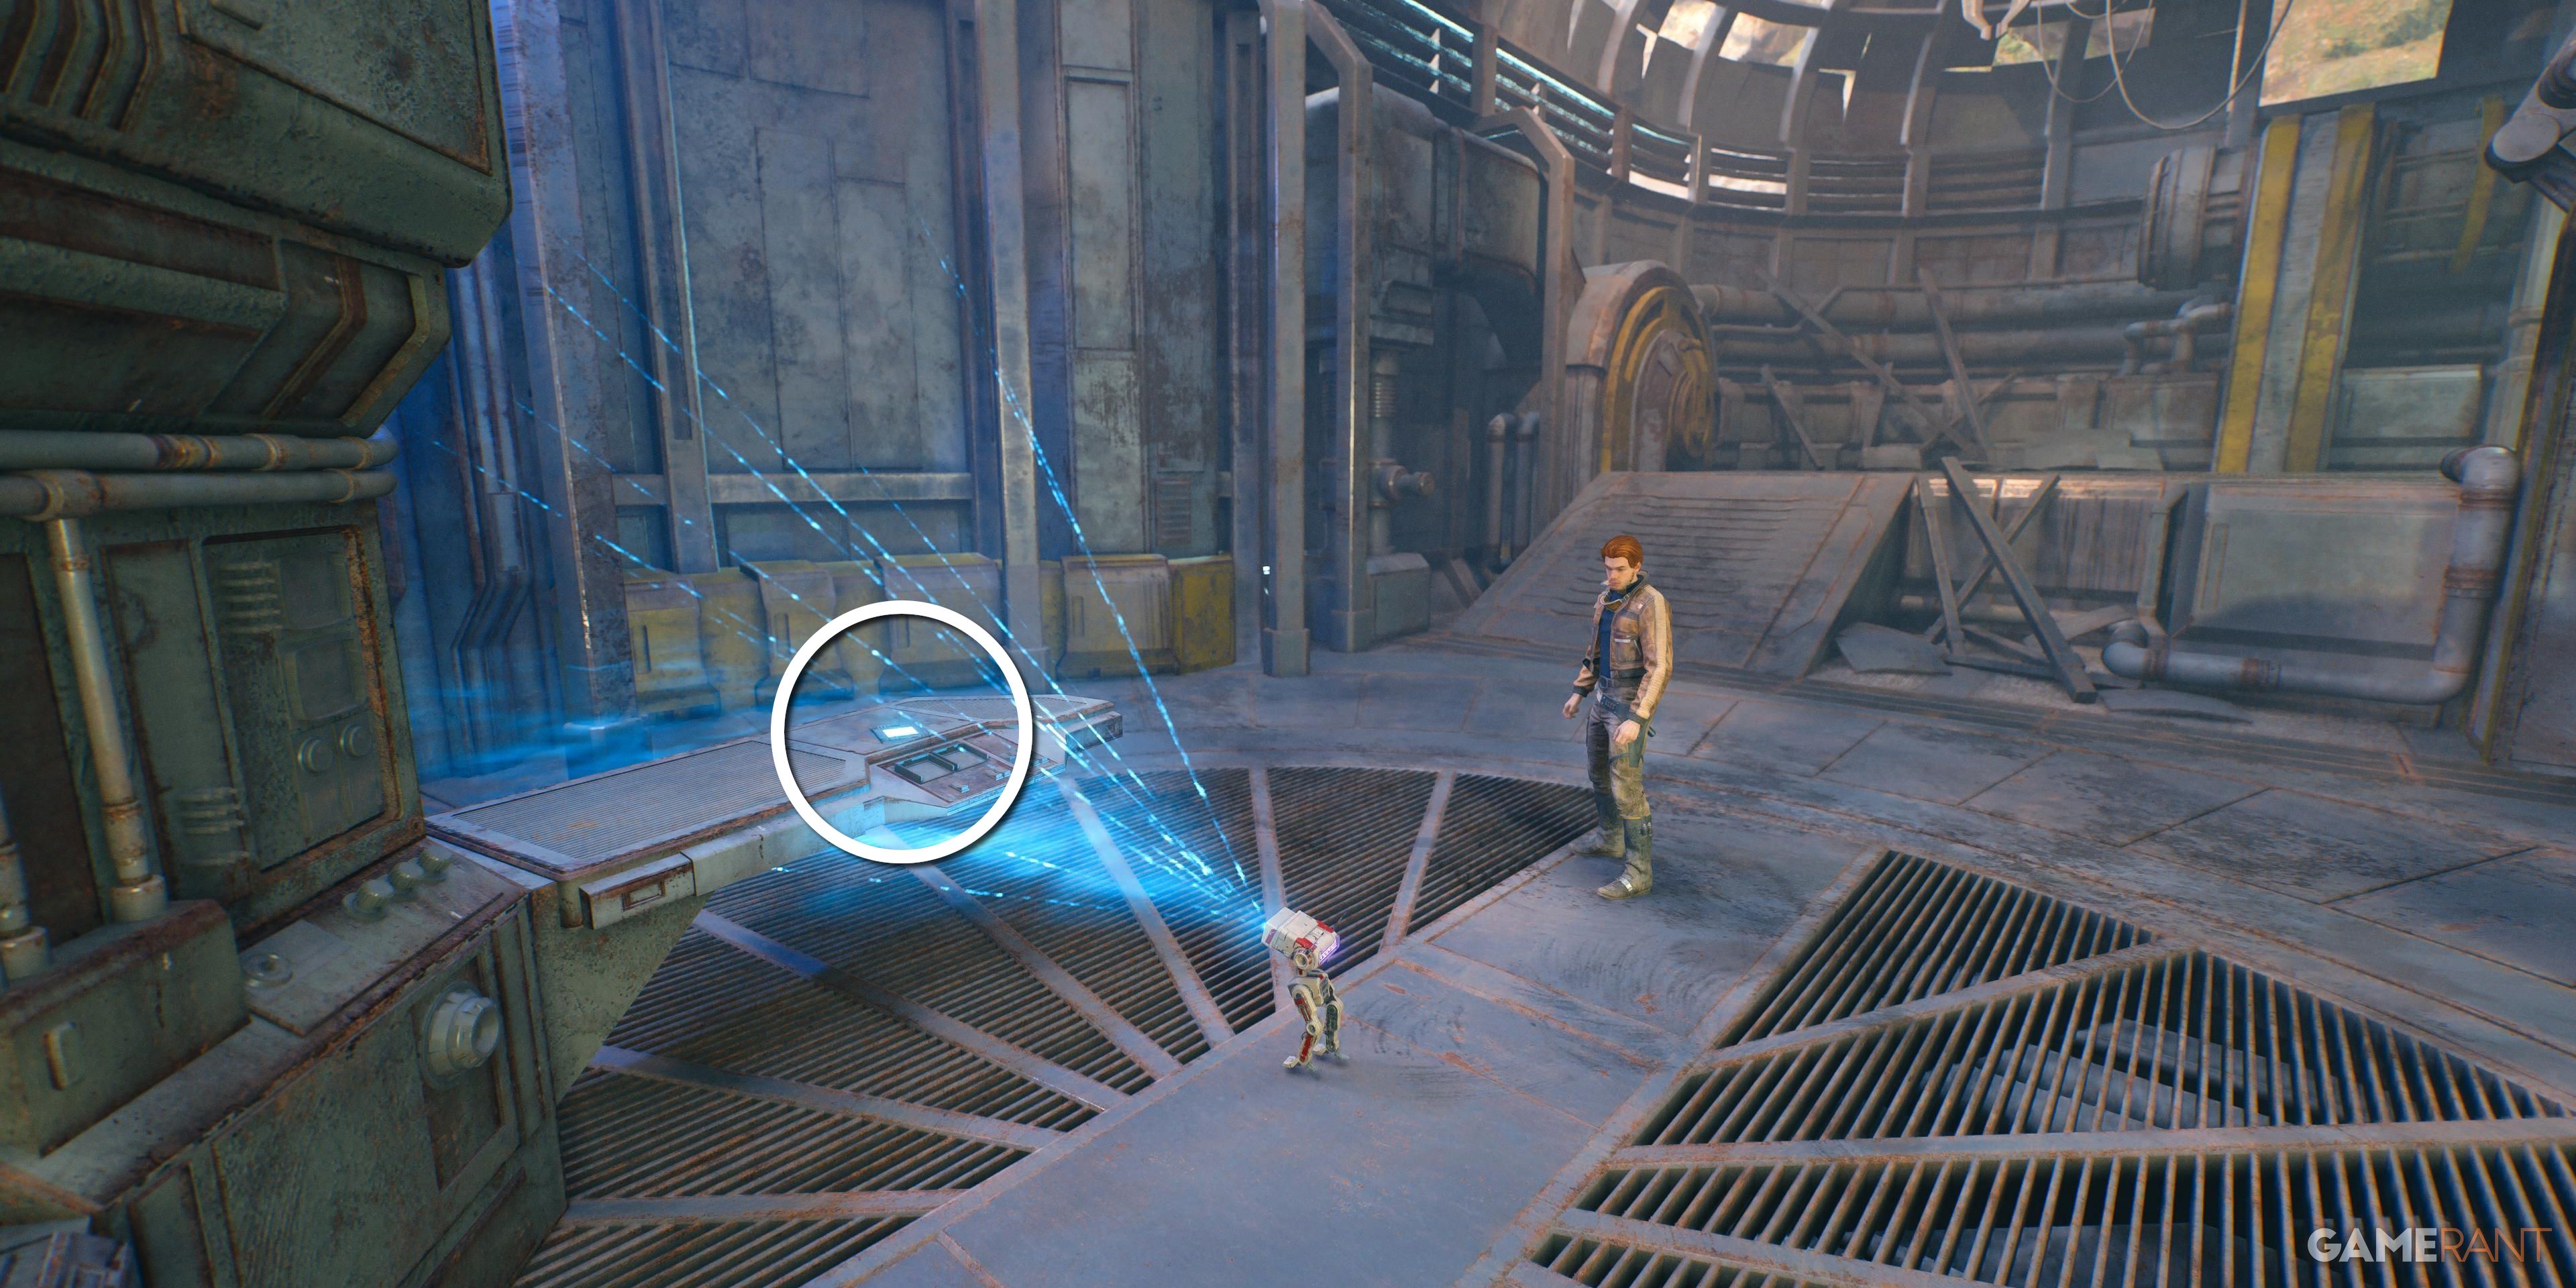
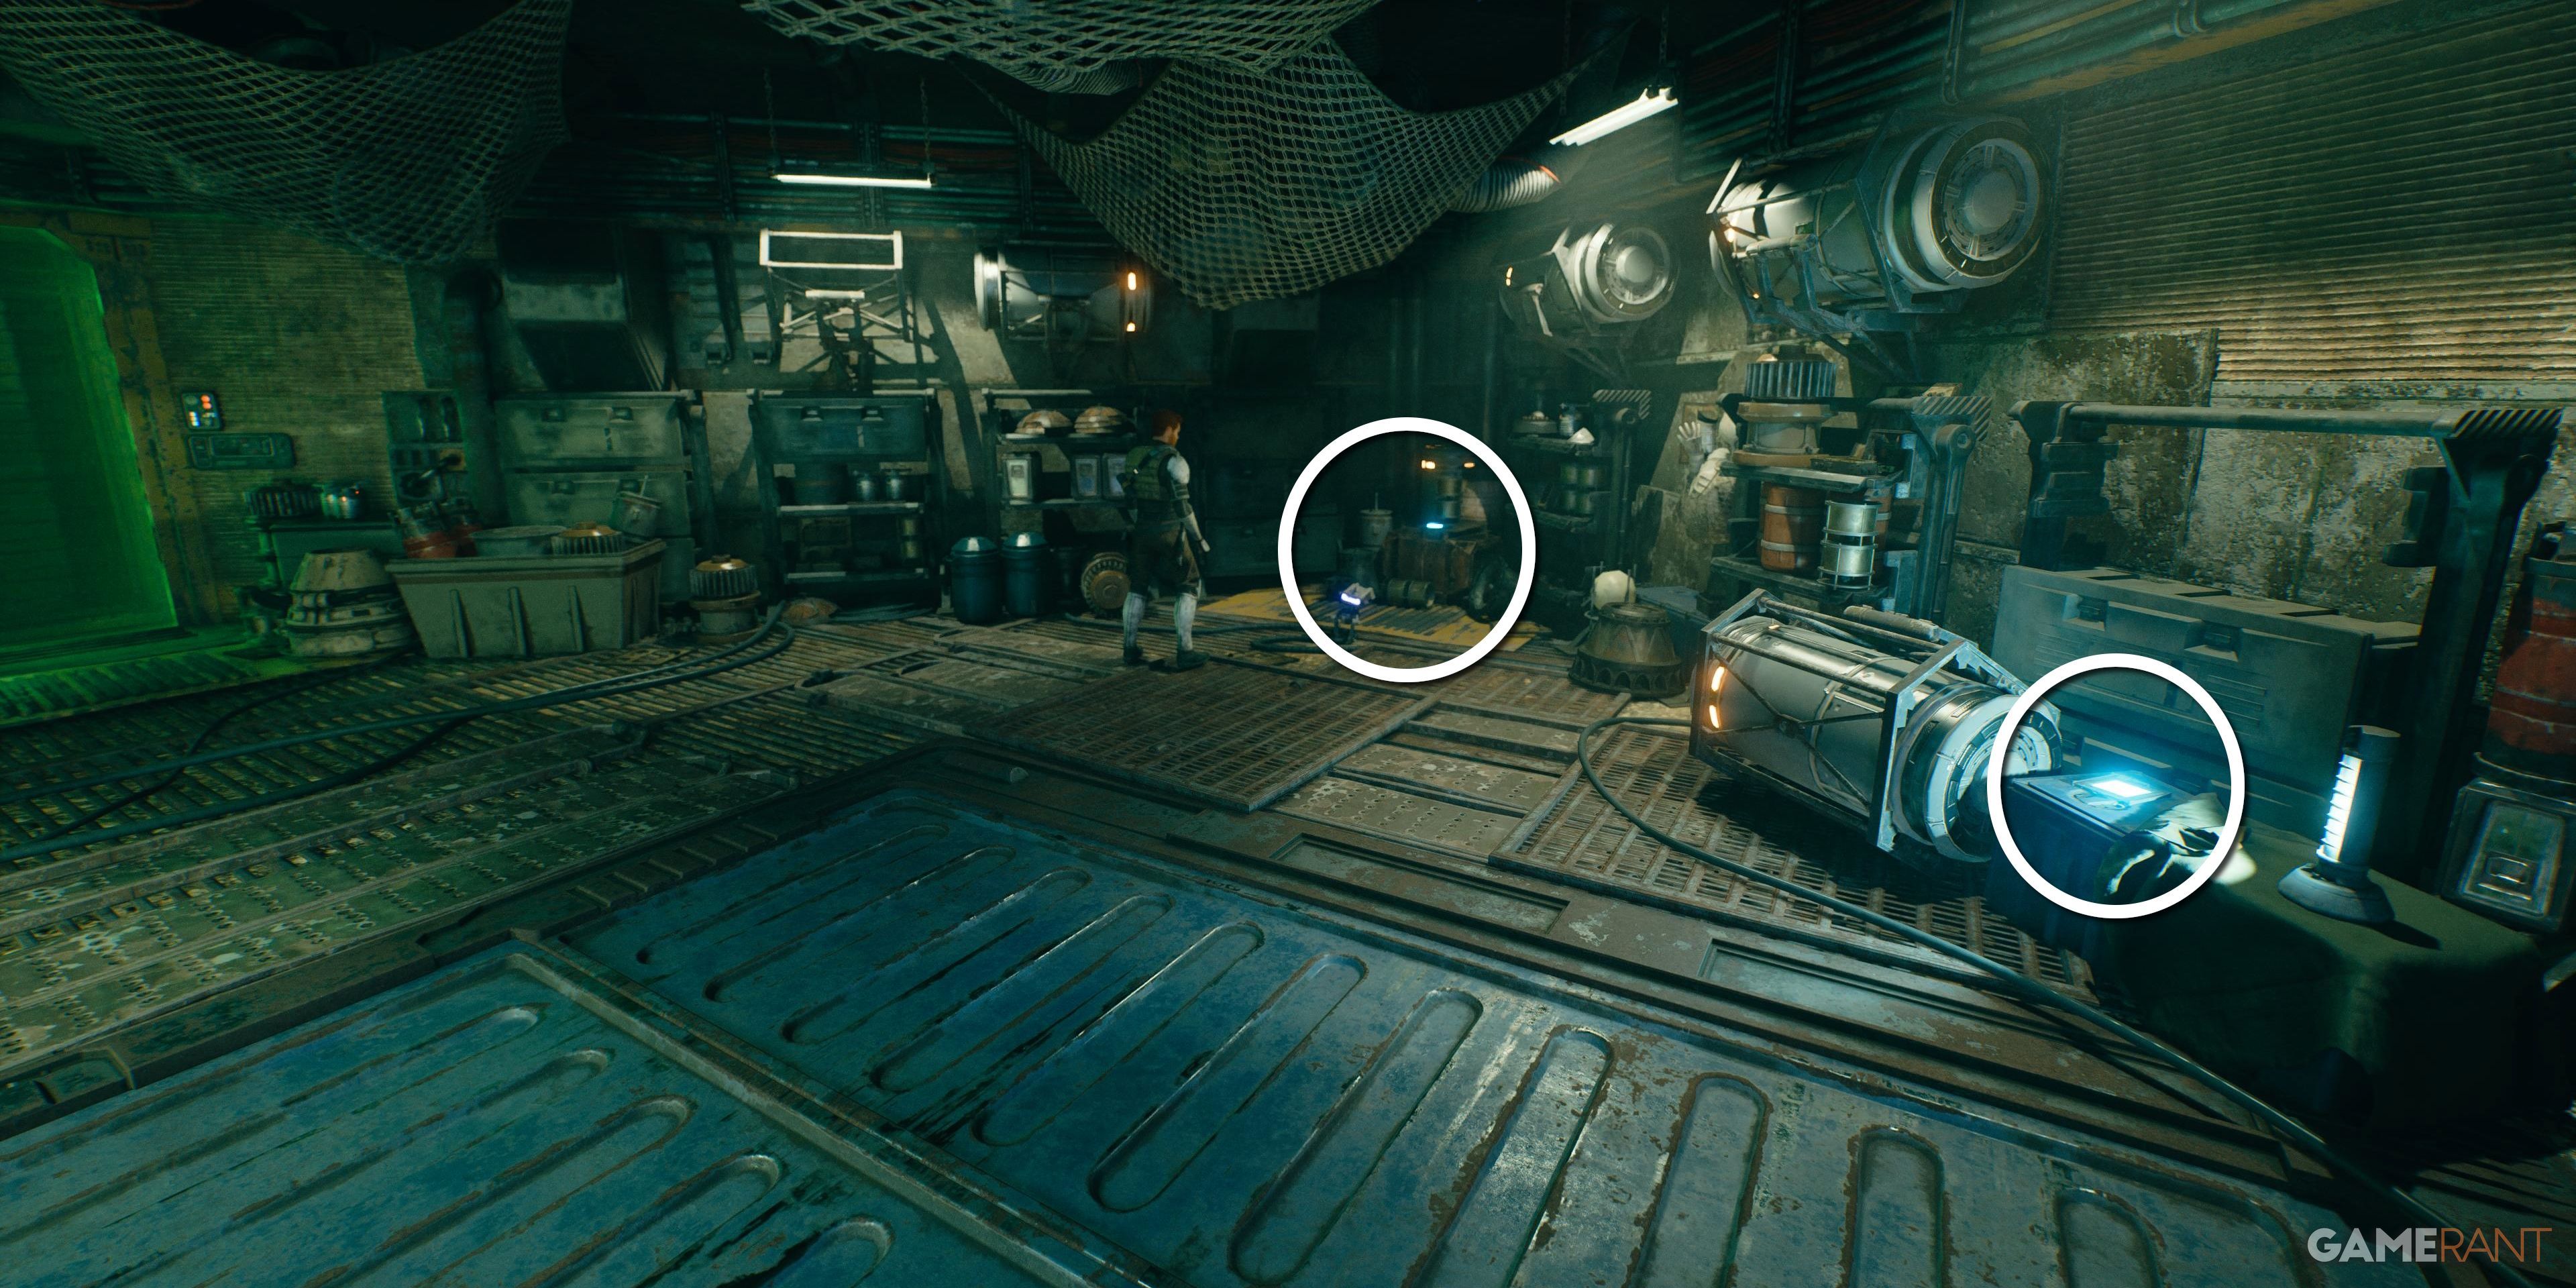
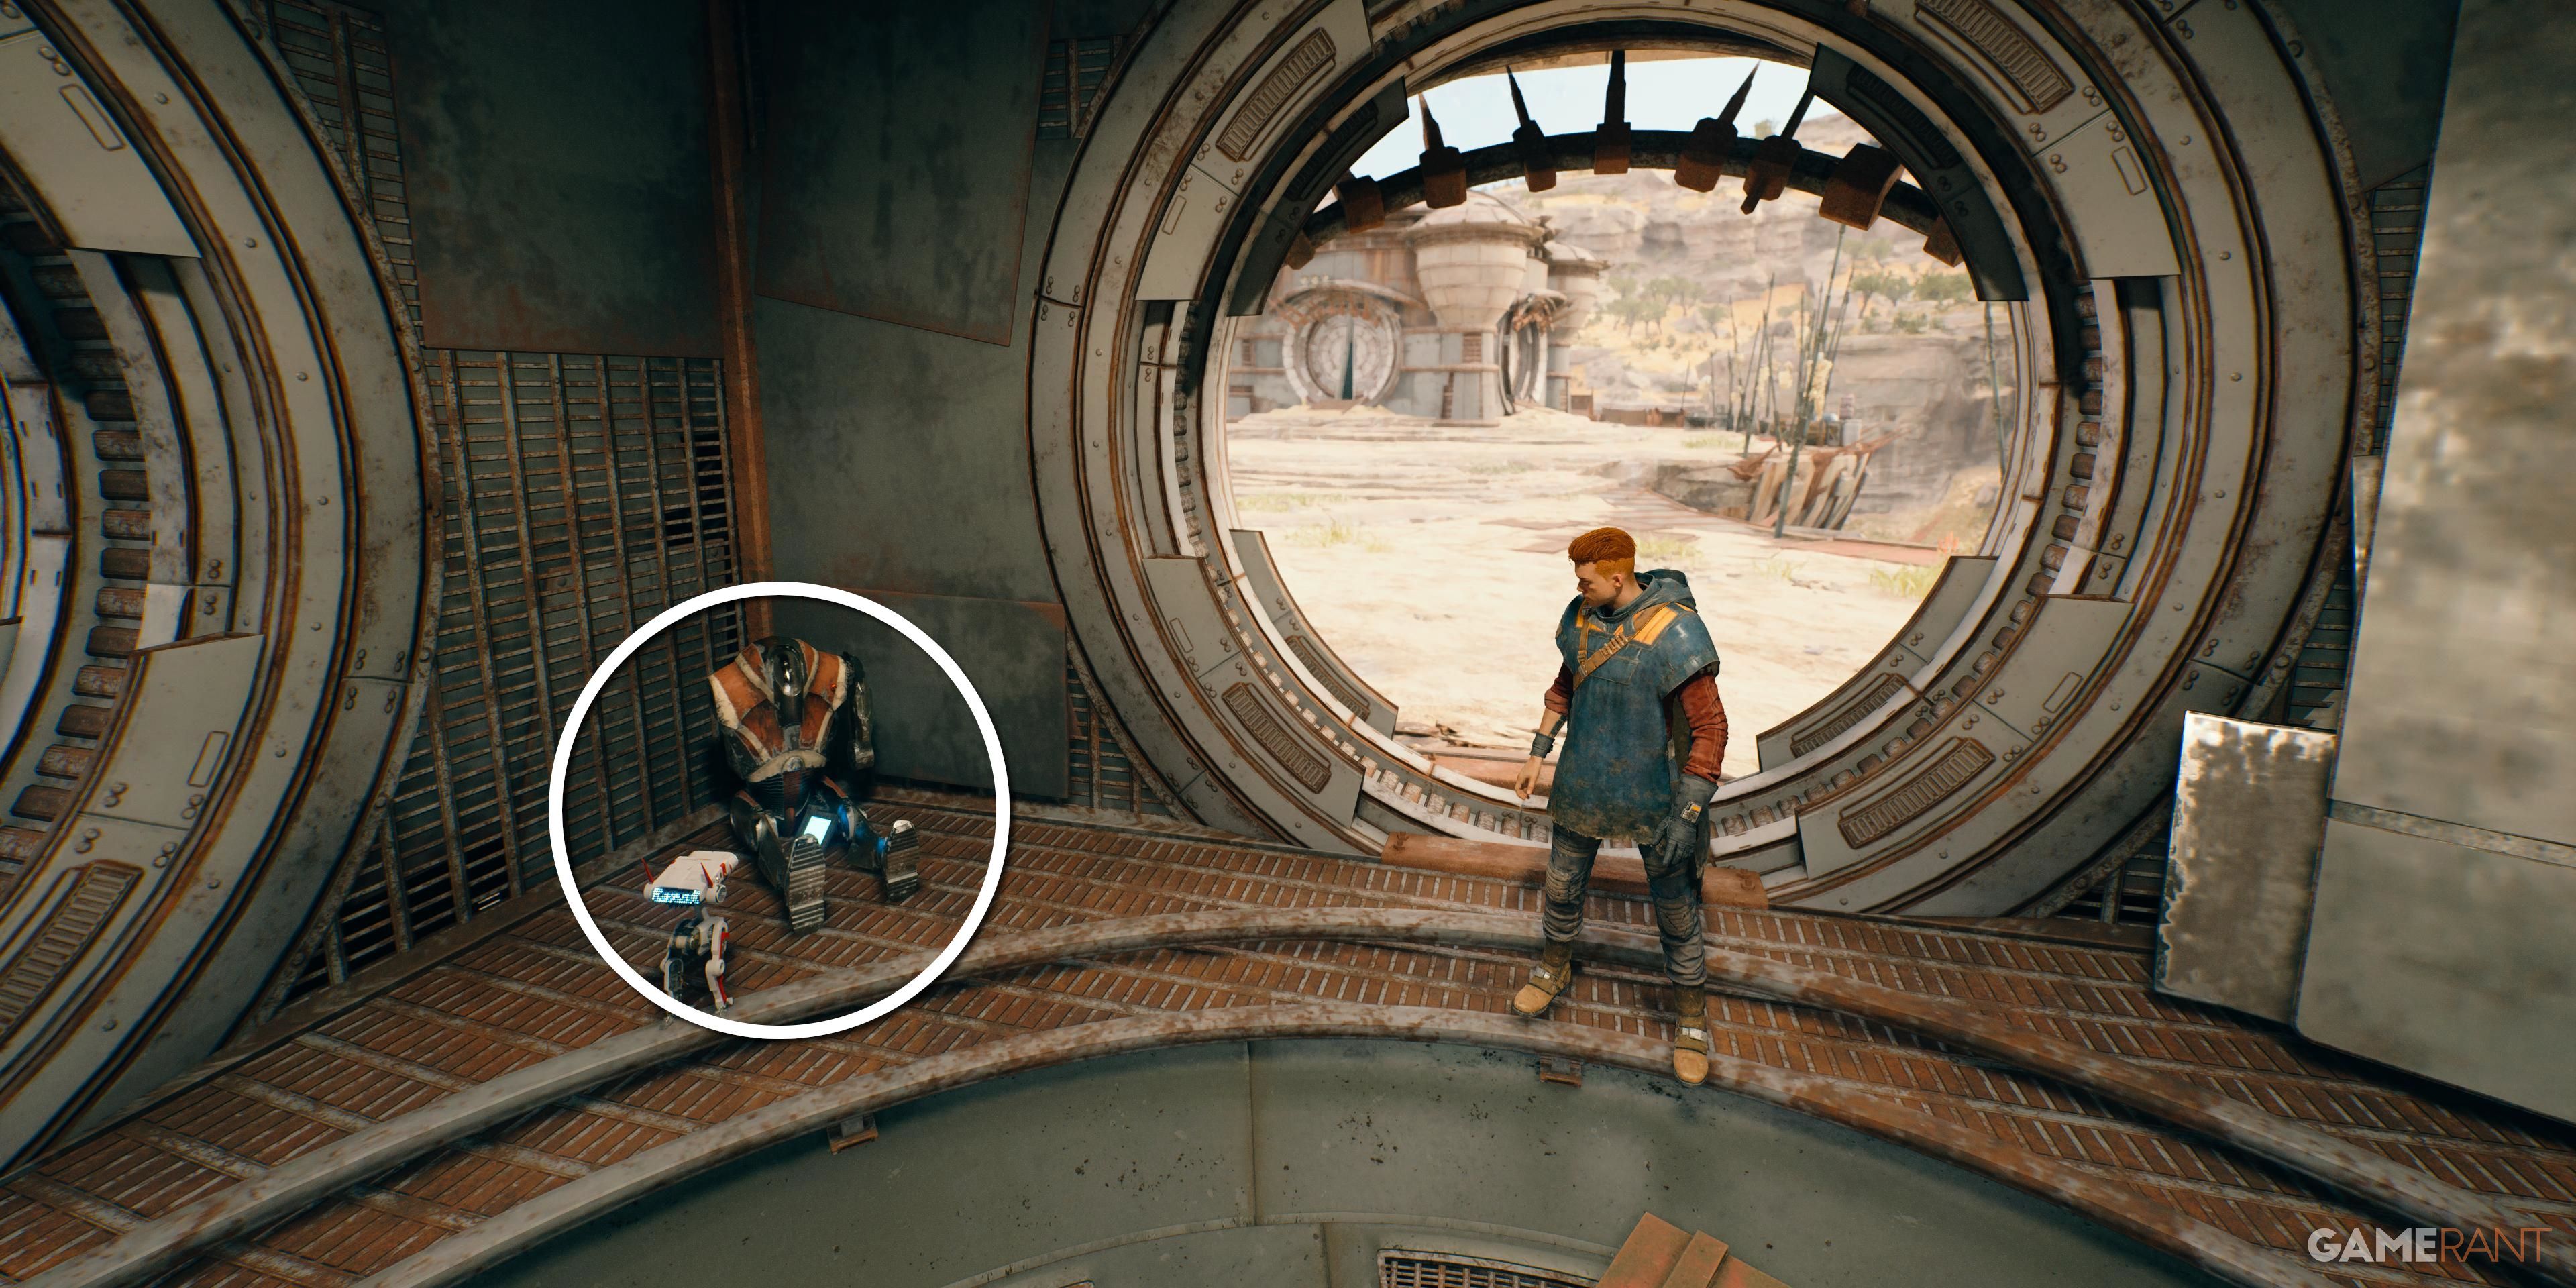
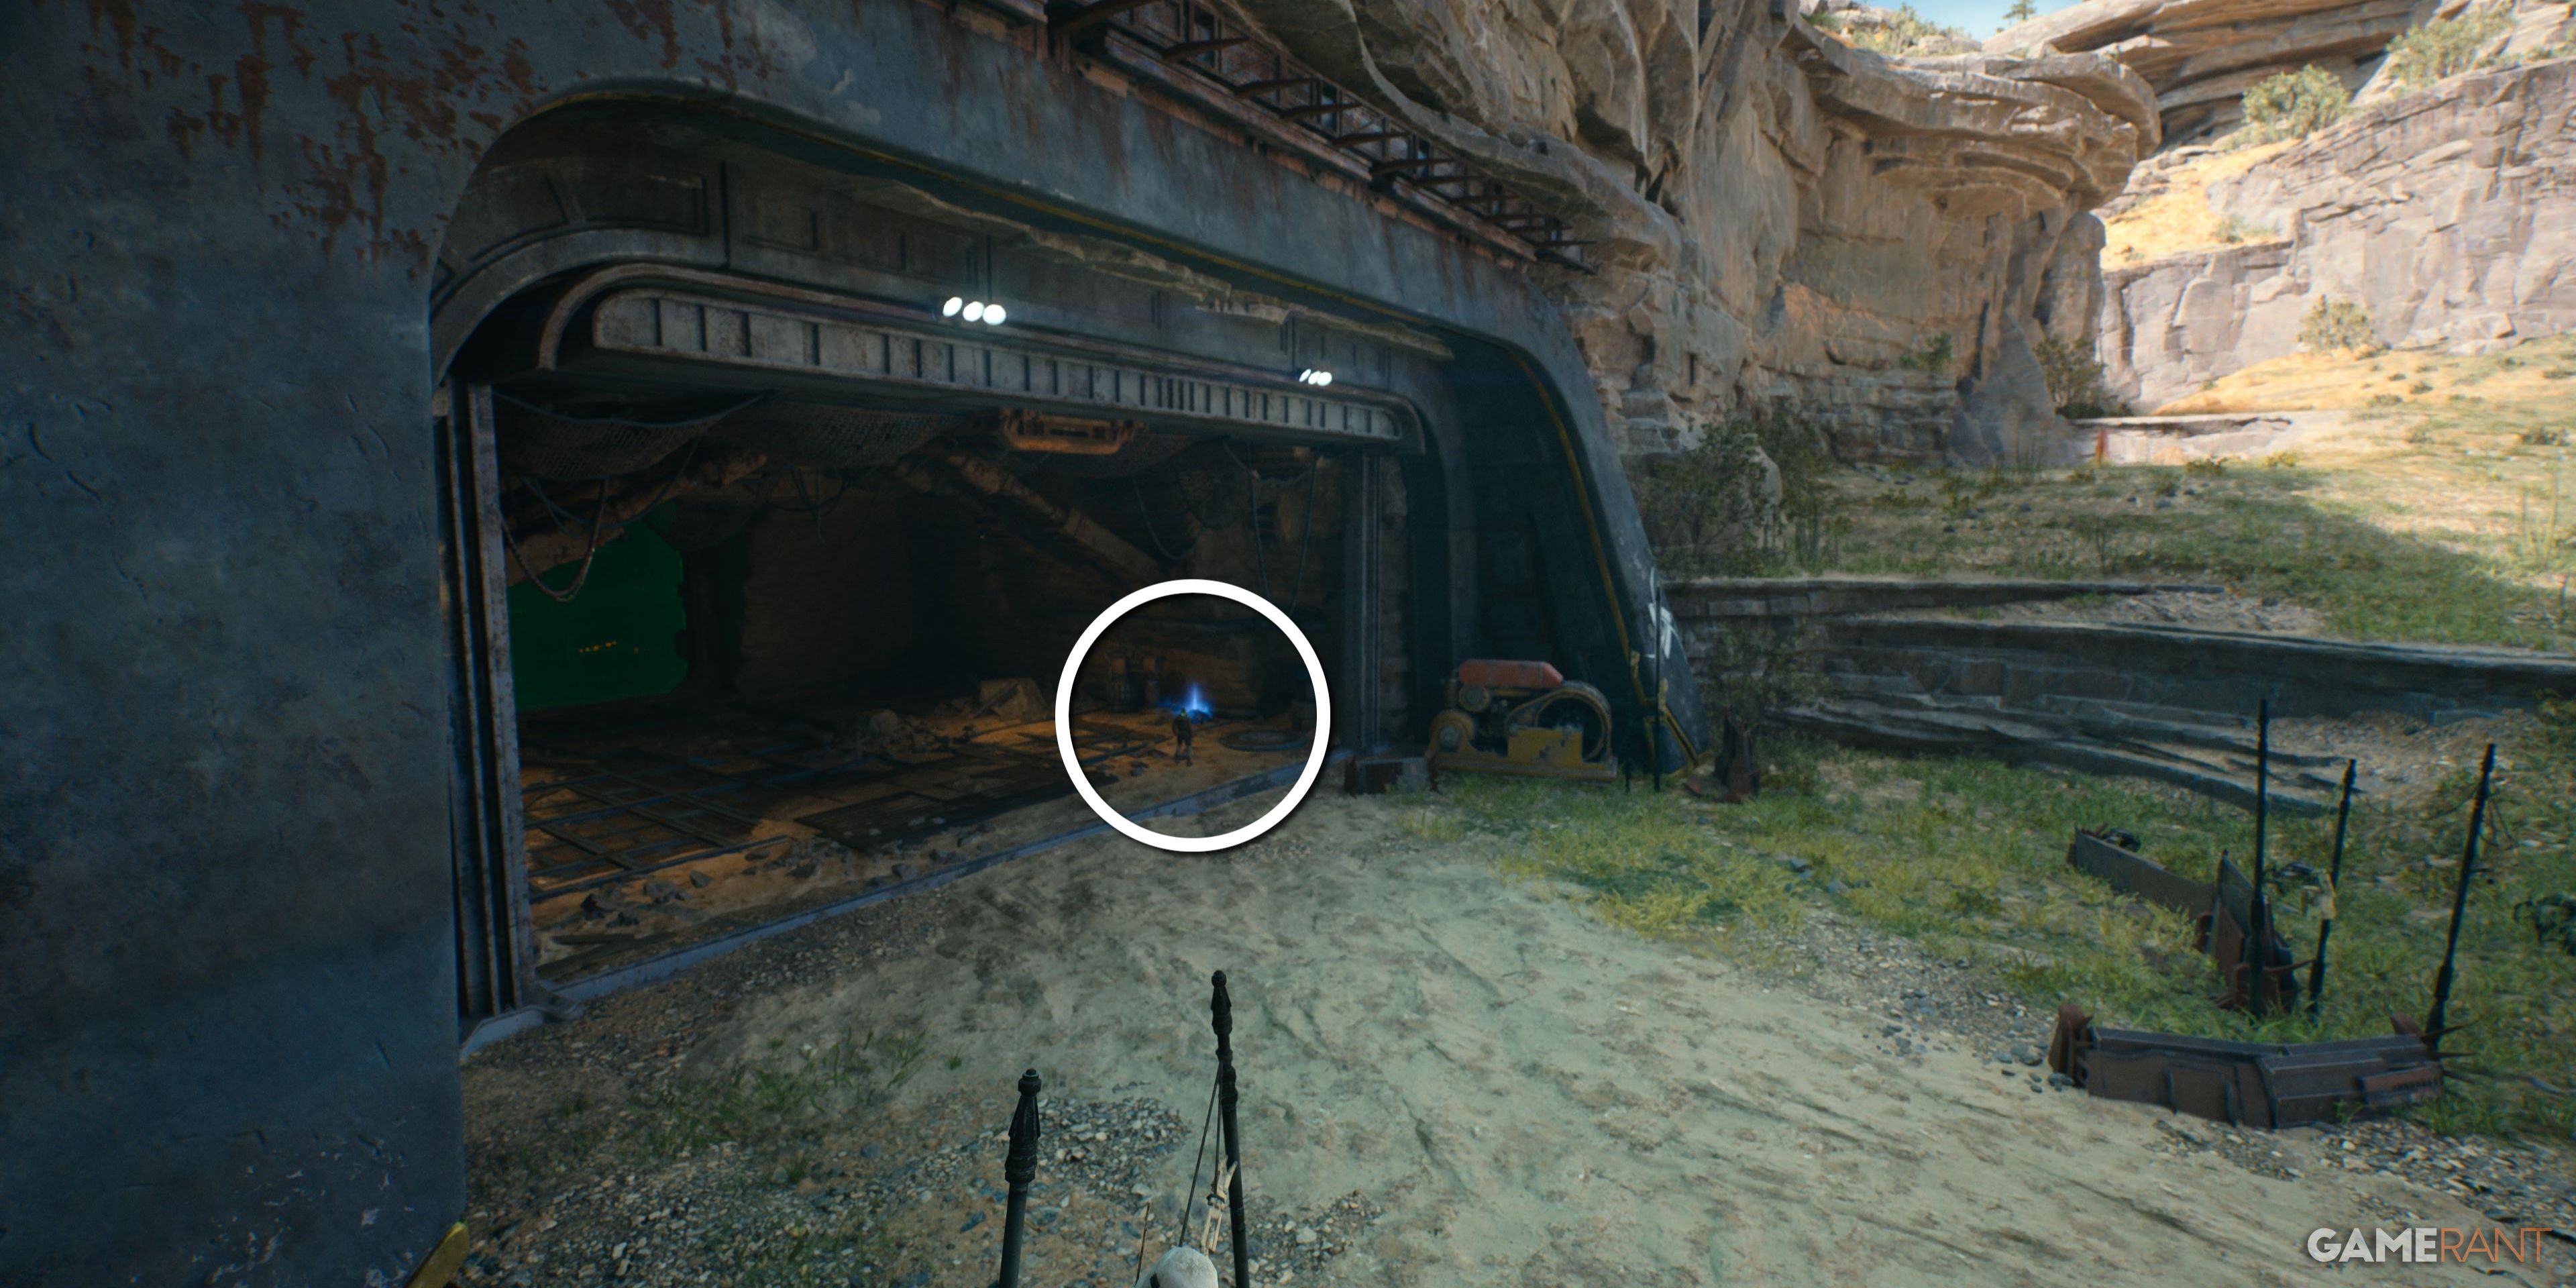
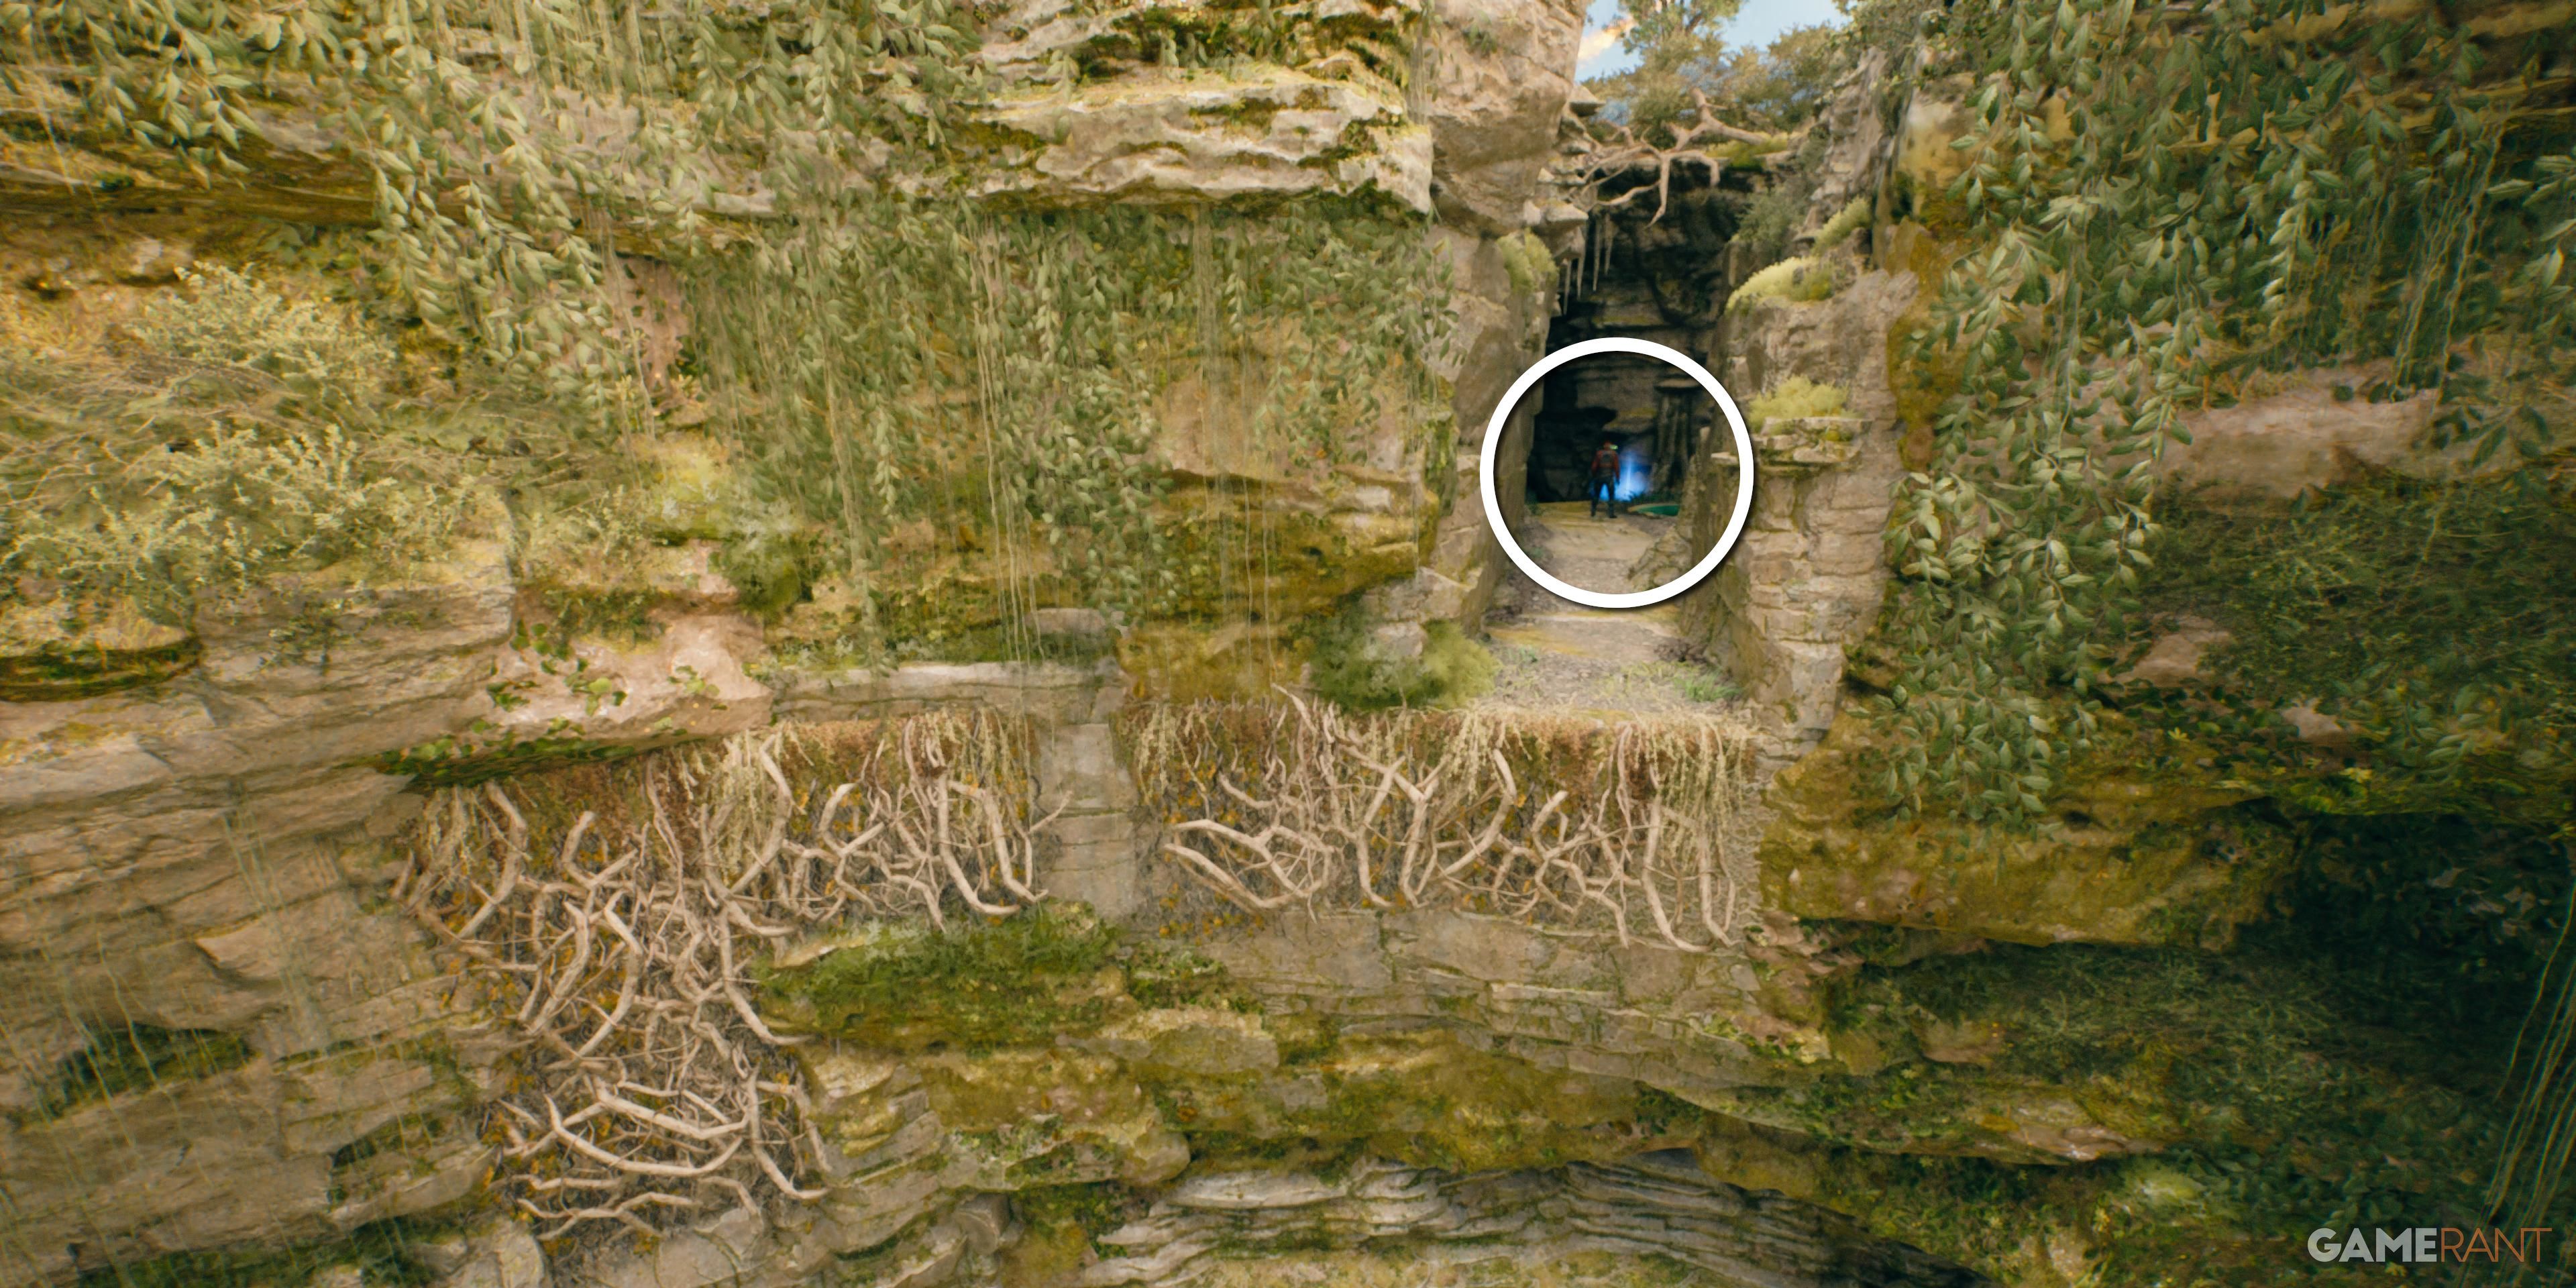
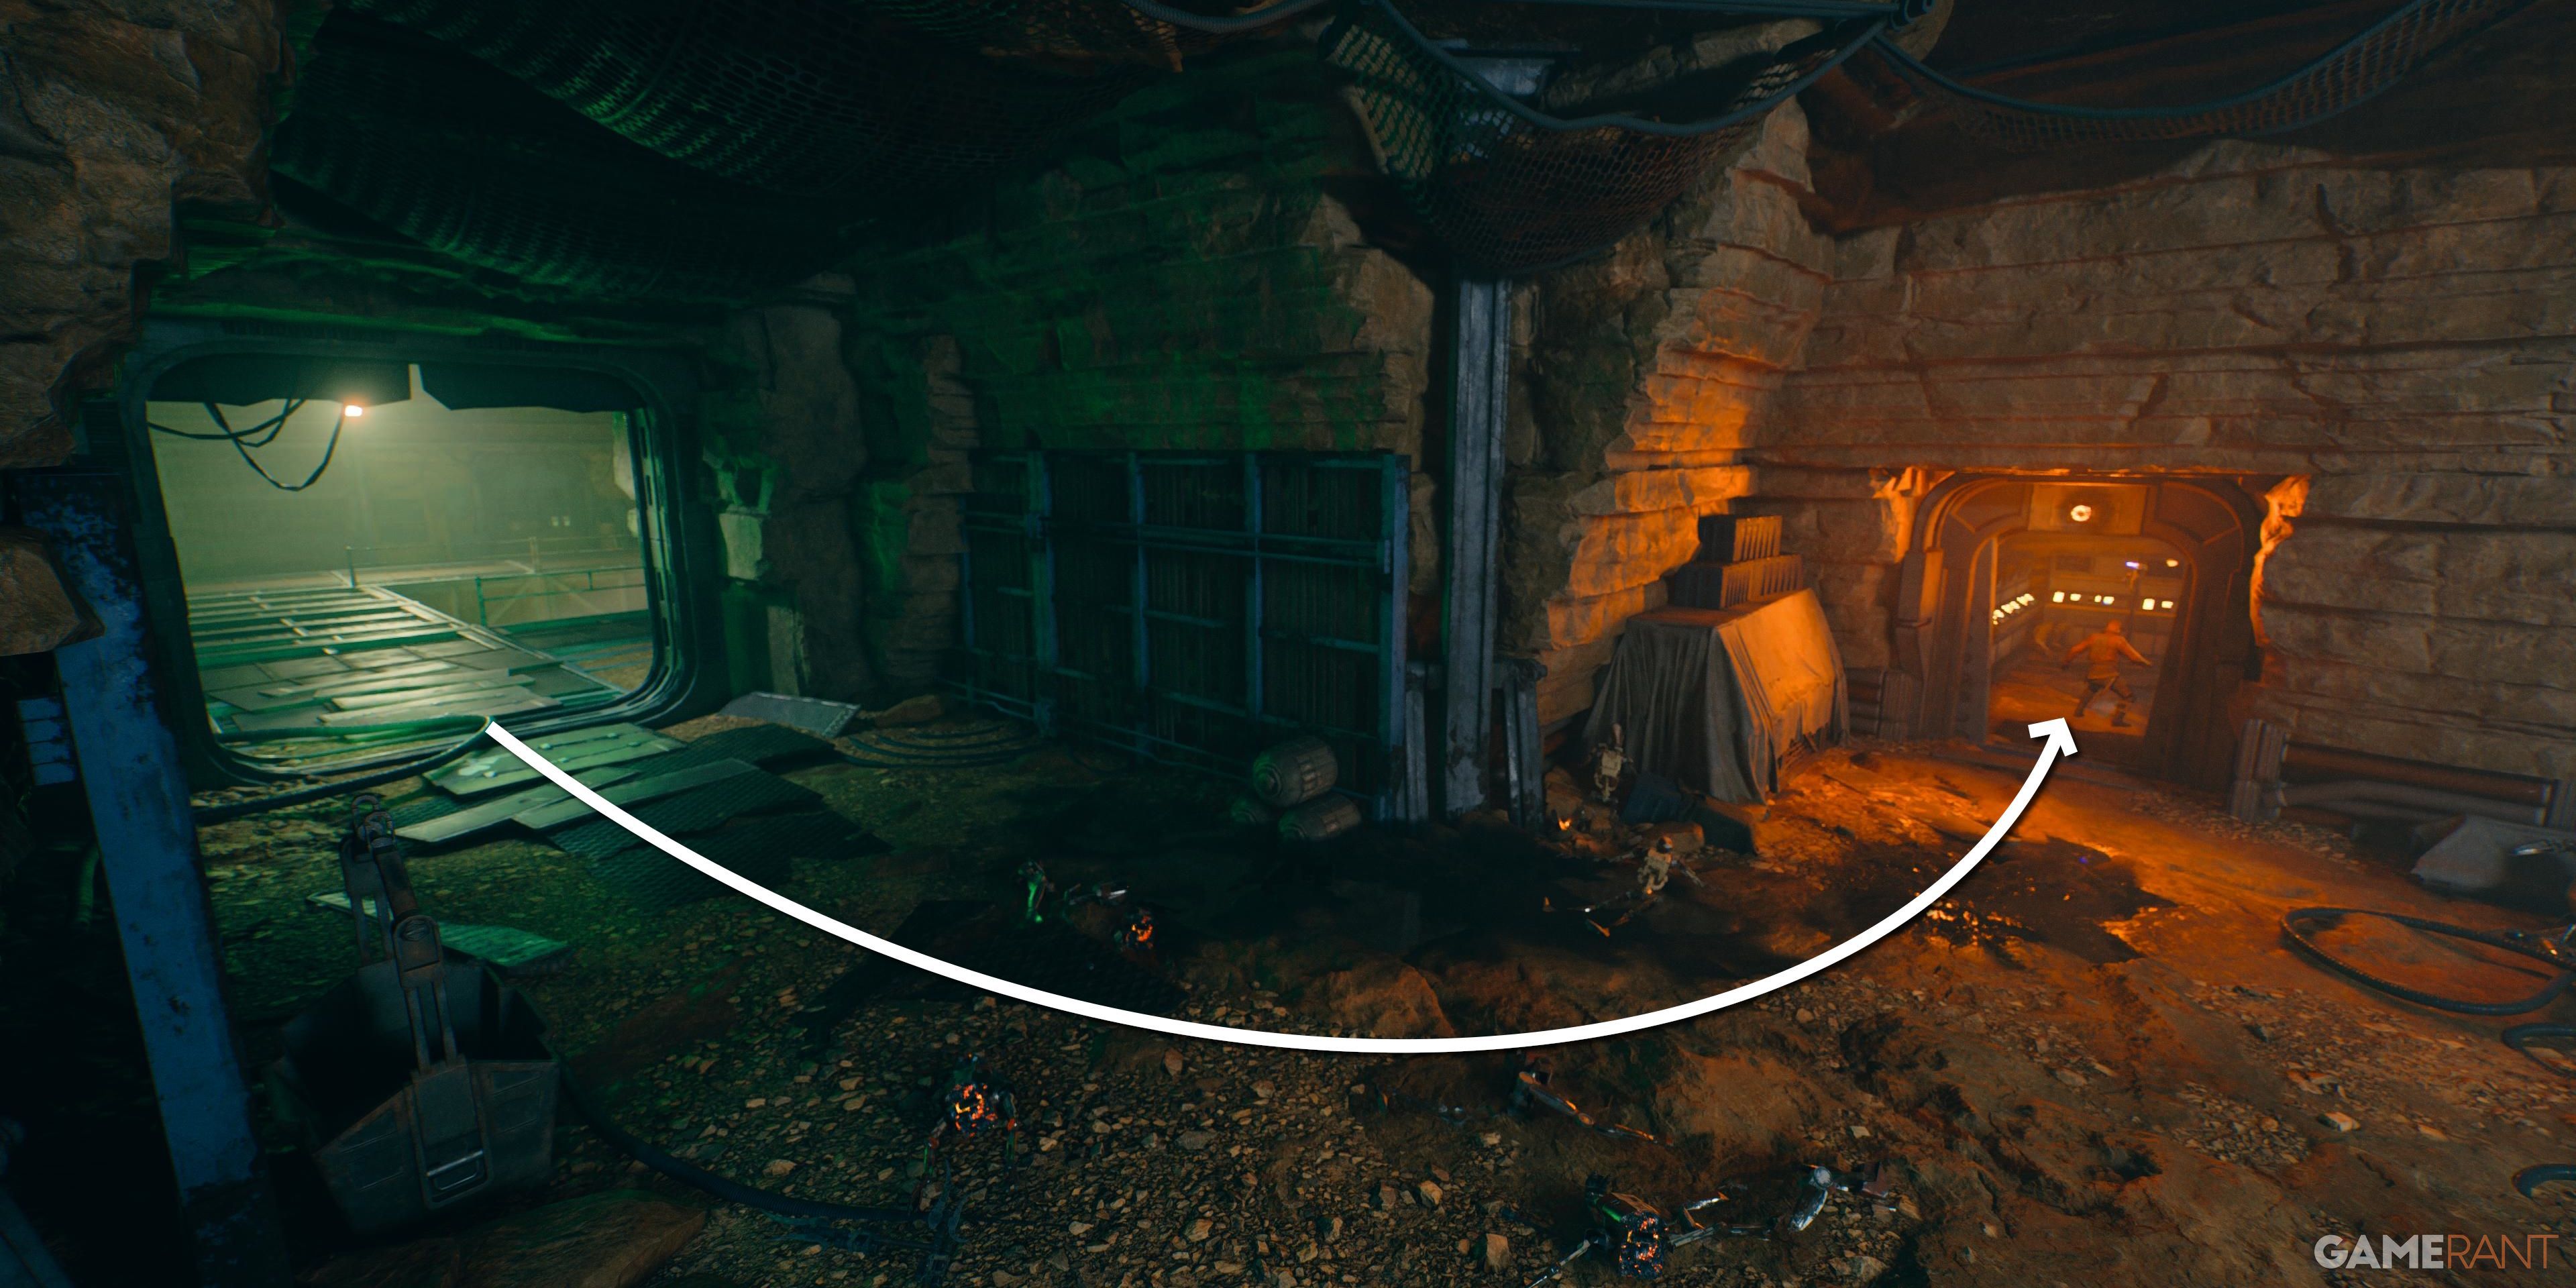
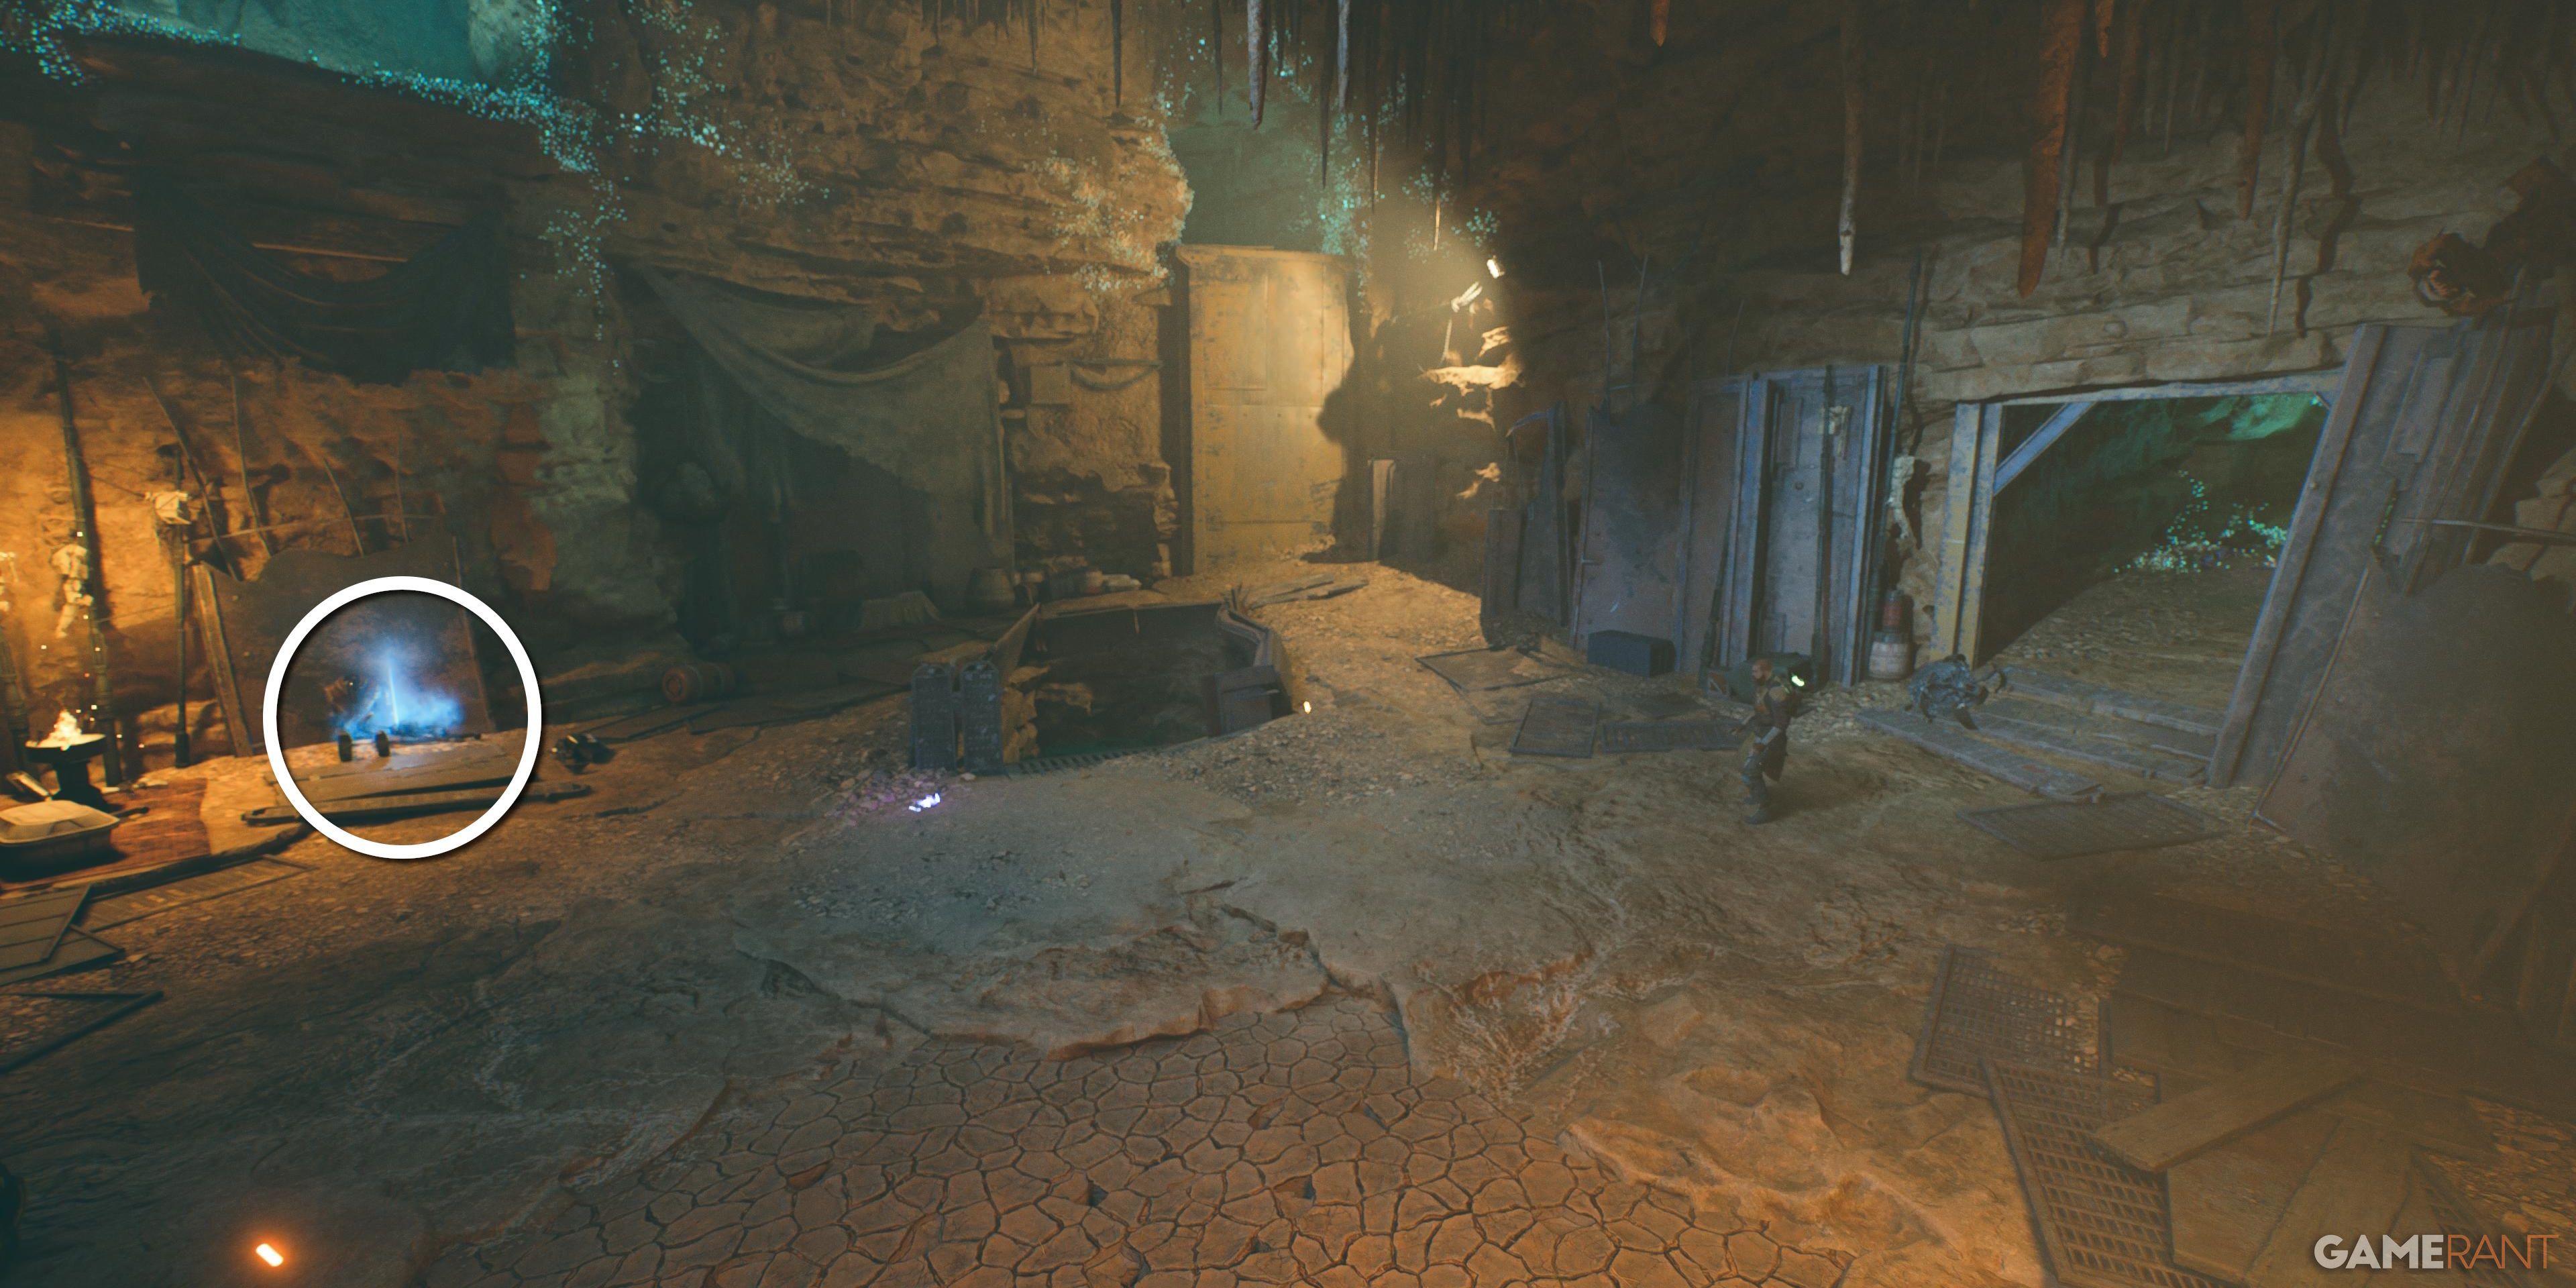
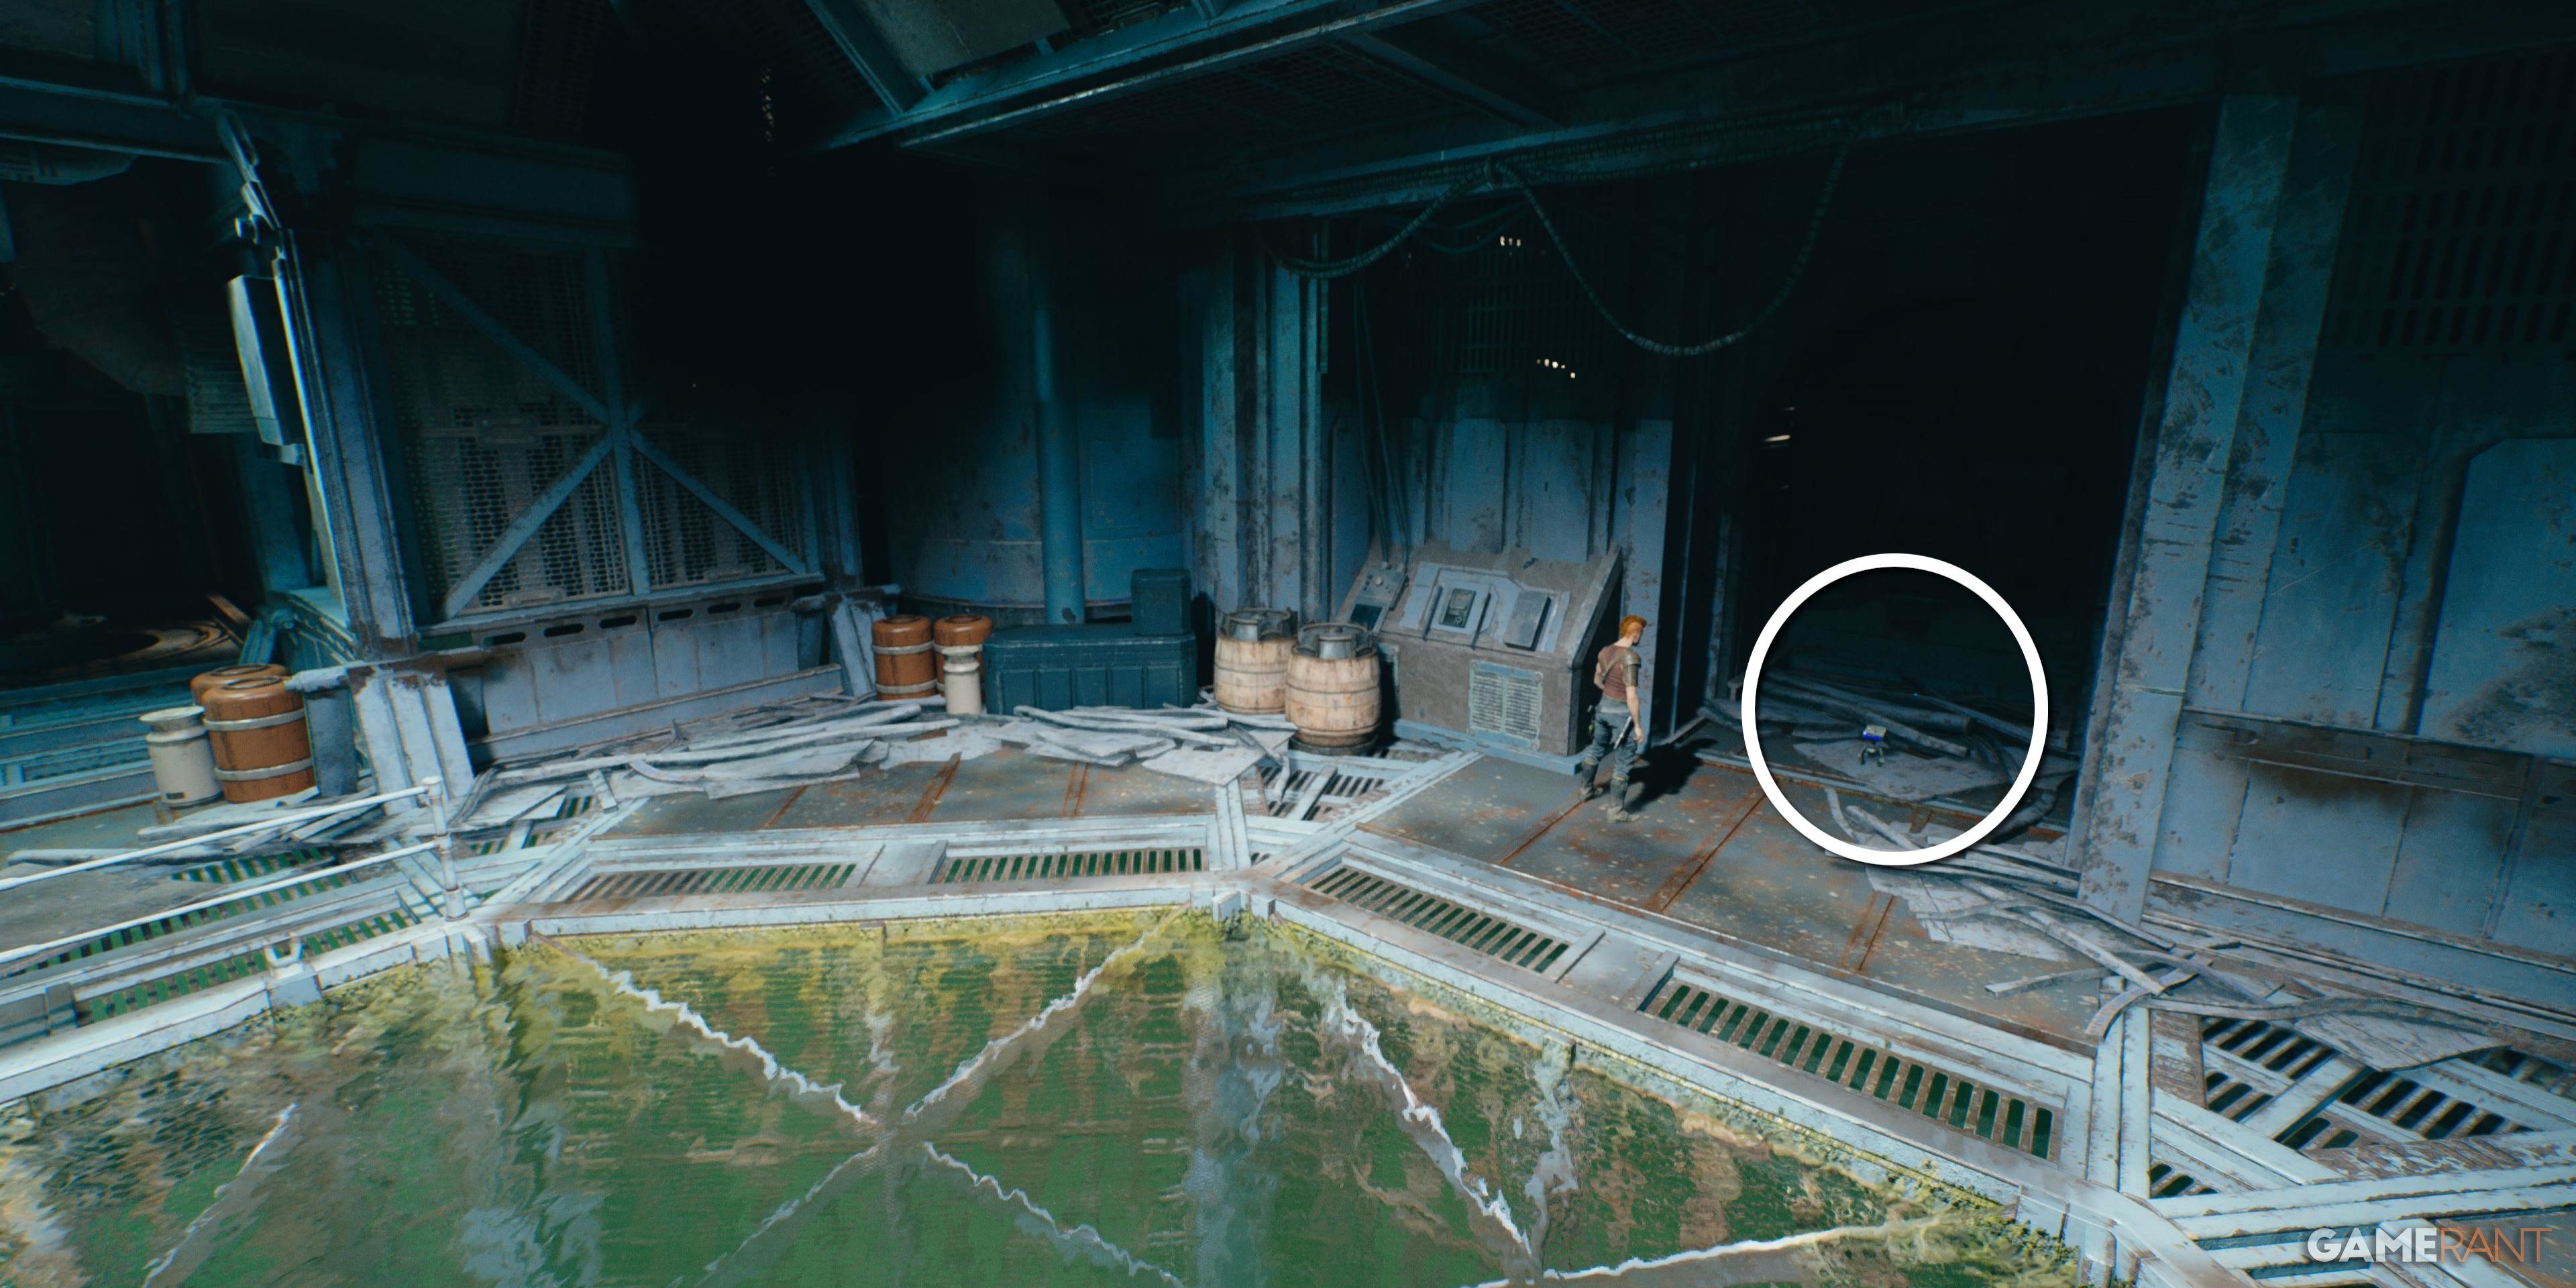
Exiting the Gorger den, take a left and head downhill into a hangar guarded by Raiders and Droids. After dealing with them all, find this datapad on the left of the entrance.
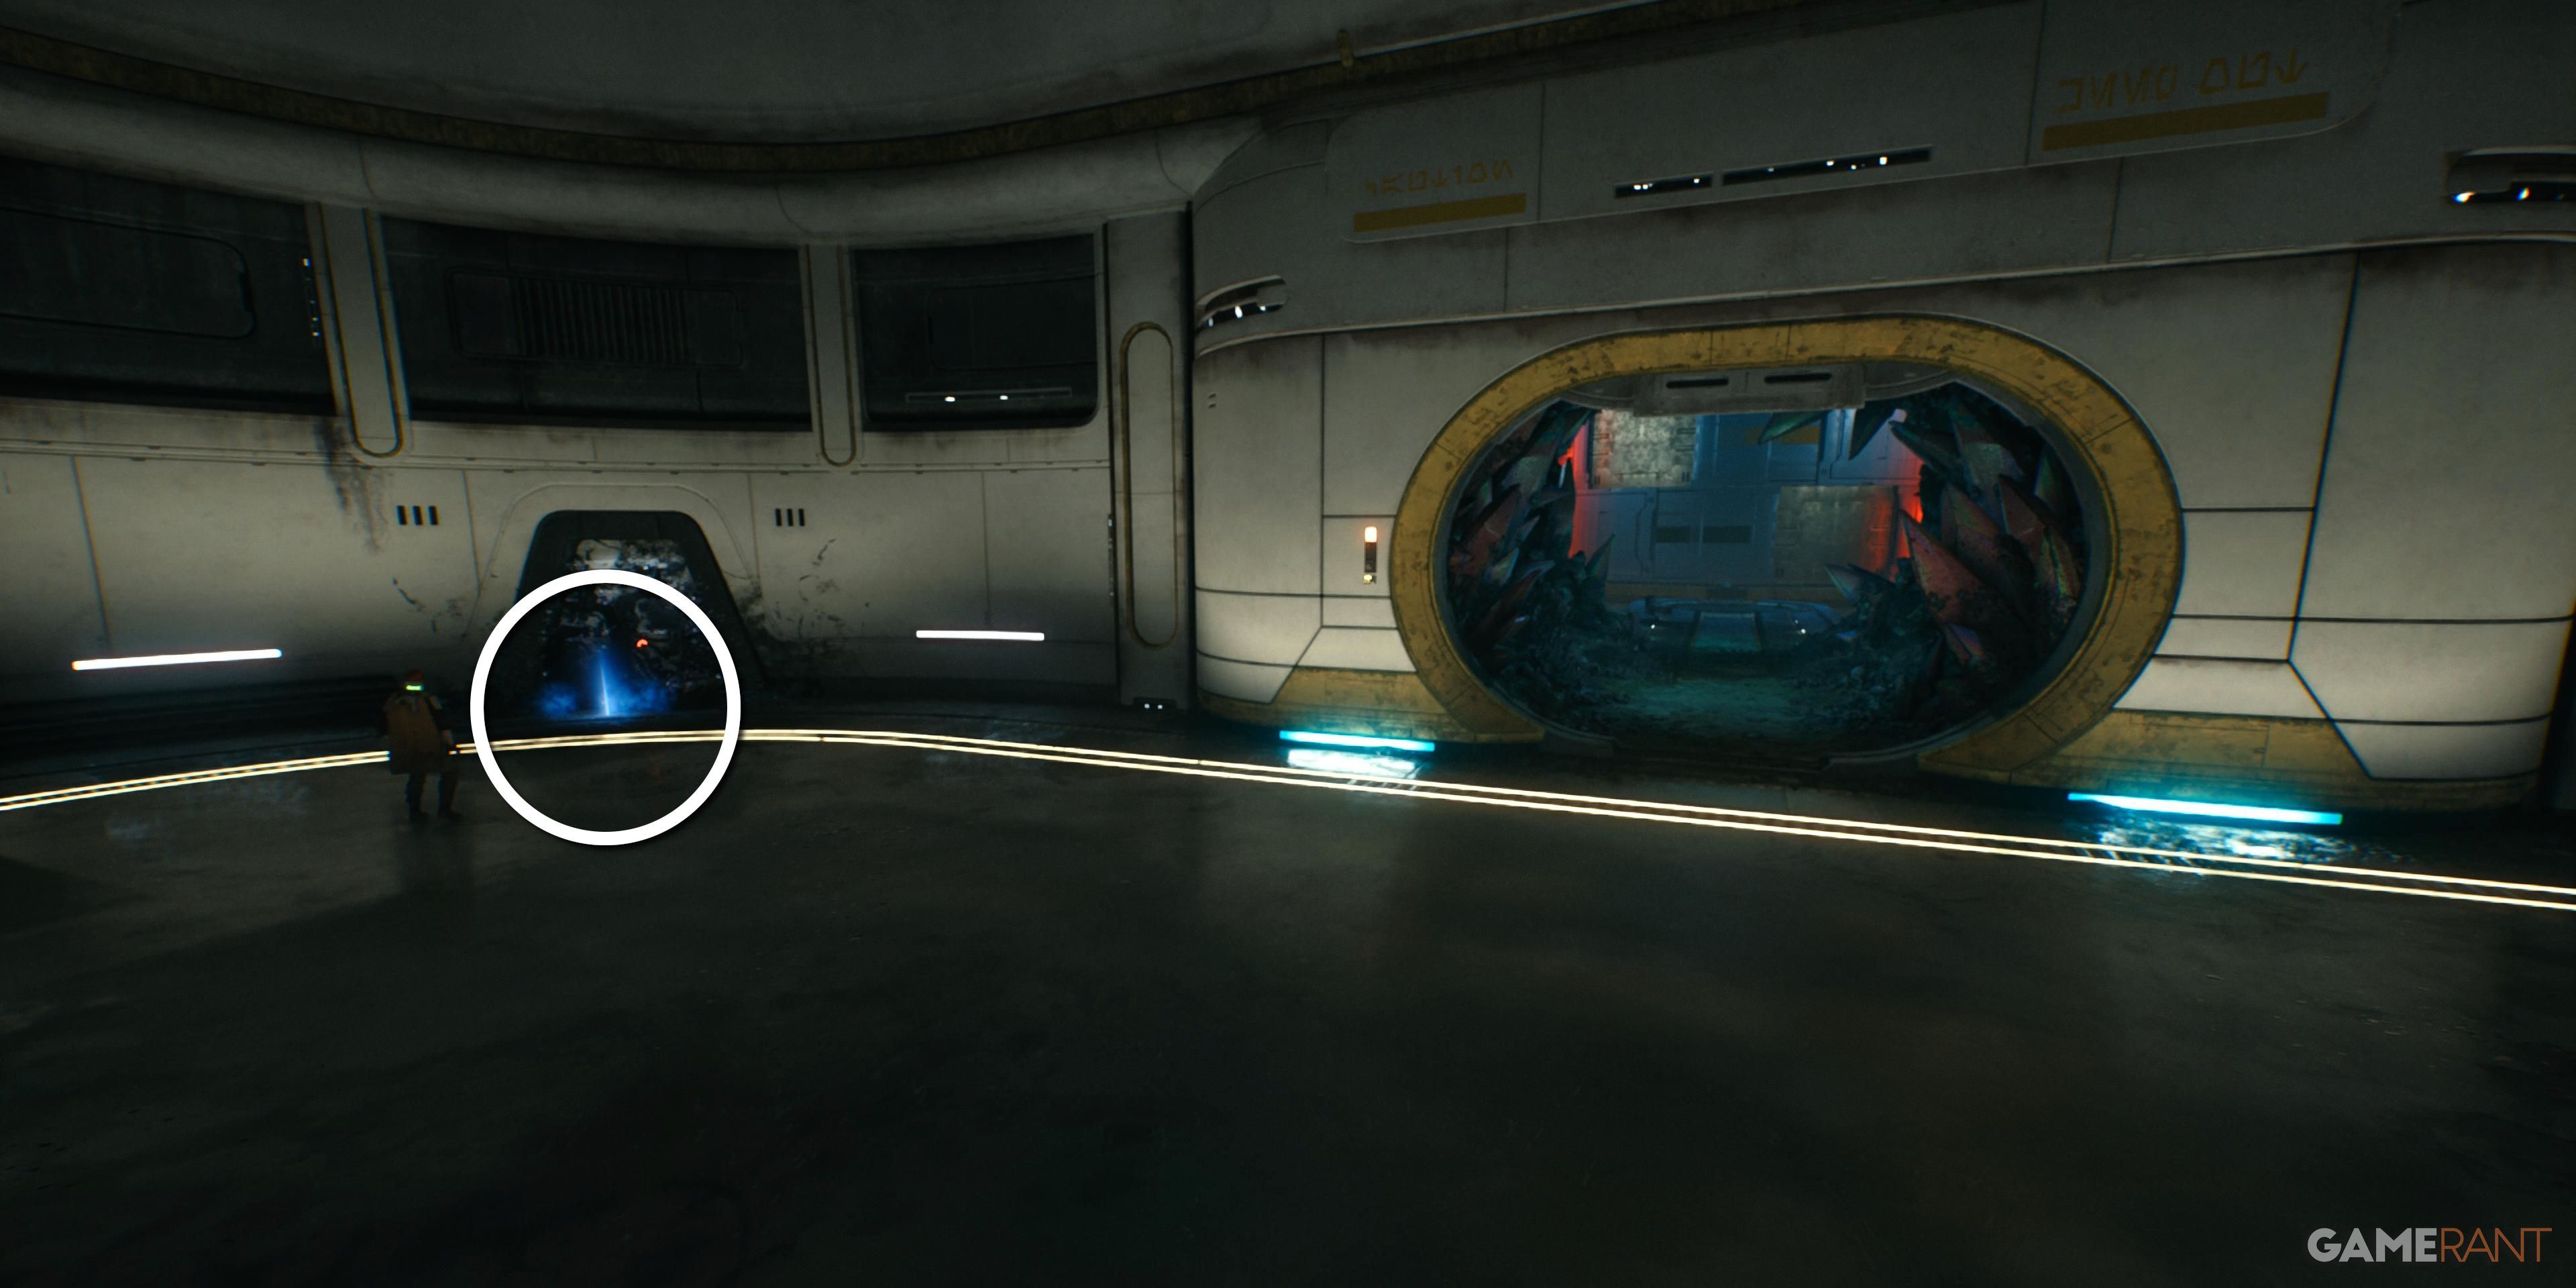
Databank 5 of 9 – A Task Too Far
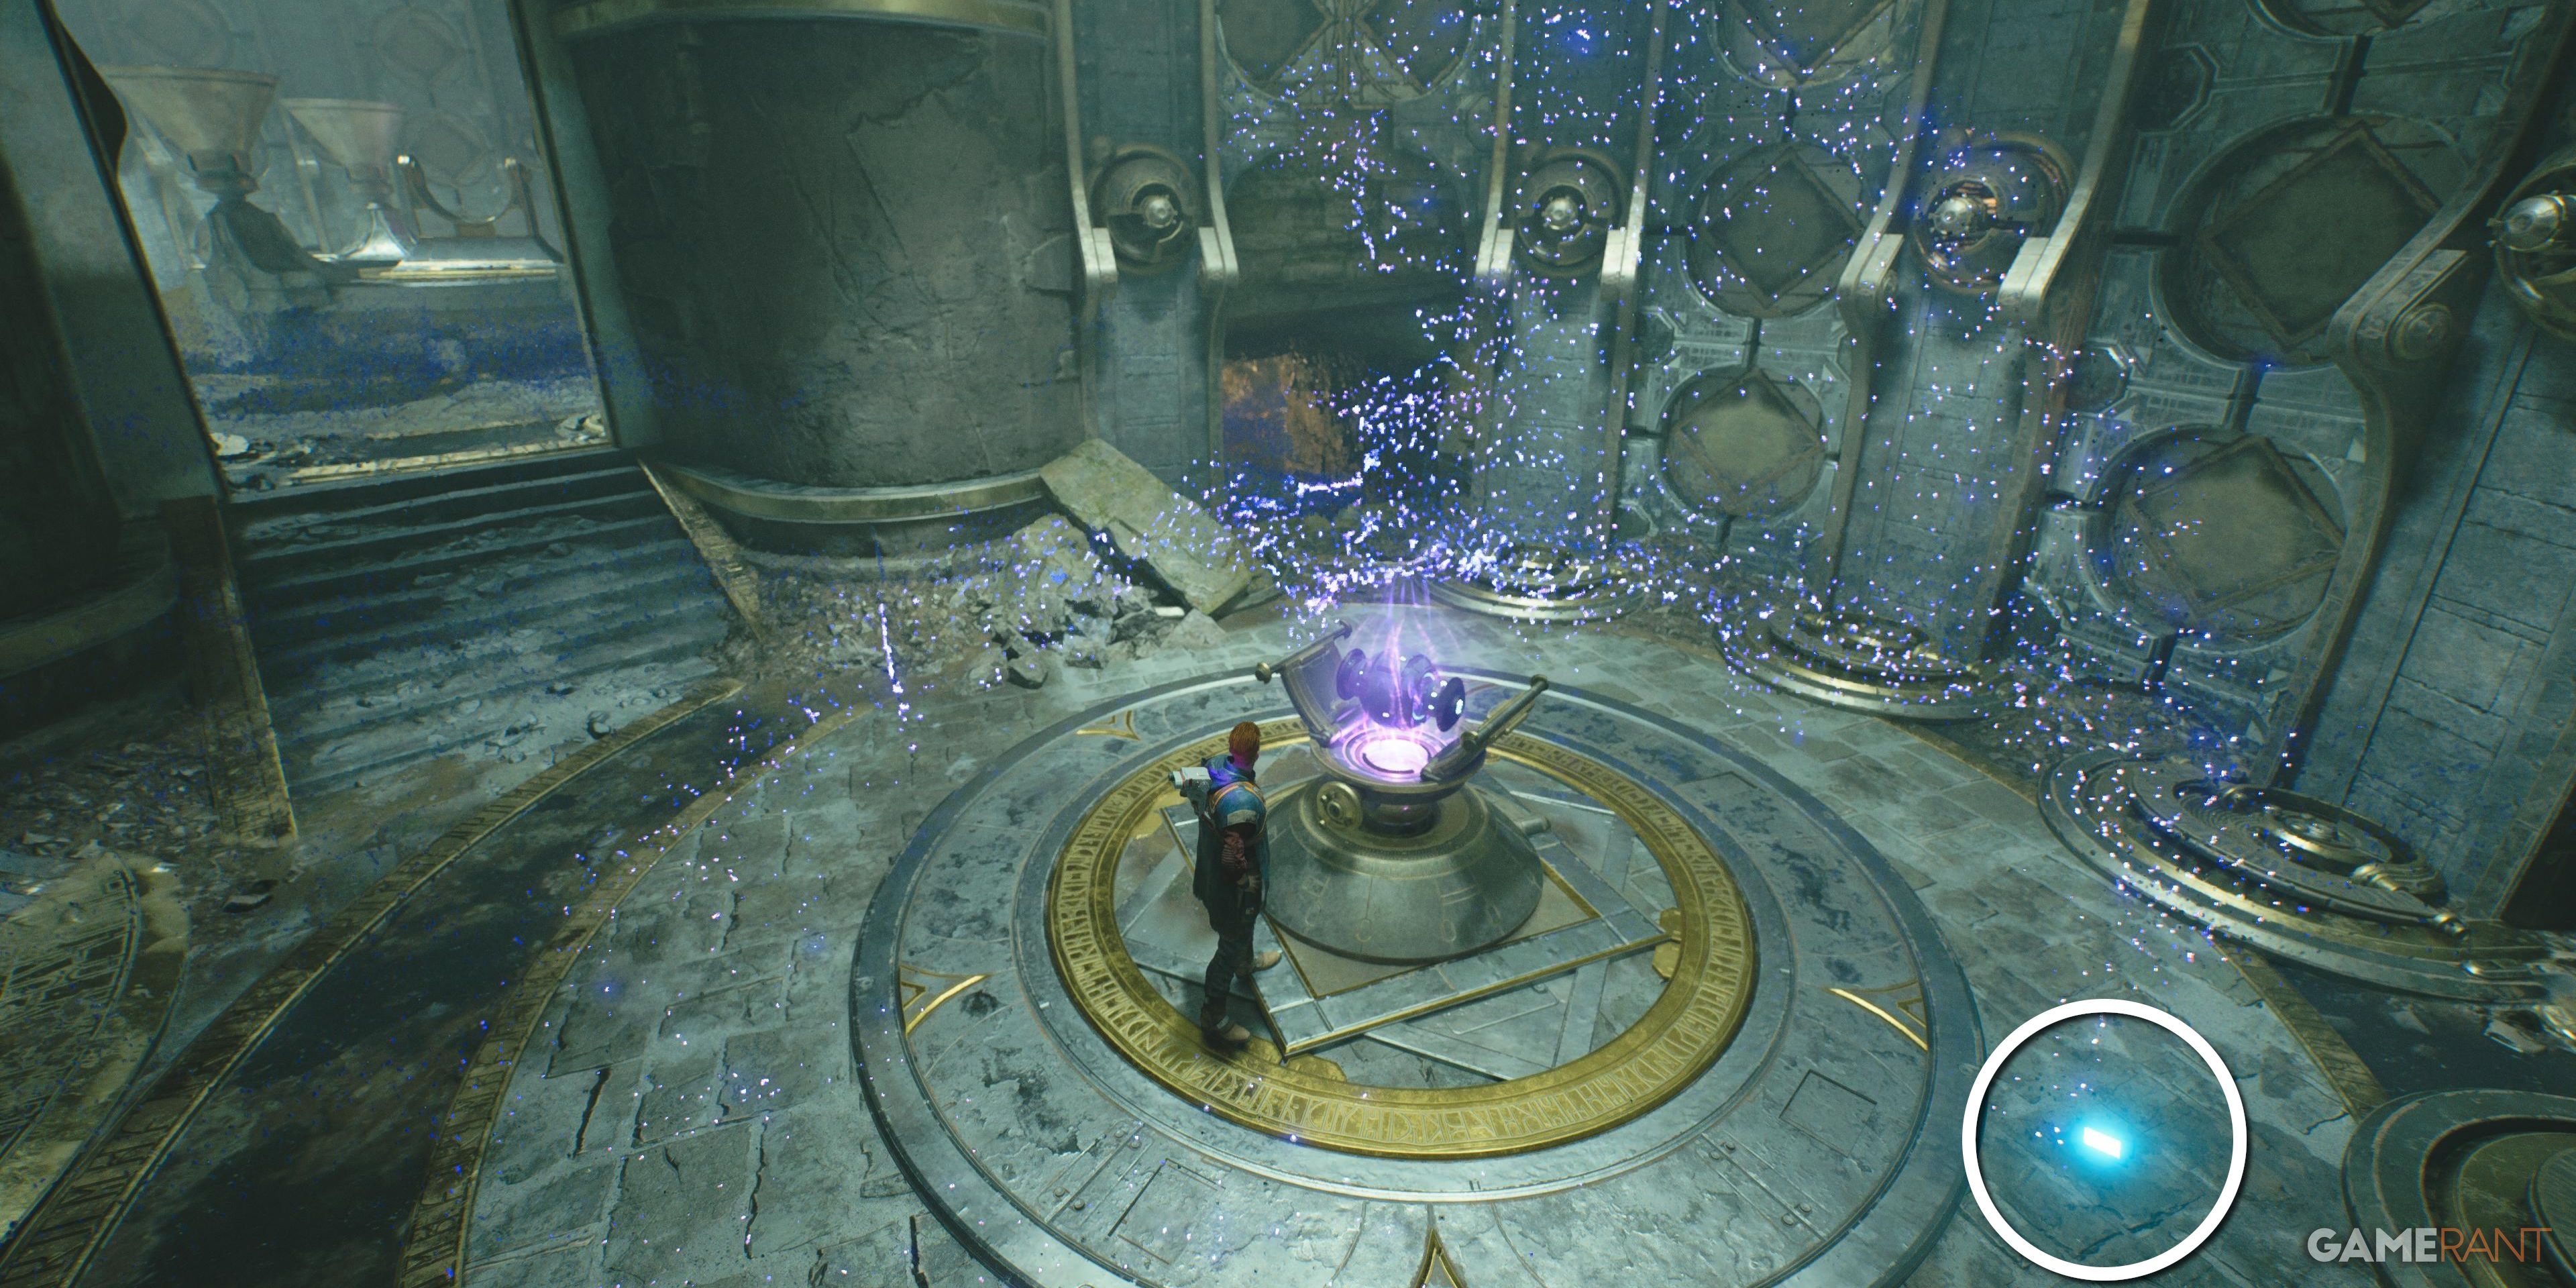
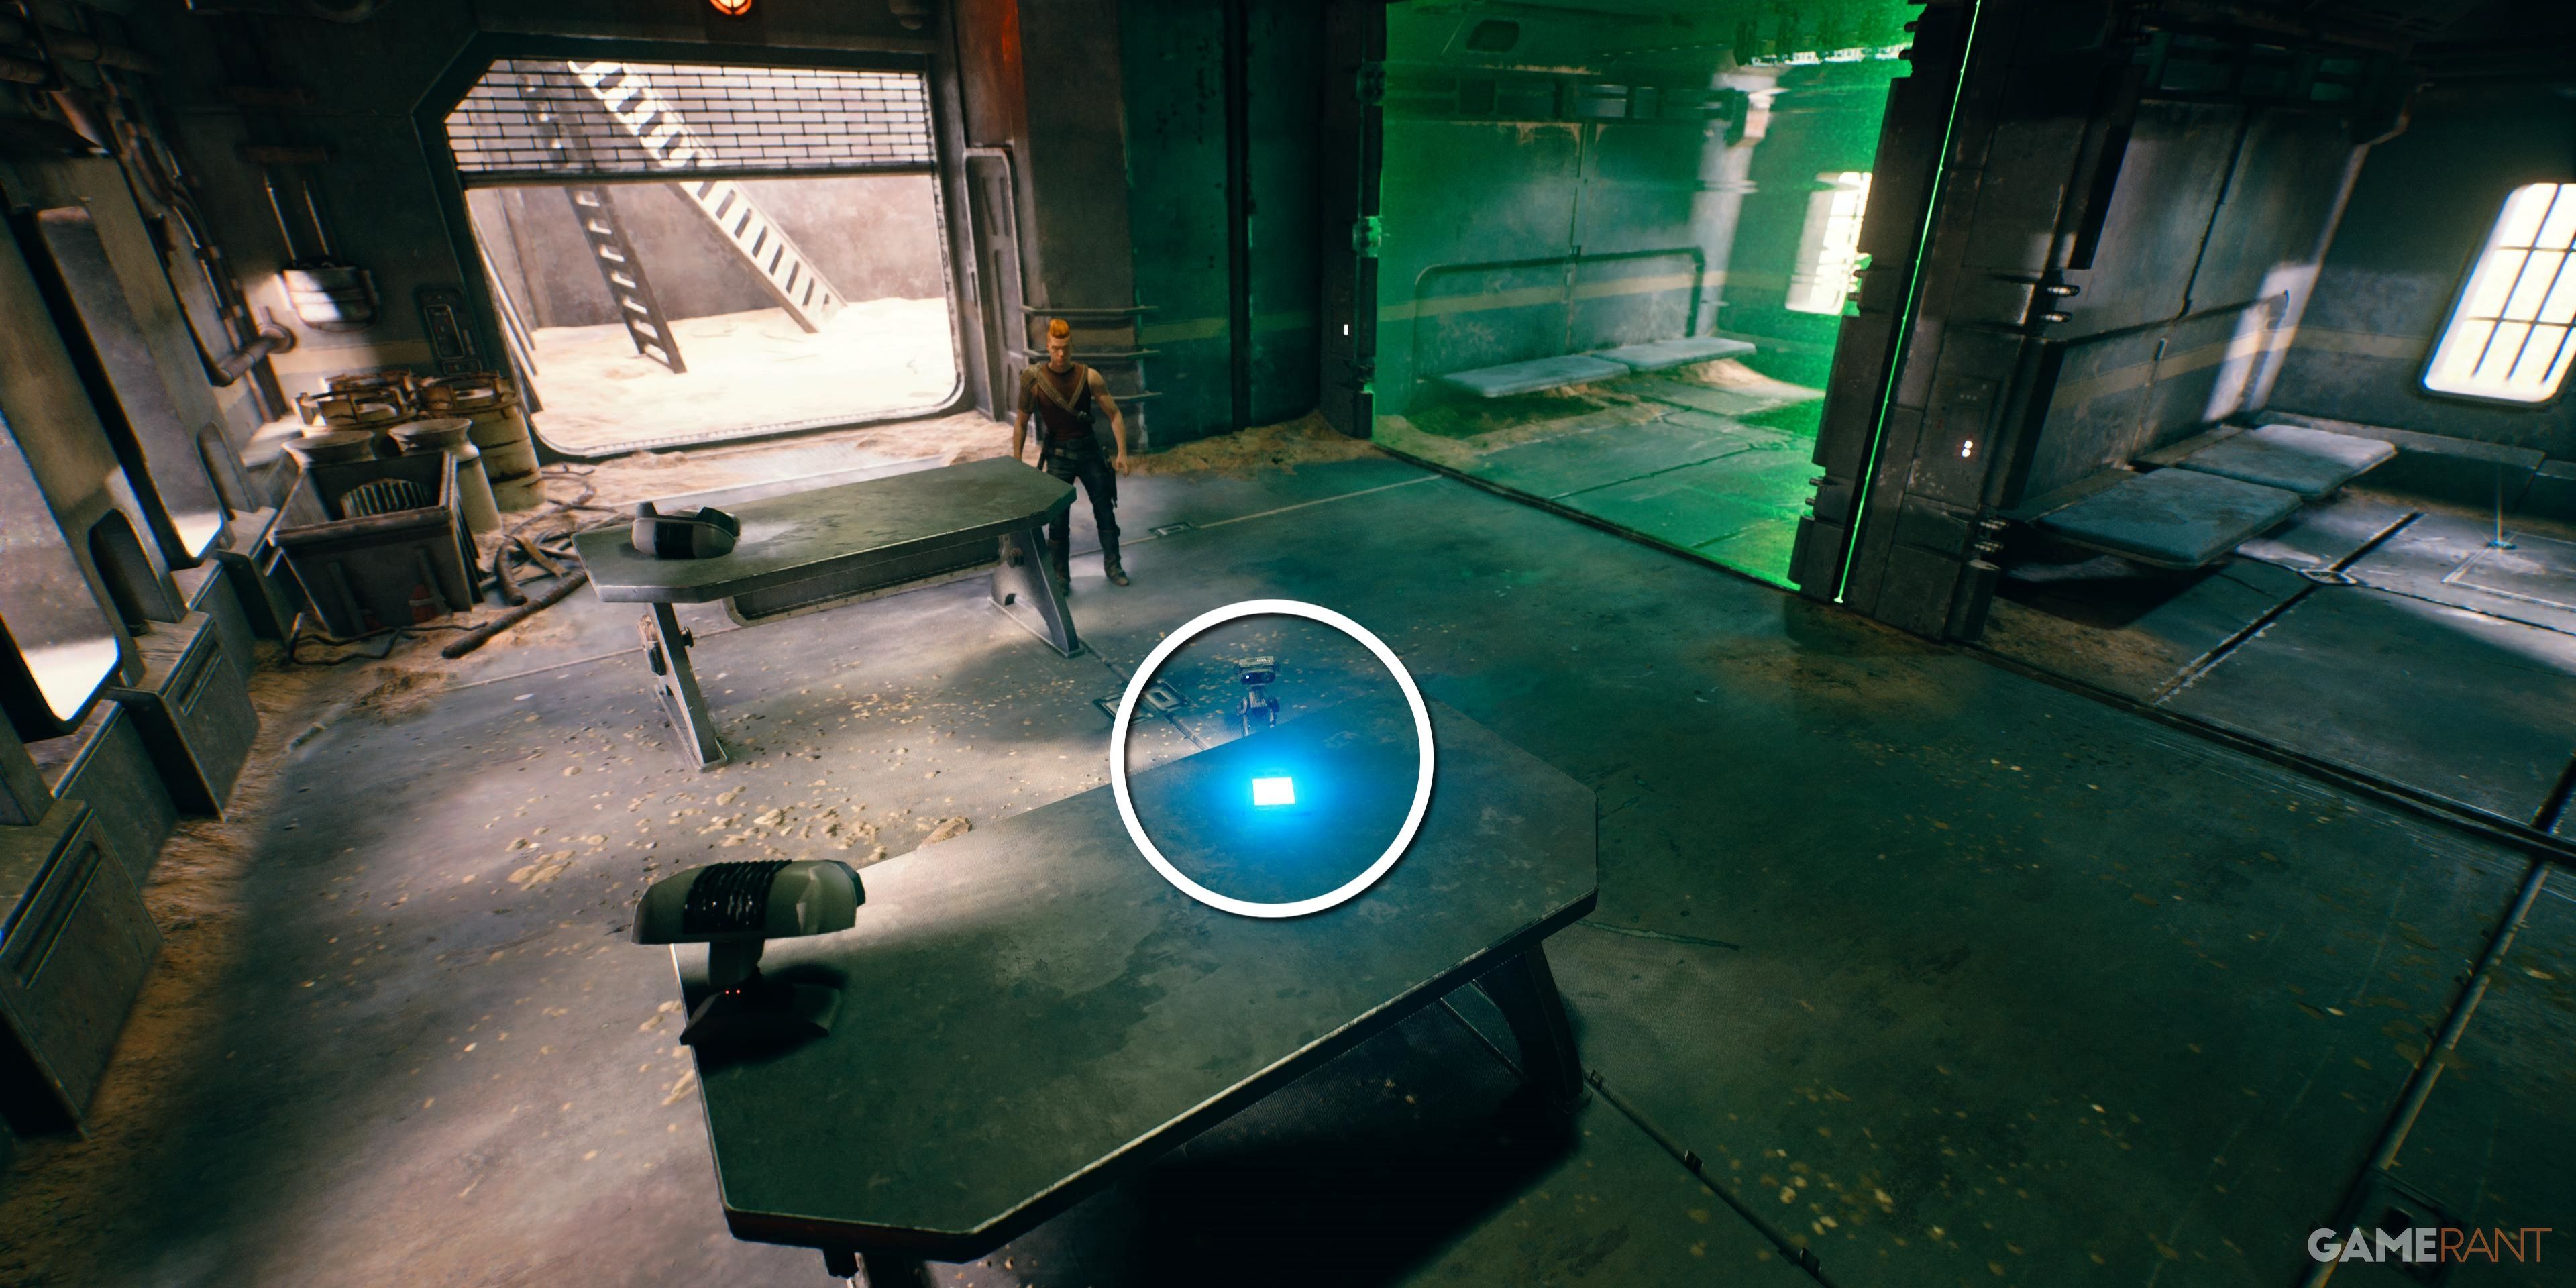
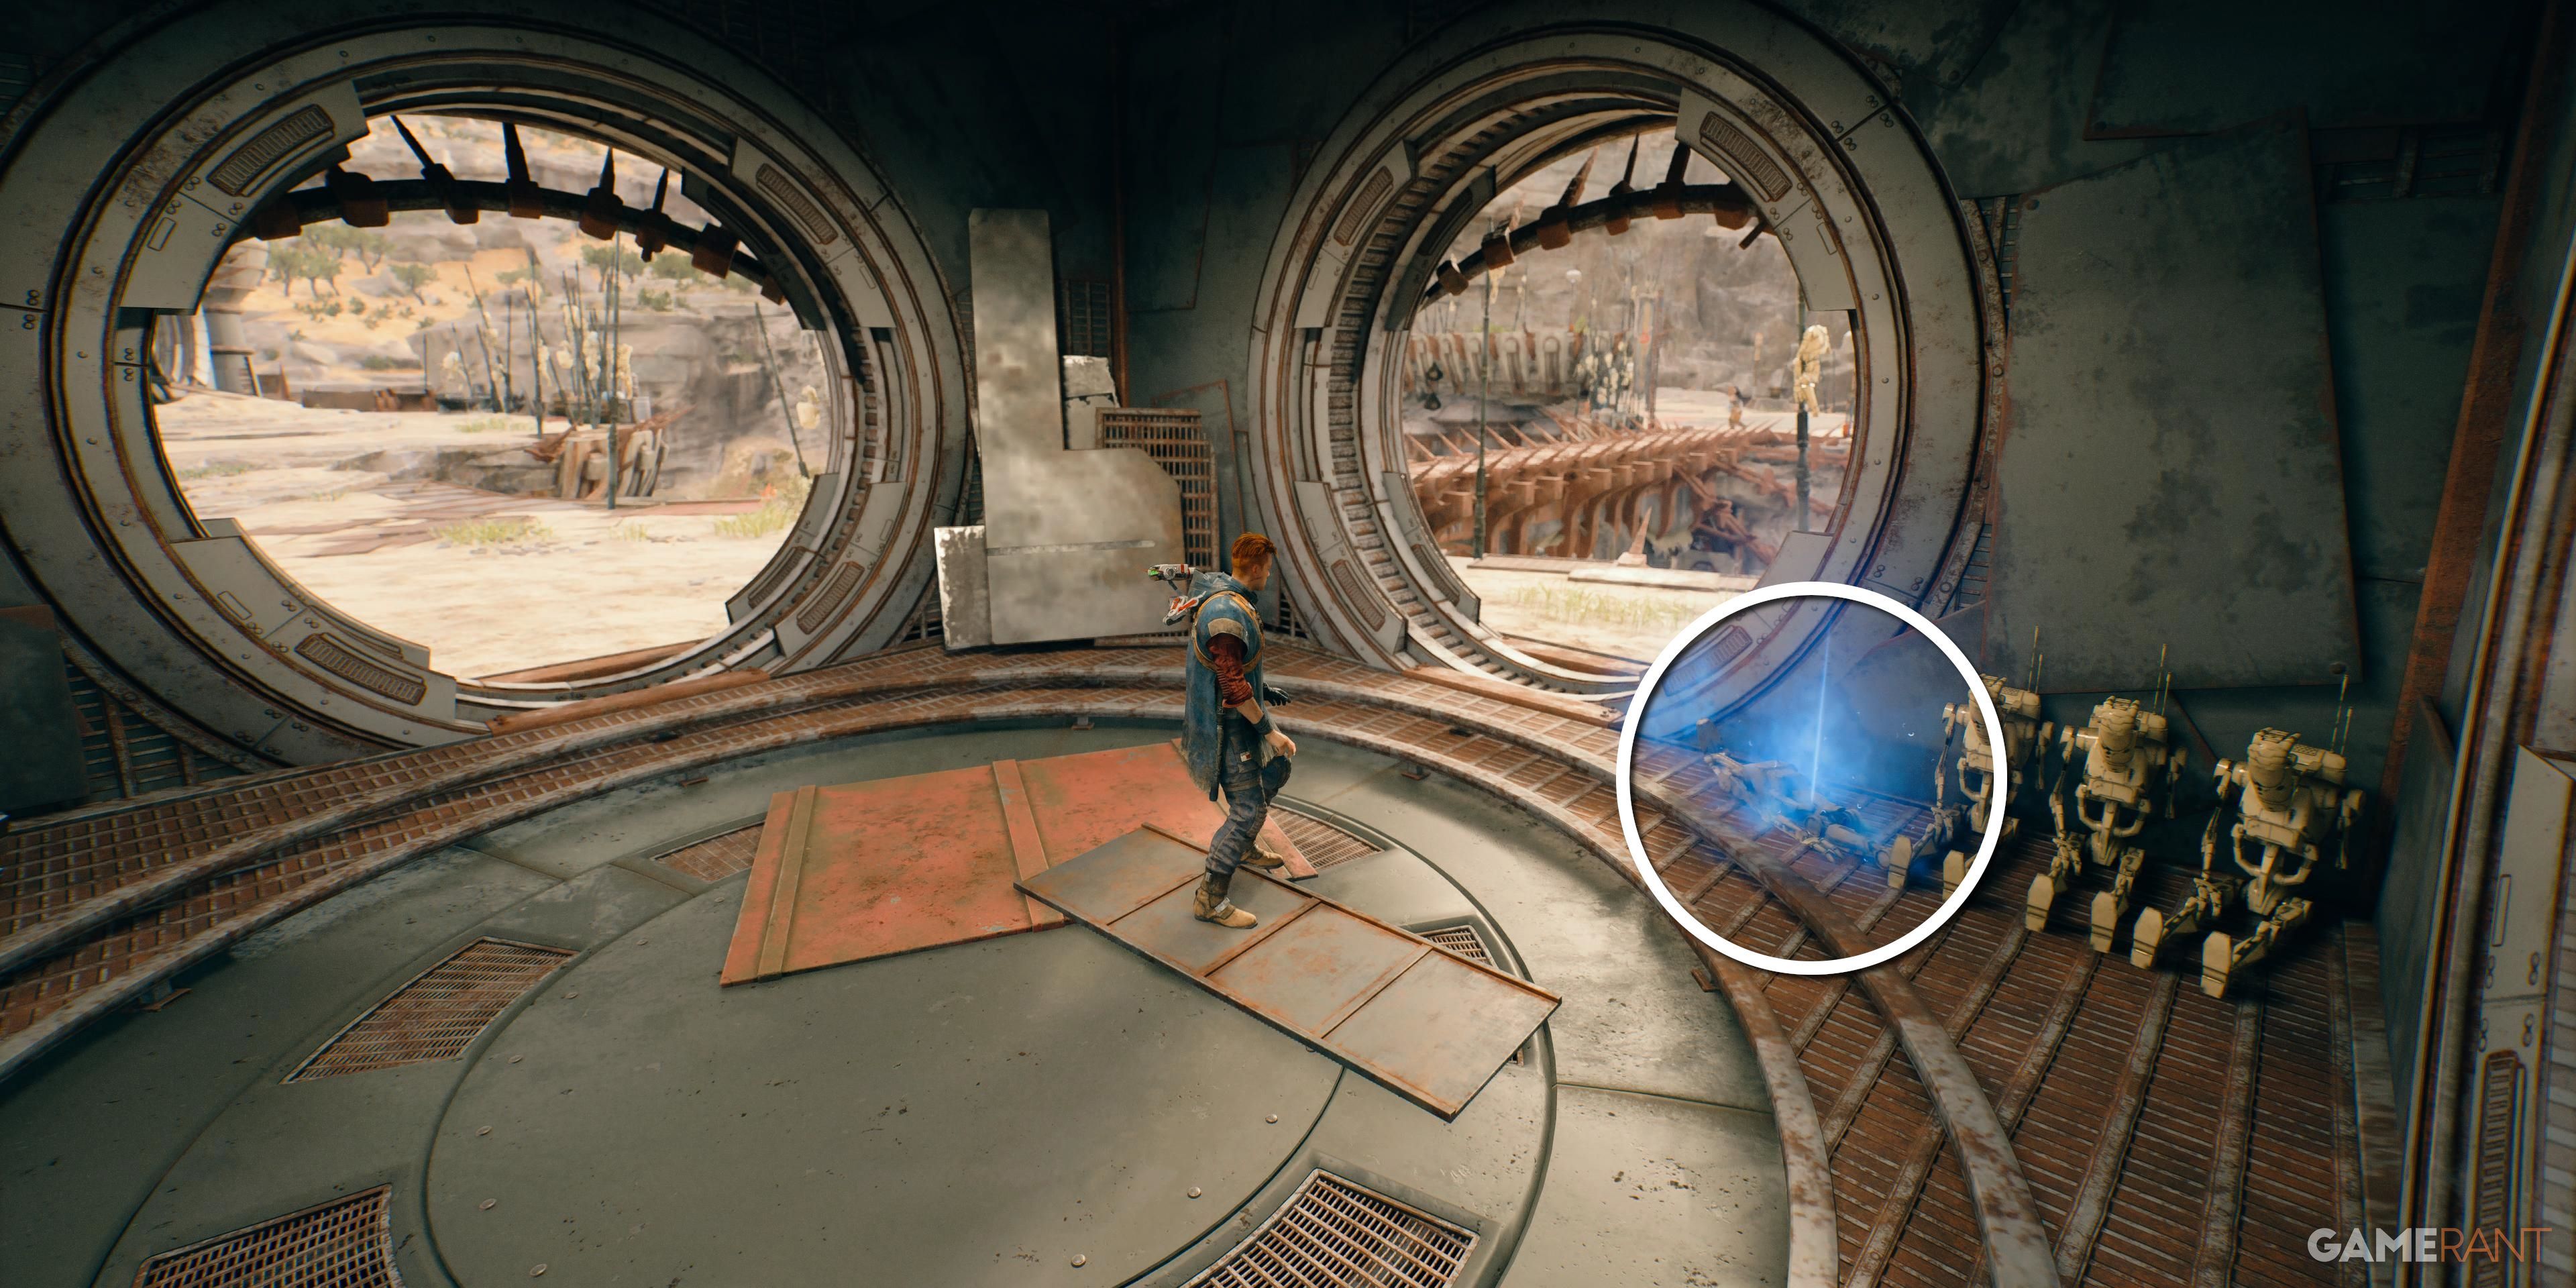
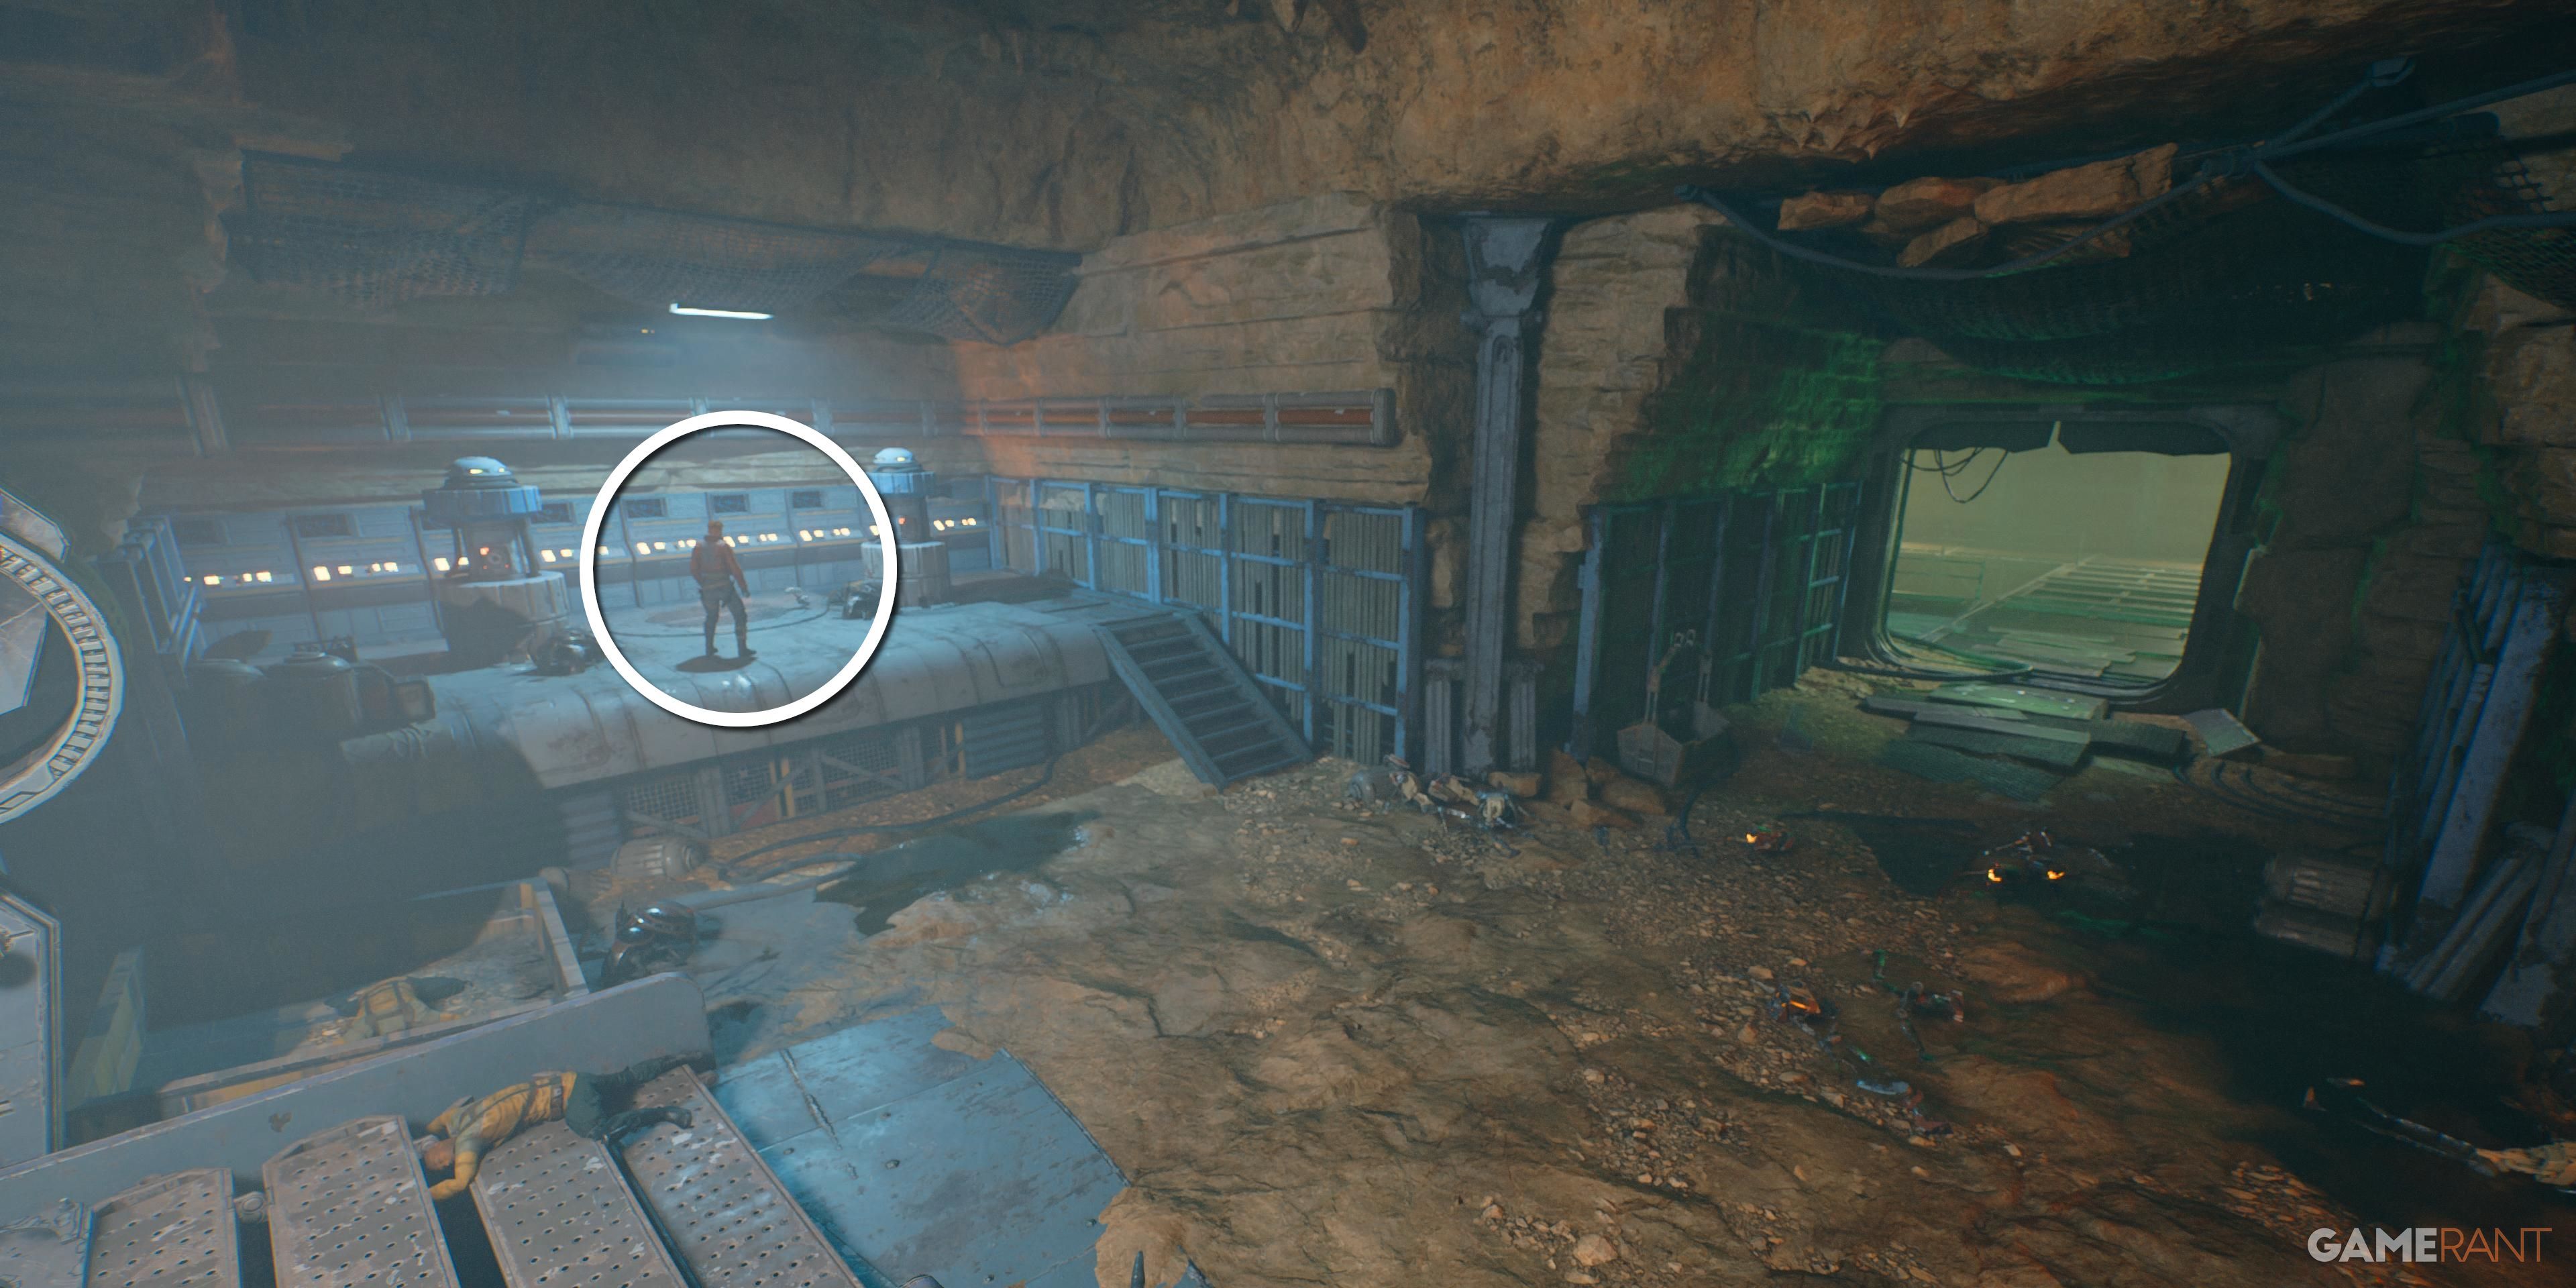
Approach the glowing blue light on the right of the hangar to access this databank entry.
Databank 7 of 9 – A Gift Revoked
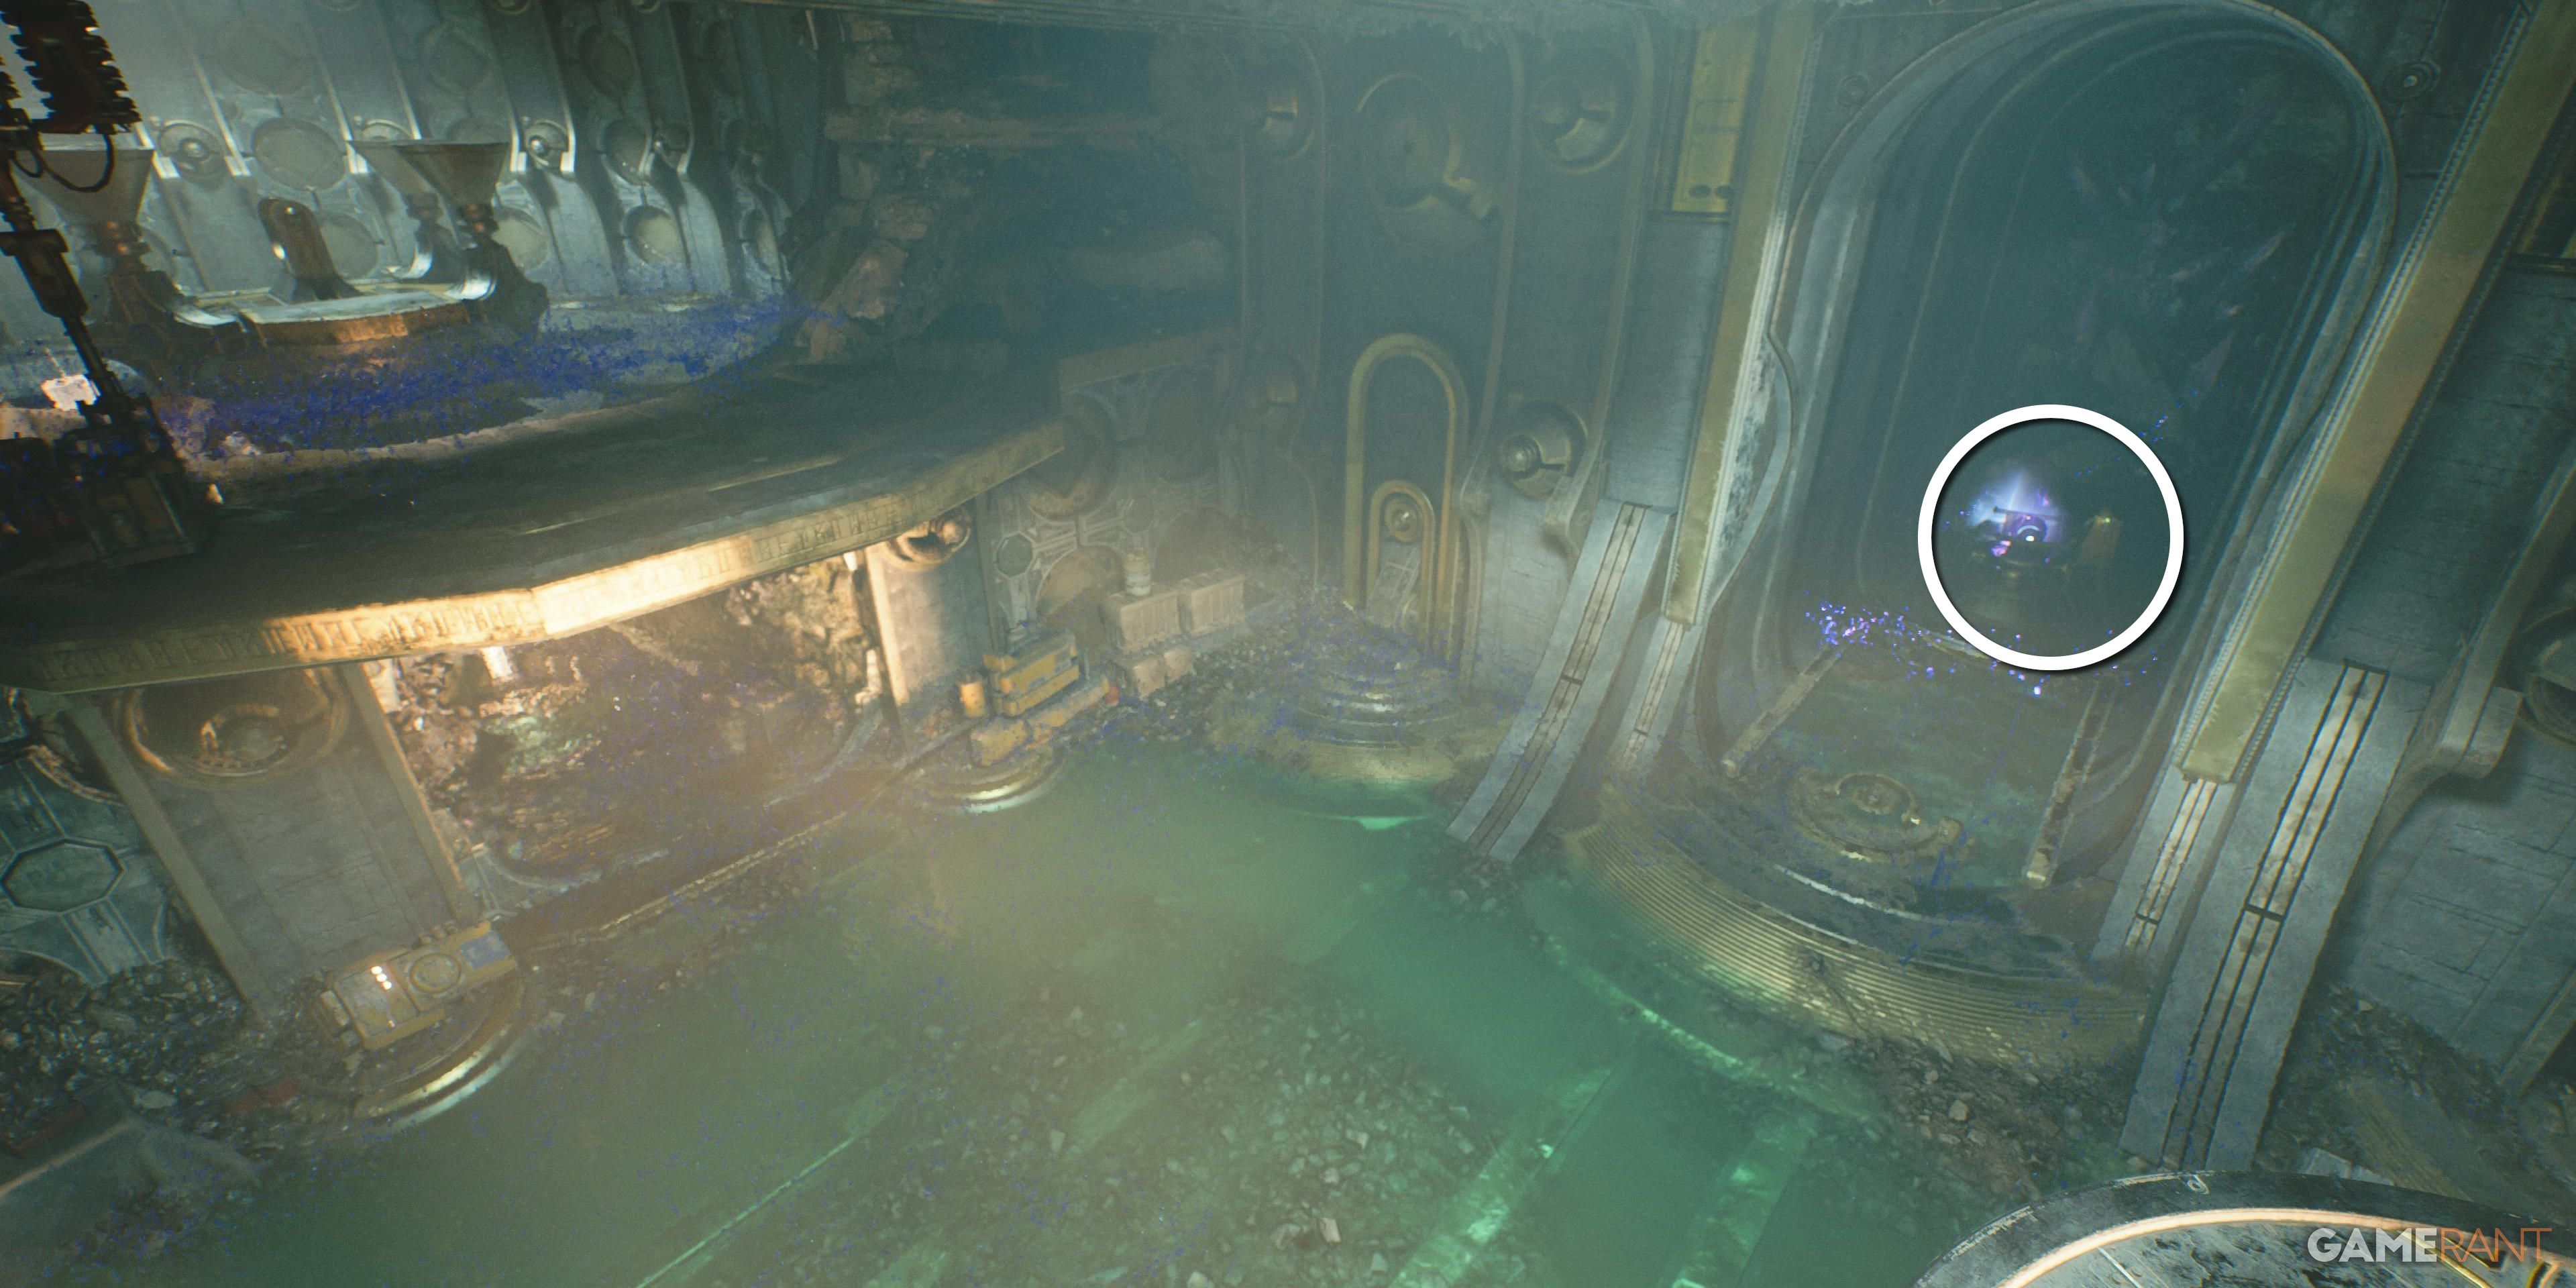
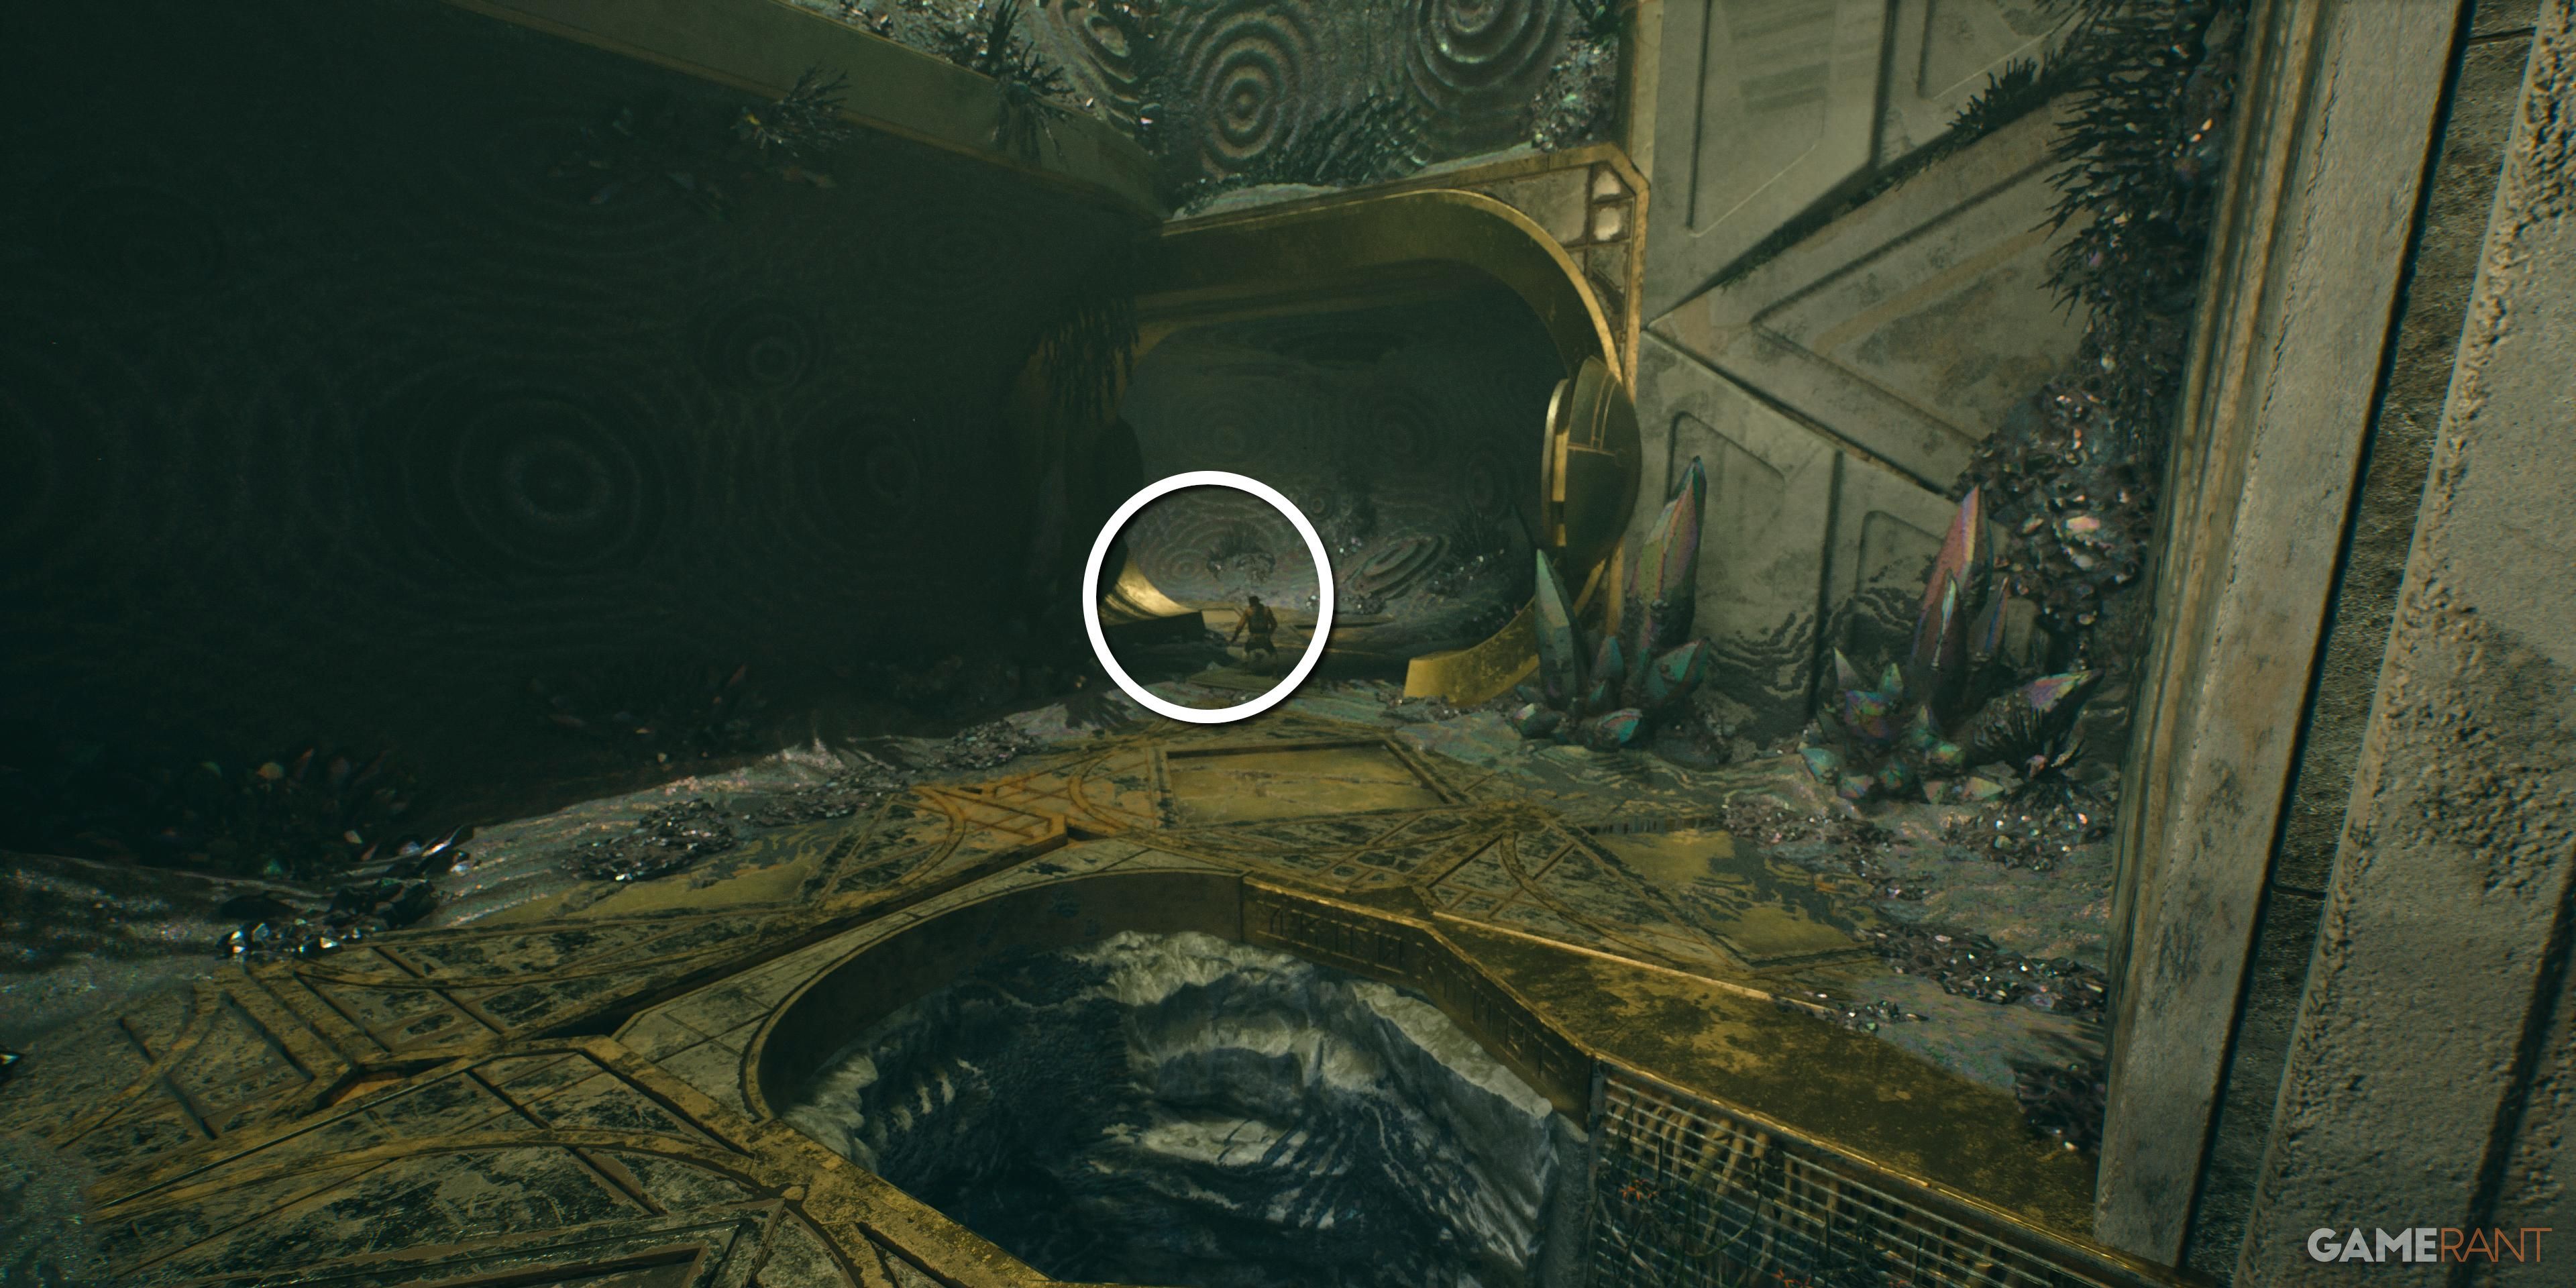
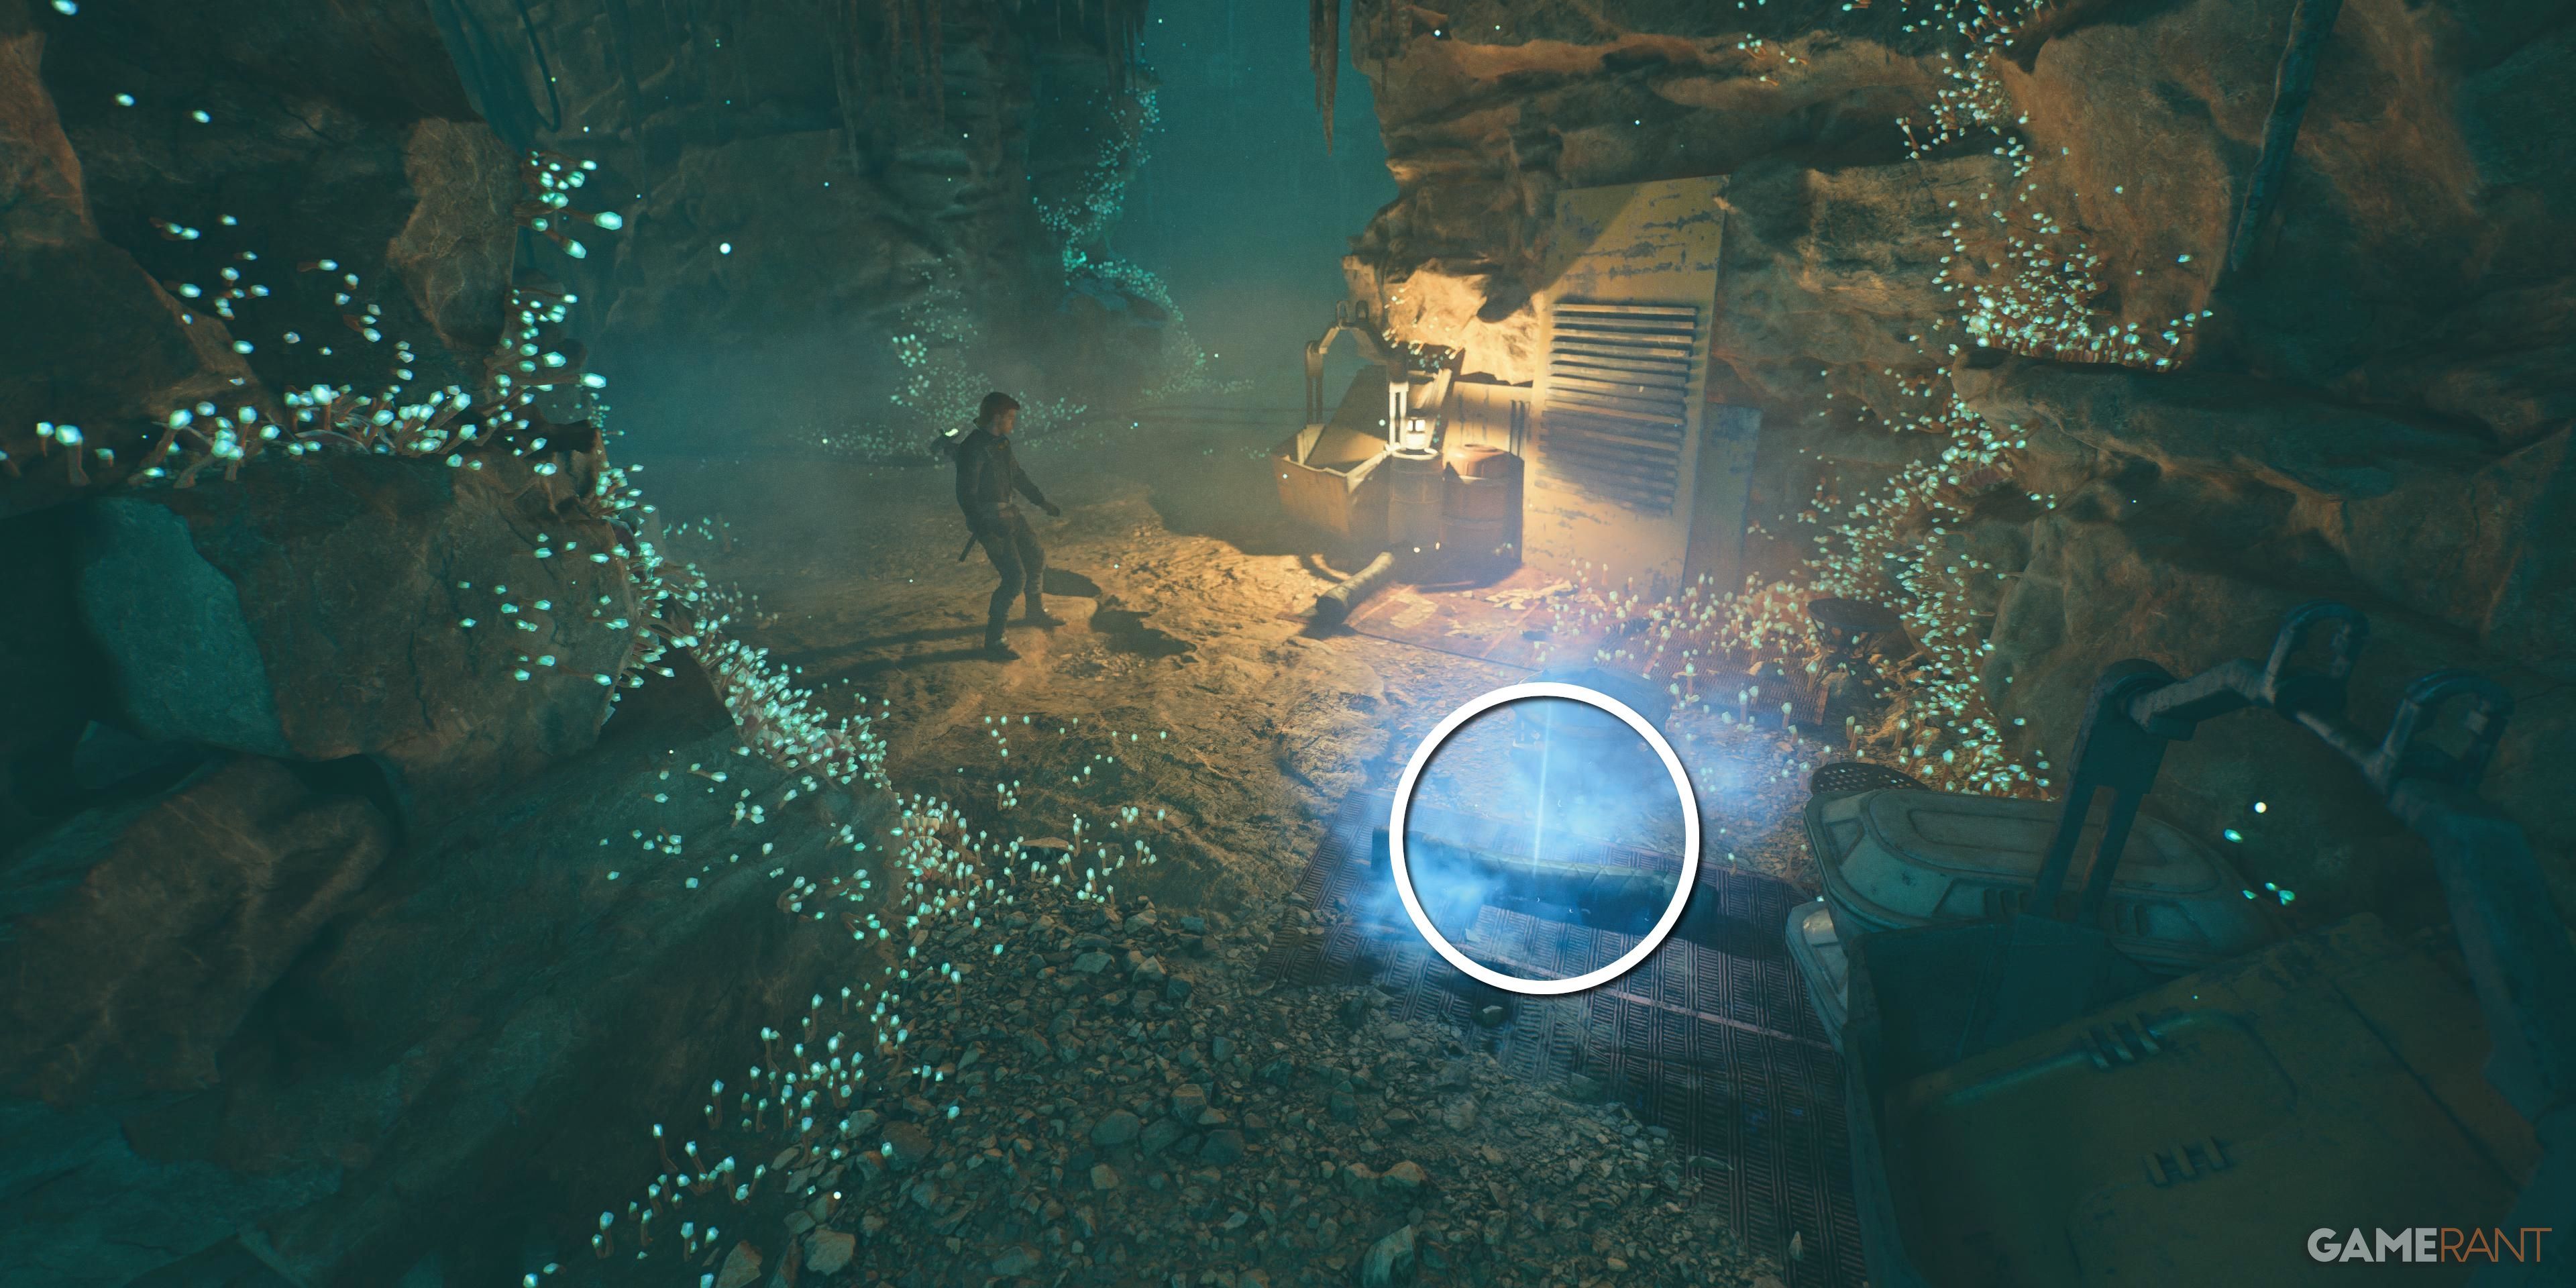
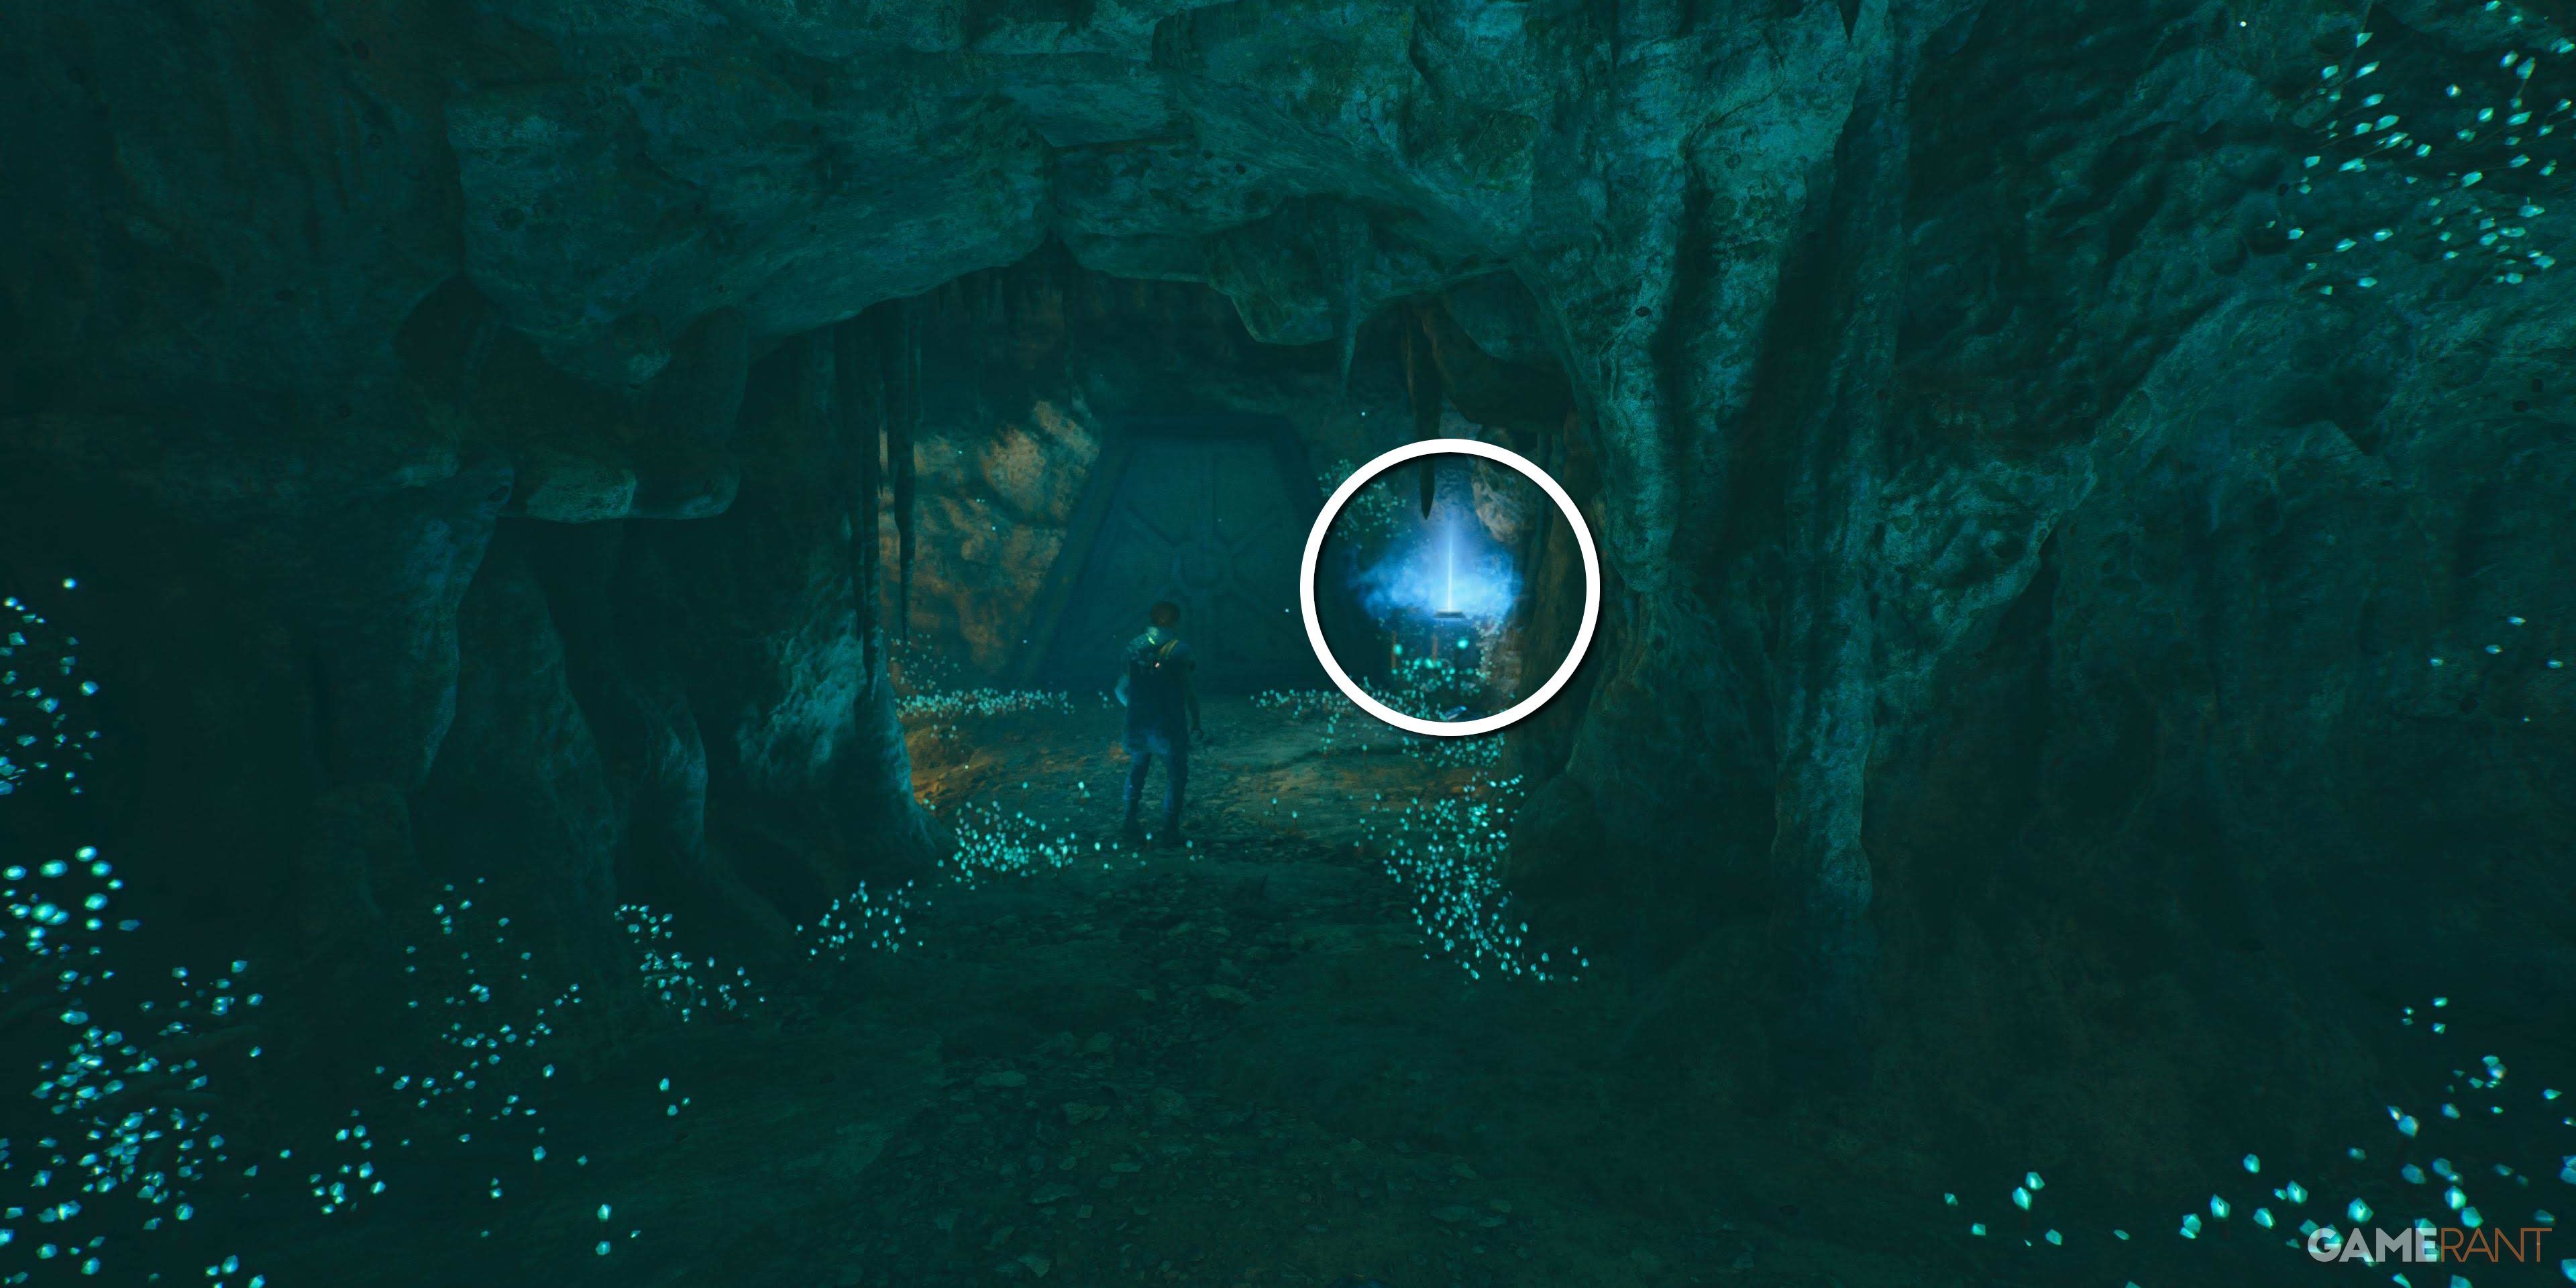
Using Force Lift on the large yellow gate, drop down inside and navigate the Koboh dust to find this echo in the alcove behind the Orb.
Databank 9 of 9 – The Koboh Emergence
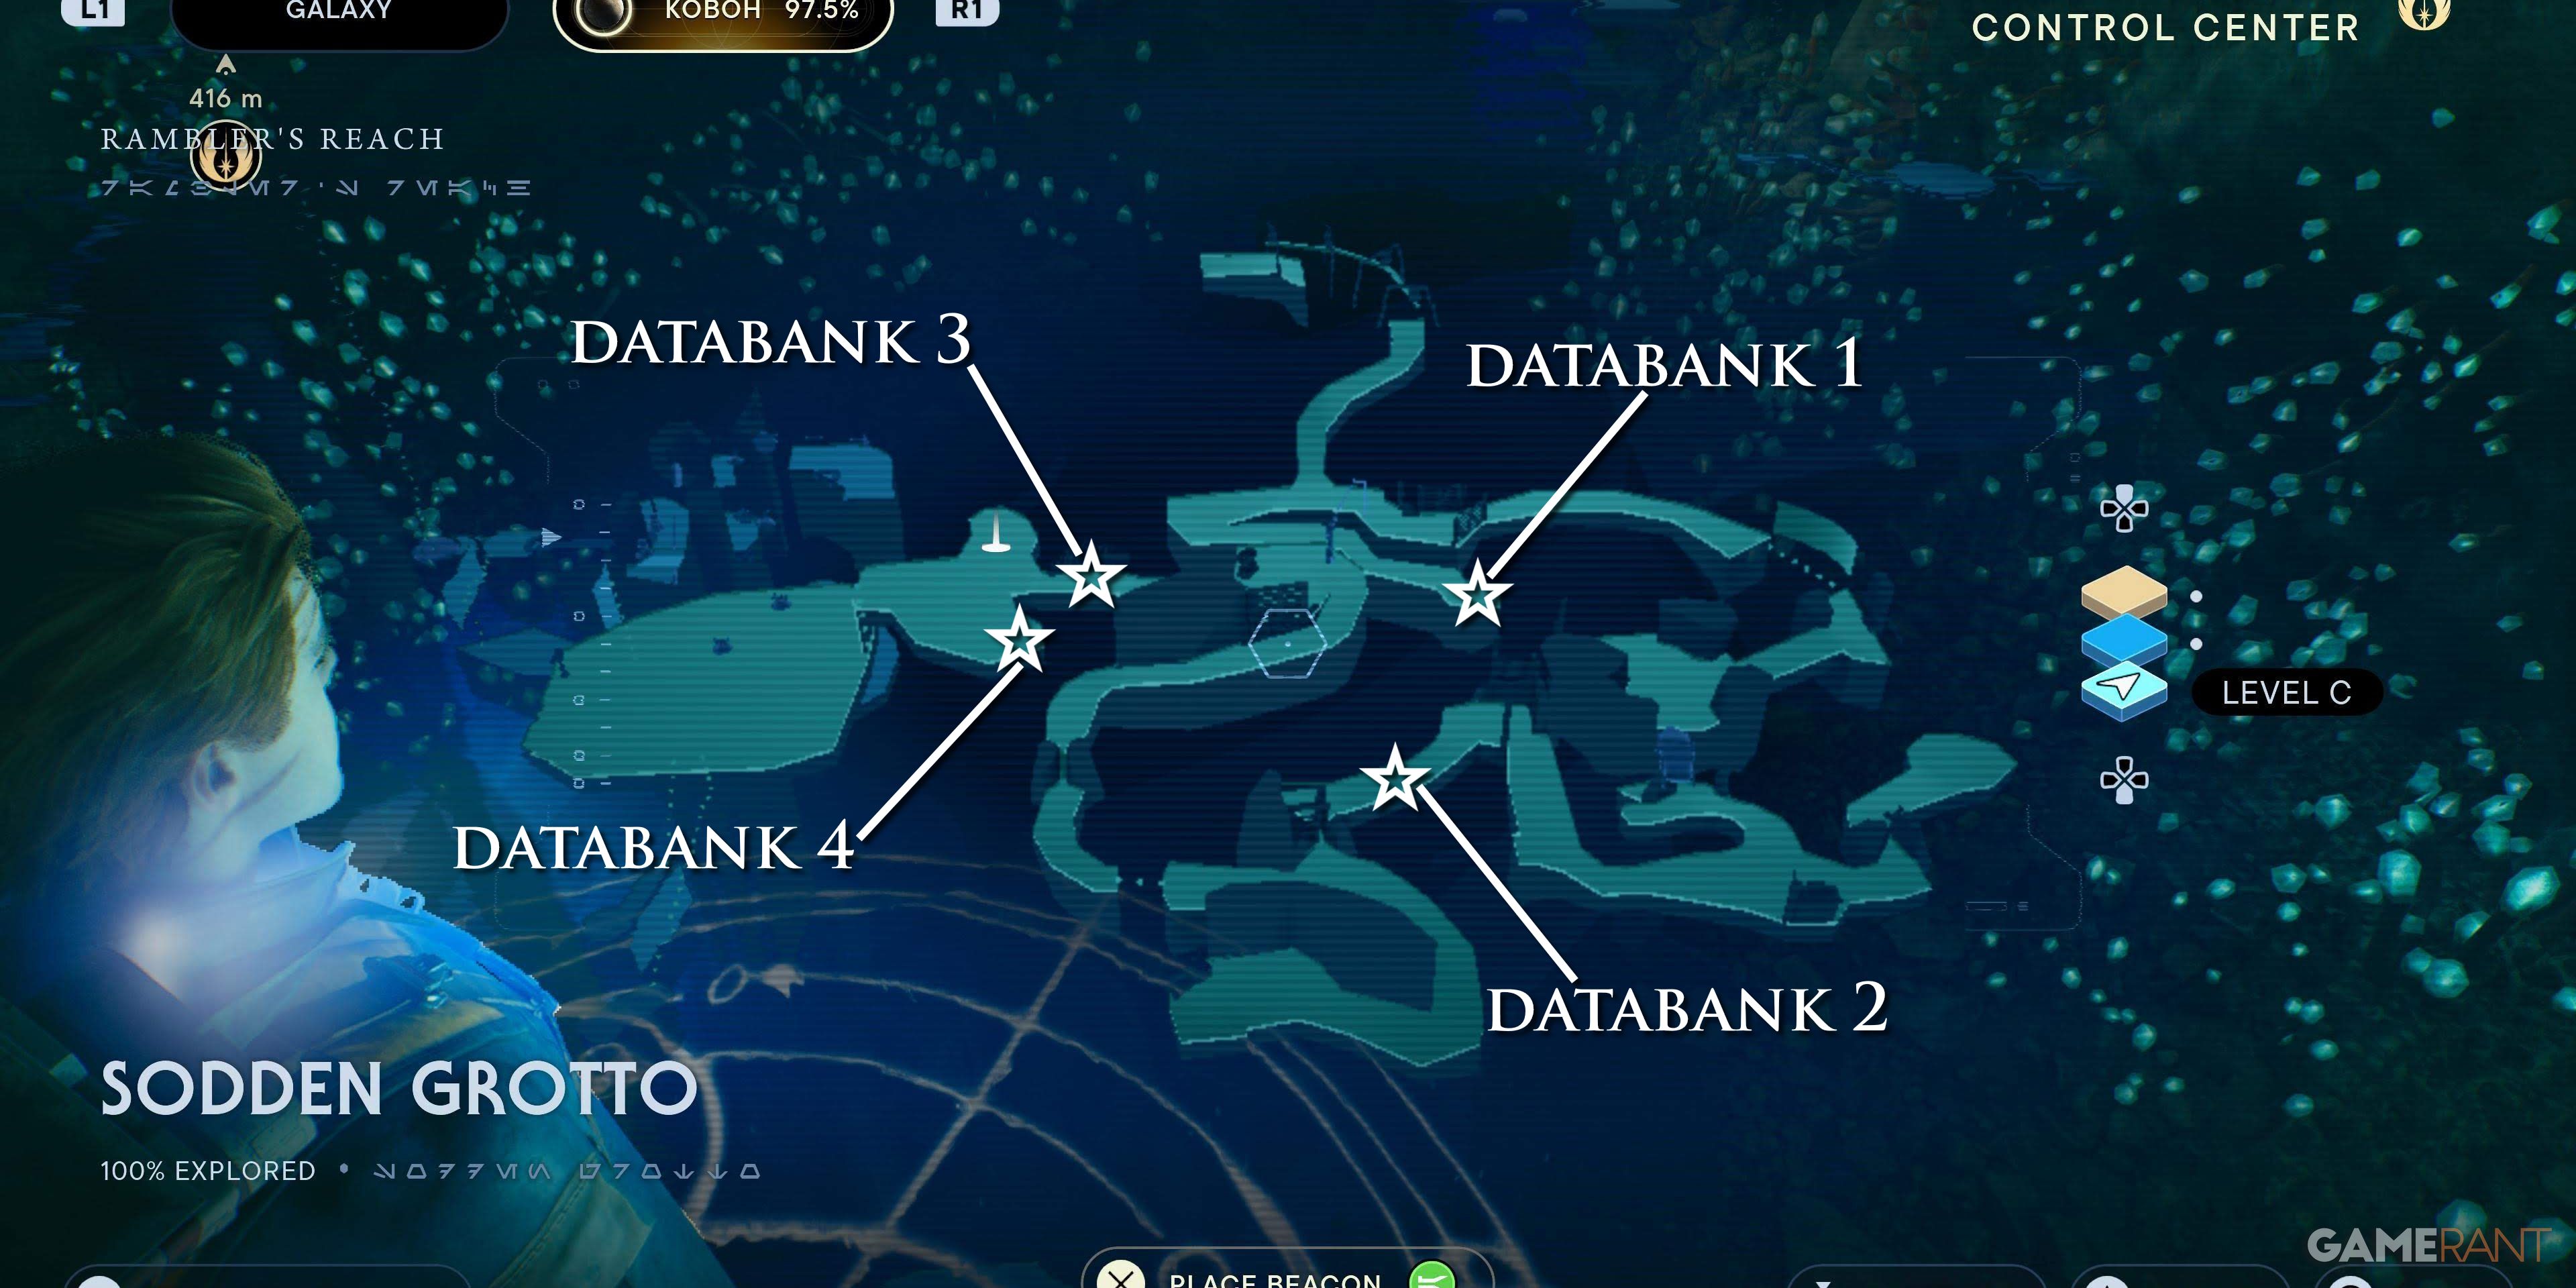
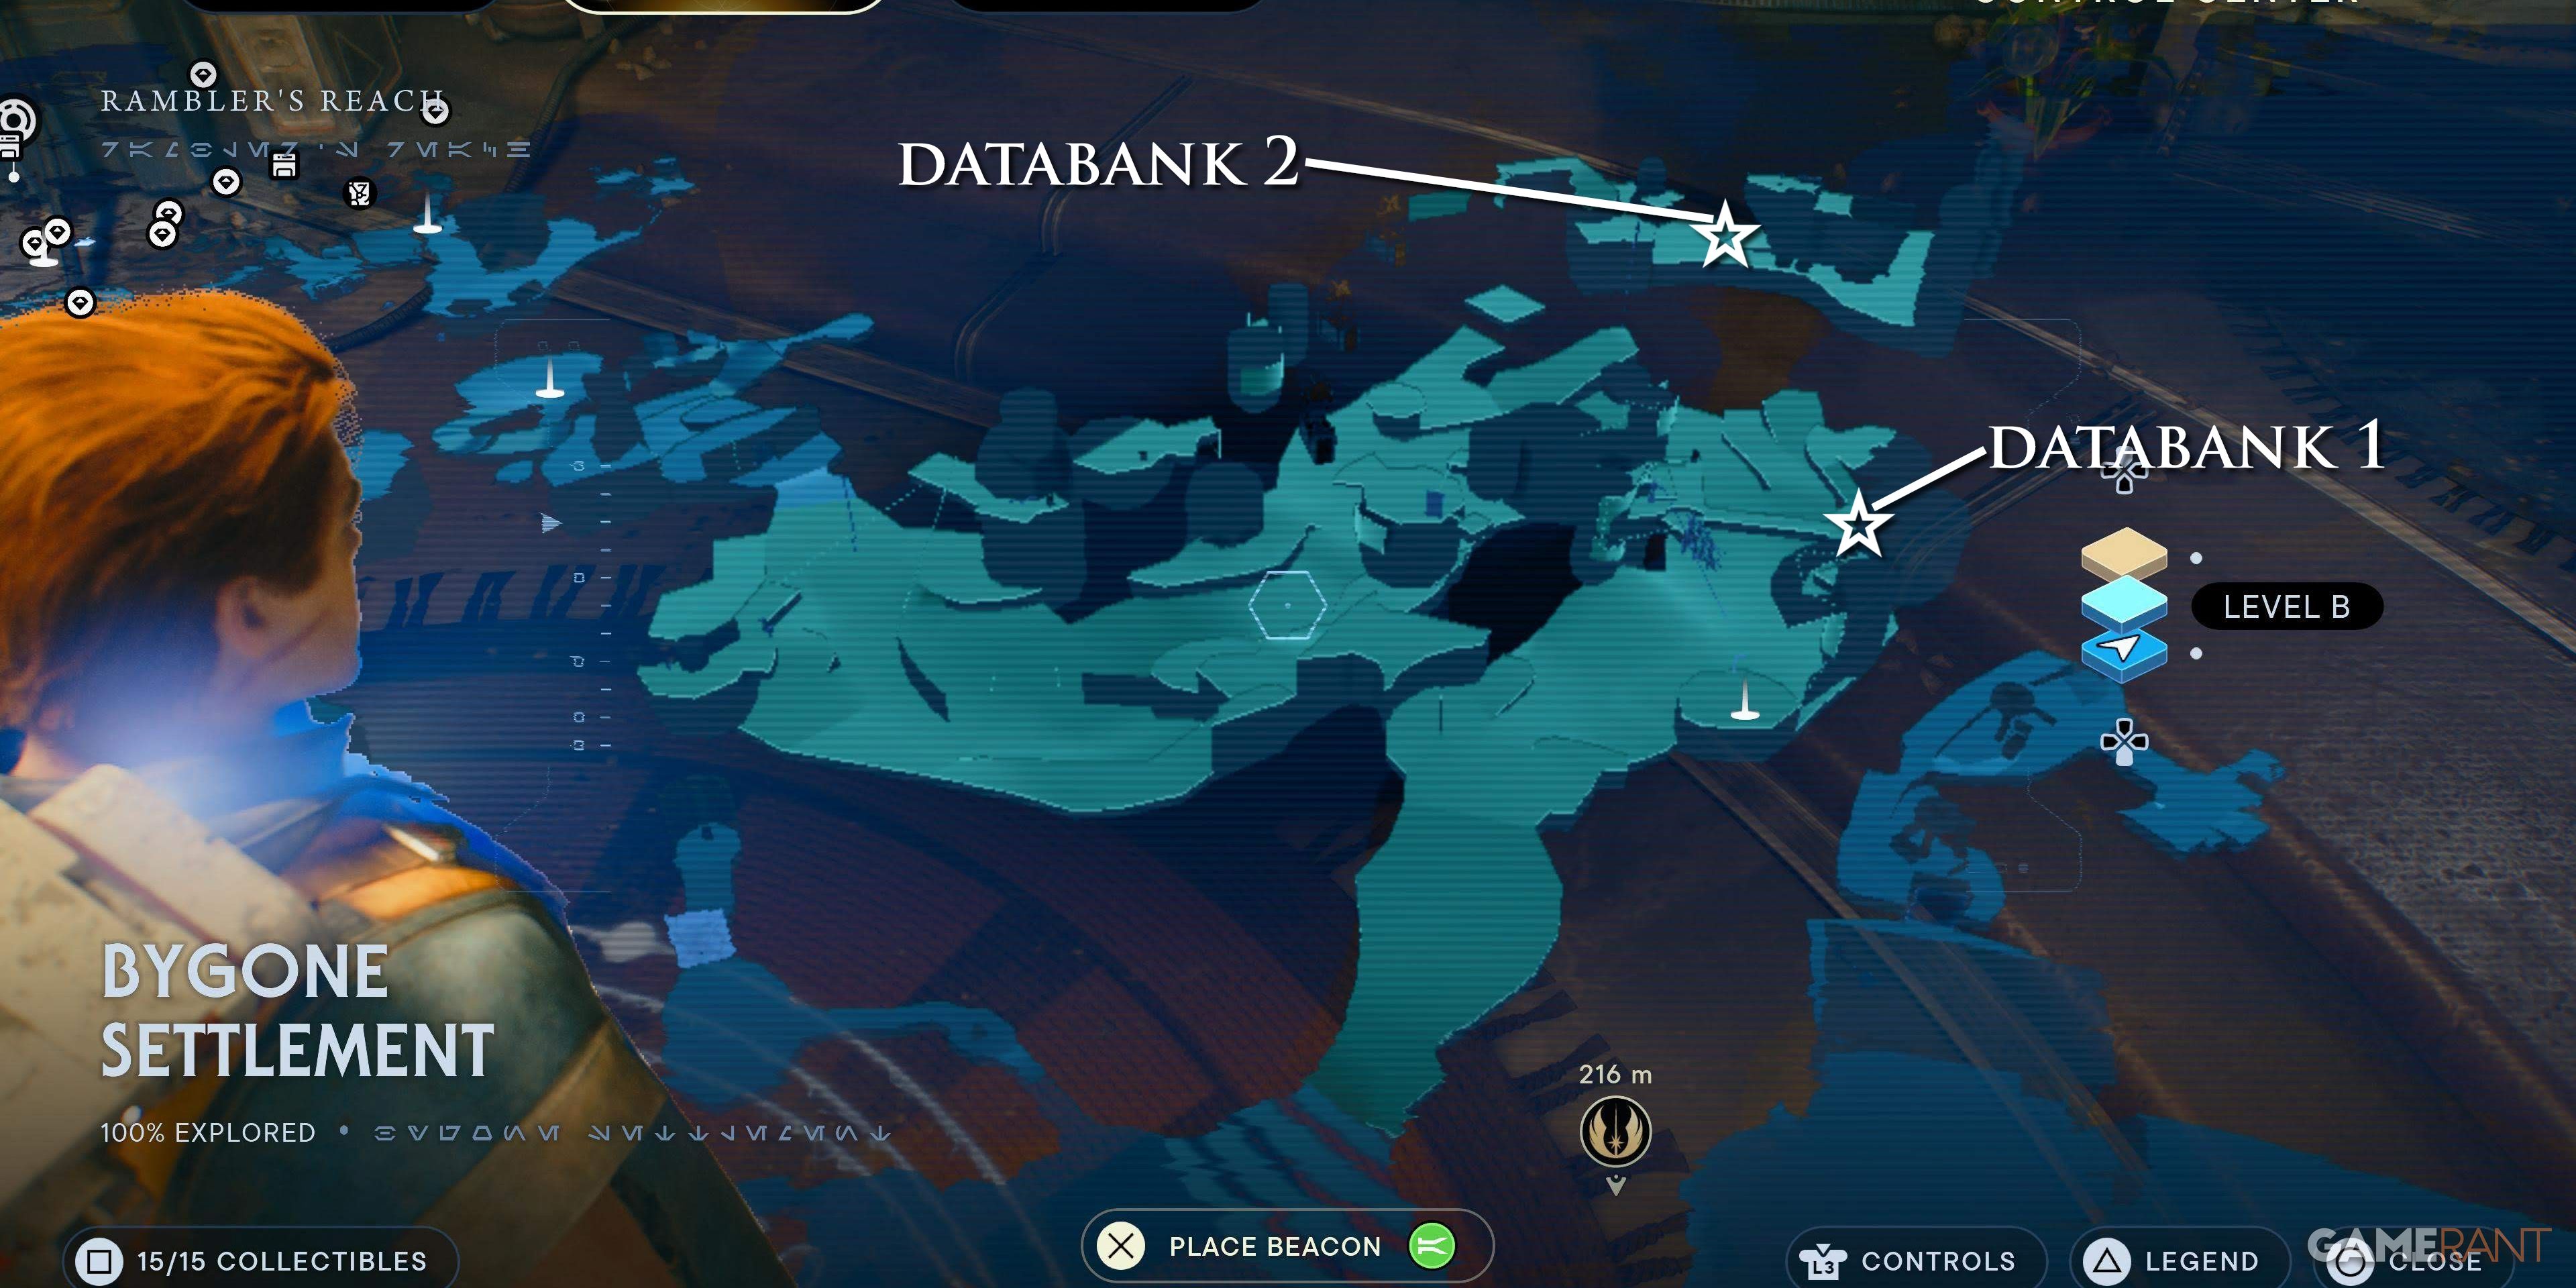
Inside the mines of the Hunter’s Quarry, players can find four databanks.
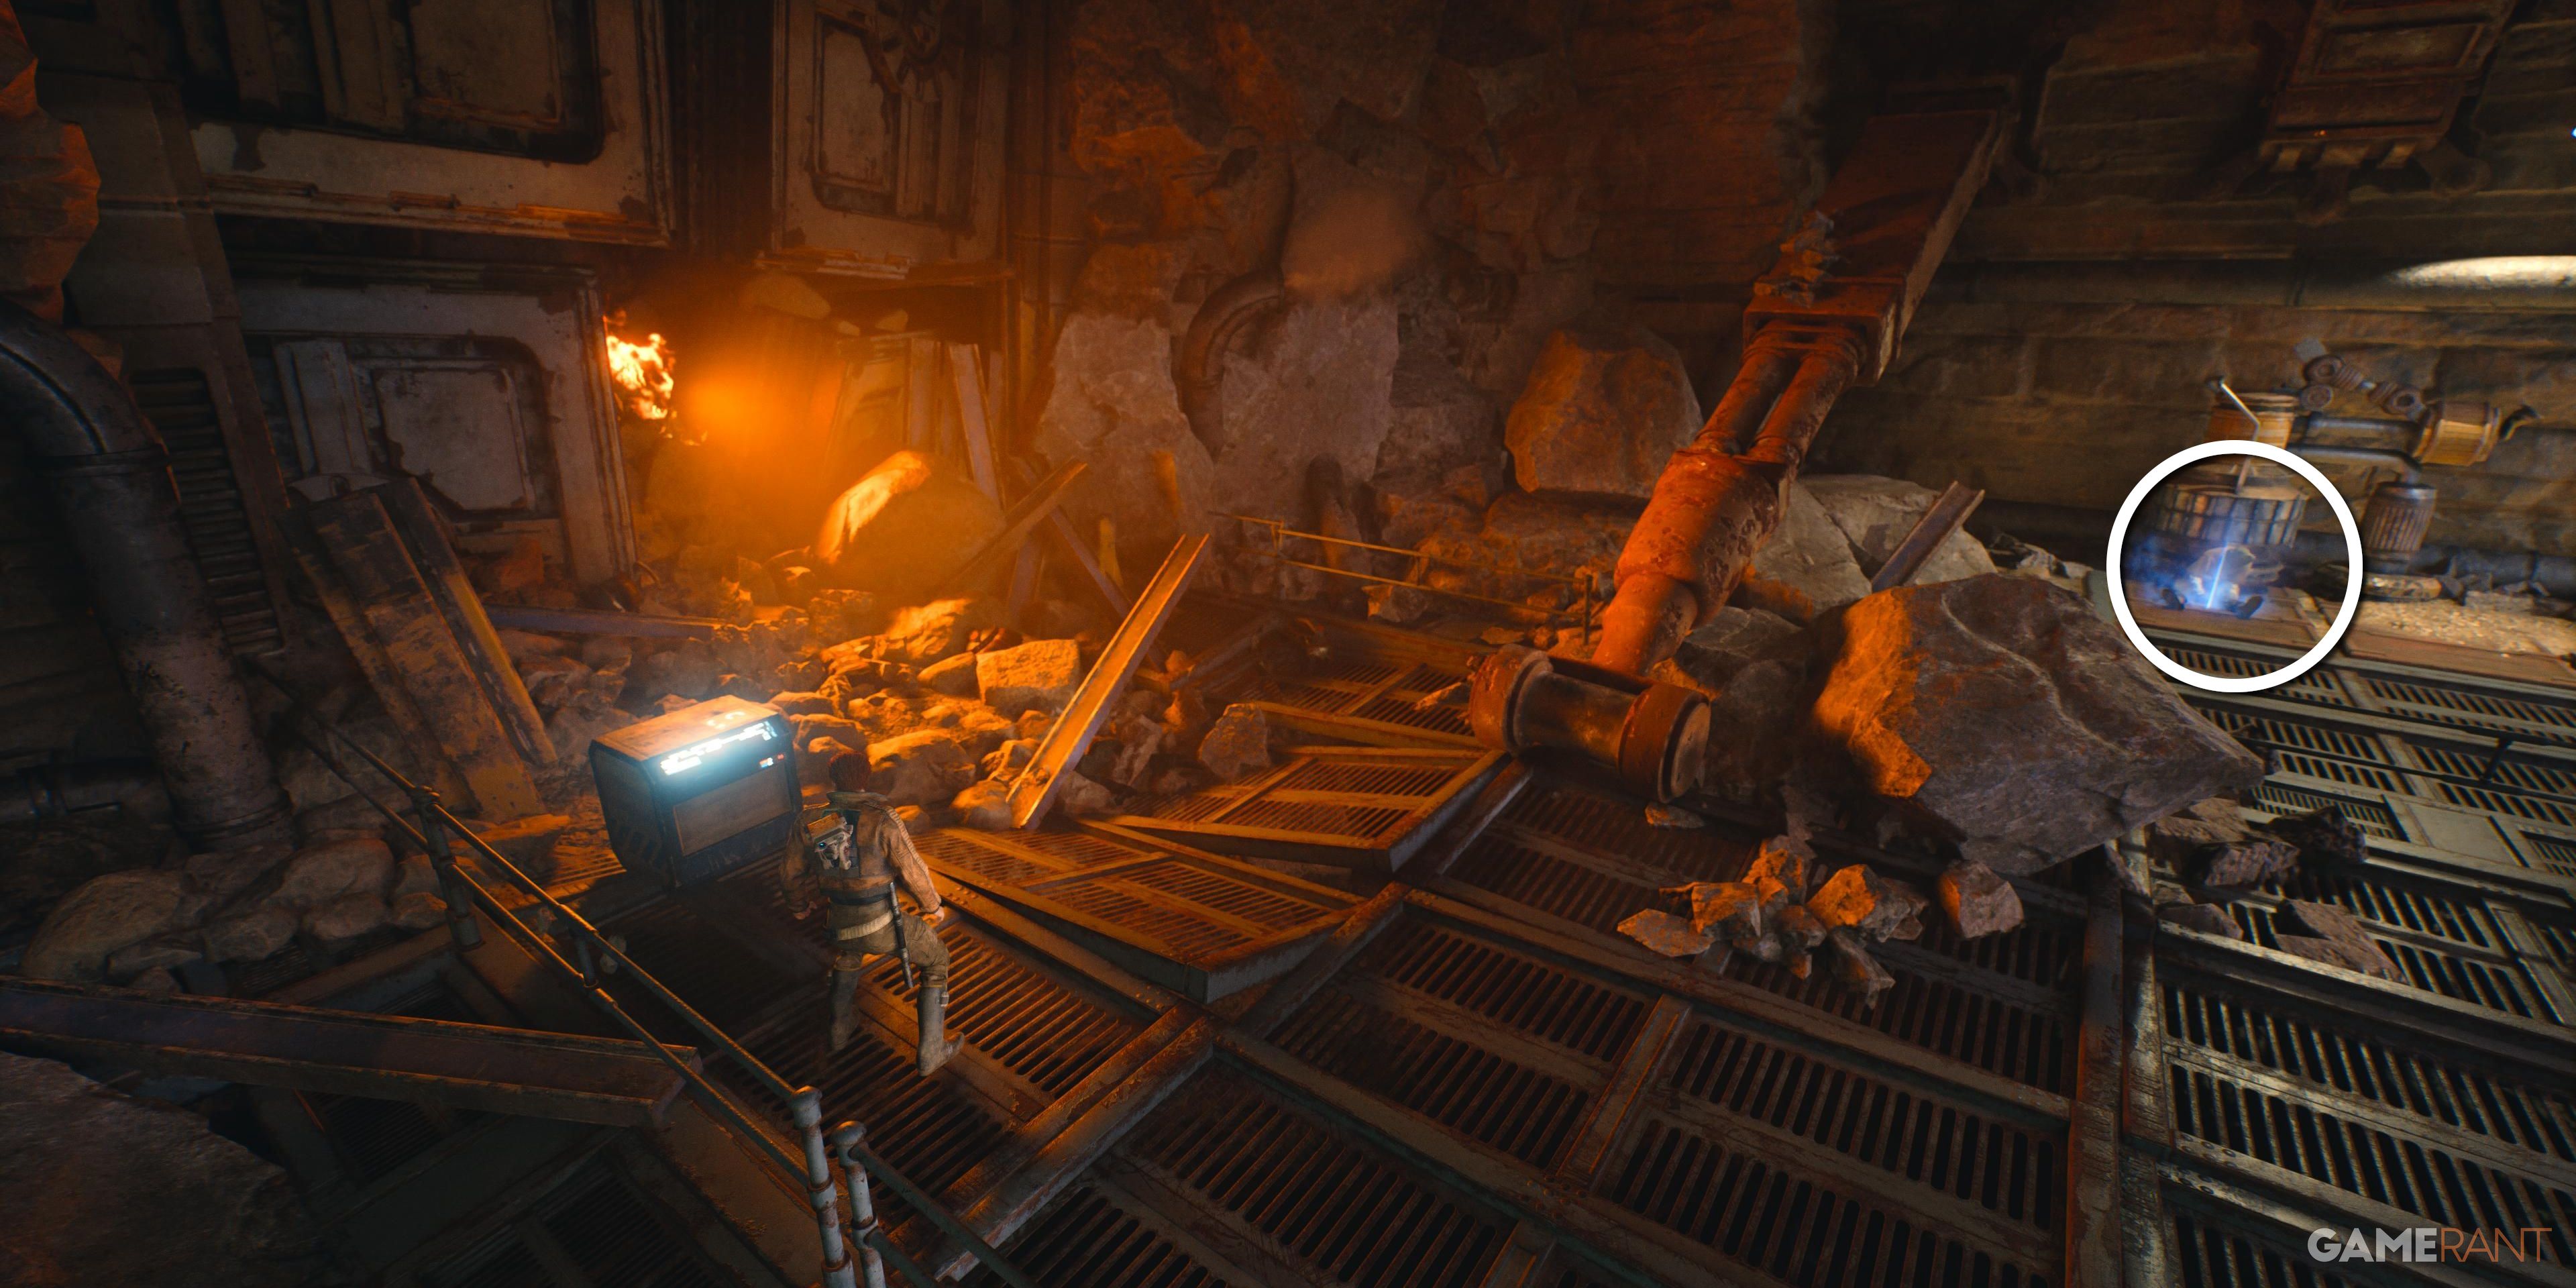
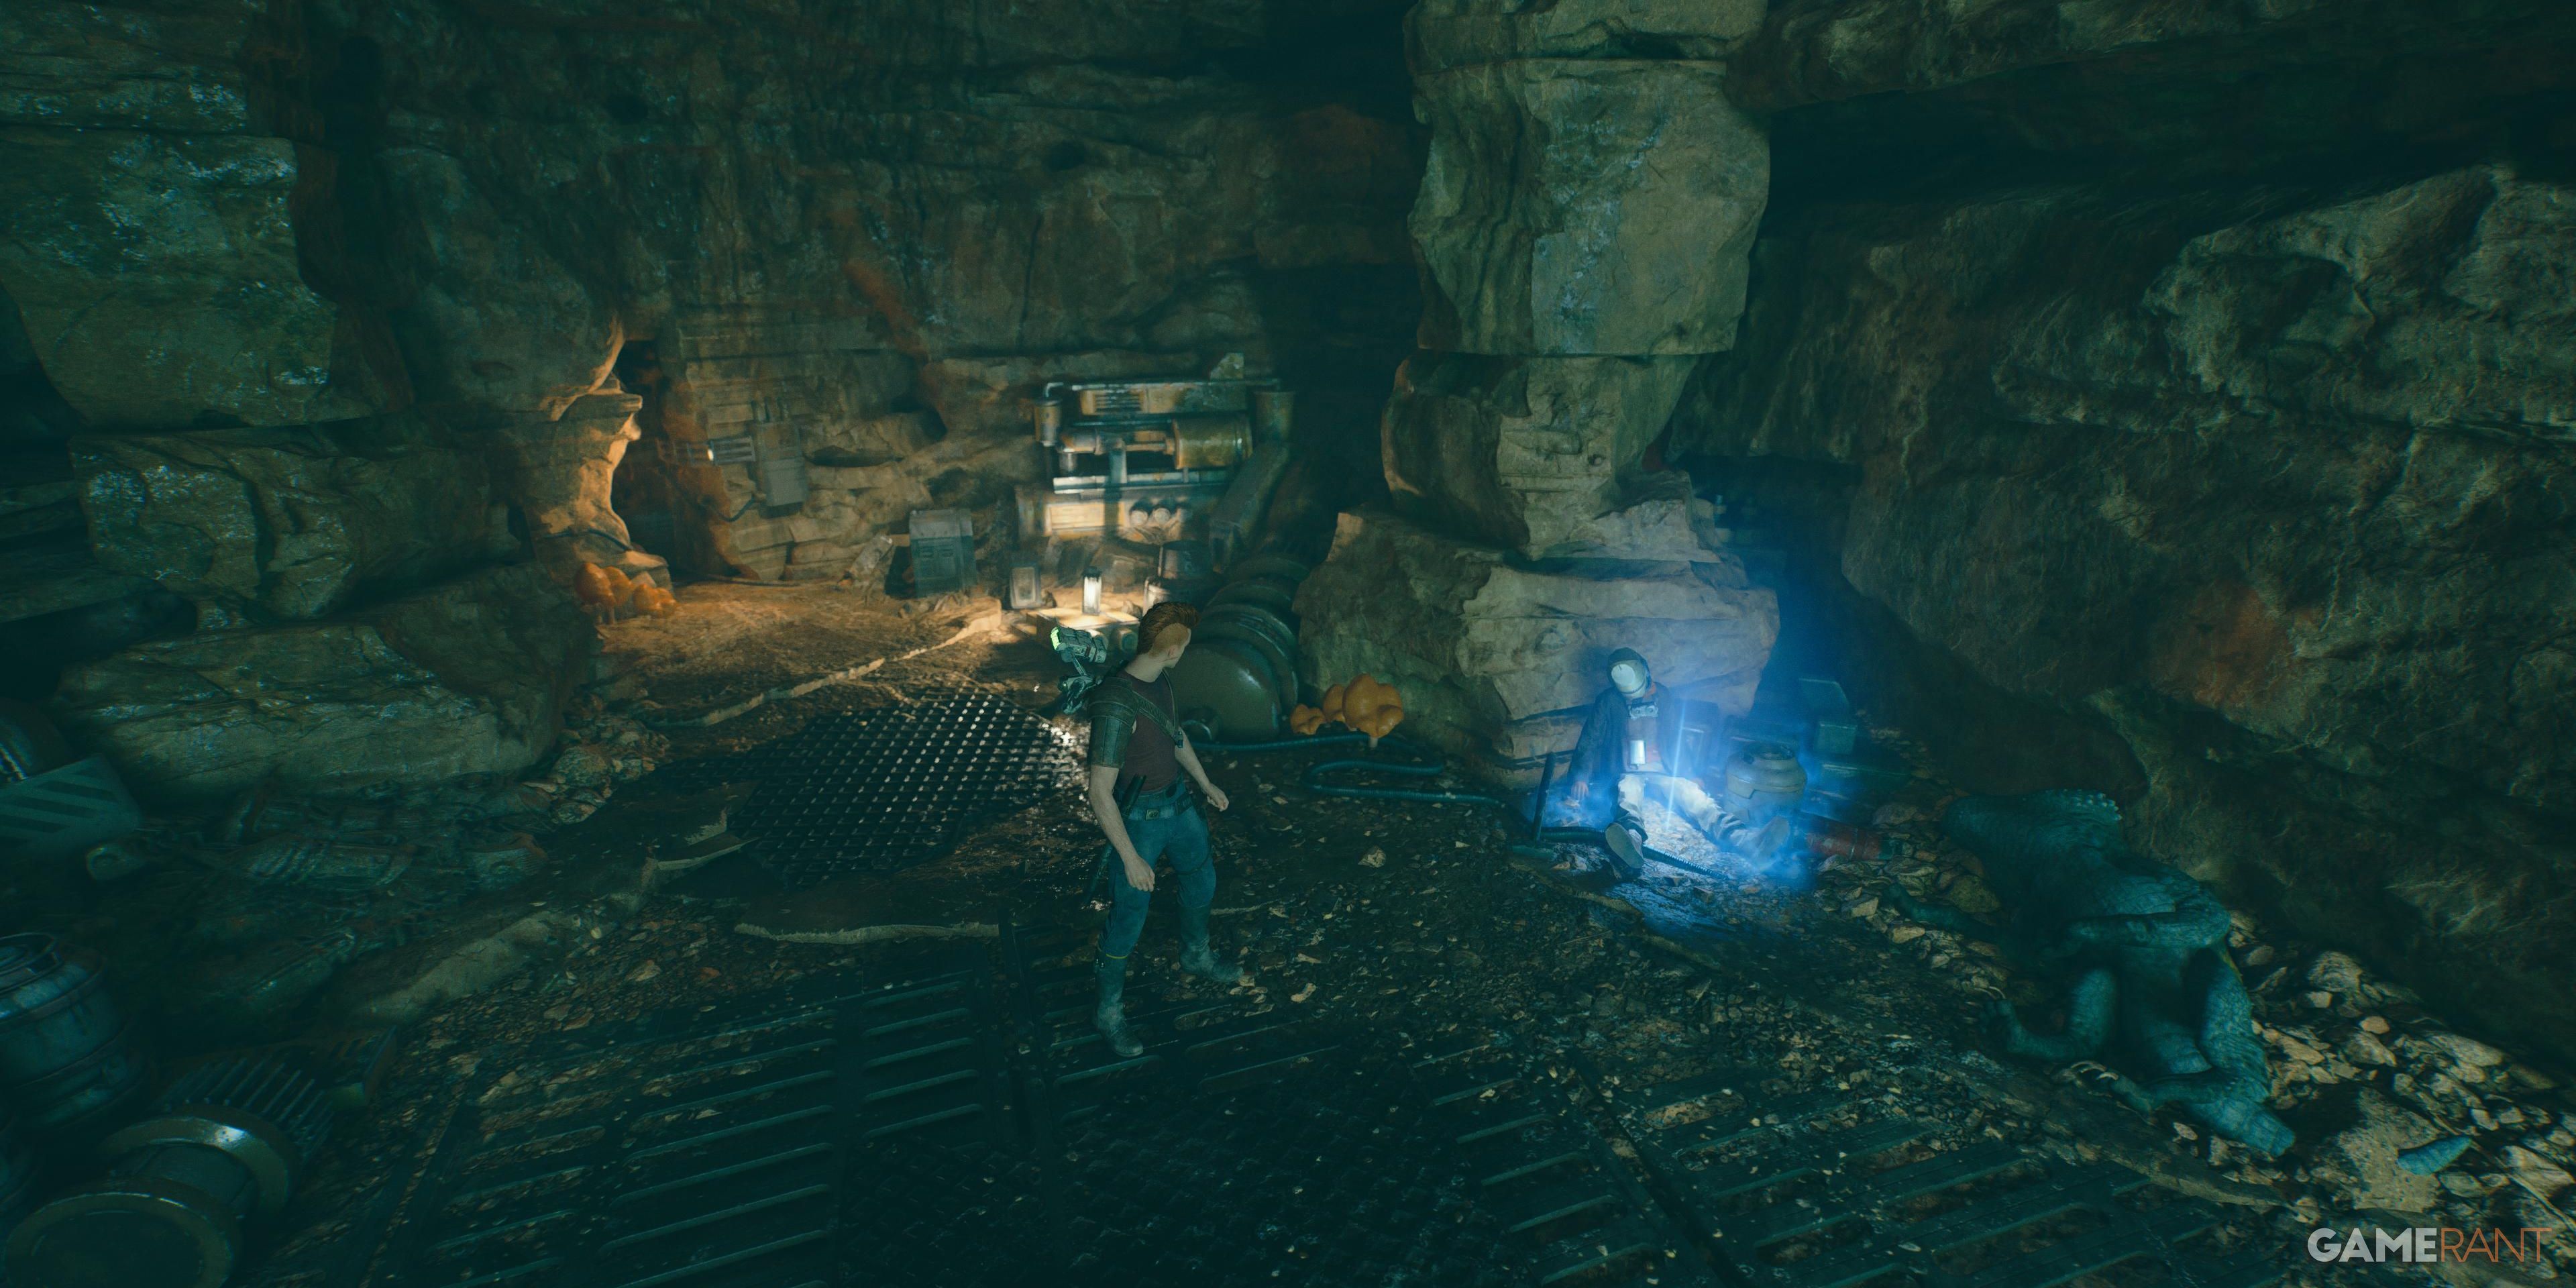
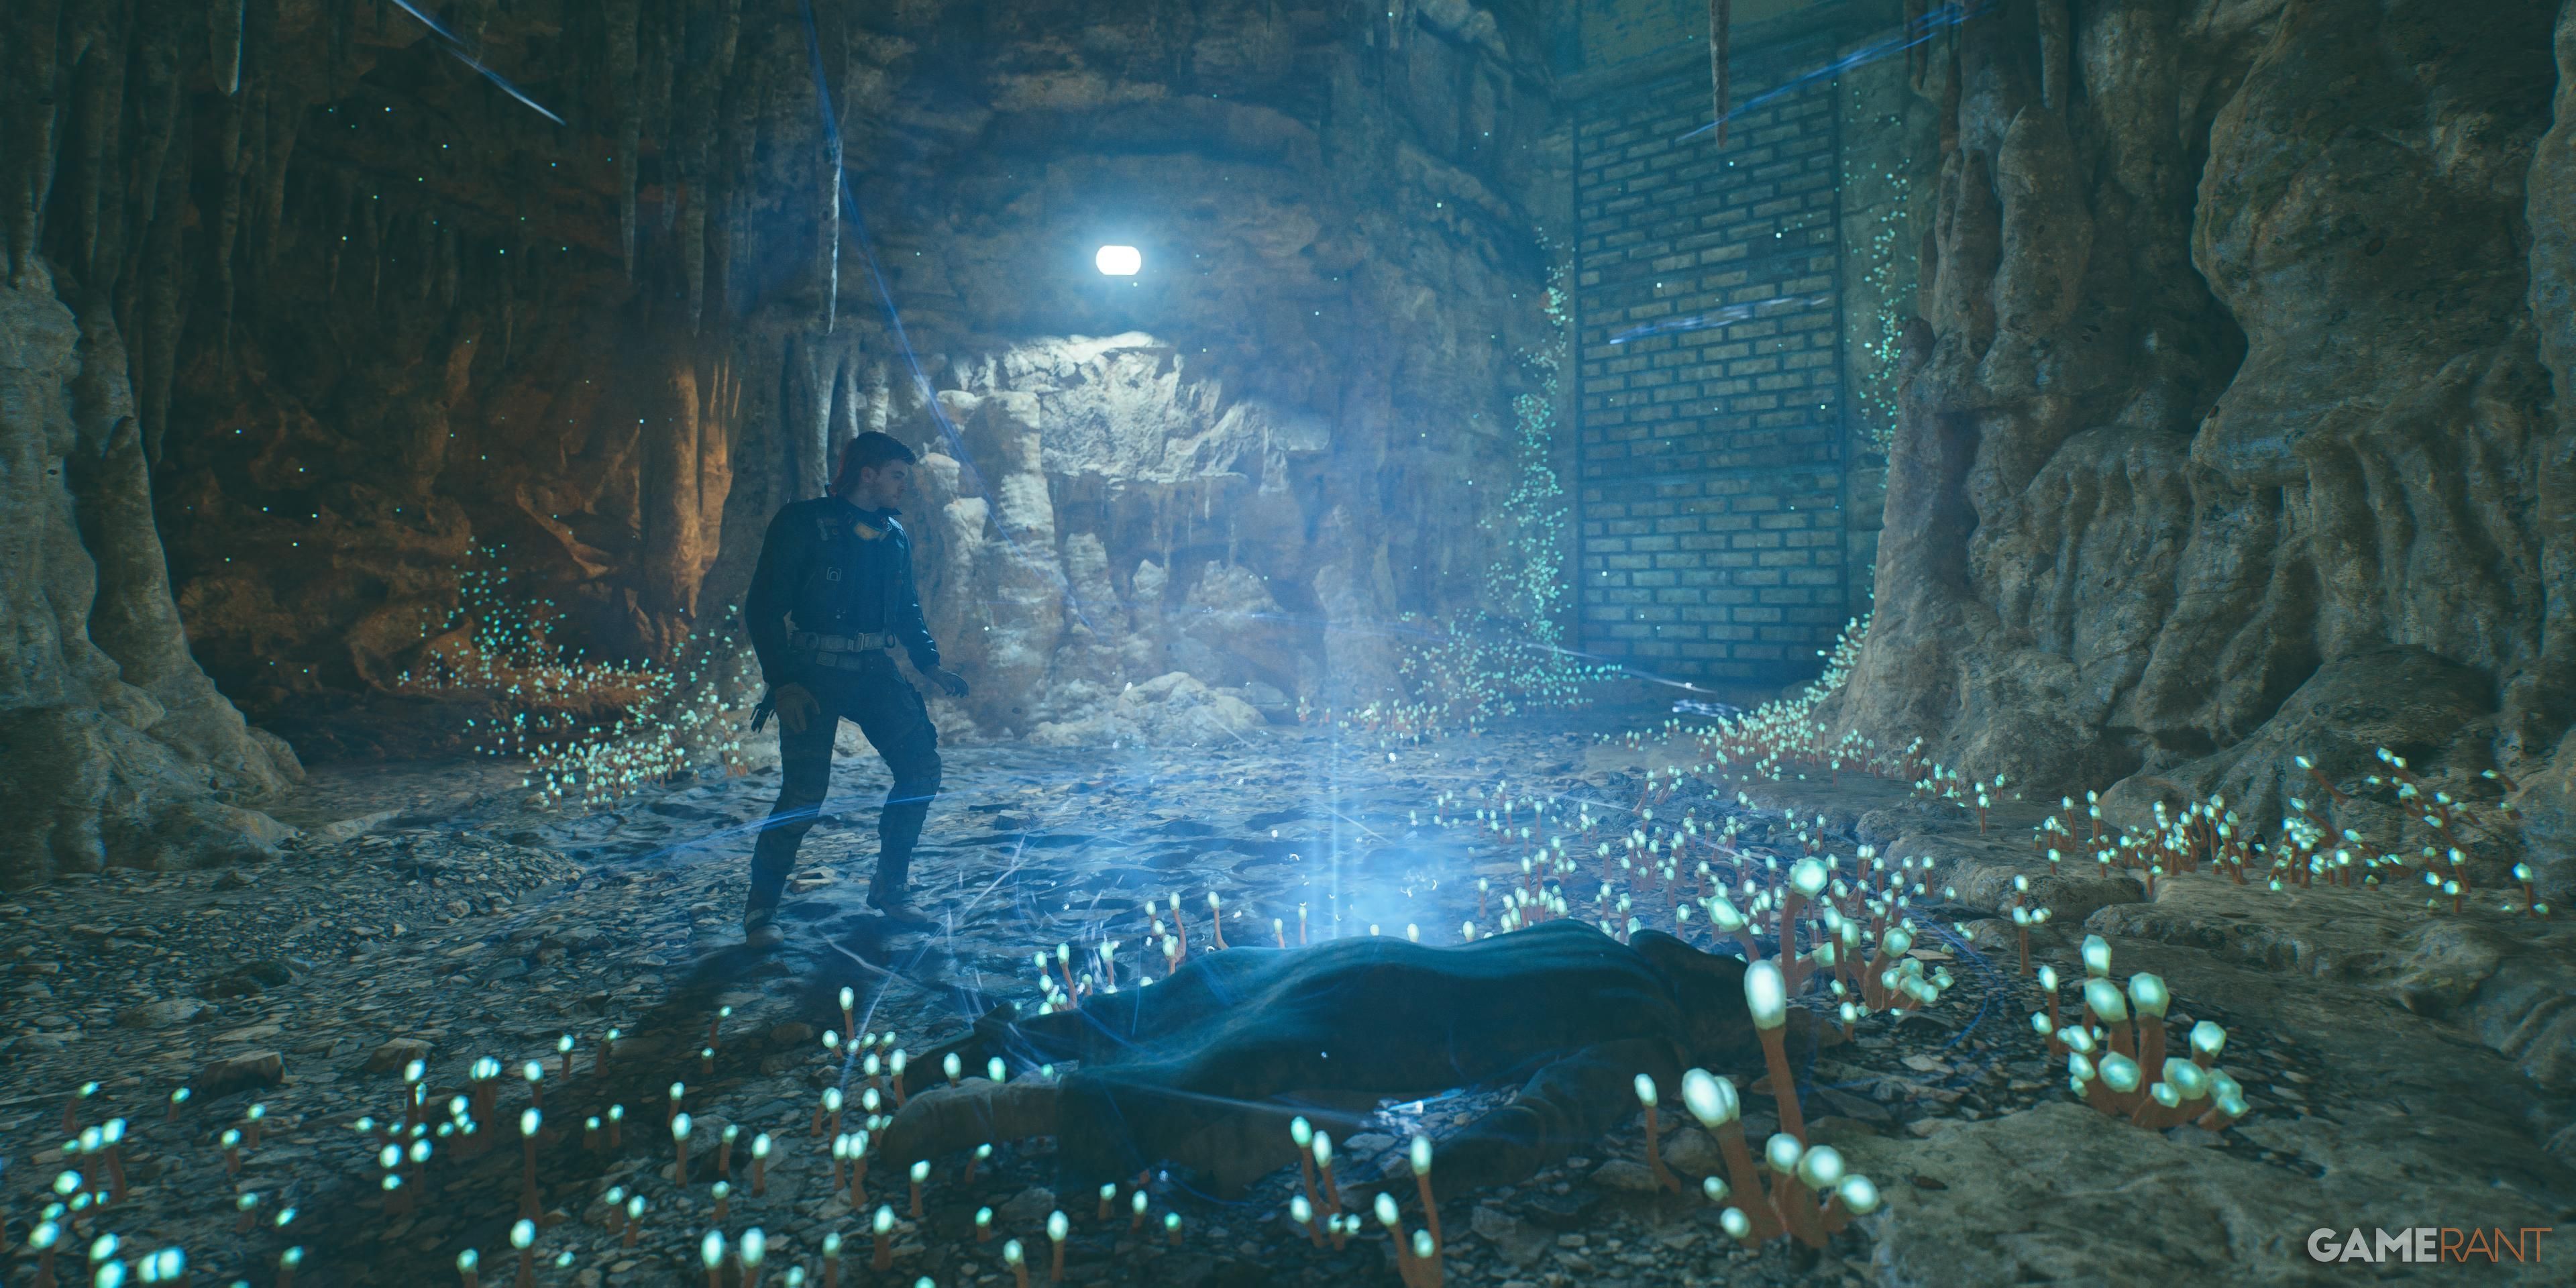
After navigating through the mines, Cal will reach an intersection where he uses the Force to create a bridge. Take the left path at the crossroad and remove the cables blocking the way. Then, maneuver through some collapsed beams and defeat a Bramlik before accessing a glowing corpse for this databank entry.
Databank 2 of 4 – Dead Gorgers
Databank 3 of 4 – Massive Ribcage
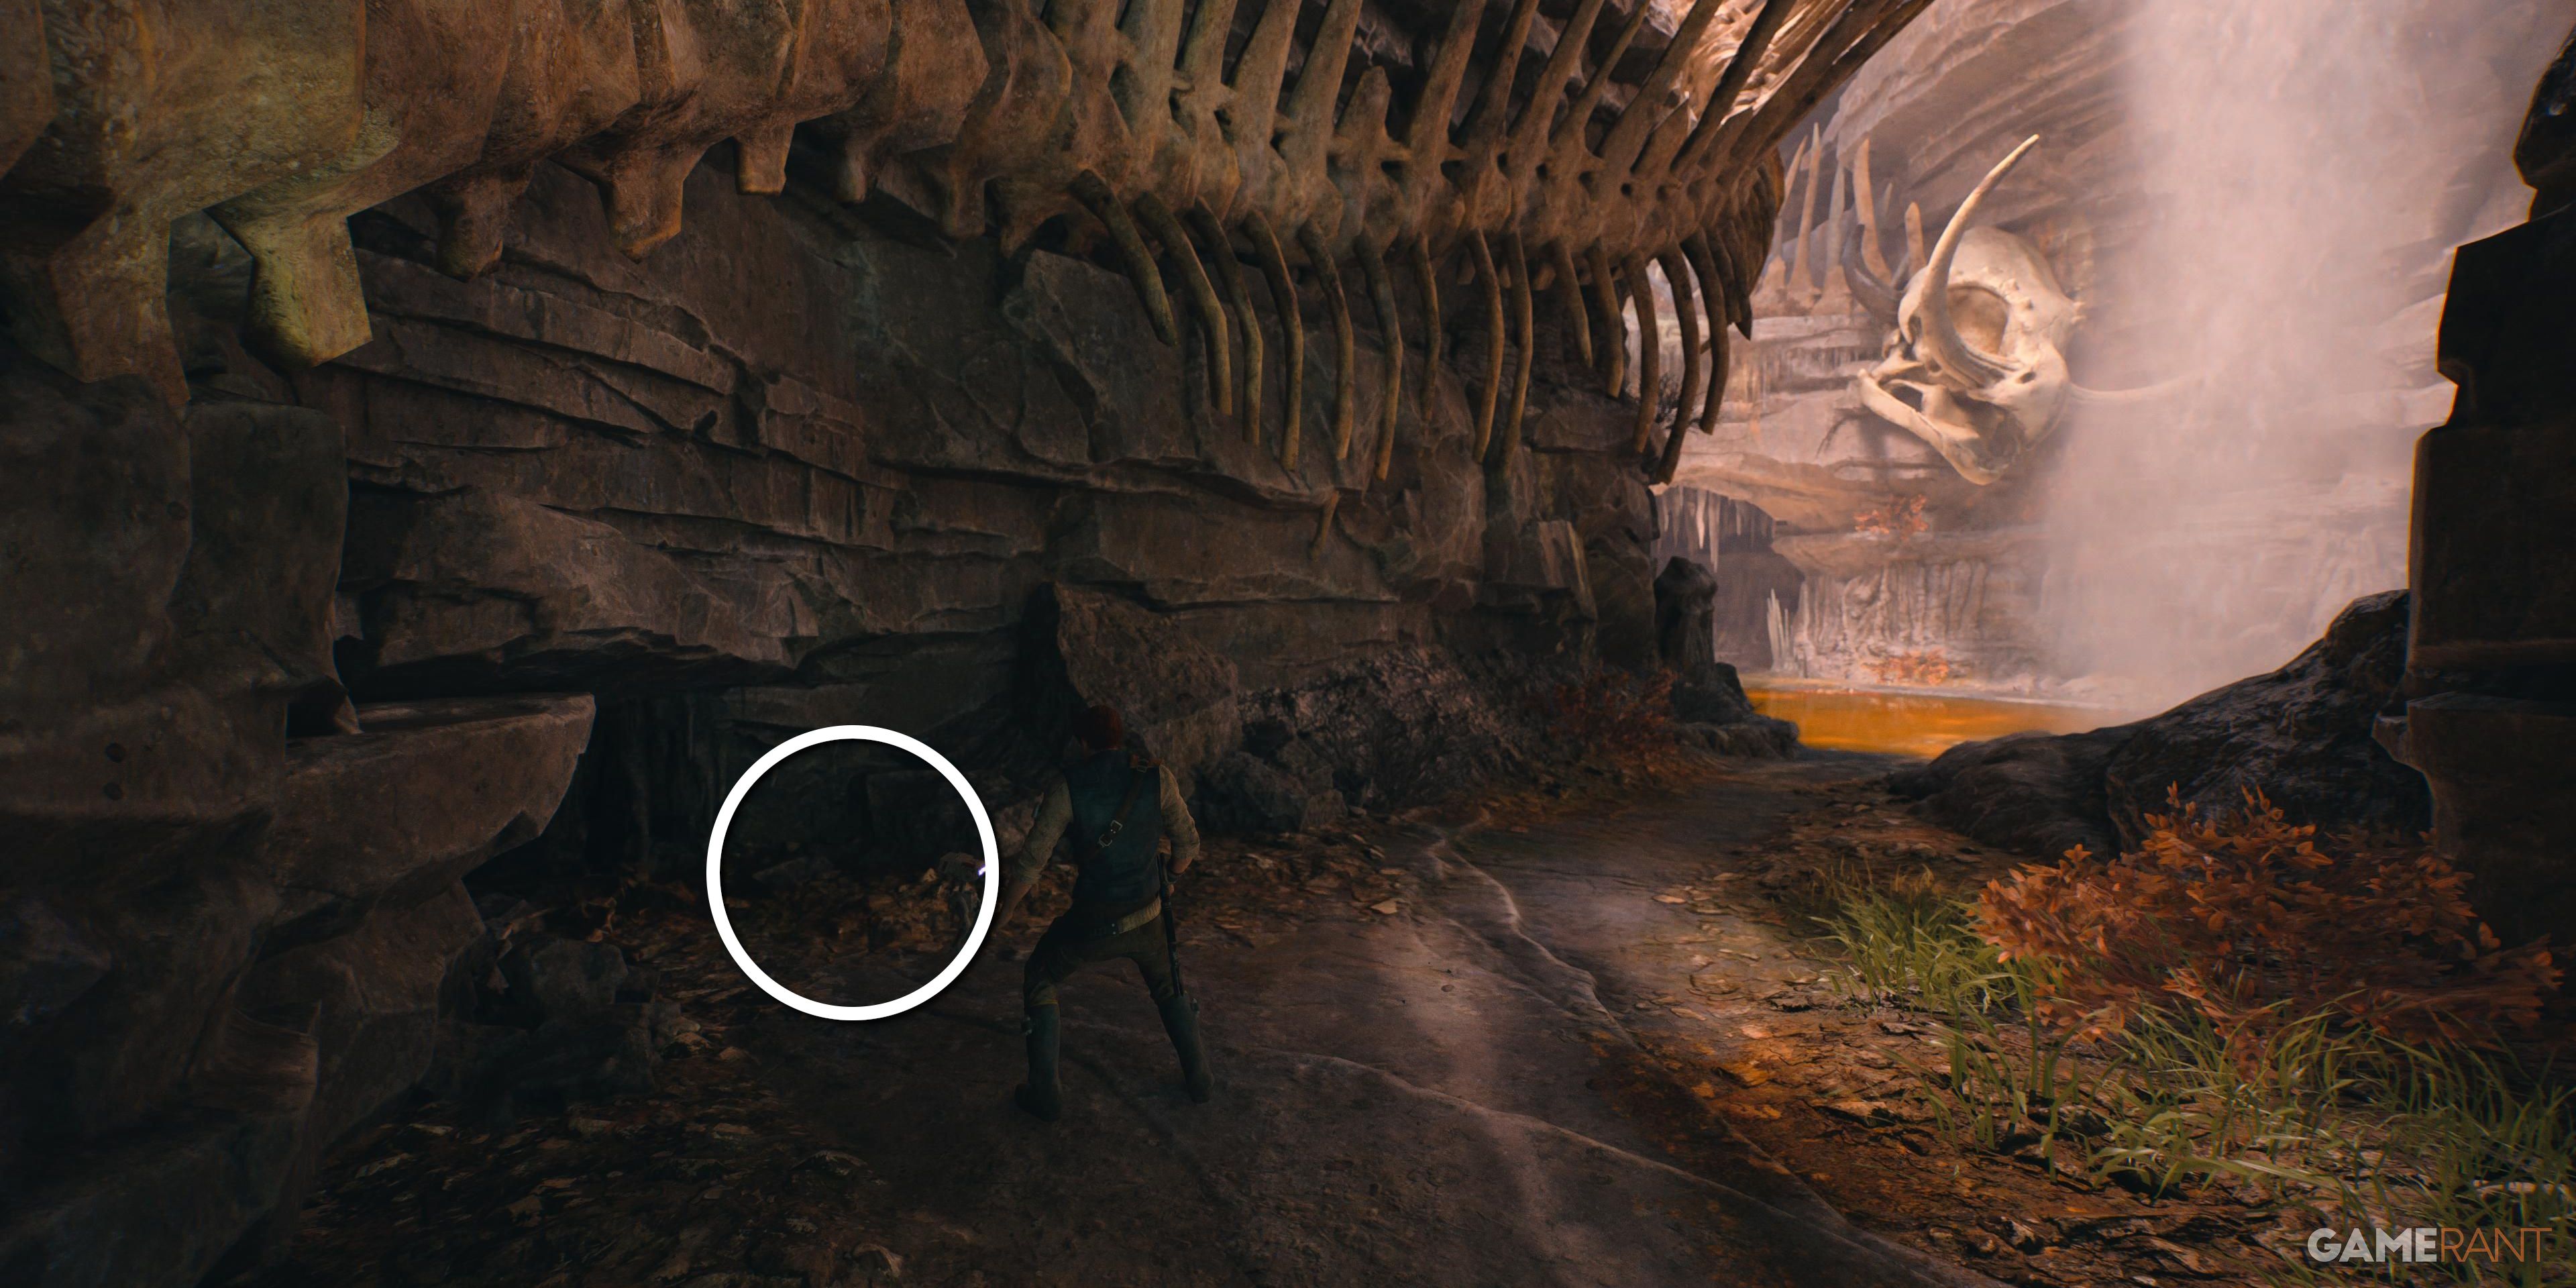
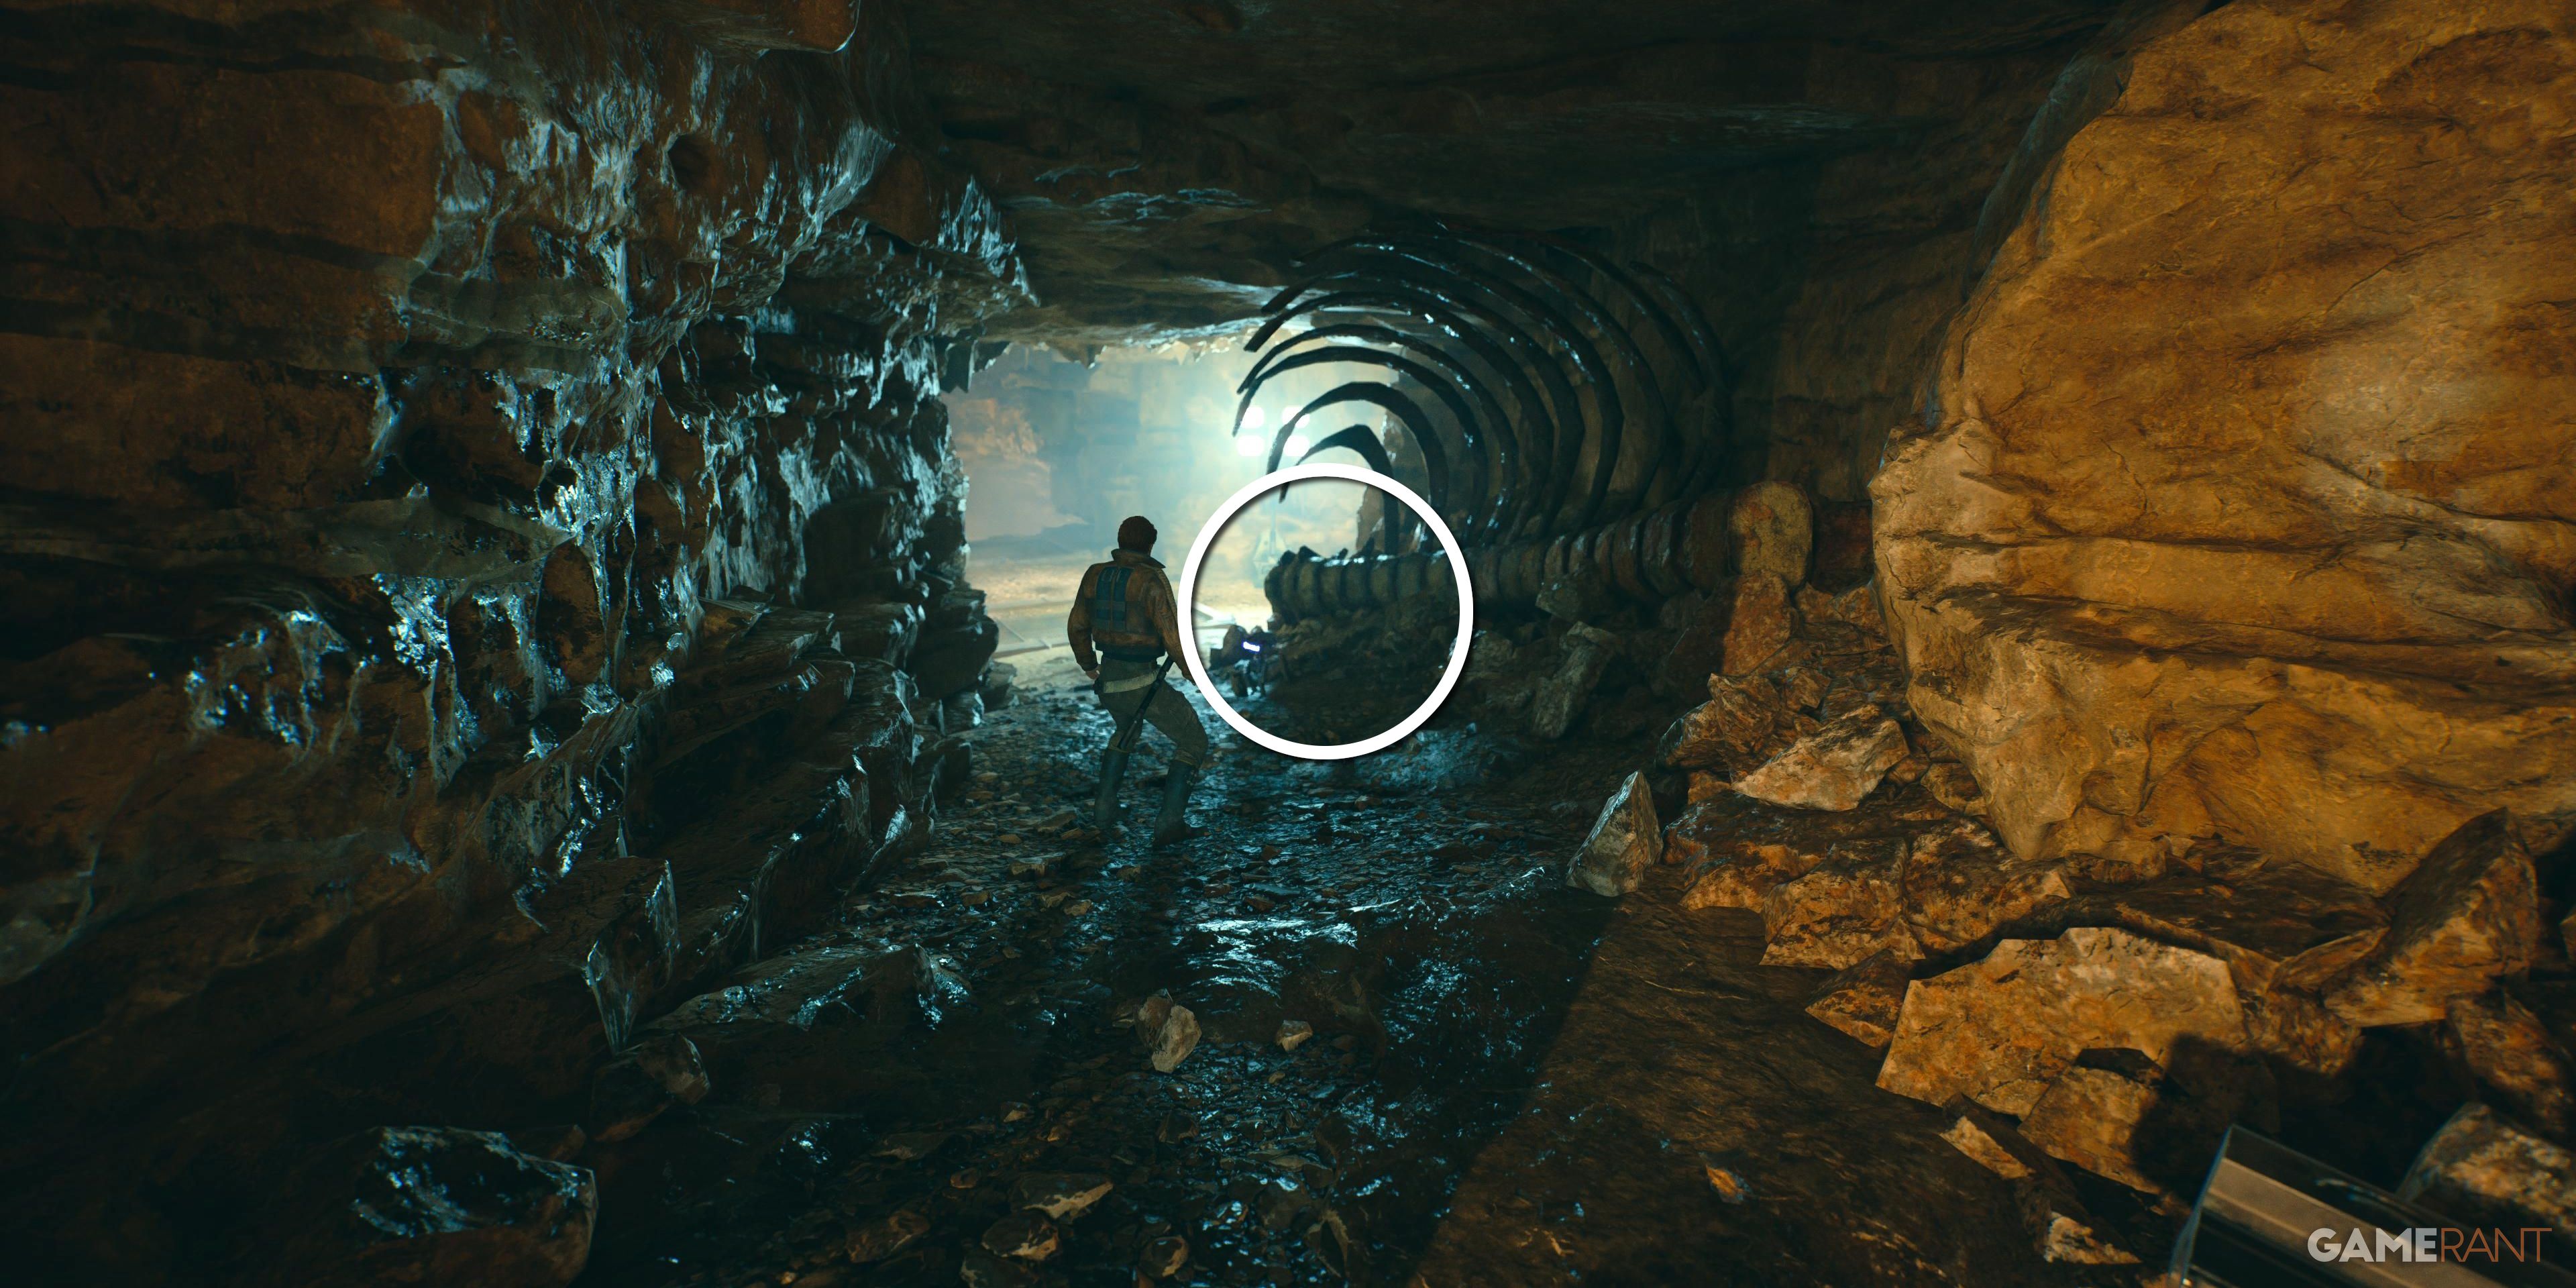
After taking the shortcut back to the entrance of the Grotto, descend through a narrow shaft and listen to Cal's commentary on the mine's inhabitants. Use BD to scan the ribcage for the entry point at this location.
Databank 4 of 4 – Prospector Remains
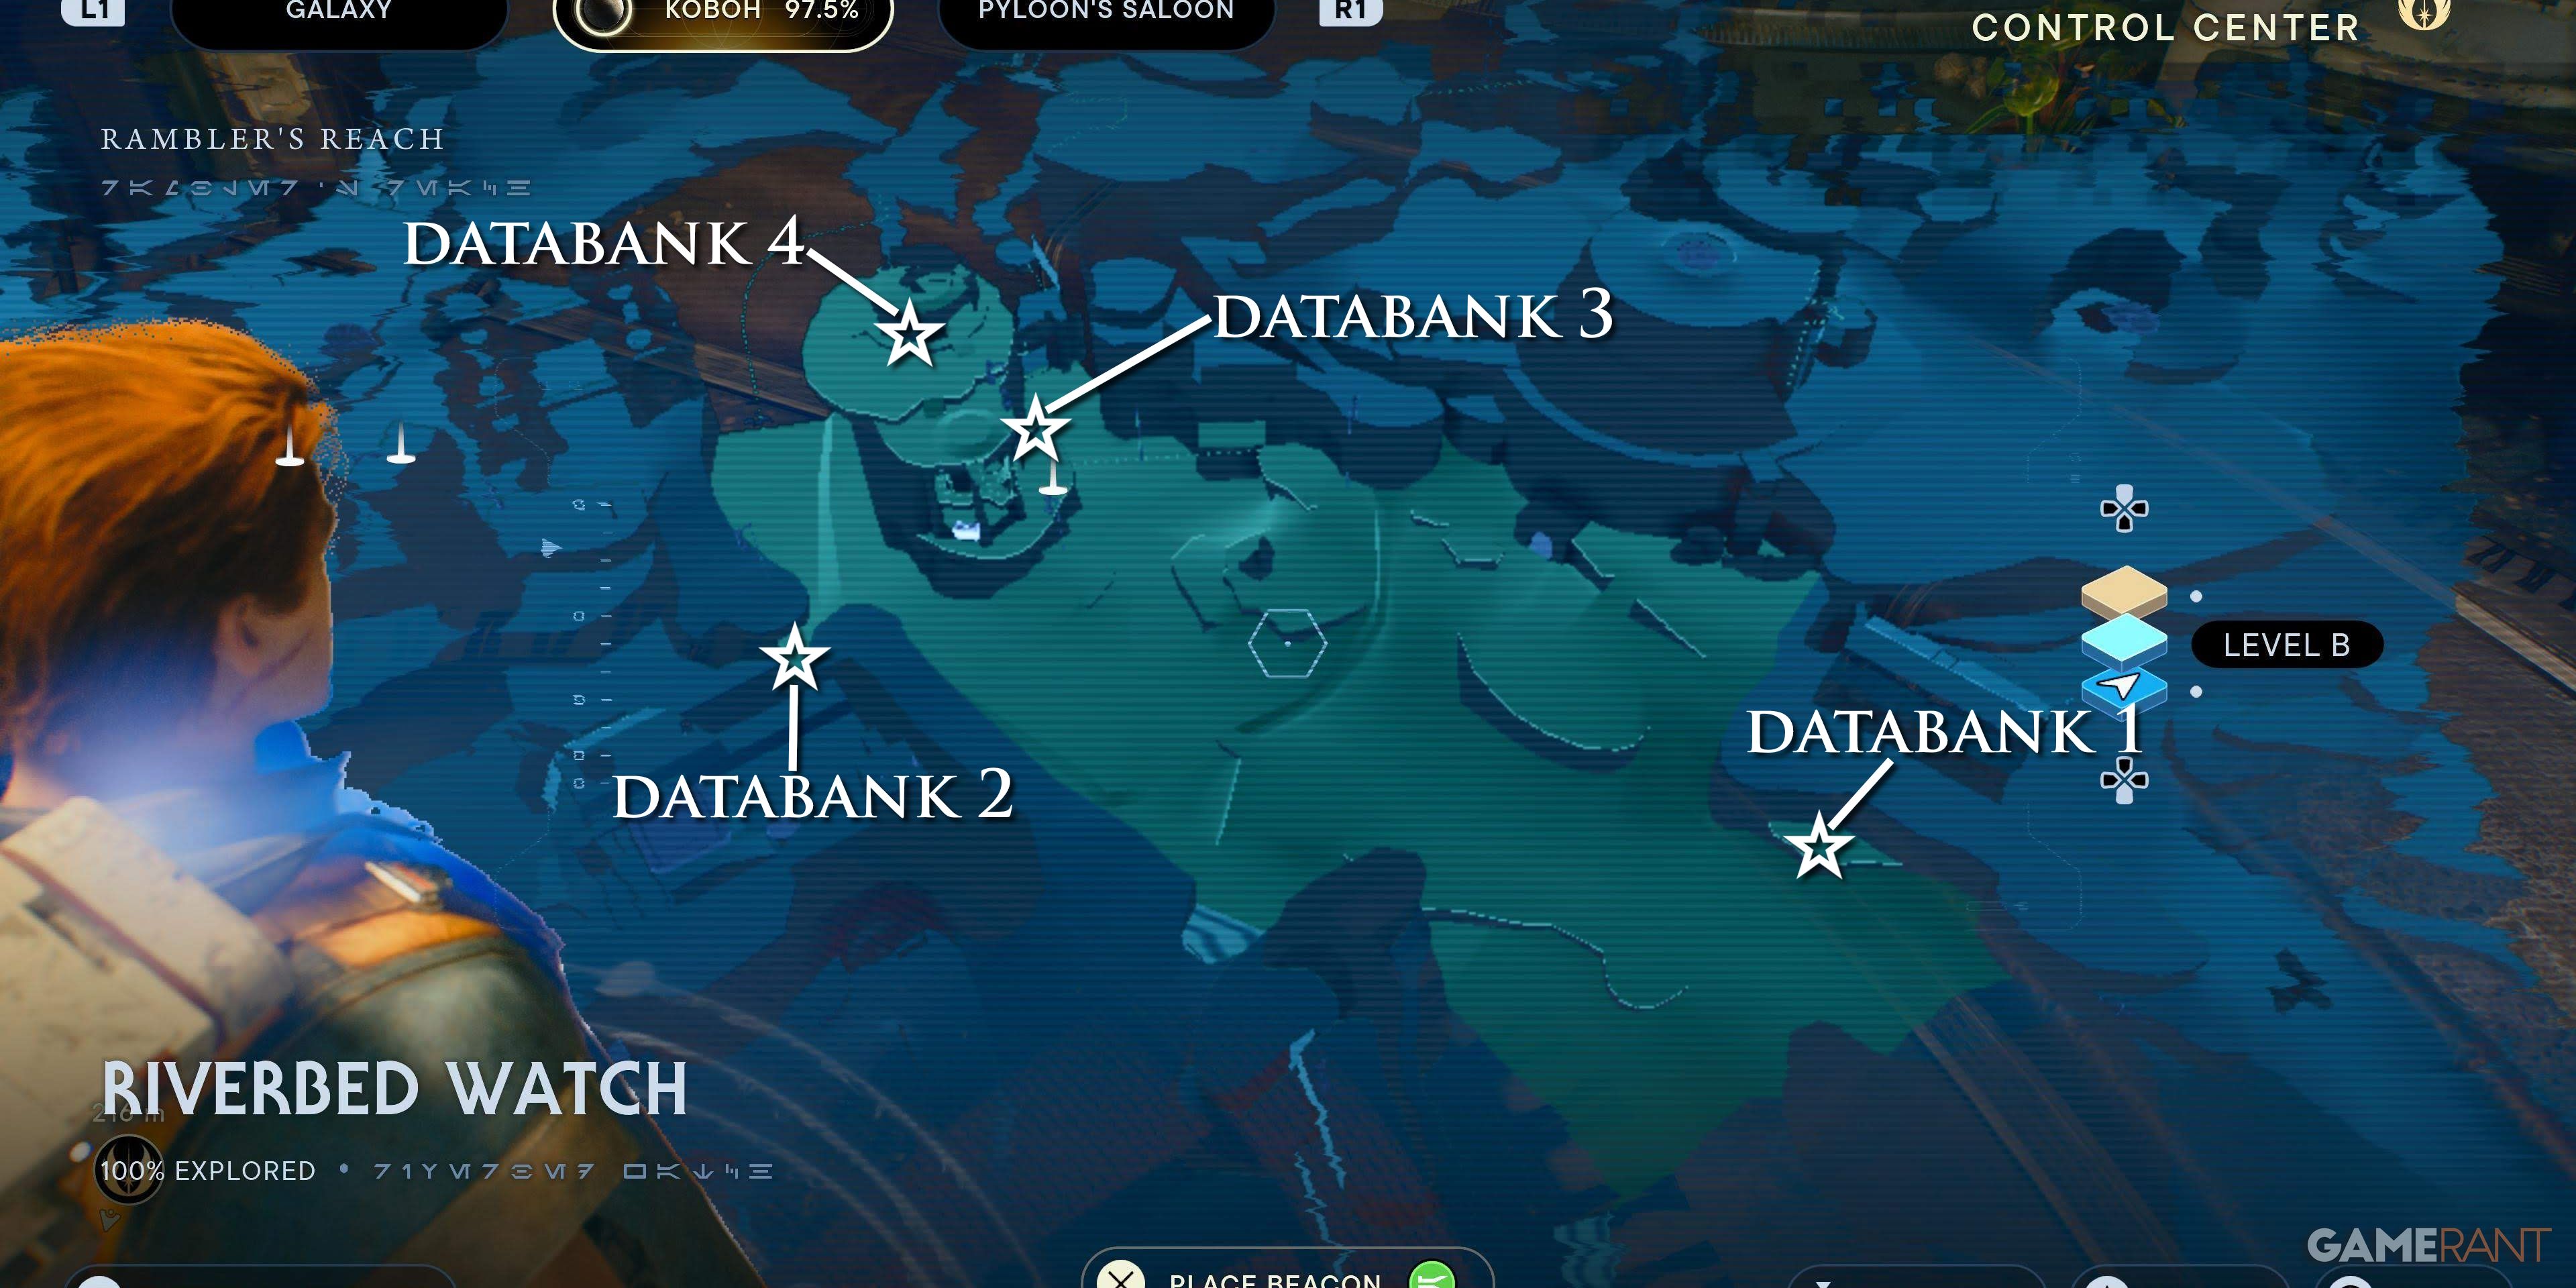
Riverbed Watch
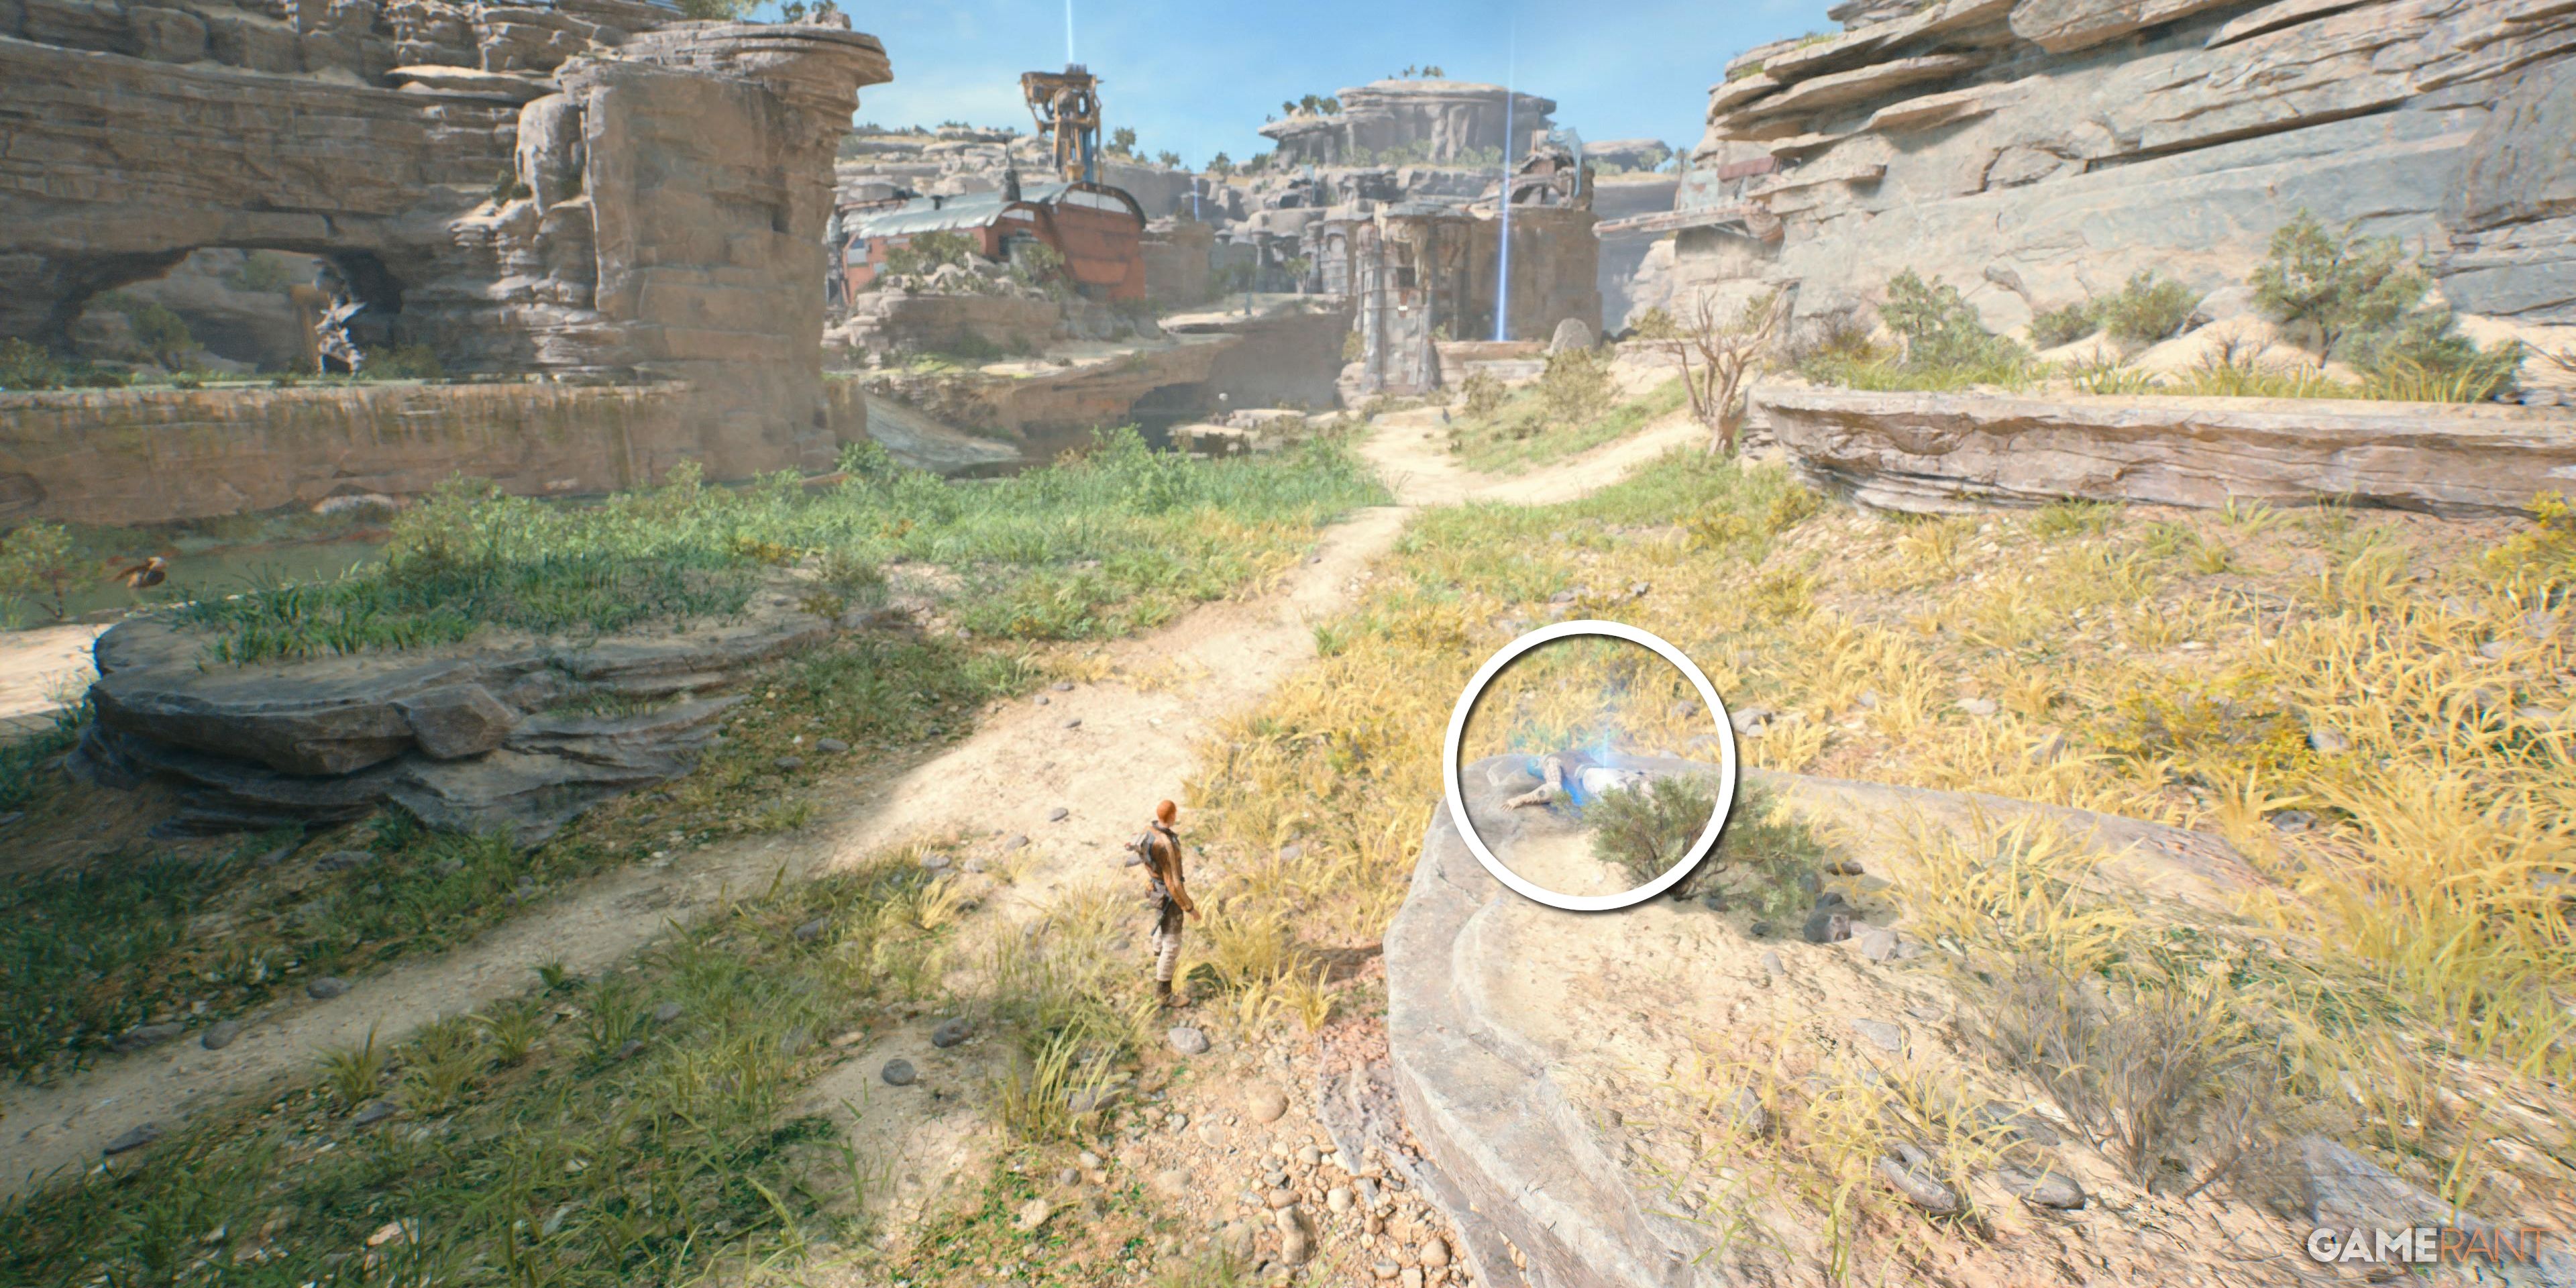
As you make your way towards Riverbed Watch from the Rambler's Reach Outpost Meditation Point, keep an eye out for a corpse lying on a ledge just below the hut in the Southern Reach. This is where you can find the databank.
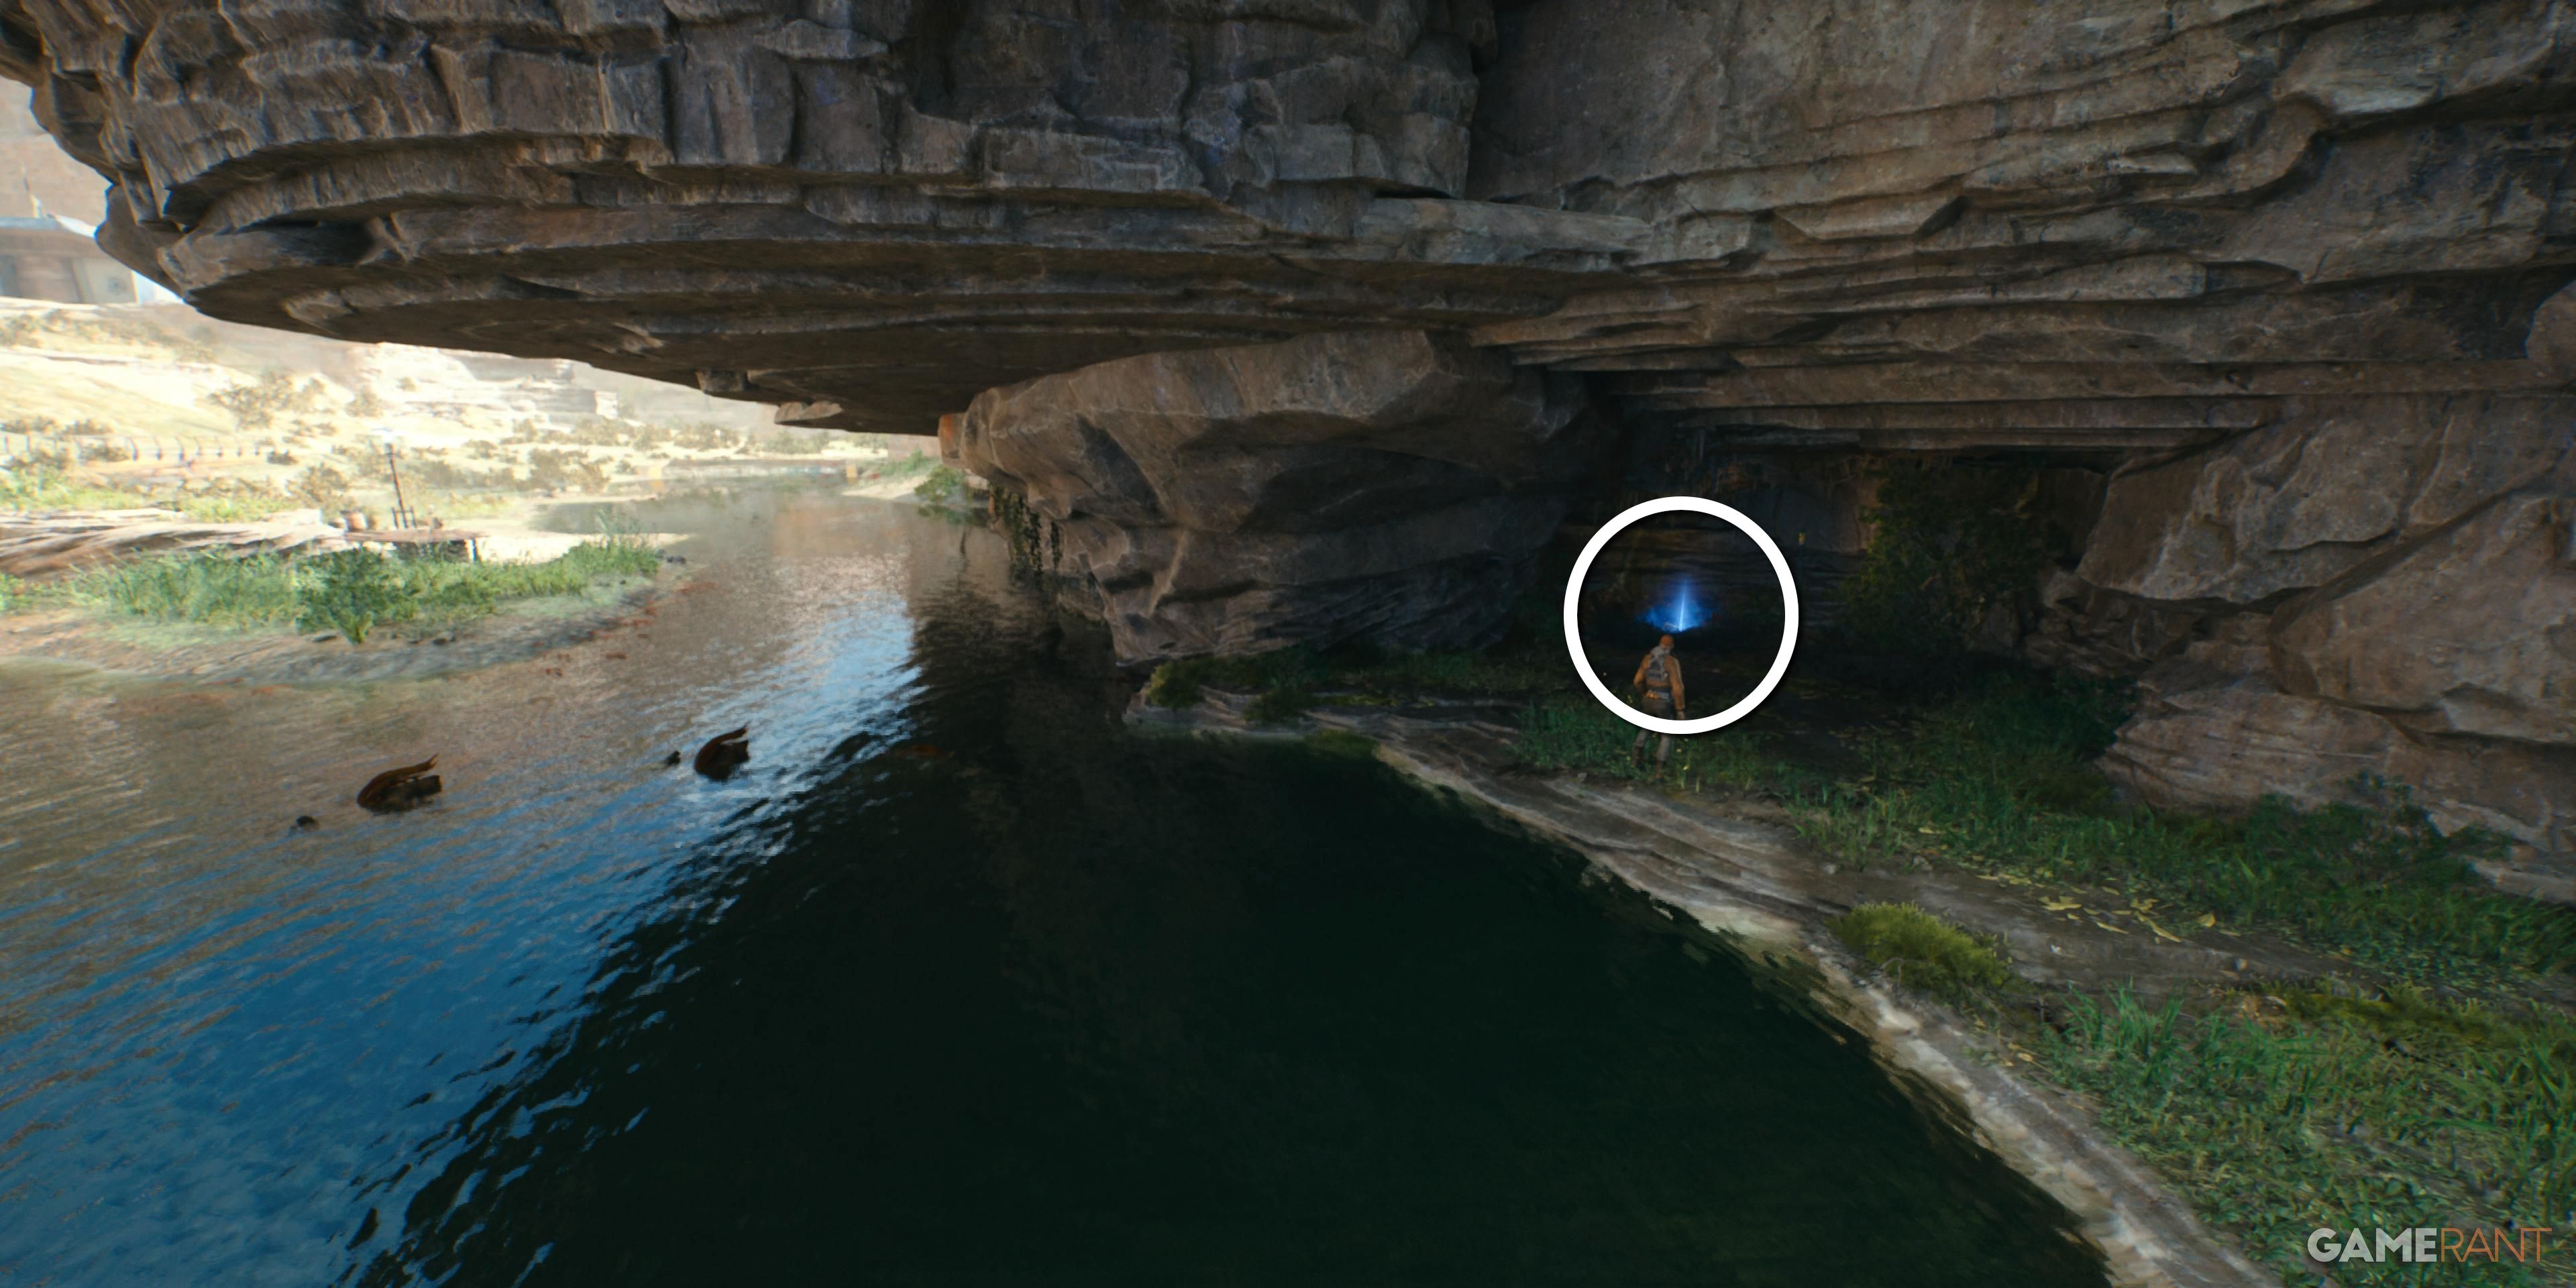
Databank 2 of 4 – Battle Droid Blues
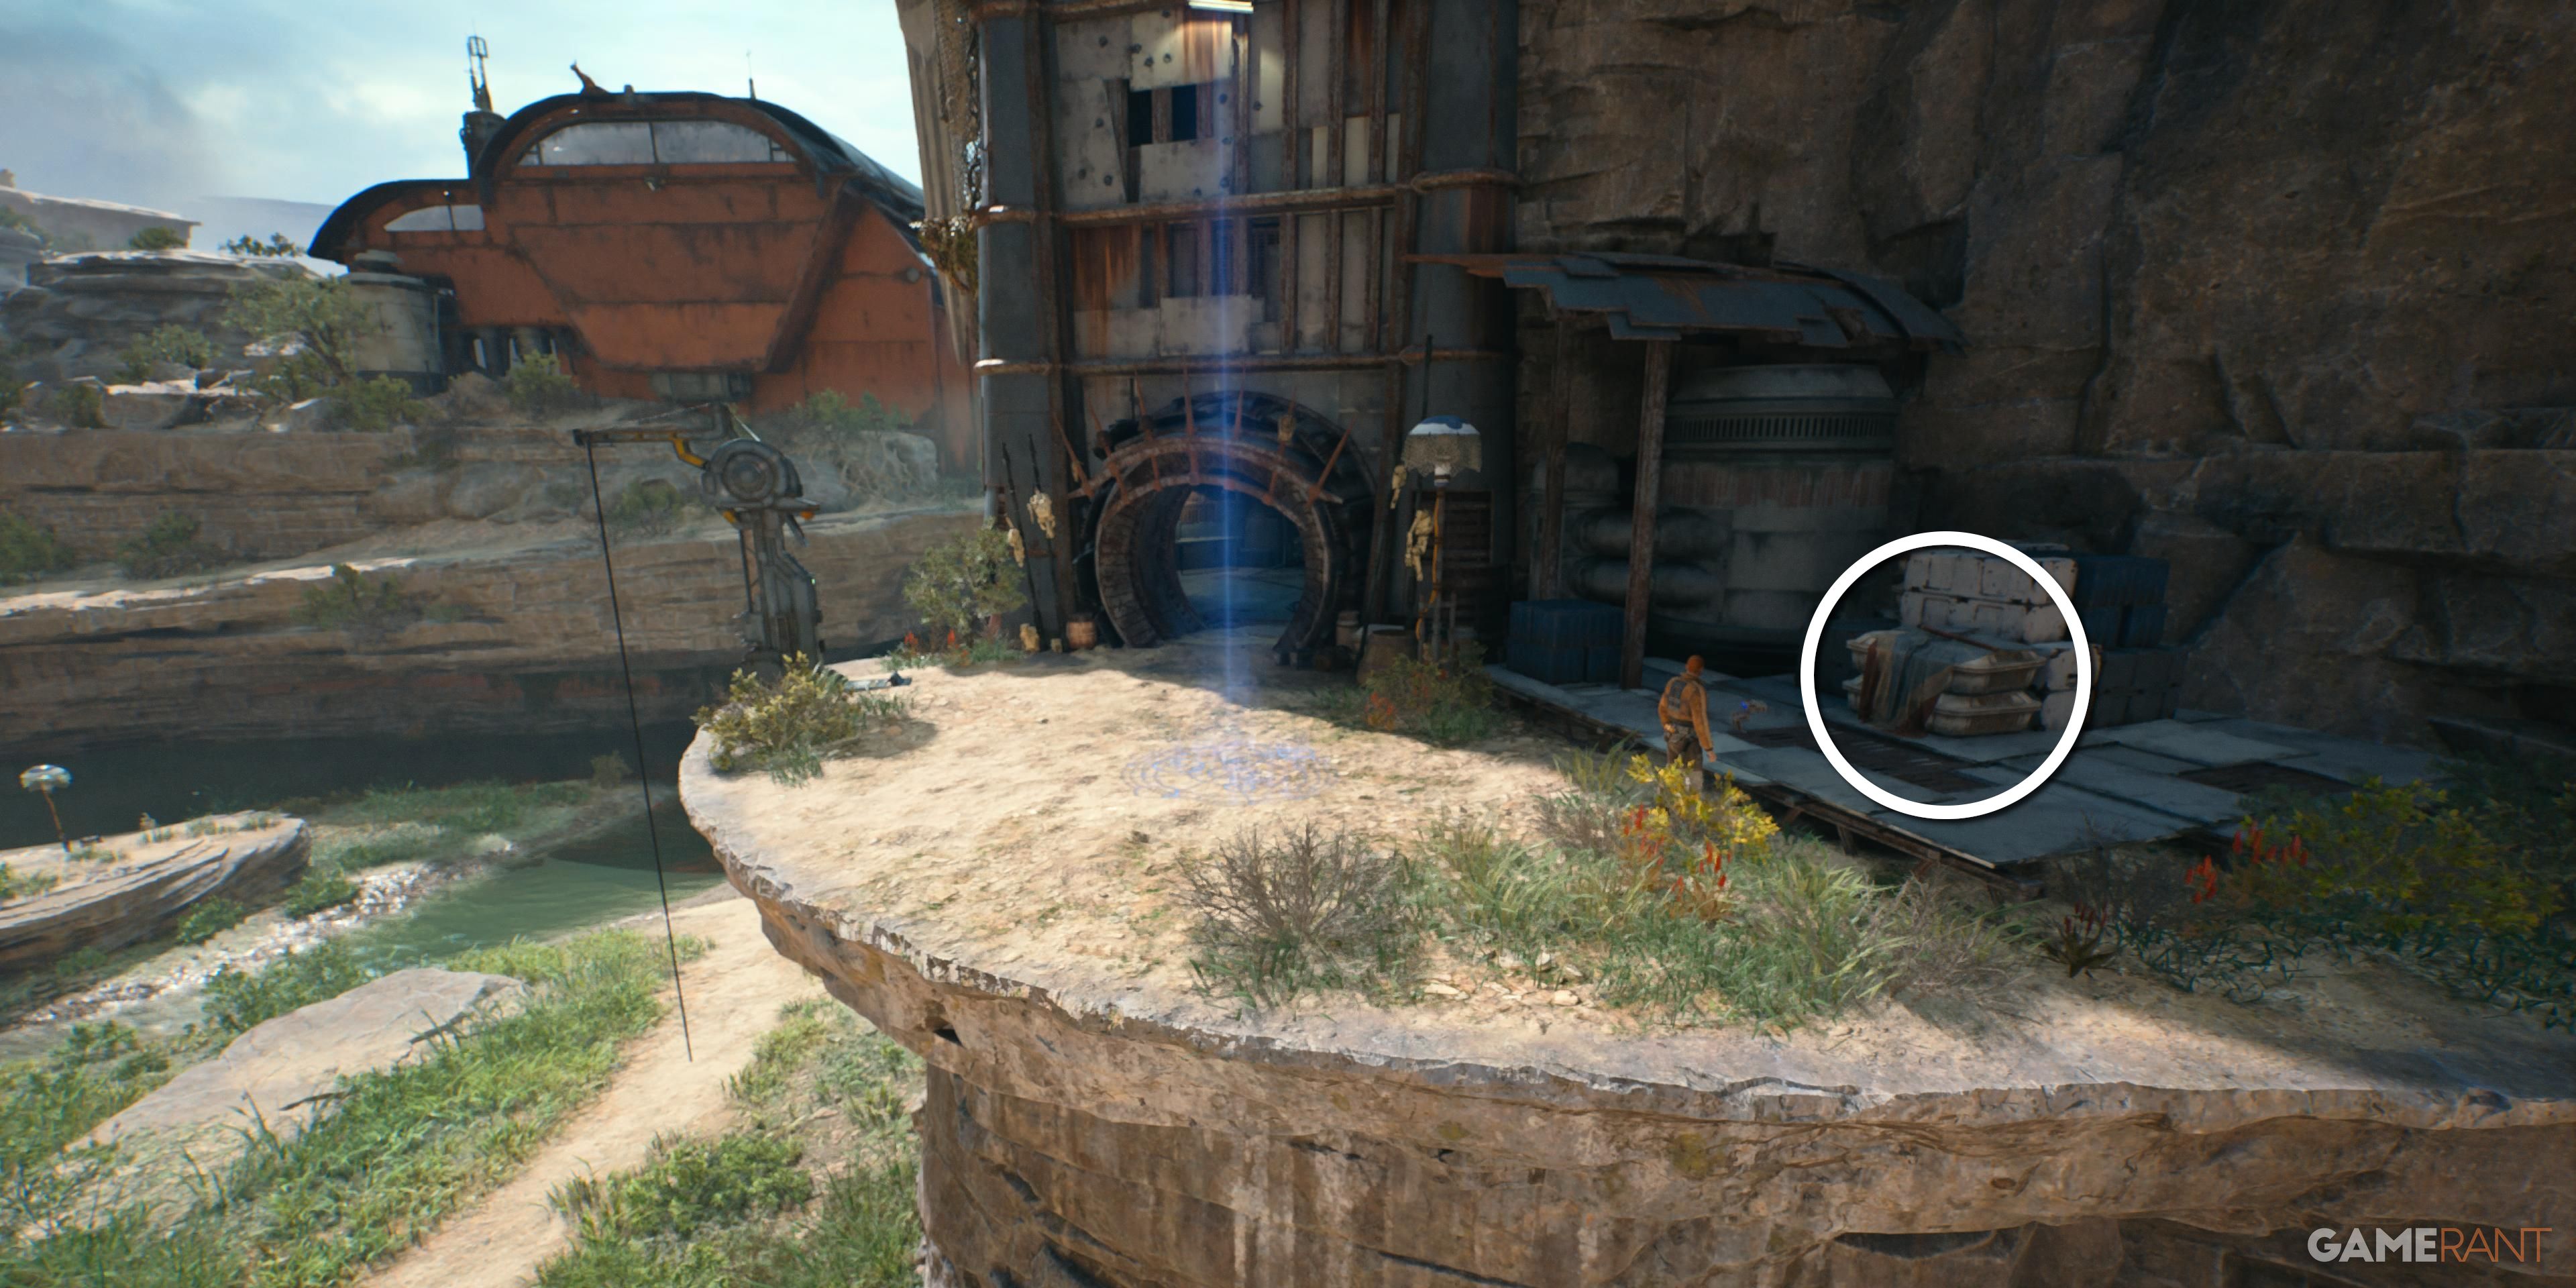
Directly next to the Riverbed Watch Meditation Point, scan the crates on the right of the watchtower.
On the roof of the Raider Watchtower, take out the Droids and approach the central building’s left entrance and examine the abandoned Droid on the ground.
Rambler’s Reach Outpost
Databank 1 of 6 – The First Move
Cal can utilize his Ascension Cable to scale up the vines located on the left side of the town's entrance. This will lead him to a ledge where he can access a databank entry by touching some leaves behind a nearby pillar.
Databank 2 of 6 – Turgle’s Shiny Shell
Databank 3 of 6 – Obsession (Requires Force Slam)
Immediately right of the Obsession databank.
In the same building as the Obsession databank, use a Jedi Mind Trick on Soont Madas and he will open a secret room. This echo is on a body downstairs.
Databank 6 of 6 – Relter Egg (Requires Upgraded Ascension Cable)
Use the Upgraded Ascension Cable on the weather balloons between the Mantis Dock and Pyloon’s Saloon to reach a ledge. This databank is in a Relter den inside a cave.
The dustiest dive on Koboh, Pyloon’s Saloon has two databanks.
Databank 1 of 2 – Hallikset
Databank 2 of 2 – Moran’s Possessions
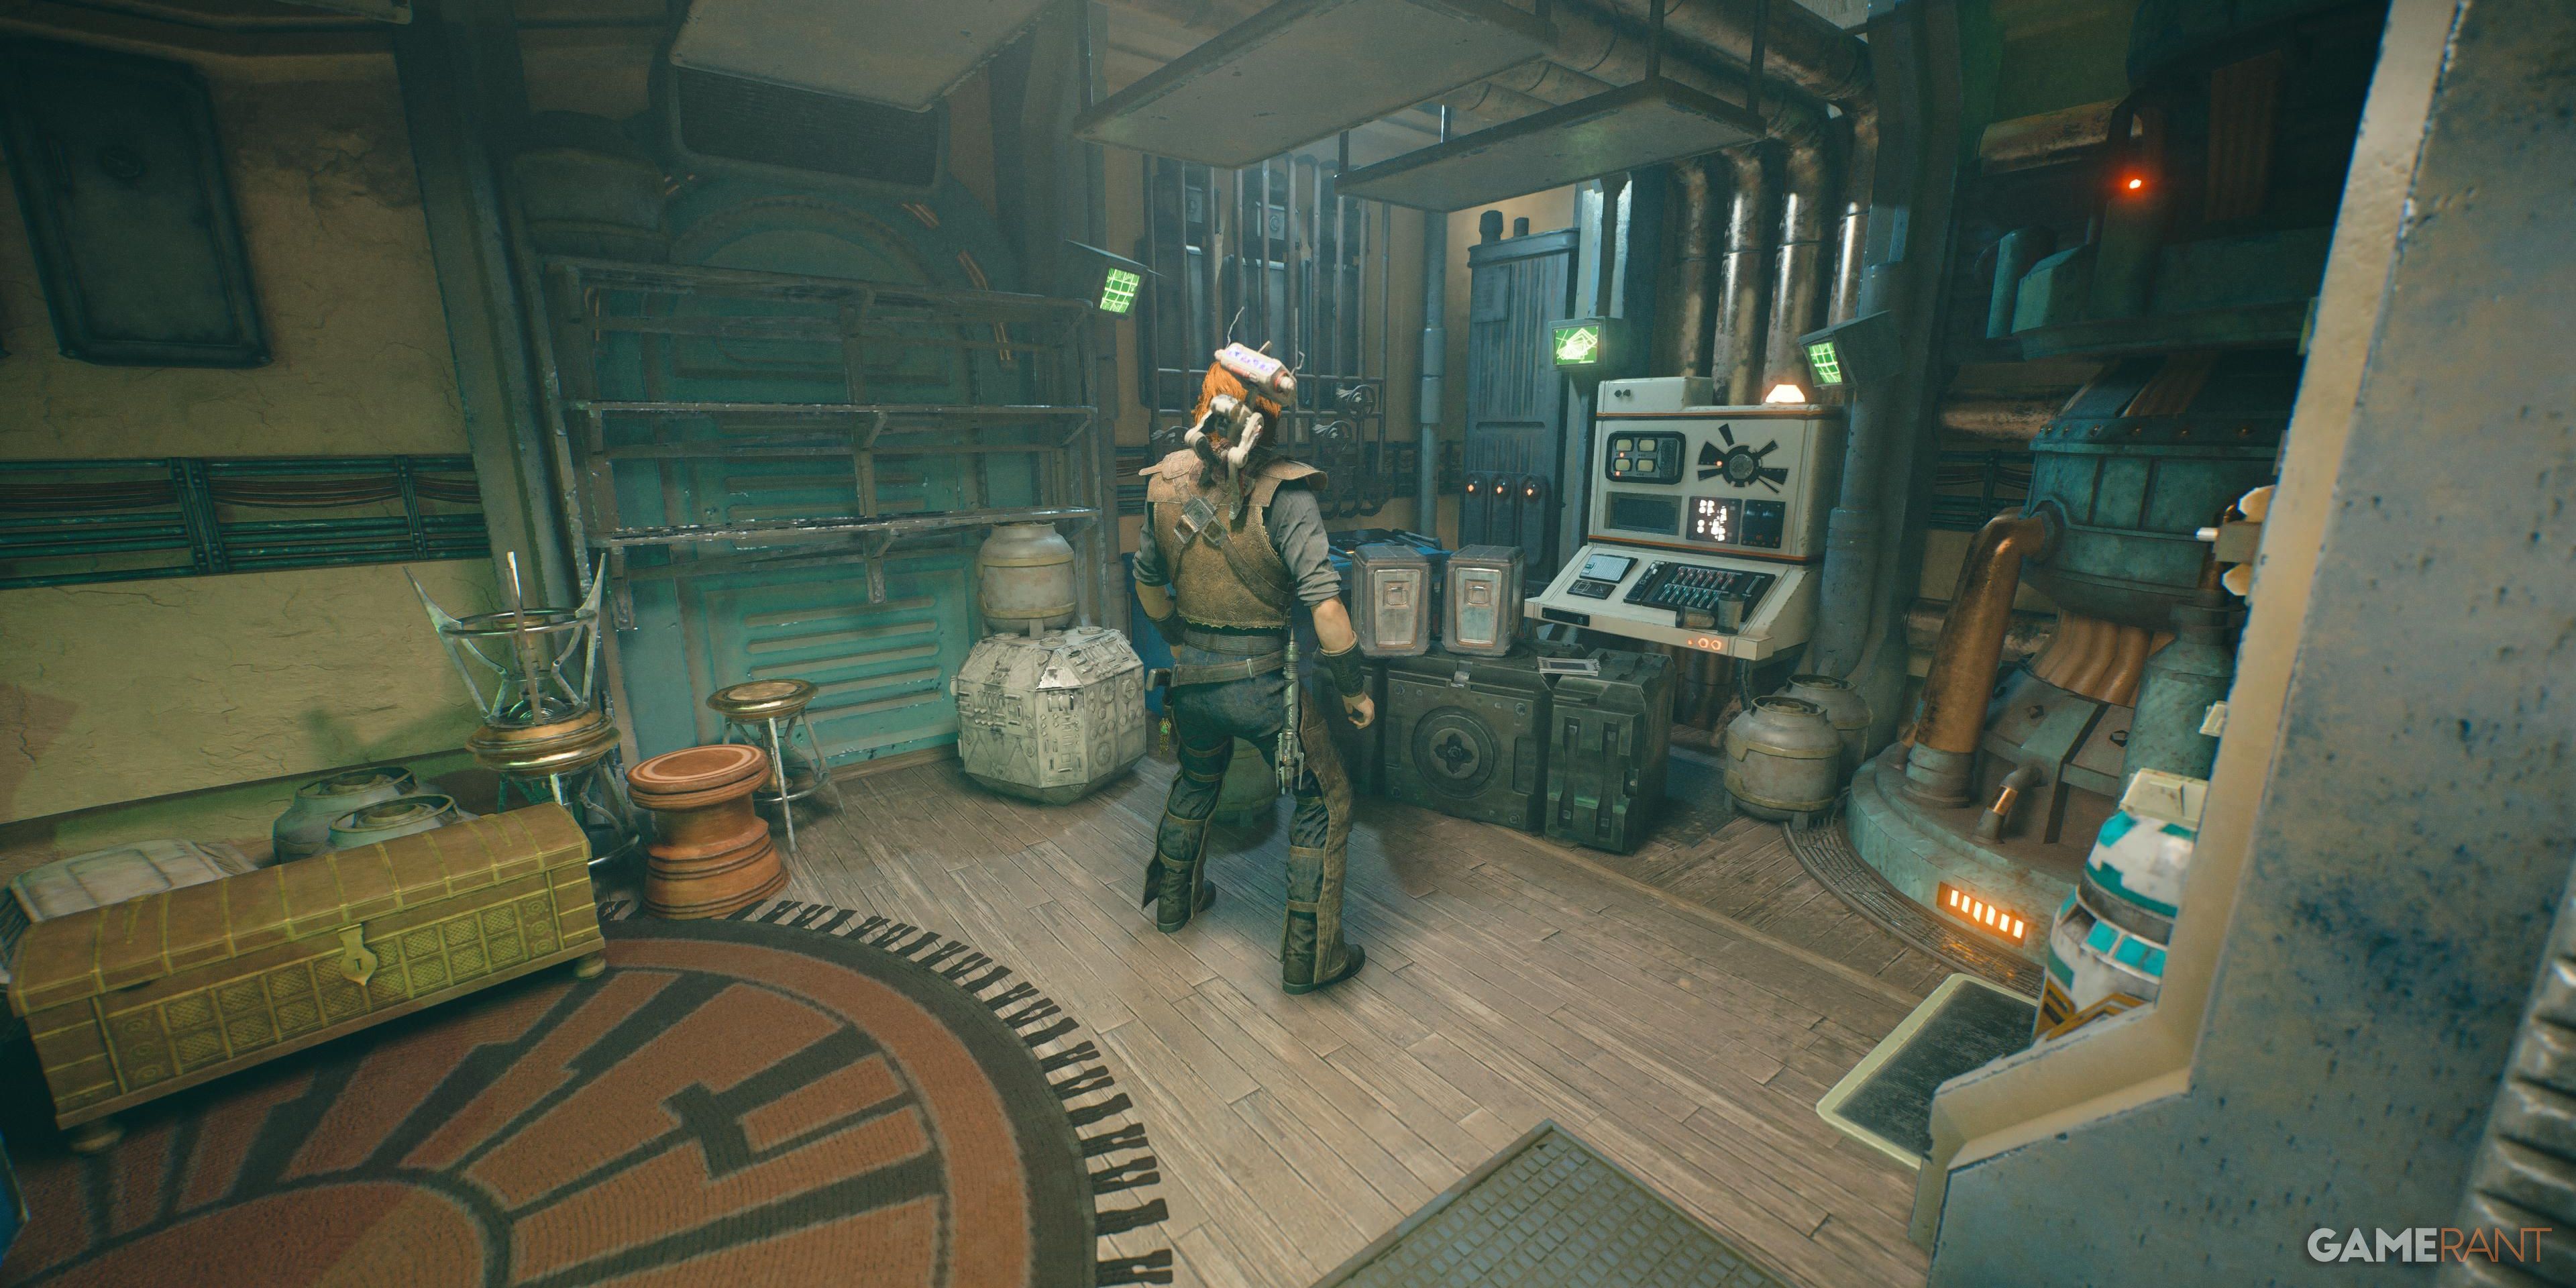
Open the back door of Pyloon’s Saloon to get this databank entry.
Smuggler’s Tunnels (Requires Quest: The Key to Tanalorr)
Databank 1 of 5 – No Way Out
Jump from a Nekkos back to reach the roof of the lone building on the right of Rambler’s Reach Outpost. Drop down into the house and scan the datapad on the table.
Past the green laser wall in the aforementioned house, head through the tunnels, and fight off the Gorgers. This datapad is on the left, in the room with the crates.
Databank 4 of 5 – Death in the Dark (Requires Merrin’s Charm)
Continue down, squeezing through a crevice, and find this echo on a corpse to the left.
From the last echo, dash across the chasm into a crevice left of the laser wall to find another datapad.
Chamber of Duality (Requires Quest: The Key to Tanalorr)
Databank 1 of 1 – Disaster
On the Harvest Ridge of Koboh, players can track down one databank.
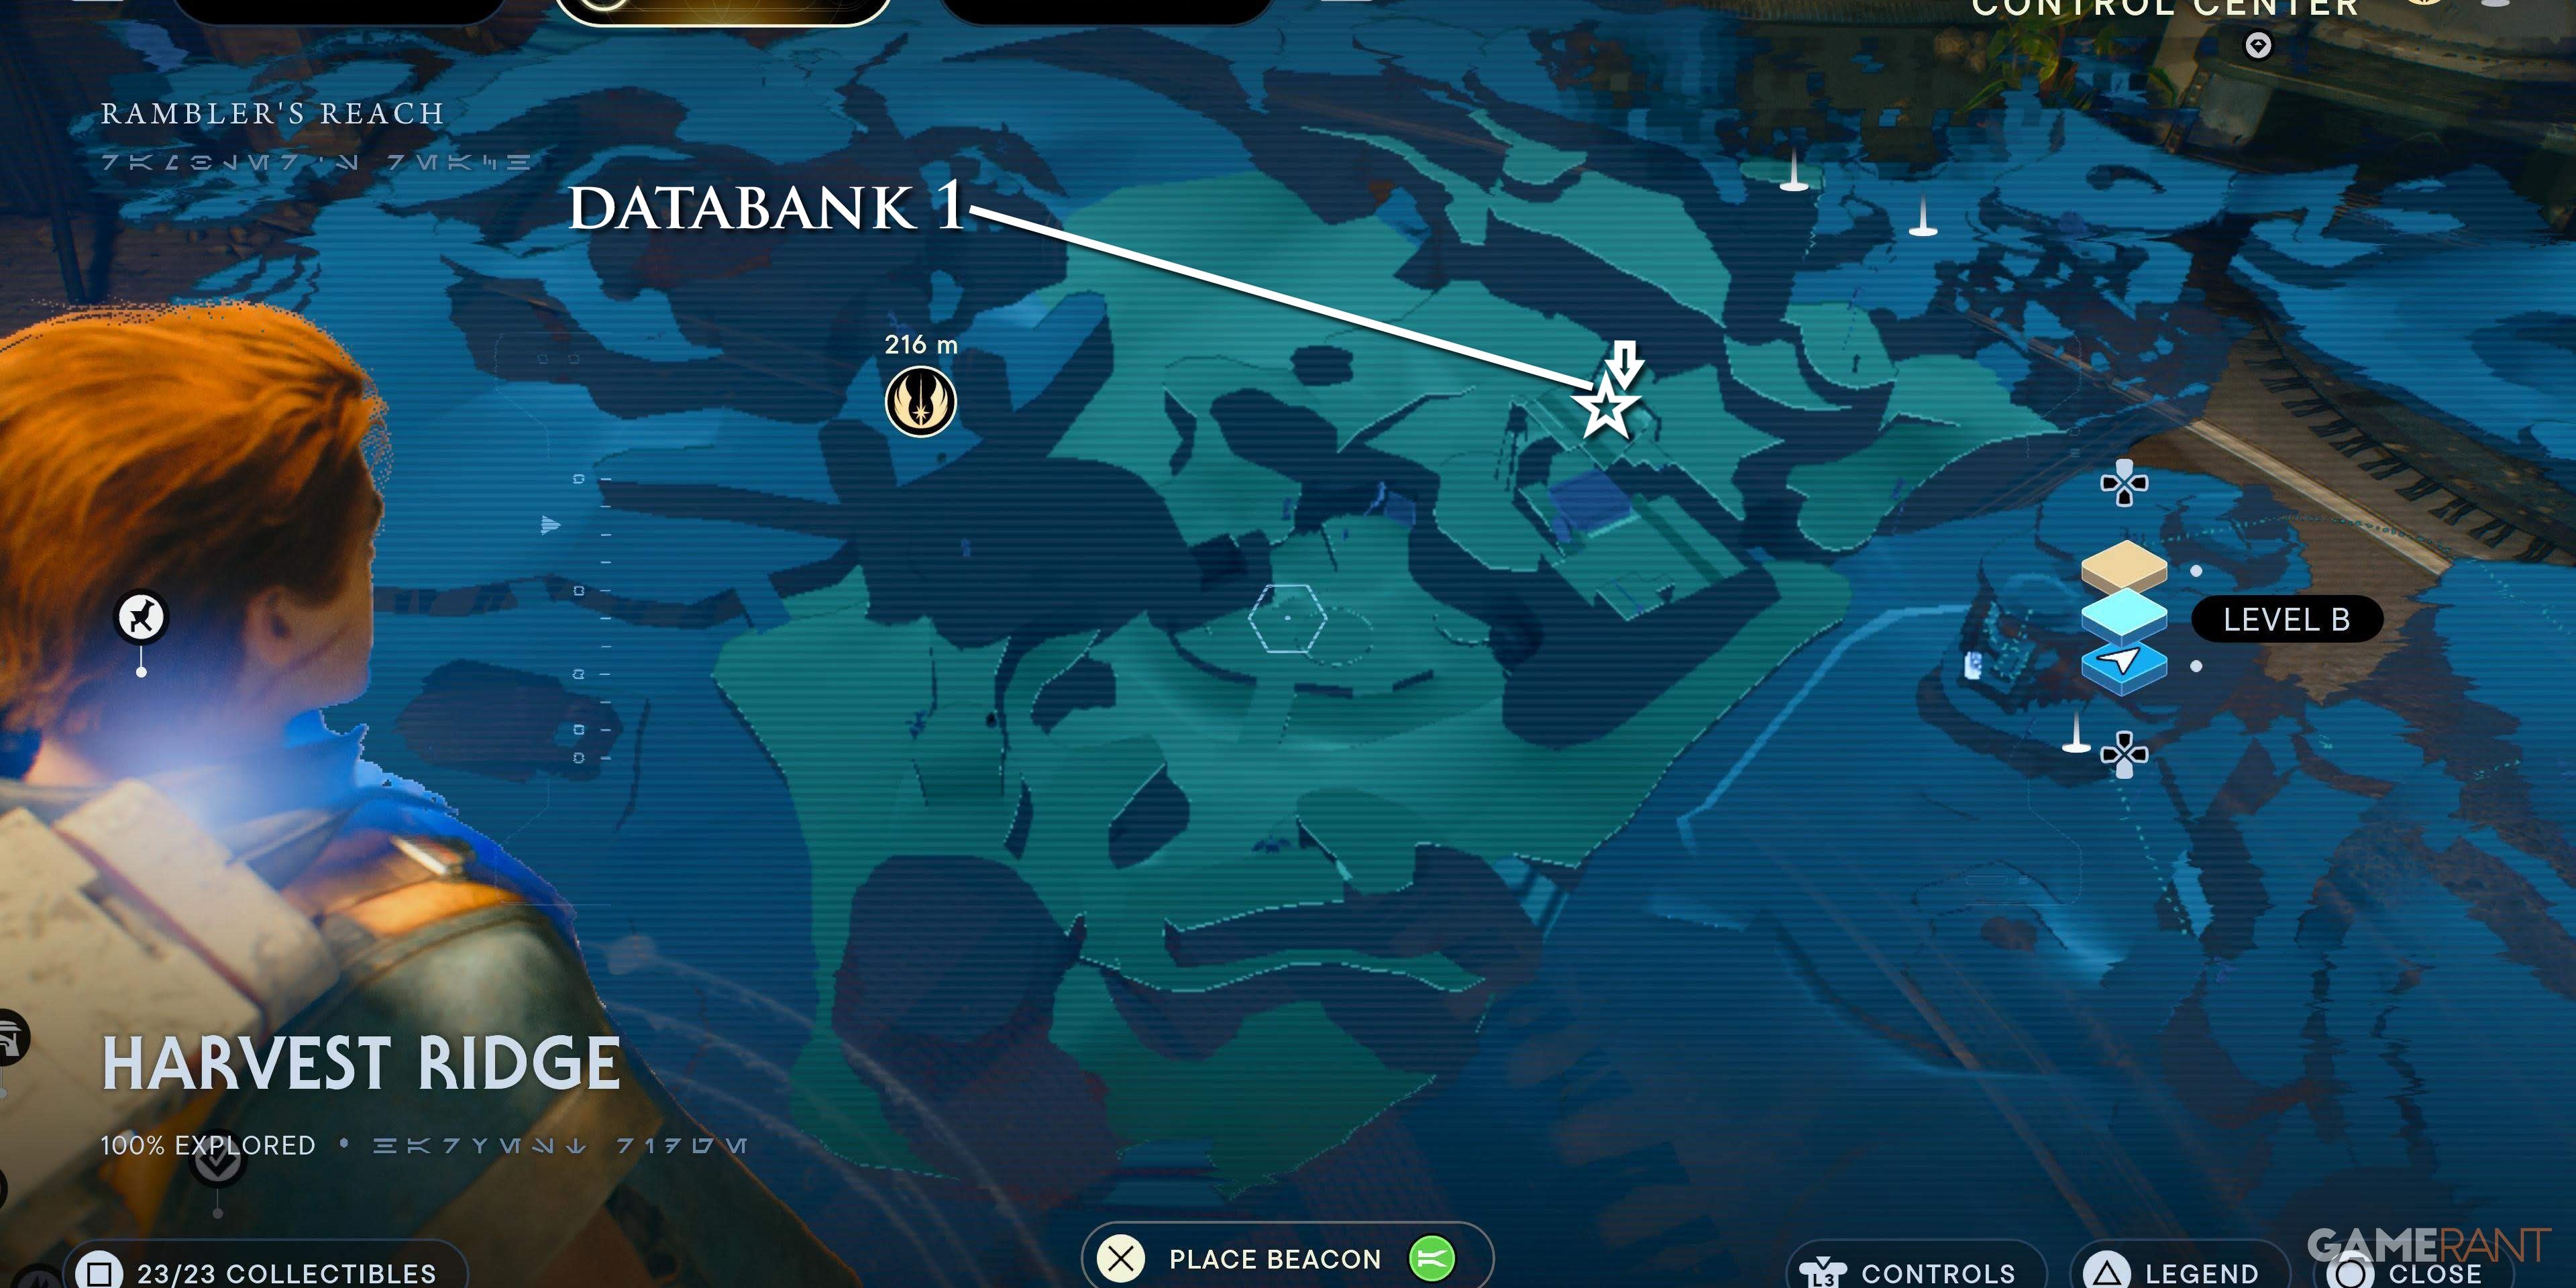
Databank 1 of 1 – Home on the Range
2 Images
Close
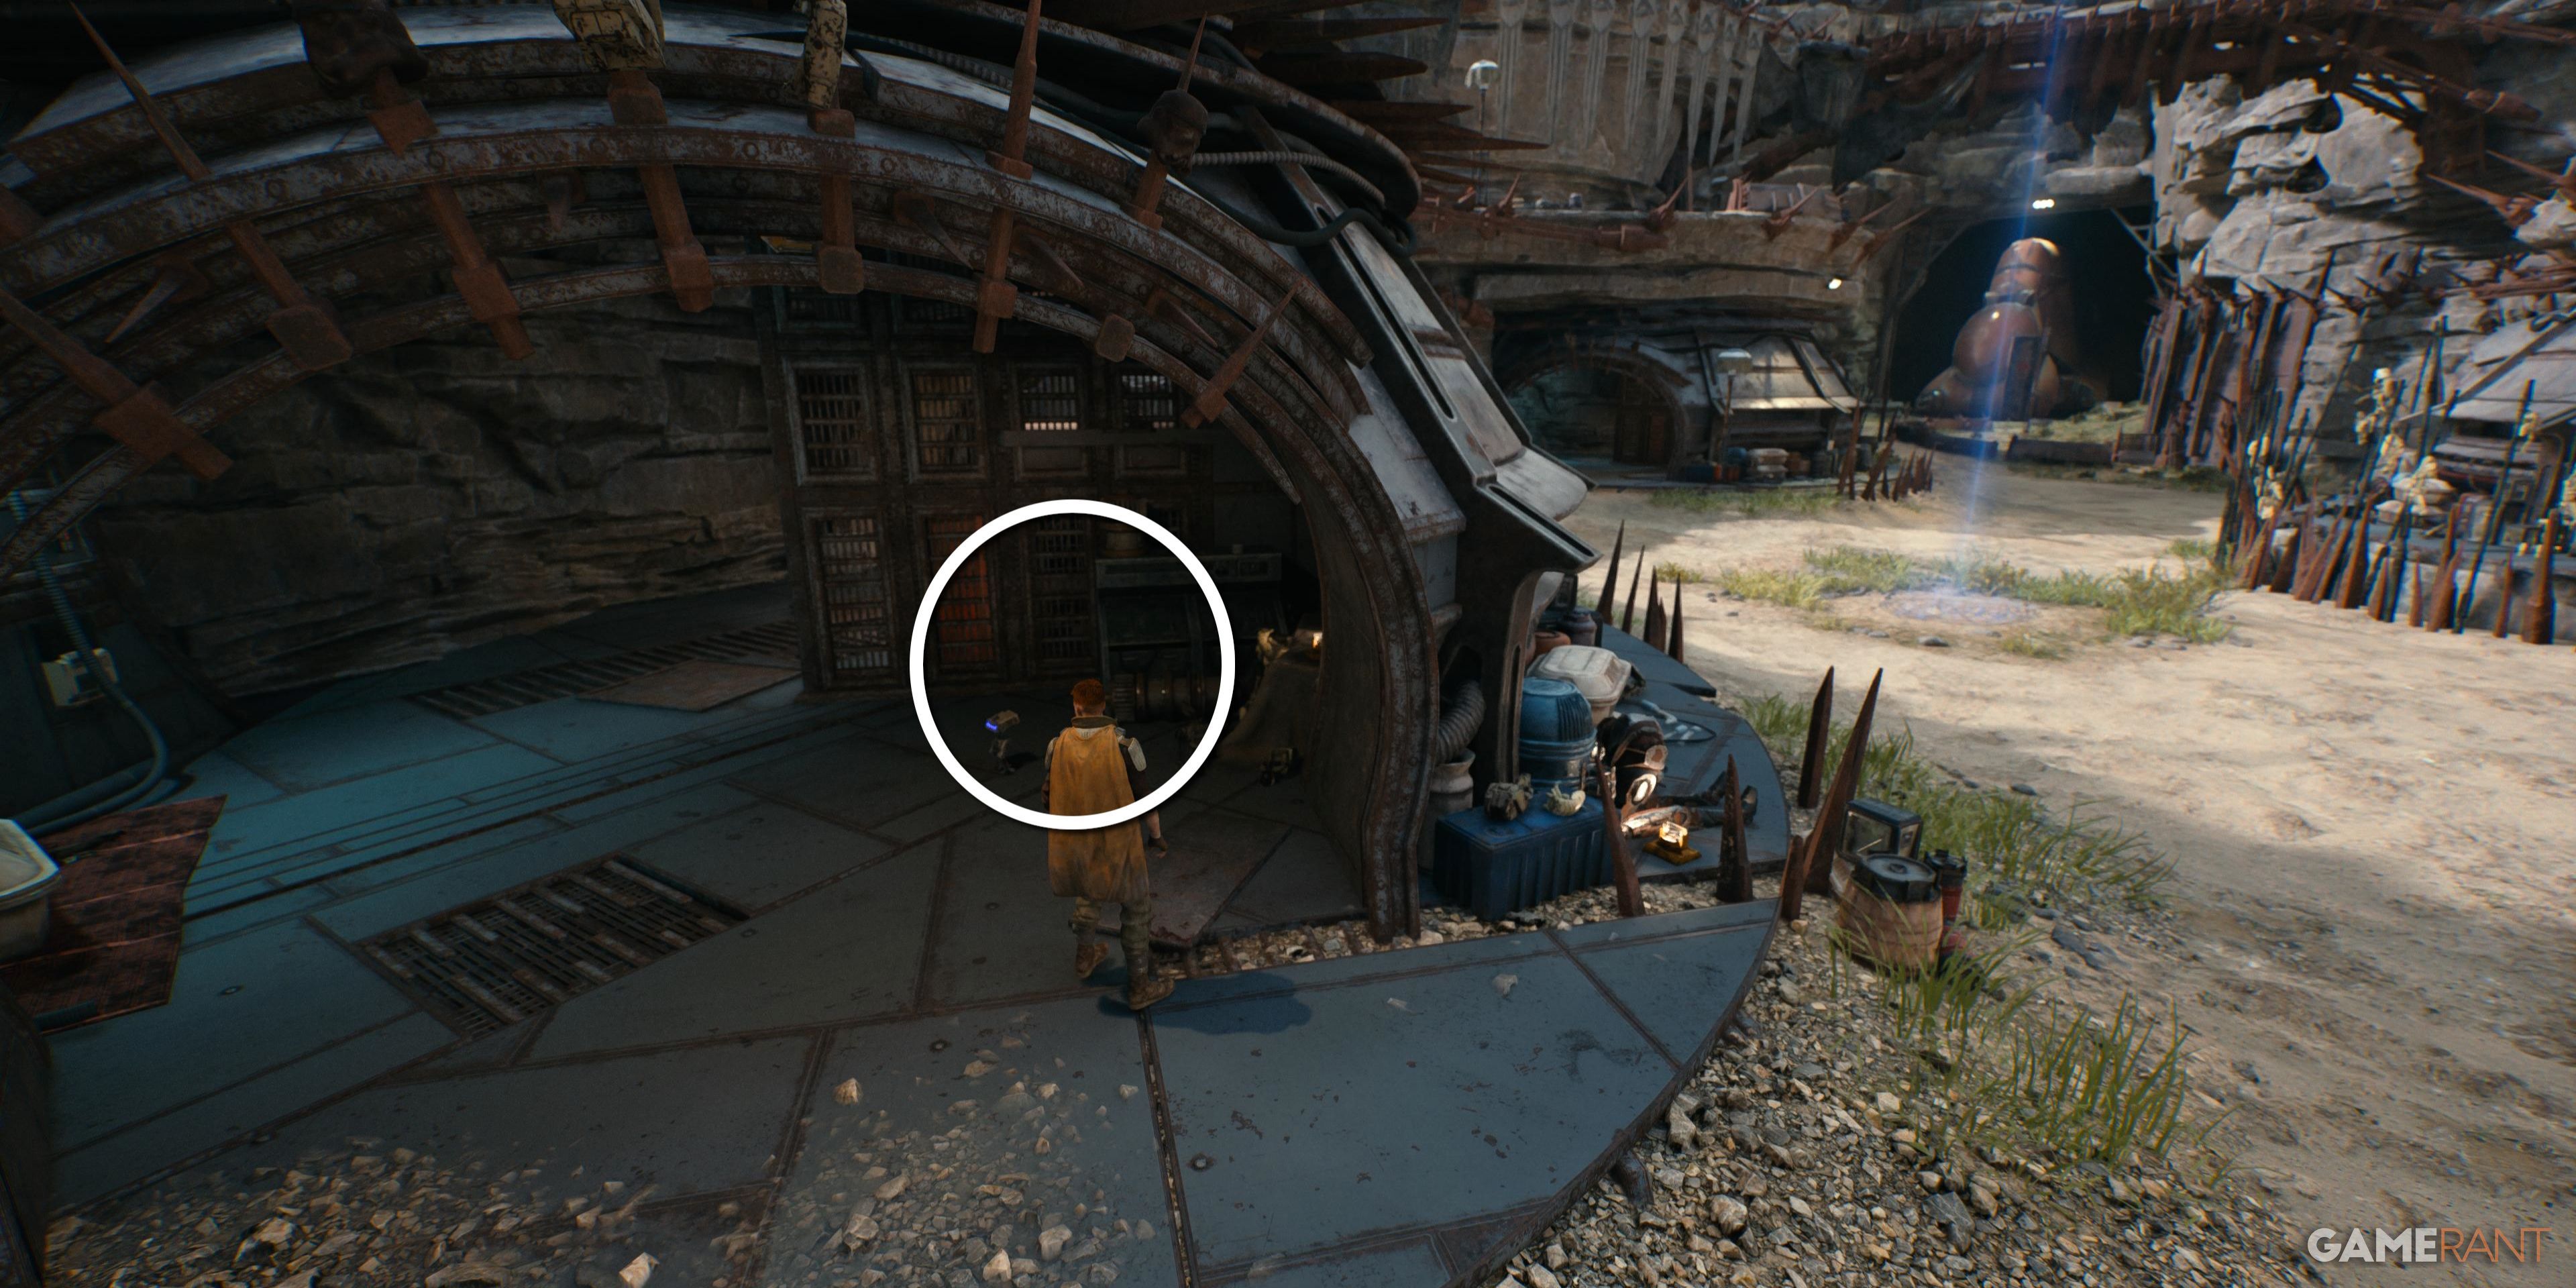
At the large red barn, use a Nekko to jump to a crate above and wall run to a raised ledge. Up here, Force push the metal grate to enter the barn and find this echo on some eggs in the corner.
In this Raider-controlled Fort, there are five databanks.
Databank 1 of 5 – Bandit Camp
In a hut to the left of the Meditation Point.
By a door to the left of the Meditation Point, guarded by two Droids.
Databank 3 of 5 – Past Signs of Life
Databank 4 of 5 – A House Divided (Requires Upgraded Ascension Cable)
On some broken B1 Droids, directly across from the previous databank. The Spawn of Oggdo can be fought nearby.
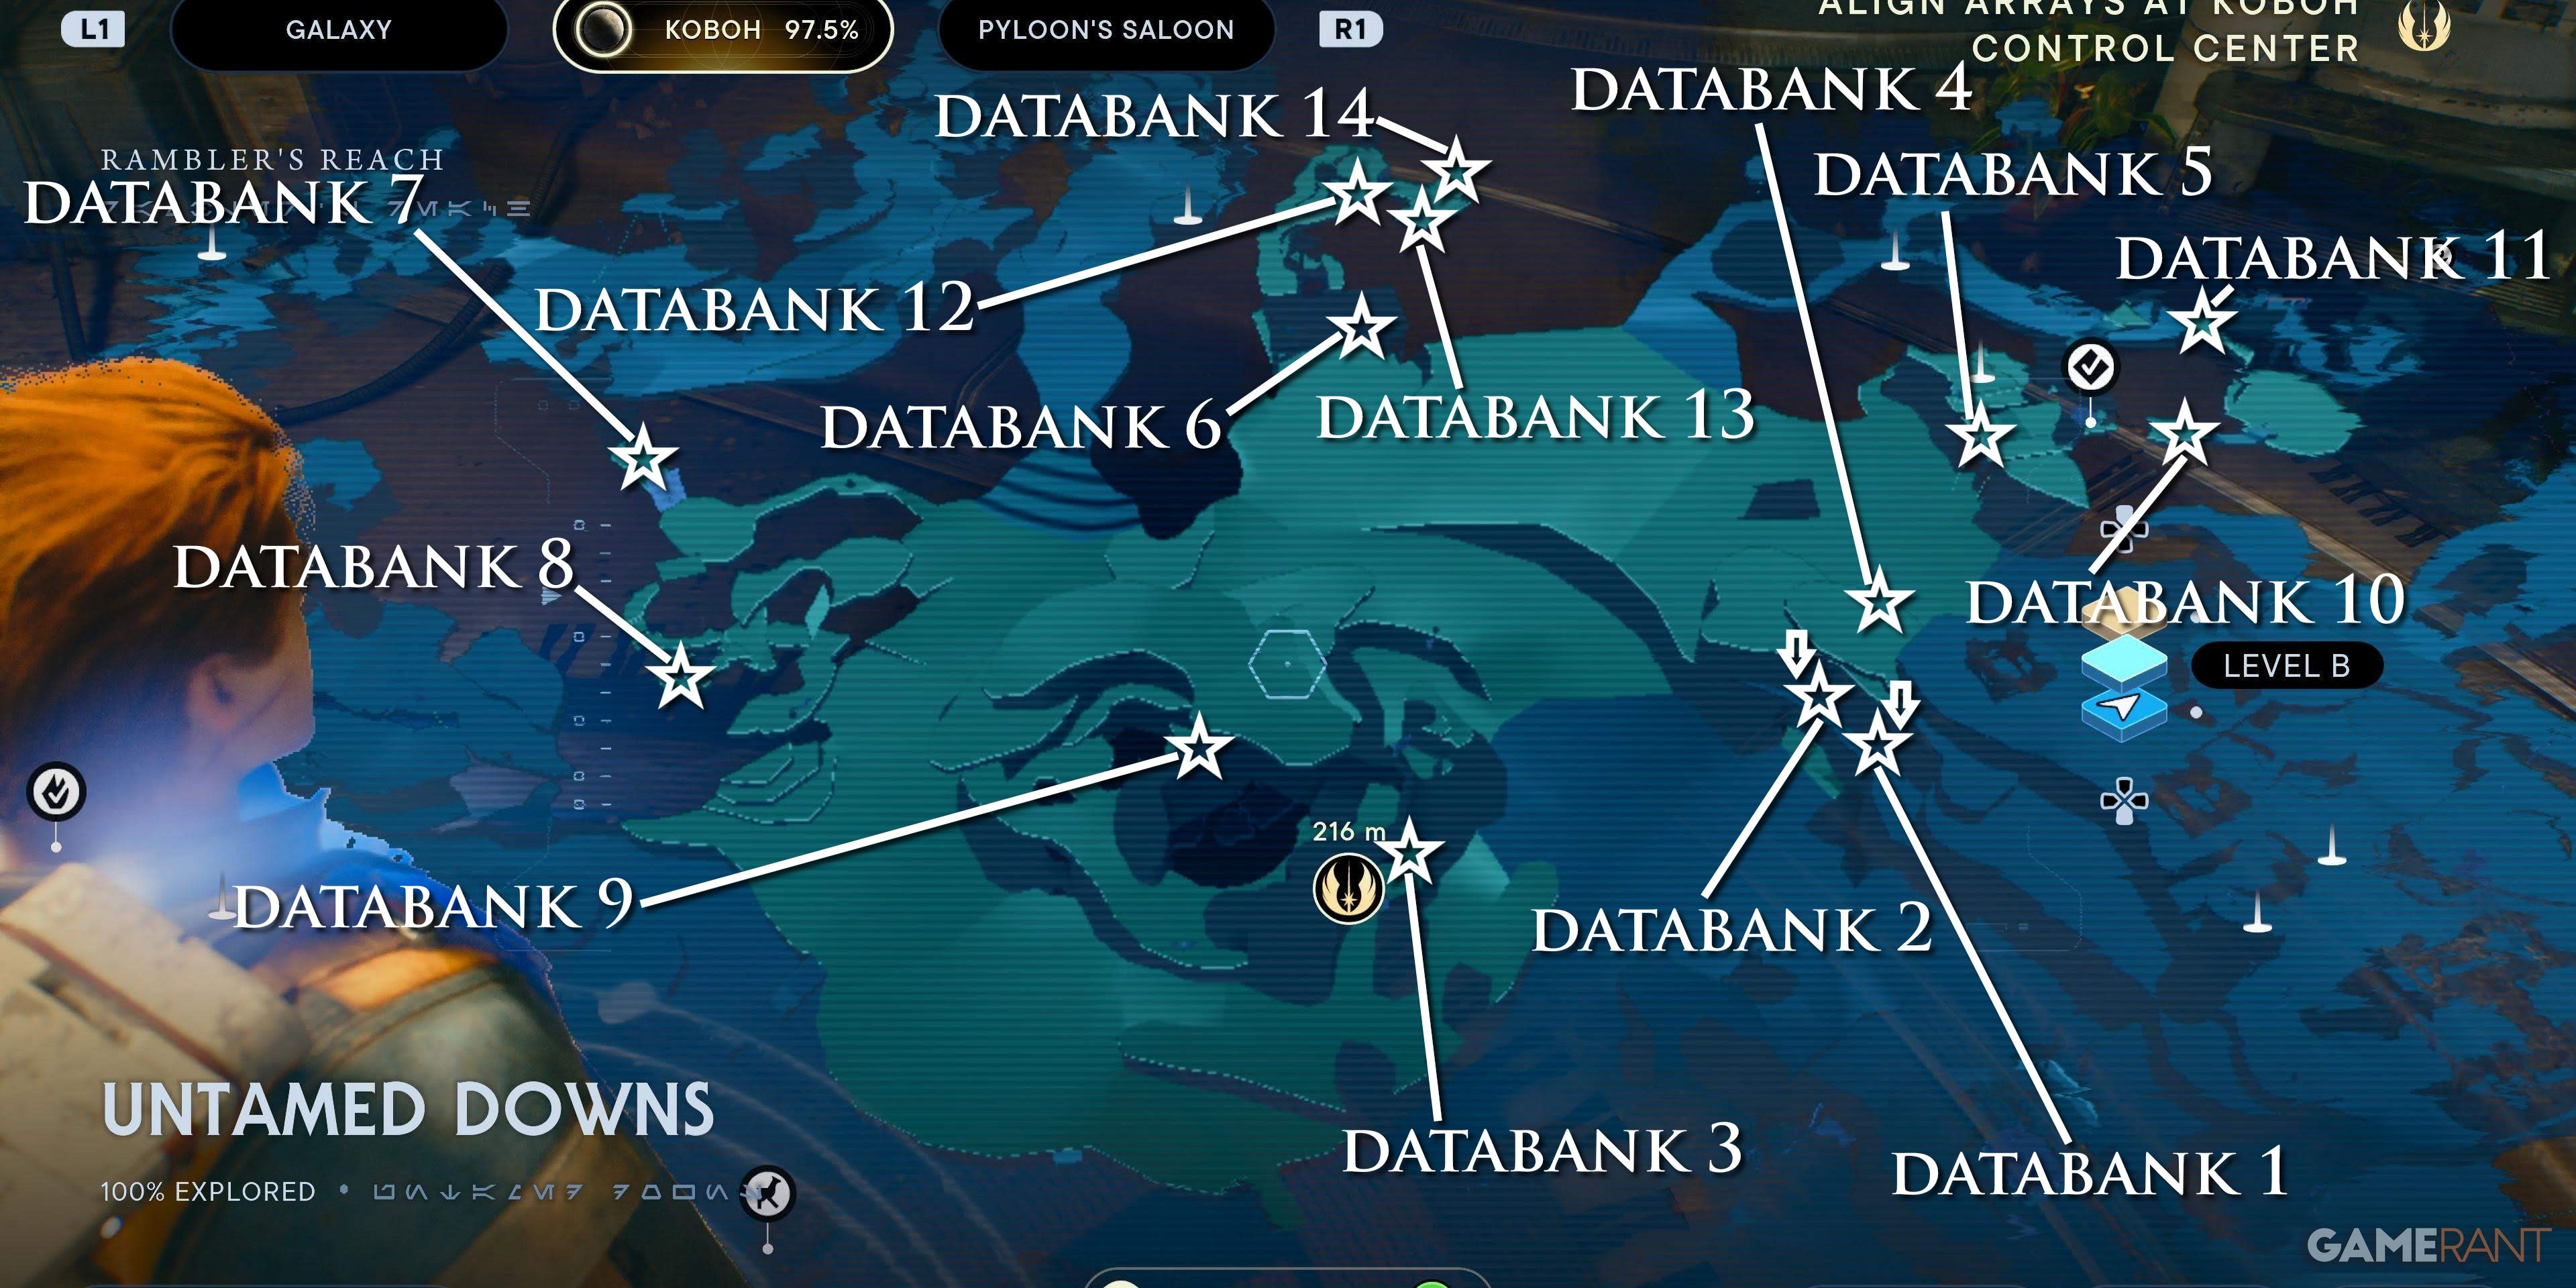
Untamed Downs
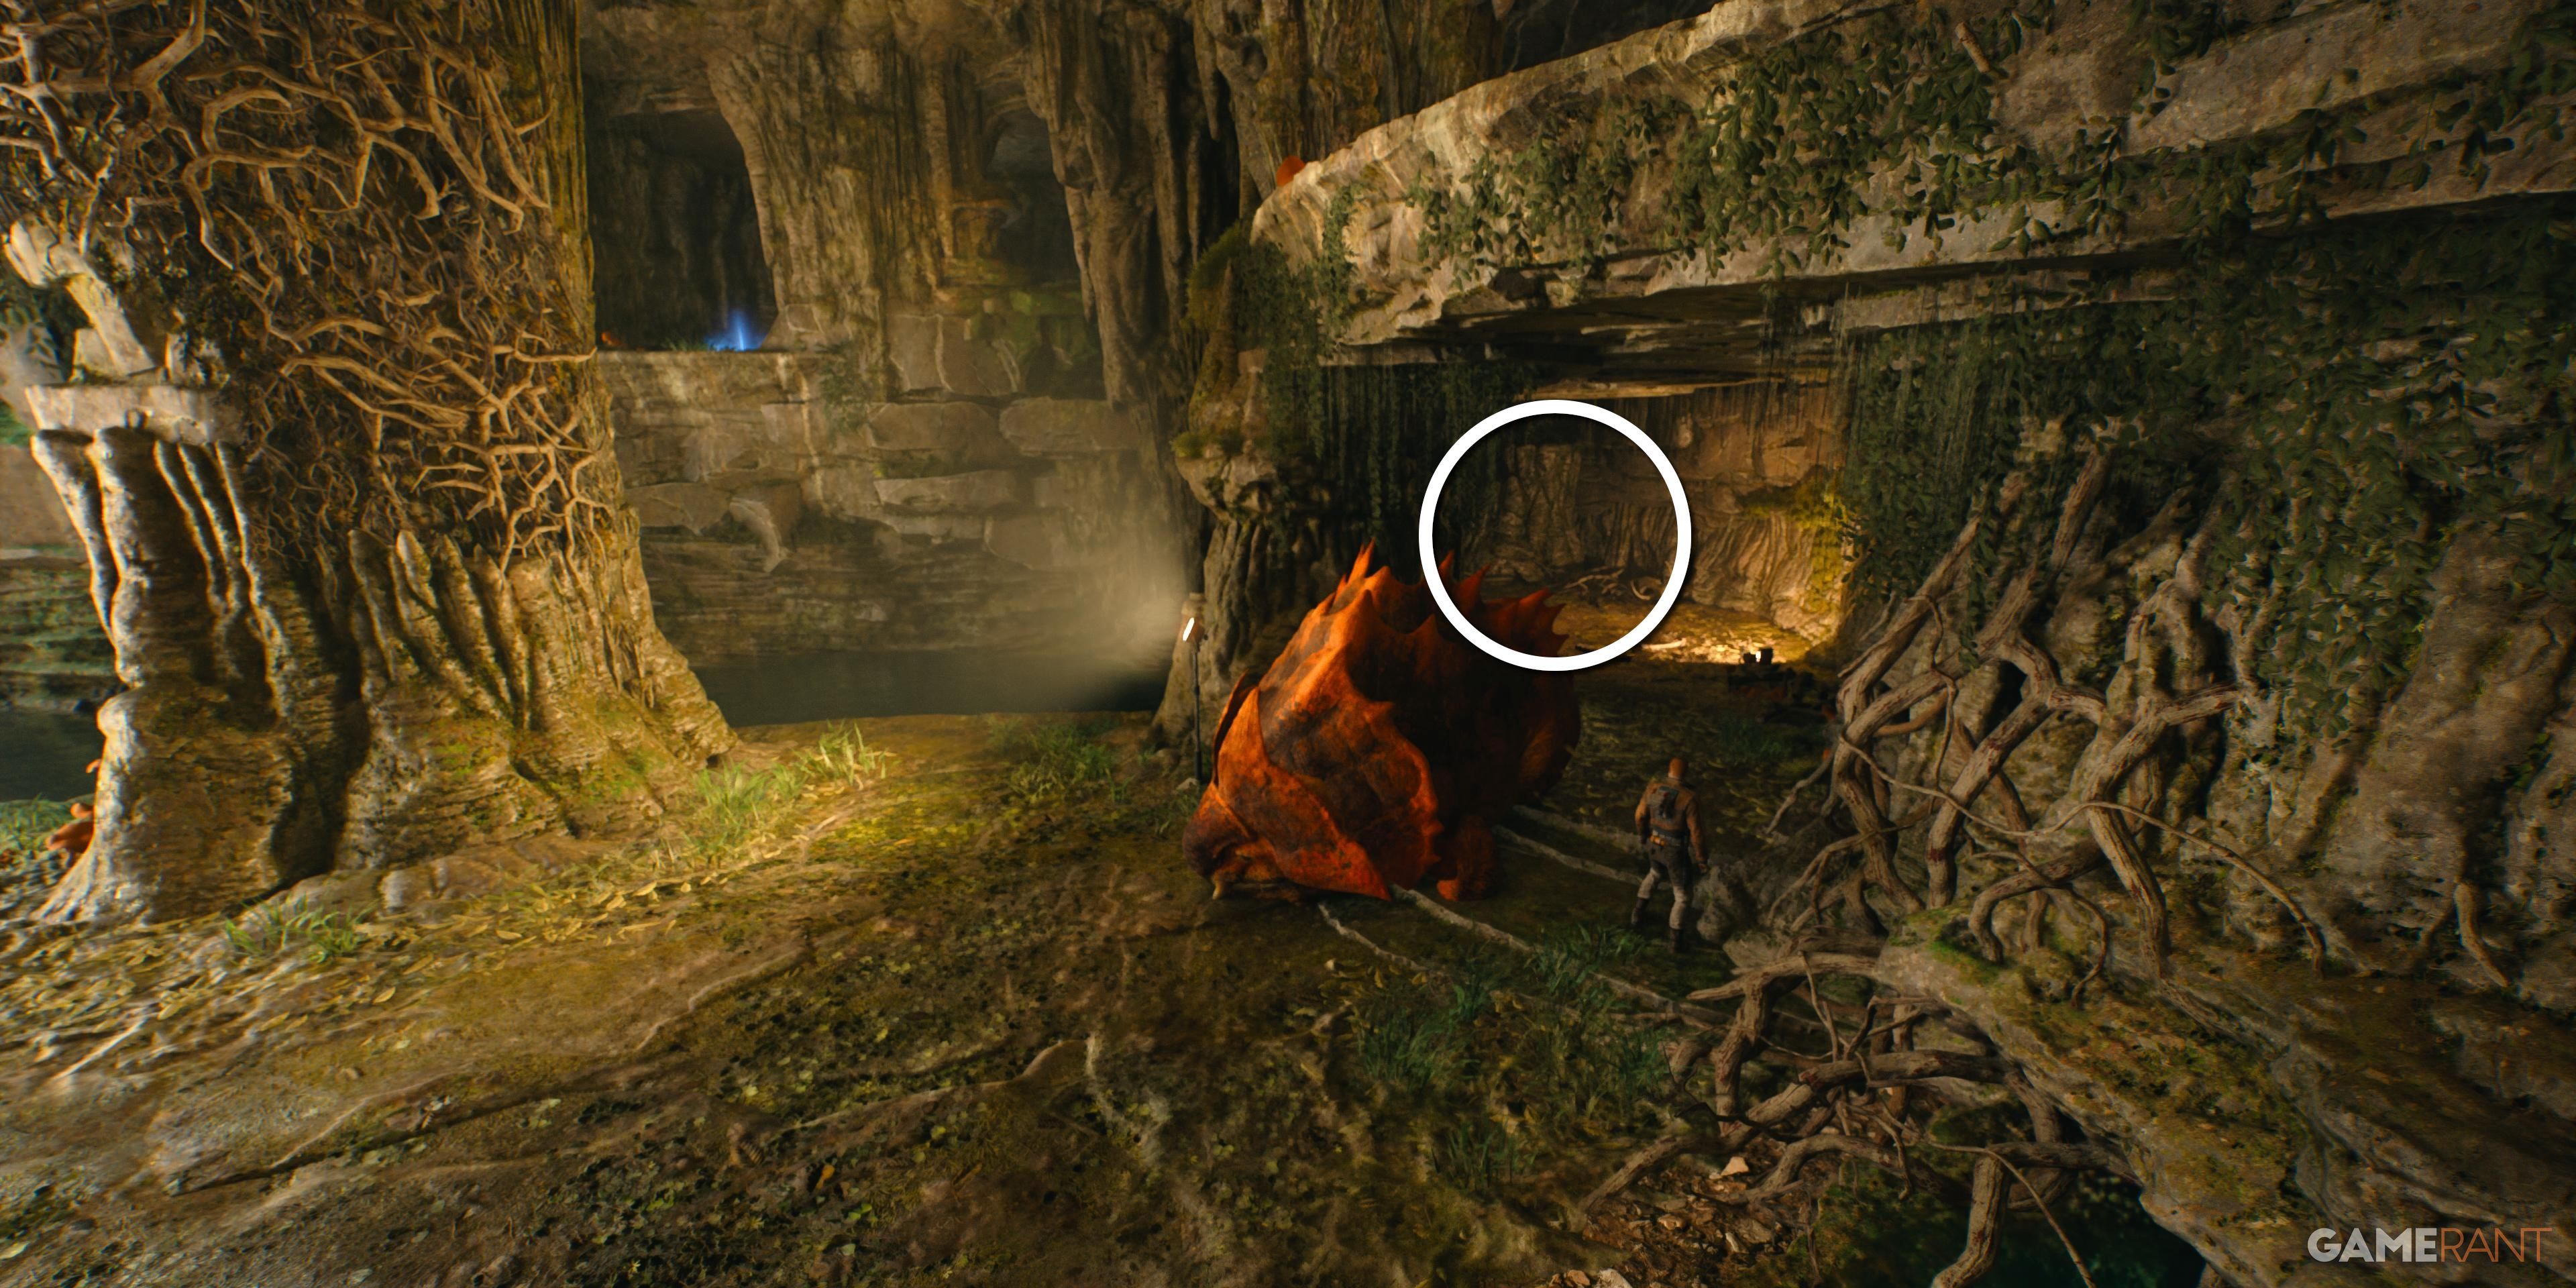
One databank in the area is in a cave accessed from Harvest Ridge. Kill the Bilemaw inside and head into the rear to find this entry on a skeleton.
In the same cave, climb the vines on the central column to reach an elevated ledge. Head around to the left and cut through some cables to find this echo.
Databank 3 of 14 – Breaking, Not Entering
Databank 4 of 14 – A Small Mercy
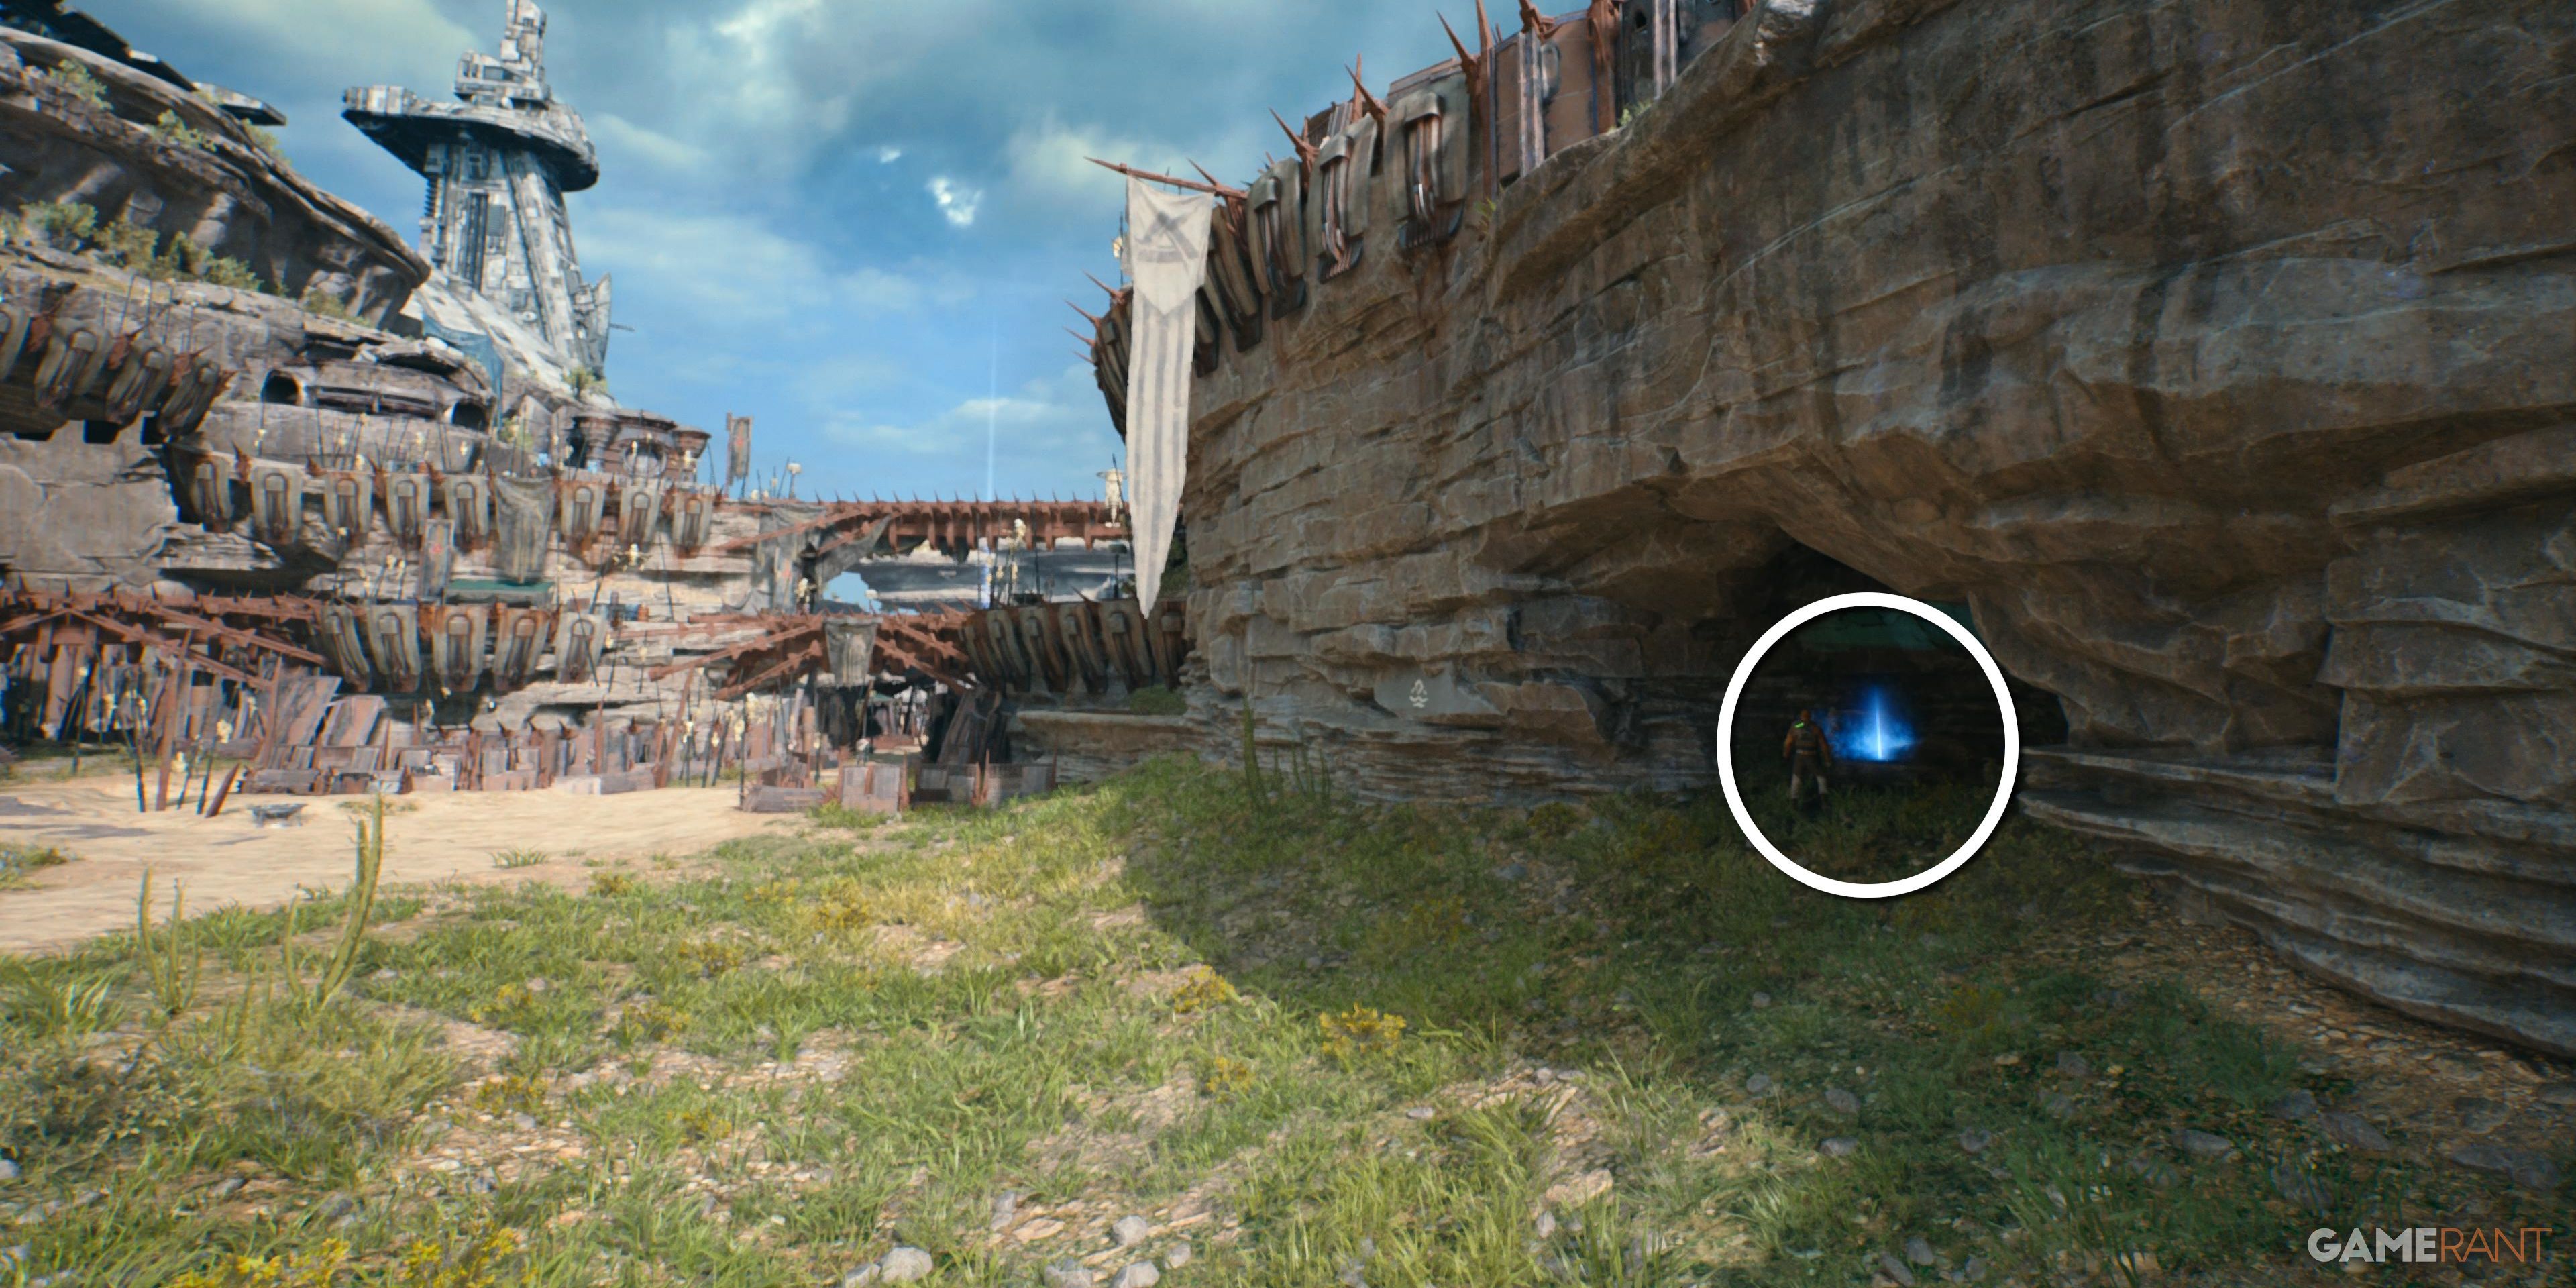
Follow the cliff path beyond the cave and utilize the Ascension Cable for ascent. Once you reach the summit, take a right turn and venture into the cave situated at the rear of the Raider Fortress. This is where you can discover the desired databank collectible.
Databank 5 of 14 – An Ecological Study
Databank 6 of 14 – Technological Betrayal
2 Images
Summon a roller mine using the terminal on the left side of the hangar and make your way towards the right, following the cliffs. As you come across a cave on the right, proceed through it until you reach the end. Here, you can use the roller mine to blast open the wall. On the right side, Cal can find an echo next to the Santari Khri Lightsaber.
Databank 8 of 14 – Mogu Den
After leaving the previous cave, there is another cavern to be discovered by going up a ledge to the right. By dropping down and walking behind the pillar, BD can scan a pile of bones.
Use the Relter to smoothly glide from the Harvest Ridge Meditation Point to the vast plateau located at the heart of the Untamed Downs. Proceed to the rear end of the plateau and track the ledge downwards to discover a cave situated near the roof of the Alignment Control Center. Within this cave lies the databank.
Databank 10 of 14 – Warning Sign (Requires Air Dash)
Databank 11 of 14 – The Feeding Ground (Requires Air Dash)
After fighting off the triumvirate of monsters through the gap near the last databank, climb the vines out of the arena and find this echo directly ahead.
Databank 12 of 14 – The Deep Caverns (Requires Merrin’s Charm)
Databank 13 of 14 – The Truth (Requires Force Lift)
Directly opposite the last databank, in a red-lit side room.
Accessed from the Untamed Downs, this sulphur-spewing canyon features two databanks.
Databank 1 of 2 – Turgle, Saved
Along the leftmost path into the Bluff, Cal can touch a spot on the ground for this databank entry.
After discovering this area’s Meditation Point, clamber up a ledge to find this echo in a nest.
Alignment Control Center
Databank 1 of 1 – Patience
After acquiring the ability to mount Nekkos, this settlement can be explored to find two collectibles.
Databank 1 of 2 – Ancient Architecture
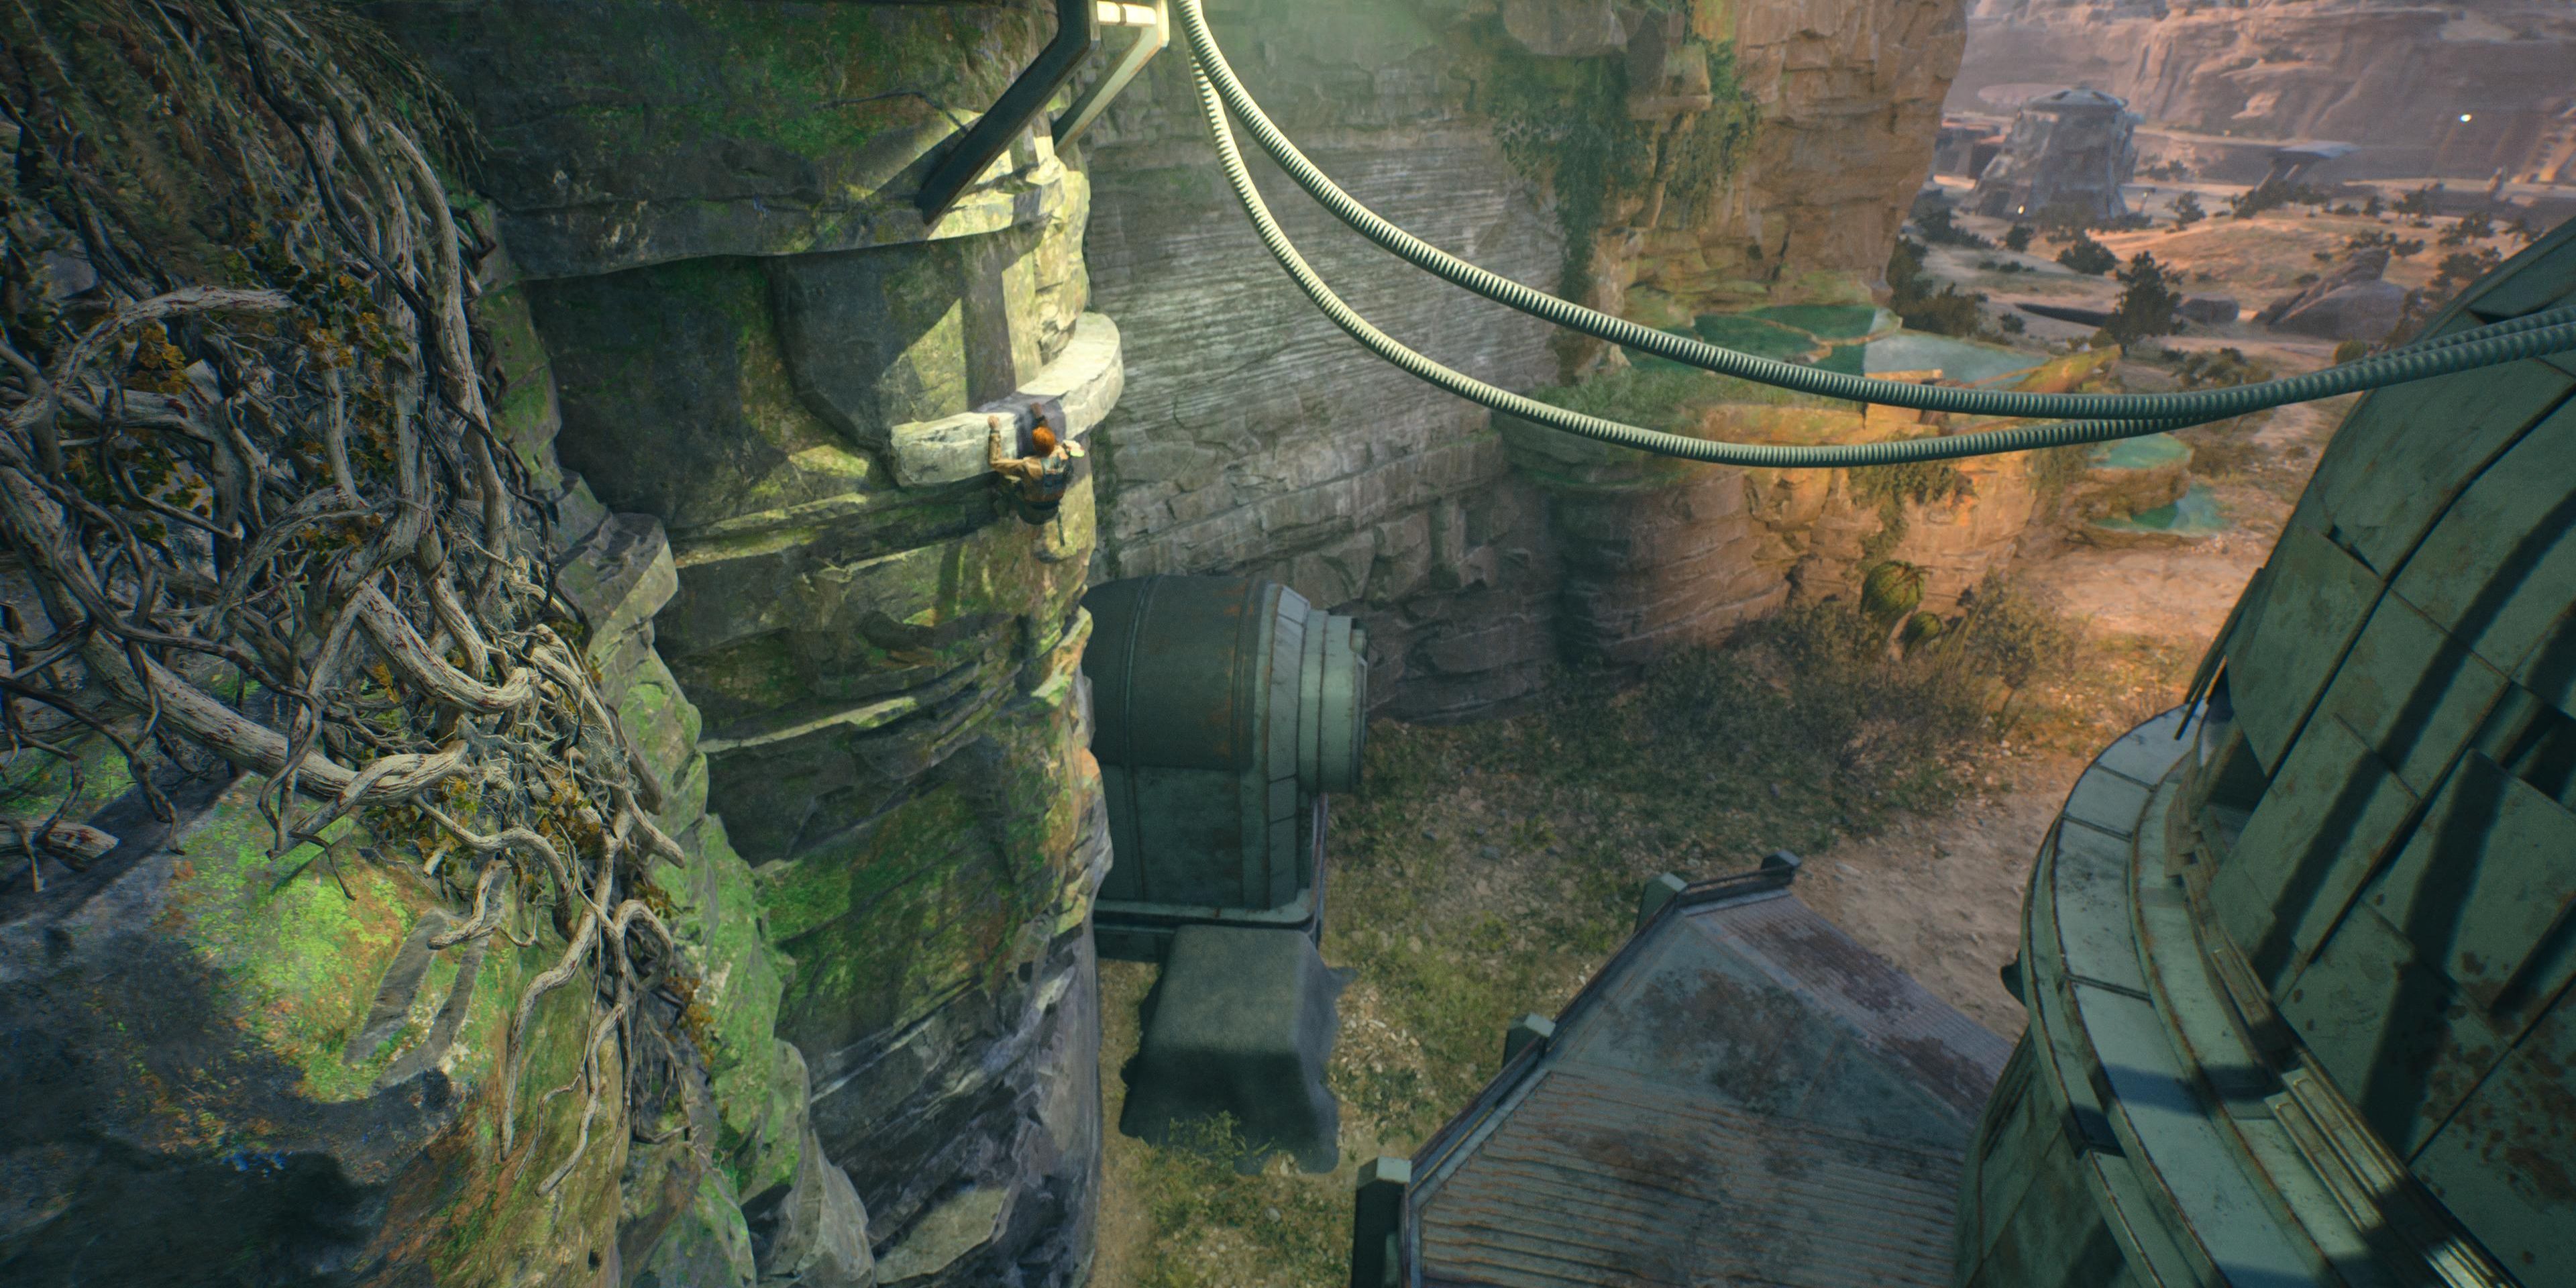
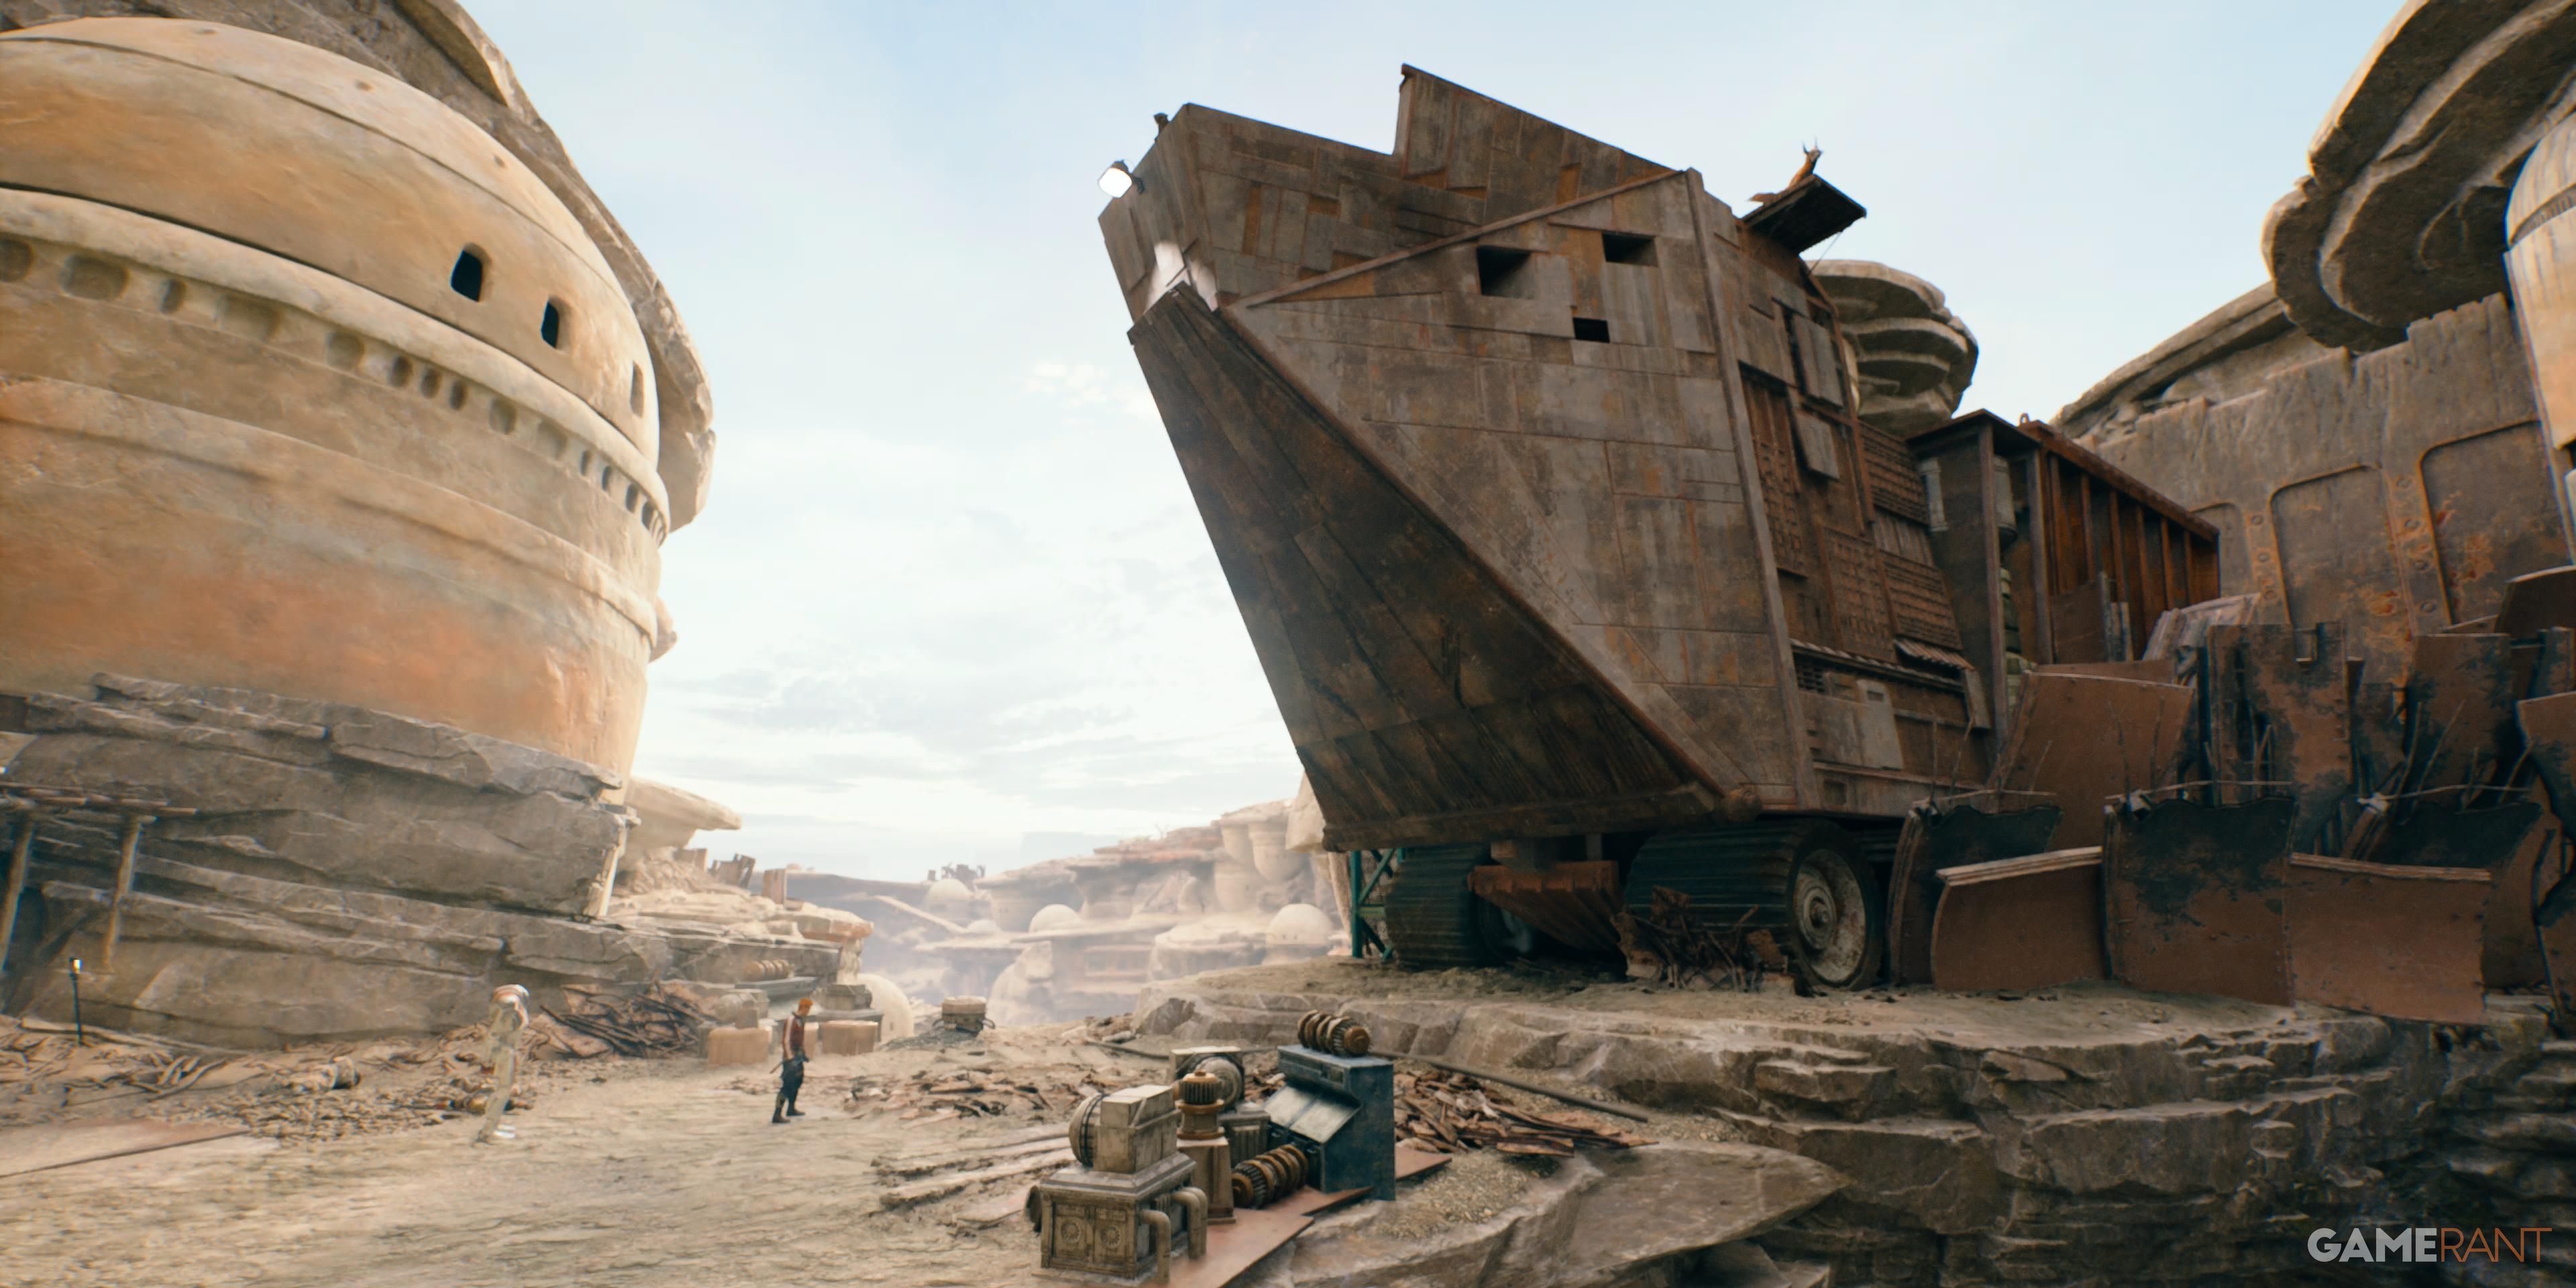
Begin your wall run from the Meditation Point and make your way across the vines. Once you drop down, use the Force on the ridged wall and start climbing the buildings. Air dash through the fan to reach a more exposed structure and keep climbing until you reach a hut. You'll find some Raiders harassing a Jawa there.
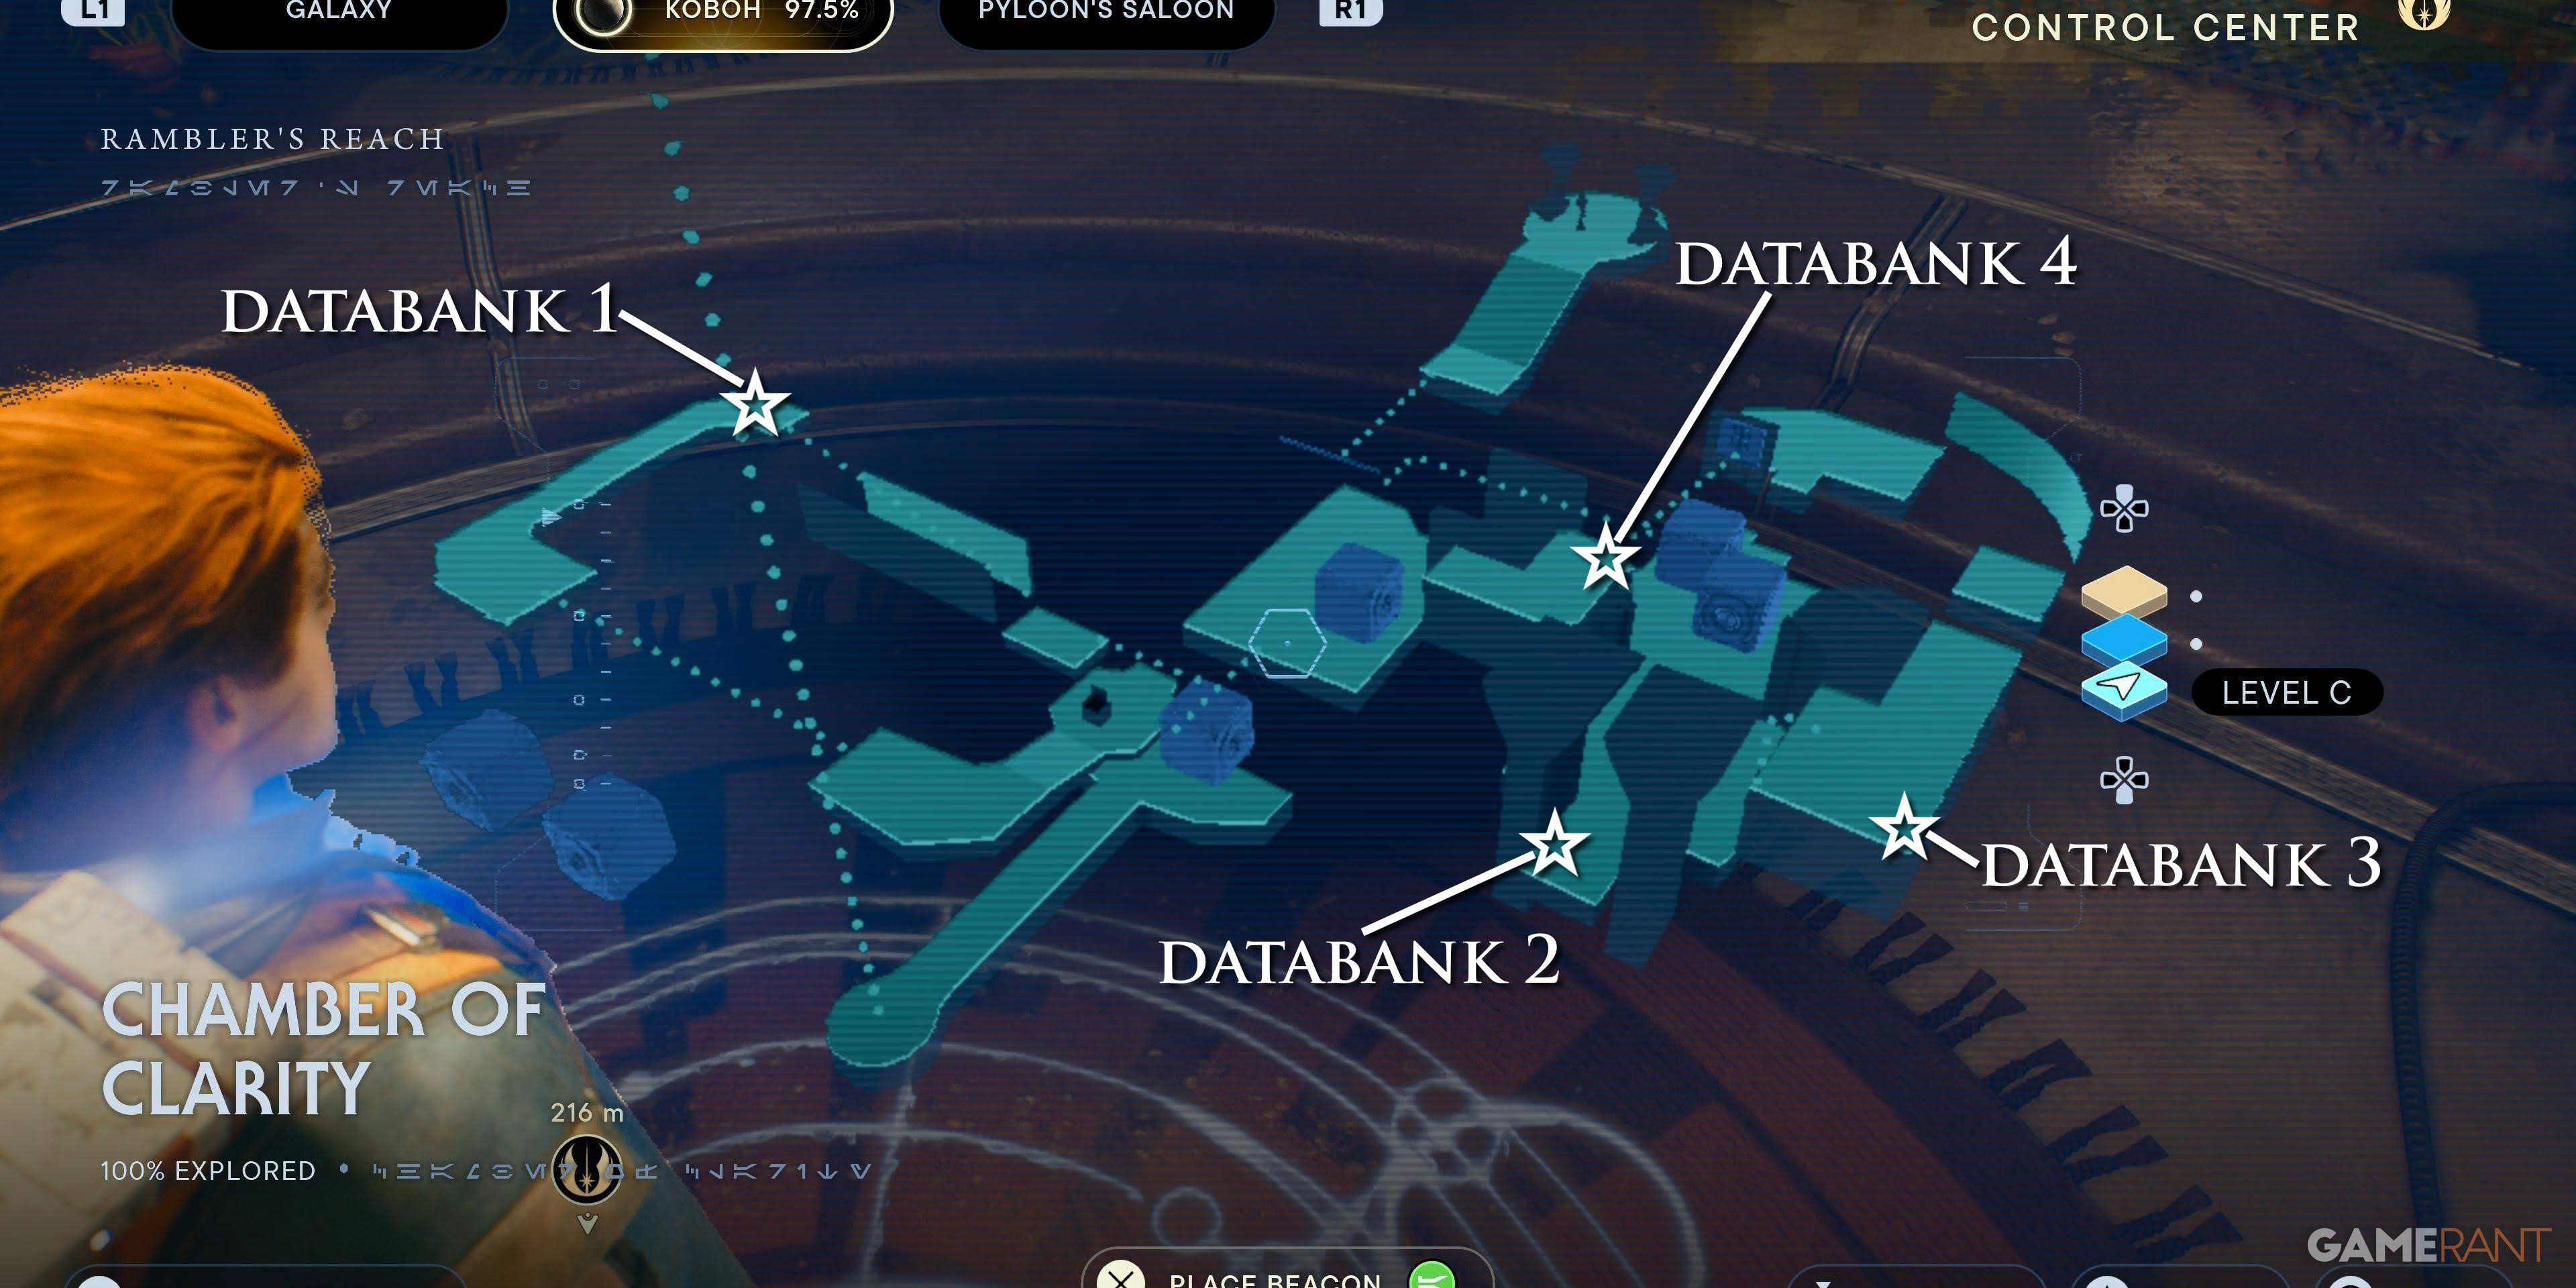
Using a Nekko Mount to reach it, The Chamber of Clarity features four databanks.
Databank 1 of 4 – Tenacity
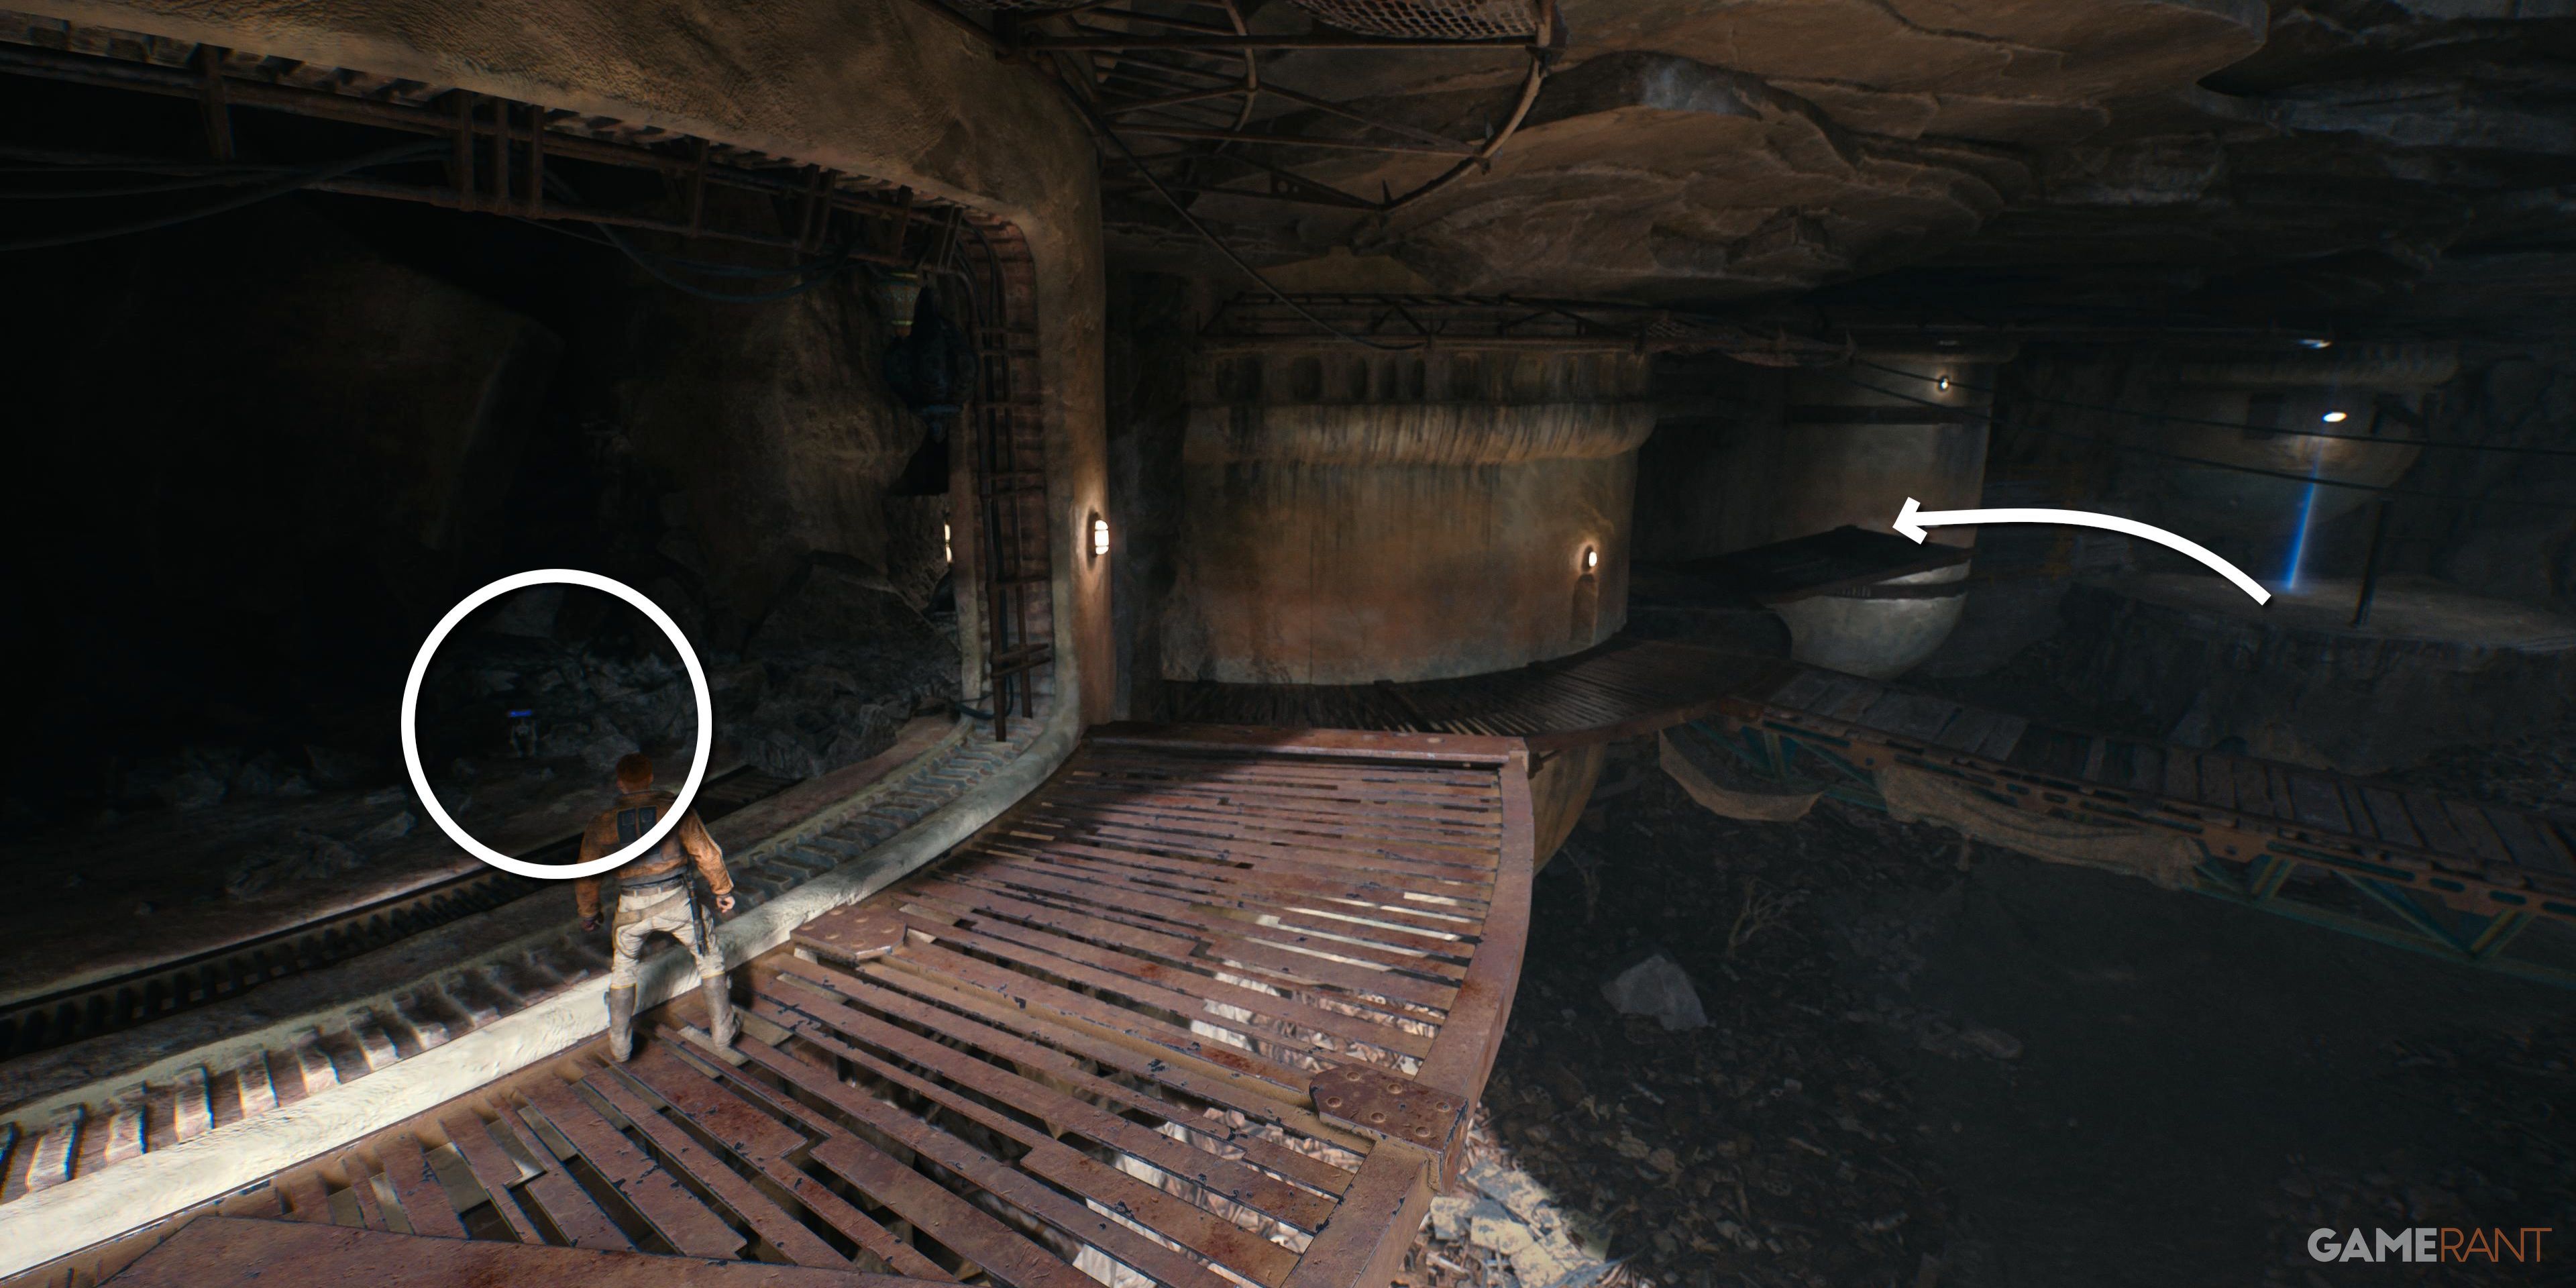
After riding the cube on the vines to the end, use the Force to pull another cube from the wall to the right and find this echo in the wall behind.
Riding the cube that players just removed, hop onto the ledge on the left as it leaves the wall to find this databank entry.
Databank 4 of 4 – A Candid Moment
Phon’qi Caverns (Requires Tame Relter)
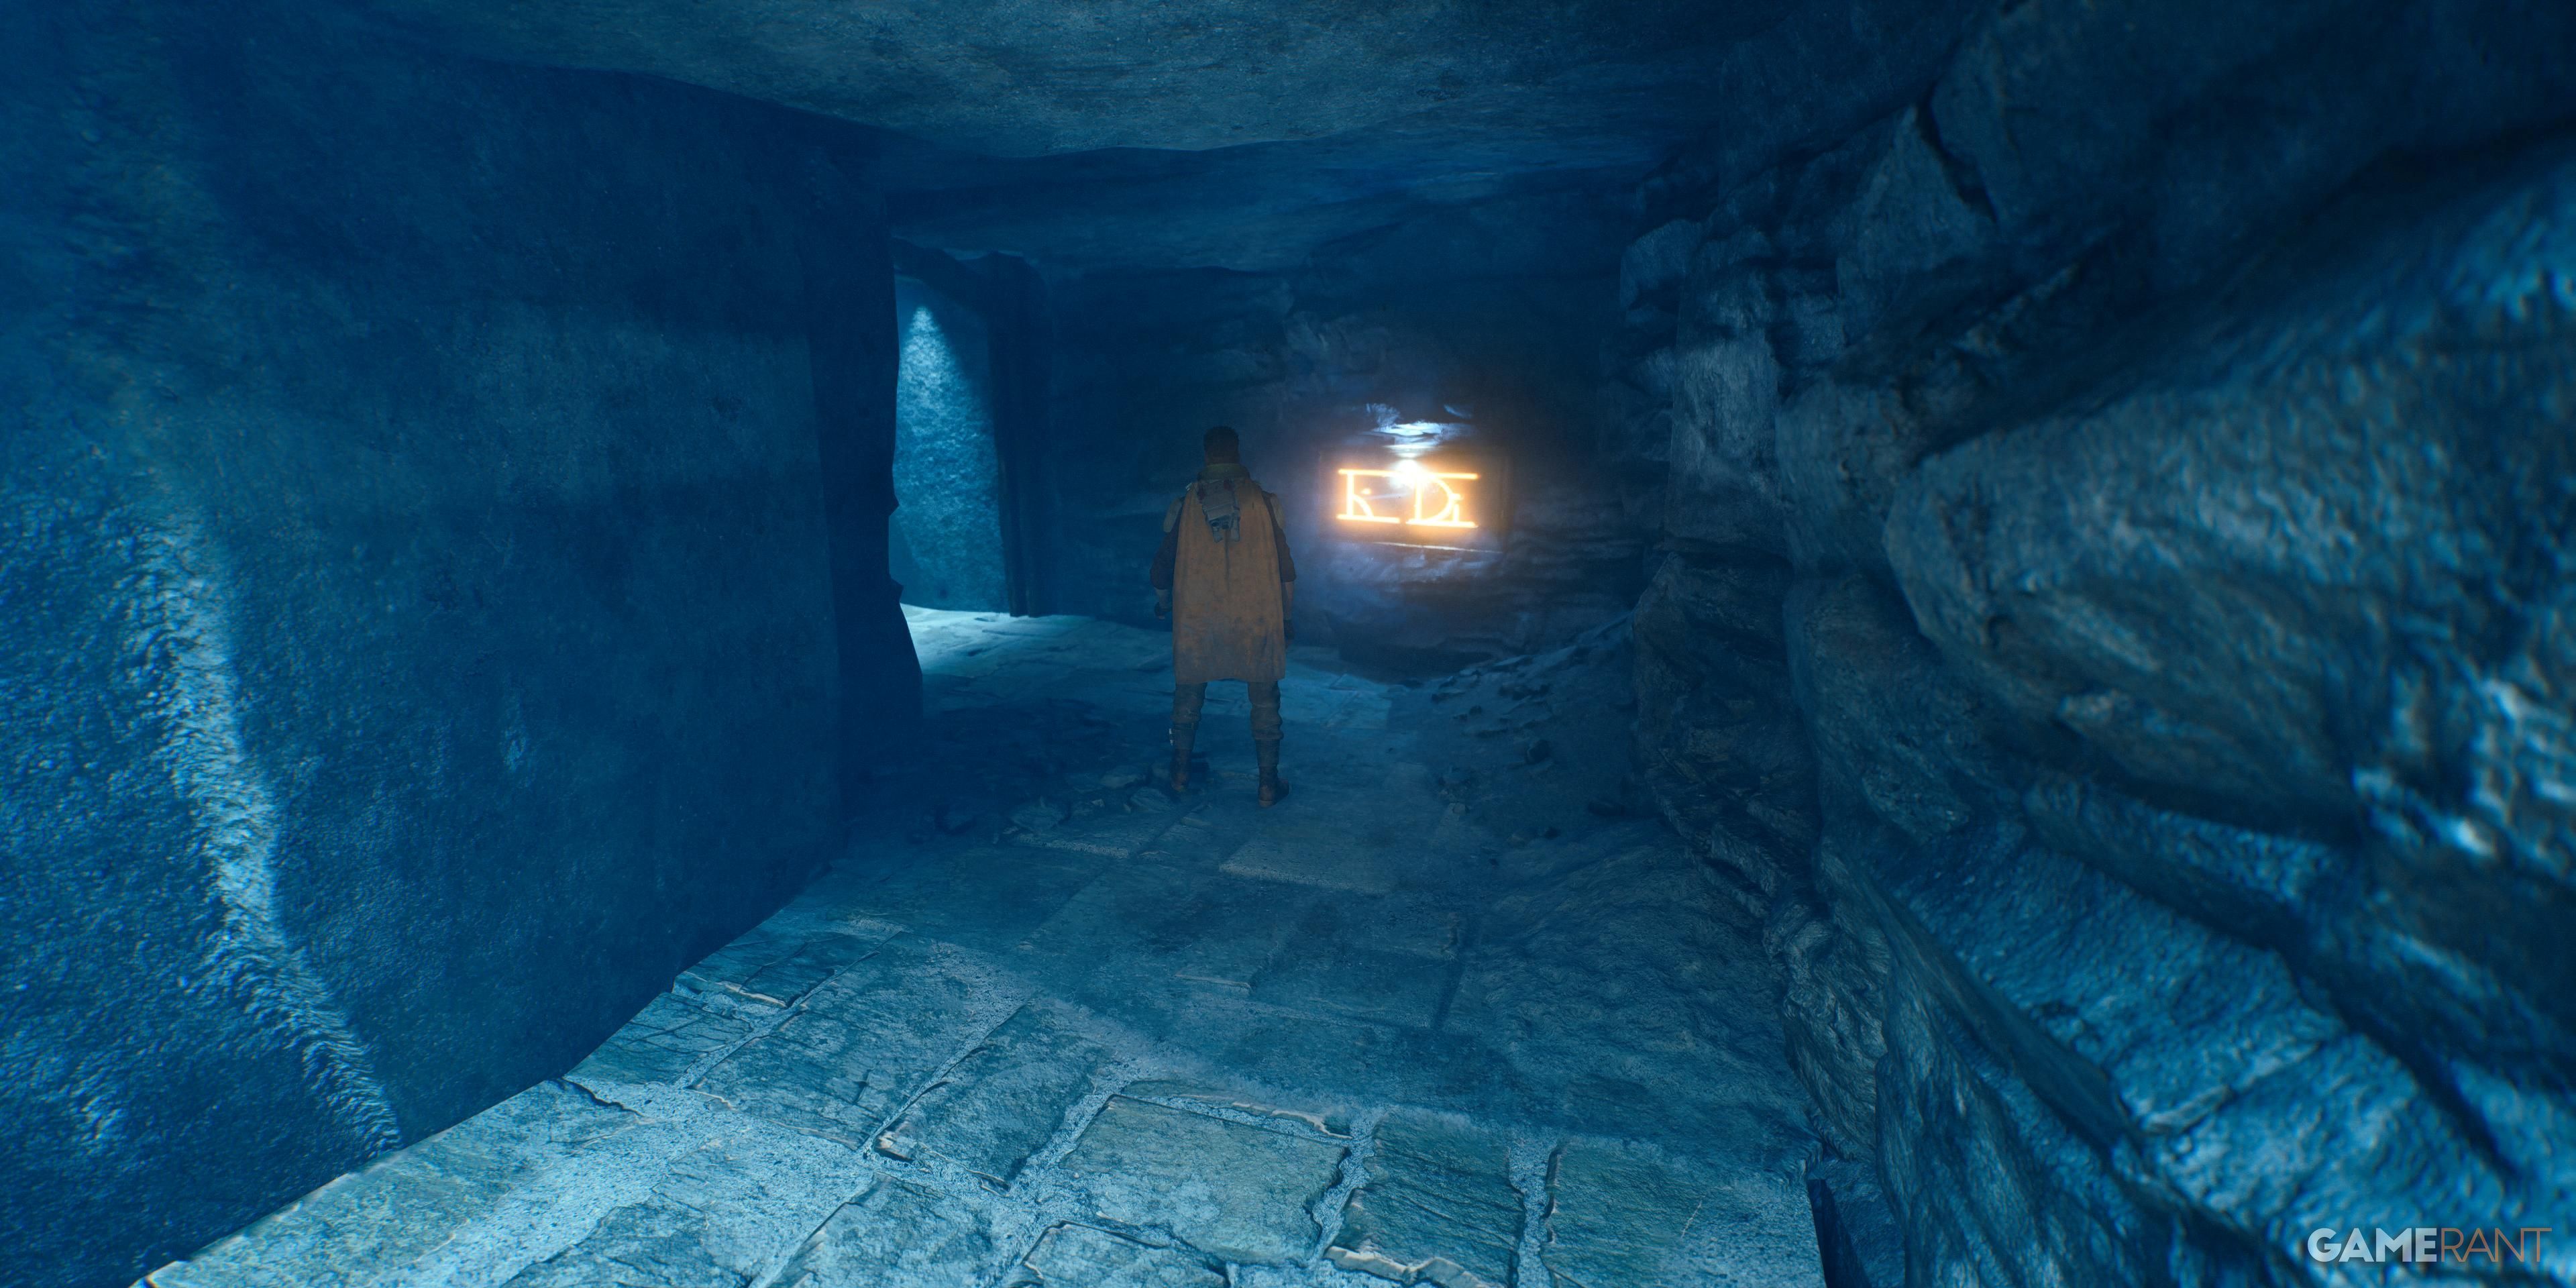
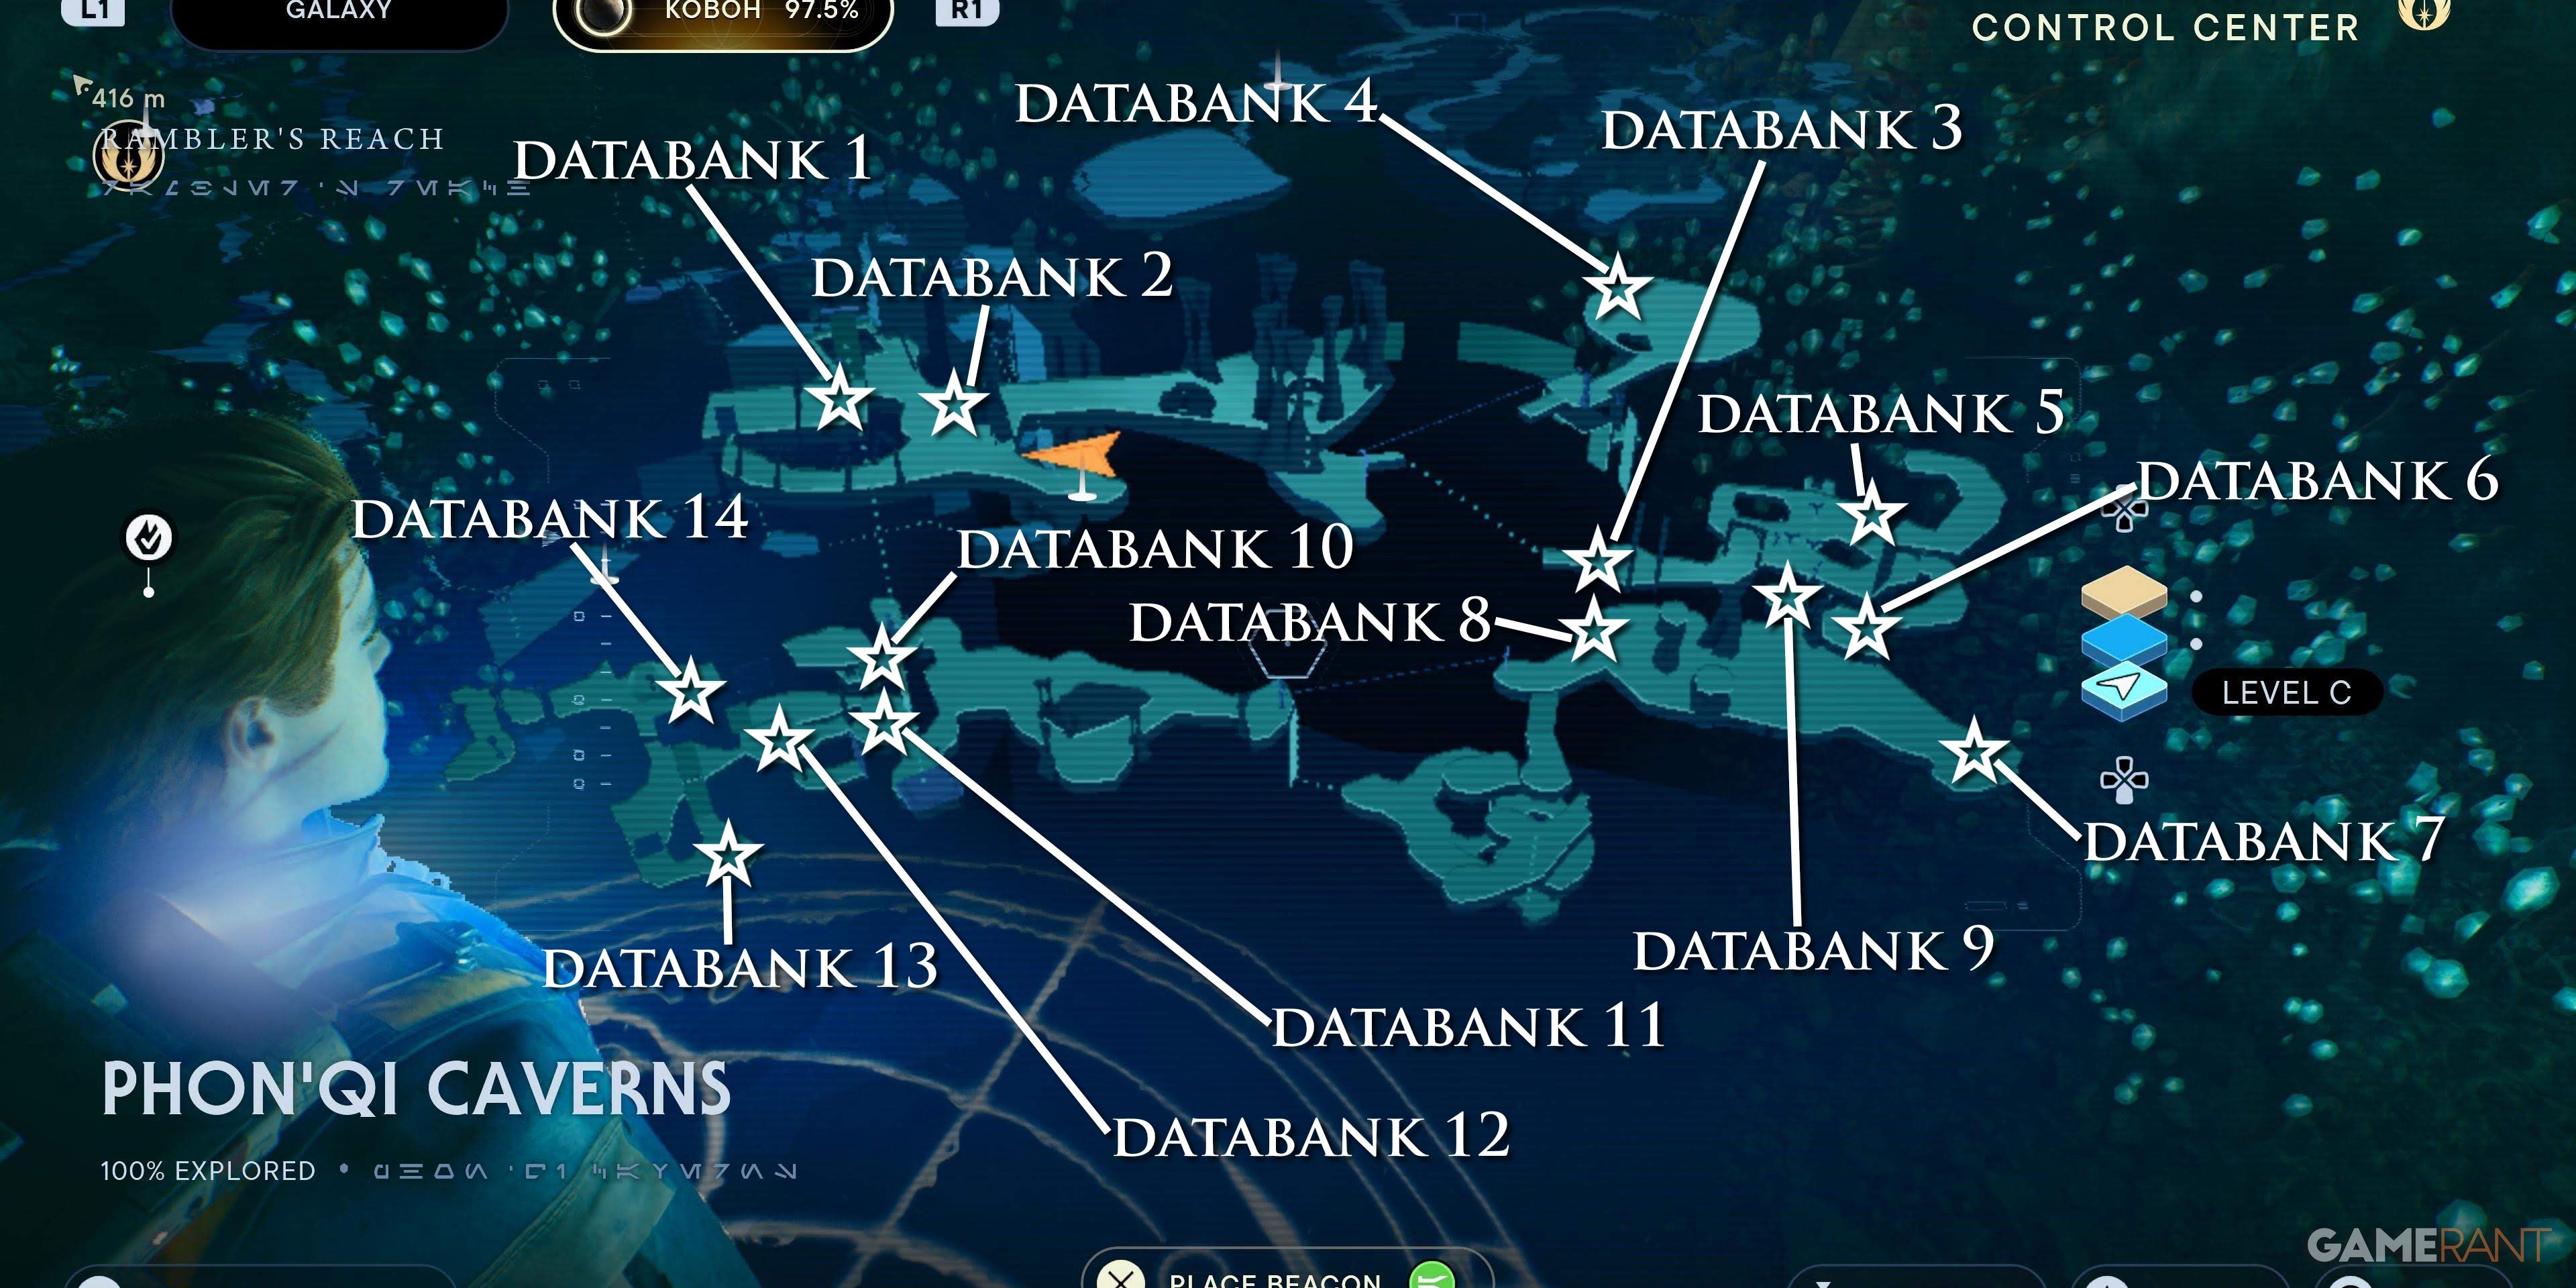
Gliding over the chasm in Foothill Falls, these caverns can be found in a basement hut and contain fourteen databanks.
Databank 1 of 14 – Makeshift Grave
Databank 2 of 14 – Abandoned Corpse
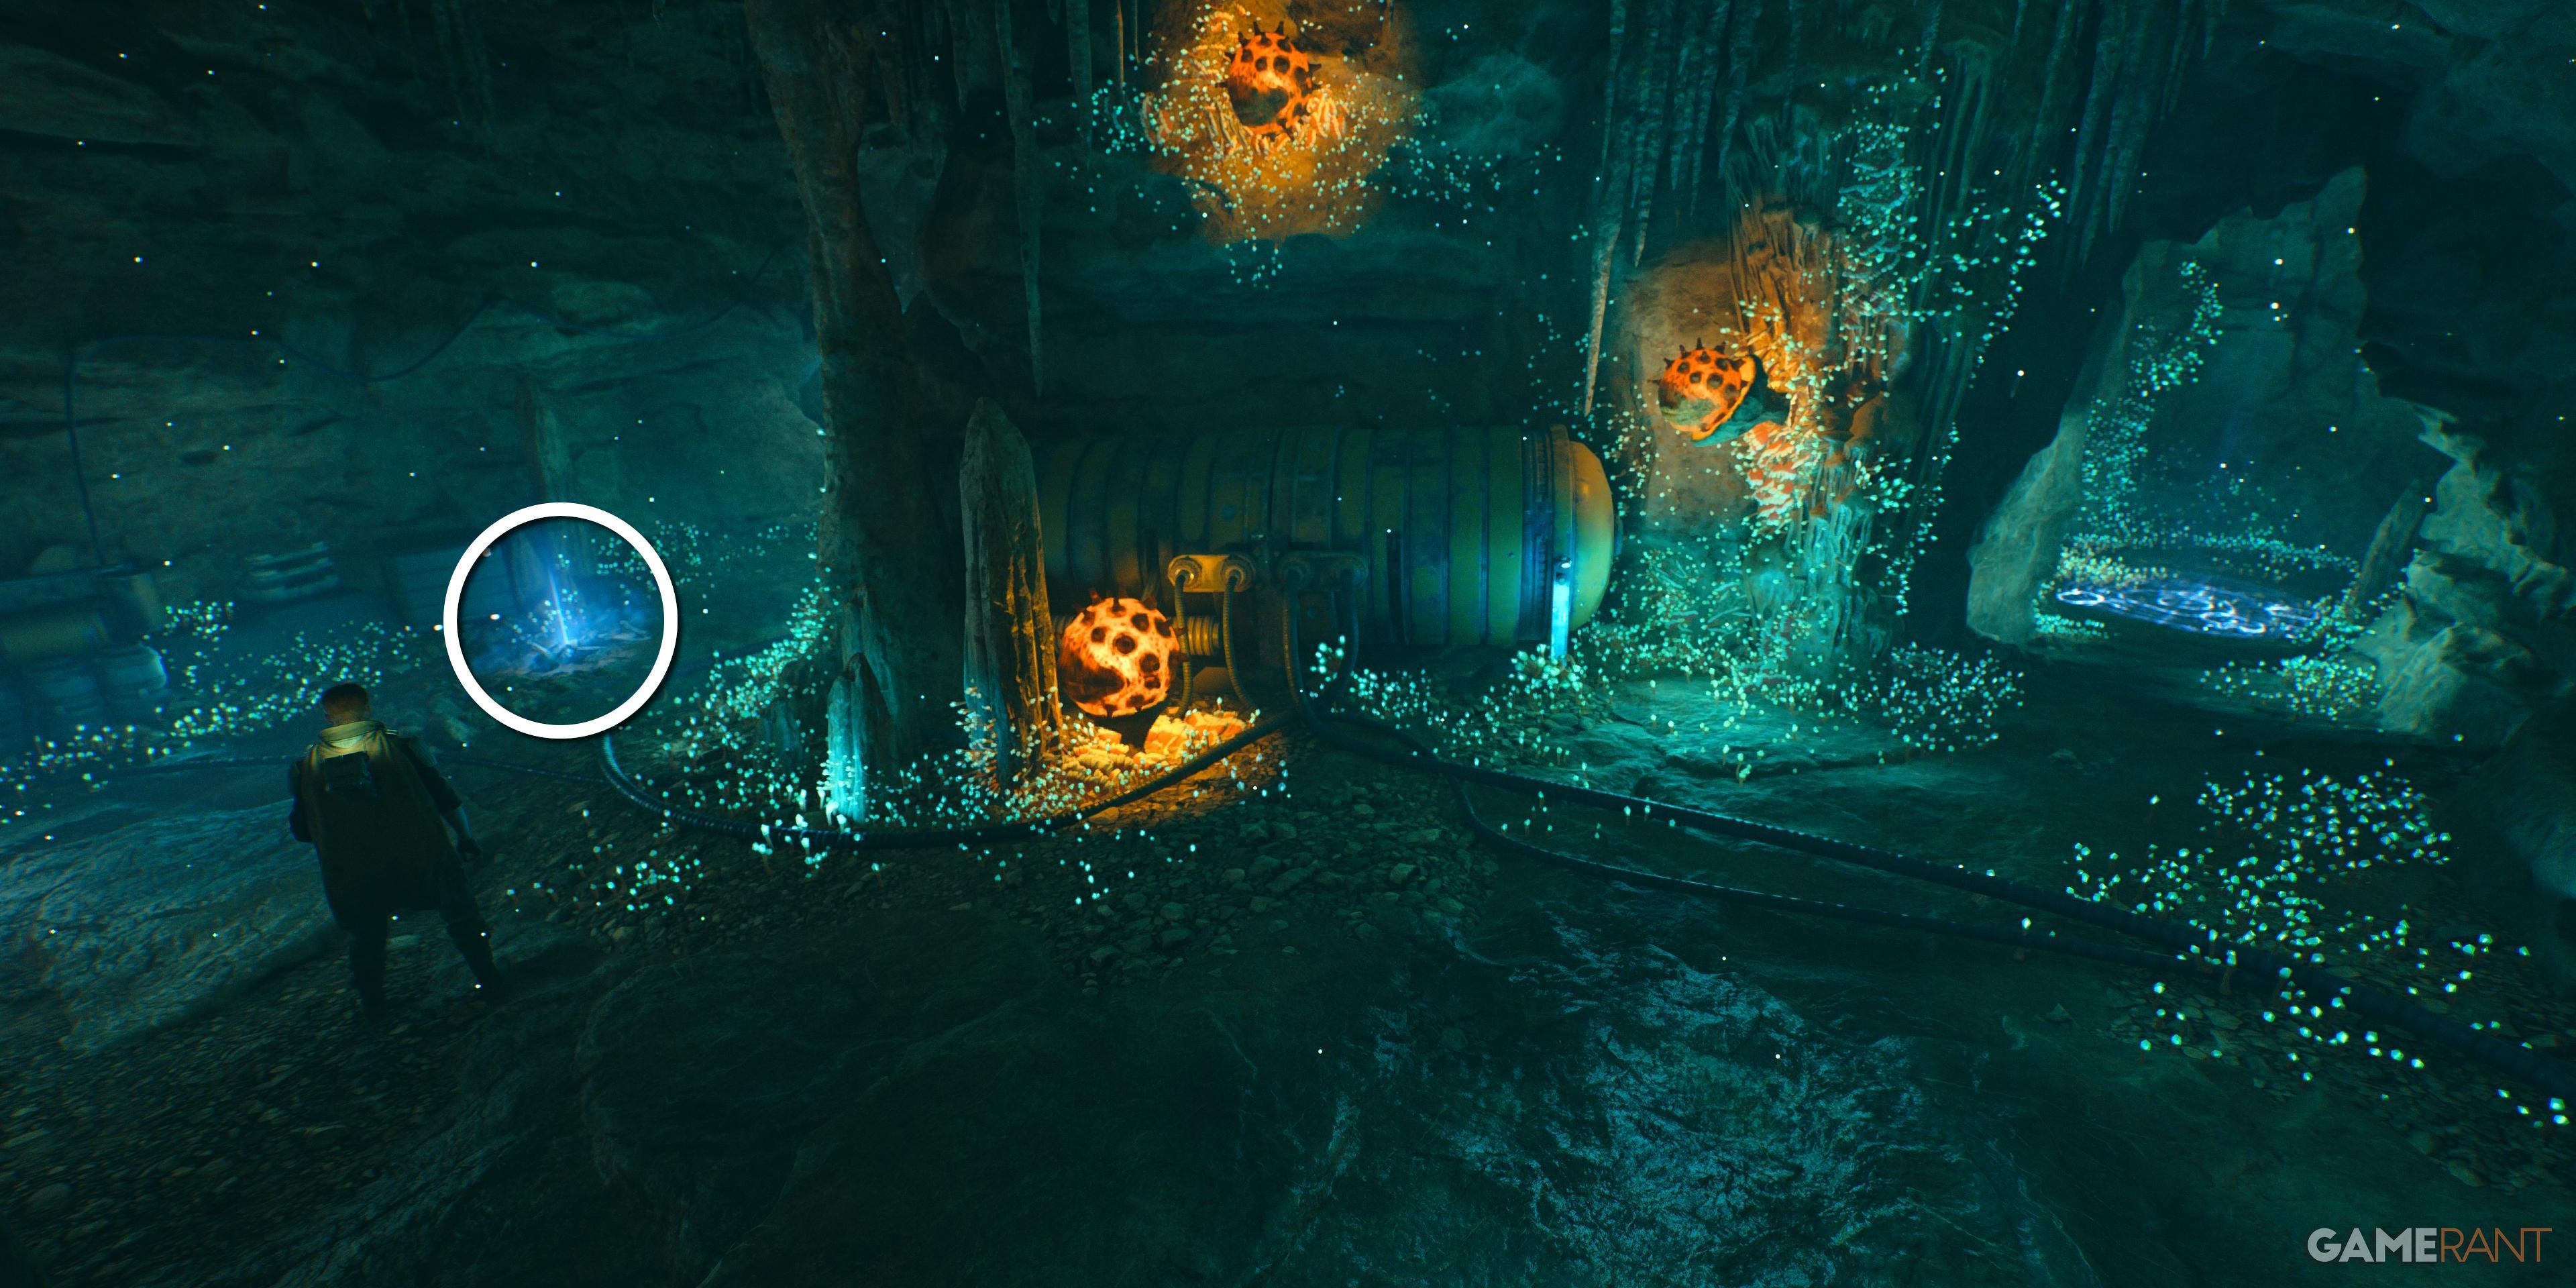
Using Force Lift to remove the device blocking access to the lower caverns, drop down, and Air Dash to the lower bridge to find this Cave Fungus on the right.
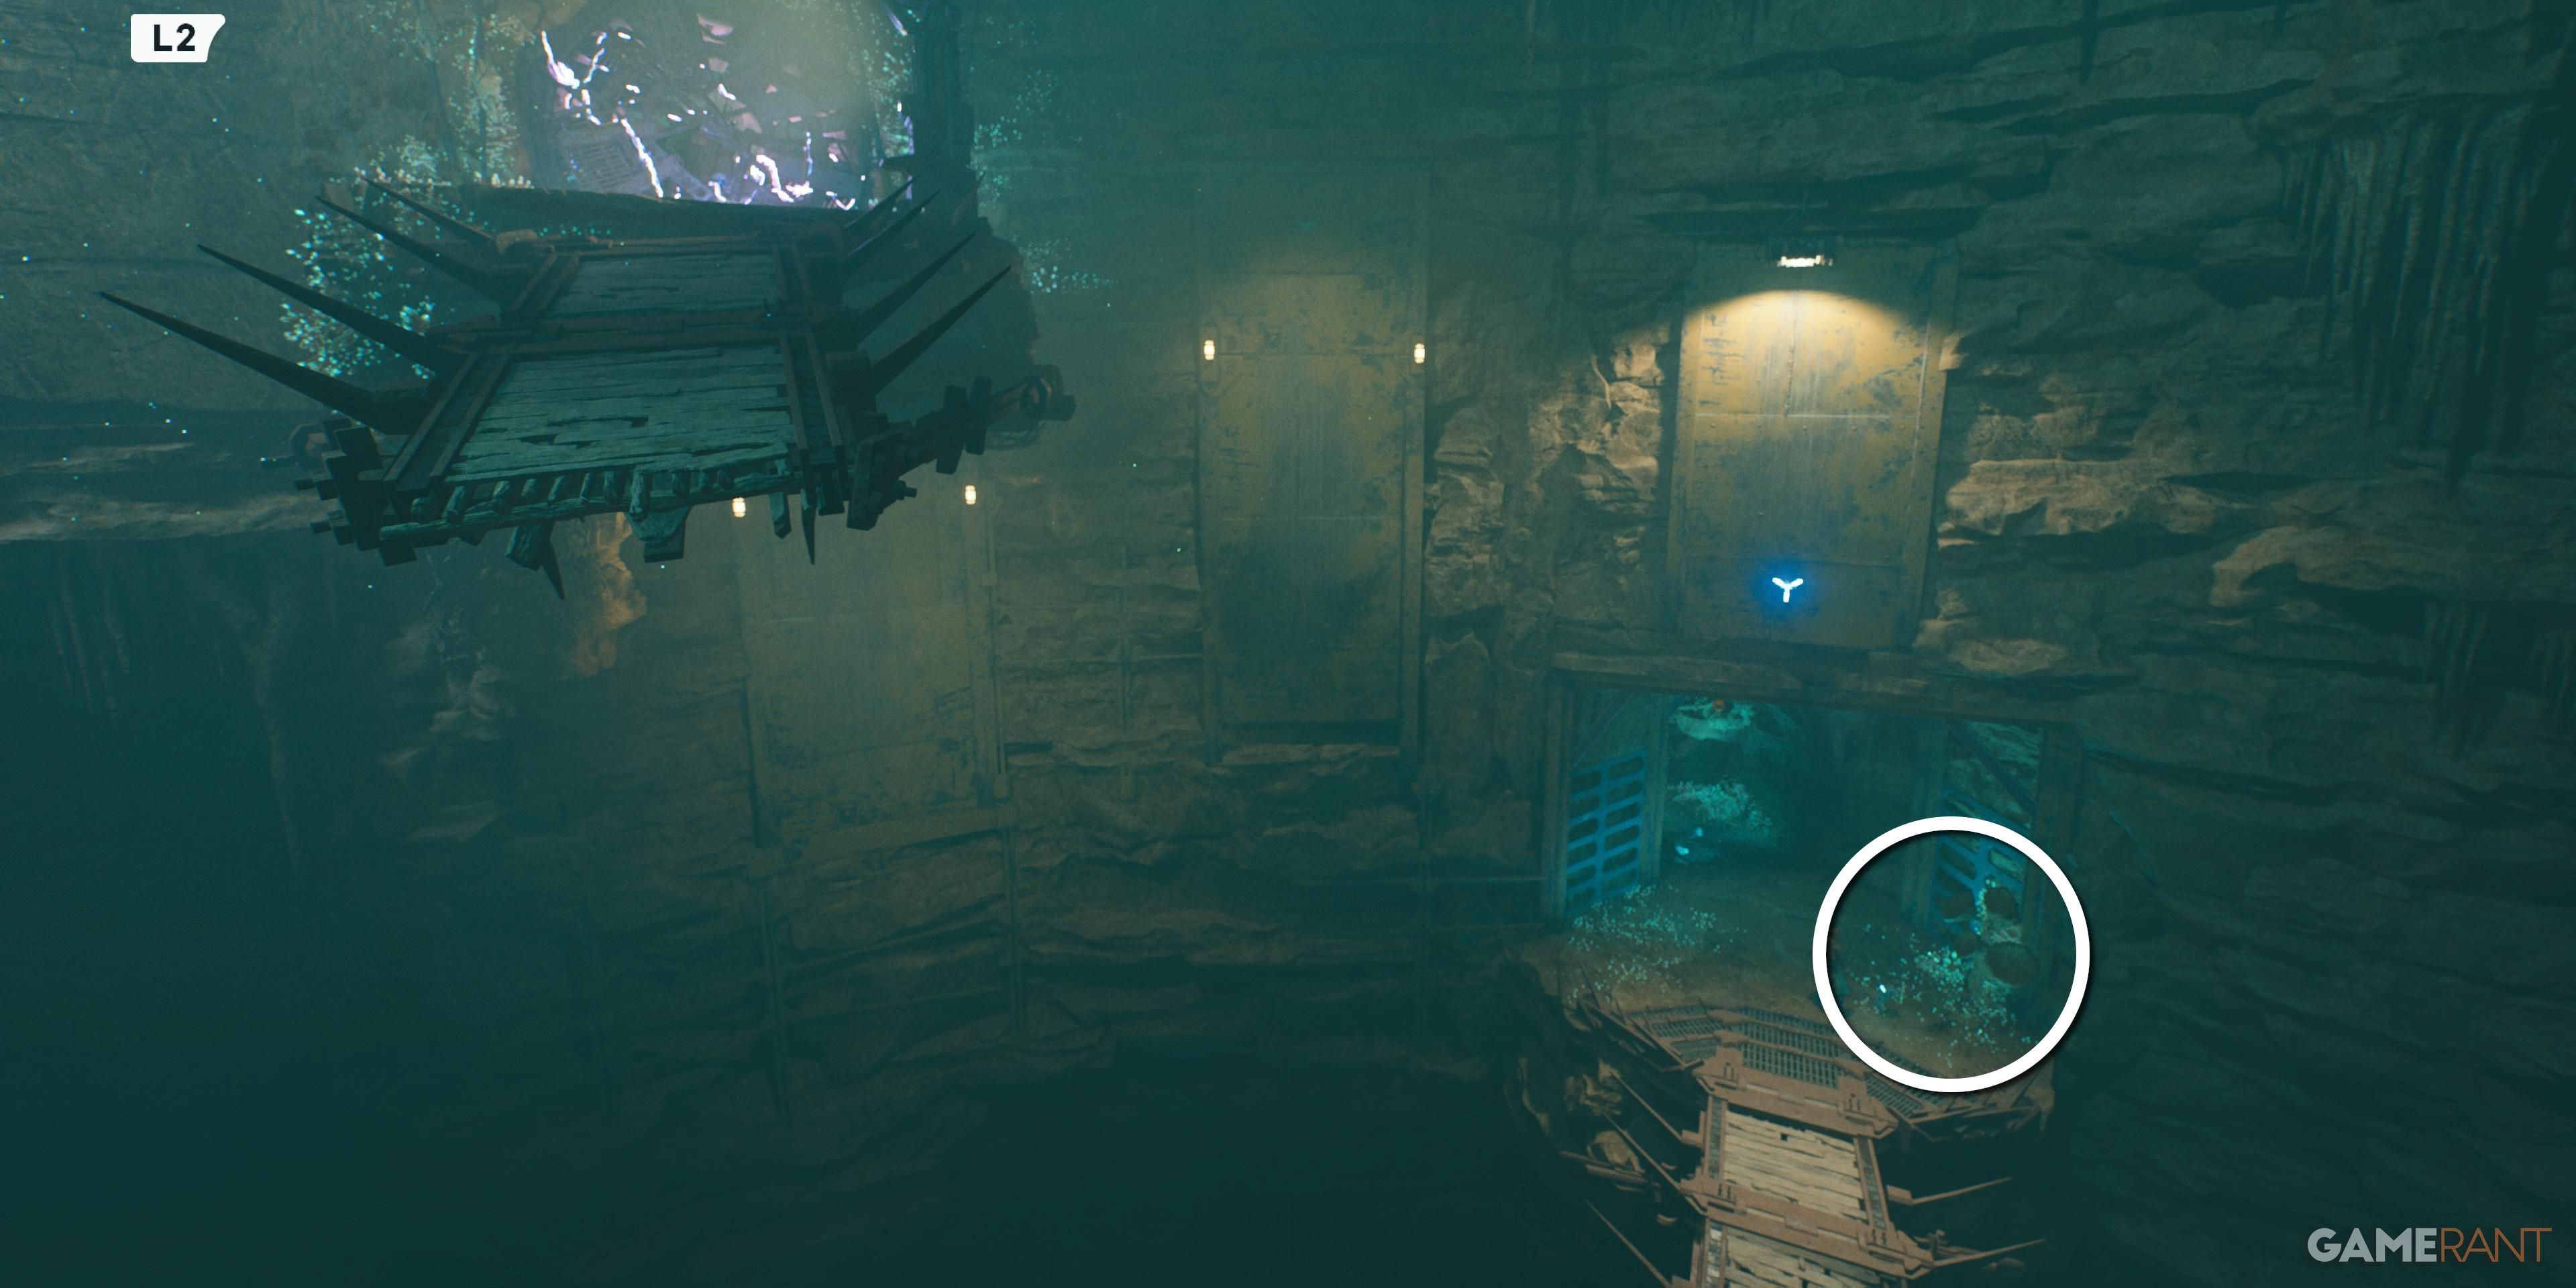
Cross the broken bridge and head towards the electrified rubble. Use wall run to reach the platform on the left, where you can find a Skill Point Essence. Take an explosive eyeball from the wall and use it to melt the purple electrified fence. The databank can be found on a door to the left once inside.
Databank 5 of 14 – A Gen’Dai Plots (Requires Force Lift)
In the corner of the room behind the Cave Fungus, with the three Droids guarding it.
Drop down the hole in the floor to find this databank entry beneath a turret.
Databank 7 of 14 – Rancor Prey (Requires Force Lift)
Databank 8 of 14 – A Cave Too Far (Requires Force Lift)
On the opposite side of the cavern to the Rancor, to the right of the path deeper into the caves.
Databank 9 of 14 – As Above, So Below (Requires Force Lift)
Databank 10 of 14 – Scientific Frisson (Requires Force Lift)
At the bottom of a green laser wall that players will pass through to escape a trapdoor.
Before using the explosive eyeball to burn through the electrified rubble, find this echo in the corner.
Databank 13 of 14 – Rayvis’ Search (Requires Force Lift)
After escaping the trap, get BD to slice the door and find this echo behind it.
Above the previous databank, pass through the green laser wall and scan the console on the right.
Water Treatment Works (Requires Force Lift)
Databank 1 of 2 – Leaking Water Storage
Climbing the ledge, head around to the right and wall run to the other side of the hall to find this echo. The Edgehawk Lightsaber parts can also be found here.
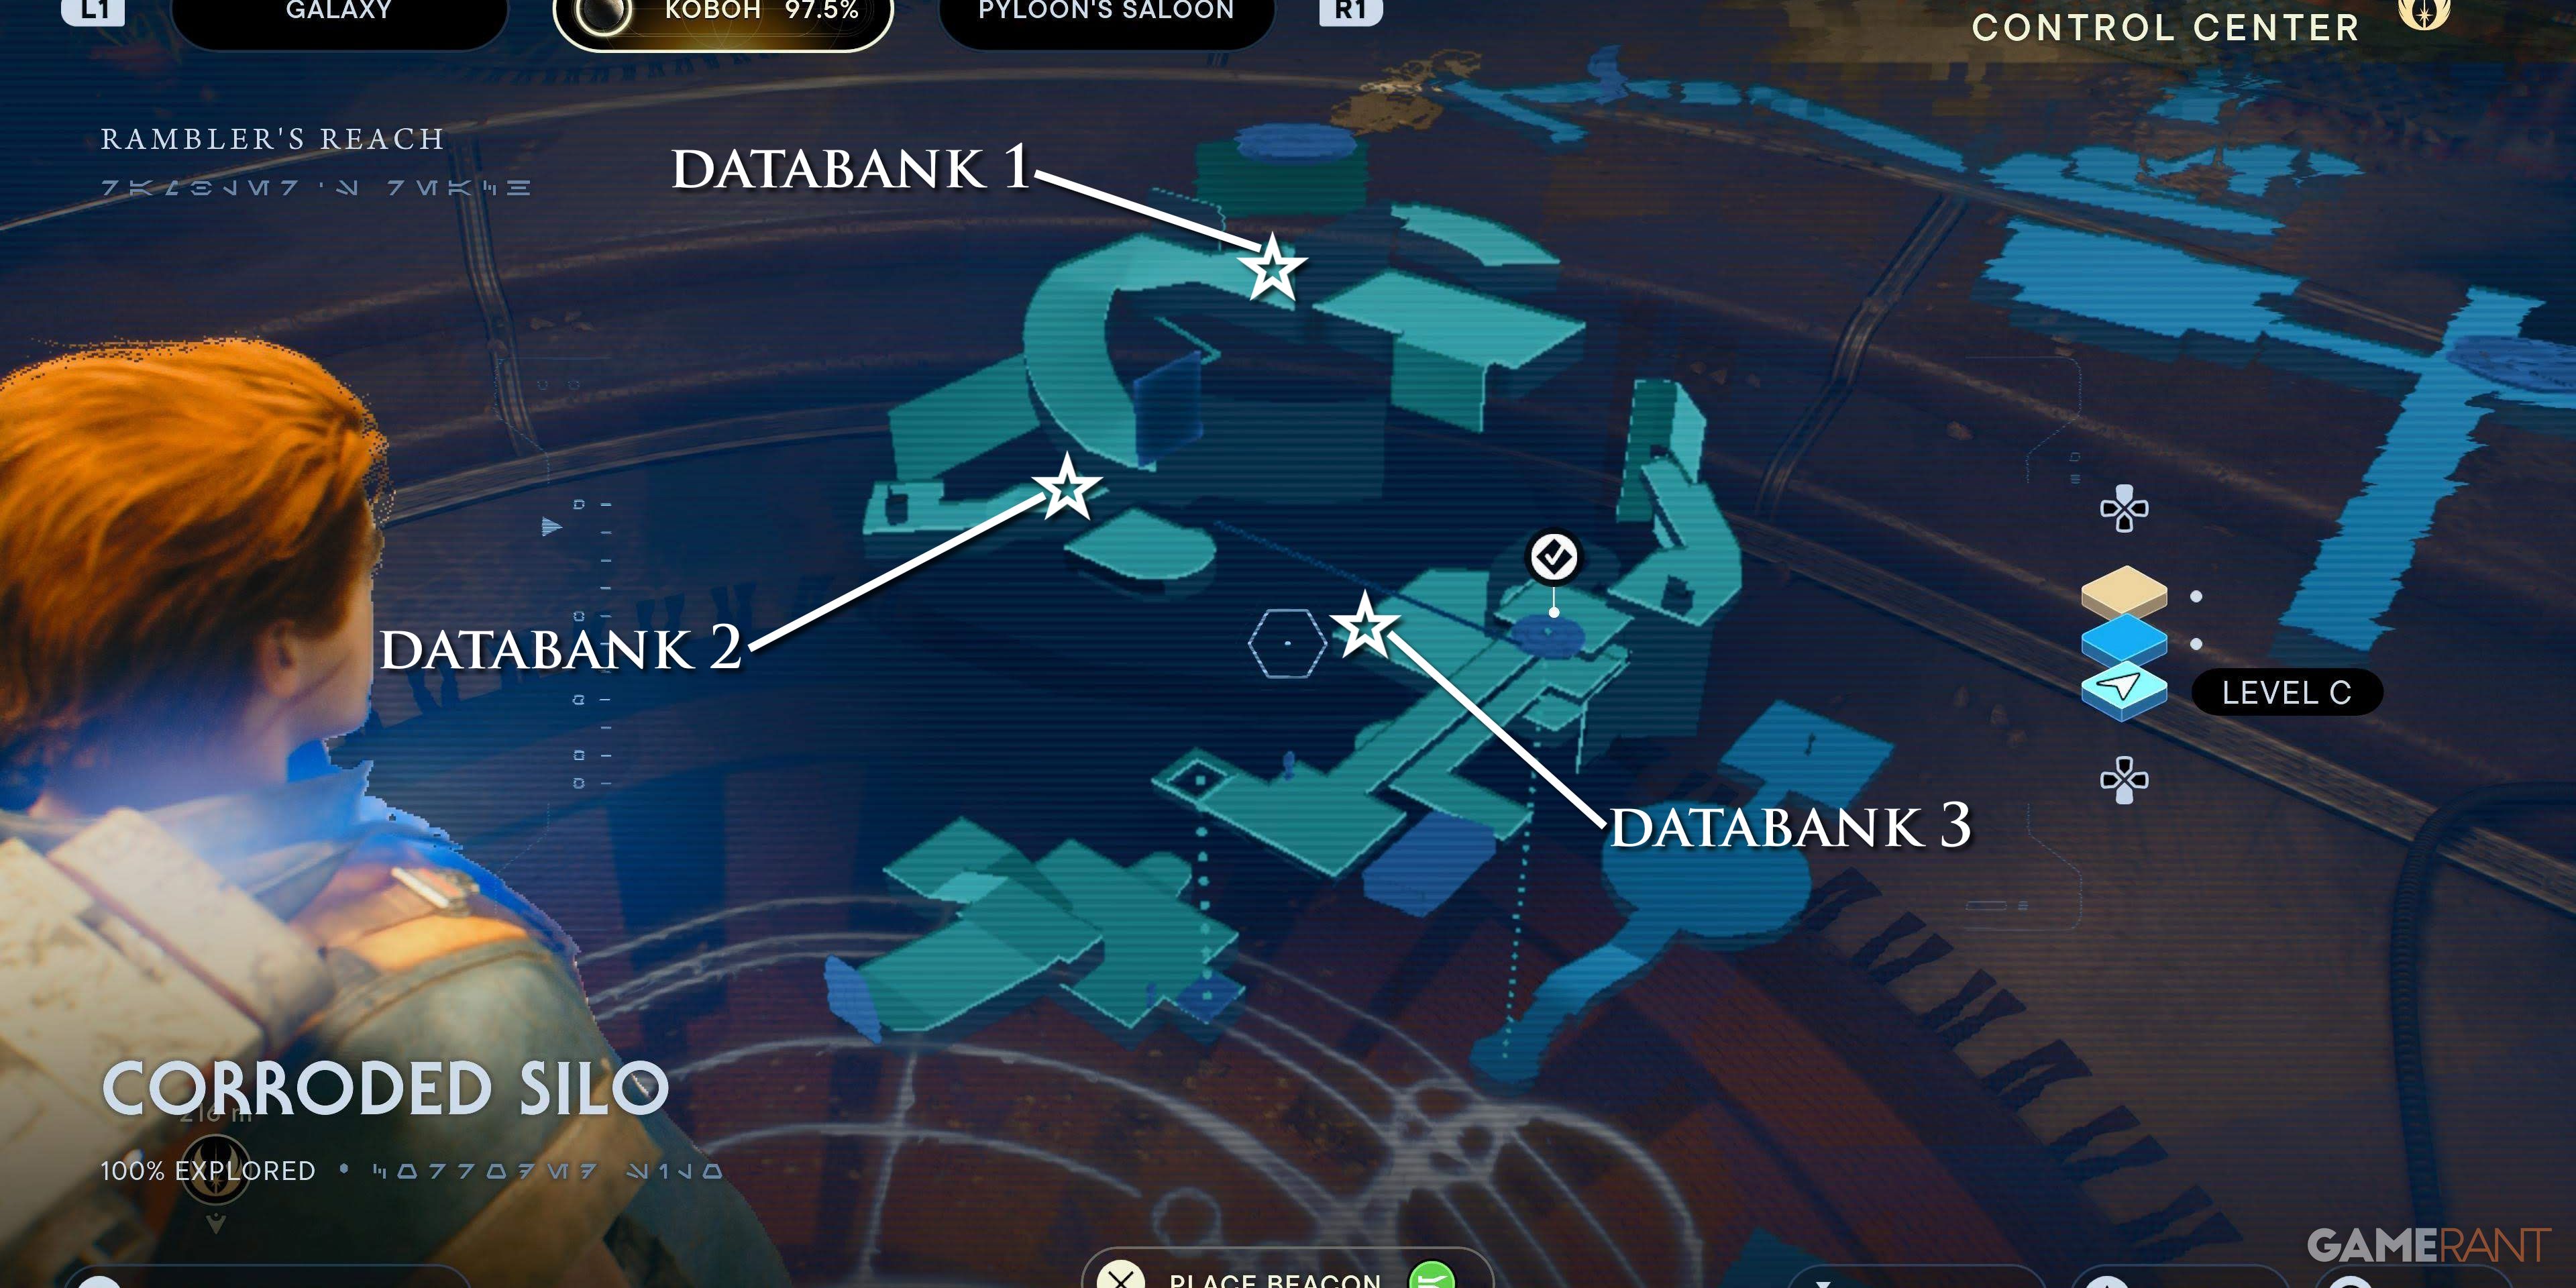
Corroded Silo (Requires Force Lift)
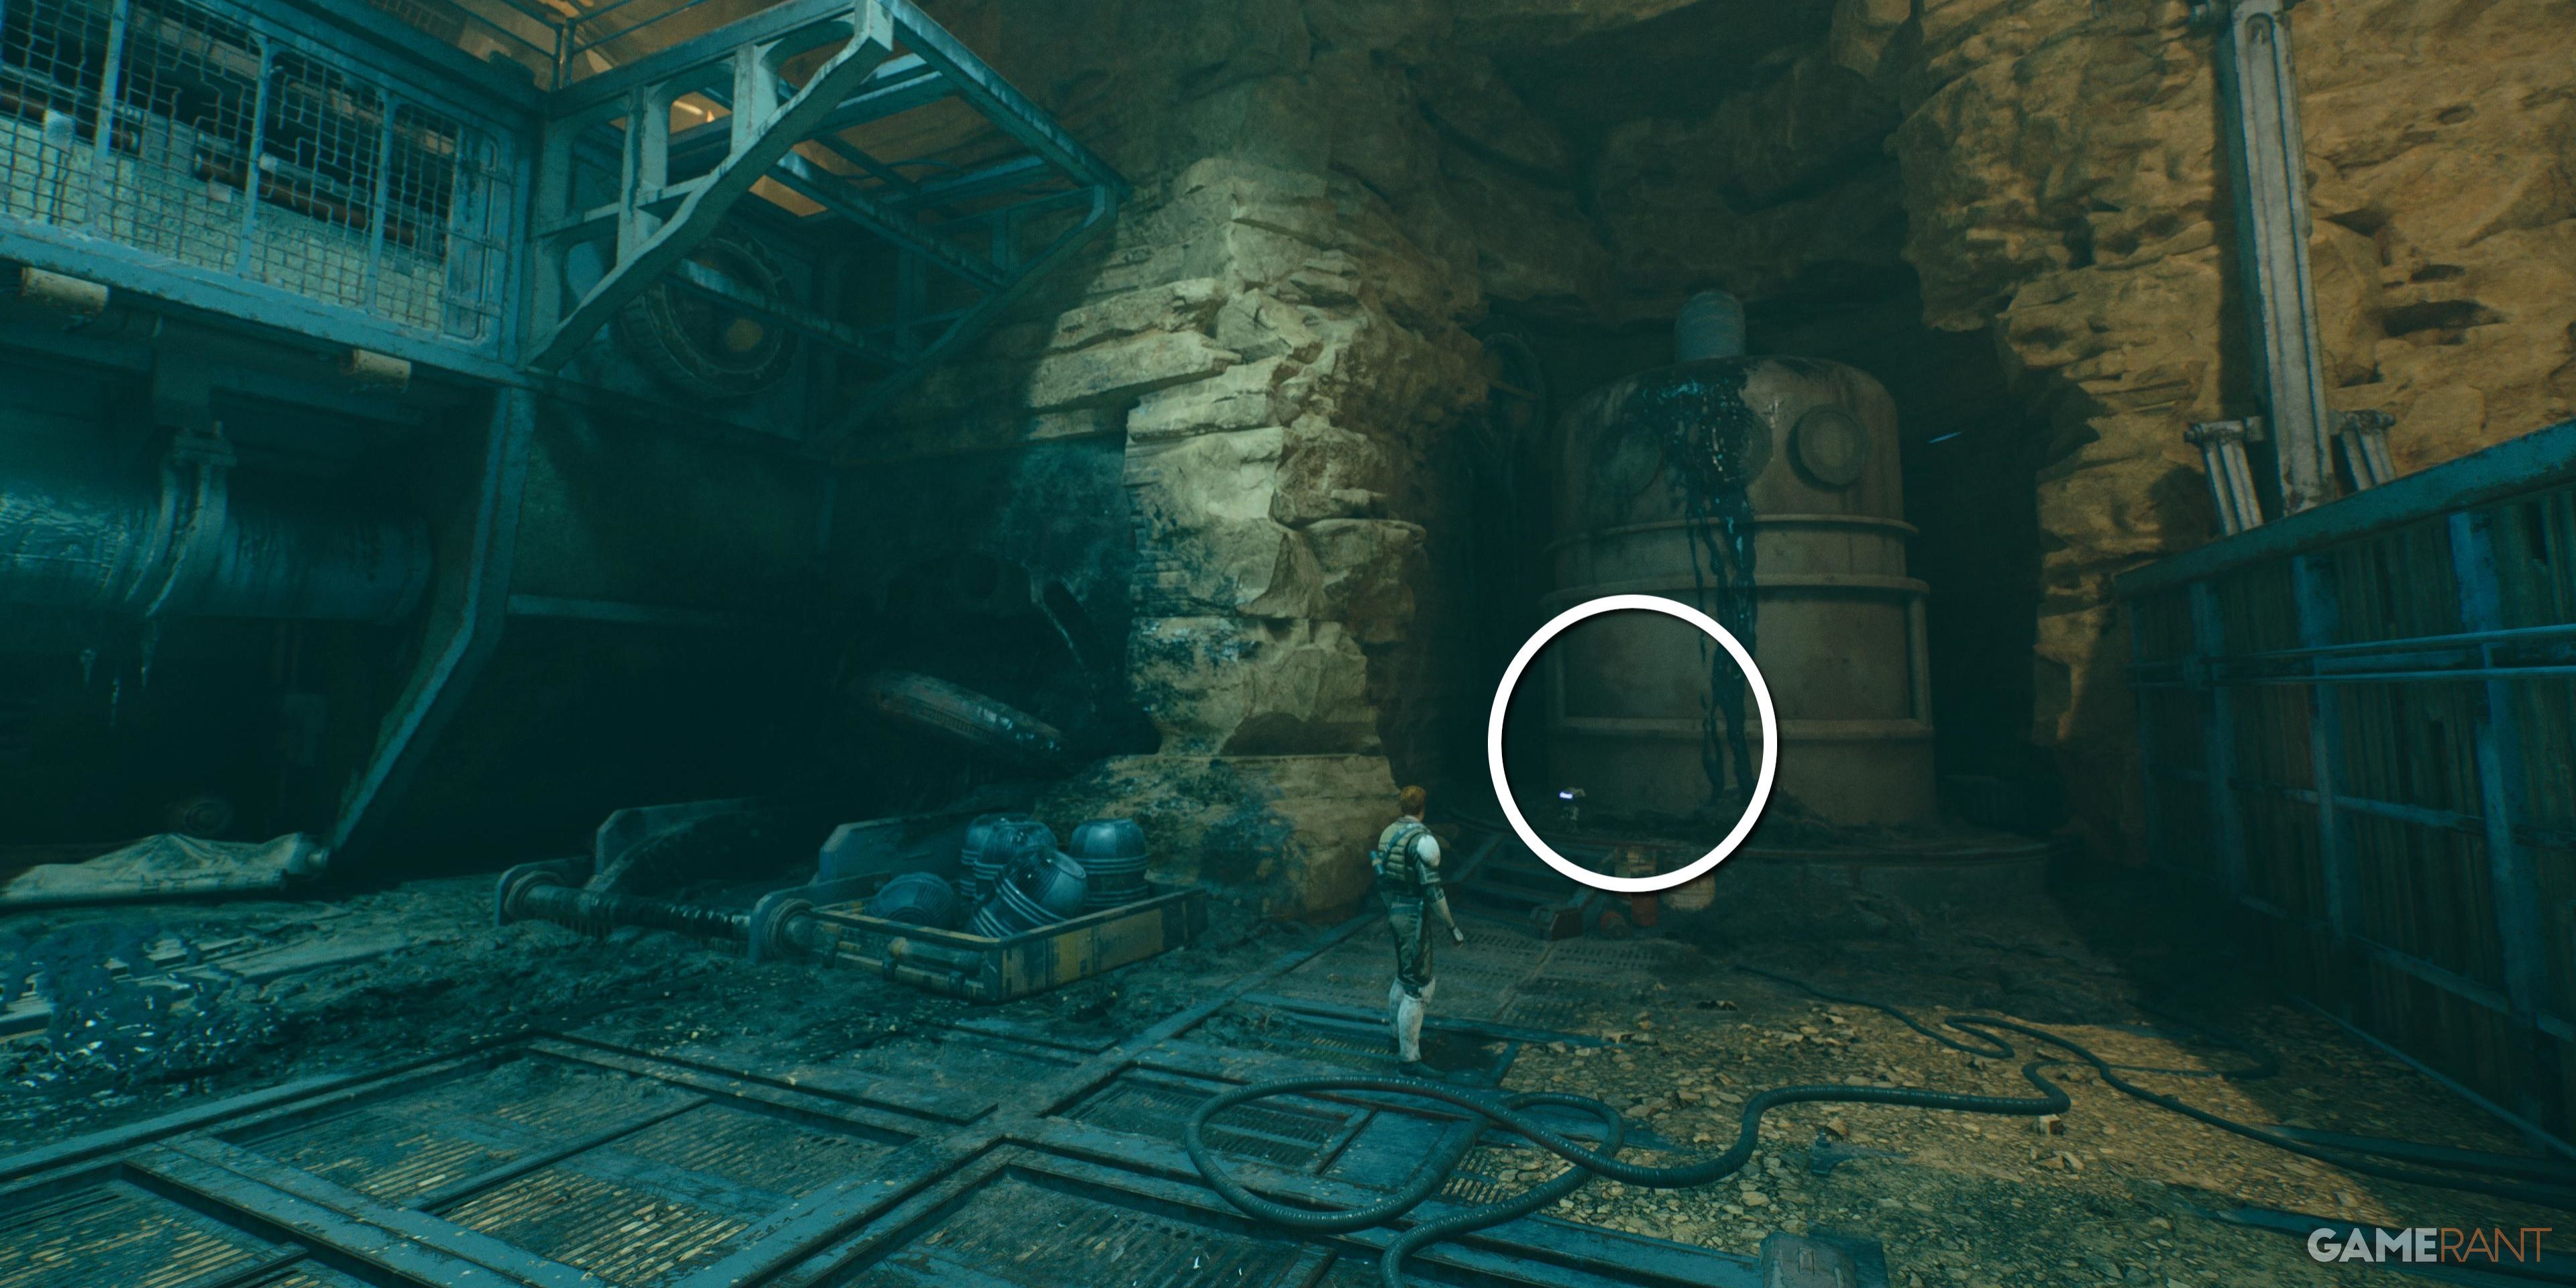
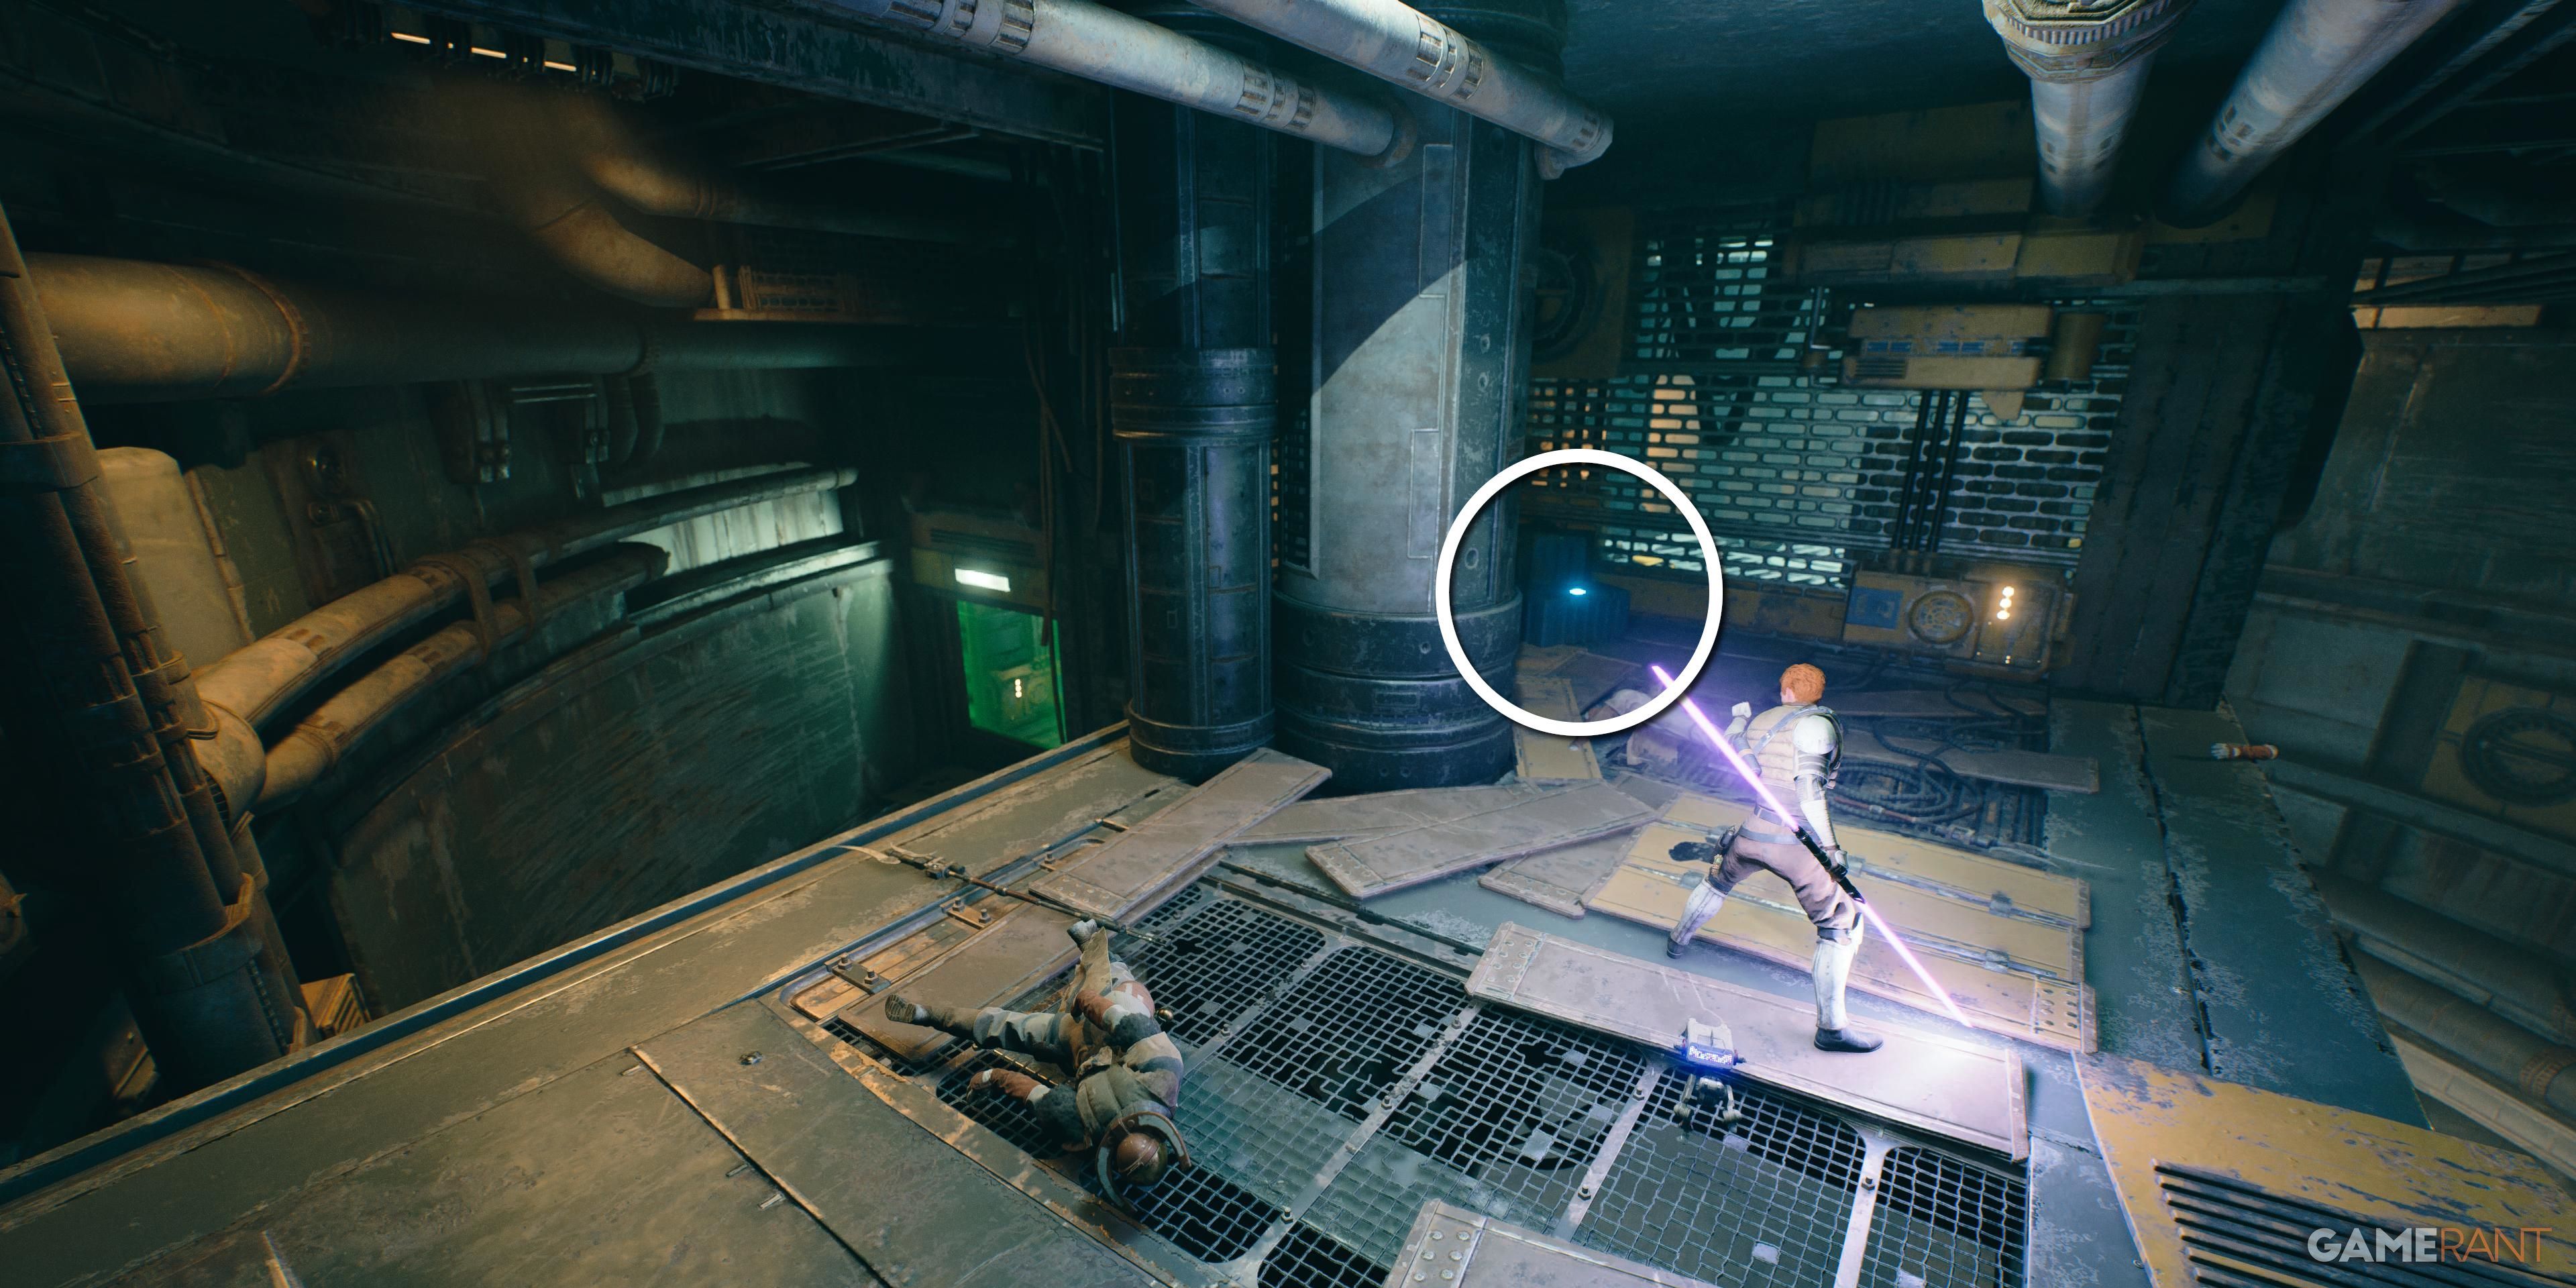
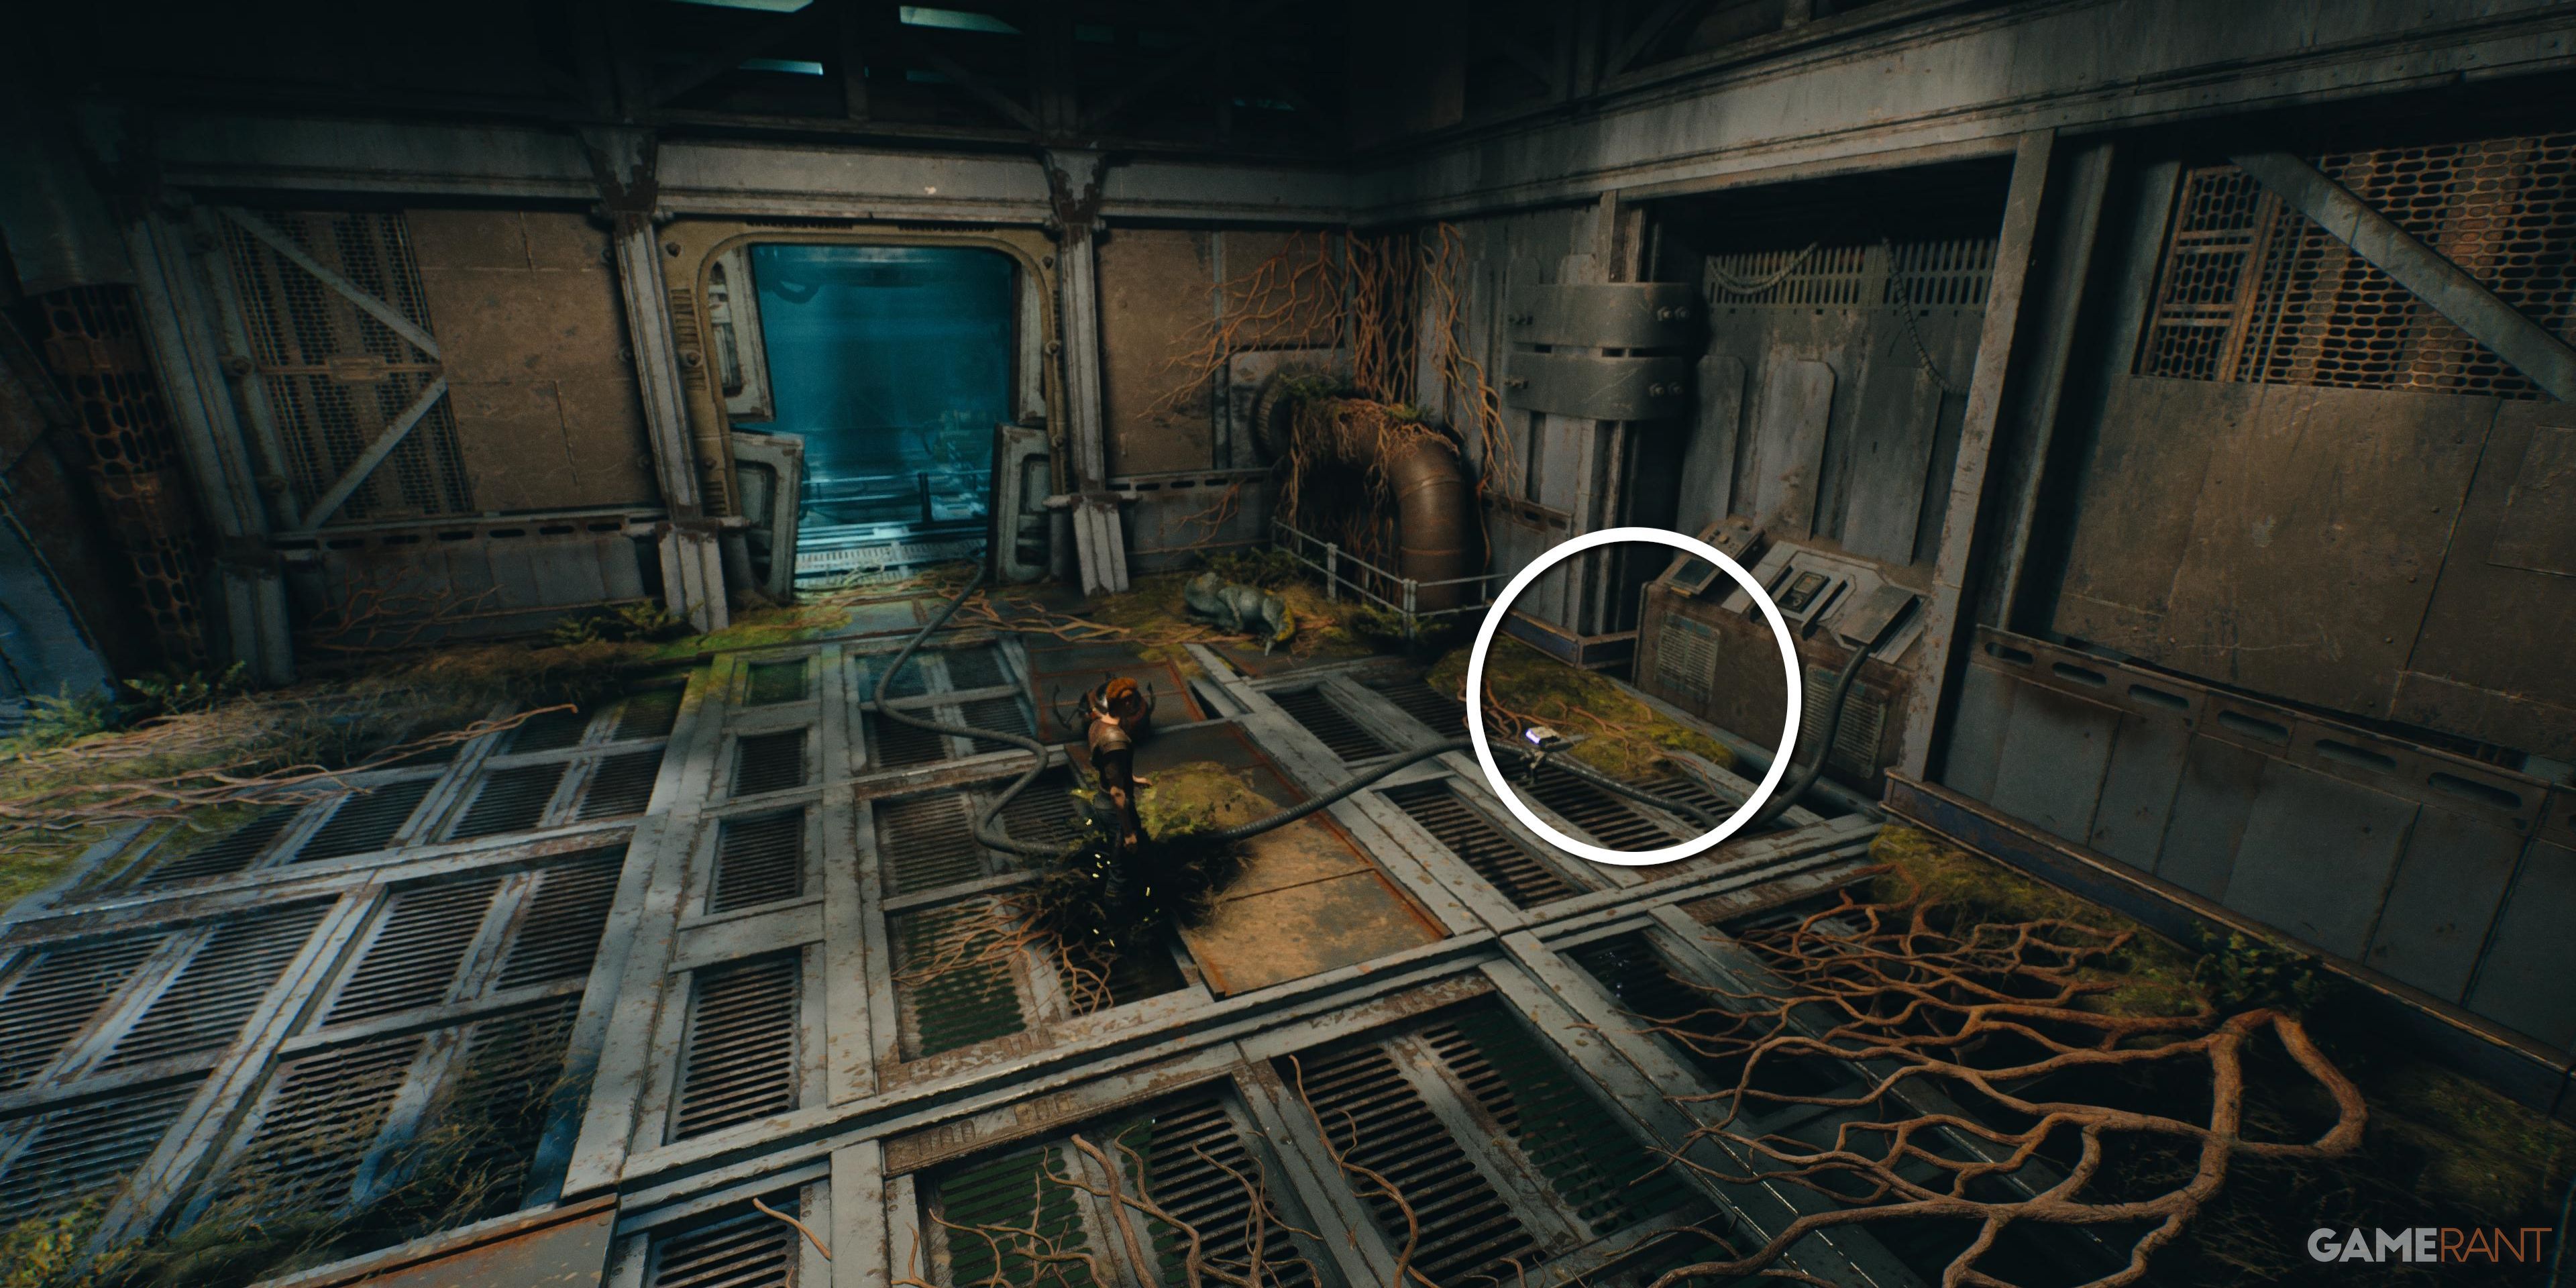
In the Silo, air dash through a green laser wall and take out some Raiders. This datapad is on the floor in the corner.
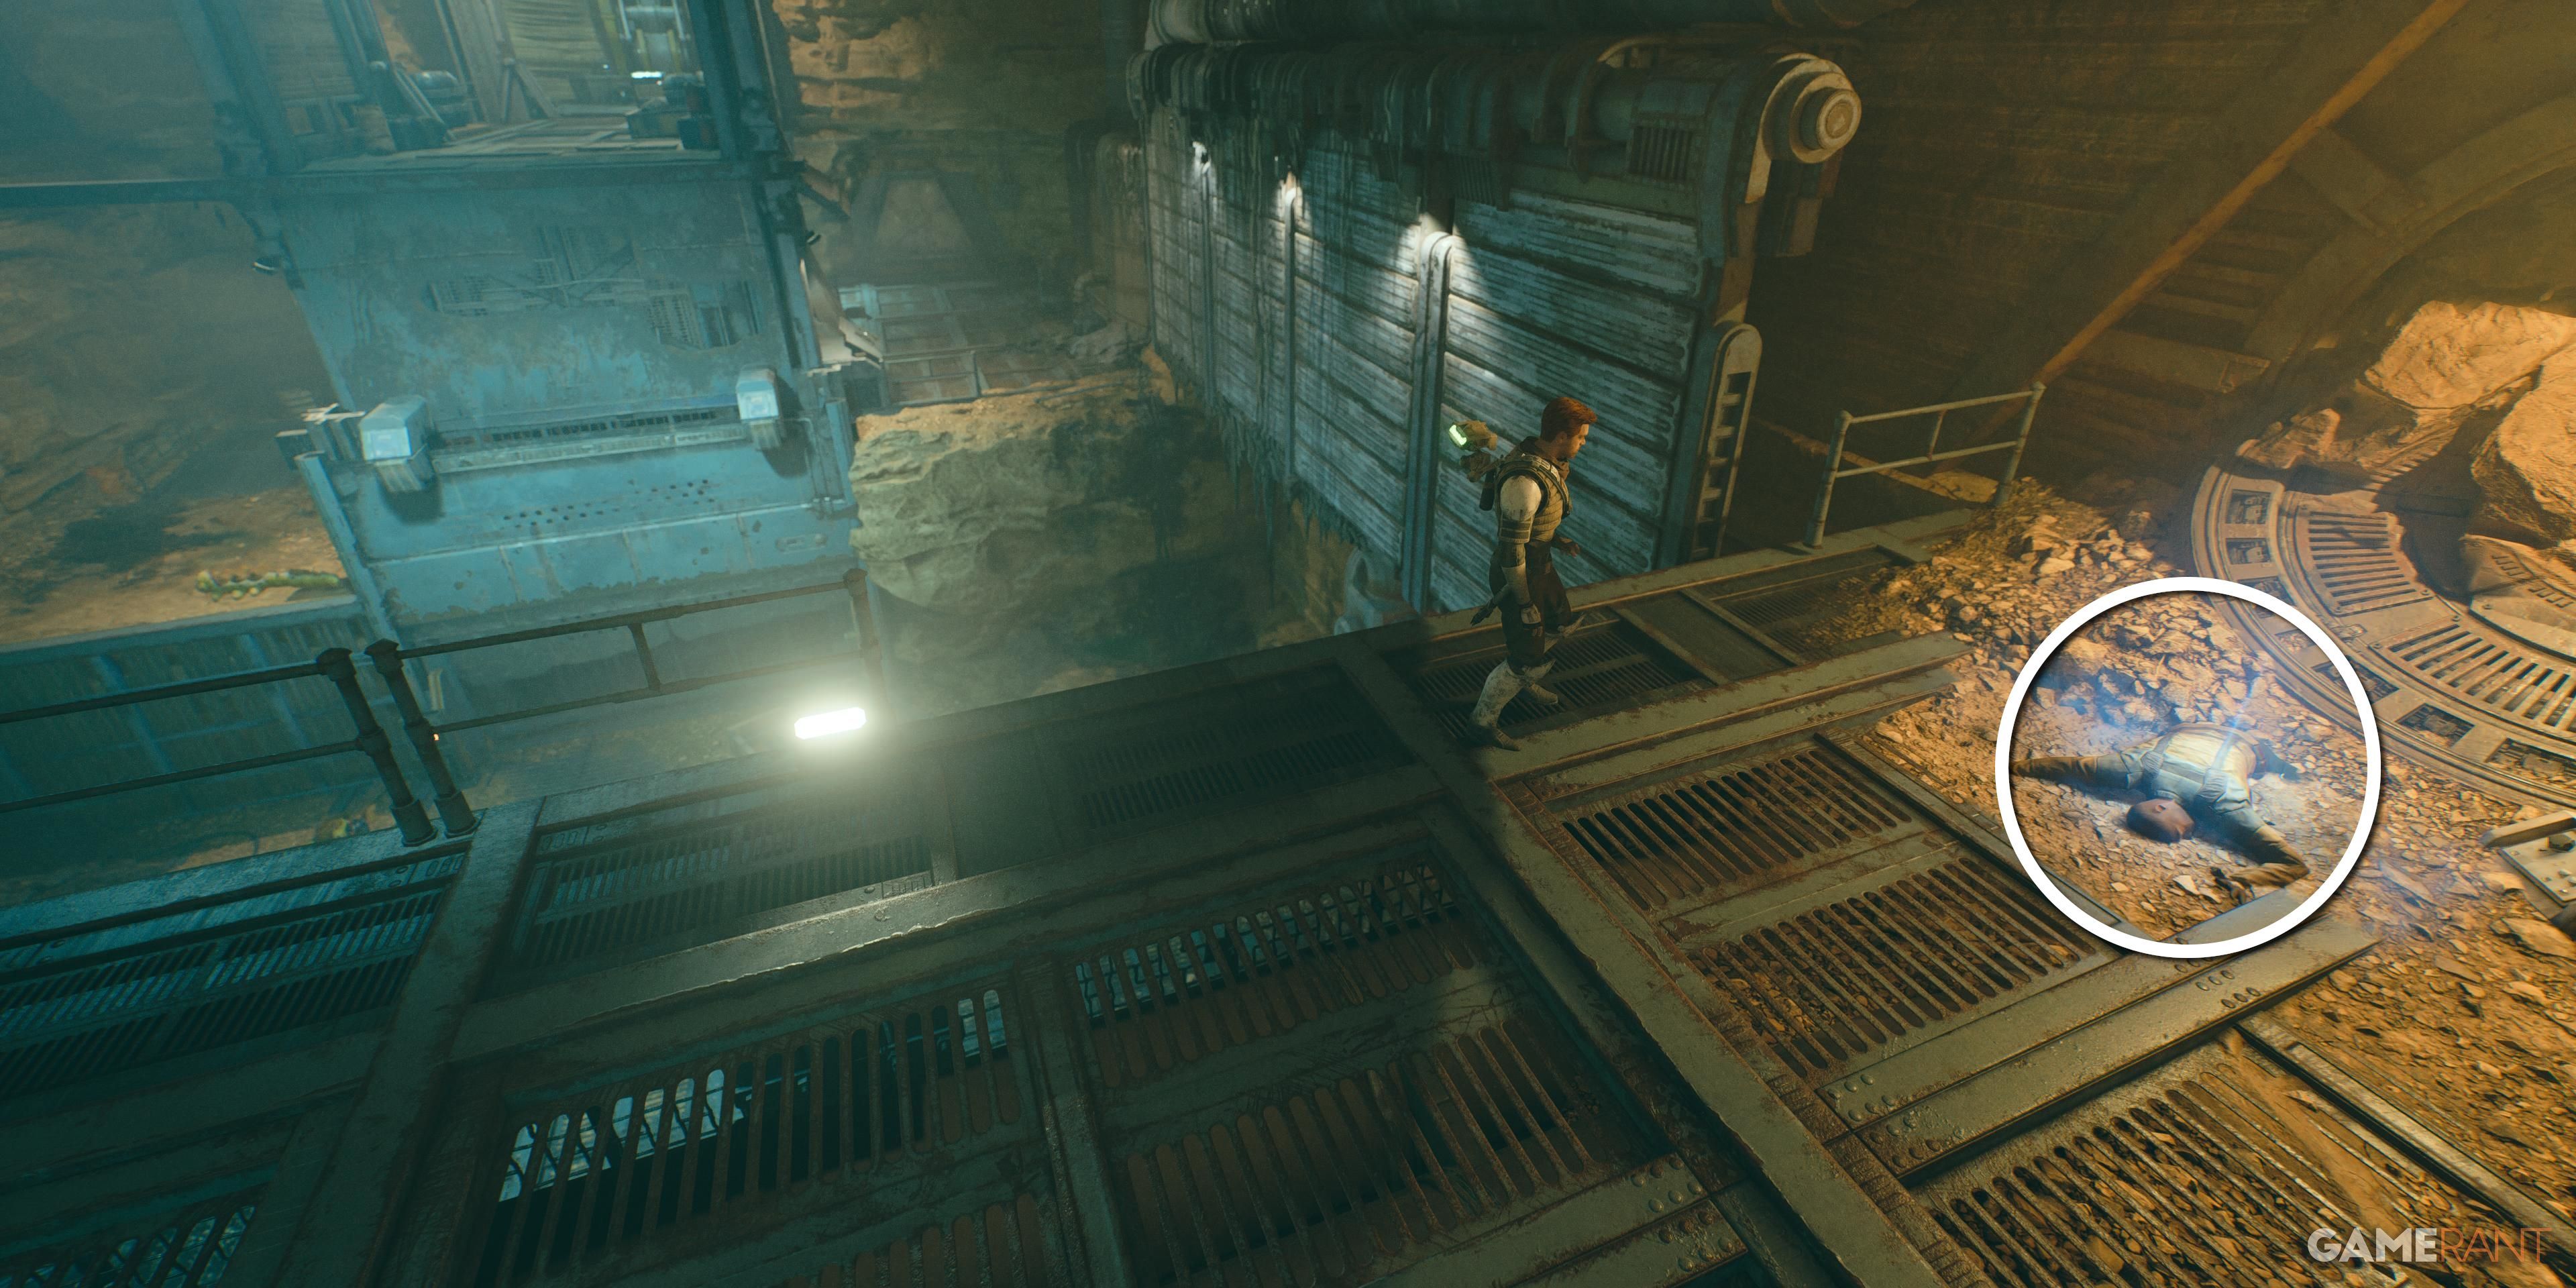
Hanging from some beams to reach a platform below, kill the Droid and scan another pad.
Databank 3 of 3 – Whispered Words
Chamber of Fortitude (Requires Force Lift)
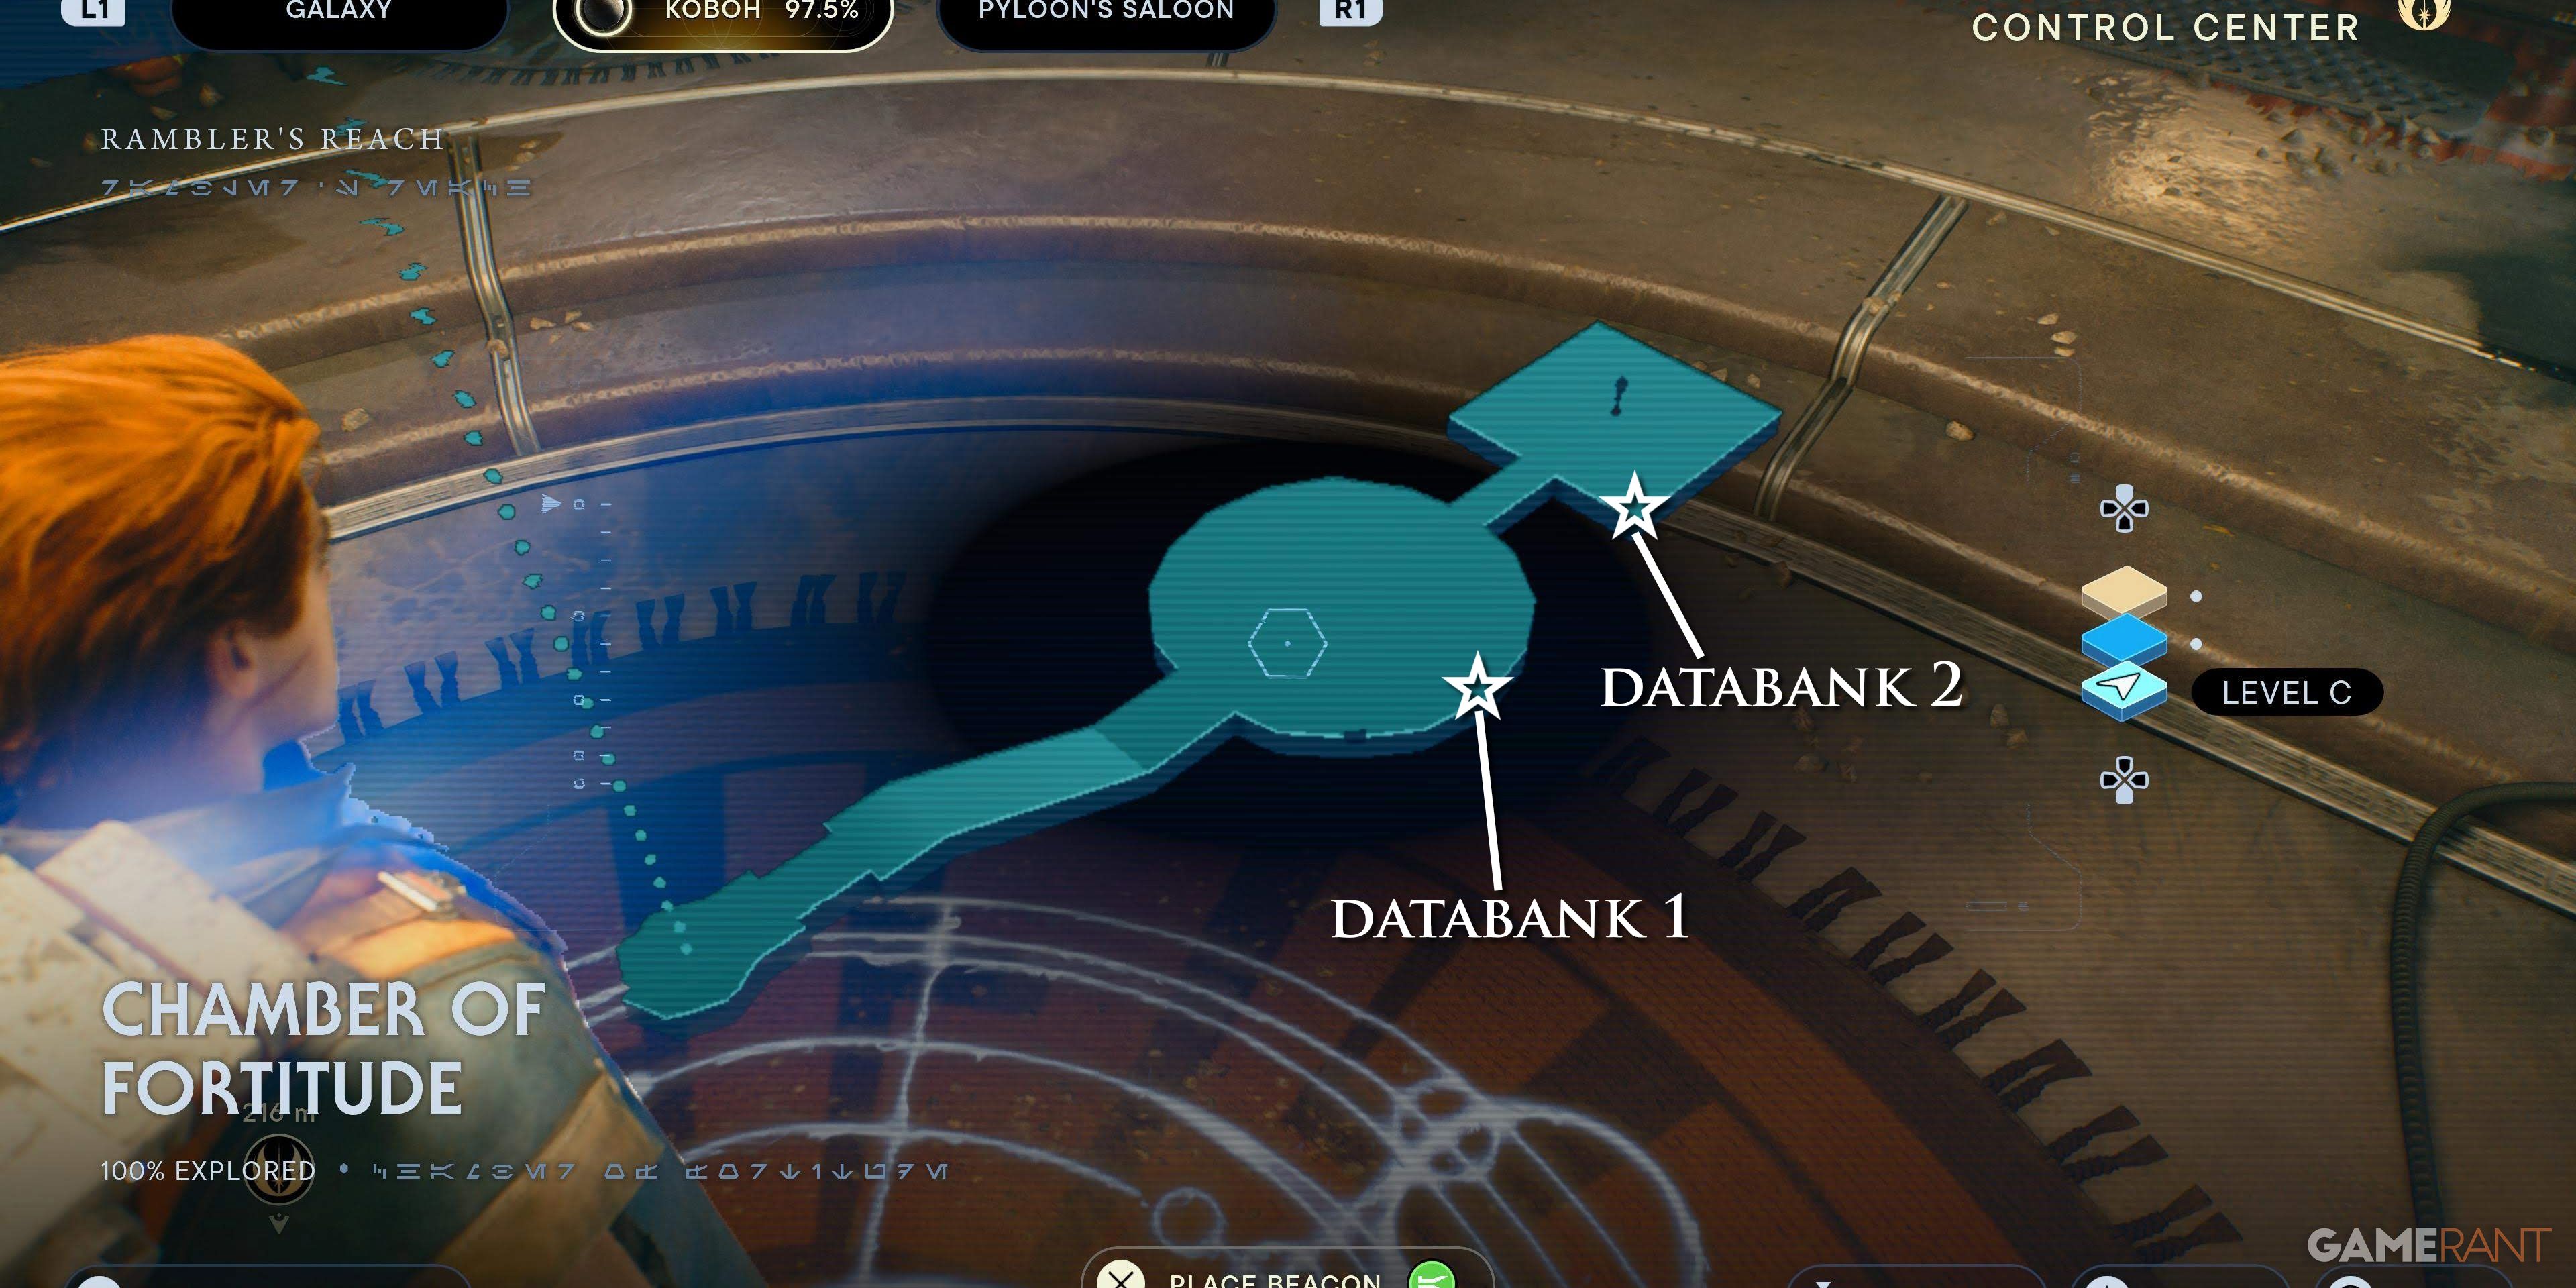
The Chamber of Fortitude is inside the Corroded Silo and has two databanks.
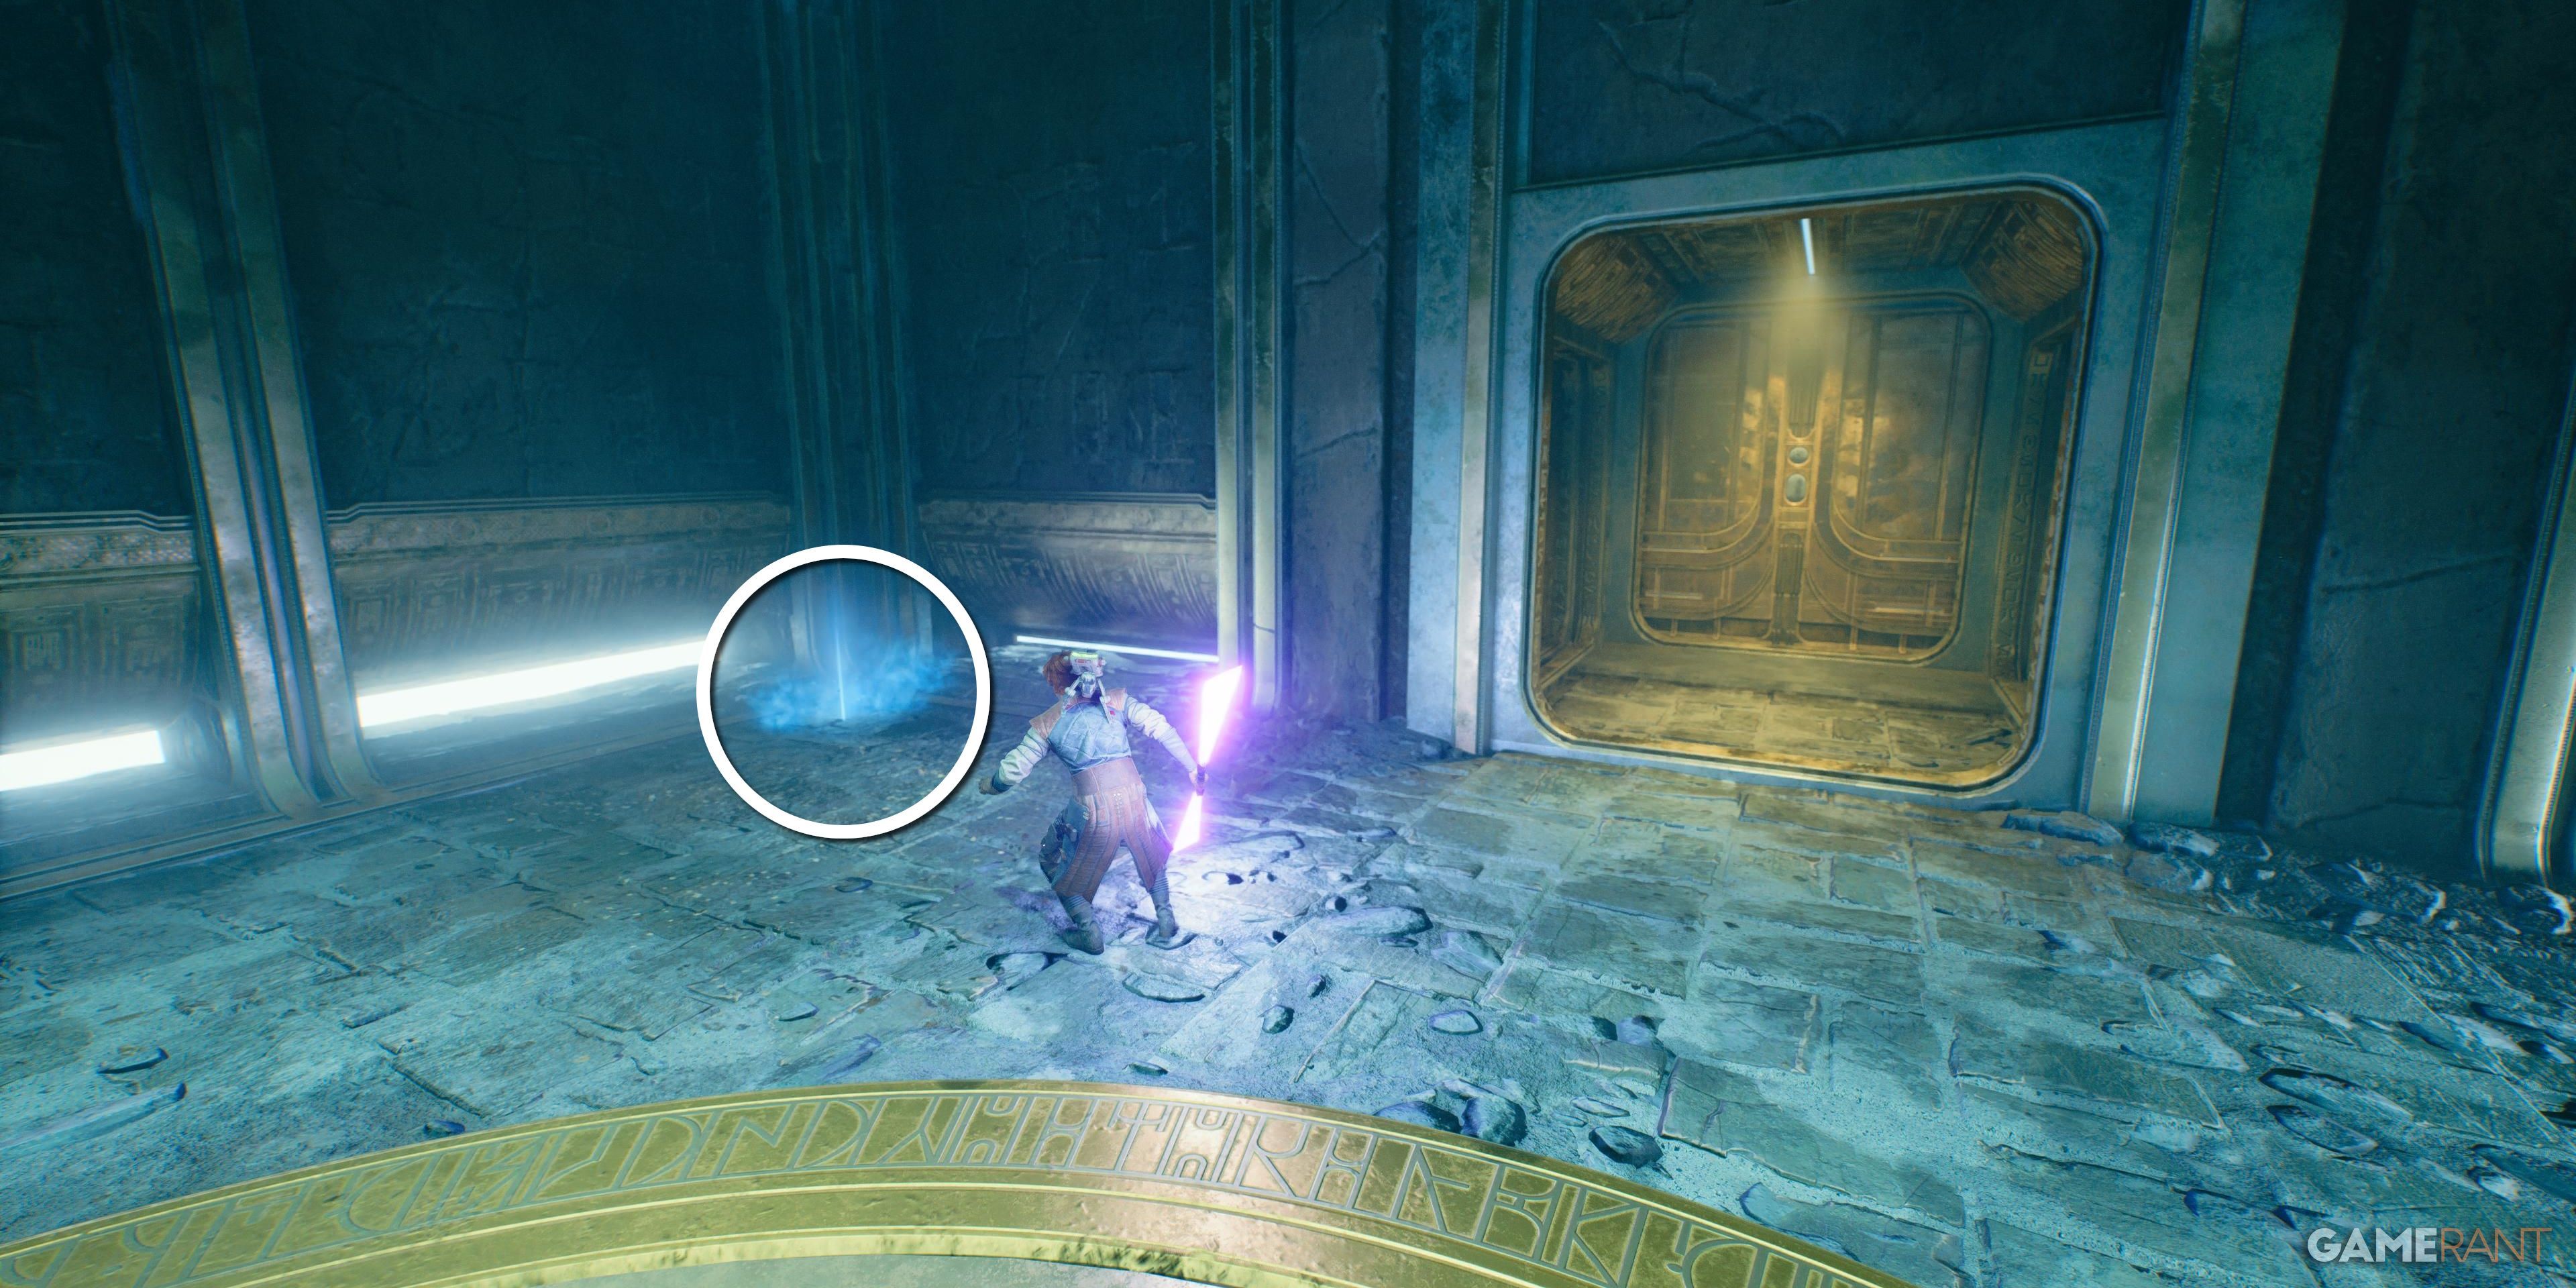
Databank 1 of 2 – A World of Wonder
Databank 2 of 2 – Hand in Hand
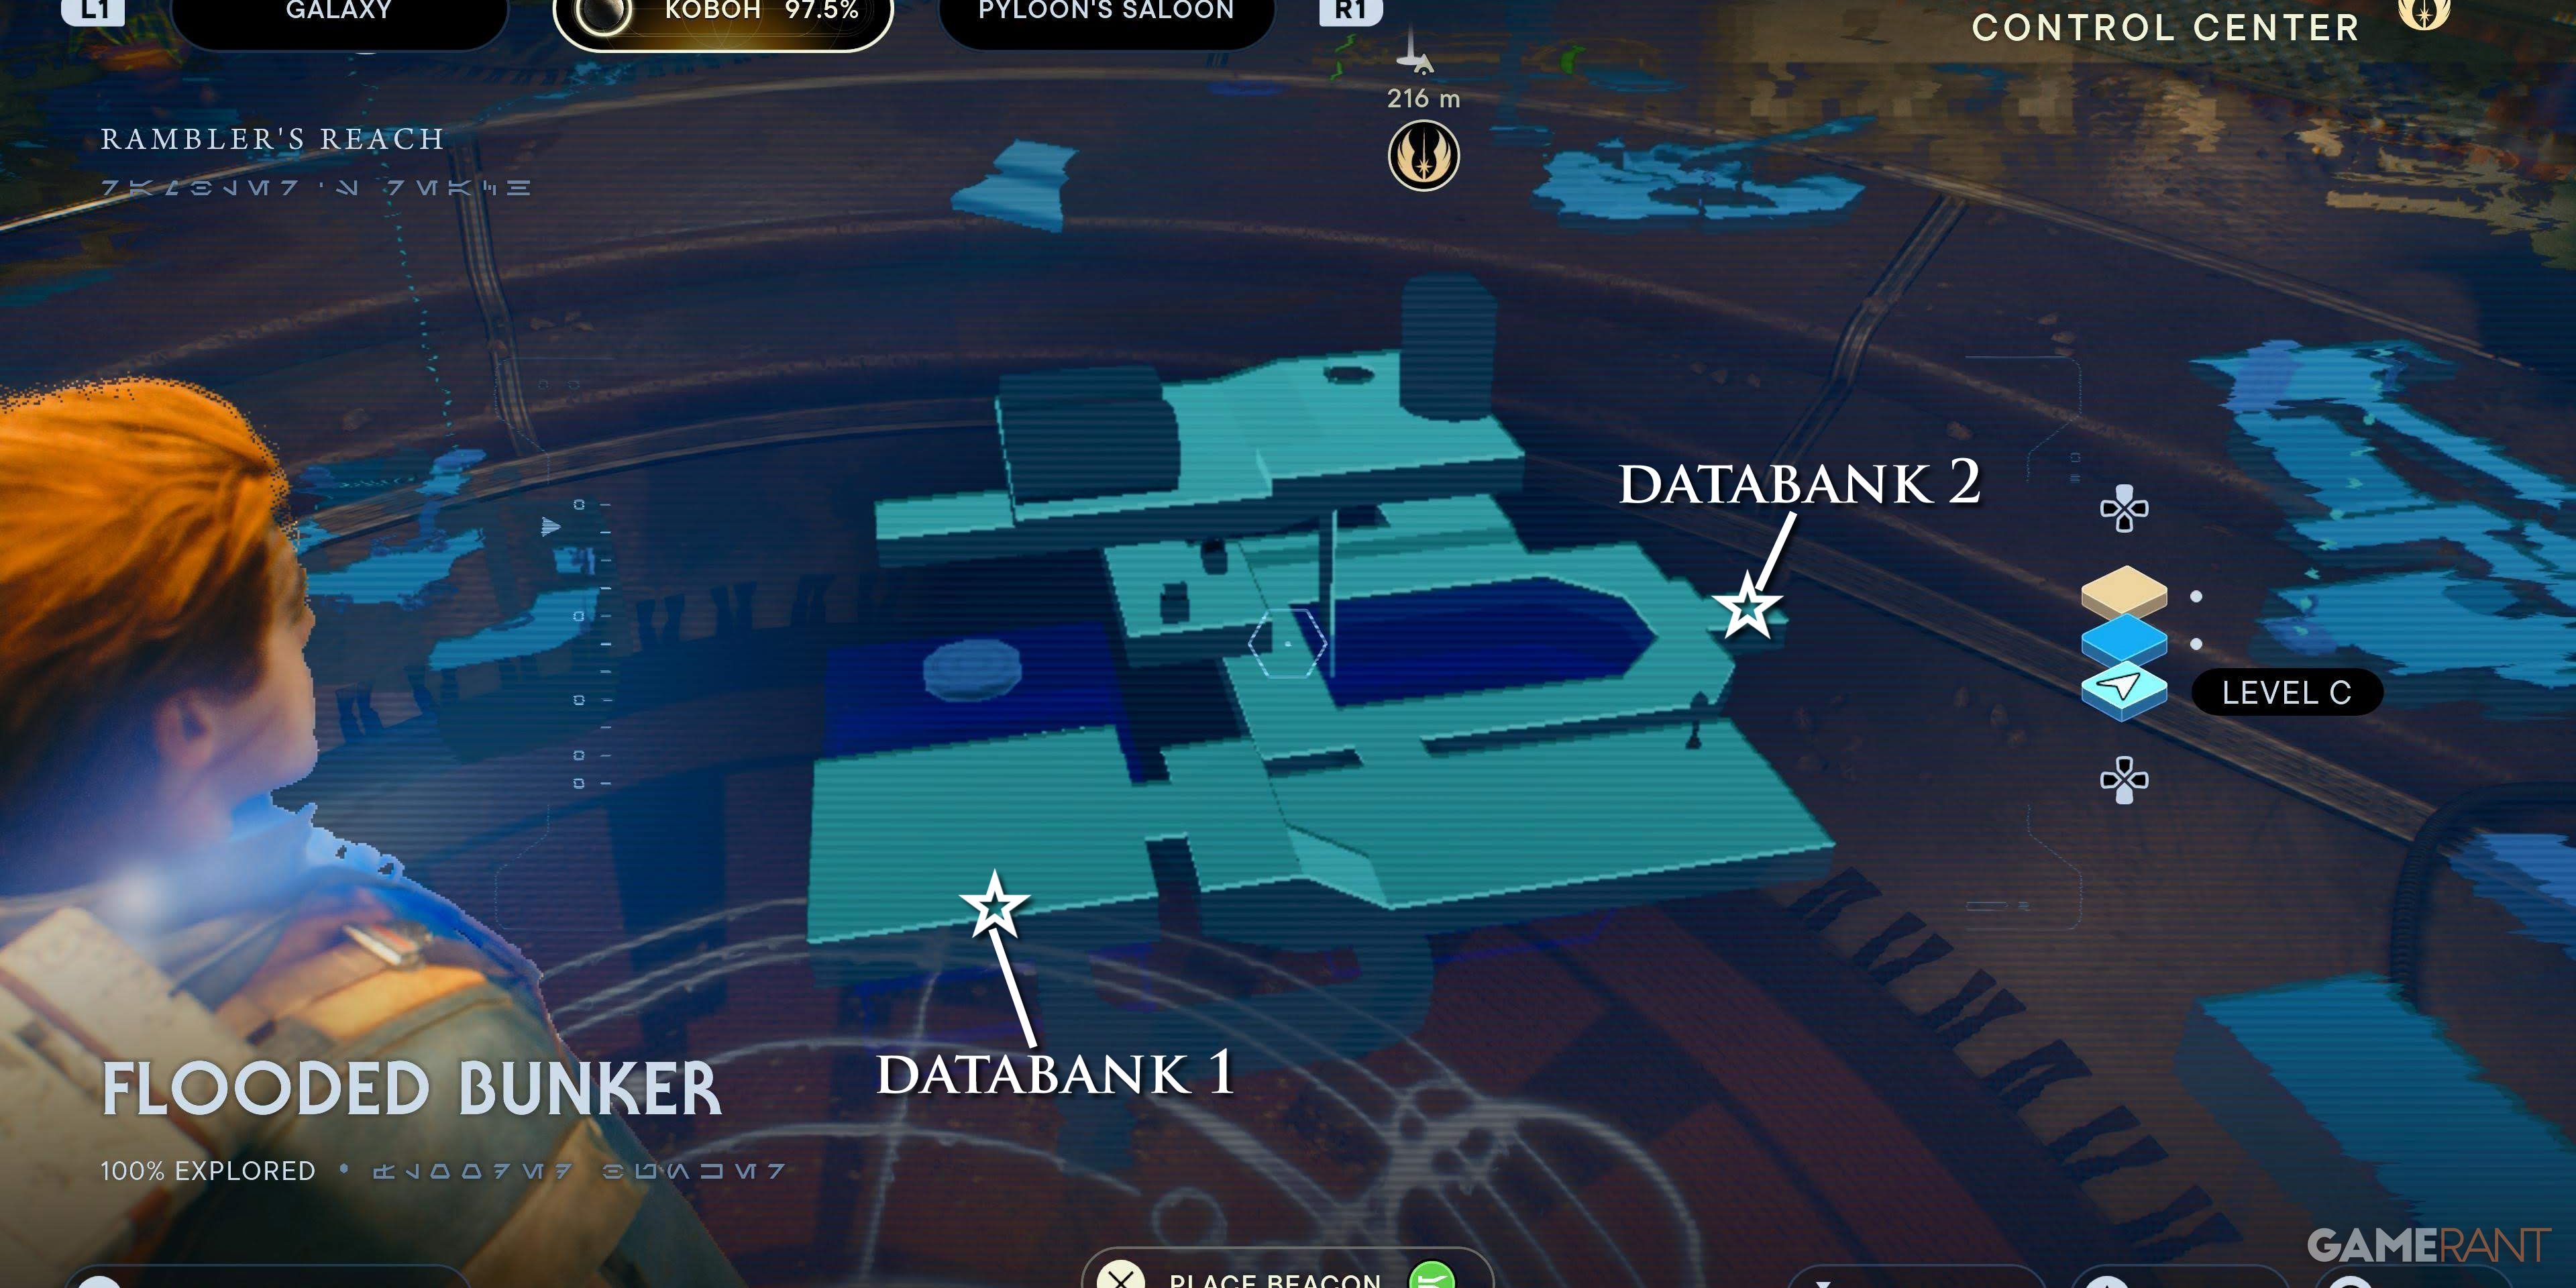
Using Force Lift on the hatch in the Southern Reach hut, two databanks are found inside.
Databank 1 of 2 – Damage Assessment
Swimming through the flooded bunker, climb the vines and kill the Gorger. This databank entry is on a console behind it.
