Unraveling the Sinister Secrets of Baldur's Gate 3: Unmasking the Open Hand Temple Murders
Uncover the truth behind the Open Hand Temple murders in Baldur's Gate 3 by unraveling clues, using the mysterious Flower Key, and seeking the guidance of Investigator Valeria Solve the mystery and bring justice to the fallen victims
Quick Links
How to Solve the Open Hand Temple MurdersWhere to Use the Flower Key in Baldur's Gate 3
Looking for Investigator Valeria's Location in Baldur's Gate 3
In Act 3 of Baldur's Gate 3, there is a surge in murders, surpassing the combined numbers of the previous two acts. The city is engulfed in tension, as it teeters on the edge of chaos, with an oppressive robotic police force monitoring its inhabitants. Adding to the turmoil, a revered religious figure has been killed in what seems to be a murder-suicide involving a refugee he had been aiding and sheltering. This explanation serves as the prevailing speculation within the city.
Upon entering Act 3 in the city of Rivington, players will quickly notice the Open Hand Temple. Outside the temple, there is some commotion happening due to the recent murder of Father Lorgan, the temple's leader, allegedly by Brilgor, a welcomed refugee. The temple, which usually accepts refugees, is currently not doing so. Players can speak to individuals within and around the temple to gather different opinions on what actually happened, but the truth remains uncertain. To embark on the quest of uncovering the truth, players should approach Sister Yannis and offer assistance in solving the murder. Valeria, a Hollyphant investigator, firmly believes that Brilgor is guilty.
Sister Yannis will provide the player with various locations of interest to investigate, and there is no particular order in which these investigations should be conducted. This guide will focus on one of the most direct paths, beginning with examining Father Lorgan's body in the room located at the southwest corner of the Temple.
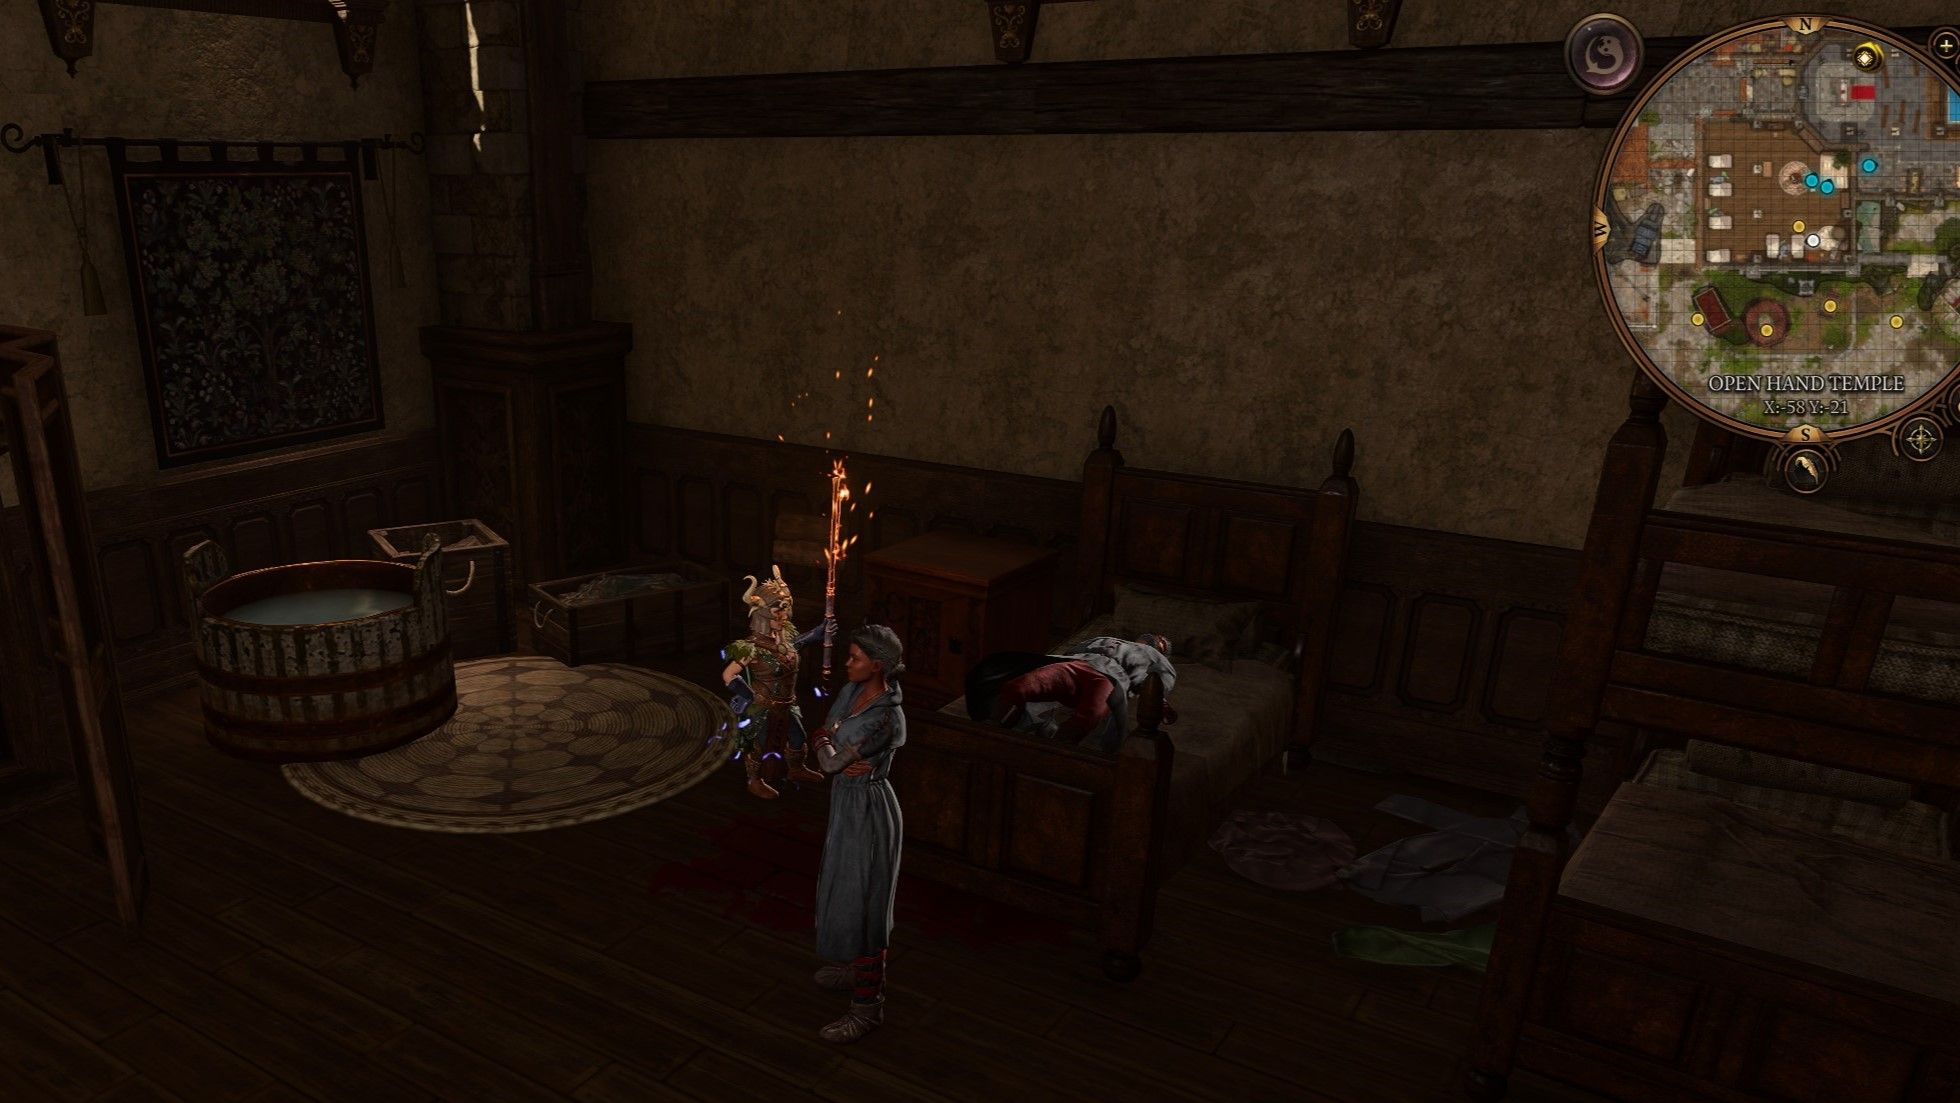
How to Solve the Open Hand Temple Murders
Regrettably, there is little immediate observation to be made regarding the Father's lifeless body unless the player expands their thoughts beyond conventional limits. To progress in the most effective manner, the player should utilize the bestowed skill of "communicating with the deceased" to engage in a conversation with Father Lorgan directly. During this exchange, players have the opportunity to inquire about crucial details such as the location, time, and manner of his demise. Of utmost significance, players will uncover the truth that Brilgor is not the perpetrator responsible for Father Lorgan's murder. Rather, it becomes evident that he met his demise at the hands of an individual described as a "dwarf adorned in vibrant red."
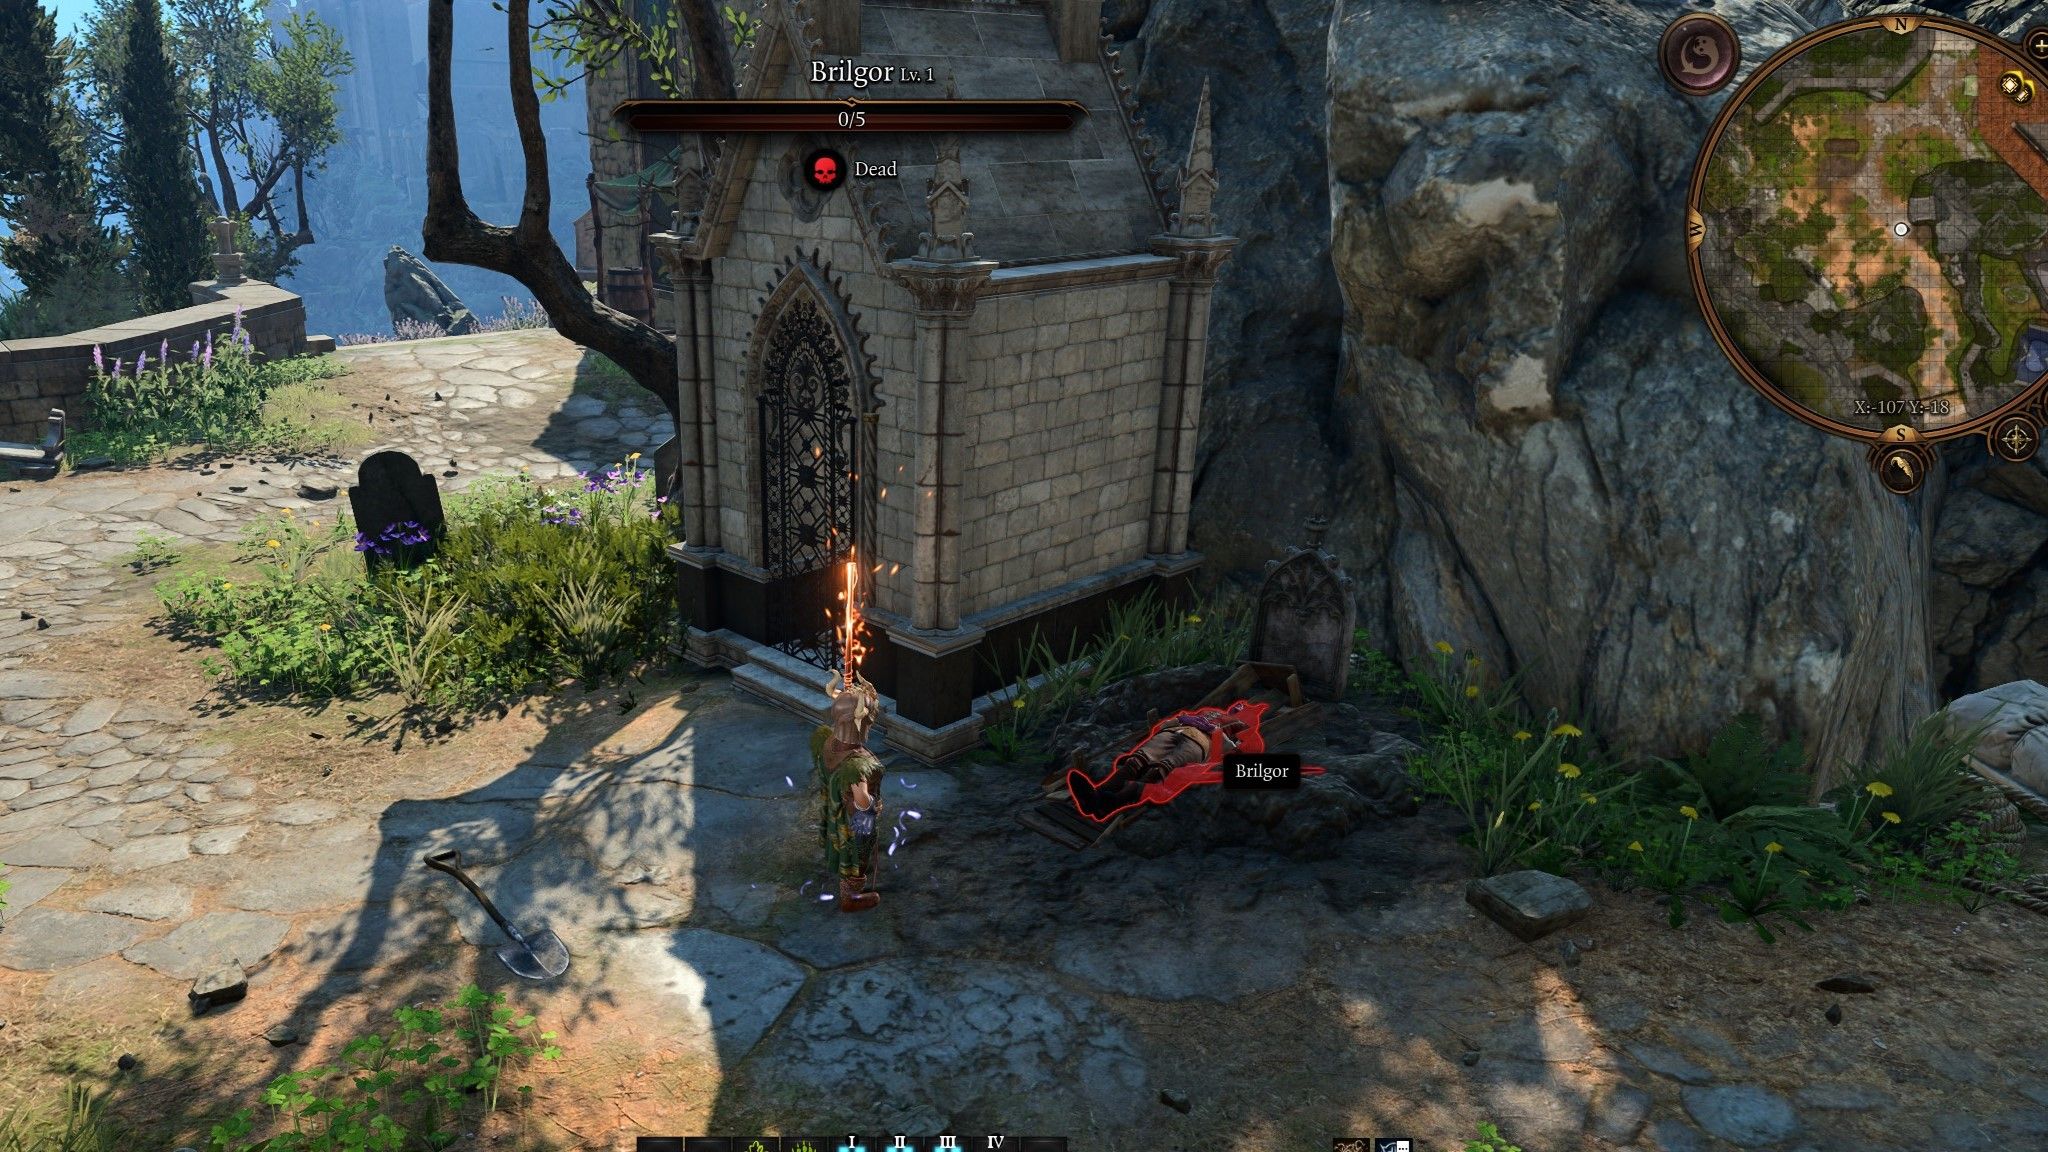
After conversing with Father Lorgan, players should retain the character who possesses the ability to communicate with deceased individuals in their party, as their mission is still unfinished. Departing from the room containing Father Lorgan's lifeless body, players should proceed towards the door situated at the back, leading to the outdoors, and proceed directly across to the adjacent door, which grants access to the kitchen. Instead of proceeding towards the hatch mentioned by Sister Yannis, players should first venture through the door to the West of the kitchen, descending the stairs and exiting the building. Following the path through the graveyard, players will eventually encounter a grave next to a small mausoleum. By interacting with the soil mound, players will be able to uncover the coffin of Brilgor, and by attacking it with one of their characters, they will reveal Brilgor's deceased remains. Once again, players should employ their companion capable of speaking with the dead to gather additional information from Brilgor, the alleged "killer."
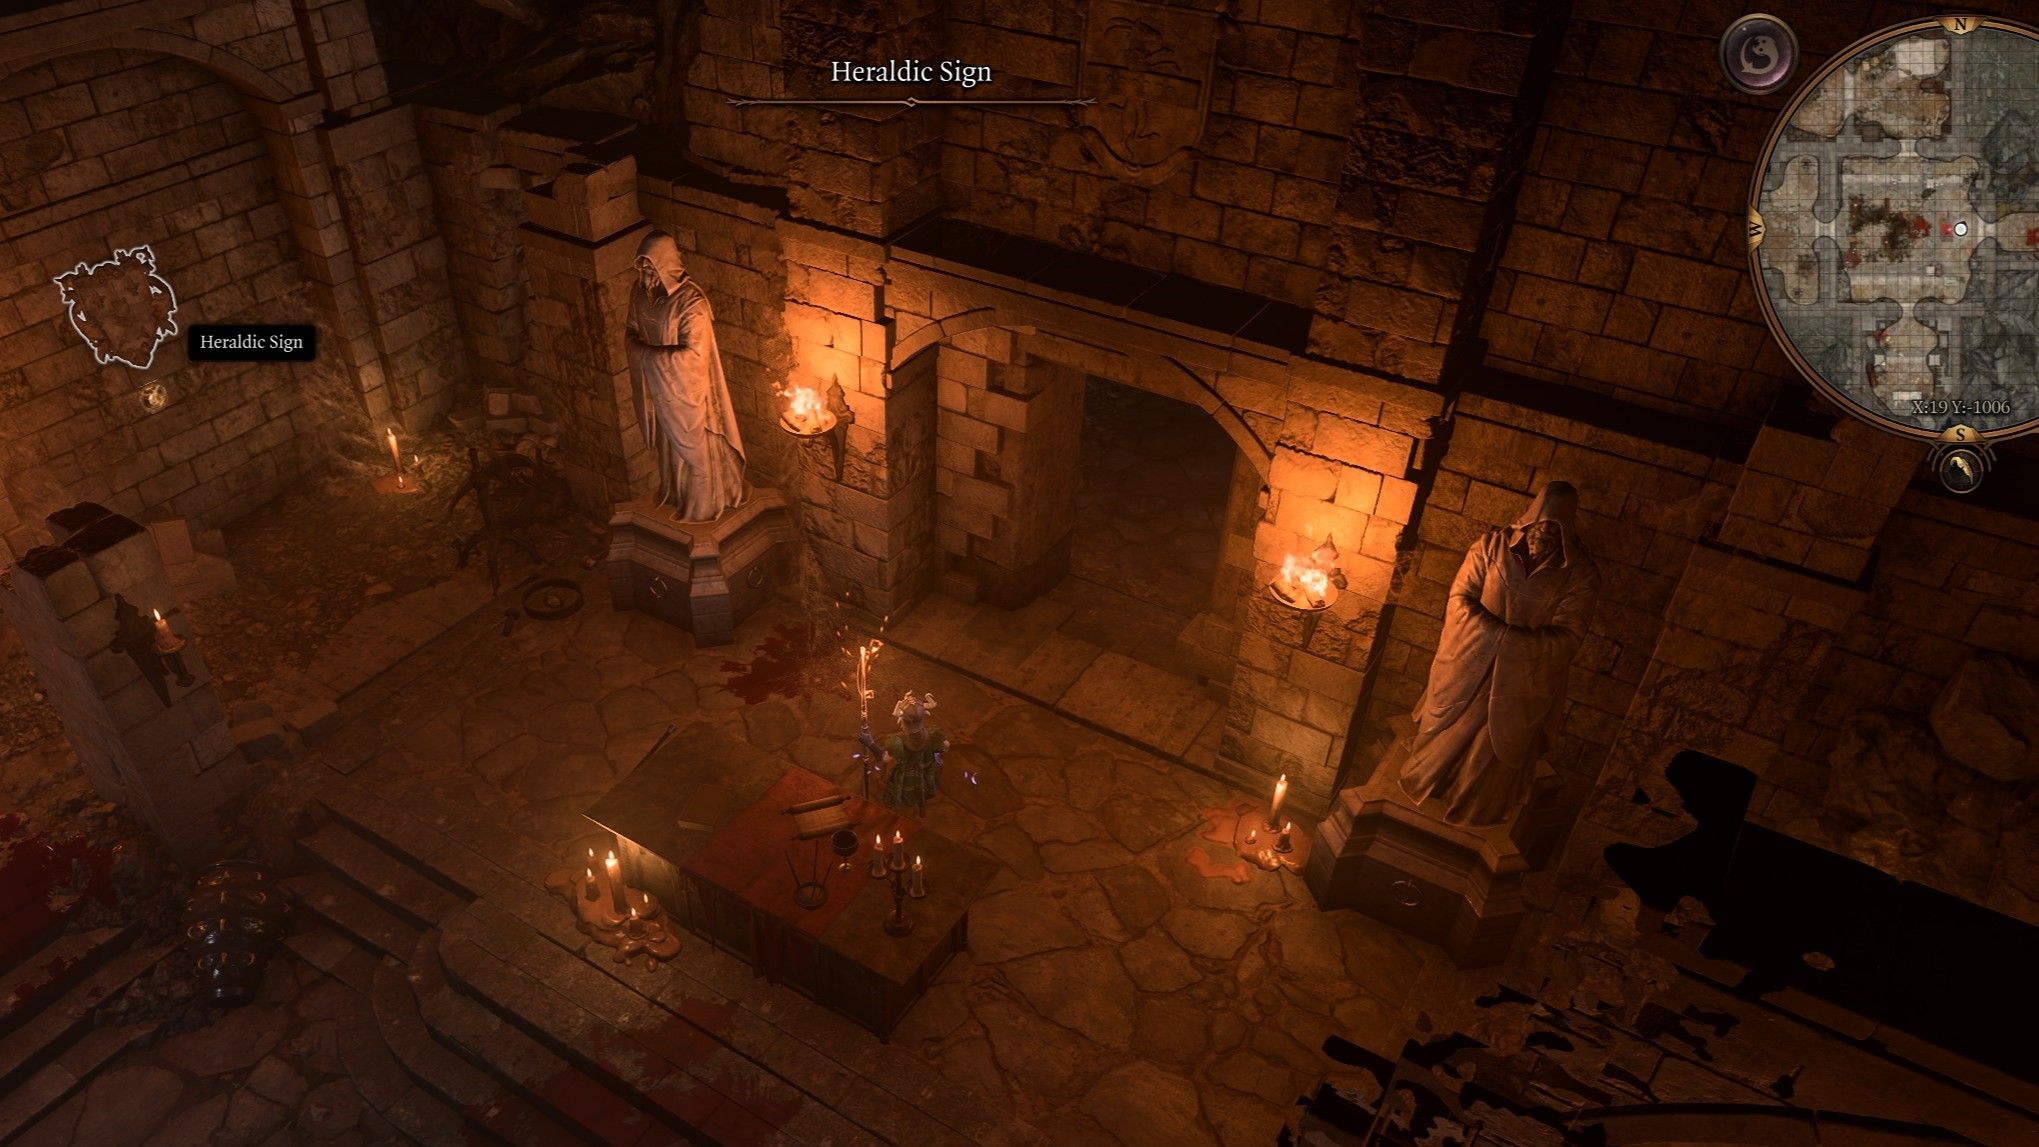
After conversing with the deceased and collecting relevant information, it is time to proceed to the location of the murder. Return to the kitchen and enter the hatch mentioned by Sister Yannis, which leads to the cellar of the Open Hand Temple. Inside the cellar, follow the corridor until reaching a substantial room adorned with two statues, an altar, and a conspicuous panel on the wall that opens when interacted with. Across from the altar, there is another room containing buried corpses. Although unrelated to the current quest, it holds significance for those who initiated the "Help the Cursed Monk" mission during Act 2. When ready to move forward, inspect the walls adjacent to the statues to locate an interactable plaque labeled "heraldic sign". Engaging with this sign reveals buttons on both sides. Pressing these buttons opens the wall panel, granting access to the murder scene.
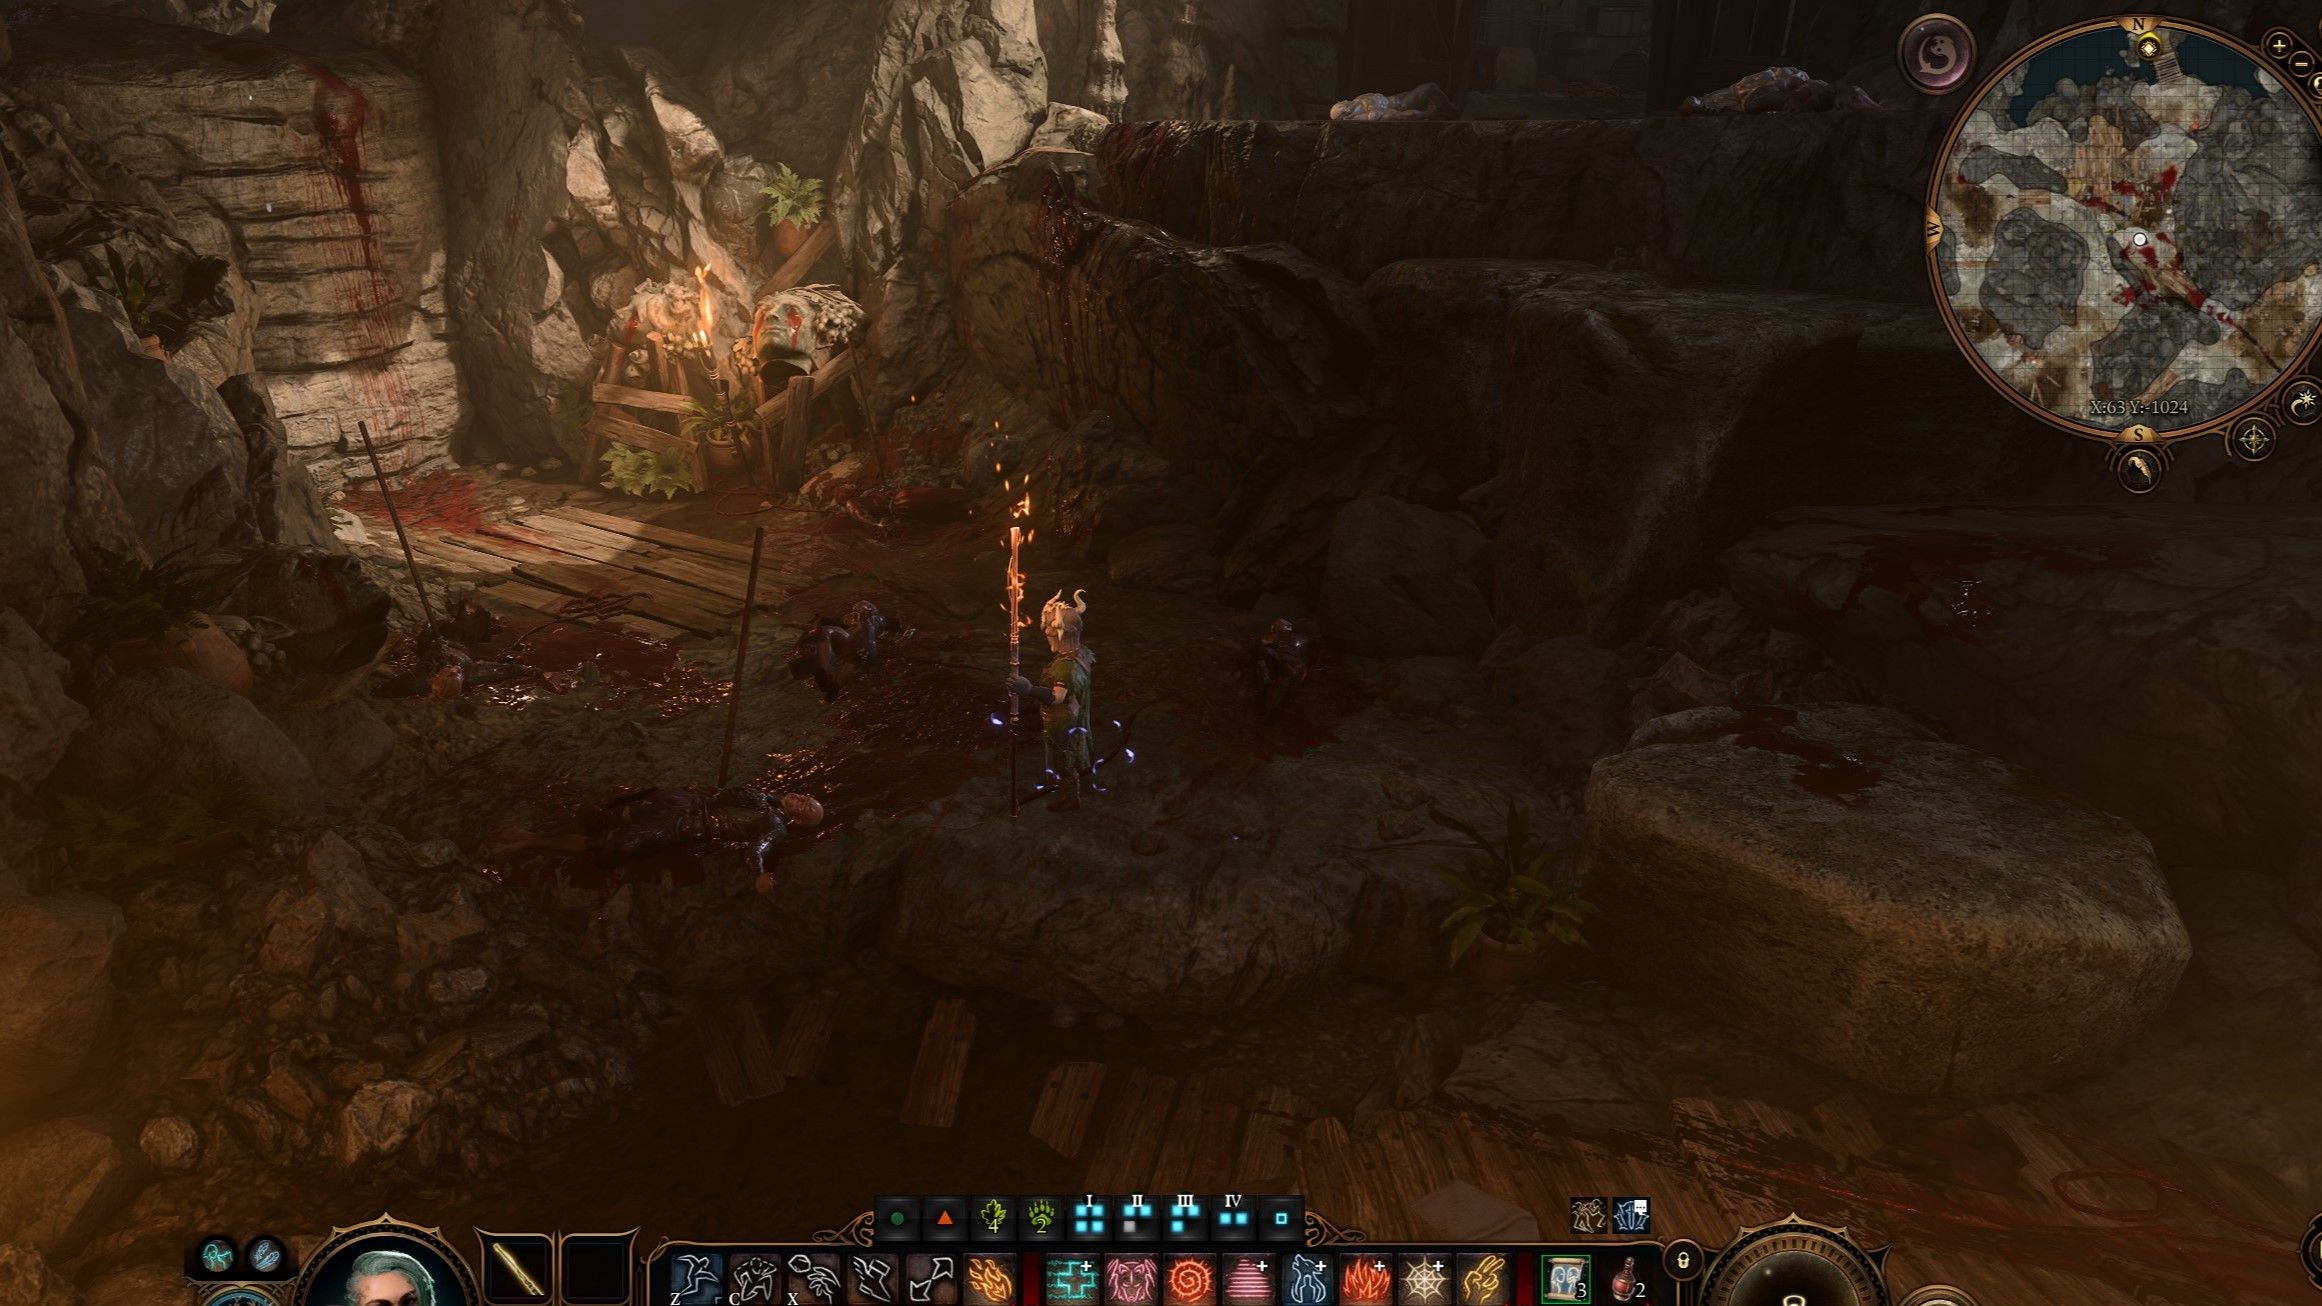
Once players have made some progress in the murder scene room, they will find themselves suddenly thrust into an unavoidable and non-negotiable combat situation. It is crucial that players make certain that their team is well-rested, properly equipped, and efficiently organized before venturing further through the recently opened wall panel!
Once the player has successfully vanquished their foes, it is imperative that they thoroughly search the surrounding area for any valuable loot, including the nearby corpses. These unfortunate victims are likely the casualties of the recently defeated adversaries. Among the deceased lies the body of Dribbles the Clown, whose corpse holds great significance in an ongoing side quest called "Act 3." Players are recommended to loot this specific corpse, as it plays a vital role in the aforementioned quest. Additionally, one of the victims clutches the "flower key," a crucial item required to advance to the next stage of the quest. Furthermore, close to the wooden platform, there is a concealed hole in the ground which can be explored to discover the murder weapon, affectionately named "Stillmaker." Players must possess keen perception to locate this hidden aperture unaided. Before departing from the area, players have the option to once again utilize their ability to communicate with the deceased, granting them the opportunity to interrogate their assailants. However, it is important to note that this step is entirely optional.
Where to Use the Flower Key in Baldur's Gate 3
Now that the flower key has been obtained by the player, they possess the crucial element required to solve the murder. The question remains: what does this key unlock? The answer lies within a nearby establishment known as Fraygo's Flophouse. However, reaching the Flophouse may prove to be a more complex undertaking than initially anticipated by players. In order to access the Flophouse, players must first navigate through the South Span Checkpoint, which is situated to the north of the Open Hand Temple. This checkpoint is heavily guarded by 5 Fist units and one formidable Steel Watcher, while additional Fist units are positioned close enough to engage in any ensuing skirmishes. Due to the dynamic nature of Baldur's Gate 3, the experience of breaching this checkpoint may differ depending on the choices made by players thus far. Some players may successfully negotiate their way through, while others may need to engage in combat or potentially face incarceration. For those seeking an alternative method of bypassing the checkpoint, abilities such as "Fly" and "Misty Step" enable characters to circumvent or directly traverse the checkpoint without arousing suspicion. Moreover, even if players find themselves imprisoned, there is a high likelihood of orchestrating a successful escape.

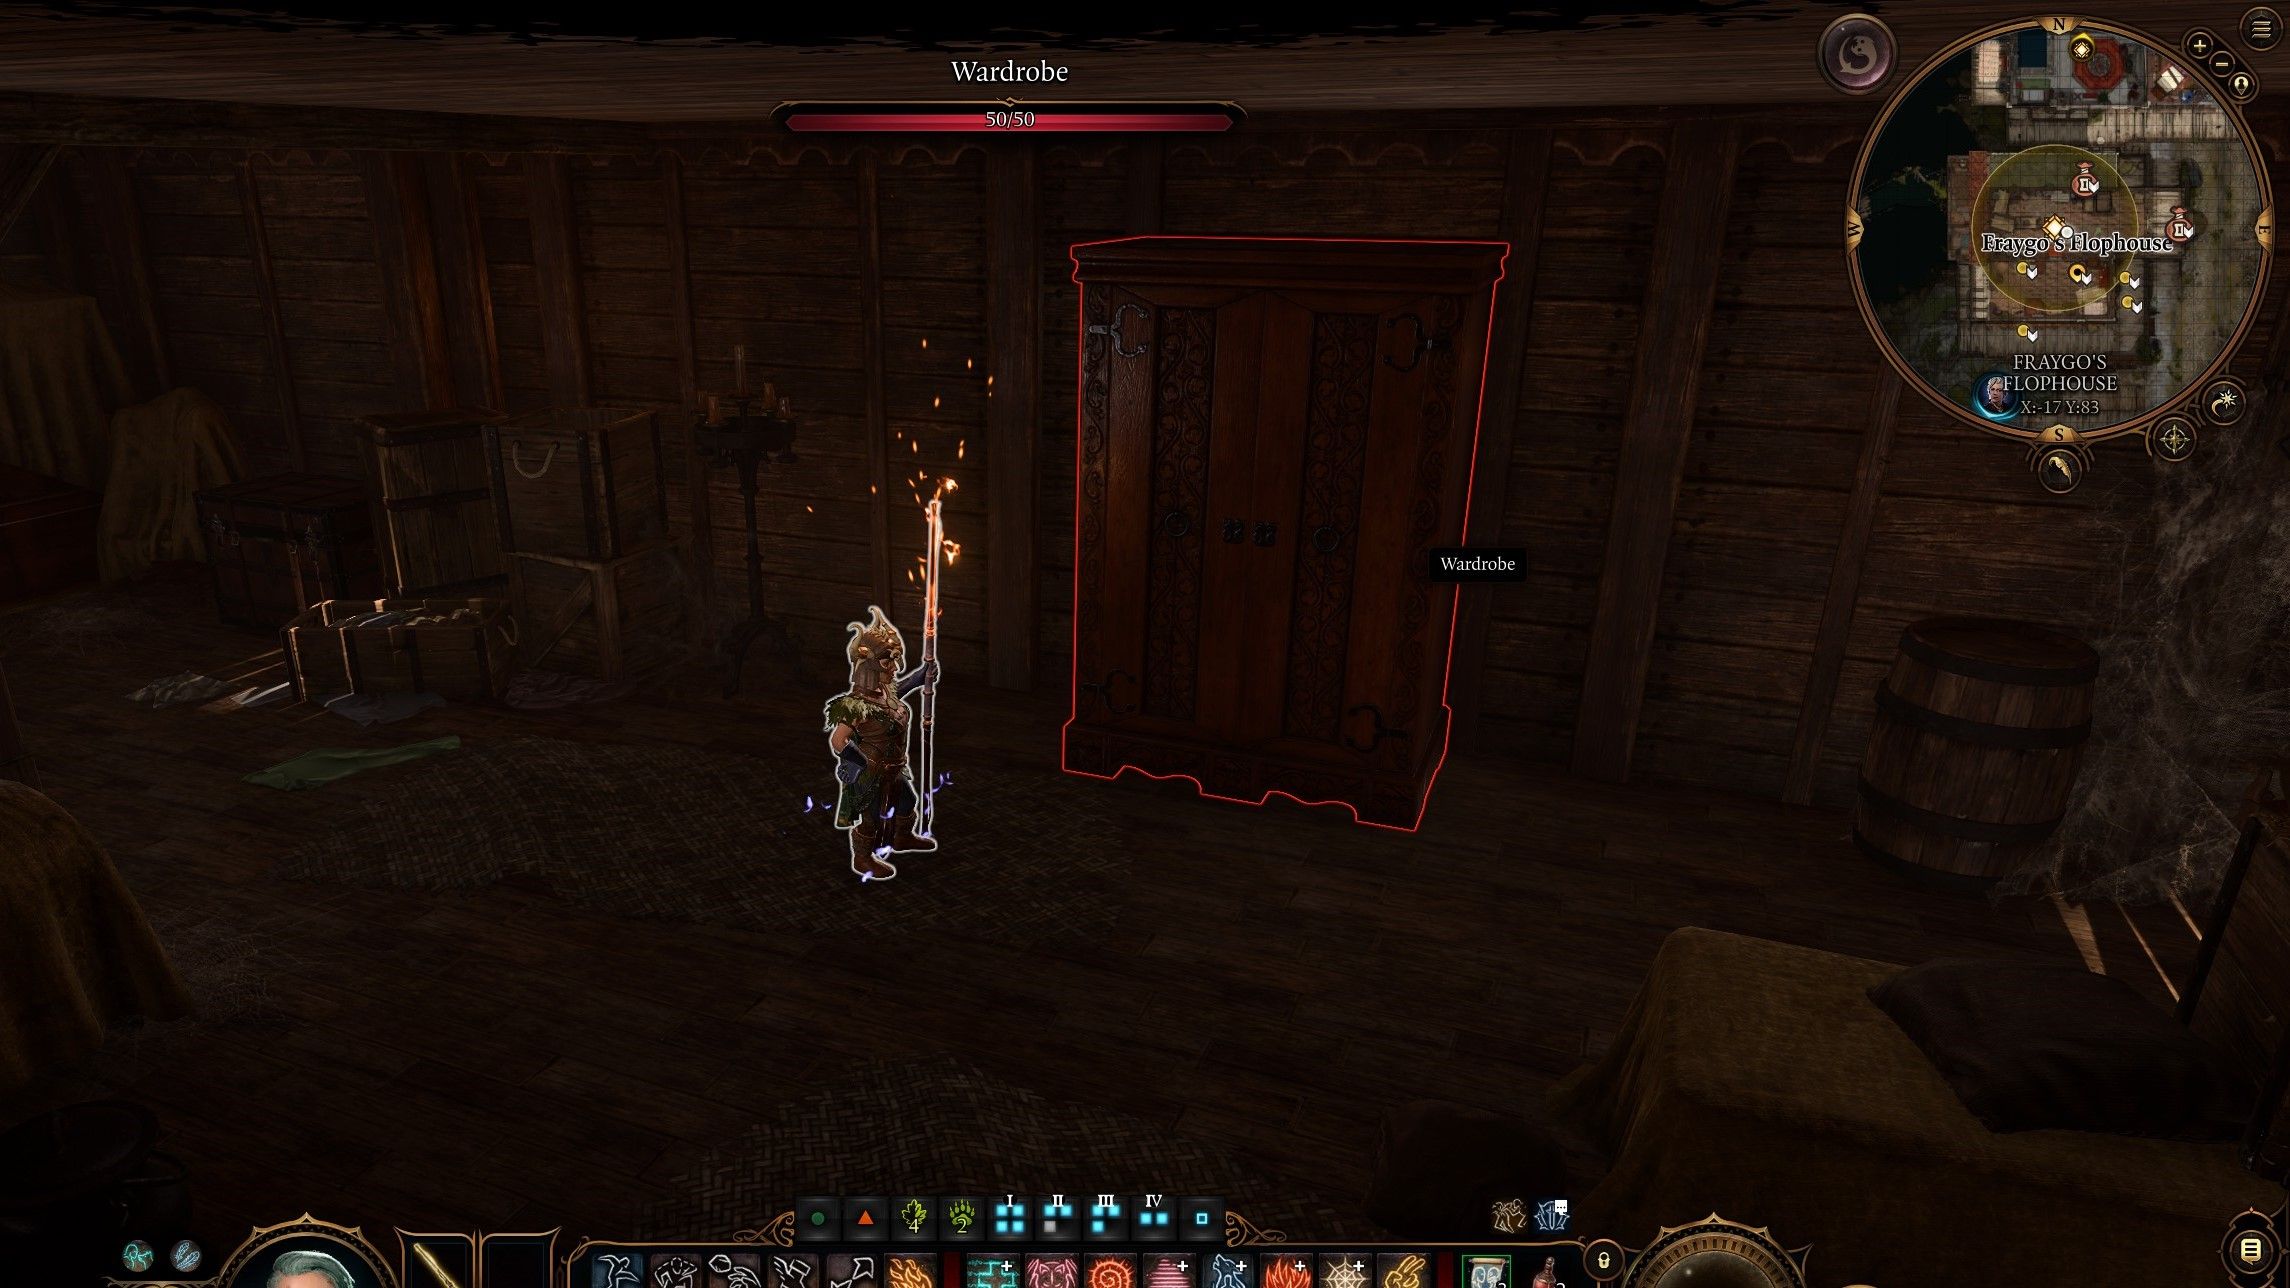
After successfully making it past the South Span Checkpoint and entering Wyrm's Crossing, players should proceed to Fraygo's Flophouse. Located directly through the checkpoint, they will find the door on their left. While players can engage in some lighthearted banter by accusing an employee of being the murderer, their true objective lies upstairs. Heading towards the right after reaching the top floor, players will come face-to-face with a ladder leading to the attic. Amidst the cluttered space, a conspicuously pristine wardrobe stands out, serving as a secret entrance. Unlocking it with the previously obtained flower key reveals a room containing crucial evidence. Immediately to the player's right, a desk holds the sought-after journal, exposing the murder as part of a sinister Bhaalist conspiracy, along with a list of the intended victims.
Where To Find Investigator Valeria in Baldur's Gate 3
Players now have sufficient evidence proving Brilgor's innocence and the fact that Father Lorgan was murdered as part of a serial killing scheme in the name of the god Bhaal. It is now time for players to inform their Hollyphant companion, Valeria, about their discoveries. Valeria can be found on the second floor of Sharess' Caress, directly across the street from the Flophouse. If Valeria happens to be absent, it means that the player has progressed too far in the main storyline and will encounter her again later in a different location. Speaking to Valeria will complete the Open Hand Temple Murders quest, and she will guide players towards a new series of quests involving the planned murders and the Bhaalist cult.
Baldur's Gate 3 is currently available on PC and will be released on PS5 on September 6. An Xbox Series S/X version is also being developed.