
Unraveling the Mysteries: Ultimate Walkthrough for Final Fantasy 16
Embark on an epic journey through the mystical realm of Final Fantasy 16 with our comprehensive walkthrough for the captivating quest 'Lost in a Fog' Uncover hidden secrets, overcome treacherous ambushes, pursue cunning goblins, and triumph over the formidable Morbol Your destiny awaits!
Quick Links
Exploring StillwindSurvive the Ambush
Pursue the Goblin
How to Beat the Morbol
The initial mission in Final Fantasy 16 serves as an introduction to the game's basic mechanics and controls, while also delving into the backstory of the protagonist, Clive. Prior to catching up with his father's forces, Clive is assigned to investigate the goblin-infested swamps of Stillwind, providing players with a glimpse into his childhood and past.
Continuing on, the second mission can be viewed as an extension of the tutorial, offering players further insight into combat mechanics. This includes the utilization of Cinematic Evasion and Cinematic Strike, skills that will prove essential during boss battles. Within this guide, Final Fantasy 16 players will find assistance in completing the primary story quest titled "Lost in a Fog".
Exploring Stillwind
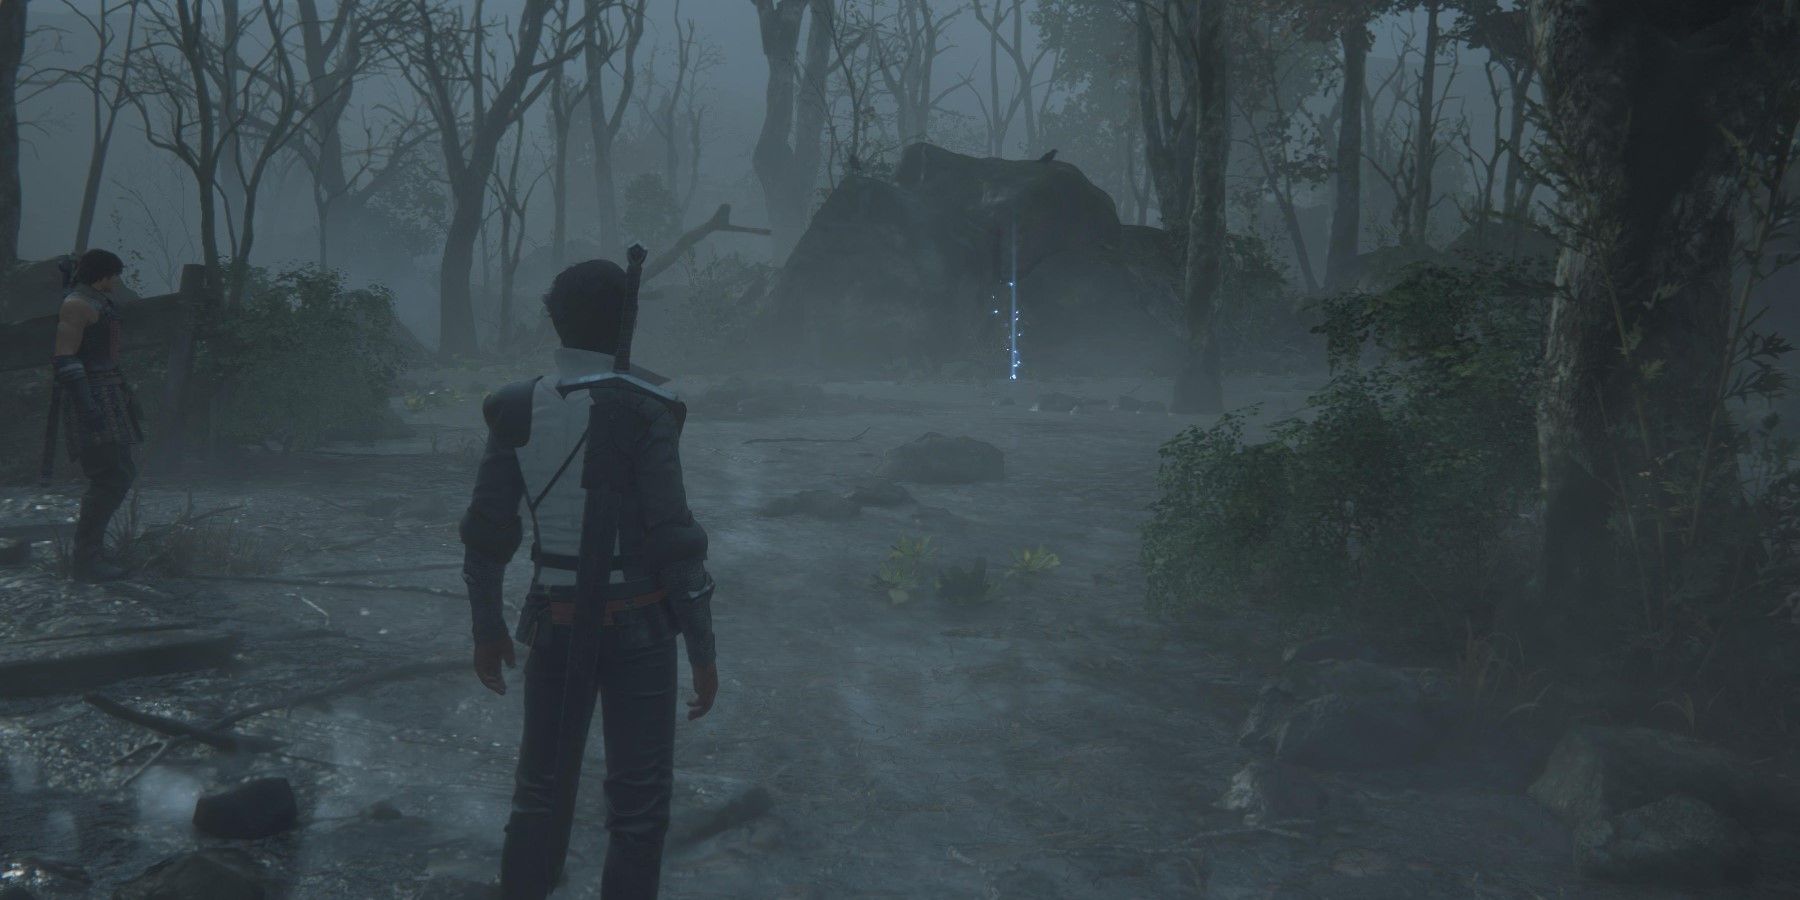
If players are unsure about how to proceed during their exploration, they should keep an eye out for two glowing butterflies. These butterflies serve as a guide, indicating the direction that players should follow.
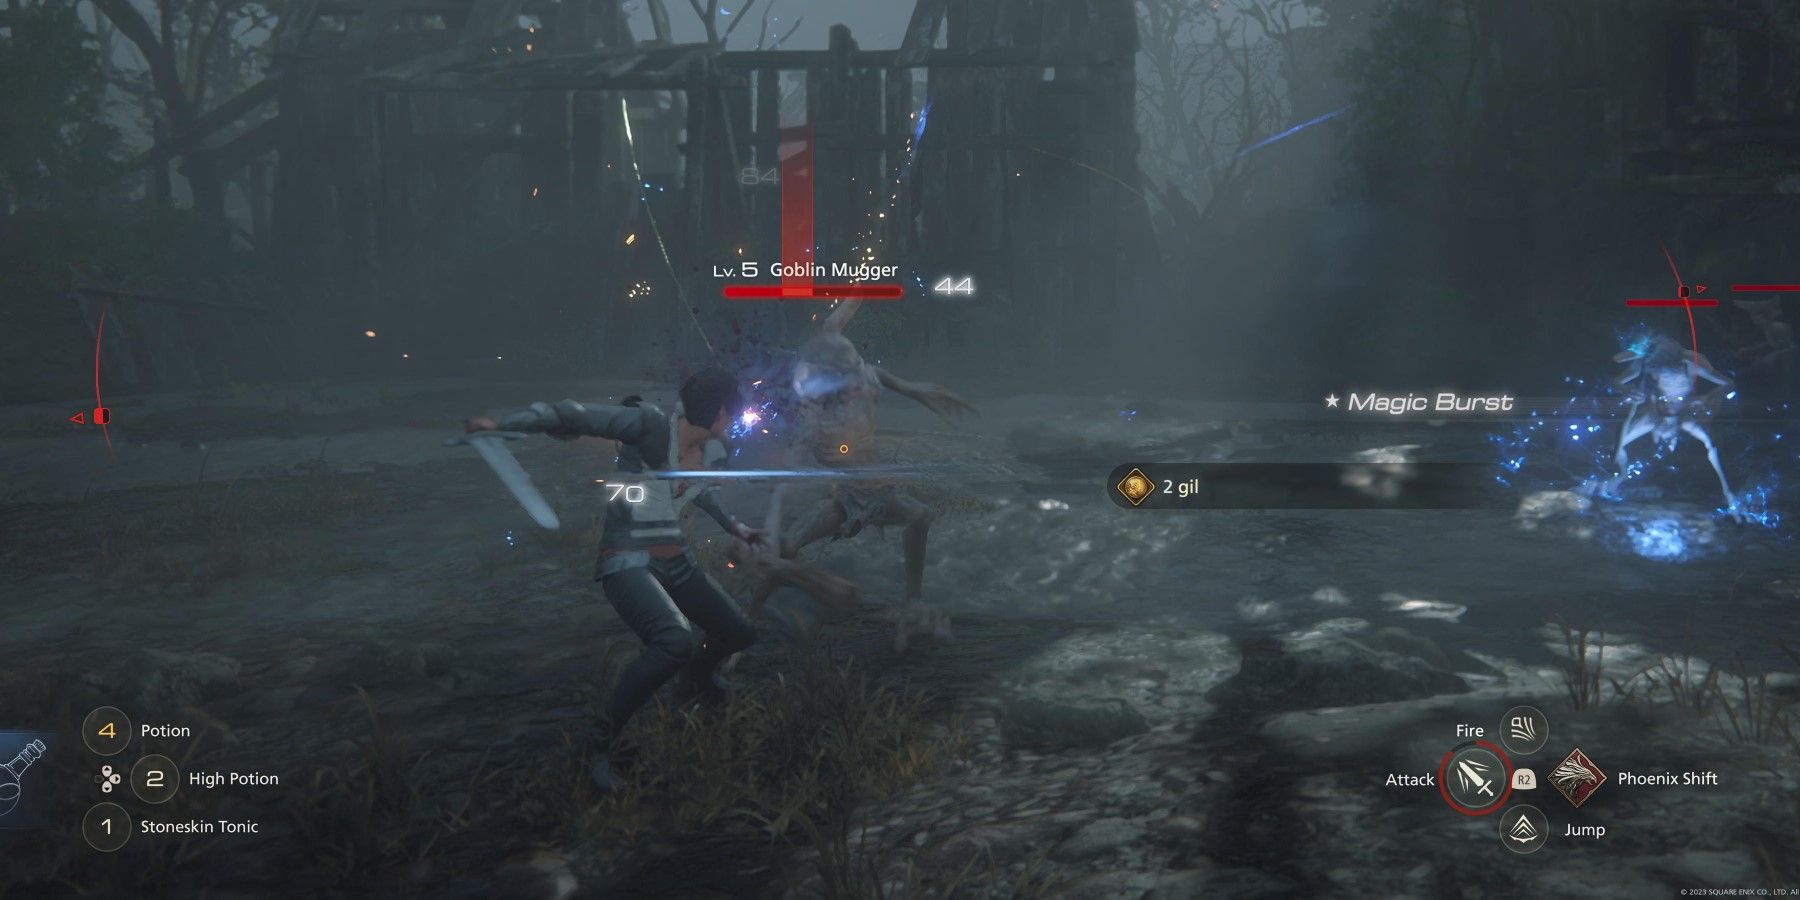
Proceeding under the tree will initiate a cutscene, followed by a challenge against a group of goblins. Although there are only three of them, this presents players with a chance to apply the skills they acquired in the previous quest. Upon successfully defeating the goblins, players will be rewarded with Ability Points, Gil, and EXP.
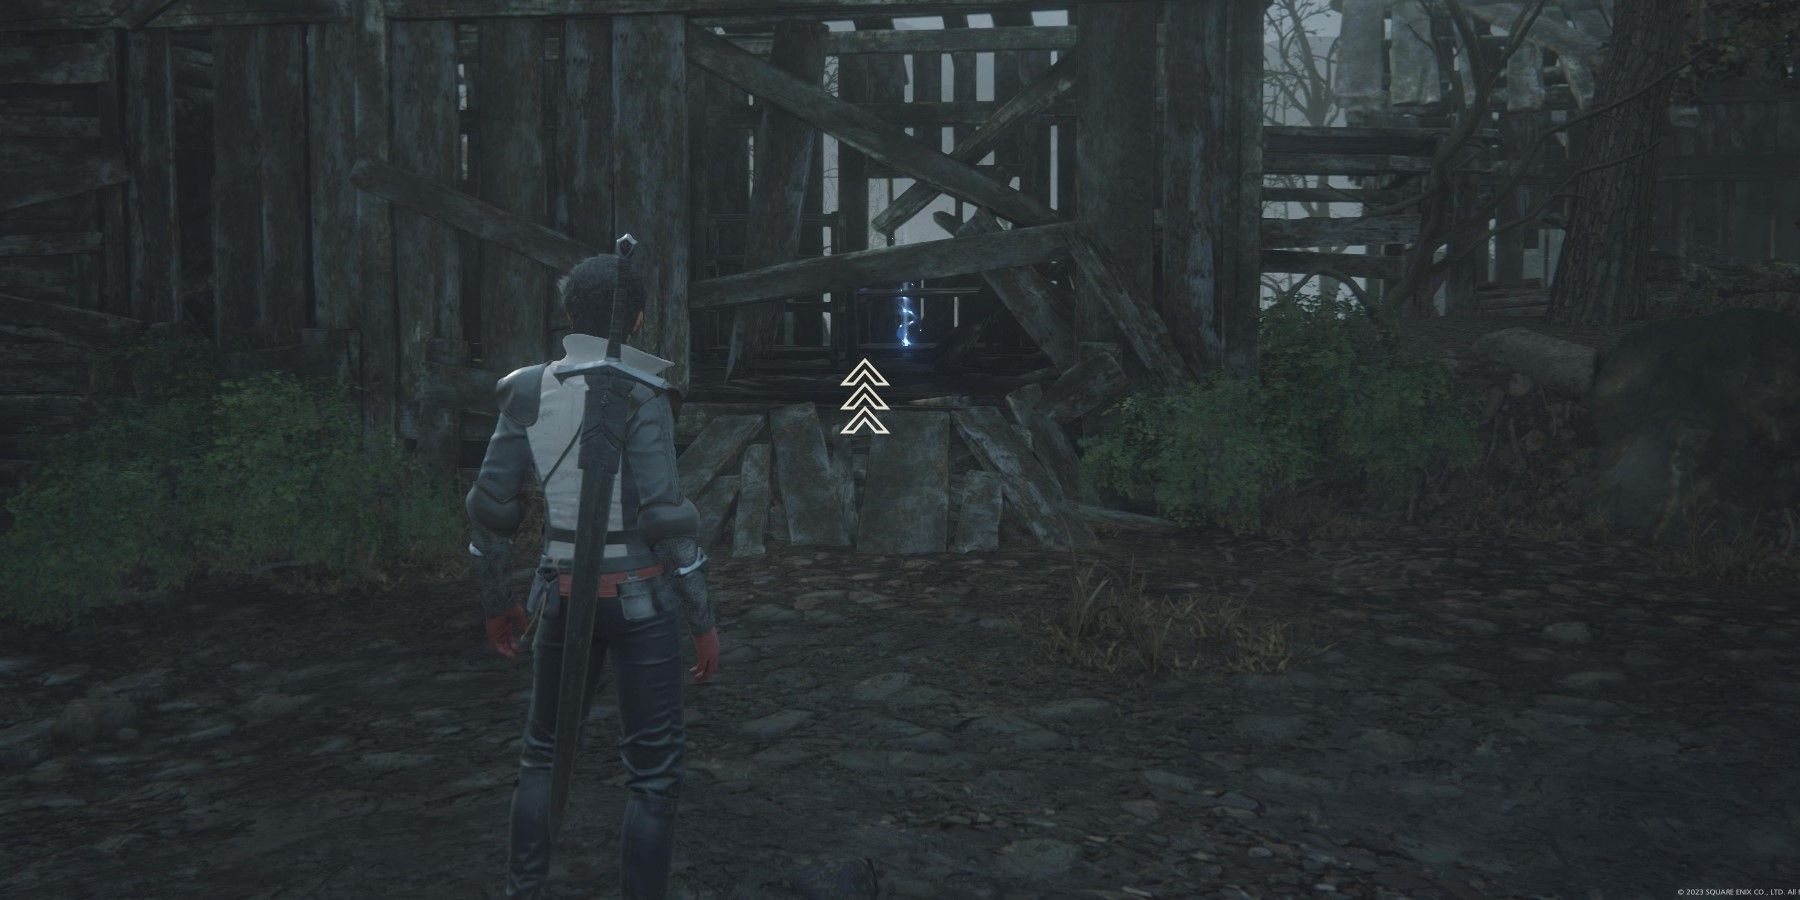
After the battle, players should venture under the broken barricade to continue their journey through Stillwind. On the right side lies a ruined building that can be explored, housing a Strength Tonic. Just beyond this location, players will encounter additional goblins. This time, the group is larger, providing players with an ideal opportunity to become more accustomed to the action-oriented gameplay. It is worth noting that enemies may occasionally drop valuable items, such as Gil, so players should thoroughly search the area for any loot that may have been left behind.
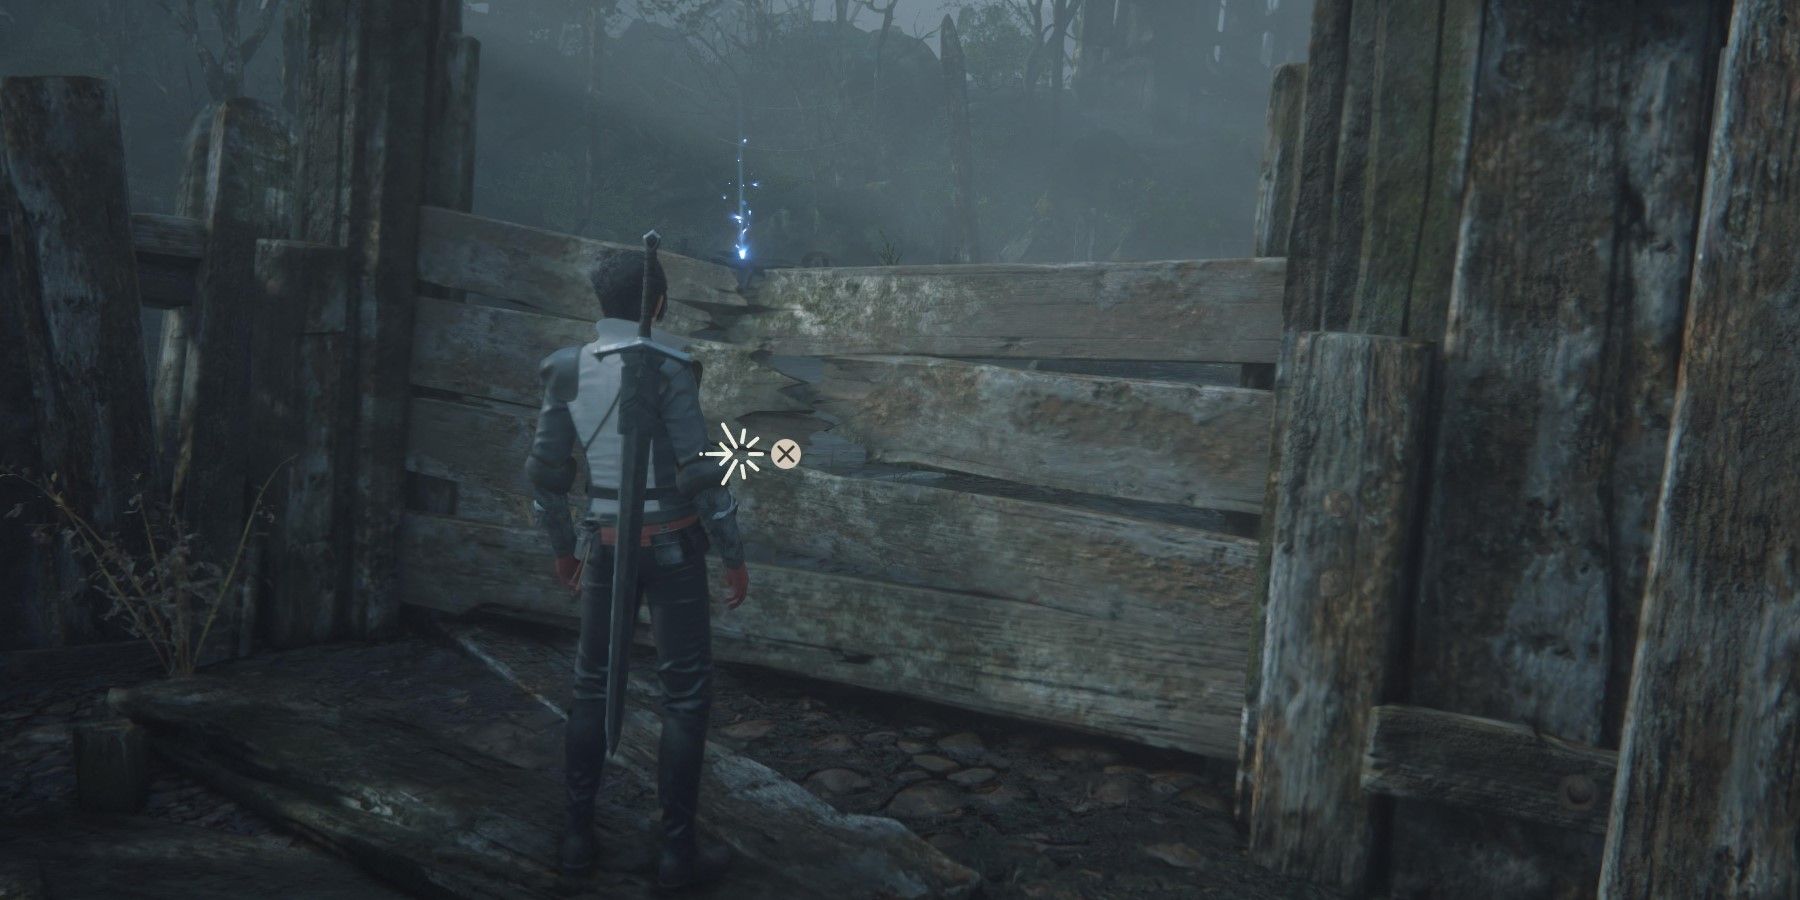
Within this courtyard lies a dilapidated house that adventurers can explore. Inside a small chamber of the house, a Potion awaits. Once prepared, return to the courtyard where a formidable barrier obstructs the path ahead. Approach the barrier and press 'X' followed by 'R2' to dismantle it. In the subsequent area, players will discover another Potion conveniently placed directly in front of them.
Unlike other Final Fantasy games, players can only hold a handful of consumables at any given time. For example, players can only carry four Potions and three High Potions.
Approach the ladder and ascend it, then descend and engage in combat with another group of goblins. This time, players will encounter goblins equipped with ranged attacks, so prioritizing their elimination is crucial. Once the goblins have been eliminated, proceed towards the barricade and demolish it to lower the bridge that provides access to the other side. Before venturing into the village square, ensure that you have fully restored your health.
Survive the Ambush
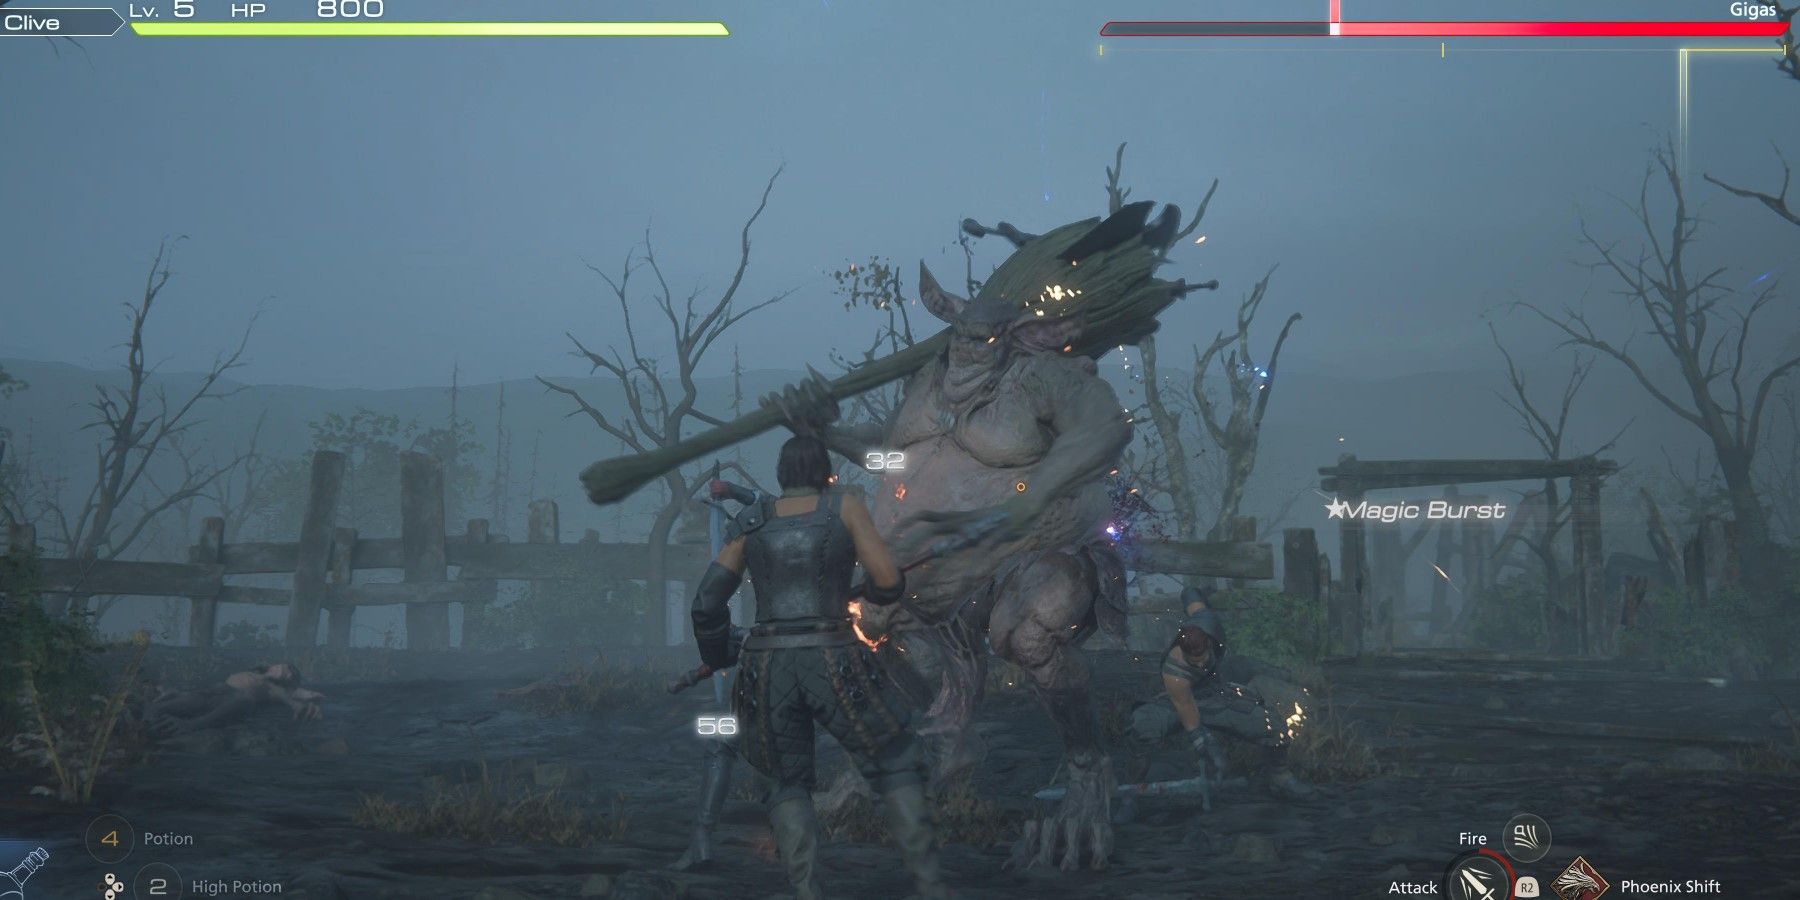
Following a brief cutscene, players will find themselves completely encircled by a horde of goblins. Once the goblins have been dealt with, players will confront the initial boss in Final Fantasy 16, a formidable goblin called Gigas. This encounter presents an opportunity for players to practice depleting an enemy's Will Gauge. When the Will Gauge of an adversary reaches empty, it will result in their staggering and subsequent collapse.
When an opponent is in a state of being staggered, players have the opportunity to unleash a barrage of damage upon them. Staggered enemies are much more susceptible to taking damage, so players should aim to deplete the Will Gauge as quickly as possible in order to make battles easier. After defeating Gigas, players will be rewarded with an item called Gil, as well as Ability Points.
Pursue the Goblin
Following the defeat of Gigas, the goblin leader makes a hasty retreat. Proceed through the building directly in front of you in order to give chase. Don't forget to collect the High Potion located on the shelf straight ahead. Enter the next room and make your way down toward the water. Cross the debris of the demolished structure to continue your pursuit of the goblin. However, be prepared for a challenging encounter, as the second boss awaits just up ahead.
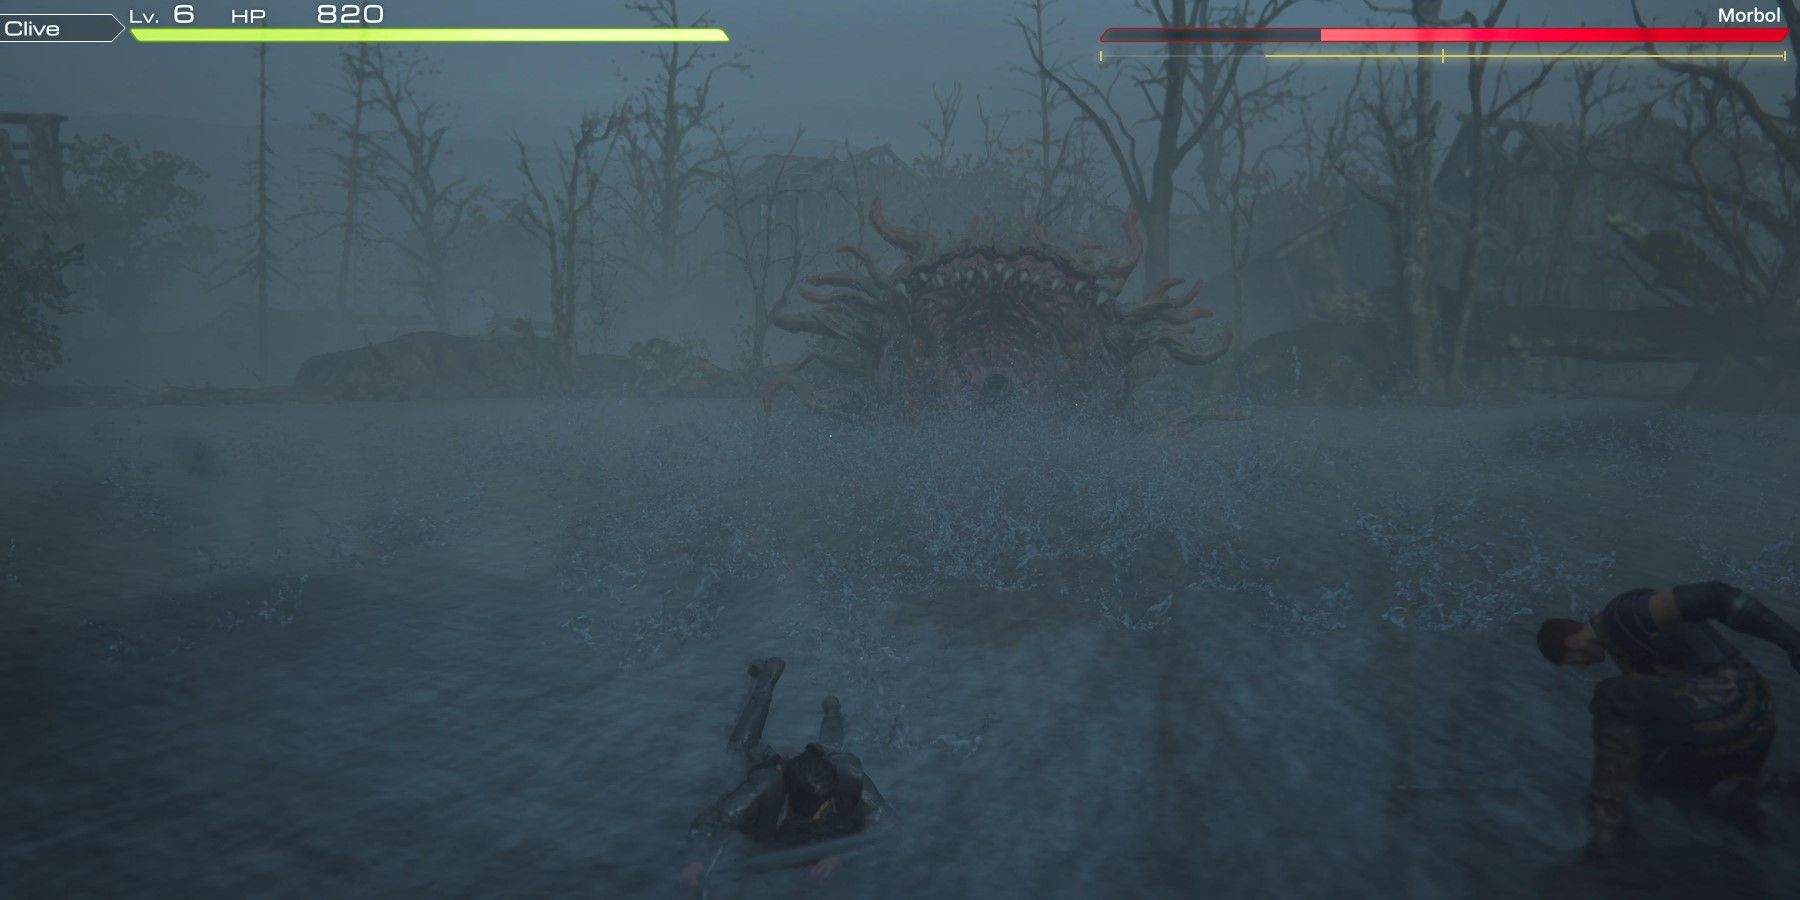
How to Beat the Morbol

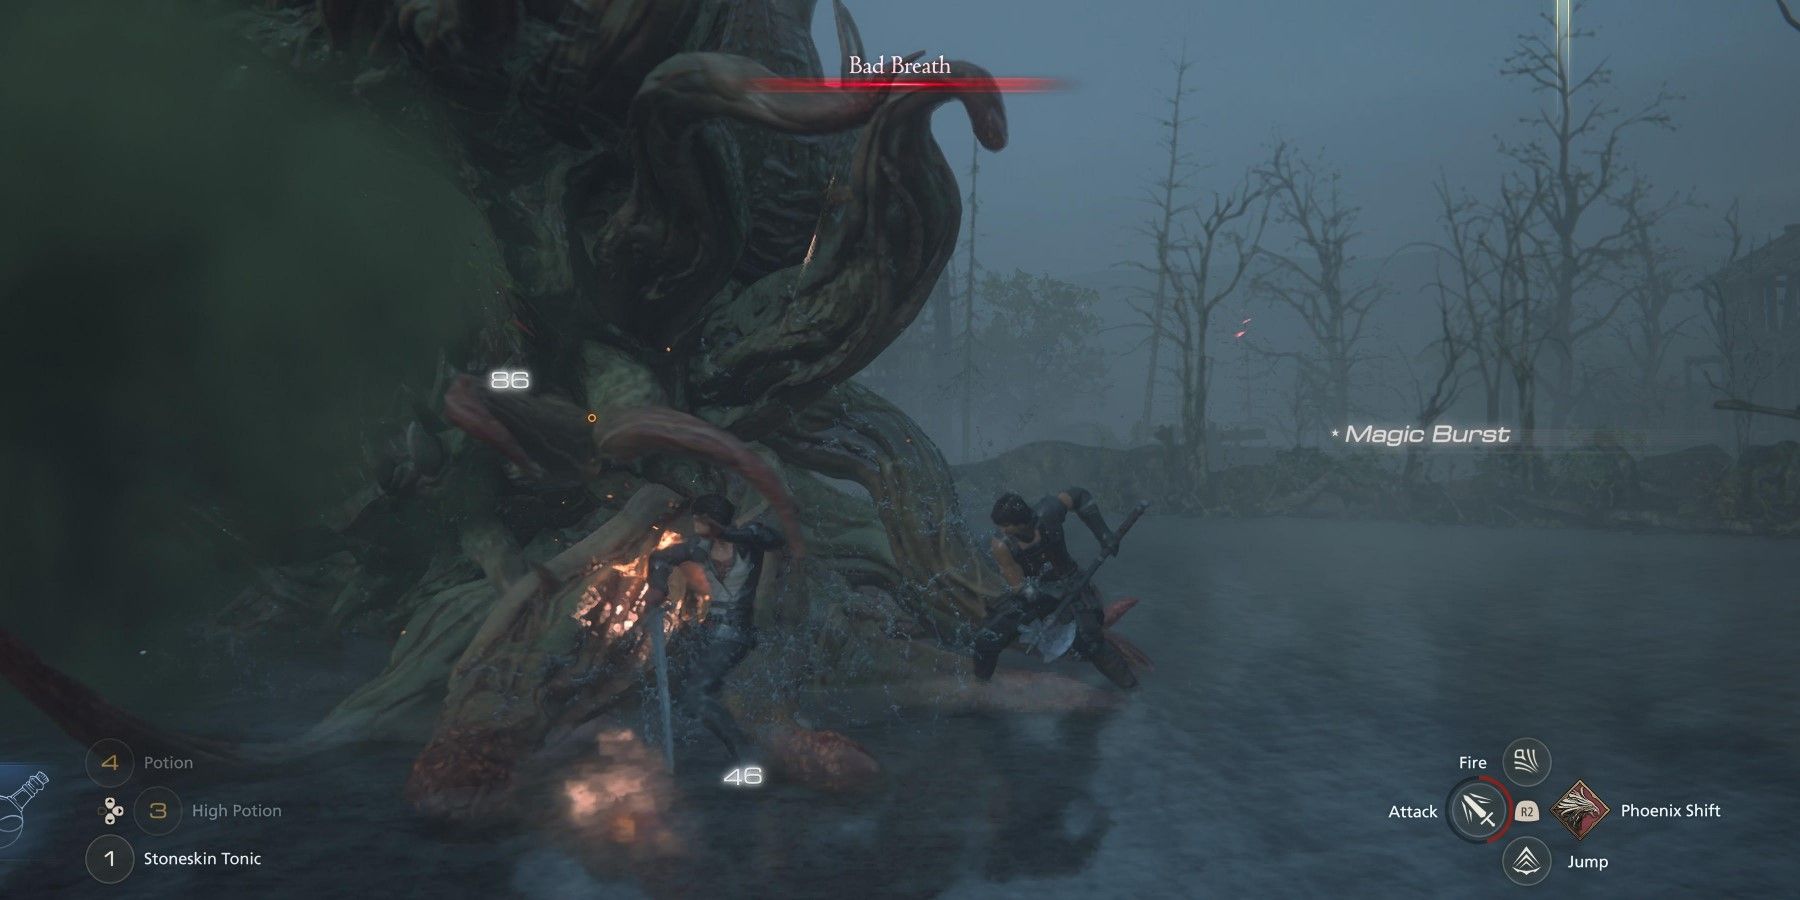
In earlier Final Fantasy games, the Morbol, previously known as a Malboro, poses a significant threat with its Bad Breath attack, capable of inflicting multiple debuffs on players simultaneously. During the battle, Clive's companions caution him about the dangers of the Morbol's breath, advising him to heed their warning. It is crucial to note that the Morbol takes several seconds to execute its Bad Breath attack, providing an opportunity to evade it effectively.
To minimize risk, players should either attack the Morbol from behind or wait until the attack animation concludes before reengaging the boss. Additionally, players must remain vigilant for the periodic release of a gas cloud by the Morbol. Prior to unleashing the cloud, the Morbol will tilt its head up and shake it from side to side. To avoid sustaining damage from this attack, it is essential to promptly move out of its range.
Similar to Gigas, Morbol can be incapacitated by depleting its Will Gauge. Continuously attacking it will eventually cause it to stagger, providing an opportunity for players to inflict more damage. When the Morbol reaches around 60% health, it will temporarily vanish. After a few moments, it will reappear and attempt to engulf players, resulting in what is known as a Cinematic Strike.
During a Cinematic Strike, players will have the opportunity to unleash devastating damage and stun the boss by timing their 'Square' press perfectly before the timer runs out. As the boss reaches 40% health, a new mechanic called Cinematic Evasion will be introduced. Instead of pressing 'Square' this time, players will need to swiftly tap 'R1' to gracefully dodge the incoming attack.
As the Morbol's health drops below 20%, it unleashes an attack known as Wild Rage, charging directly at the player. Fortunately, evading this attack is relatively simple. Once the Morbol comes to a halt, swiftly maneuver behind it and resume your assault. Maintain a vigilant dodge against its attacks while steadily weakening the Morbol, eventually leading it to its defeat.
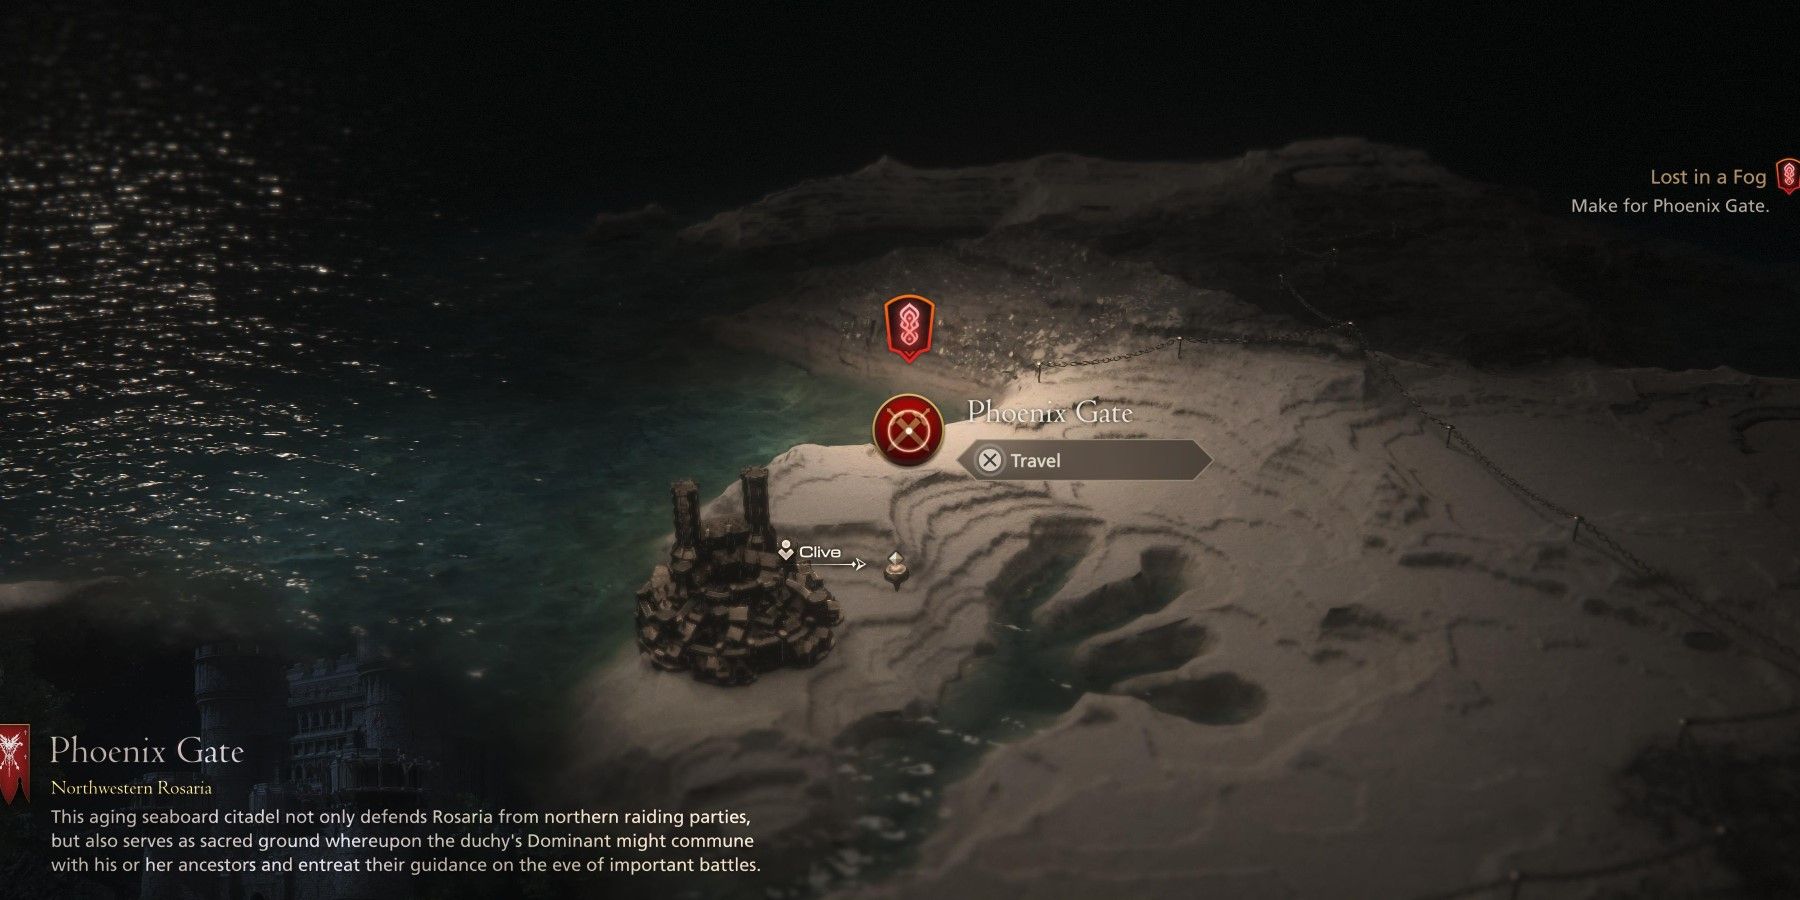
After watching the following cutscene, players should choose Phoenix Gate on the map to continue advancing the storyline. Although there are currently no other available destinations, players will eventually have the option to fast travel to different areas. Upon selecting Phoenix Gate, a series of extensive cutscenes will unfold, seamlessly transitioning into the next main scenario quest. Keep in mind that Final Fantasy 16 is scheduled for release on June 22nd exclusively for the PS5.


