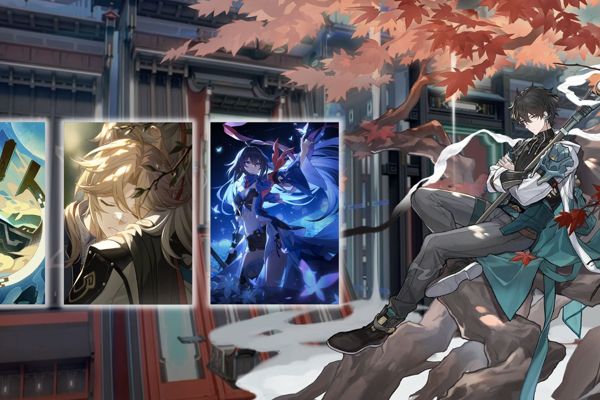
Top Honkai: Star Rail Hanya Build, Skills, and Team Compositions
Unleash the true power of Honkai's Hanya with our comprehensive guide! Discover the best build, skills, and team compositions to dominate the battlefield Harness the Oracle Brush, Samsara, and Ten-Lords' Decree to obliterate enemies Unleash your potential with Hanya's Sanction talent and Netherworld Judgment technique Ascend to greatness with our recommended Light Cone and Relics Master Hanya's potential and conquer all challenges with our expert advice
Hanya addresses a persistent issue in Honkai: Star Rail with skill point regeneration. In the Foxian Tale of the Haunted, she takes on the role of a Ten-Lords Commission judge alongside Foxian healer Huohuo. Her unemotional demeanor and straightforward approach make her a formidable interrogator, determining the destiny of wrongdoers and documenting their offenses with her reliable Oracle Brush. These same tools enable her to boost damage and maintain an ample supply of skill points.
Learn about Hanya's capabilities, recommended Relics and Light Cones, as well as the best team compositions for her.
Hanya abilities
Hanya specializes in buffing teammates and replenishing skill points. Her "Burden" status effect enhances damage dealt to enemies while also restoring skill points when allies successfully land attacks. It's crucial for Hanya to consistently reapply Burden after it wears off (once you have regained two Skill Points).
Here's a breakdown of her abilities as detailed in her in-game character profile:
Basic attack: Oracle Brush
Hanya inflicts 50 percent of her ATK as Physical DMG to a single enemy.
Skill: Samsara, Locked
Hanya deals Physical DMG equivalent to 120 percent of her ATK to a single enemy and inflicts them with Burden. When allies use 2 Basic ATKs, Skills, or Ultimates on an enemy with Burden, they will immediately recover 1 Skill Point. Burden is active only on the most recent target and will be automatically removed after the Skill Point recovery effect has been triggered twice.
Ultimate: Ten-Lords' Decree, All Shall Obey
Hanya boosts the SPD of a selected ally by 15 percent of Hanya's own SPD, as well as increasing the ally's ATK by 36 percent for 2 turns.
Talent: Sanction
When an ally uses a Basic ATK, Skill, or Ultimate on an enemy afflicted with Burden, the damage dealt is increased by 15 percent for 2 turns.
Technique: Netherworld Judgment
Hanya swiftly launches an assault on the enemy, inflicting Burden equal to that of the Skill on a random foe upon entering battle.
Ascension Passives
Ascension 2 Passive--Scrivener: When allies trigger the Skill Point recovery effect of Burden, their ATK is boosted by 10 percent for 1 turn.
Ascension 4 Passive--Netherworld: If an enemy with Burden is defeated and the trigger count for the Skill Point recovery effect is 1 or lower, this character also recovers 1 Skill Point.
Ascension 6 Passive--Reanimated: When the Skill Point recovery effect of Burden is triggered, this character also regenerates 2 Energy.
Best Light Cone for Hanya
Hanya has access to various Light Cones, including the five-star But the Battle Isn't Over. While not essential due to Hanya's already impressive Skill Point regeneration, But the Battle Isn't Over replenishes energy and Skill Points every time the wearer uses their Ultimate on an ally. Moreover, it boosts the DMG of the ally that attacks after the wearer uses their Skill by 30 percent.
Acquiring a five-star Light Cone or accumulating enough currency to obtain one for free from the in-game store can be challenging. However, many four-star Light Cones also work well with Hanya.
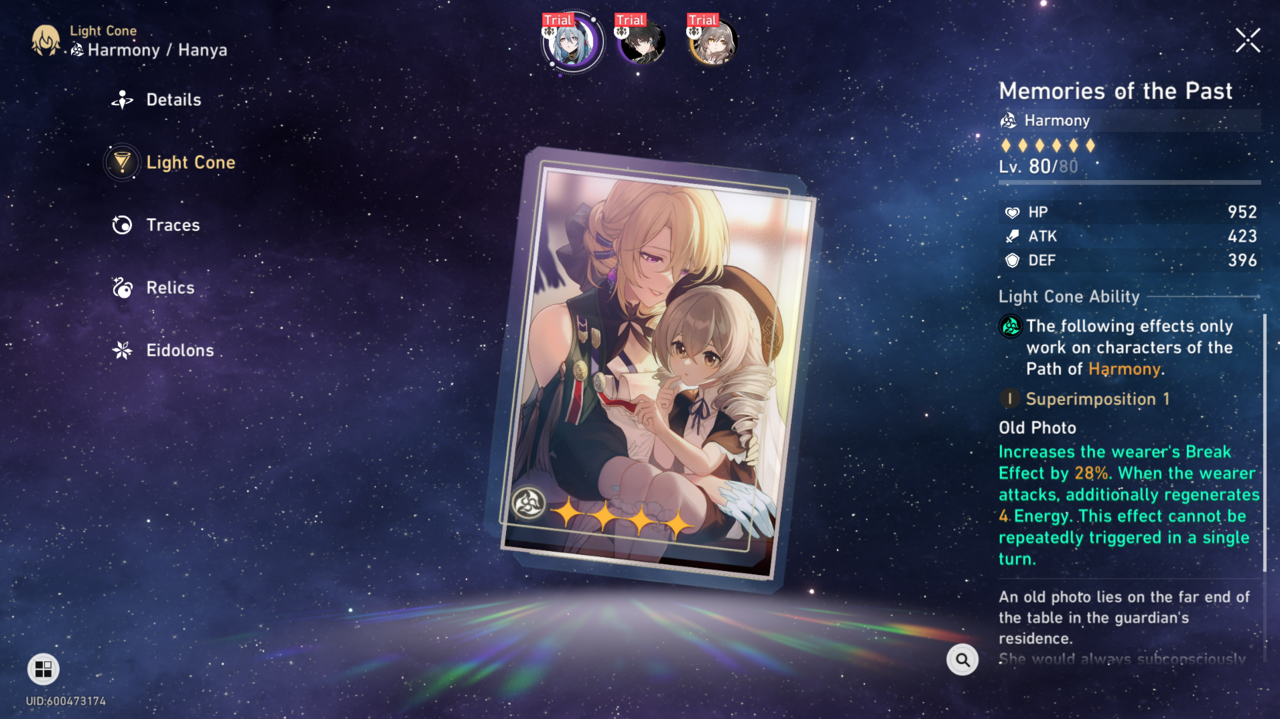
The Light Cone known as Memories of the Past in Hanya's trial run recharges 4 Energy every turn when the wearer attacks, in addition to boosting Break Effect by 28 percent for an easier time exploiting weaknesses. Even if Hanya doesn't take out enemies solo, she can still make it easier for her DPS to finish the job. Meanwhile, Dance! Dance! Dance! accelerates allies' actions by 16 percent upon the wearer using their Ultimate, making it a valuable asset for any Harmony character.
Carve the Moon, Weave the Clouds grants one of three buffs at random at the start of the wearer's turn: a boost in ATK, CRIT DMG, or Energy Regeneration. Despite the randomness, the guaranteed buff at the start of each turn throughout battle makes it feel like having an extra Harmony character. Unfortunately, it's a Battle Pass Light Cone and not available for free.
There's also a free-to-play option that doesn't rely on gacha. The Light Cone "Past and Future" can be earned through the Forgotten Hall and boosts the DMG for the next ally that uses an attack after the wearer uses their Skill. This effect is similar to the secondary bonus from "But the Battle Isn't Over." By raising it to Superimposition Level 5 with copies, the ally DMG can be increased up to 32 percent.
Three-star Meshing Cogs is another surprisingly useful choice for Hanya's energy regeneration. It's easy to raise it to Superimposition Level 5 due to its frequent appearance in gacha pulls (as a low rarity item). When at Level 5, it will give Hanya 8 Energy whenever she attacks or gets hit. This makes it the three-star version of Memories of the Past.
Descriptions for each Light Cone at Level 1 are as follows:
But the Battle Isn't Over (5-star): Enhances the wearer's Energy Regeneration Rate by 10%, regenerates 1 Skill Point when the wearer uses their Ultimate on an ally, and triggers after every 2 uses of the wearer's Ultimate. Additionally, when the wearer uses their Skill, the next ally (excluding the wearer) will deal 30% more DMG for 1 turn.
Memories of the Past (4-star): Boosts the wearer's Break Effect by 28 percent and restores 4 Energy when attacking. This effect can only be activated once per turn.
Dance! Dance! Dance! (4-star): Using the wearer's Ultimate advances all allies' actions forward by 16 percent.
Past and Future (4-star): When activated, the wearer's Skill boosts the next ally's damage output by 16 percent for 1 turn.
Carve the Moon, Weave the Clouds (4-star): At the start of battle and whenever the wearer's turn begins, a random effect is applied: All allies' ATK increases by 10 percent, all allies' CRIT DMG by 12 percent, or all allies' Energy Regeneration Rate by 6 percent. This effect will replace the previous one and will be removed when the wearer is knocked down. Similar effects cannot be stacked.
Best Relics for Hanya
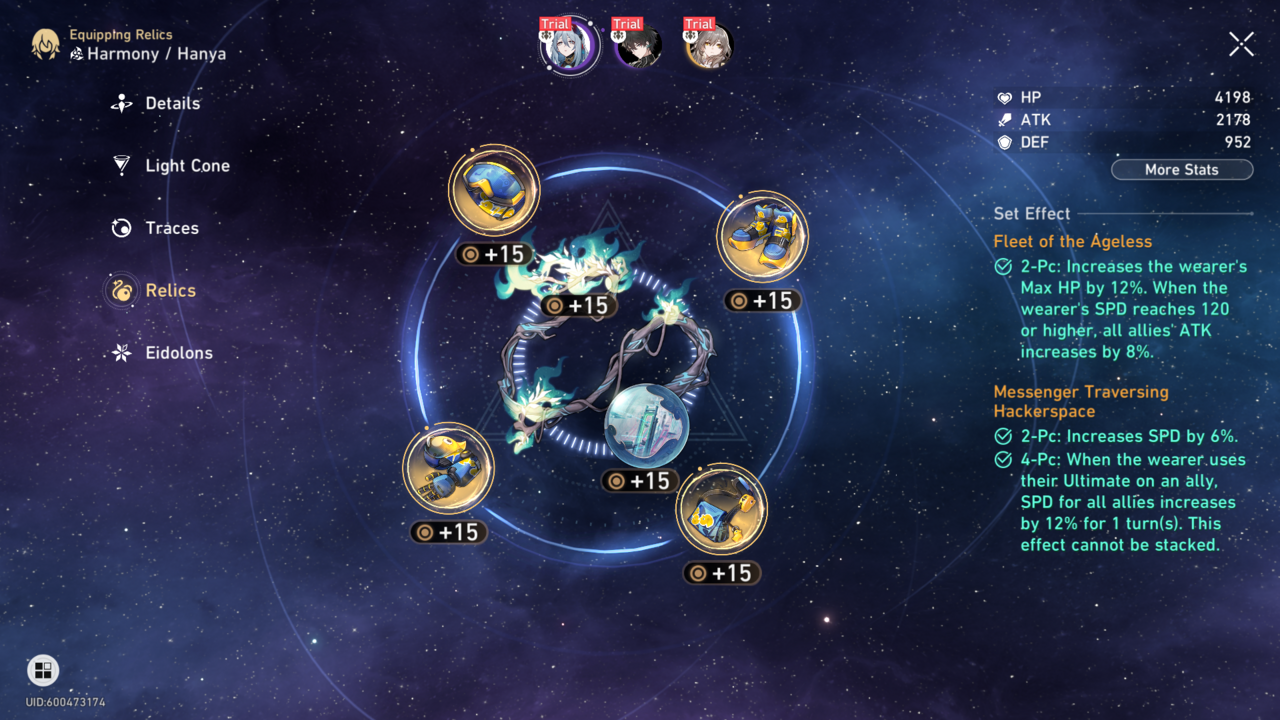
Hanya's abilities scale primarily off of ATK, except for her Ultimate, which scales based on SPD. Therefore, the SPD-based Messenger Traversing Hackerspace set is essential. A four-piece set increases Hanya's SPD and boosts the SPD for allies whenever she uses her Ultimate. However, a two-piece Hackerspace set may be a better choice if you do not have enough ideal Relics.
Mixing and matching is especially important if you already have a character like Asta to boost the speed of allies. By combining two pieces of Hackerspace with two pieces of Longevous Disciple Relics, you can significantly improve Hanya's ability to survive. These Relic sets are also cost-effective for farming together as they both come from the same Cavern. Another option is to equip two Musketeer of Wild Wheat to increase Hanya's attack, although this may be less necessary due to her built-in ATK boosts in her Traces (skill tree).
Here are the effects for the three Relic sets:
Messenger Traversing Hackerspace
Two-piece effect: Increases SPD by 6 percent.
Four-piece effect: When the wearer uses their Ultimate on an ally, SPD for all allies increases by 12% for 1 turn(s). This effect cannot be stacked.
Longevous Disciple
Two-piece bonus: Boosts maximum HP by 12%.
Four-piece bonus: When the wearer is attacked or has their HP reduced by an ally, their CRIT Rate rises by 8% for 2 turns, stacking up to 2 times.
Musketeer of Wild Wheat
Two-piece effect: ATK increases by 12 percent.
Four-piece set bonus: Increases wearer's SPD by 6% and Basic ATK DMG by 10%.
When choosing ornaments, consider using Fleet of the Ageless, Broken Keel, or Sprightly Vonwacq depending on your team composition. Fleet of the Ageless is a versatile option as it enhances Hanya's survivability and boosts teammates' ATK without conflicting with other skills or requirements.
Broken Keel offers a valuable boost in CRIT DMG, but it requires a challenging balance in Effect RES. In contrast, Sprightly Vonwacq's usefulness depends on your team and gear. If you already have a battery character or an item that advances actions, it may be worth reconsidering.
Fleet of the Ageless: Boosts the wearer's Max HP by 12%. When the wearer's SPD hits 120 or more, all allies' ATK increases by 8%.
Broken Keel: Boosts the wearer's Effect RES by 10%. When the wearer's Effect RES is 30% or higher, all allies' CRIT DMG increases by 10%.
Sprightly Vonwacq: Enhances the wearer's Energy Regeneration Rate by 5%. When the wearer's SPD is 120 or higher, their action is immediately Advanced Forward by 40% upon entering battle.
Hanya Relic stats
Hanya requires SPD boots to meet her needs. Additionally, the Energy Regeneration rope is essential for enabling Hanya to use her Ultimate ability as frequently as possible.
The choice of Relics should be based on your specific circumstances. It is advisable to equip HP% body pieces and spheres to help Hanya prolong her survival. Alternatively, ATK% pieces can be used to enhance her buffs if you have a highly resilient team (such as a defender or healer) or additional support like the ultimate shield provided by Gepard.
Relic | Main Stat | Sub-Stat |
Body | HP, ATK | SPD, ATK, HP, Effect Res |
Feet | SPD | SPD, ATK, HP, Effect Res |
Sphere | HP, ATK | SPD, ATK, HP, Effect Res |
Link Rope | Energy Regeneration | SPD, ATK, HP, Effect Res |
Best teams for Hanya
When it comes to substats, having high SPD, ATK, and HP is crucial. Additionally, having Effect RES is essential if you intend to utilize Broken Keel.
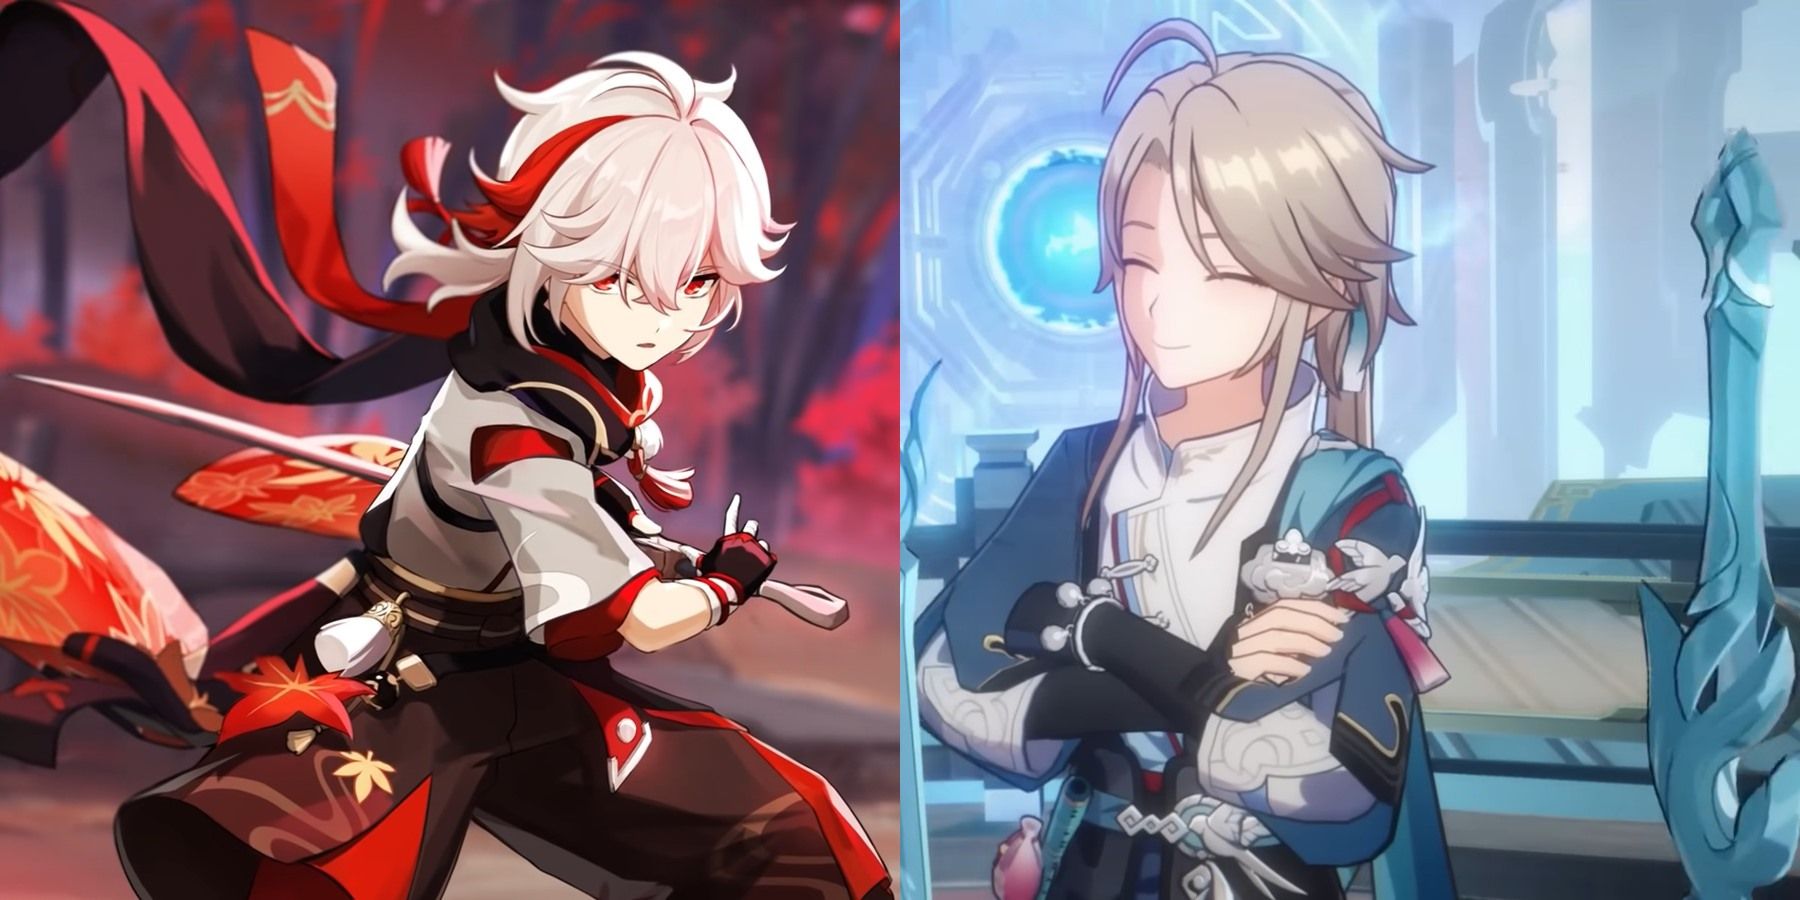
Hanya functions as a support character, making it important for her to be part of a team with dedicated damage dealers, healers, and defenders. She is particularly effective when paired with skill point-hungry characters such as Seele, Bronya, and Yukong. Here are a few examples of team compositions that could prove to be effective:
Hanya, Seele, Pela, Huohuo
In this team, Huohuo, a fellow judge of Hanya's, serves as the team's healer and battery. Pela is responsible for reducing defenses, which complements the increase in damage against Burdened targets. Additionally, Hanya's skill point regeneration enables Seele to use her Resurgence Talent, granting her an extra turn upon defeating an enemy. Alternatively, other DPS options can be considered in place of Seele, along with another healer replacing Huohuo.
Characters like Hanya, Lynx, Sushang, and Tingyun each bring unique abilities to the team. Lynx focuses on healing and protecting the team from debuffs, while Natasha can be used as an alternative. Meanwhile, Tingyun serves as a battery and damage booster. Sushang, like Seele, can quickly consume skill points due to her Ultimate, allowing her to take another turn shortly after. If needed, another DPS character can be used in her place.
Hanya, Dan Heng, Natasha, Yukong (free-to-play)
Dan Heng, also known as Physical Trailblazer, is the ideal DPS for the free-to-play team. To maximize Yukong's buff, she should use her Skill frequently since it only affects the next two allies in the lineup.
Editor's P/S
As a Gen Z netizen, I'm always on the lookout for the latest and greatest in gaming. When I heard about the new Honkai: Star Rail character, Hanya, I was immediately intrigued. Her unique skill set and team compositions make her a valuable asset to any team.
I love how Hanya's abilities focus on buffing teammates and replenishing skill points. Her "Burden" status effect is particularly useful, as it enhances damage dealt to enemies while also restoring skill points when allies successfully land attacks. This makes her a great support character for any team composition.