The Ultimate Guide to Unleashing Zelda's Hidden Power in Tears of the Kingdom
Embark on an awe-inspiring adventure in Zelda: Tears of the Kingdom with the A Bottled Cry for Help quest Uncover a hidden secret on Necluda's beach, leading to the heroic rescue of a stranded fisherman Get ready for thrilling challenges and unforgettable moments!
Starting The "A Bottled Cry for Help" Quest
Players of The Legend of Zelda: Tears of the Kingdom have the opportunity to explore the expansive realm of Hyrule while embarking on a multitude of captivating side quests. These quests can be initiated by engaging with fellow travelers during their own journeys or encountering intriguing individuals at various locations such as stables and bustling settlements. However, some exhilarating side adventures come to life when players stumble upon specific objects scattered throughout the vast world. A notable example of such an adventure is "A Bottled Cry." This guide will provide detailed steps on how to embark on and successfully complete this thrilling quest within Tears of the Kingdom.
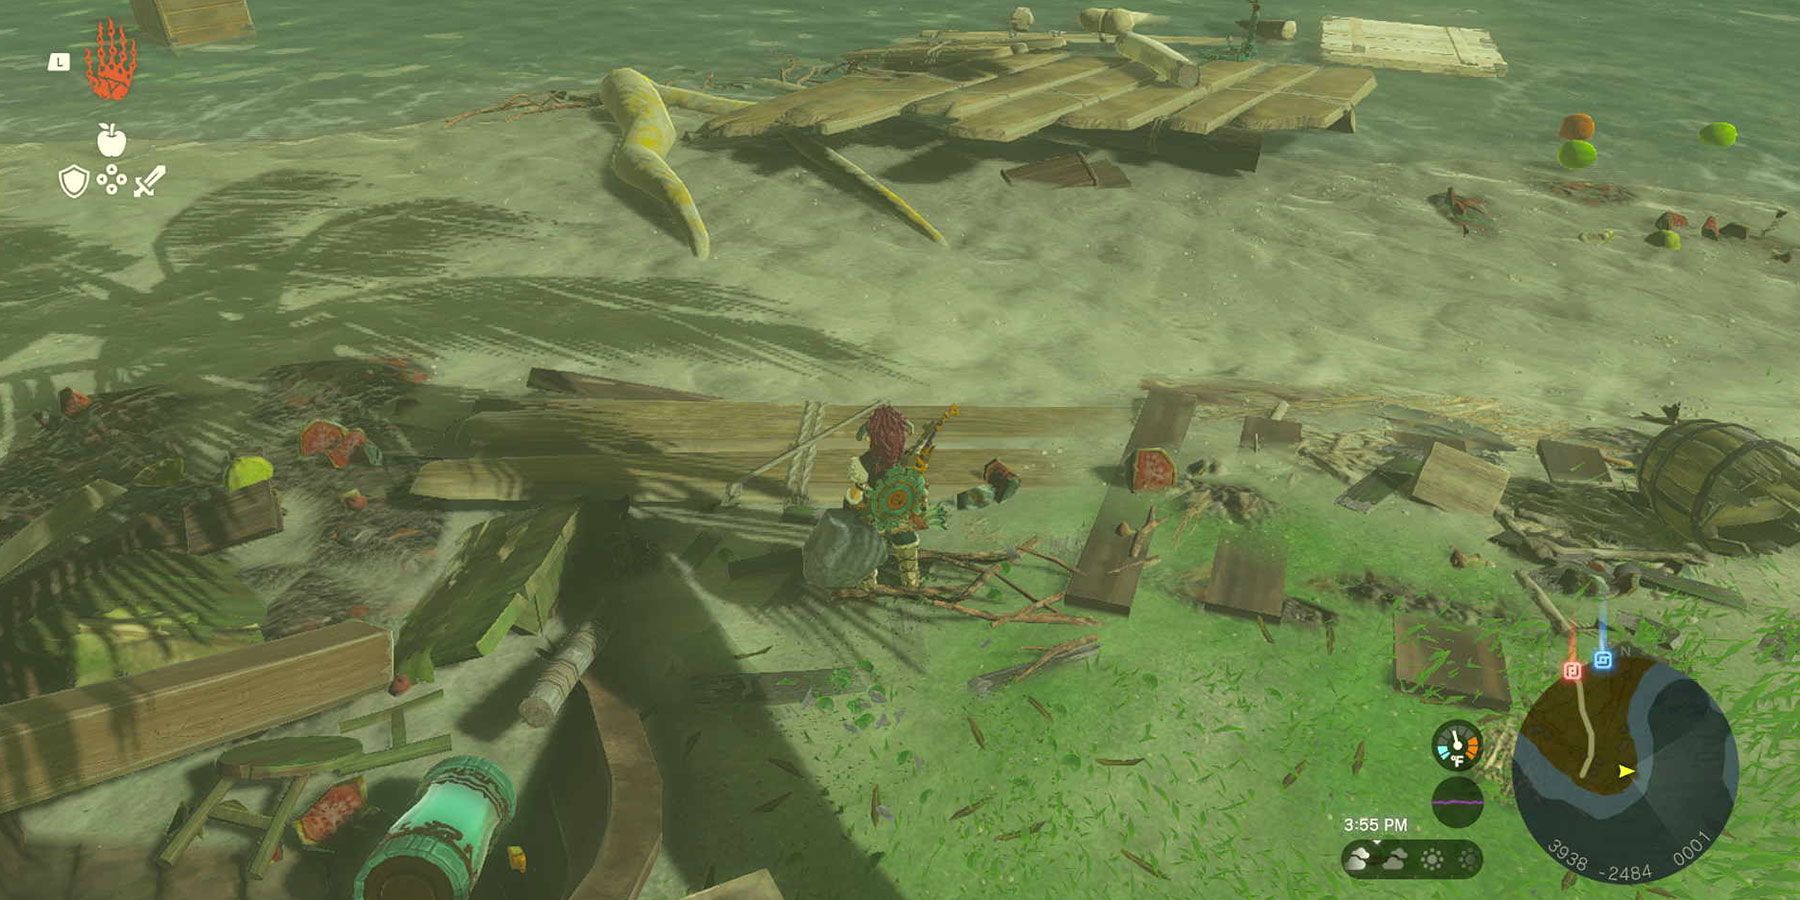
The side quest called "A Bottled Cry For Help" commences with the discovery of a message in a bottle adrift in the waters that lie between Kitano Bay and Hateno Bay, situated at the southernmost point of a road. For those seeking swift travel and access to this area, the nearest shrine is Mayahisik Shrine, positioned just south of the Hateno Ancient Tech Lab. Proceeding from there, follow the road leading south until reaching the shoreline. At this juncture, the player encounters a multitude of wreckage, remnants of a shipwreck, with various ruined cargo and scattered weaponry strewn across the area.
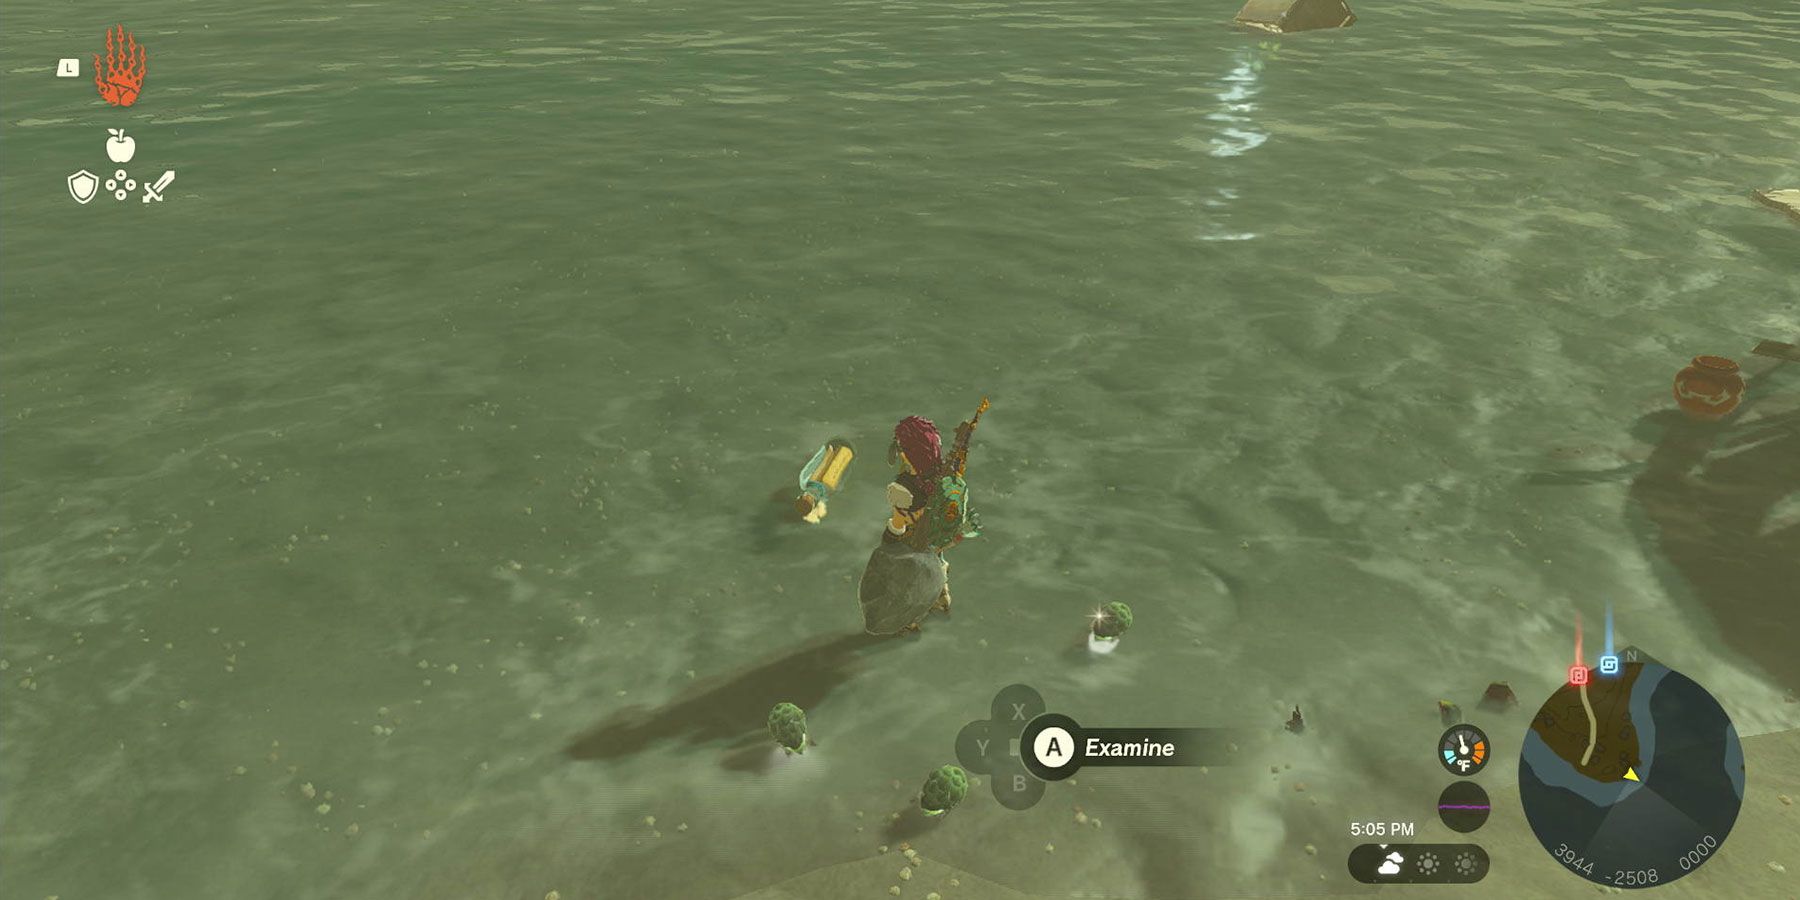
On the beach, players will come across a variety of wooden planks and logs that can be utilized. Additionally, they will find three Zonai devices: a Battery, a Fan, and a Steering Stick. In the water, three Brightbloom Seeds can be spotted floating. Just beyond these seeds, a message in a bottle can be discovered at coordinates (3945, -2509, 0000). Interacting with the bottle allows players to read the letter enclosed within.
Reaching Mapla Point Cave
The fisherman found himself ensnared by an unforgiving tempest while he was out at sea. In desperate need of shelter, he sought solace within the safety of a nearby cave. Alas, as misfortune would have it, a colossal boulder tumbled down during the tempest, ensnaring him within the confines of the cavern. Despite his dire circumstances, the fisherman ingeniously managed to release a bottle, along with a precious assemblage of Brightbloom Seeds, from his entrapment. Imploringly, he beseeched anyone who discovers his missive to meticulously trace a trail of resplendent Brightblooms in order to unveil the elusive location of his rocky abode.
By Sea
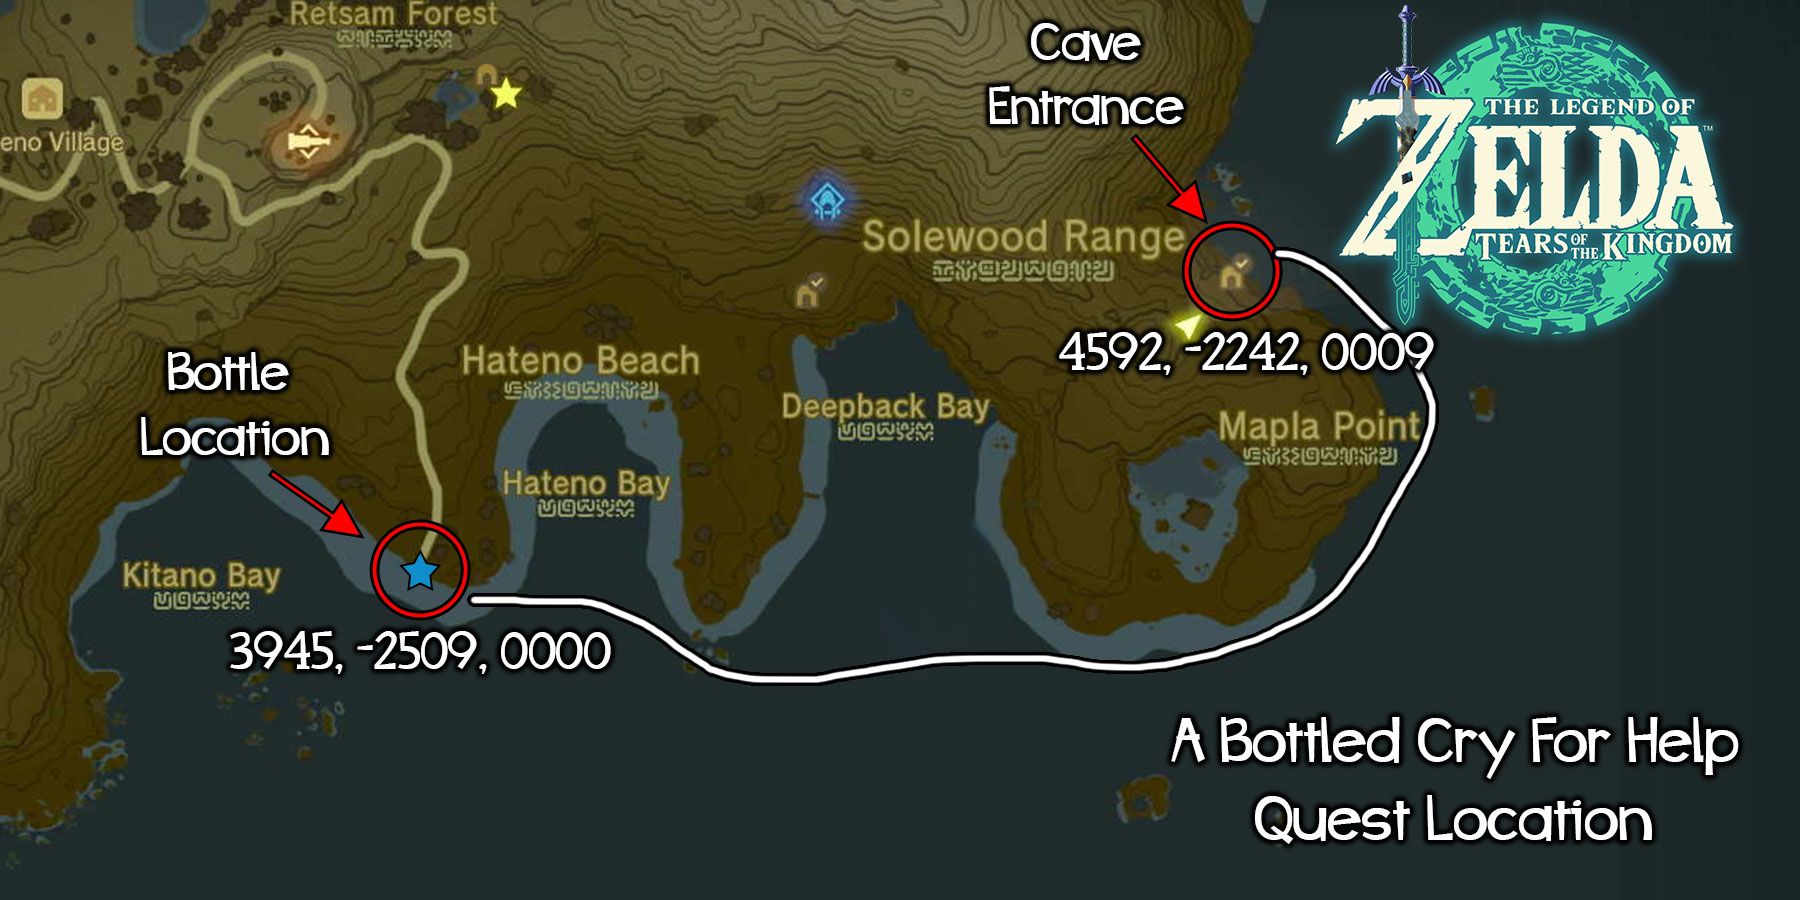
Past the wreckage, players can catch a glimpse of the gentle glow emanating from Brightblooms, guiding their way towards the vast expanse of the ocean and the eastern horizon. In order to reach the hidden cave, a considerable amount of travel must be undertaken. Thus, it is imperative for players to ingeniously construct a powered raft employing the ingenious Zonai contraptions readily available. As an initial step, players can embark on a journey towards a petite, nameless island situated at coordinates (4212, -2817, 0001). Here, a supplementary battery can be discovered, serving as a potential addition to their raft, should the need arise.
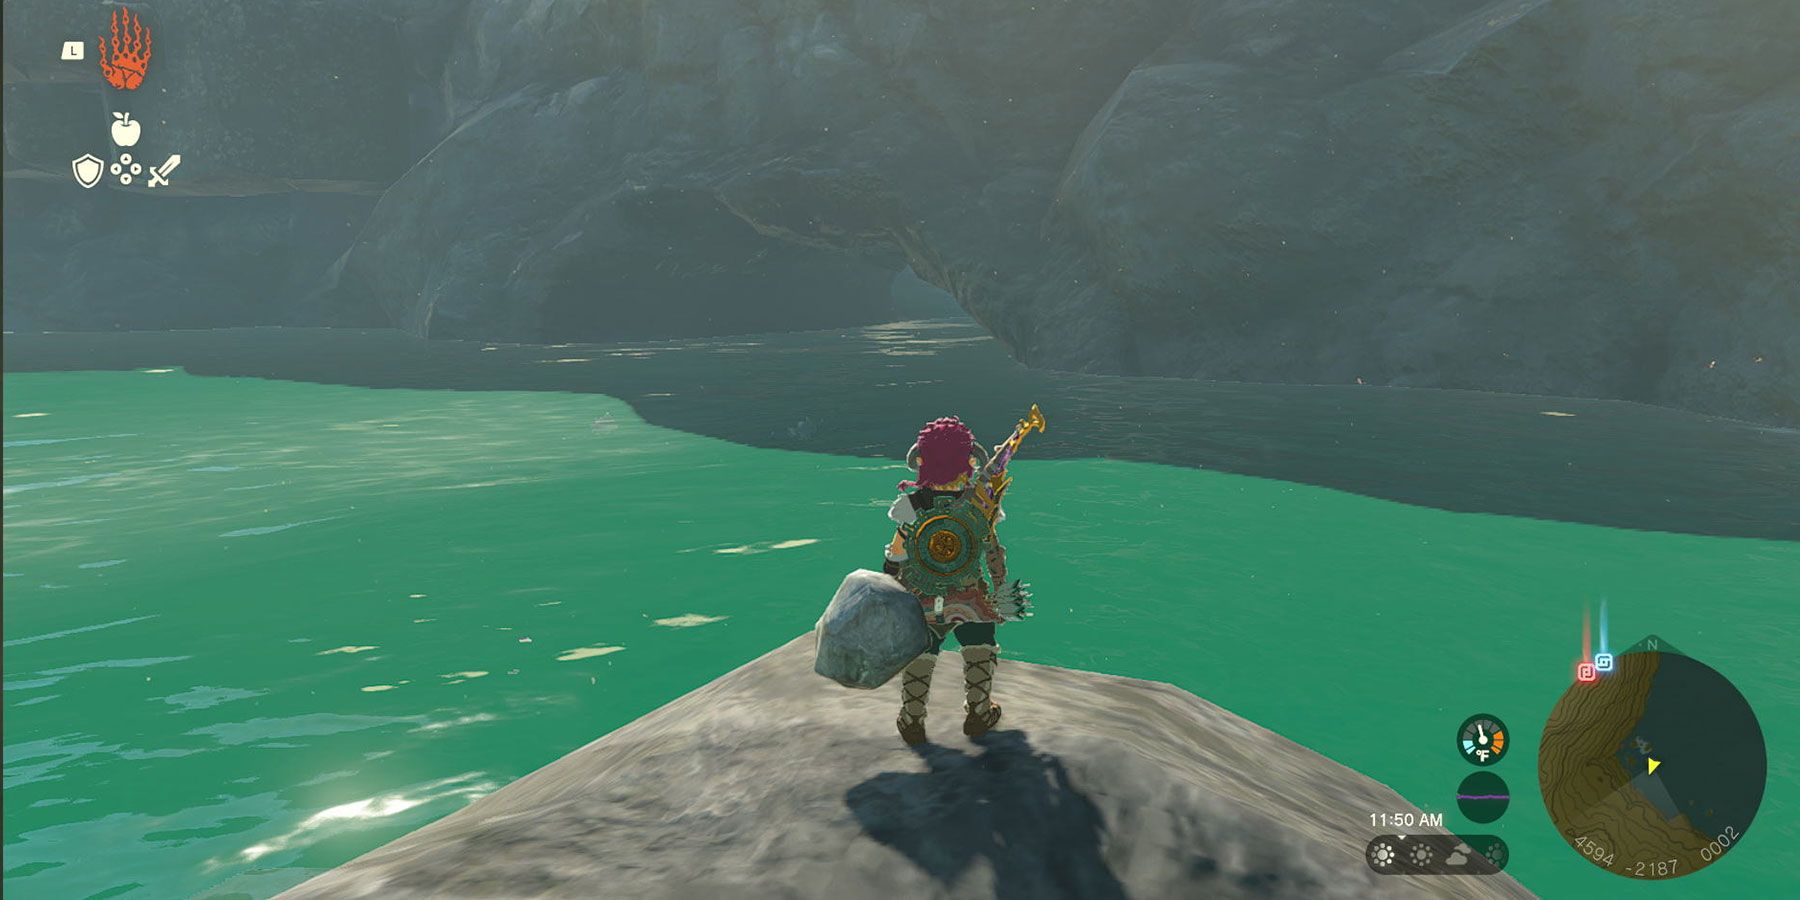
Continue to the east, passing by both Hateno Bay and Deepback Bay. Travel around the southern tip of Mapla Point until you reach the eastern side of the continent, which is located southeast of the label "Solewood Range" on the map. In this particular area, players will stumble upon a group of small, unidentified islands. Amidst these islands and nestled within the cliffside, at coordinates (4592, -2242, 0009), a sizeable cave entrance awaits. Notably, there is a powerful current streaming out of this cave.
By Land
In case the player has already unlocked the Anedamimik Shrine, they have the option to swiftly travel to this shrine and employ Ascend to exit the subterranean cavern. After reaching the surface, the player can proceed eastward, traversing the Solewood Range directly, to arrive at their intended location.
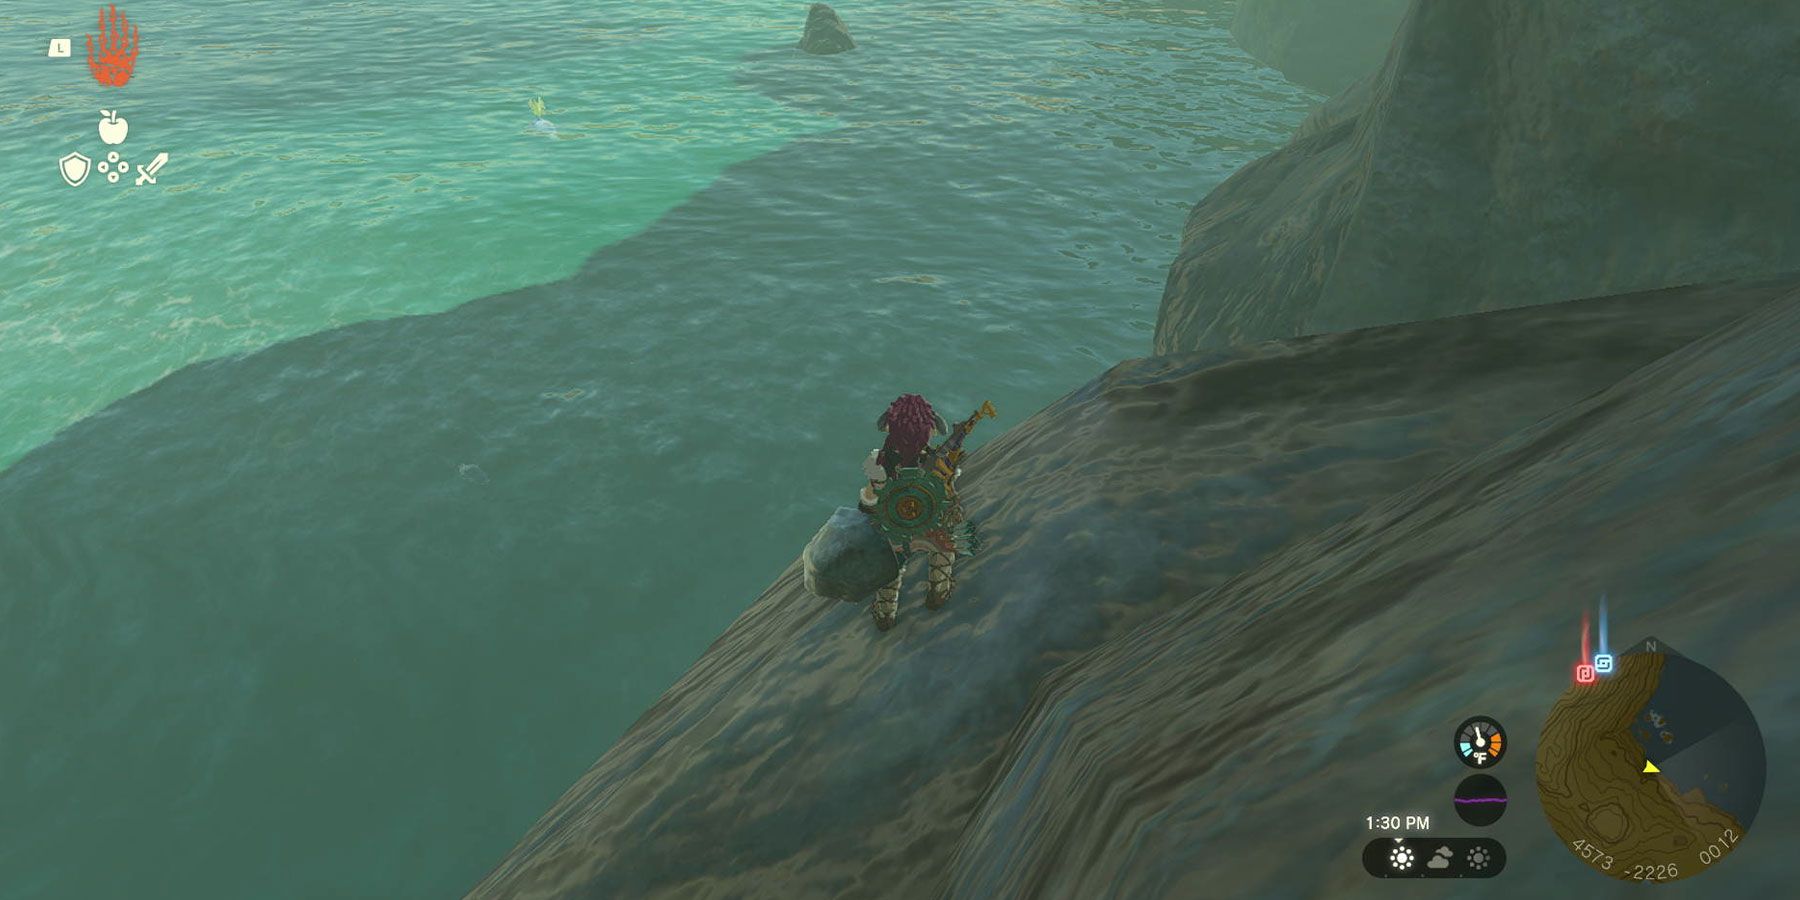
Upon reaching the cave entrance situated at coordinates (4592, -2242, 0009), players are advised to descend into the water just beside the southeastern flank of the entrance. From there, they can comfortably swim their way into the cave, eventually stumbling upon the fascinating haven known as Mapla Point Cave. In a matter of moments, they will find themselves transitioning from the depths into shallower waters and solid ground.
Rescuing Chumin, The Trapped Fisherman
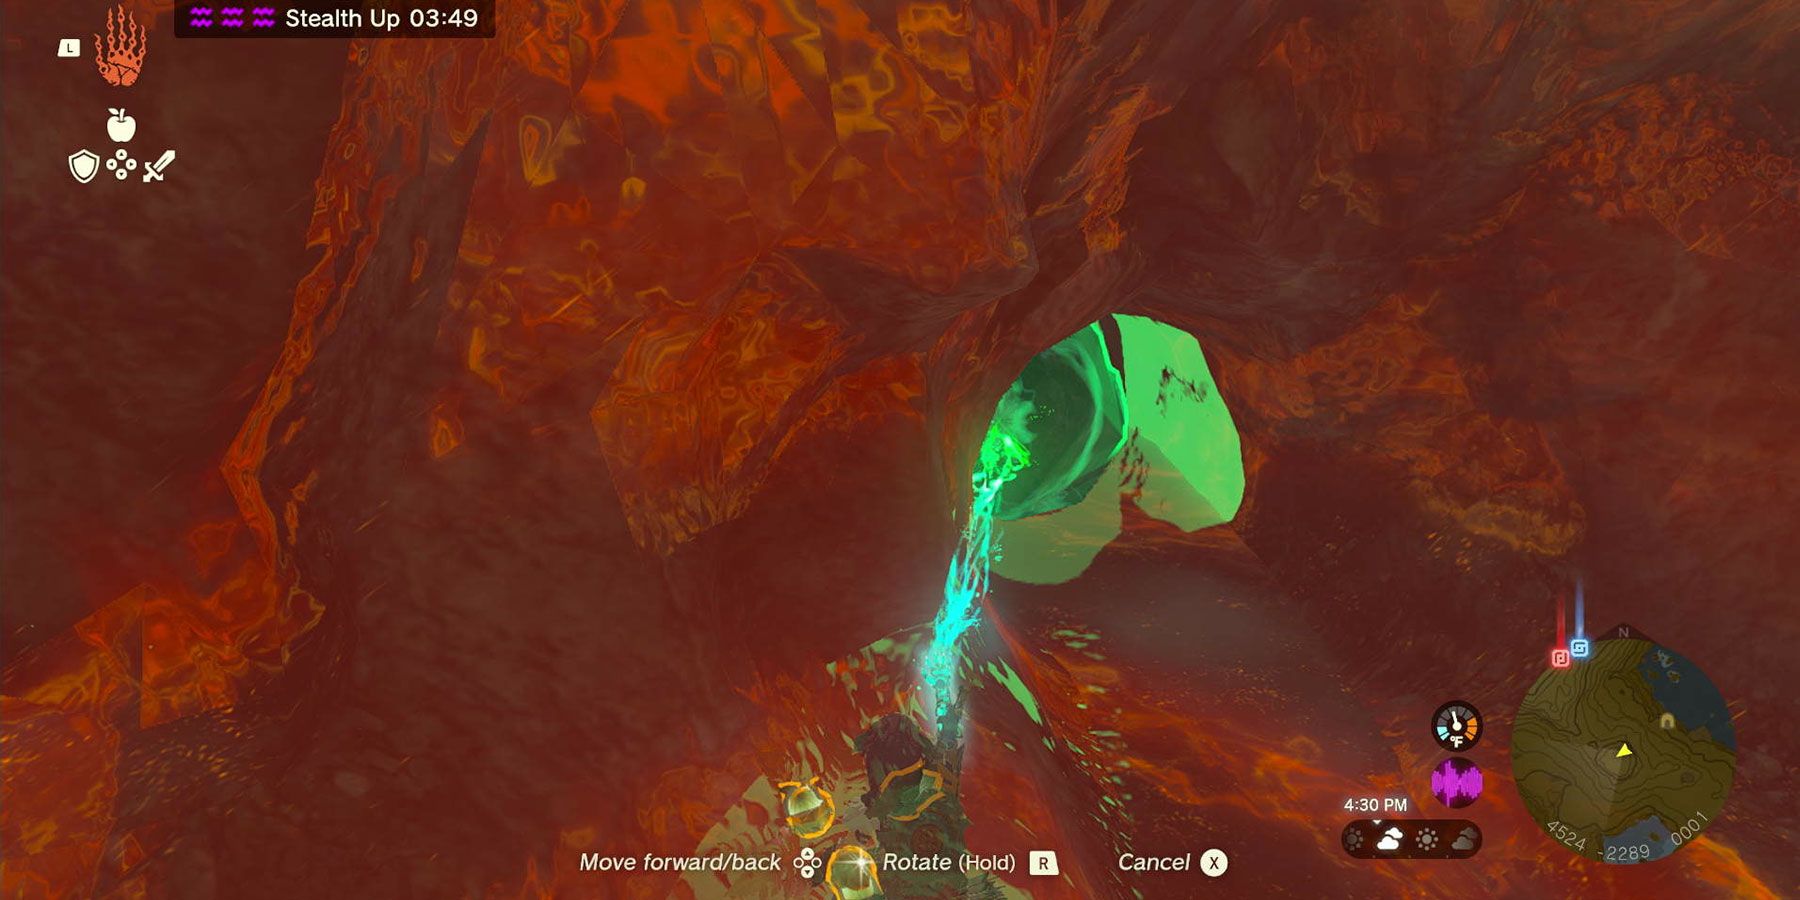
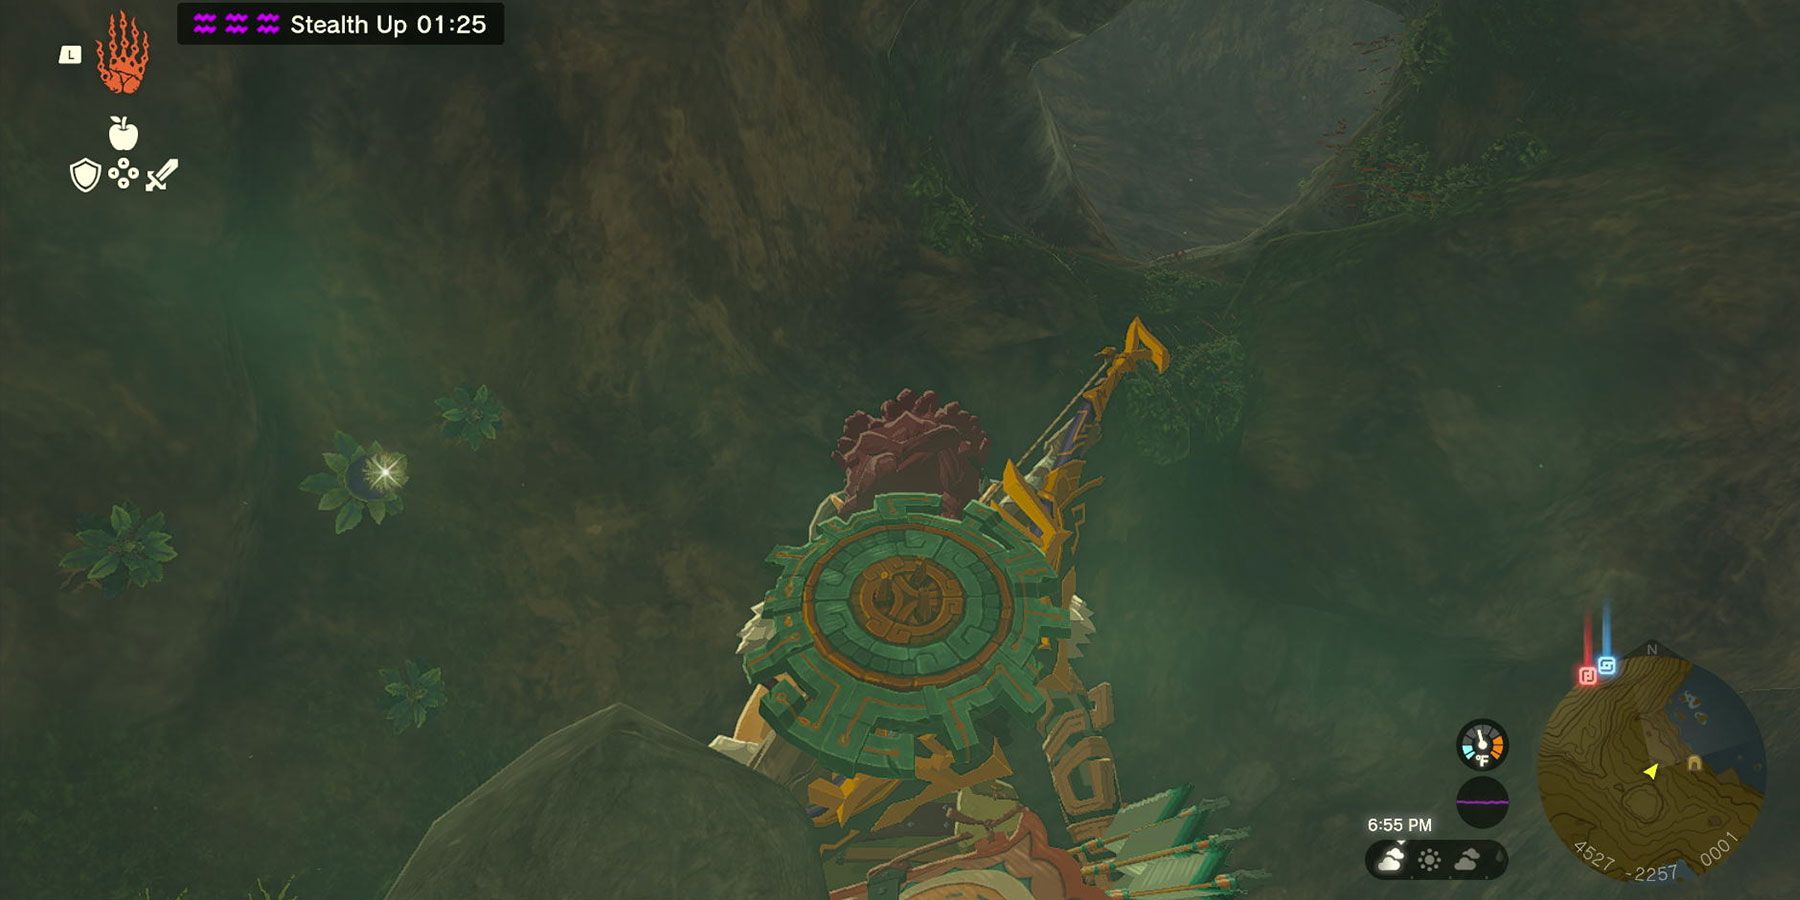
Deep within the cavern lies a scattering of Brightblooms, a quaint boat resting on the shore, and an abundance of mineral veins. The player can follow the coastline from the docked boat and stumble upon a petite cave entrance obstructed by a massive boulder. To gain access, utilize the mighty Ultrahand and eliminate the barricade, thus granting entry into the concealed chamber.
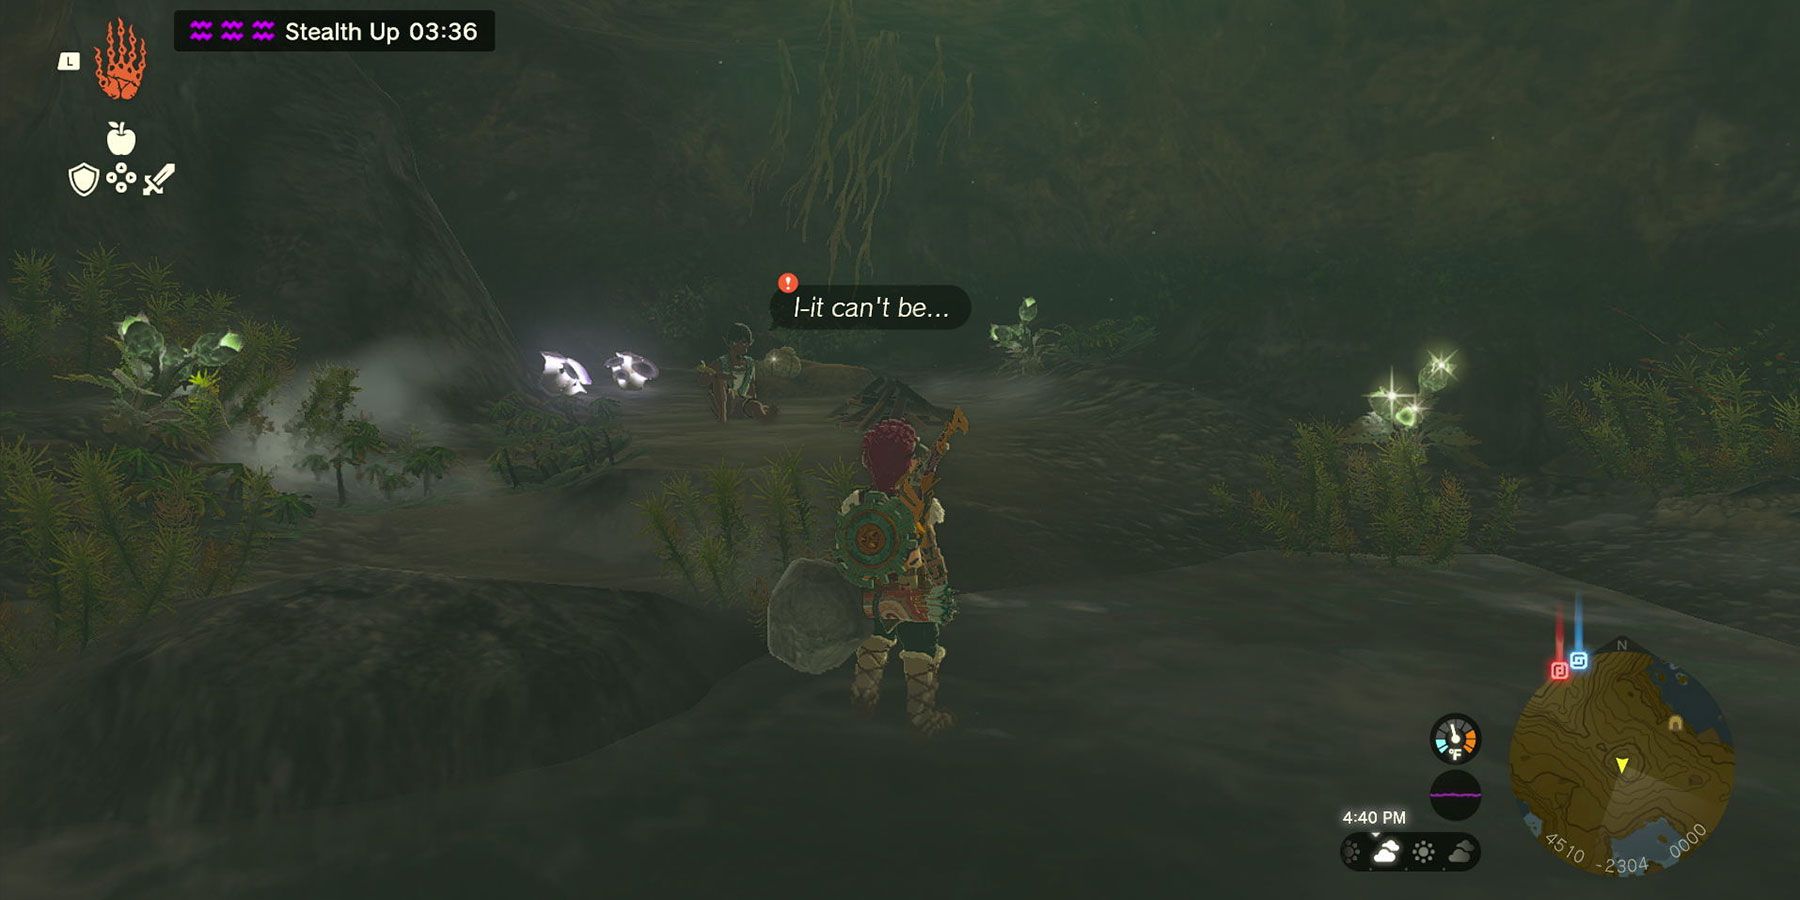
Inside, Link will discover Chumin, the fisherman who has been captured. Chumin expresses heartfelt appreciation to Link for saving him and presents him with a generous reward of 100 Rupees. Additionally, he recommends that if they happen to cross paths in the future, the player should consider purchasing some of his freshly caught fish.
After freeing Chumin, make sure to thoroughly explore the cave for abundant resources such as Brightbloom Seeds, Brightcaps, Hearty Truffles, Bomb Flowers, and numerous mineral veins containing flint, rock salt, and gemstones. On the opposite shore, direct your attention to the wall and you will discover another entrance that leads to a larger cave. Scale the wall to access this cavern where you will encounter and defeat the cave's Bubbulfrog in order to obtain its Bubbulgem. The Legend of Zelda: Tears of the Kingdom is currently available for Nintendo Switch.