Baldur's Gate 3: Mastering the House of Hope – Essential Guide
Challenge Raphael and free Hope by exploring the enigmatic House of Hope in Baldur's Gate 3 Discover hidden rooms, face daunting challenges, and strategize to defeat Raphael in this thrilling quest Unleash your gaming prowess and embark on an epic adventure!
Quick Links
How to Enter the House of HopeMeeting Hope
The Rooms of the House of Hope
What Awaits in the Boudoir
How to Free Hope
How to Beat Raphael
The House of Hope holds a significant place in Baldur's Gate 3, leaving a lasting impression on players. It is introduced, along with the devil Raphael, during Act 1. In Act 3, players are presented with the chance to sneak into the house while Raphael is absent.
The primary purpose of visiting the House of Hope is to terminate a deal made with Raphael. Alternatively, players may aim to obtain his Orphic Hammer without entering into any agreements. Nevertheless, players must navigate through this peculiar location and defeat one of the most formidable bosses in the entire game of Baldur's Gate 3.
How to Enter the House of Hope

In Act 3, players may come across the information that Gortash, the thief, managed to steal the Crown of Karsus from Mephistopheles' vaults. This revelation suggests the existence of a diabolist in Baldur's Gate, capable of infiltrating the personal domains of devils.
The diabolist in question is Helsik, a dwarf who owns a shop known as the Devil's Fee. Located on the northern side of the Lower City, southwest of the graveyard and west of the Forge of the Nine, her shop offers a decent variety of items for sale. However, players have the opportunity to engage with the displayed items and perform Arcana checks. By successfully passing two checks, the party will realize that Helsik possesses more than just basic knowledge and confront her about her abilities. This confrontation unlocks an even more impressive selection of items in her store. To gain information on accessing the House of Hope, players can speak to Helsik once more.
Helsik offers to pave the way for the party, but at a steep cost of 20,000 gold. Alternatively, players can attempt an Intimidation roll of 20 to negotiate the price down to 10,000 gold. A Persuasion check of 20 will convince her to completely waive the fee, but this requires players to locate and present her with the Gauntlets of Hill Giant Strength, which are currently located within the House of Hope.
Another option is for players to avoid the fee altogether by successfully pickpocketing the Grimoire Bound in Imp Skin from Helsik. Upstairs, in the rooms and chests, the party will find all the necessary items to open the portal. The Grimoire will provide instructions on where to place these items on the blood circle.
To bypass the fireball trap, present a bottle of water to the Thirsty Ward, the golden mask situated at the staircase's pinnacle. Alternatively, the team can utilize Misty Step or perform jumps to reach the balconies on each side of the structure. The drawback to this method is that if the players manage to persuade Helsik, she will offer a set of instructions that are considerably more explicit than those found in the Grimoire, along with a bag containing all the necessary items.
To activate the portal, players are required to fulfill the following steps:
Place a skull on the arrow pointing at the altar (west).
Going clockwise, place the Coin of Mammon on the next point along the edge of the circle.
Skip the next point, then place a diamond on the point after (east by northeast).
On the next point clockwise from the diamond, place some incense.
Once the Infernal Marble is placed in the center of the circle, players will observe it lighting up with infernal flame to indicate that it is correctly positioned. When all five items are in their designated spots, a Portal to the House of Hope will be activated.
Meeting Hope
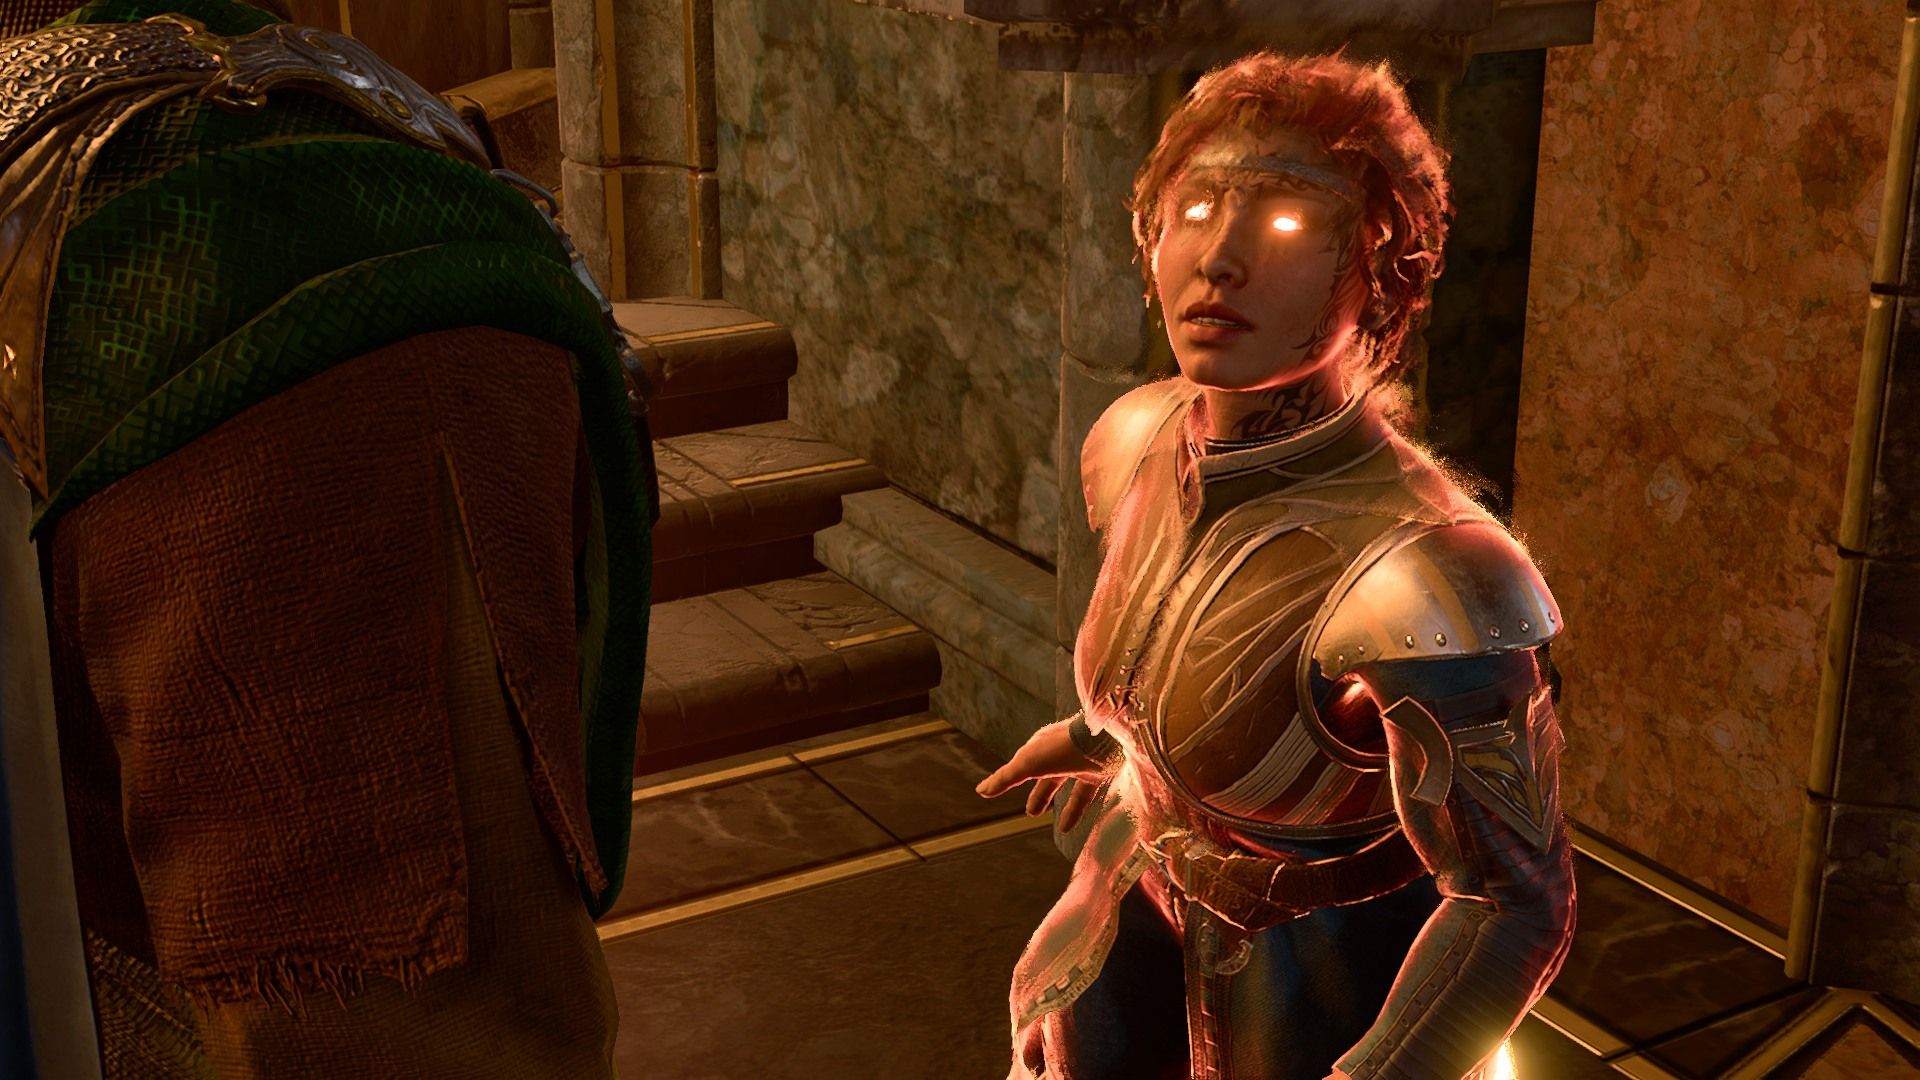
Upon arrival at the House of Hope, players will encounter a radiant orange projection named Hope, who claims to be the inspiration behind Raphael's sanctuary. Despite Raphael's repeated attempts to undermine her strength, Hope remains resilient.
While navigating the House of Hope, players can greatly benefit from Hope's guidance. She not only provides instructions on what to do but also offers assistance during boss encounters if the party chooses to release her. However, in order to receive this aid, a party member must successfully pass an Intelligence, Charisma, or Wisdom check with a difficulty class of 10. Failing to meet this requirement will result in the guards restraining Hope and limiting the amount of information she can share.
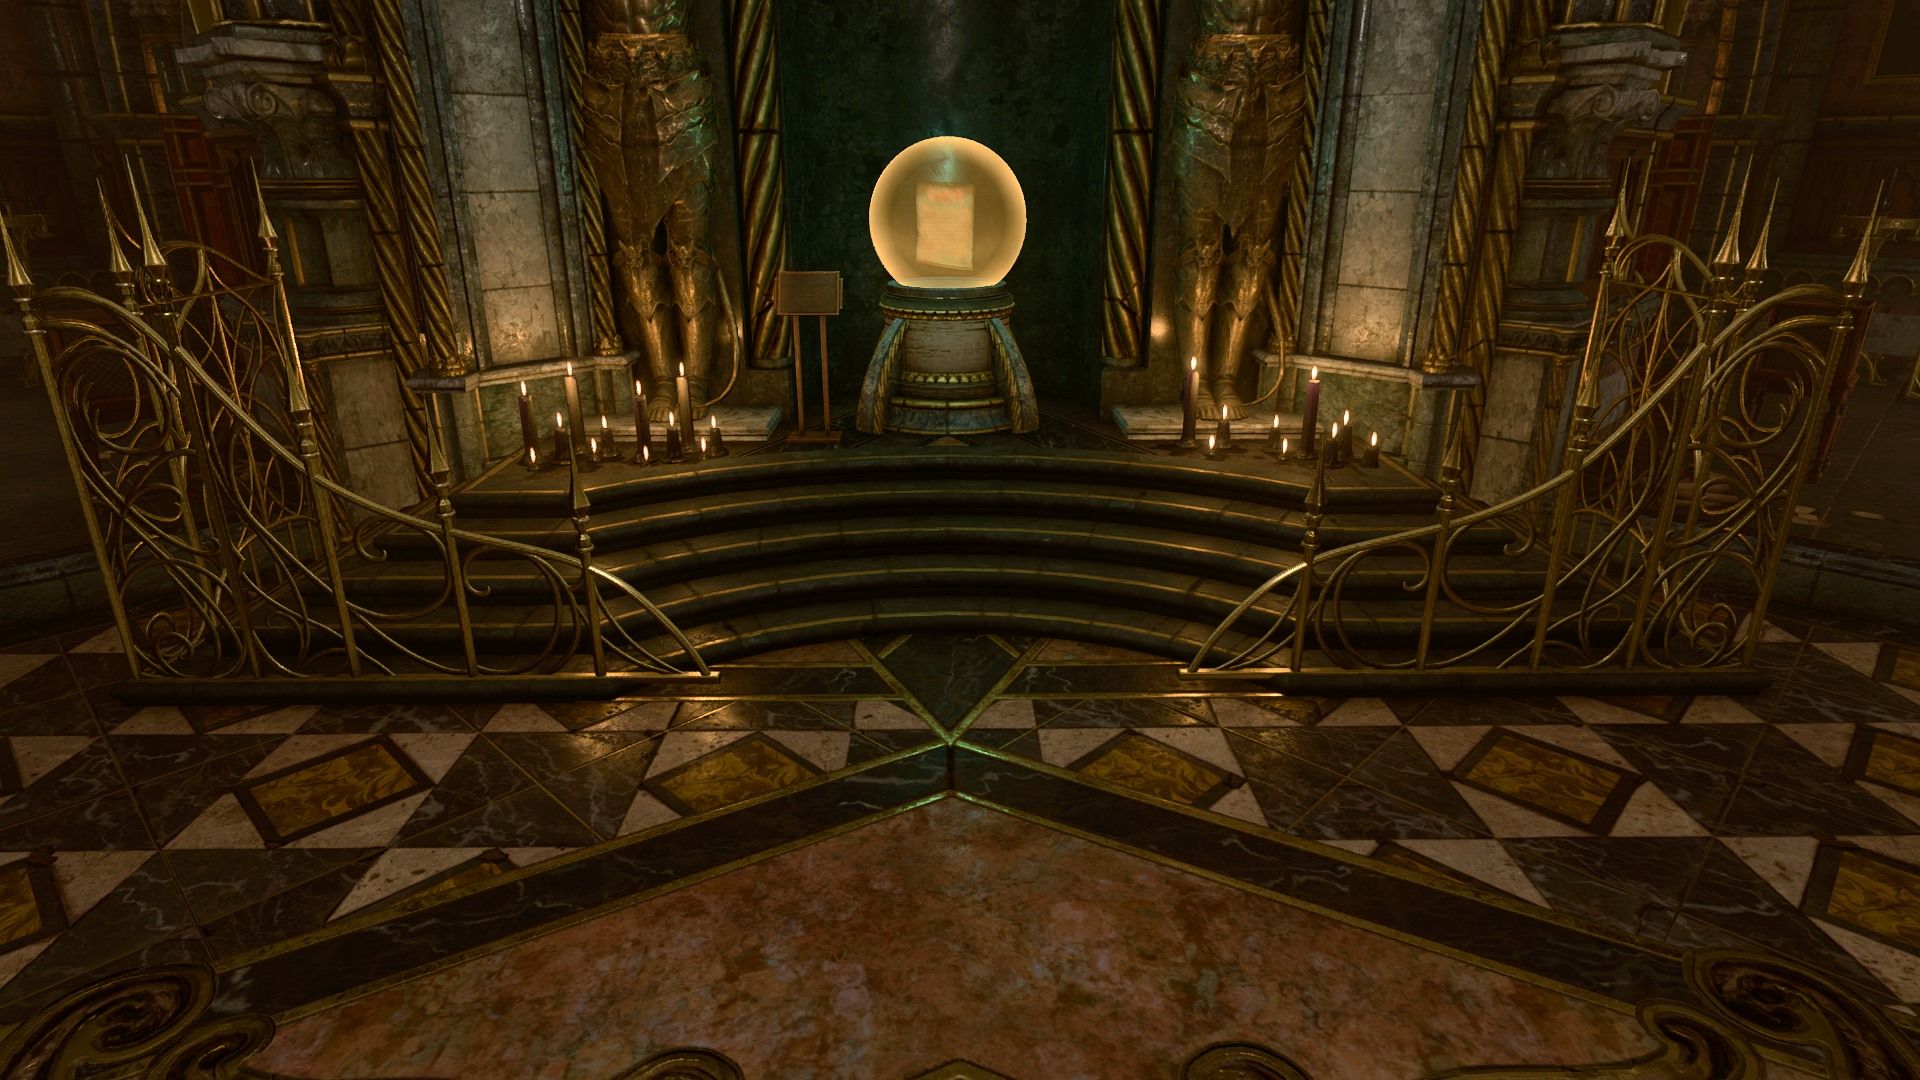
During her initial appearance, Hope will provide instructions on the recommended sequence of actions: locating the key, acquiring the contract (or the hammer), and ultimately freeing herself from her restraints. However, before proceeding, players are advised to visit the Archive.
Beyond Hope, there lies a central banquet hall with a table covered in decaying food. The door to the left is currently locked, but there is no immediate necessity to force it open. Raphael is currently absent, and the inhabitants of the House of Hope are not yet hostile. Instead, opt to open the door on the right and commence exploration. It is crucial to thoroughly plunder every chest in the corridors, as none of them are off-limits.
The Rooms of the House of Hope
Continuing counterclockwise from the open door, players will come across a room filled with portals. However, these portals are exclusively accessible to Raphael, limiting the party to only observing their contents. In this room, a gnome named Nubaldin is engaged in cleaning duties and casually mentions his acquaintance with Gortash during their childhood. It should be noted that this room does not entail any specific objectives or valuable items, so it is advisable to proceed promptly.
Moving ahead, there is a petite balcony adorned with a deteriorated railing. From here, the party can leap onto a series of stones that serve as a pathway towards the boudoir and the prison. Additional details regarding these specific locations will be provided subsequently.
The front entrance to the boudoir is located at the north end of the hallway, but access is blocked by a Mystic Force Curtain. To gain entry, the party must obtain an invitation. Directly opposite the boudoir, a flight of stairs leads to a blocked archway. To progress, the party needs to pass a Perception check to identify an Inert Infernal Gem, a Wisdom check against a target of 10 to activate the gem, and finally an Arcana check against a target of 20 to open the secret door using the gem.
Behind the secret door lies a treasure hoard. The main hoard consists of 666 gold and the Helldusk Helmet. To the right, a pillar holds the Staff of Spellpower, while the pillar to the left contains Mol's Contract. It is revealed that Mol sought Raphael's assistance to escape the Shadow-Cursed Lands. The party can release the tiefling from any obligations by stealing the contract and returning it to Mol, who currently resides in the Guild's headquarters.
Please make sure to activate the lever located on the opposite wall to open the door leading to the banquet hall before approaching Hope, who anticipates that the party will proceed to the Archive, the last door on the western side of the hall.
In order to gather further details from Hope, players must successfully pass a Charisma, Intelligence, or Wisdom check with a target of 15. Success will prompt her to disclose that the Archivist possesses the invitation required for entry into the boudoir. Additionally, players can attempt a Persuasion check to acquire a name that can be used to intimidate the Archivist with greater ease.
If players acquire the name, they can attempt a Deception check of 15 to convince the Archivist that they are a fiendish bureaucrat sent to assess Raphael. This successful deception will promptly grant the party the boudoir invitation. Alternatively, a party member can make a Detect Thoughts check to obtain the name. By inquiring about the contract (or hammer), players can then make an Intimidation, Persuasion, or Deception check of 25 to secure the invitation.
If all other methods prove unsuccessful, the party can resort to attacking or pickpocketing the Archivist to obtain the invitation. Another option is to take the back route, which involves leaping across the stones from the northeast balcony. Even a character with a Strength score of 8 can successfully perform these jumps.
What Awaits in the Boudoir

Raphael is not present in the boudoir, but an identical-looking individual lies in his bed. This person is Haarlep, an incubus who has assumed the guise of Raphael to become his desired lover. Players have the option to indulge Haarlep in order to obtain a key to Raphael's safe, or they can decline. If they choose to refuse, Haarlep will launch an attack and summon six Vengeful Imps as reinforcements. Once the adversaries have been defeated, players can retrieve the Key from Raphael's Safe along with the Helldusk Gloves.
Following the confrontation, it is crucial to utilize the Restoration Faucets located near the boudoir's pool. These faucets possess the ability to restore any depleted spell slots, abilities, and lost hit points that the characters may have incurred. However, it should be noted that the faucets are unable to replenish the uses of short rest. Additionally, within the boudoir, there are numerous chests that contain valuable items.
To the left of the bed,
How to Free Hope
a painting portraying Raphael grasping a blazing flame. Positioned just underneath it, there exists an unmistakable button. Preliminarily, deactivate the painting, if feasible, and subsequently press the button to expose a securely concealed safe. Unlocking the safe with Haarlep's key will grant access to a note that contains the enchanting phrases enabling the party to attain the contract or hammer.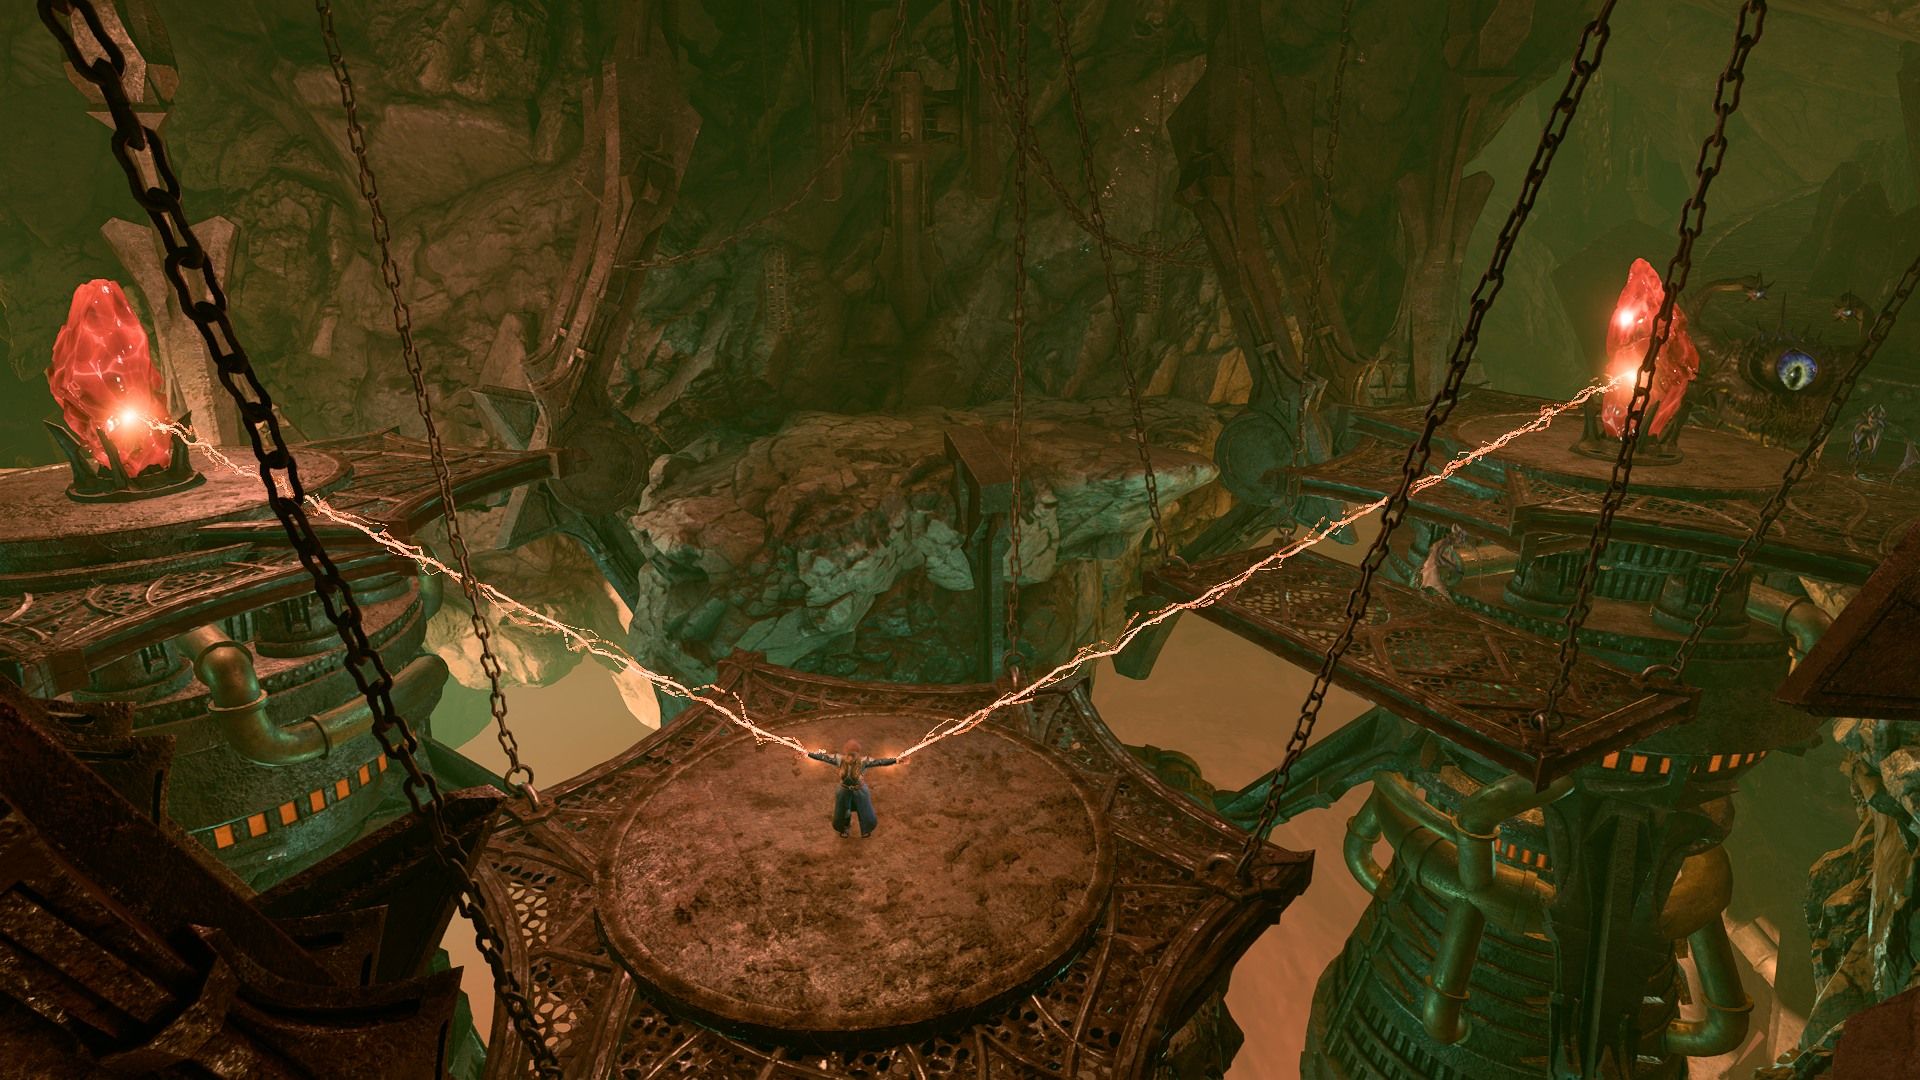
Return to the Archive and employ the enchanted phrases to either tear apart the agreement or pilfer the Orphic Hammer. While the Archivist cautions about Raphael's unhinged state and imminent return, the festivities will persist undeterred. Conversely, all other inhabitants of the House of Hope have transformed into hostile entities. They will endeavor to approach the celebration and burst into flames, inflicting Fire damage and transmuting into a Vengeful creature of sorts.
Players should now empty the Archive of its items, including the coveted Gloves of Hill Giant Strength that Helsik desired, as well as the valuable Amulet of Greater Health. These items raise Strength and Constitution to a formidable level of 23, making them highly desirable acquisitions. Though previously stealing these items would have angered the Archivist, this is no longer a concern since the House has become hostile. Additionally, the party can seize various gems and potions from the display cases.
While traversing the House of Hope, players must remain vigilant of the formidable Hell Spheres. These powerful elemental beings possess the ability to inflict substantial Fire damage upon those within their vicinity. They are resistant to damage caused by weapons, Acid, Lightning, and Radiant magic, while remaining impervious to Necrotic, Fire, Psychic, and Poison damage. Nevertheless, their sluggish movement allows spells like Ray of Frost and Repelling Blast to effectively keep them at a safe distance indefinitely.
To reach Hope's prison, players have two options: accessing a hatch on the east side of the House or navigating through the exterior rocks and entering the glowing green passageway. In either case, the party will encounter two Spectators and six Vengeful Imps that must be defeated to free Hope. It is advised to avoid sending party members into the chamber, as the Vengeful Imps have Repelling Blast, which can potentially knock characters into chasms. Instead, it is recommended to let the enemies approach the party and engage them from a distance.
Once the enemies are defeated, players can equip one of their party members with the Orphic Hammer and direct them to attack the two glowing rocks that are keeping Hope in place. As soon as the rocks are destroyed, Hope will become a member of the party. She is a level 10 Life Domain Cleric and possesses excellent healing abilities, making her a valuable asset for the party.
How to Beat Raphael

When attempting to leave the portal in the foyer, it will close abruptly and Raphael will emerge. This occurrence takes place regardless of whether players have taken a detour to rescue Hope. Accompanying Raphael is Hope's sister and eight cambions. Additionally, if players have interacted with Yurgir in any way (such as killing him, convincing him to end his own life, or fulfilling his contract), the demon will also be present. However, there is a possibility to sway Yurgir to join the players' side by successfully persuading him with a check of 30 or higher.
In terms of combat, Yurgir does not contribute significantly to either side. His attacks consist mainly of using Thunderwave or stabbing with his dagger before swiftly turning invisible and retreating. Despite his limited effectiveness, it is still preferable for him to support the party with his tactics rather than Raphael. Furthermore, if players engage in conversation with Yurgir after the battle, he will become an ally for the "Gather Your Allies" quest.
Raphael himself has several gimmicks during this fight.
Raphael has 666 hit points (naturally).
In contrast to all other bosses in the game, Raphael takes on the unique role of performing his own boss theme melody.
Utilizing his ability, Raphael has the capability to draw energy from the four Pillars of Souls situated in the foyer. Subsequently, he harnesses this energy to unleash remarkably potent fire spells. Players are advised to equip themselves with Fire Resistance Elixirs in anticipation of this challenge and are encouraged to demolish the pillars as a strategic move.
The pillars are impervious to Necrotic, Fire, Psychic, and Poison damage, but they are vulnerable to double damage from Force and Bludgeoning. Characters wielding the Orphic Hammer can quickly topple the pillars, as can spells such as Disintegrate and Eldritch Blast.
Prior to the battle, the pillars do not possess any hit points, preventing players from destroying them in advance.
Applying the condition Soul Overcharge to Raphael, destroys a pillar. This prevents him from using his souls to cast spells until he activates the ability Ascended Fiend to power up.
In order to power up, Raphael can utilize the ability Ascended Fiend for multiple rounds. However, he must revert to his normal form and wait for several rounds before being able to utilize it again.
Raphael obtains a unique response known as Punish Divinity after draining soul charges. If a character inflicts Radiant damage upon him, he can incapacitate them, inflict damage, and subject them to a distinctive affliction known as Severed Soul.
When a character is affected by the Severed Soul condition, they experience disadvantage on all attack rolls and ability checks until either their next long rest or until they can employ the specialized action of Restoring Soul on either a Soul Pillar or on Raphael. This action can be found in the Common section and is denoted by the Remove Curse icon.
Raphael's soul spells are susceptible to counterspelling.
By eliminating all the Soul Pillars in the vicinity, players can deplete Raphael's abilities, leaving him with only a basic multiattack. Although he may still have a few hundred hit points remaining, the party should have no difficulty defeating him when aided by Hope's healing skills. Once defeated, the party can obtain the Helldusk Armor from Raphael's corpse.
If Hope survives the fight, she will commit herself to revitalizing the House of Hope as a sanctuary where people can truly discover hope and find solace from the malevolence of Avernus. Additionally, the party will be rewarded with the Gloves of Soul Catching. These gloves grant the wearer the ability to deal 1d10 Force damage with unarmed attacks, +2 Constitution, and a choice between gaining +10 hit points or gaining advantage on attack rolls and saving throws after each unarmed attack.
At this point, the portal to the Devil's Fee will reopen, allowing players to freely enter and exit the House of Hope as they please. Helsik, on the other hand, will express interest in obtaining the Gauntlets if the players had previously promised to acquire them. However, she can be persuaded to back down by successfully passing an Intimidation check with a Difficulty Class (DC) of 10.
Baldur's Gate 3 is available now on macOS and PC, and it's coming to PS5 on September 6.