Baldur's Gate 3: Master the Rosymorn Monastery Puzzle with These Expert Tips

Discover the path to an extraordinary mace in Baldur's Gate 3 by unraveling the secrets of Rosymorn Monastery Navigate treacherous traps and unlock the legendary weapon that awaits
Upon entering the Rosymorn Monastery in Baldur's Gate 3, players can examine a plaque beneath a statue that references a sacred artifact called the Blood of Lathander. However, this valuable relic is not easily accessible, and players must first confront Crèche Y'llek before having an opportunity to locate it.
Nevertheless, those who have made a mental note of the Blood of Lathander or have consulted their quest log entry titled "Find the Blood of Lathander" will have the chance to obtain it once they have dealt with the Githyanki Inquisitor. The effort expended in acquiring it will be well worth it, as the Blood of Lathander proves to be an astonishingly potent weapon, particularly considering its early appearance in Baldur's Gate 3.
Opening the Way
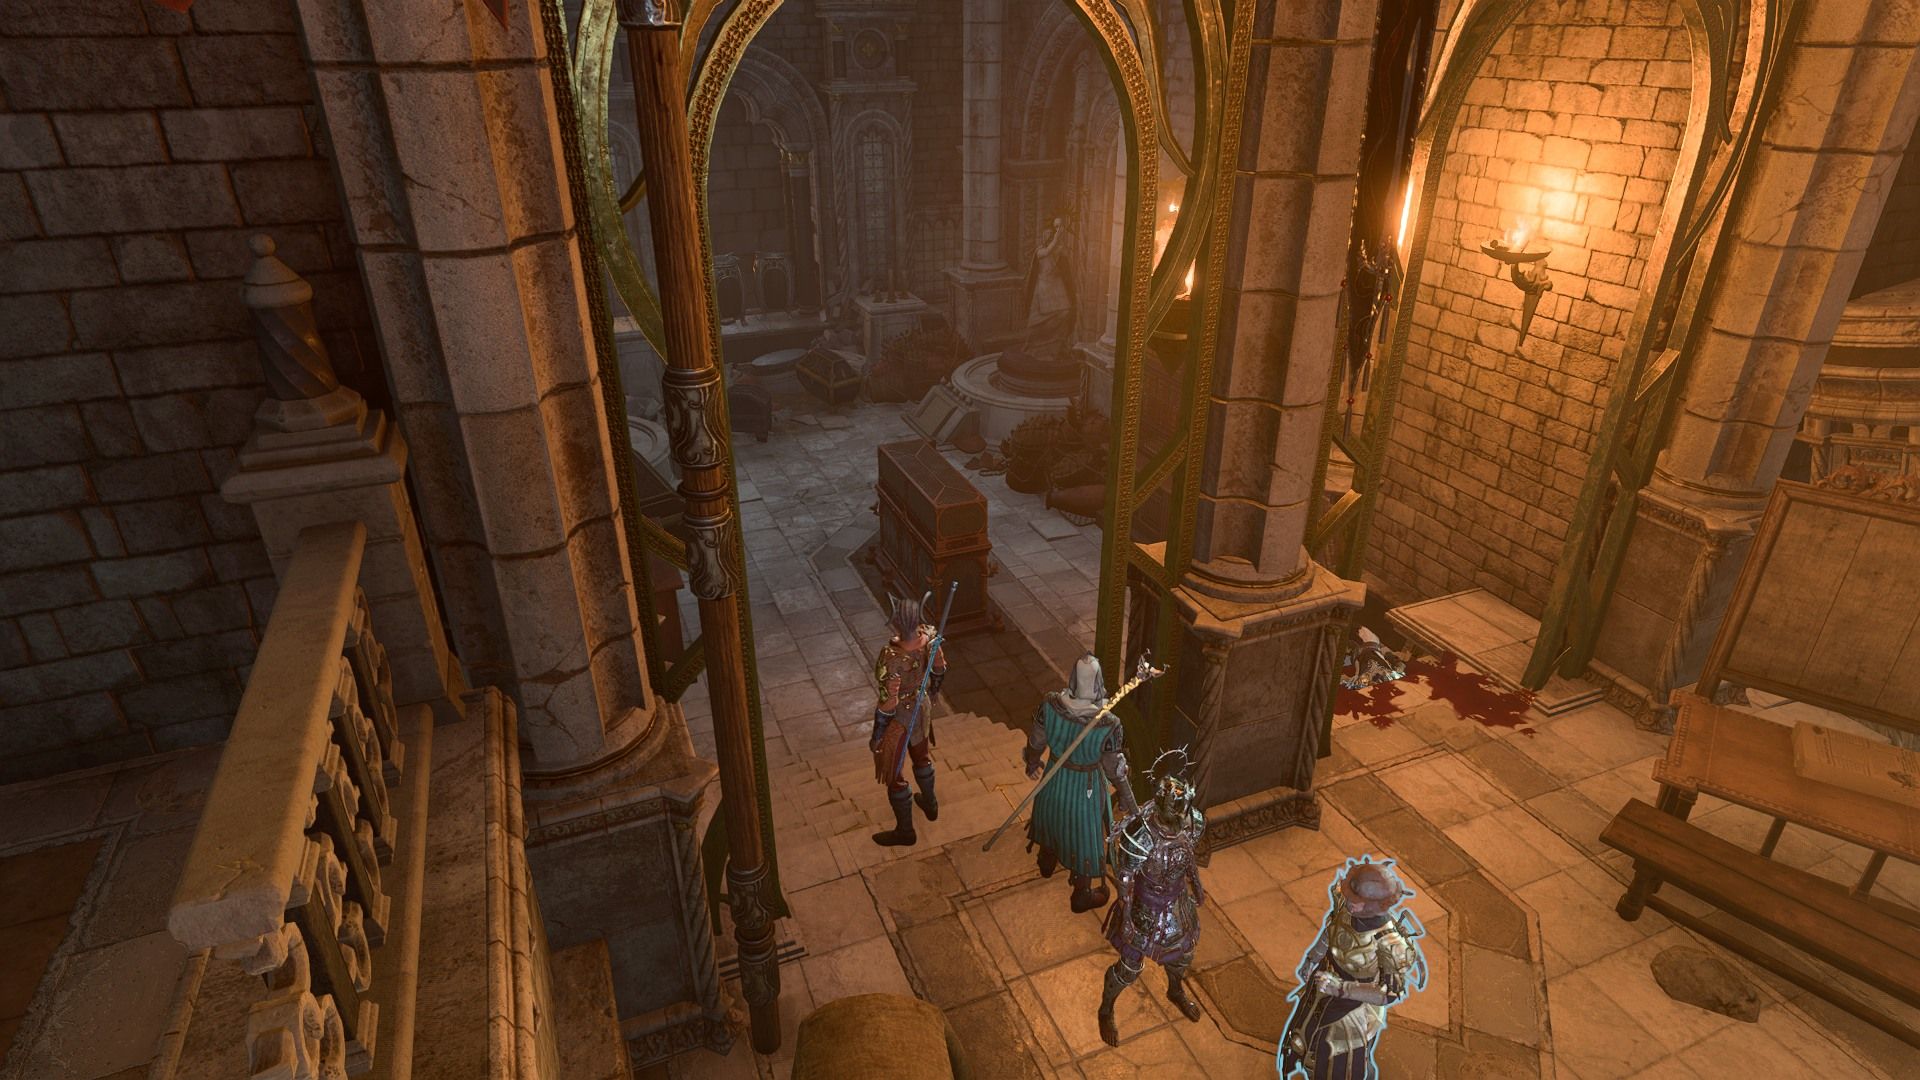
After completing their interaction with the Inquisitor, players should examine the alcove on the left side of the entrance. Although the large container in the center appears to hold a piece of amber with red drops, it is actually a decoy. To progress further, players need to manipulate the two statues positioned on either side of the alcove.
The plaque situated next to the statue on the right provides a clue related to the dawn, indicating that the statue should be rotated to face east. On the other hand, the plaque next to the other statue mentions the sunset, suggesting that it should be turned to face west. It is important to note that the second statue is jammed, requiring players to successfully navigate a challenging Athletics check in order to get it moving. It is advised to save the game beforehand, as each party member can only attempt to move the statue once.
Bypassing the Traps
By ensuring that the statues are positioned correctly, the wall situated at the far end of the alcove will unlock, thereby exposing a concealed passageway. To gain access to the hidden chamber, players must relocate one of the containers obstructing the entrance. Thankfully, these containers are light enough to be thrown by anyone. Proceed along the path until reaching the door leading into the secret chamber.
The video tag is not supported by your browser.
Players in the Secret Chamber come across three doors that are magically sealed. Each door is accompanied by a series of progressively dire warnings. Separating the doors are two Dawnbreaker traps. If a character becomes ensnared in the trap's designated area (the illuminated cone on the ground ahead), they will be forcefully pushed into the gaping chasm on the right side of the corridor, resulting in instant death.
Players have the option to deactivate these traps in the usual way or bypass them by carefully observing the trap's area of effect and leaping over it before it activates. To disable the three door seals, players must also destroy three Energy Sources. The first Energy Source is located to the left of the door, while the second can be accessed by climbing and jumping across the rocks to the left of the hallway. The third Energy Source is attached to the side of the cliff on the right side of the hallway.
Energy Sources are resistant to piercing, necrotic, and radiant damage, but immune to poison and psychic damage. However, they are vulnerable to all other forms of damage, so it is advised to use arcane cantrips effectively.
After all the obstacles, the most dangerous trap awaits. Upon using the Blood of Lathander, a protective barrier will emerge, ensnaring the active character while four Energy Sources commence the powering of a weapon that will obliterate the entire temple, including the creche.
Prior to obtaining the relic, thoroughly examine the left side of the platform to discover a final Energy Source. Eliminating it will prevent the activation of the force field. Subsequently, players are granted four rounds to either annihilate all four power sources in the chamber or swiftly pass through the opened portal in an attempt to flee the monastery. It is crucial to note that any characters remaining within the monastery at the time of its detonation will instantly perish. Moreover, Lae'zel will develop animosity towards the protagonist if they allow the creche to be destroyed.
Destroying the force field Energy Source and weapon chargers may result in a bug that causes one party member to disappear and prevents the completion of a long rest. To avoid any issues, it is recommended to save the game before acquiring the Blood of Lathander. A cutscene will indicate the successful completion of the encounter as the weapon powers down. The Blood of Lathander mace is highly valuable, offering a +3 weapon enchantment.
Lathander's Radiance: It continuously emits a radiant glow, illuminating a 20-foot radius. Undead and fiends within the light must make a saving throw each round or become blinded.
Lathander's Grace: Once during an extended period of rest, if the bearer falls to zero hit points, they are instantly healed for 2d6 hit points and nearby allies within a 30-foot radius regain 1d6 hit points.
Sunbeam: a powerful level 6 cleric spell, also once per Long Rest.
Baldur's Gate 3 is available now on macOS and PC.


