Unveiling the Secrets of Elden Ring: Mastering the Path to Malenia
Embark on an epic journey through treacherous landscapes in Elden Ring to face Malenia, the game's toughest boss Unveil the secrets of the Consecrated Snowfield, solve the enigmatic puzzle of the Liturgical Town, and descend the perilous Haligtree Can you conquer these challenges and reach ultimate victory?
Quick Links
Step 1: Construct The Secret Medallion & Reach The Consecrated SnowfieldStep 2: Find & Solve The Puzzle Of The Liturgical Town
Step 3: Descend the Haligtree, Beyond Elphael, and Locate Malenia
Numerous players within the Elden Ring community have voiced their frustrations regarding the exceedingly formidable boss fight against Malenia, also known as the Blade of Miquella. Comparisons have been made between her and renowned bosses from the Soulsborne games. Furthermore, this is before enthusiasts witness the potential inclusion of even more ruthlessly challenging bosses in the forthcoming expansion, Shadow of the Erdtree.
However, reaching Malenia is no easy task. She is sequestered deep within Miquella's Haligtree, at the bottom. To access this area, players will need to navigate through various Erdtree Avatars, encounter numerous loyal Cleanrot Knights of Malenia, and face other challenges along the way. The path to Malenia is anything but straightforward, which is understandable. Let's now go through the step-by-step route to reach her in Elden Ring.
Updated on July 2nd, 2023 by Jacob Buchalter: The Haligtree, a location created by the Empyreans who originated from Marika and Radagon, serves as Miquella's attempt to construct his own Erdtree without the influence of the Greater Will. He believed that this was the best solution to cure his sister's (and his own) birth defects. The story of these two siblings has a certain sweetness to it, particularly in a world as dark as the Lands Between. However, it takes a darker turn when Malenia unleashes a rot plague upon Caelid, and Miquella is abducted by Mohg, the Lord of Blood, for unknown rituals. The Tarnished, on their journey to eliminate all significant remaining figures, are given the choice to pursue Malenia. If players decide to face this grueling boss battle before entering NG+, here's how they can get there.
Step 1: Construct The Secret Medallion & Reach The Consecrated Snowfield
To reach the zone where Melania is located, which is Miquella's Haligtree, the Tarnished, players will first have to pass through another zone called the Consecrated Snowfield. Despite the Snowfield appearing to be accessible from somewhere in the Mountaintops of the Giants area due to its position on the map and snowy terrain, players will actually need to obtain both halves of the Haligtree Secret Medallion and use the Grand Lift of Rold, which is typically unlocked after defeating Morgott, the Omen King. To successfully navigate this journey, players must follow these steps:
Step # | Task | Description |
|---|---|---|
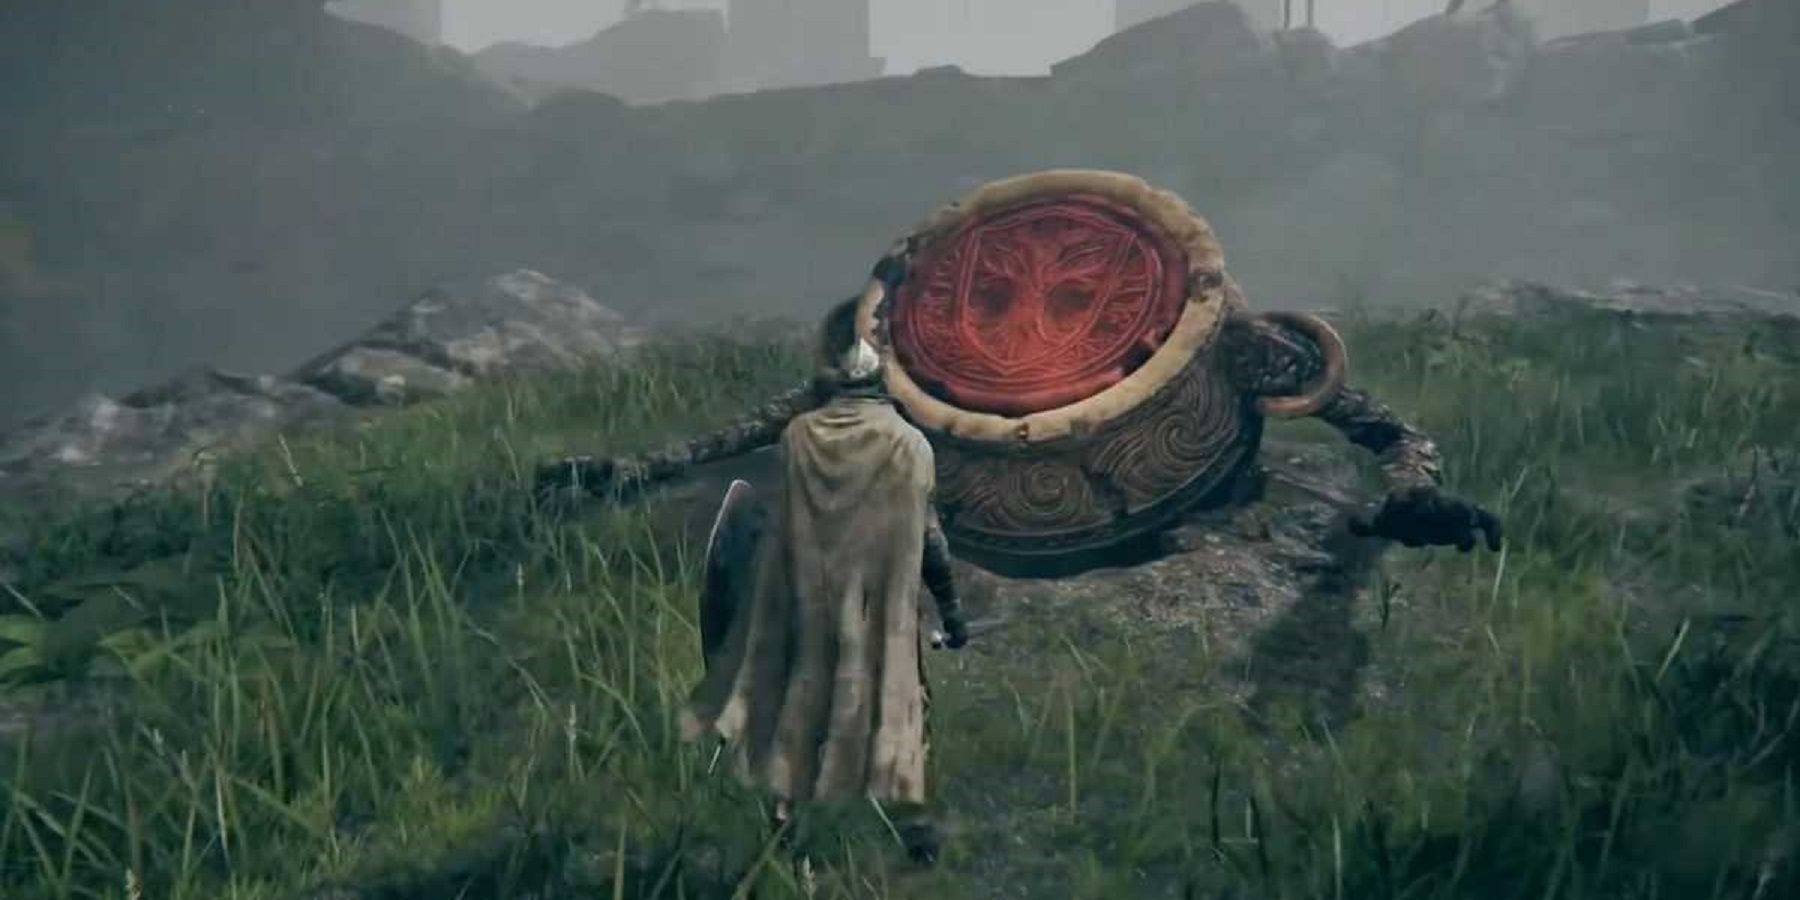
1 | Obtain the Right Half of Secret Medallion | found in the Village of the Albinaurics in Liurnia of the Lakes near the village Site of Grace. The Tarnished will need to reach the eastern part of the village from here, just before the bridge leading to The Omenkiller boss. Around this area, look for a singular pot that looks a bit 'out of place'. Break the pot, and an Albinauric inside named Albus will bestow the entrust the Right Half to the Tarnished and tell them to bring it to Latenna before fading away into dust. |
2 | Obtain the Left Half of Secret Medallion | Otained in The Mountaintop of the Giants. The player will need to find Castle Sol, which can be seen on the map at the far north end of the Mountaintop region. They'll know they've reached their goal once they approach the Wandering Mausoleum that hangs about outside Castle Sol. From here, progress through this castle steadily and defeat the boss of it, Commander Niall, who is an exceptionally daunting and difficult boss, Continue past Commander Niall's arena and follow the only path (which leads up an elevator) to see a ghost kneeling overlooking the landscape. Just underneath their ethereal feet is the Left Half. |
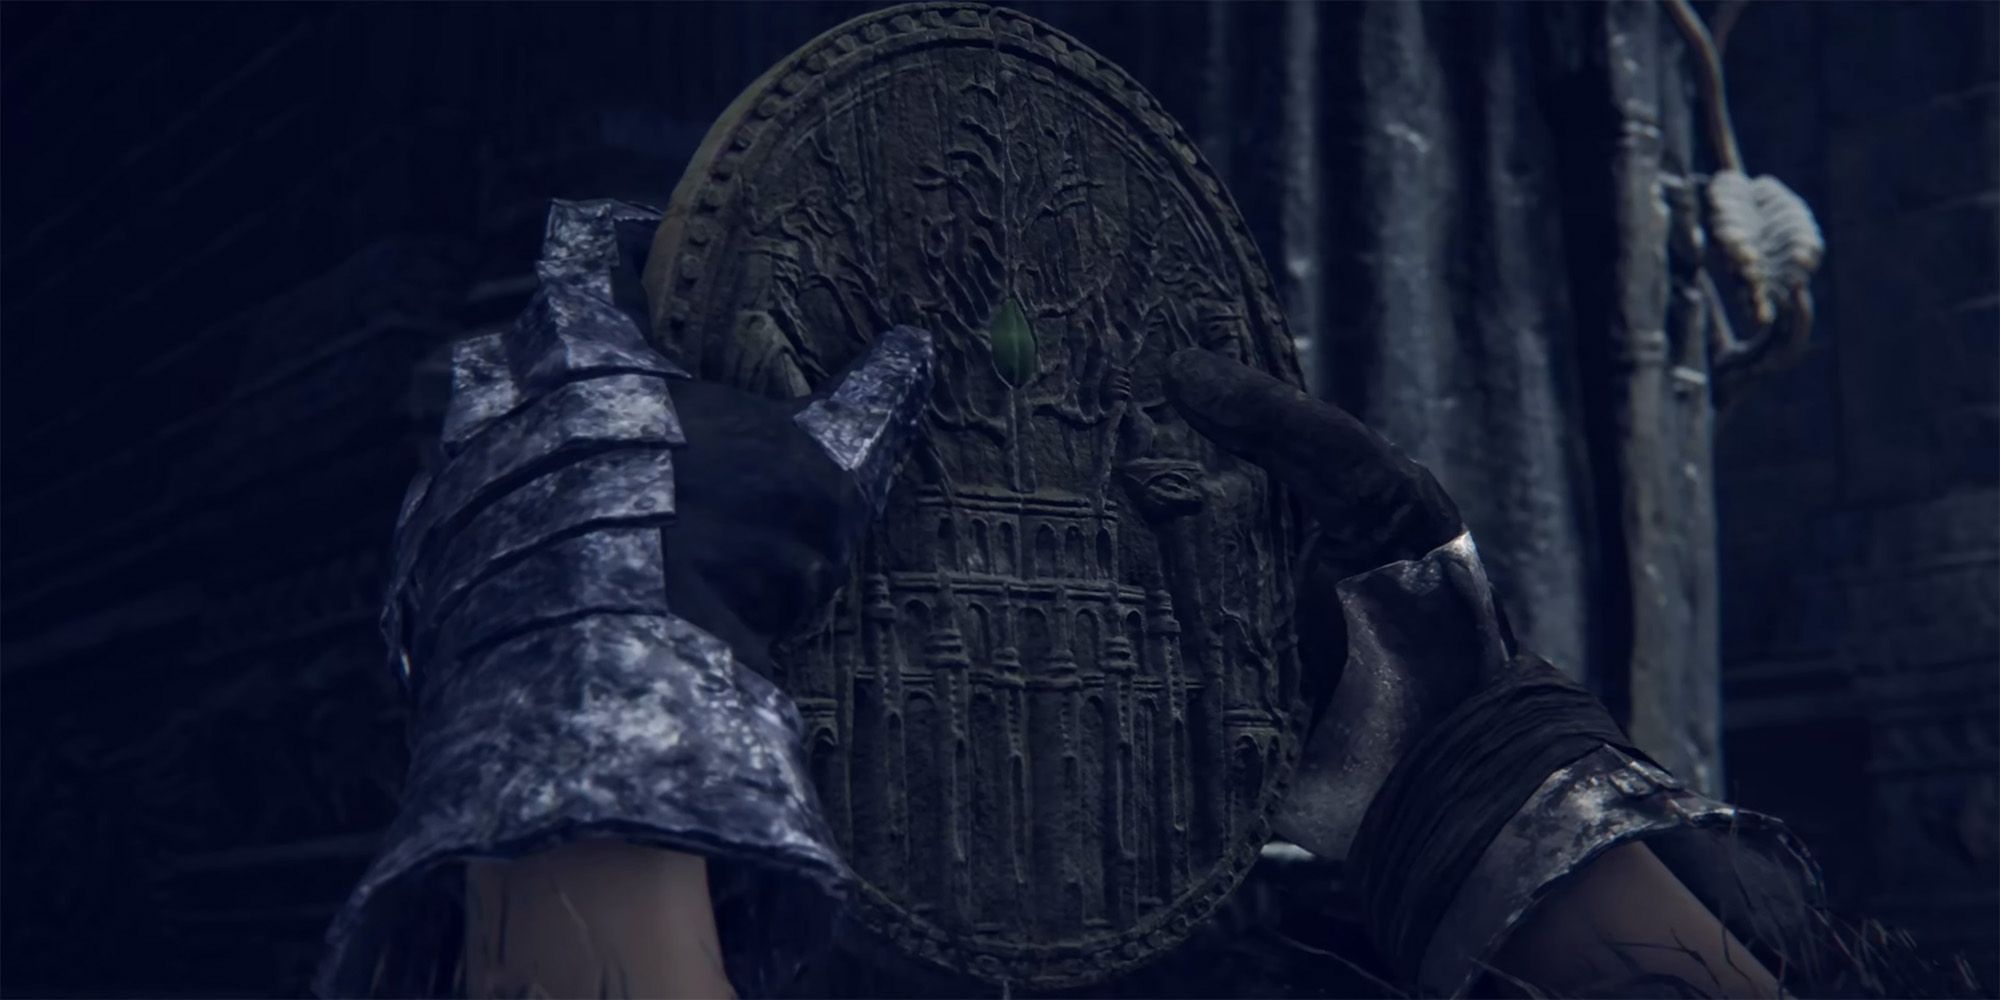
3 | Use Secret Medallion to reach the Hidden Path to the Haligtree | Return to the Grand Lift of Rold and follow the same procedure to use the Grand Lift typically. But instead, players should notice under the 'Hoist Medallion' prompt that there's a 'Switch Action' prompt. Switch the action, and instead hoist the Secret Medallion to take the lift to the Hidden Path to the Haligtree. |
4 | Clear the Hidden Path to the Haligtree to reach the Consecrated Snowfield | Carefully progress through the Hidden Path to the Haligtree, as this is a small dungeon area full of deceptive paths and the Vulgar Militant enemies. After reaching the end, players should be able to exit into the Consecrated Snowfield area. |
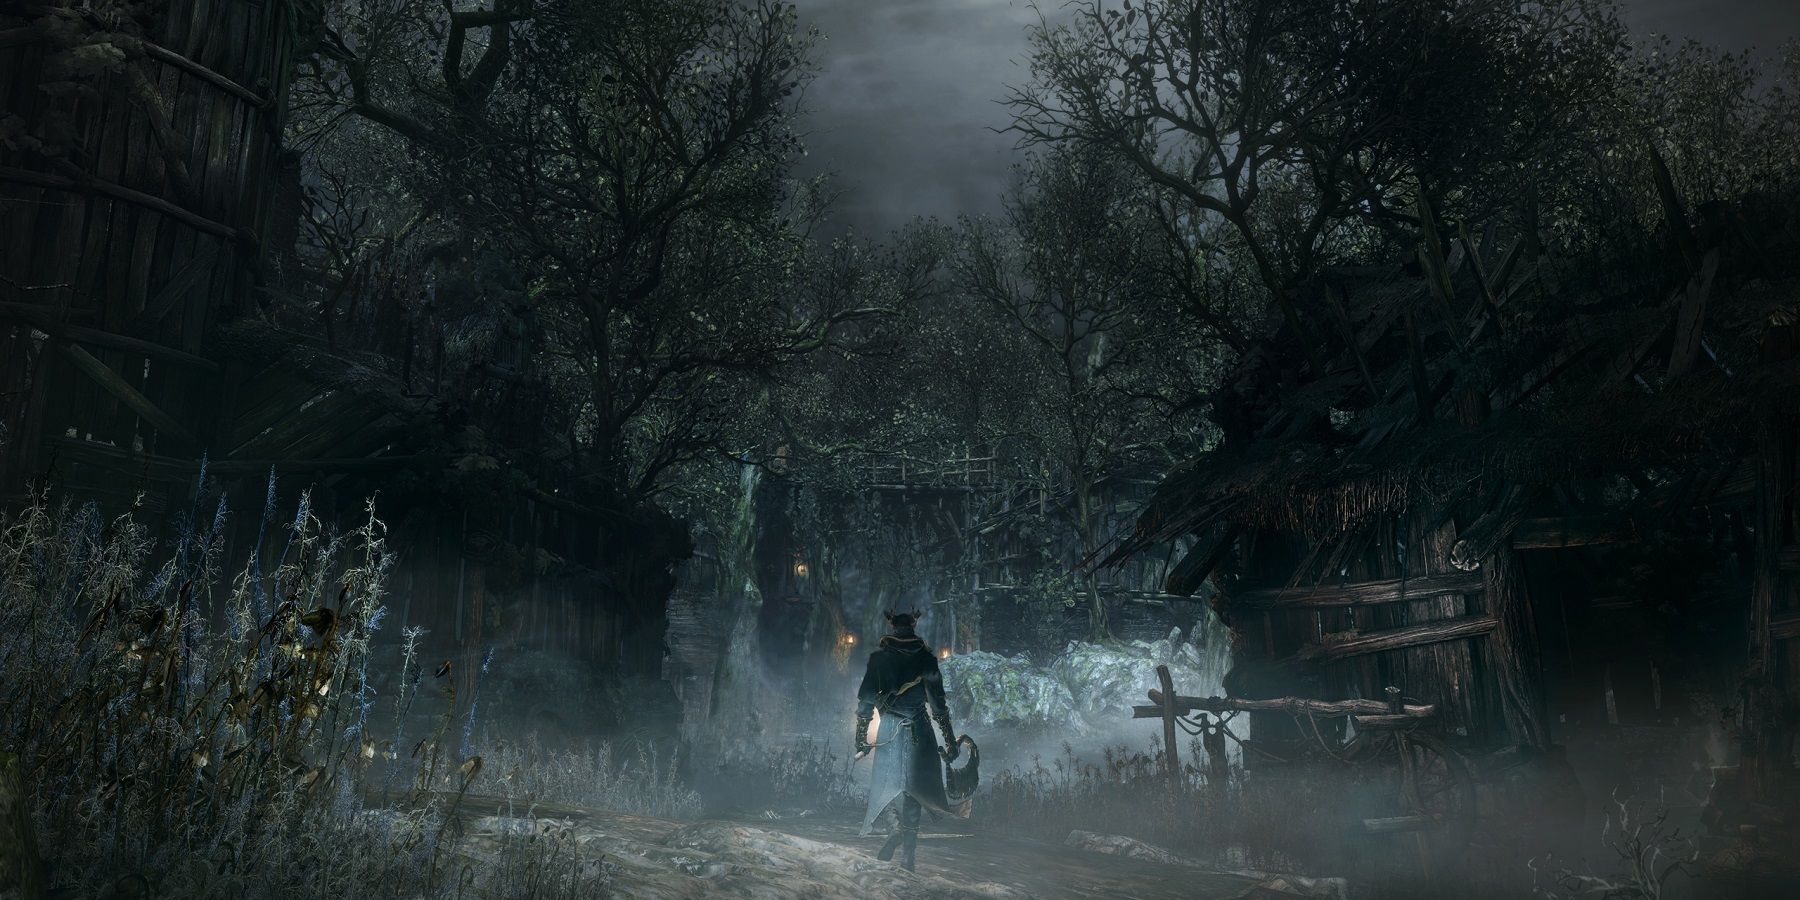
After arriving at the Snowfield, players must follow a series of steps to reach the Haligtree. The first task is to navigate through a foggy area and locate Ordina in the open Snowfield.
This fog-covered terrain presents a challenge to visibility and is considered one of the more difficult areas in Elden Ring. However, players can find relief when they discover the Map Fragment. It is located beneath the familiar 'monolith' structure, similar to other Fragments, just north of the exit that leads to the Snowfield.
Step 2: Find & Solve The Puzzle Of The Liturgical Town

Once the Tarnished obtains the Map Fragment, they should proceed to the northernmost region of the Snowfield. While exploring this area, they will eventually stumble upon a place called the Ordina, Liturgical Town. Upon reaching the Liturgical Town, it becomes necessary to confront one of the most exasperating 'puzzles' in the entirety of Elden Ring. Thus, here is a concise step-by-step guide.
Step # | Task | Description |
|---|---|---|
1 | Enter the Evergaol | Move through the town full of what seem to be specters until the player reaches the Evergaol near the stairs/bridge leading upward into the mountains behind the town. |
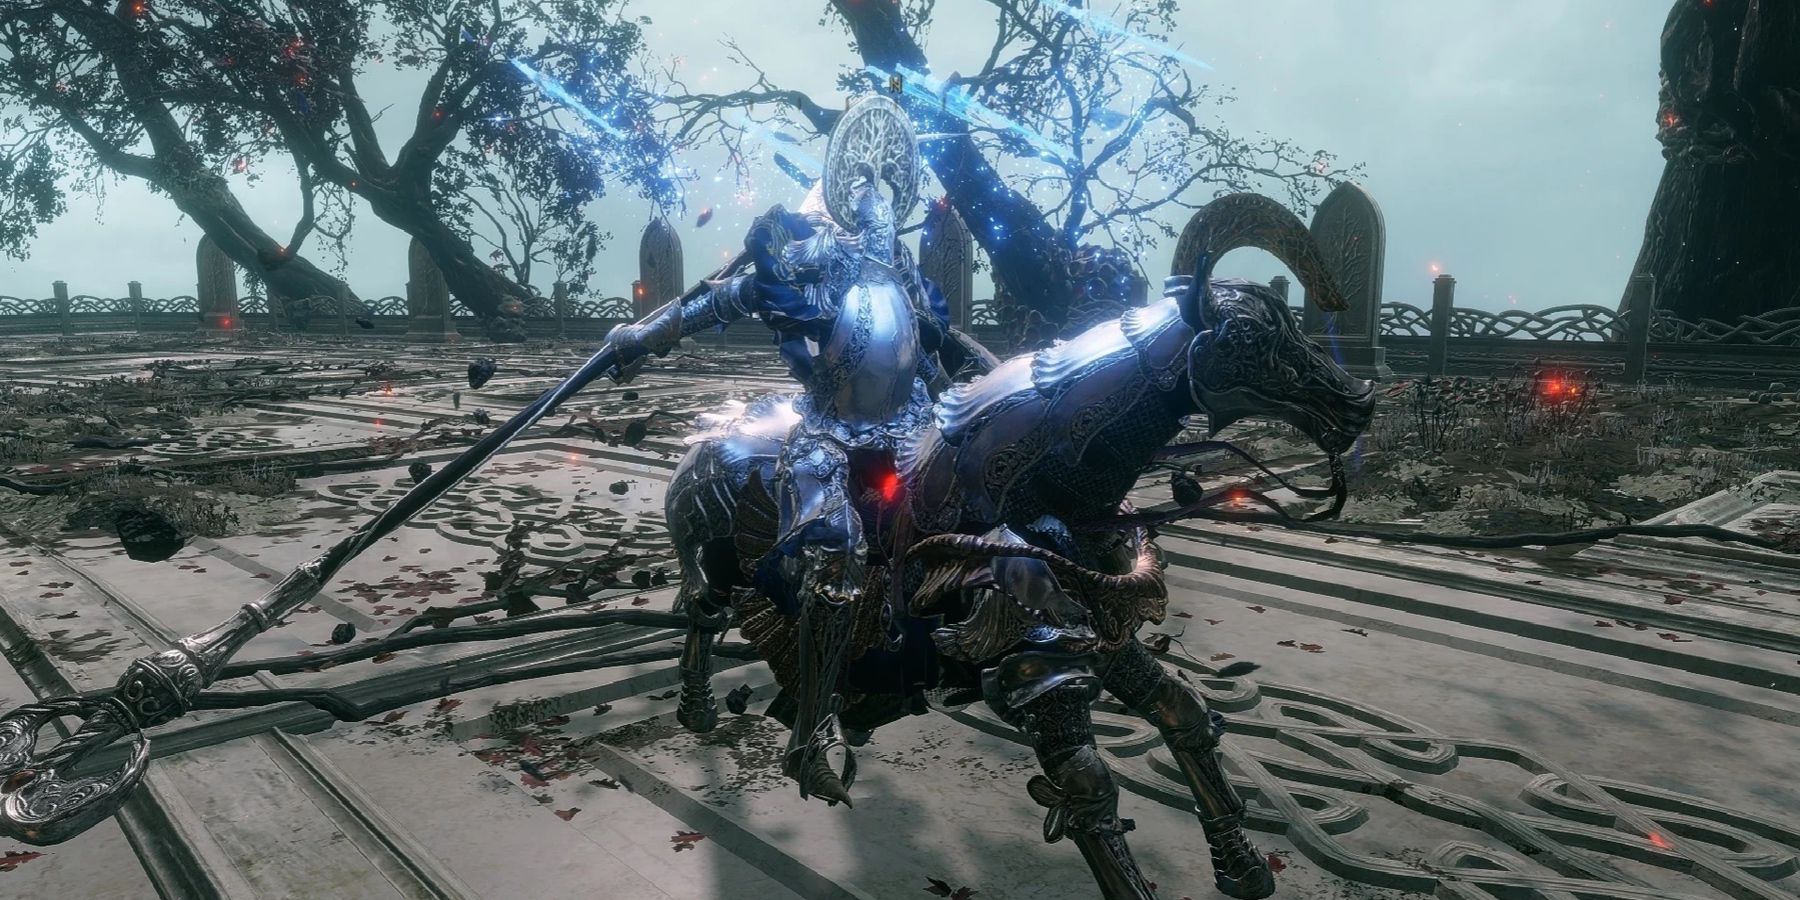
2 | Find & Light the 4 Candle Flames | Once in the 'Evergaol version' of Ordina (this isn't an Evergaol boss fight like the rest) players will need to move quickly and quietly, as the specters that were seen while walking up to the Evergaol are now longer specters, and the place is crawling with invisible Black Knife Assassins and Albinauric Archers on mounts. Even if players outrun the assassins they'll be constantly peppered with the high-damage arrows of the Archers, so it can be really frustrating to complete this task. Learn the locations of the four flames below, and try to run from Flame to Flame as quickly as possible. |
3 | Flame #1 | From the Evergaol, head to the western side of the Town and follow the edge of it around the sides of the buildings. Look out for a Ghostflame Torch (AKA a blue-ish torch) on a wall near a ladder leading up the side of one of these buildings. Take this ladder, and the next ladder directly in front to the top, and the first statue and candle are right there. |
4 | Flame #2 | Head down the tower from Flame 1 and head southwest towards the center of town. Go up the stairs leading to the candle in the town square, but instead of walking up to it head to the right and follow the building all the way around until it leads back to those same stairs. There should be another Ghostflame Torch and ladder, climb the two ladders again to light the second candle. |
5 | Flame #3 | Look down from Flame 2 to the east (AKA the town square), directly below should be some rooftops with a thin column connecting two roofs. Hop down and cross that column, jump up onto the roof, then head straight forward and jump up onto the slightly-higher roof, following this same path of rooftops north where another Ghostflame Torch should be visible on the right. Just like the other two Flames, take the two ladders up to the statue and light the candle. |
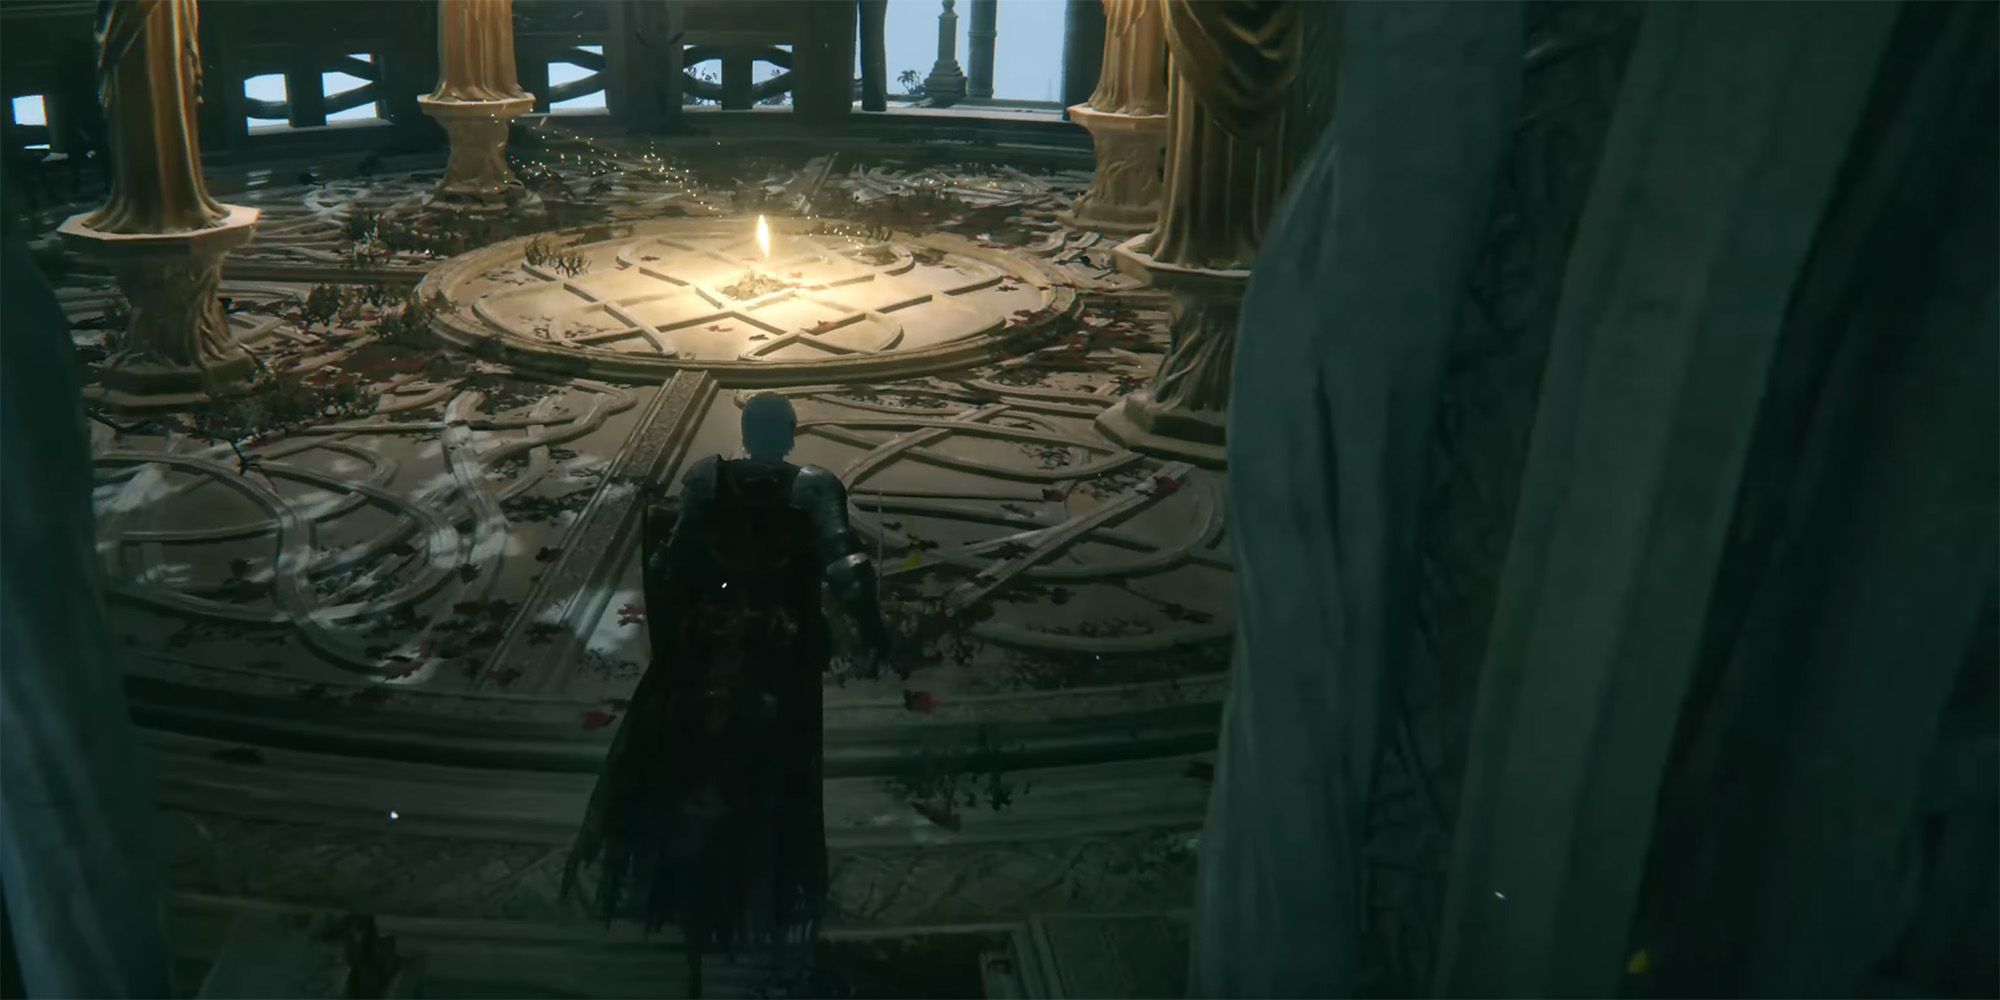
6 | Flame #4 | From here players just need to head back to the town square where the last statue and candle are sitting right there in the open. However, there's an invisible Black Knife Assassin watching over it. There are a multitude of methods to both defeat this enemy and make them visible (AKA using the Sentry's Torch), but either way, circumvent or beat this assassin and light the last candle. |
7 | Break the Seal & Activate the Waygate | After the player has lit them all, a message appears saying 'A seal was broken in town'. The Tarnished will then be teleported out of the Evergaol and the barrier to the Waygate leading to the Haligtree should now be accessible. |
Step 3: Descend The Haligtree, Past Elphael, & Find Malenia

The Tarnished will make their way to Haligtree, a town situated close to Elphael but not quite Elphael, the main city known for its inhabitants who have been abandoned by the world. Currently, Malenia resides in this town, albeit in a lower area. In order to pass through the Outer Haligtree, players must carefully navigate down the tree branches, being cautious not to fall off, while dealing with Oracle Envoys and Giant Ants as they see fit.
Continuing on this path, players will eventually come across a wider tree branch with a Large Oracle Envoy overseeing it from above, armed with their Colossal Envoy's Greathorn. Once they successfully maneuver through this challenging obstacle of golden bubbles, they can descend the ladder and will be greeted by the first Site of Grace in the town constructed on Miquella's Haligtree.
Miquella's Haligtree 'Town'
Players will navigate through interconnected pathways, buildings, and small drops to descend deeper into Miquella's Haligtree. They will encounter hidden Misbegotten and the occasional Spiritcaller Snail, requiring the Tarnished to confront them individually. The goal is to continue progressing downwards until reaching the "bottom" of the city, remembering to activate the elevator back to the first Site of Grace.
Towards the end of this area, after passing the Battlemages guarding the long plank bridges, players will face Loretta, Knight of the Haligtree. This is the real version of the specter Royal Knight Loretta encountered in Caria Manor, with a story-related explanation for her presence here. Once Loretta is defeated, the Tarnished can ride a lift to reach the final challenge before battling Malenia – navigating past Elpheal, Brace of the Haligtree.
Descending Elphael & Finding Malenia
Now, Elphael is an expansive region teeming with a diverse array of adversaries such as Erdtree Avatars, Haligtree Soldiers, Haligtree Knights, Cleanrot Knights, Servants of Rot, and even a handful of Revenants. However, let us maintain our focus and review the most efficient route to swiftly reach Malenia:
Step # | Task | Description |
|---|---|---|
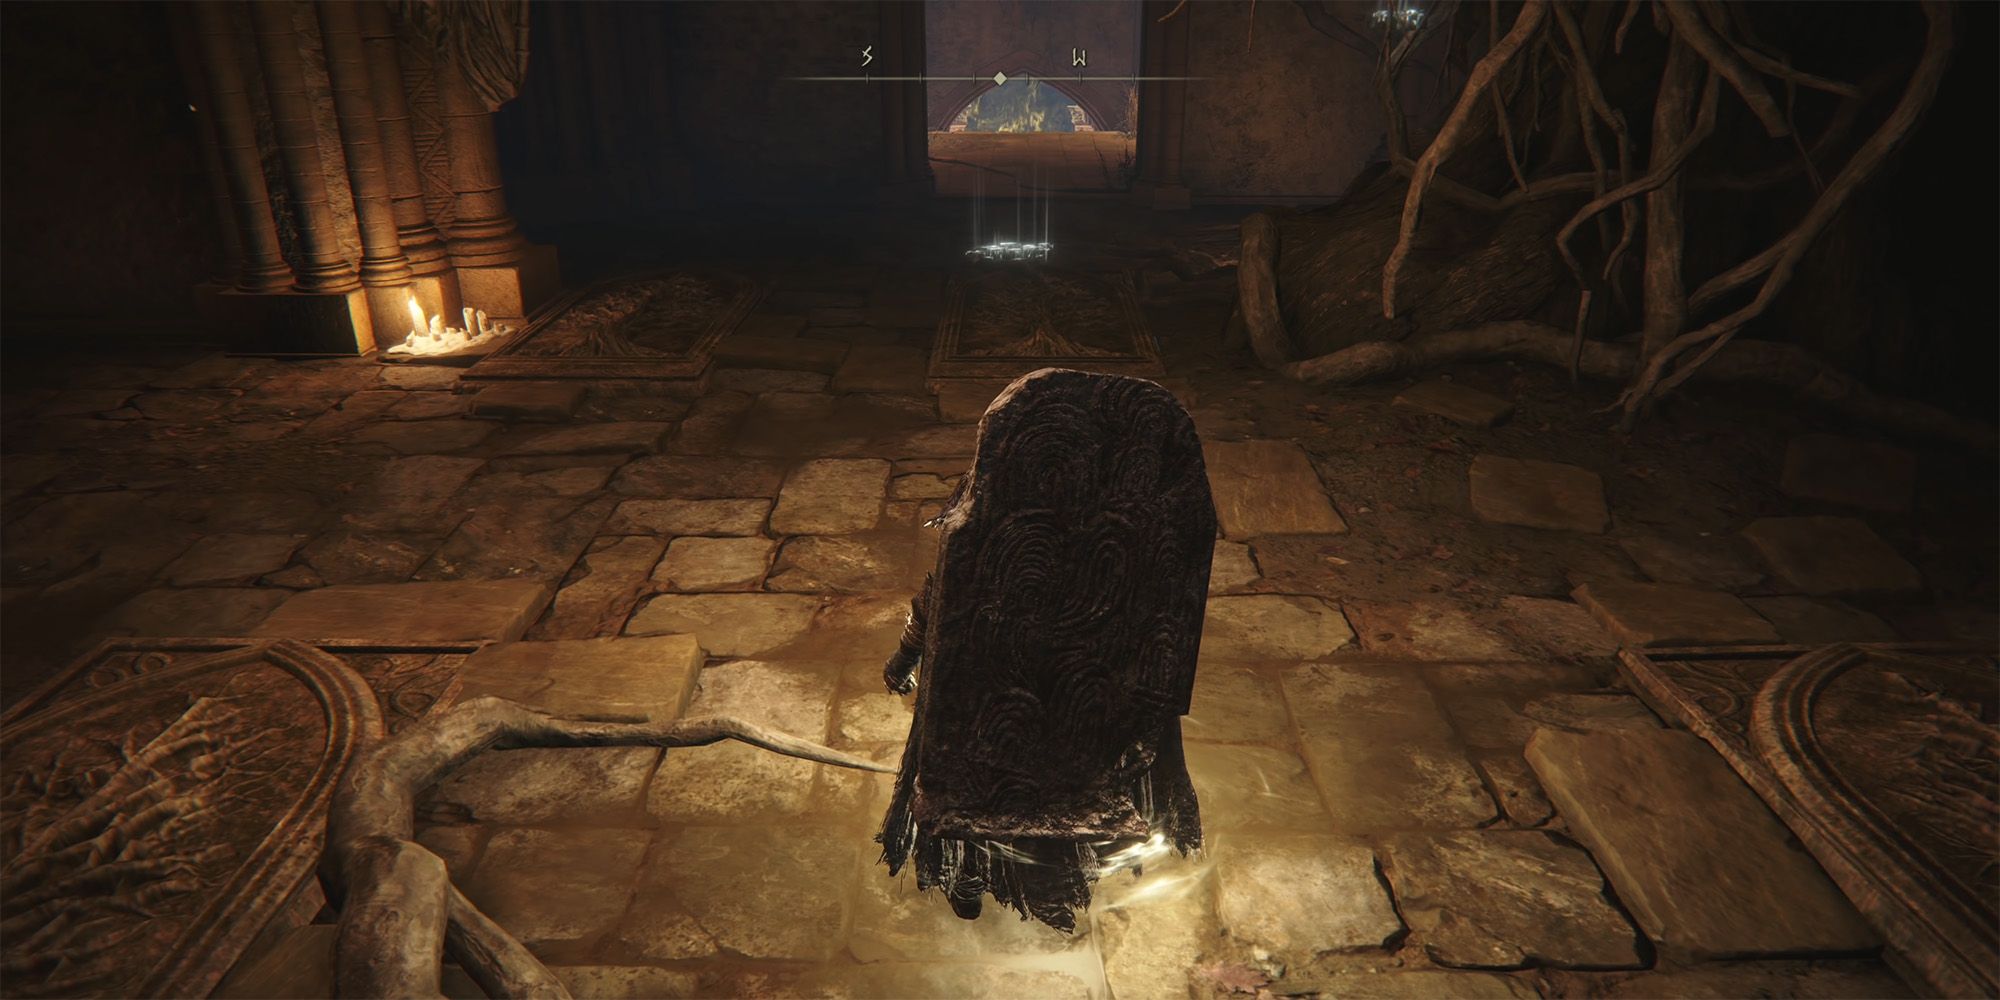
1 | Prayer Room Site of Grace | Right after entering Elpheal, as soon as the name of the location pops up on-screen, head across the long pathway directly ahead of the Tarnished, and be ready to either face or avoid the Cleanrot Knight guarding the entrance to what seems like a cathedral. Head inside and activate the Site of Grace. |
2 | From Prayer Room to Erdtree Avatar | From this Site of Grace, head out the door to the right and follow the path ahead. There will be Haligtree Soldiers to deal with, but keep going until there are a small set of stairs leading a bit down and a corpse laying on a broken guardrail. It's time for a bit of parkour as the Tarnished needs to jump over this guardrail and body and land on the descending steps below. The room ahead will have more enemies in it, including another Cleanrot Knight, so deal with them and exit the chamber on the other side. Directly ahead players should see two more Haligtree Soldiers. Past them and following the stairs down, take the set of stairs heading to the right just before another Knight. Follow the stairs to reach the bridge guarded by Soldiers with Greatbows and an Erdtree Avatar. |
3 | Elphael Inner Wall Site of Grace | Now, there is a multitude of different ways to get past this bridge and inside, but the fastest method is actually to hop off the bridge to the left and climb the ladder directly in front of where the Tarnished lands before the Revenant fully spawns and kills them. Climb the ladder leading back up to the Erdtree Avatar and get ready to run through it and the enemies behind it to get inside the building they're guarding. Once players make it past this gauntlet, the next Site of Grace should be just to the left. |
4 | From Elphael Inner Wall to Drainage Channel | From this Site of Grace, follow the path forwards, take a right, and walk forward onto the branch curving up and to the left through a broken wall. Again, this is a whole other large area worth exploring, but not right now. Follow the branch until it leads the Tarnished to solid ground and follow that solid ground forward until they have to cross a small body of Rot-infested liquid. Be ready to get infected while getting through here at least once. On the other side of this body of water should be another branch the Tarnished can walk on heading southwest. Follow this branch until it ends then drop off to the branch below. Climb up this second branch and head into the well-lit entryway directly ahead. Take the ladder down into the channel of water and follow it down until players reach the next Site of Grace on their right just before the exit out of this tunnel. |
5 | From Drainage Channel to Haligtree Roots | From the Drainage Channel SoG, head outside on onto the thicker branch heading northward. Keep following this branch while looking down until players see a large diagonal stone column (known as a flying buttress) they can drop down onto. Go down this slightly and then onto the small branch leading from one flying buttress to the next. Drop down off of this branch onto the balcony of the chapel these branches are stemming from and head inside the chapel. There are a bunch of Lesser Kindred of Rot in here, players can either ignore them or take them out, then head through the double-doored entryway to the west. Take the elevator in here heading even deeper, and the final Site of Grace before Malenia's arena should be just ahead, AKA the Haligtree Roots Site of Grace. |
And that concludes the method for players to quickly encounter the toughest boss in the game, Malenia. However, it should be noted that strictly following these steps will result in missing out on fully exploring the vast areas such as the Consecrated Snowfield, Miquella's Haligtree, Elphael, and even the chambers preceding Malenia herself. Therefore, after unlocking all the Site of Graces locations, it would be advisable to backtrack and thoroughly explore these areas, as they offer numerous Runes and collectible items.
Elden Ring is available on PC, PS4, PS5, Xbox One, and Xbox Series X/S.