Unlocking the Power: Effortless FAT32 Formatting on Windows 11 and Windows 10
Easily format your USB drive to FAT32 on Windows 11 or Windows 10 Learn multiple methods to accomplish this task, including using File Explorer, Disk Management, Command Prompt, and Windows PowerShell Optimize your drive's format effortlessly
To format your USB flash drive to FAT32, there are two methods you can use.
First, open either File Explorer or Disk Management, right-click on your drive, go to "Format," select "FAT32" as the file system, and click on "Start" or "OK."
Alternatively, if you prefer using Command Prompt or PowerShell, run the command "format /FS:FAT32 X:" (replace "X" with your drive letter).
Keep in mind that formatting your drive will permanently erase all data stored on it. Therefore, it is crucial to back up your important files before proceeding with the reformatting process.
Should You Format Your USB Flash Drive With FAT32?
Formatting your drive in FAT32 format offers several advantages. One significant reason is its compatibility with a wide range of devices, unlike other file formats such as NTFS. The majority of devices readily support FAT32, making it a reliable choice.
Adding data to your drive from a Mac machine is possible if your drive has been formatted in FAT32. However, this capability is not available for NTFS-formatted drives.

RELATEDFAT32 vs. exFAT vs. NTFS: What's the Difference?
While there are advantages to using the FAT32 format, it does come with a few disadvantages. One limitation is that you cannot store a single file larger than 4 GB on a FAT32-formatted drive. Additionally, if you are using the built-in graphical formatting options on Windows, you can only format drives in FAT32 if they have a storage capacity of 32 GB or less. However, there is a command-line method and a third-party app available for formatting drives larger than 32 GB in FAT32 format.
How to Format Your Thumb Drive to FAT32
Using File Explorer
Formatting a USB drive in FAT32 can be easily done by choosing from various options available in File Explorer or Disk Management. Alternatively, you can also utilize Command Prompt or PowerShell by running a few simple commands. In the sections below, we will illustrate each of these methods.
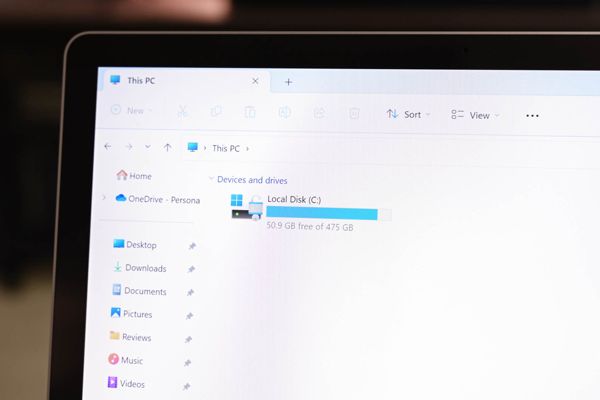
To format a drive in FAT32 format using File Explorer, start by connecting the drive to your Windows PC. Next, launch File Explorer by pressing Windows+E. Once in File Explorer, right-click on your drive and select the "Format" option.

A “Format” window opens. Here, click the “File System” drop-down menu and choose “FAT32.” Optionally, configure other options. Then, click “Start.”

When your drive is formatted, it will be in FAT32 format.
With Disk Management
Another graphical tool you can utilize to format your drives is Disk Management. To format your USB flash drive using this tool, simply right-click on the “Start” menu icon and select “Disk Management.”
On Disk Management’s main window, right-click your USB drive and choose “Format.”

In the “Format” window, select the “File System” drop-down menu and choose “FAT32.” Then, click “OK” to start formatting your drive.

Disk Management will display a message when your drive is formatted.
Using Command Prompt
To format your drive in FAT32 format using Command Prompt, follow these steps:
1. Open the "Start" menu.
2. Search for "Command Prompt".
3. Right-click on "Command Prompt" and select "Run as Administrator".
4. Click "Yes" in the "User Account Control" prompt.

On the Command Prompt window, type the following command replacing X with the letter of your USB flash drive. Then, press Enter.
Warning: Make sure to enter the correct drive letter or you’ll end up formatting another drive on your PC.
format /FS:FAT32 X:

When your drive is formatted, close Command Prompt.
With Windows PowerShell
PowerShell is another way to run commands on your Windows PC. You can use this tool to format your drives as well.
To do that, open the “Start” menu, find “PowerShell”, and click “Run as Administrator.” In the “User Account Control” prompt, choose “Yes.”

In PowerShell, type the following command replacing X with your drive letter. Then, press Enter.
Warning: Make sure the drive letter is correct or you’ll end up erasing another drive’s contents.
format /FS:FAT32 X:

When your drive is formatted, close the PowerShell window.
Your USB flash drive is now ready to be used in FAT32 file format. Enjoy!