
Unlocking Lawrence's Room: A Guide to Accessing the Hidden Laboratory in Another Code: Recollection
Embark on a thrilling journey to uncover the secrets of Lawrence's Room and unlock the mysterious trap door in Another Code: Recollection. Follow this detailed guide to navigate through puzzles and unlock the hidden path to the laboratory.
Introduction to Another Code: Recollection
Step into the captivating world of Another Code: Recollection, a modern reimagining of the beloved classics - Two Memories and R - Journey Into Lost Memories. Dive into a narrative filled with bittersweet adventures, intricate puzzles, and enigmatic riddles, centered around Ashley and her father's complex relationship and the enigmatic Edward Family deaths.
Another Code Recollection Trap Door Lawrence Room
Discovering Lawrence's Room
As players progress through the storyline, they will eventually reach Lawrence Edward's room, a pivotal location in the game. To gain access to the hidden laboratory below, players must first locate the Four Leaf Clover Key by combining the Sprout Keys found in the fountain. Make your way to Lawrence's bedroom on the second floor of the mansion through the connecting passageway in the West Wing.
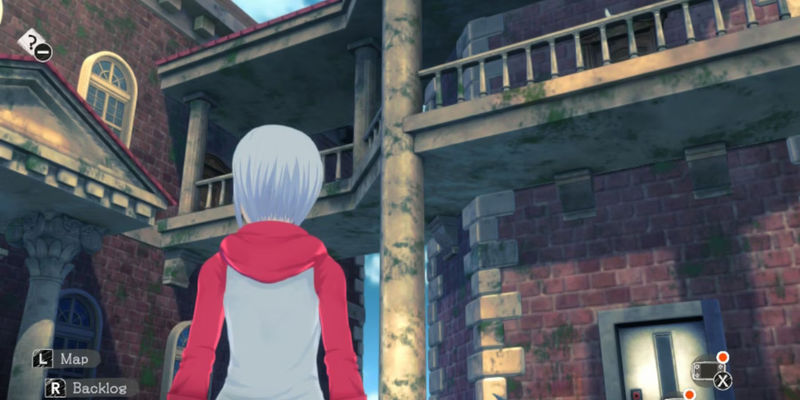
Another Code Recollection Connecting Passageway Lawrence Room
Unlocking the Trap Door
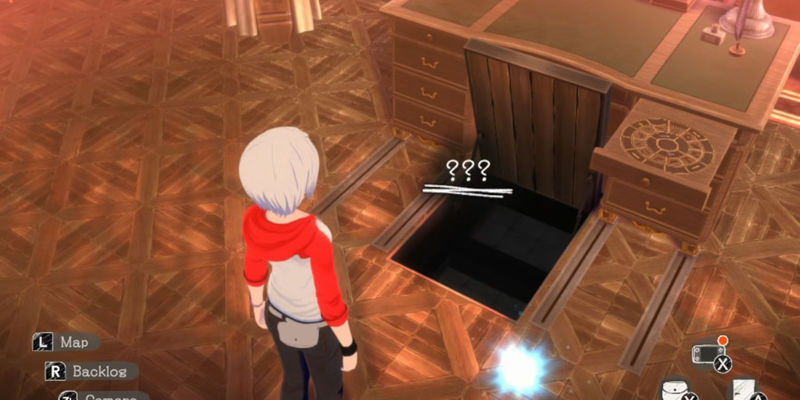
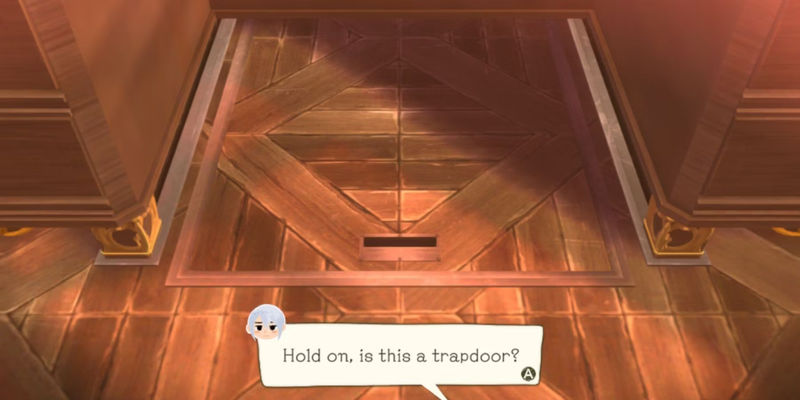
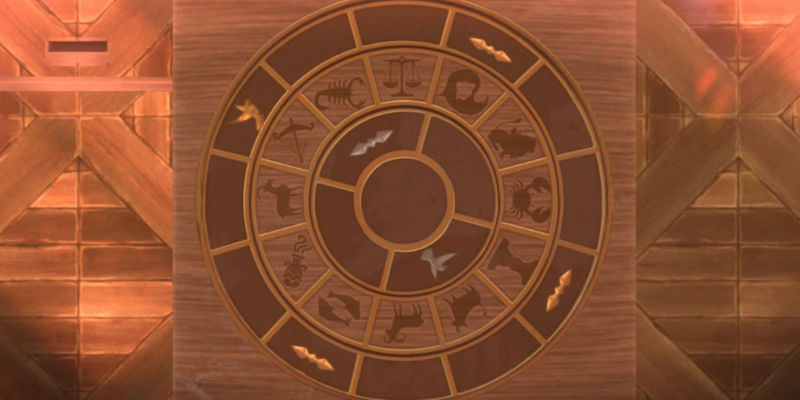
Upon entering Lawrence's room, players will encounter a seemingly ordinary bedroom with a hidden secret - a trapdoor beneath the desk. To unlock the trap door, players must solve a unique lock mechanism that involves a three-ring dial adorned with zodiac symbols and intricate bird motifs. Search the top right drawer to uncover the key, a crucial piece in solving the puzzle.
Another Code Recollection Trap Door
The key features zodiac symbols representing Lawrence's sons and their birth months, along with gold and silver bird motifs. Align the symbols on the dial according to the clues found in the Courtyard Fountain, where the birds are paired with specific zodiac symbols. Manipulate the dial using the left and right bumpers until the correct alignment is achieved, unlocking the trapdoor and revealing the path to the hidden laboratory below.
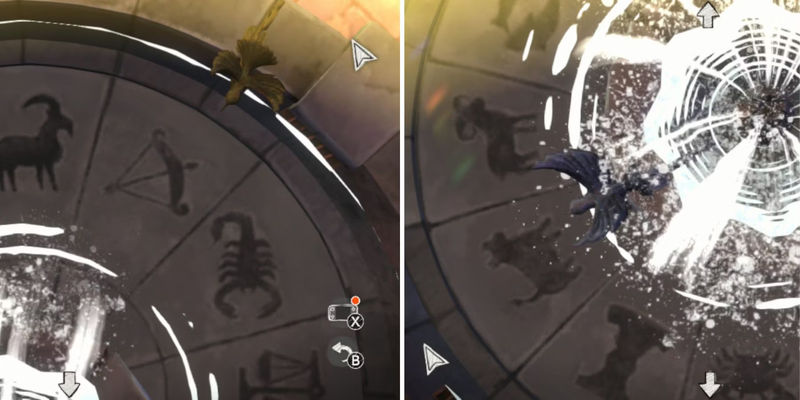
Another Code Recollection Zodiac Golden and Silver Bird
Exploring the Hidden Laboratory
With the trapdoor unlocked, Ashley and D can descend into the basement and embark on a thrilling exploration of her father's hidden laboratory. Delve into the depths of the basement as you unravel the mysteries and secrets concealed within the laboratory, leading to exciting revelations and discoveries.
Another Code Recollection Dial Desk Trap Door


