
Unleashing the Ultimate Fate: Digimon Survive Walkthrough - Wrathful Route Epitomized!
In Digimon Survive's Wrathful route, Chapter 10 delves into the group's overwhelming guilt over the loss of their friends and uncovers the mysterious past of the Professor Join them as they navigate through battles, explore the library, and face powerful adversaries in their quest for answers
Continuing from the previous chapter, where Saki suffered a heartbreaking loss, the tenth part of Digimon Survive delves into the Wrathful Route. We are presented with a scene where the Master engages in conversation with a familiar individual, who approaches with a unsettling proposal.
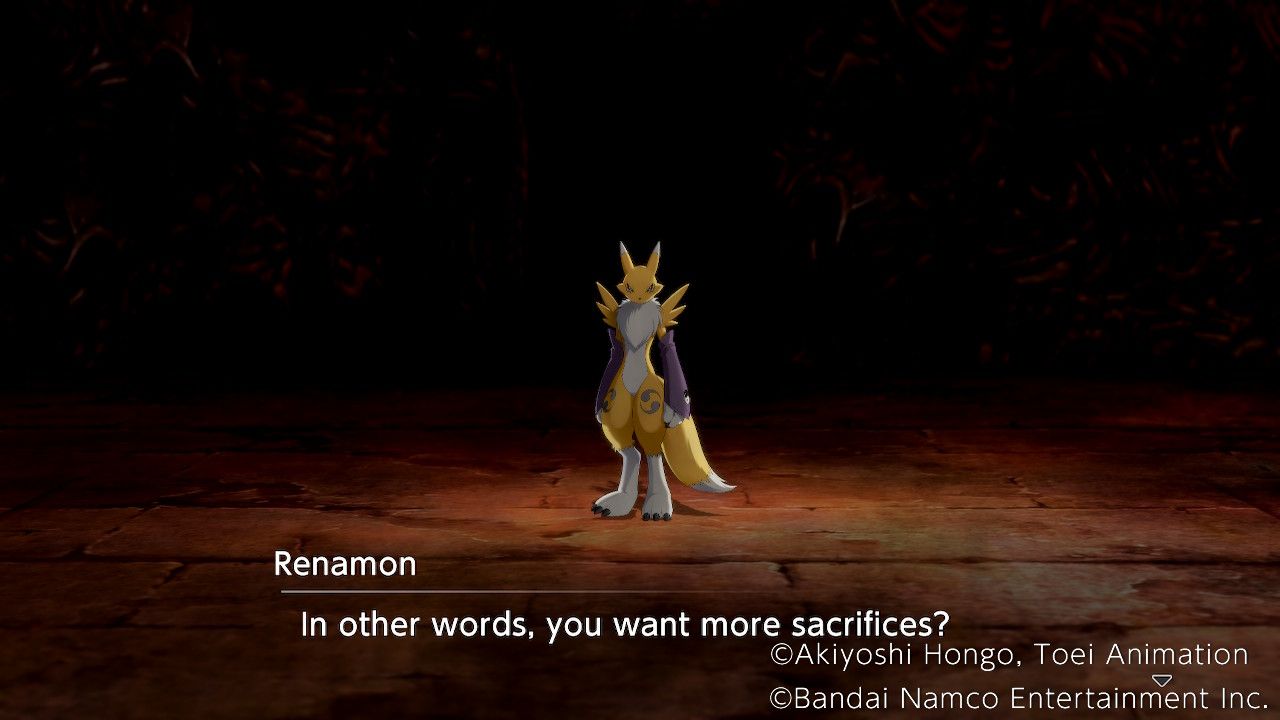
The narrative unfolds with Renamon proposing to provide sacrifices to the Master in exchange for the release of Miyuki. After contemplating the offer, the Master agrees to relinquish Miyuki once their desire is fulfilled, under the condition that Renamon becomes their loyal servant.
Introduction
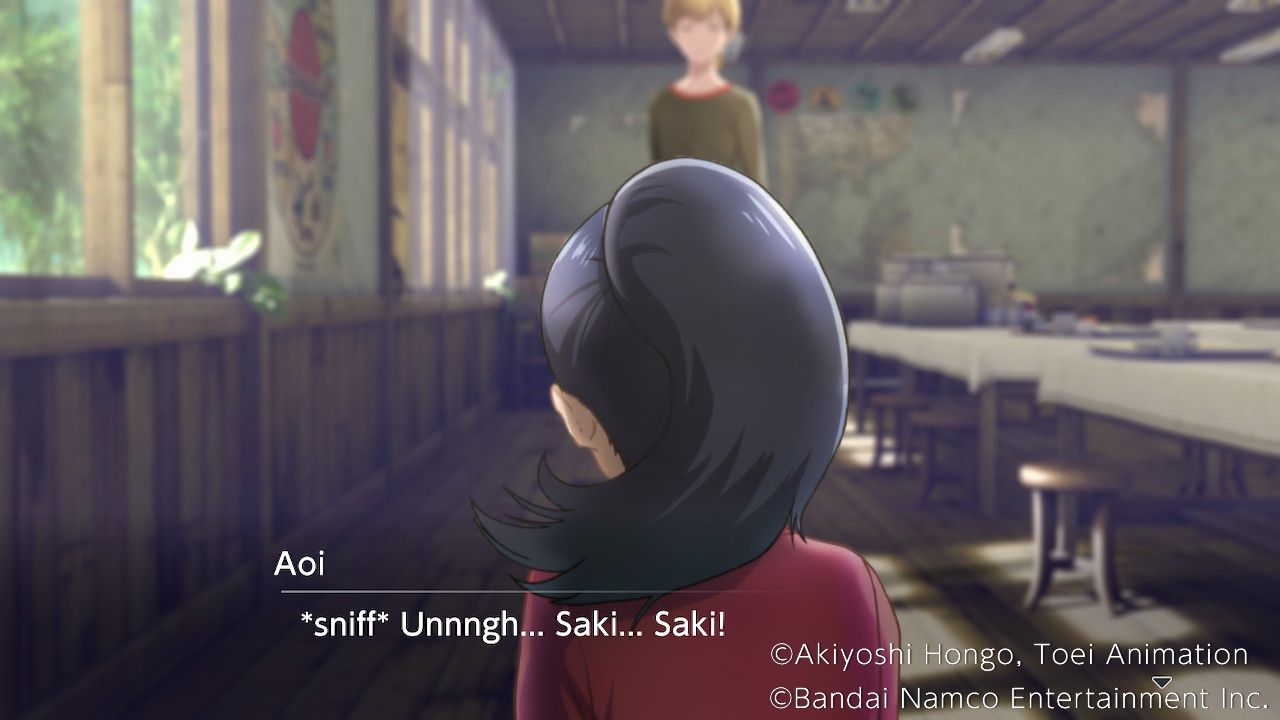
Takuma and the rest of the players notice that they have successfully brought the survivors from the Amusement Park to the School. However, a challenging situation arises as Agumon is struggling to take care of everyone. Among the survivors, Aoi is deeply affected by the loss of Saki and withdraws from any interaction. However, Takuma manages to inspire and uplift the others with a powerful motivational speech. Despite his best intentions, Aoi takes it negatively and decides to take a walk to clear her mind.
During their conversation, Aoi openly expresses her guilt for Saki's death, leading Takuma to face a crucial decision in their dialogue.
We're all to blame. | Moral +1 |
It's not your fault. | Harmony +1 |
Saki won't come back. | Wrathful +1 |
Regardless of Takuma's choice, the game now progresses to Free Action.
Free Action
During this Free Action players have 7 moves to spend.
Free Battle
The School Area Free Battle provides players with the chance to engage in thrilling battles against formidable opponents such as Marinedevimon, Arukenimon, Dokugumon, Diatrymon, and Crowmon. Similarly, the Forest Area offers exciting encounters with powerful adversaries such as Garudamon, Bluemeramon, and Etemon.
Old School
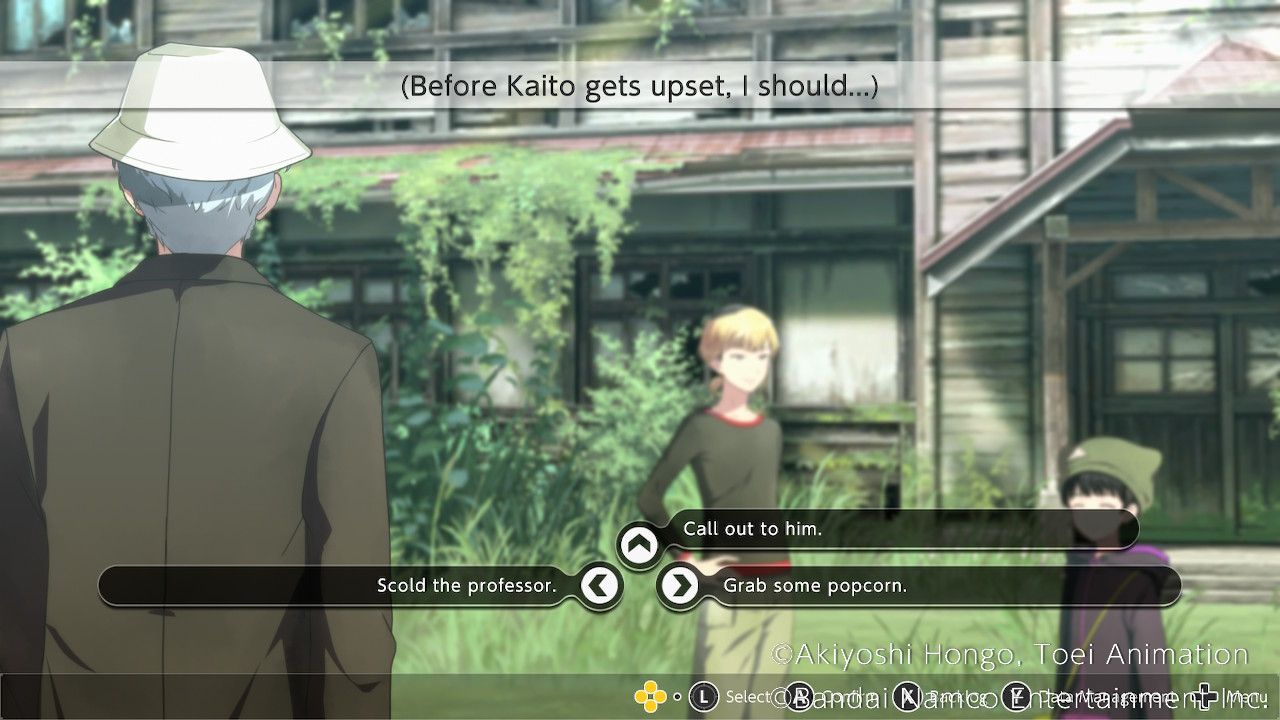
Kaito can be located at this location, and once he is approached, Miu will join them, appearing visibly upset and worried. Kaito reassures her that he will protect her, and she expresses her gratitude for his attempt to offer solace. Shortly after, the Professor makes an appearance as well. Takuma grows concerned that Kaito will become upset if he notices the Professor observing them, forcing Takuma to make a critical decision.
Scold the professor. | Kaito Affinity Up! |
Grab some popcorn. | No Effect. |
Call out to him. | No Effect. |
Corridor
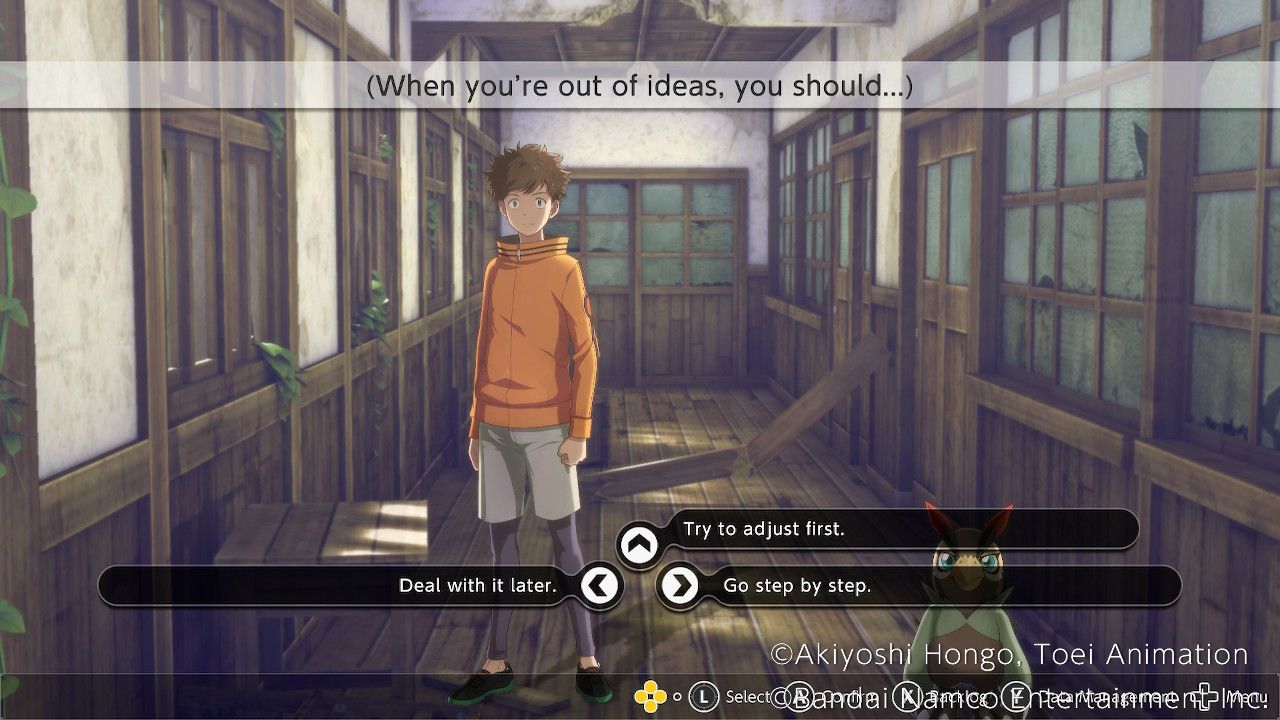
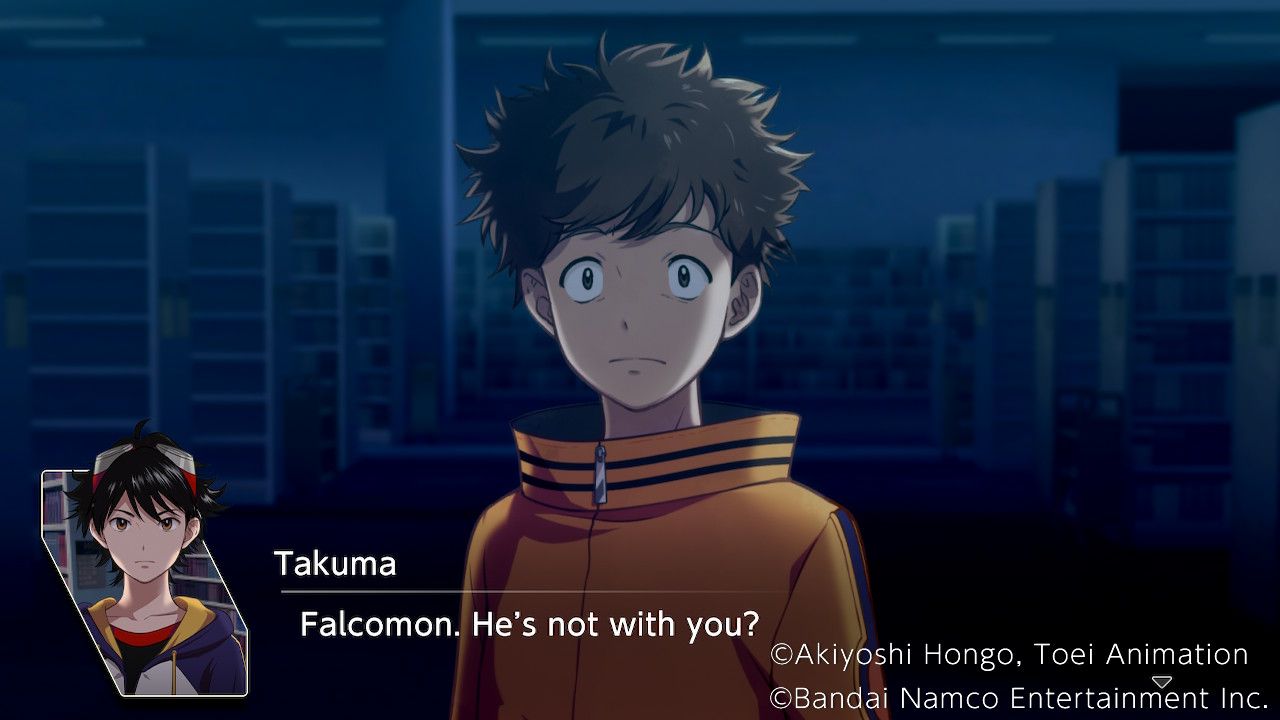
Minoru and Falcomon are here. Minoru is having trouble sorting his thoughts and pushing forward, given recent events. Falcomon asks Takuma and Agumon their opinion.
Deal with it later. | No Effect. |
Try to adjust first. | No Effect. |
Go step by step. | Minoru Affinity Up! |
Cafeteria
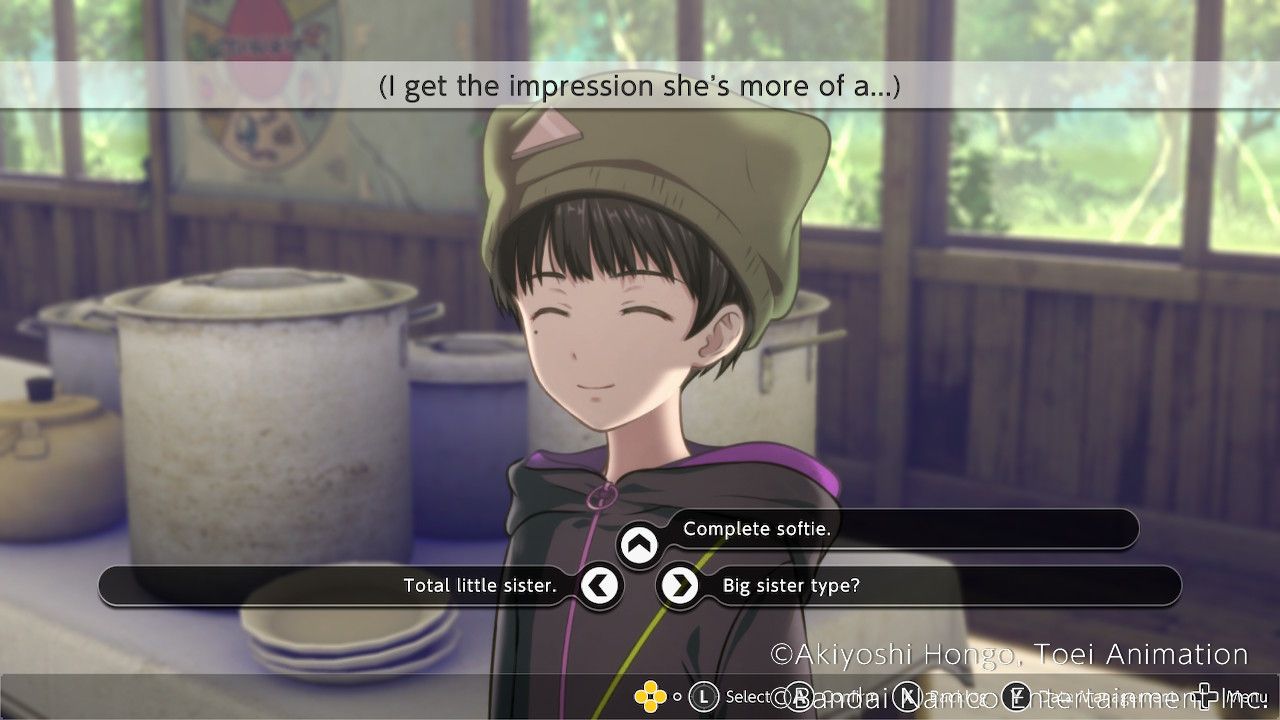
Miu, Syakomon, and Agumon are present in this location. Upon conversing with Miu, it becomes evident that she is attentively looking after the children from the Amusement Park. Although initially feeling a bit bashful about Takuma spotting her, Syakomon describes her as a nurturing figure, akin to a caring elder sibling.
Total little sister. | No Effect. |
Big sister type? | No Effect. |
Complete softie. | Miu Affinity Up! |
Speaking to Agumon has him ask what is most important to Takuma.
My friends? | Moral +1 |
World peace? | Harmony +1 |
My own life? | Wrathful +1 |
Agumon also gives Takuma a Vexing Alacrity Crystal after this conversation.
Gym
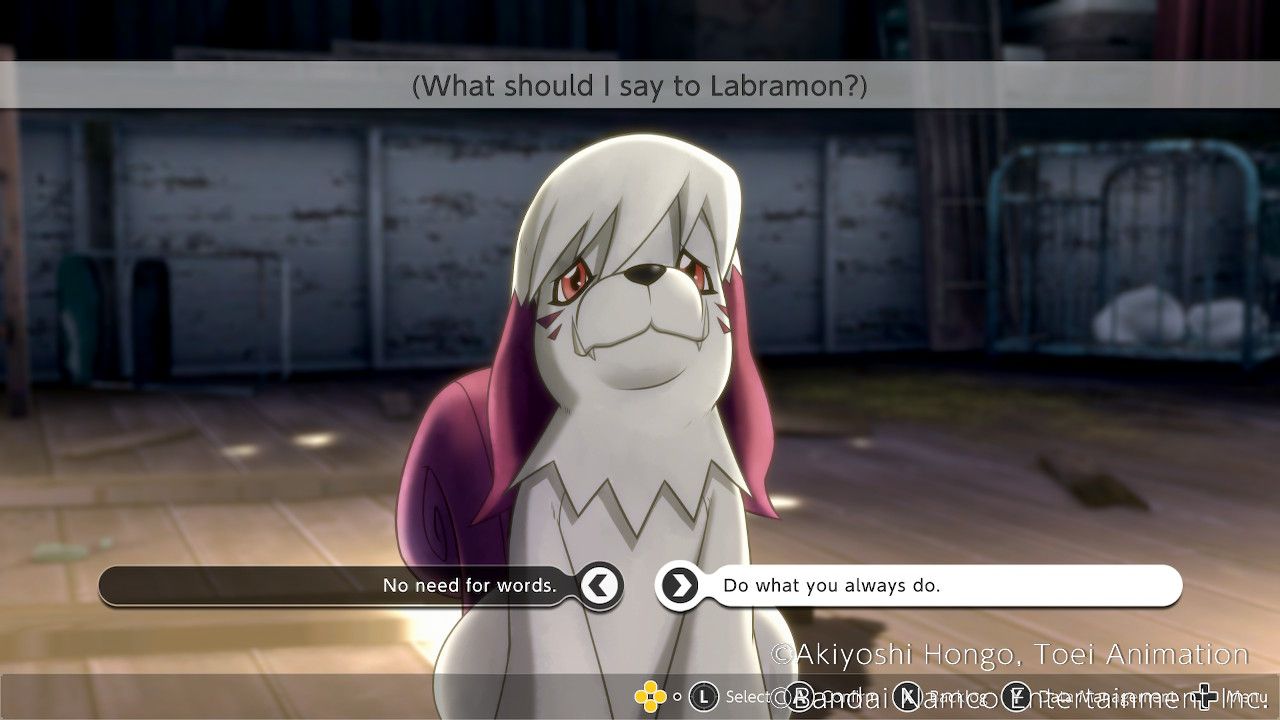
Labramon is alone at the Gym, worried that she isn't being useful to Aoi and trying to think of a way to help her.
No need for words. | Aoi Affinity Up! |
Do what you always do. | No Effect. |
Cafeteria 2
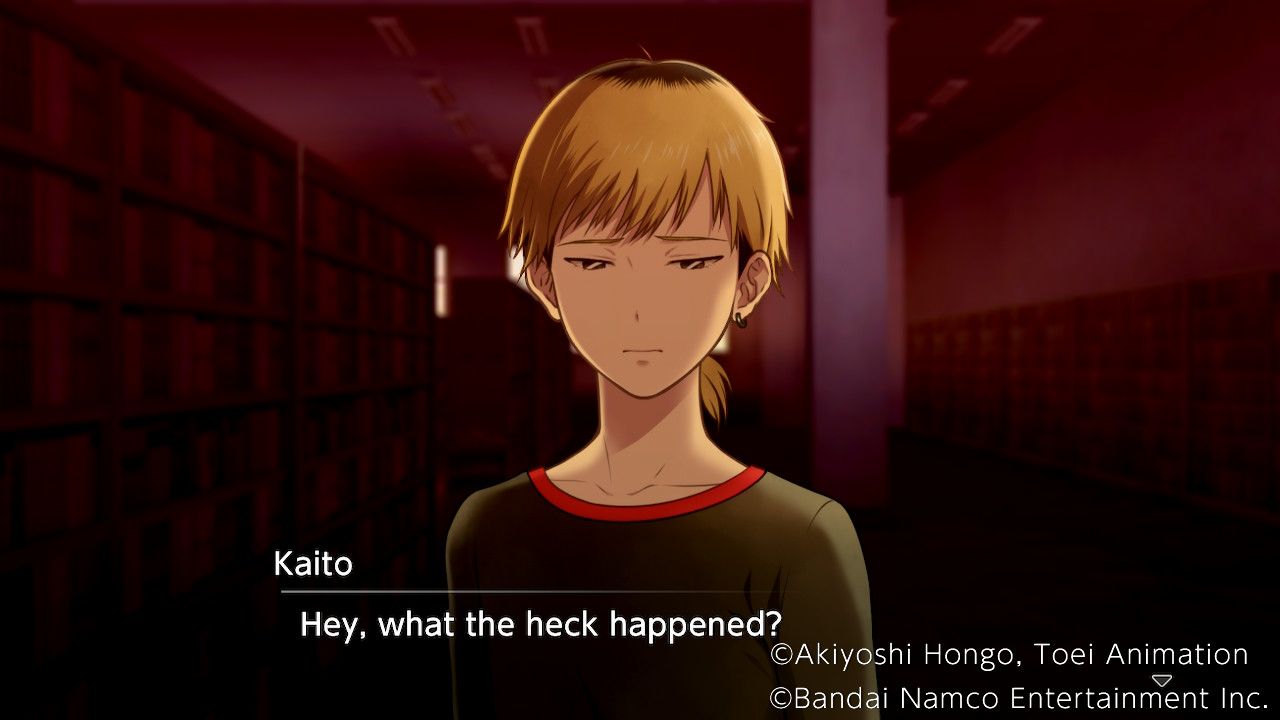
After exhausting their options with four moves, players will find themselves compelled to proceed to the Cafeteria, where Aoi and Kaito can be encountered. Kaito endeavors to console her and emphasizes that it was Saki who relinquished Aoi's hand, not the other way around. Despite Kaito's efforts to make her comprehend, Aoi adamantly refuses to accept this truth and ultimately succumbs to emotional distress.
Classroom
Minoru is currently located here with Falcomon and the children from the Amusement Park. He has been acquiring valuable insights from Miu on the art of nurturing them, while Agumon expresses keen interest in eavesdropping on his captivating storytelling session.
I'll pass for now. | No Effect. |
No kid stuff for me. | No Effect. |
Why not listen a bit? | Minoru Affinity Up! |
Cafeteria 3
Miu and Syakomon are in the Cafeteria again, where Miu is definitely not worried about Kaito, not a chance.
I hope he behaves. | No Effect. |
No need to be shy. | No Effect. |
Anyone would worry. | Miu Affinity Up! |
Woods By School
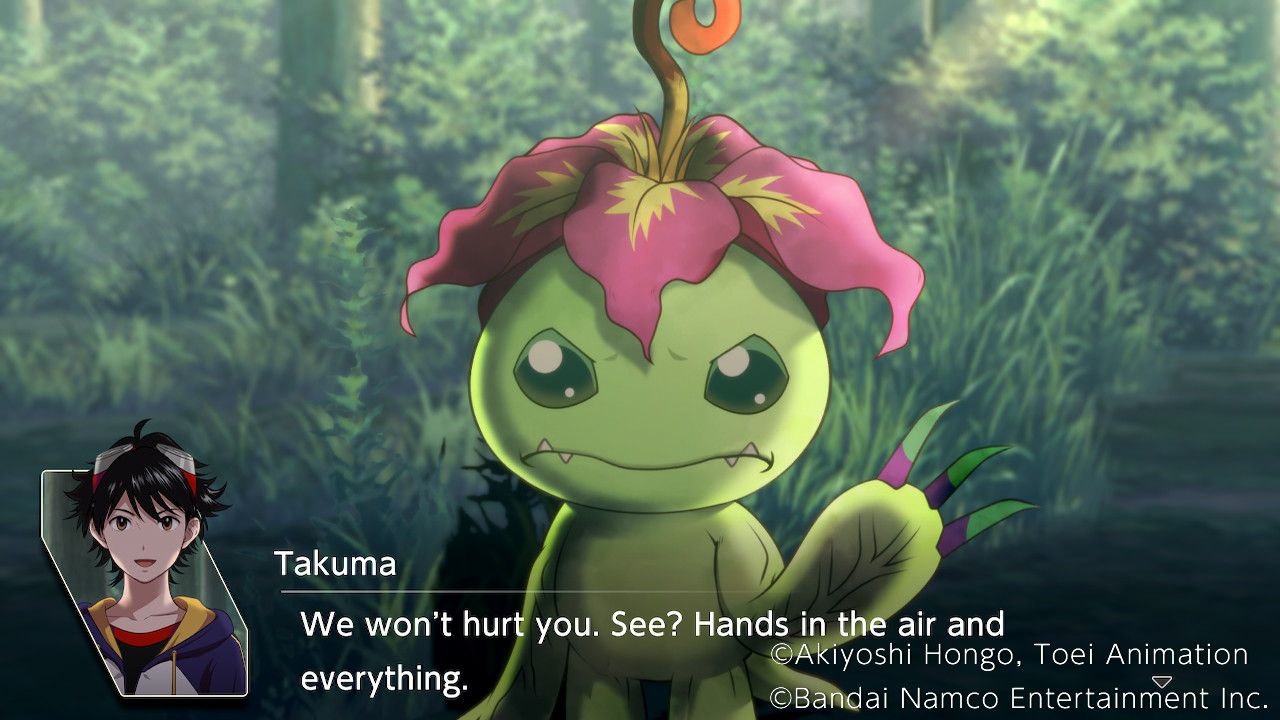
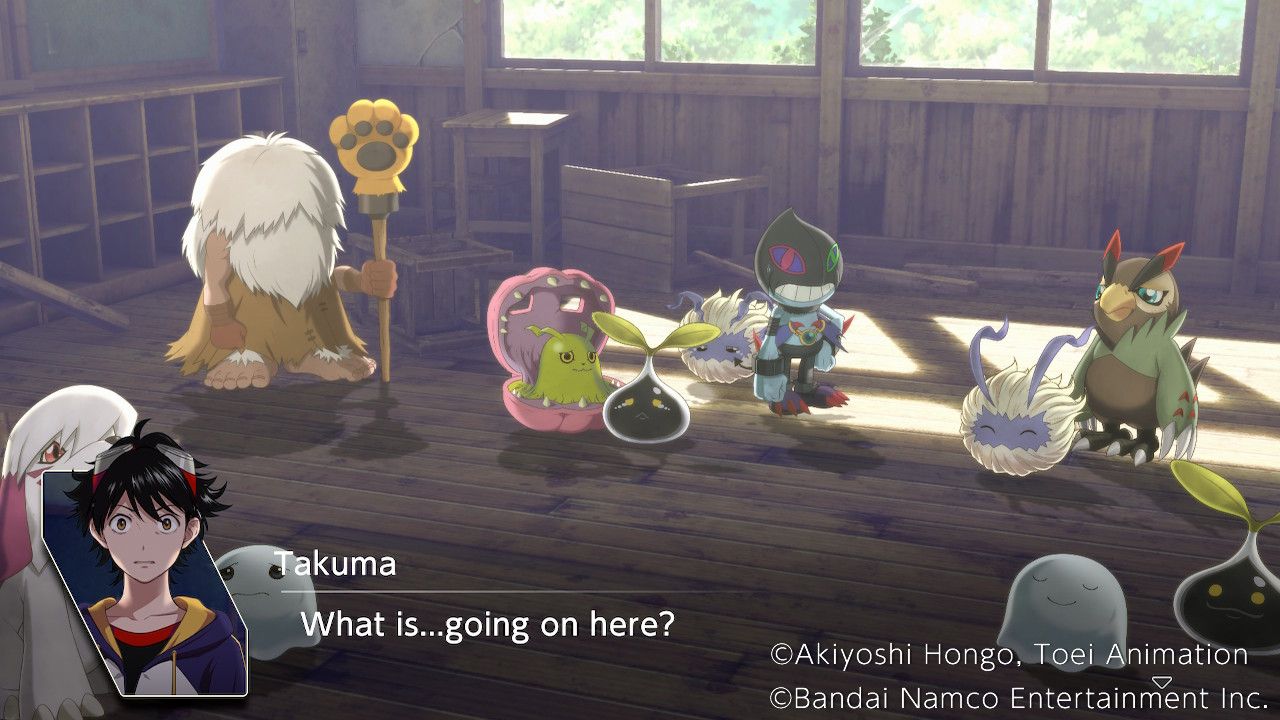
Agumon and the Professor are present here. Interacting with Agumon does not consume an Action and will disclose something hidden in the grass, which players can then choose to investigate and discover Tentomon, Gomamon, and Palmon. To proceed with this storyline, proceed to the Shrine, Inner Shrine Ext, or Spider Lily Forest. Speaking to the Professor also does not consume an action, but it does not provide any new information.
Shrine
Speak to Agumon here after speaking to him at the Woods By School in order to locate Tentomon. Utter the phrase "We Don't Want to Fight" to initiate a battle regardless and engage in combat with an Okuwamon, Dinobeemon, Tentomon, and Megakabuterimon. There is a chest situated on this specific map that holds a Fine Anti-Wind Crystal. Say "Don't be scared" to enlist the help of Tentomon and completely avoid the altercation.
Inner Shrine Ext.
Speak to Agumon here to encounter absolutely nothing and waste an Action.
Spider Lily Forest
Woods By Shrine
Interact with Agumon at this location in order to locate Gomamon. Adopt an aggressive demeanor to provoke him, thus initiating a confrontation with Mermaimon, Zudomon, Gomamon, and Megaseadramon. Within the vicinity, there is a chest that houses a valuable Fine Anti-Light Crystal. In contrast, employing a compassionate approach will enable players to recruit Gomamon instead.
The Story Continues
"Agumon can guide you to Palmon. Engage in battle against Blossomon, Deramon, Palmon, and Lilymon by selecting the option "Drive it Off". Furthermore, you can discover a chest containing a Fine Potency Crystal in this location. To peacefully recruit Palmon and prevent any conflicts, make the gesture of surrender by selecting "Wave a white flag"."
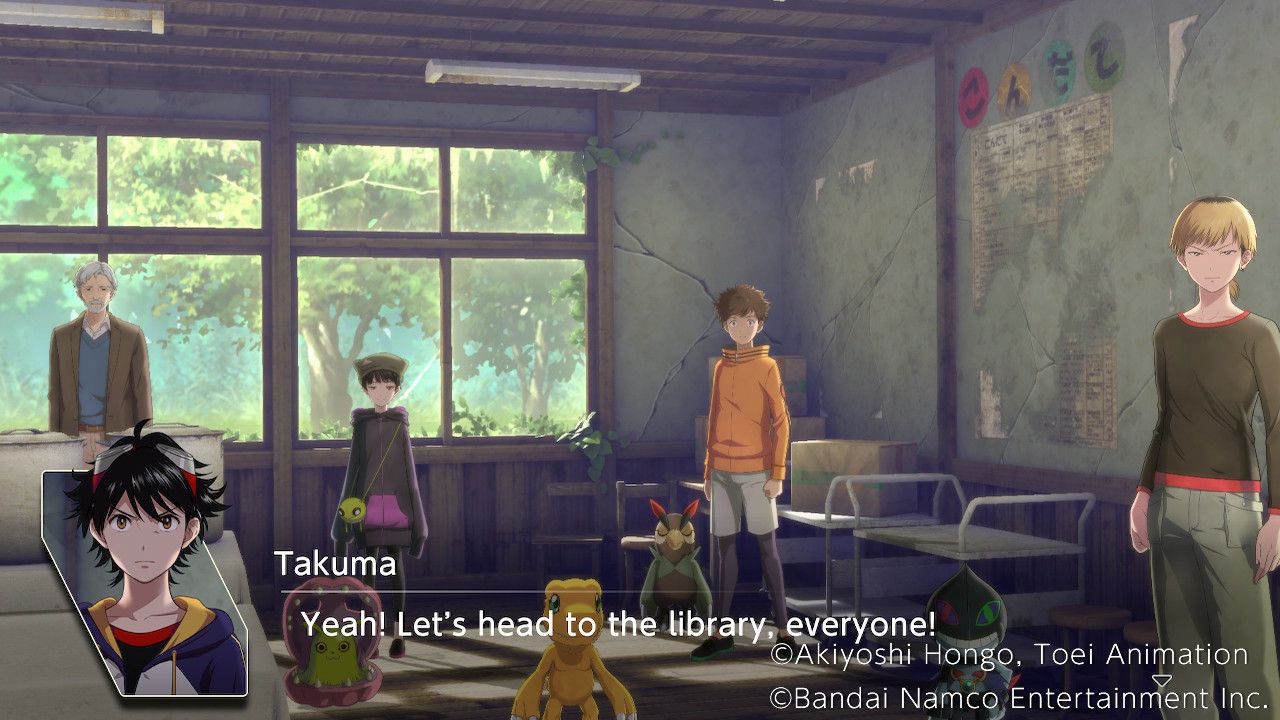
The Professor has made a remarkable discovery – a mysterious edifice nestled deep within the dense forest that surrounds the school. Meanwhile, Aoi traverses the woods, accompanied solely by the silent companionship of Kaito and Labramon. Overwhelmed by the immense sorrow of Saki's demise, Aoi's spirits are visibly dampened, yet just as she is on the precipice of unburdening her thoughts, Haru emerges in the distance. Determined to rescue someone this time, Aoi hastily pursues him further into the labyrinthine forest, while Kaito hastens back to the School to apprise the others of the unfolding events.
Arriving at the Cafeteria, Kaito recounts the events and reveals Aoi's whereabouts, prompting the Professor to remark that they were coincidentally heading towards the same location he recently discovered: a library. The potential of it being a trap is mentioned, yet there is no alternative but to proceed towards the library regardless of the uncertainty:
"Explore the Library." | Moral +1 |
"Save Aoi and Labramon." | Harmony +1 |
"Chase after Haru." | Wrath +1 |
Arriving at the Library, Aoi recognizes its striking resemblance to her hometown's. Fueled by her desperation to save Haru, she hurries inside with Labramon close behind. Suddenly, Saki materializes before them, expressing her desire to live and questioning Aoi's failure to rescue her. Saki implores Aoi to follow her, convinced that it is unjust for only Aoi to have survived. As Aoi moves closer to Saki, the surroundings shift, prompting Labramon to fervently caution Aoi against falling into this potential trap.
Meanwhile, the group reunites and encounters Renamon, who strongly harbors animosity towards the Professor. Renamon devises a plan to sacrifice the entire group to the Master in exchange for the release of Miyuki, blaming their arrival for Miyuki's capture. At Renamon's behest, the Kenzoku appear, initiating a fierce battle.
Battle: Kyubimon and the Kenzoku
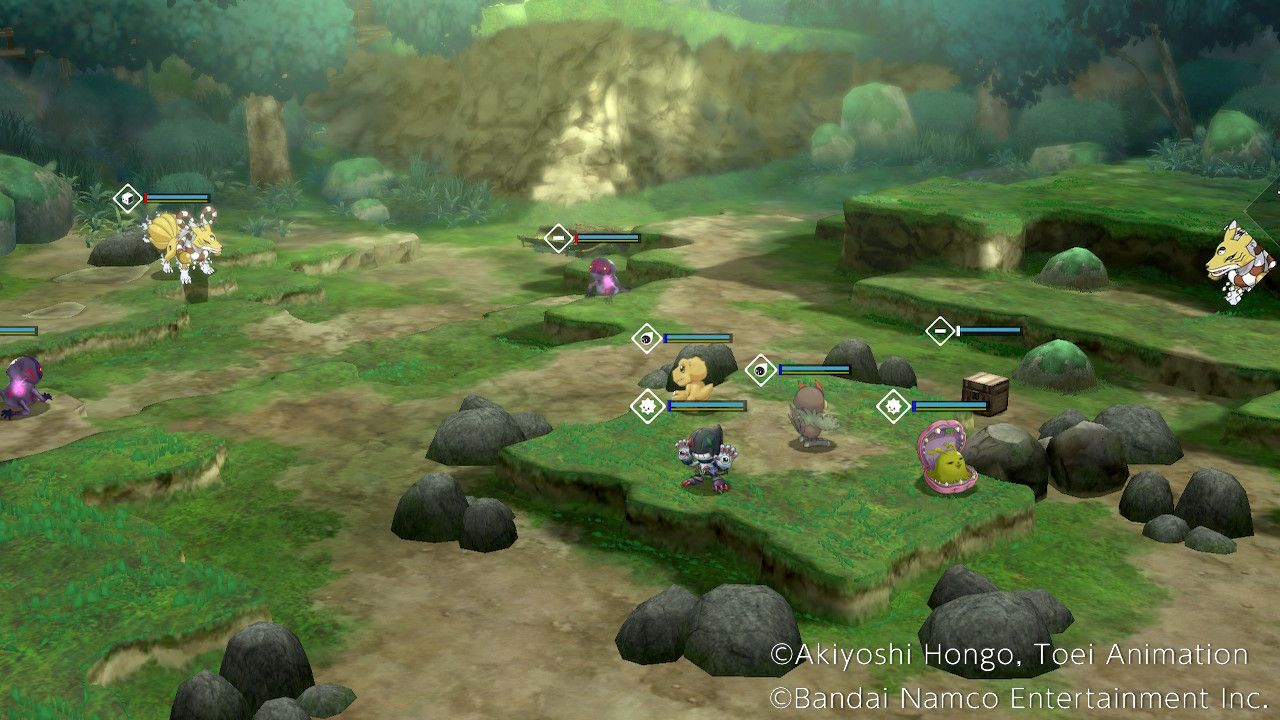
The Kenzoku in this region are powerful level 43 Champions, boasting impressive all-around statistics. Although they excel in various areas, their SPD and PHYS DEF are relatively weak, making them vulnerable to physical attacks. They possess resistance against both fire and water, but are susceptible to earth attacks. Notably, their passive ability, "World Stagnation," grants them the chance to break their target's guard when launching an attack. In terms of offense, their basic attack inflicts physical water damage, while their special attack, "Azure Coagulation," can freeze a target within a range of three spaces by dealing water damage.
The primary concern on this map is Kyubimon, a formidable level 40 Champion with remarkably high SP ATK and no discernible weaknesses, except for Dark. Consequently, Kaito and Dracmon should be prioritized against her. Kyubimon's regular attack inflicts Special Fire Damage, and her Dragon Wheel ability can cause significant damage with Special Fire Damage to any enemy within a three-space range. Furthermore, there is a chance that Dragon Wheel will reduce the target's PHYS DEF and SP DEF by two ranks.
The chest near the party's deployment point holds an Acceleration Charge accessory, while the chest below Kyubimon's starting position contains Hell Crusher. It's a wise decision to send Falcomon to retrieve it after evolving to Crowmon for enhanced mobility, but players should exercise caution due to the formidable power of Kyubimon and the potential for significant damage.
To effectively inflict damage on Kyubimon, evolving Agumon into Machinedramon and using Infinity Cannon is highly recommended, as Kyubimon is particularly susceptible to Dark attacks. Another reliable source of Dark Damage in this stage of the game is Kaito and Dracmon, making their deployment crucial in this battle.
Reaching the Library - Exploration
Free Battle
Renamon adamantly claims sole responsibility for rescuing Miyuki, disregarding any opposition, and sternly warns the group to prepare themselves for redemption before departing towards the library. This initiates the commencement of an exploration phase.
Free Battles in this part of the chapter allow players to face off against Bluemeramon, Garudamon, Andromon, and Etemon.
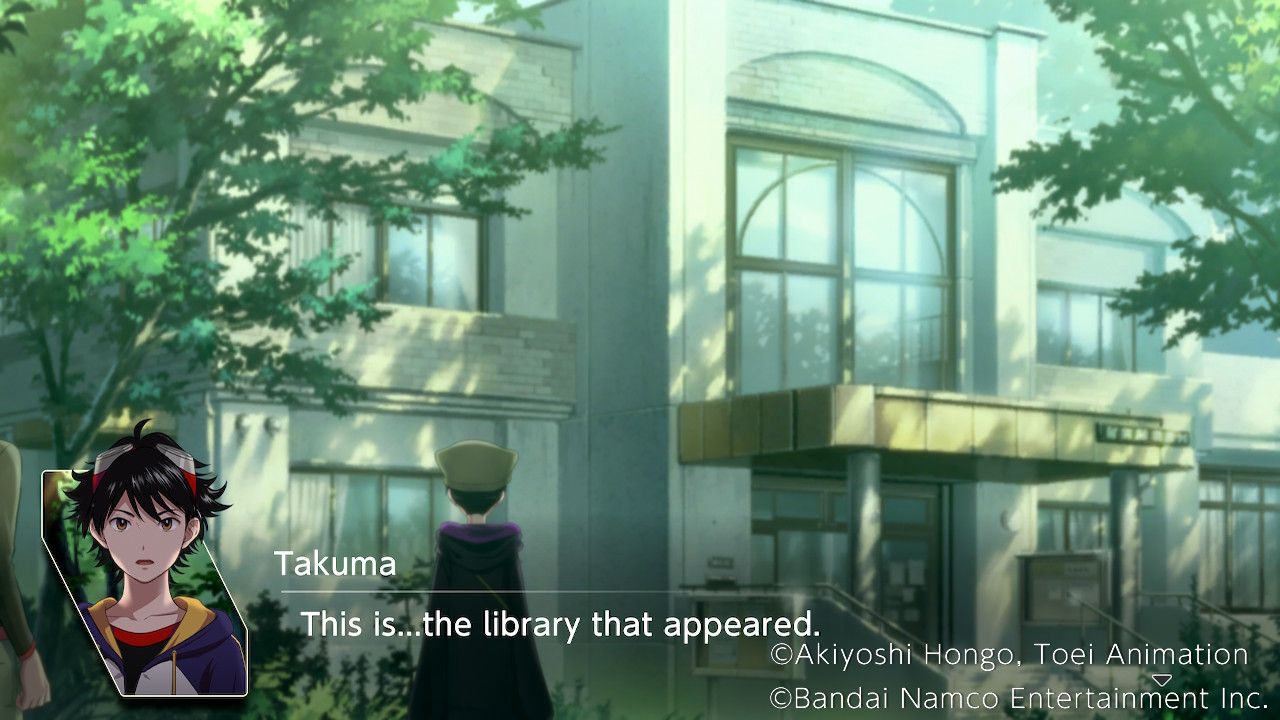
Library
Entering the Library area, the Professor will note that it appears to be new and undamaged, a notable difference from all other buildings found up to this point.
Reception
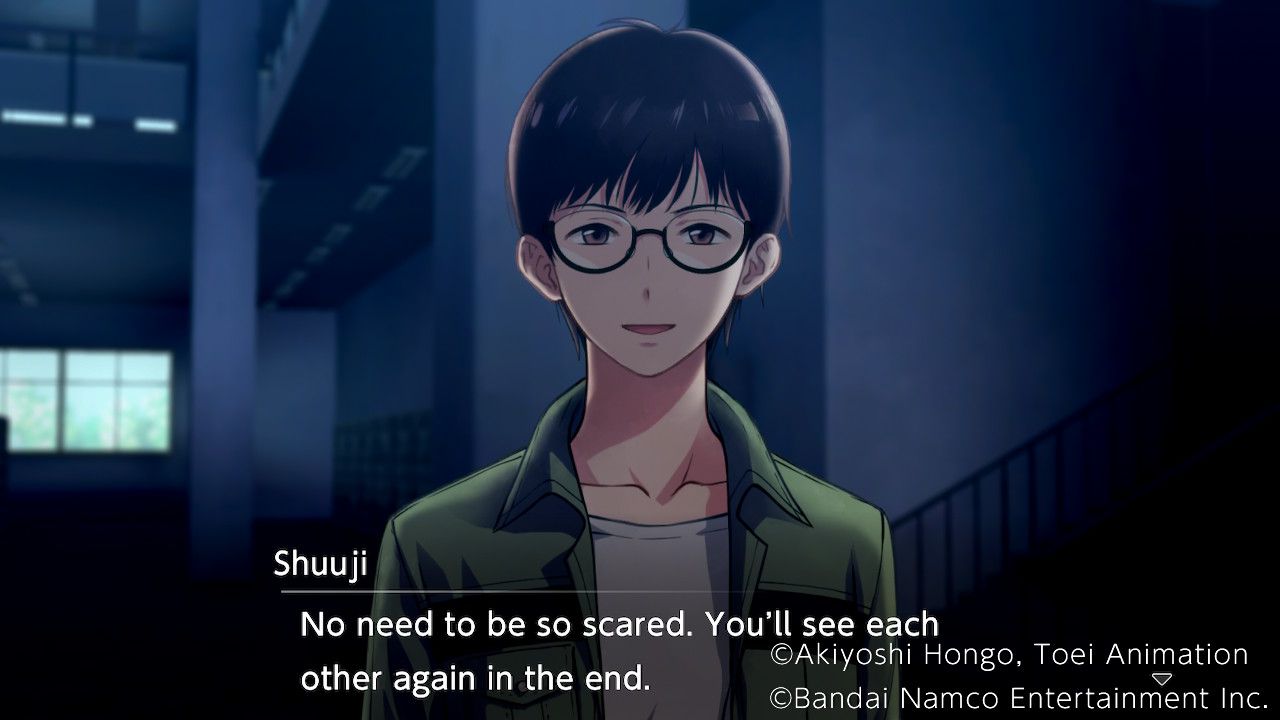
Upon entering the reception area, the group comes face to face with Shuuji and Ryo, who assert that their demise was a result of the group leaving them behind. They insist that surrendering to the engulfing mist is the only path worth taking. Strangely, the rest of the companions have vanished without any trace, and the persuasive words of Shuuji and Ryo begin to bewitch Takuma. Fortunately, Agumon manages to snap him back to reality. Regrettably, the group remains divided, and the doors leading to the outside world remain firmly locked.
Inside the Library - Exploration
Now trapped inside the Library, it's time to find the others.
Free Battle
In this Free Battle spot players can face Numemon, Crowmon, Gigadramon, Fangmon, and Marinedevimon.
Reception
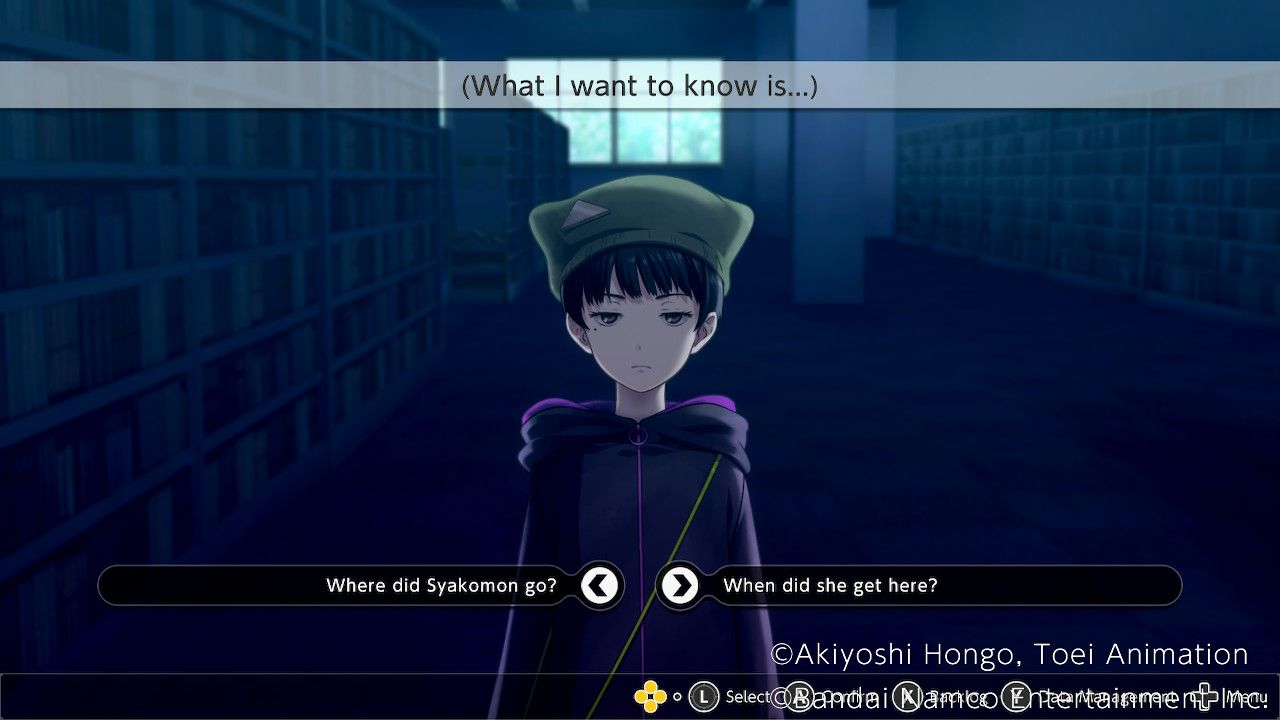
At the Reception Takuma can find Miu, Syakomon is missing and Takuma feels that something is off about this.
Where did Syakomon go? | "Miu" is revealed to be one of the Master's Monsters. |
When did she get here? | "Miu" is revealed to be one of the Master's Monsters. |
A battle erupts with a solitary Kenzoku, which is highly susceptible to light attacks but resistant to dark attacks. When the Kenzoku attacks, it always breaks its opponent's guard. Players should proceed south from the starting point to open a chest containing a Fine Stamina Crystal, then defeat the Kenzoku using light element attacks if possible.
As players advance towards the lone Kenzoku, two additional enemies appear. The second Kenzoku is weak against fire, while the first-class Kenzoku is vulnerable to water. Both enemies must be eliminated to conclude the battle. The real Miu is then discovered beneath the reception desk with an unconscious Syakomon. Takuma continues the search for the remaining individuals once they regain consciousness. Despite Miu stating that they are not yet ready to move around, both Miu and Syakomon can now be utilized in battle once again.
Bookshelves
Arriving at the Bookshelves, Takuma spots Minoru standing alone. Minoru claims that Falcomon wandered off alone, which doesn't sound believable to Takuma. Suspecting the presence of an imposter, Takuma swiftly confirms his suspicion and a battle ensues. There is a chest directly ahead of the deployment point, guarded by several Kenzoku. The 1st Class Kenzoku are weak against light attacks but resistant to dark, the 2nd Class Kenzoku are vulnerable to wind but resistant to earth and water, and the 3rd Class Kenzoku are highly susceptible to light but strongly resist dark attacks.
Players should prioritize reaching the chest and eliminate the Kenzoku guarding that area first. Utilizing Digimon with light or wind abilities will ensure an easier confrontation. Inside the chest, players will find a valuable accessory called the "Burst Flame."
With the fight over, Takuma finds the real Minoru and Falcomon behind a bookcase, and they are unlocked for use in battle again.
Far Bookshelves
In the Far Bookshelves area, Takuma can engage in a conversation with Agumon regarding their next course of action. Once the Reception, Bookshelves, and Far Bookshelves events have been successfully completed, players will advance to the second phase of the Library Exploration, marked by
Free Battle - Phase 2
.After visiting all three locations once, the Free Battle will change to allow encounters with Dokugumon, Arukenimon, Garudamon, Cyclonemon, Deltamon, Etemon, and Dobermon.
Reception, Bookshelves, and Far Bookshelves - Second Visit
Upon revisiting any location for the second time, Takuma stumbles upon Kaito, immersed in an eerie crimson glow that amplifies the sinister atmosphere of the entire area. Noticeably, Kaito's behavior appears peculiar, prompting Takuma and Agumon to engage in a dialogue exchange.
"Who Cares," you say? | "Kaito" is revealed to be a fake. |
You trust the visions? | "Kaito" is revealed to be a fake. |
In the midst of the battle, an encounter with some Kenzoku ensues. It is worth noting that the Kenzoku of the 1st Class are susceptible to wind attacks, while the 2nd Class Kenzoku are particularly vulnerable to fire. Furthermore, the 3rd Class Kenzoku exhibit a remarkably low resistance to fire. For players seeking to enhance their team with formidable allied Digimon, it is advisable to prioritize obtaining the Ultimate Enlightenment slab enclosed within the chest positioned directly in the center of the map. Swiftly vanquish the Kenzoku adversaries by employing wind and fire attacks to swiftly bring the fight to a close.
With the fight over, Takuma and Agumon will find the real Kaito, making him and Dracmon playable in battle again.
Finding the Professor
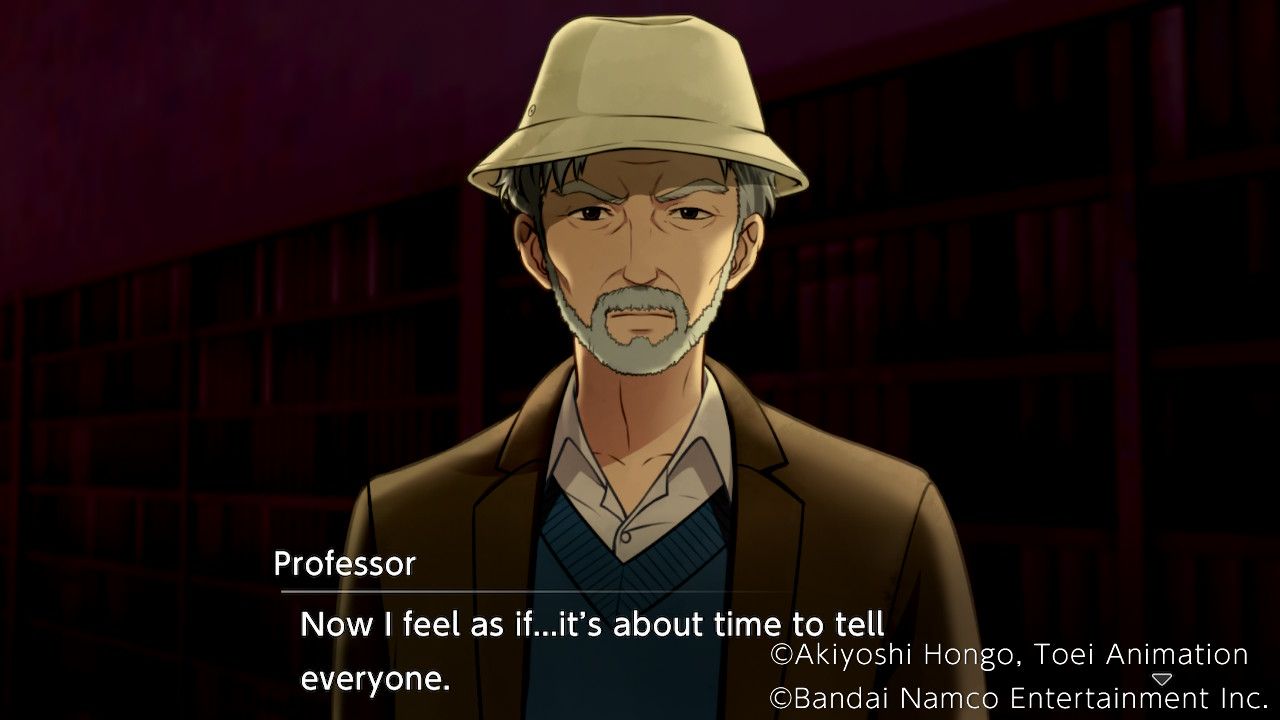
After locating Kaito, return to any location to initiate a conversation with Agumon and locate the Professor. He will reaffirm that he is Haru, Miyuki's sibling, despite the incredulous nature of this revelation. Takuma will then contemplate the appropriateness of disclosing this information to the rest of the group at present.
Not right now. | Moral +1 |
Absolutely. | Harmony +1 |
No Way. | Wrathful +1 |
The Professor affirms the complete restoration of their memories and accompanies Takuma back to the Reception area, where Aoi and Labramon have been successfully located by Kaito and Dracmon. Soon after, Renamon appears on the scene and discloses their plan to exchange the group for Miyuki. Additionally, Renamon confirms that Miyuki is her human partner. Elaborating on Haru and Miyuki's journey to the otherworld, Renamon clarifies the motive behind assuming Haru's form.


