
Unleash the Ultimate Power in Digimon Survive: Wrathful Route Walkthrough (Part 11)!
In Part 11 of Digimon Survive's Wrathful Route, players embark on a perilous search for Aoi as the story intensifies, leading to unexpected consequences and a climactic showdown against formidable foes
In the 11th installment of Digimon Survive's Wrathful Route, players find themselves approaching the climax of the story as all the loose ends finally intertwine. However, before reaching the grand finale, players are met with one last tragic event.
Labramon, having located Aoi sometime between the conclusion of Digimon Survive Part 10 and the present moment, rouses Aoi from a nostalgic reverie. Aoi eventually realizes that her main obstacle is suppressing her emotions in order to shield others from the pain she experiences. Regrettably, Aoi's deteriorating mental state takes this revelation down a haunting and unsettling path.
Free Action
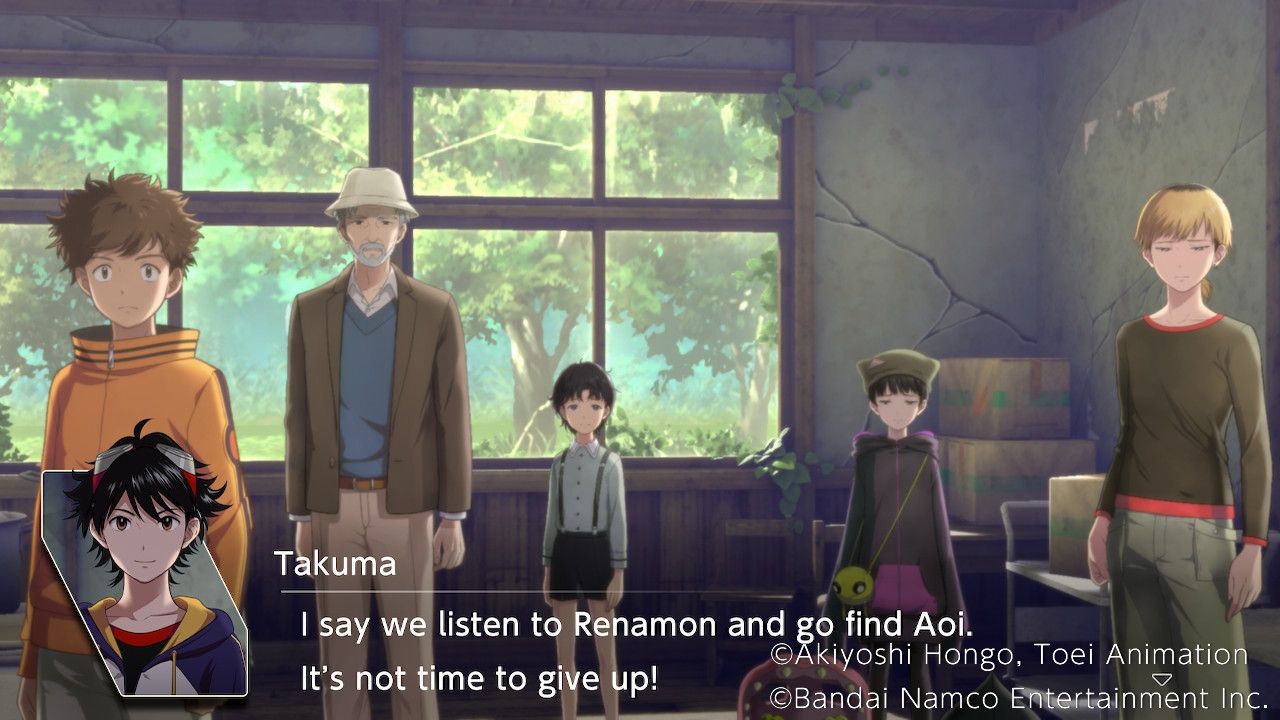
After an extensive conversation at the Cafeteria, the group collectively decides to embark on a mission to locate Aoi before directly confronting the Master. To the surprise of the Professor, Renamon, who had previously displayed indifference and unwavering dedication to rescuing Miyuki, is now the one advocating for finding Aoi as the appropriate course of action.
With the decision made to search the area surrounding the school, hoping to find traces of Aoi and Labramon, Free Action begins with nine moves available.
Free Battle
In the School Area's Free Battle, you'll have the chance to engage in thrilling encounters with Triceramon, Dinorexmon, Spinomon, Garudamon, Andromon, Wargreymon, Etemon, BlueMeramon, Monzaemon, and Grankuwagamon.
The Free Battle in the Forest Area presents an exciting opportunity to engage in battles with a range of formidable digimon, including Phoenixmon, Crowmon, Garudamon, Megaseadramon, Metalseadramon, Herculeskabuterimon, Megakabuterimon, and Kabuterimon.
Old School
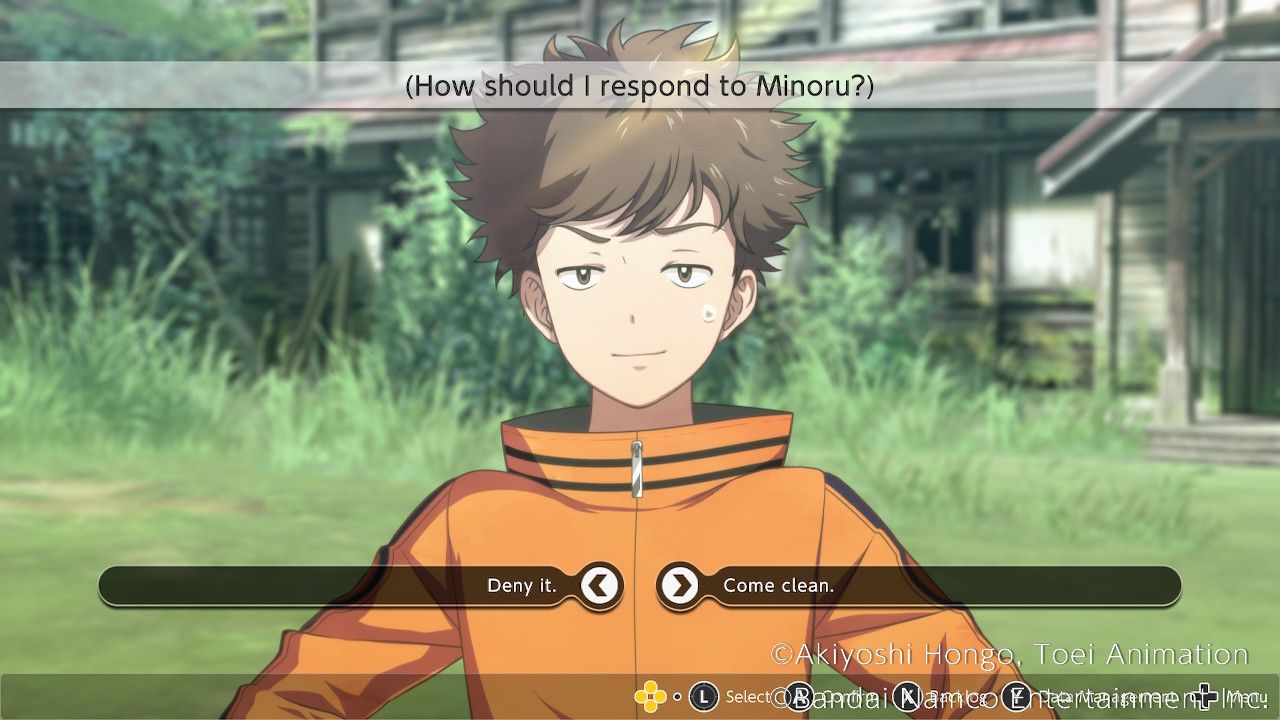
At the Old School, Minoru finds himself in the company of Falcomon, discussing their mutual agreement with Takuma about searching for Aoi. Minoru then ponders whether Takuma is taken aback by his own sentiments.
Deny it. | No Effect. |
Come clean. | Minoru Affinity Up! |
Corridor
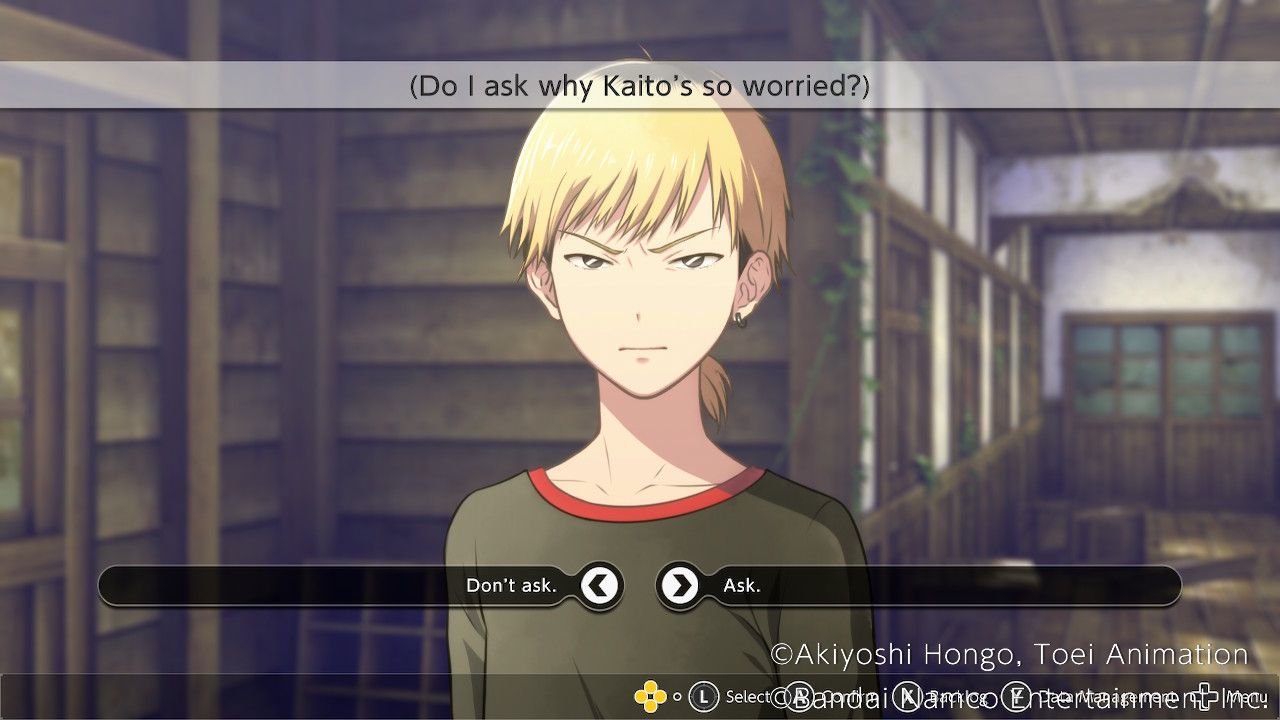
In the hallway, Kaito and Dracmon find themselves together. Dracmon unintentionally reveals the immense impact Aoi's absence has on Kaito. Takuma ponders whether he should inquire about the underlying reason behind Kaito's deep concern for Aoi.
Don't ask. | No Effect. |
Ask. | Kaito Affinity Up! |
Music Room
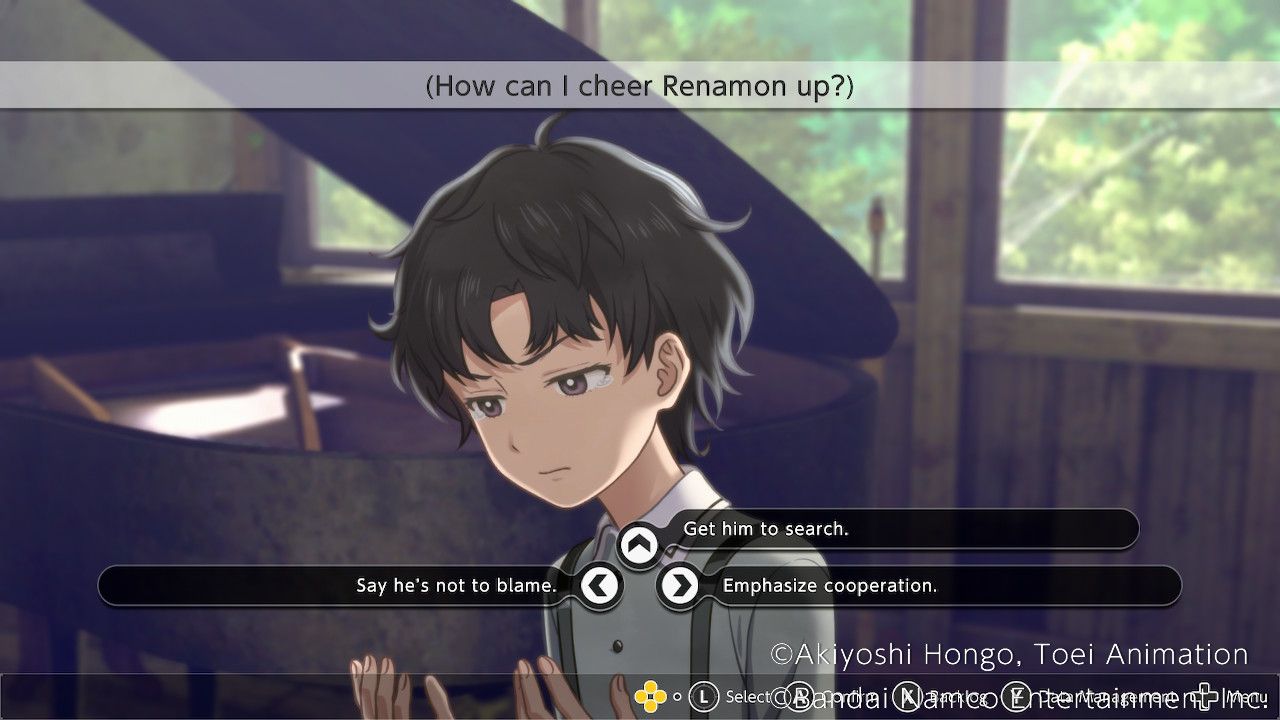
In the Music Room, the Professor and Haru/Renamon find themselves engaged in conversation. The Professor takes this opportunity to sincerely apologize to Takuma, expressing remorse for his previous remarks in the Cafeteria and clarifying that he never intended to blame Aoi. In response, Renamon shares their deep regret for inadvertently causing Aoi's disappearance through their illusionary attack at the Library. As Takuma ponders on how to lift their spirits, an idea starts to form.
Say he's not to blame. | Moral +1 |
Emphasize Cooperation | Harmony +1 |
Get him to search. | Wrathful +1 |
Players will receive three Large Sincerity Melons from the Professor after the conversation ends.
Cafeteria
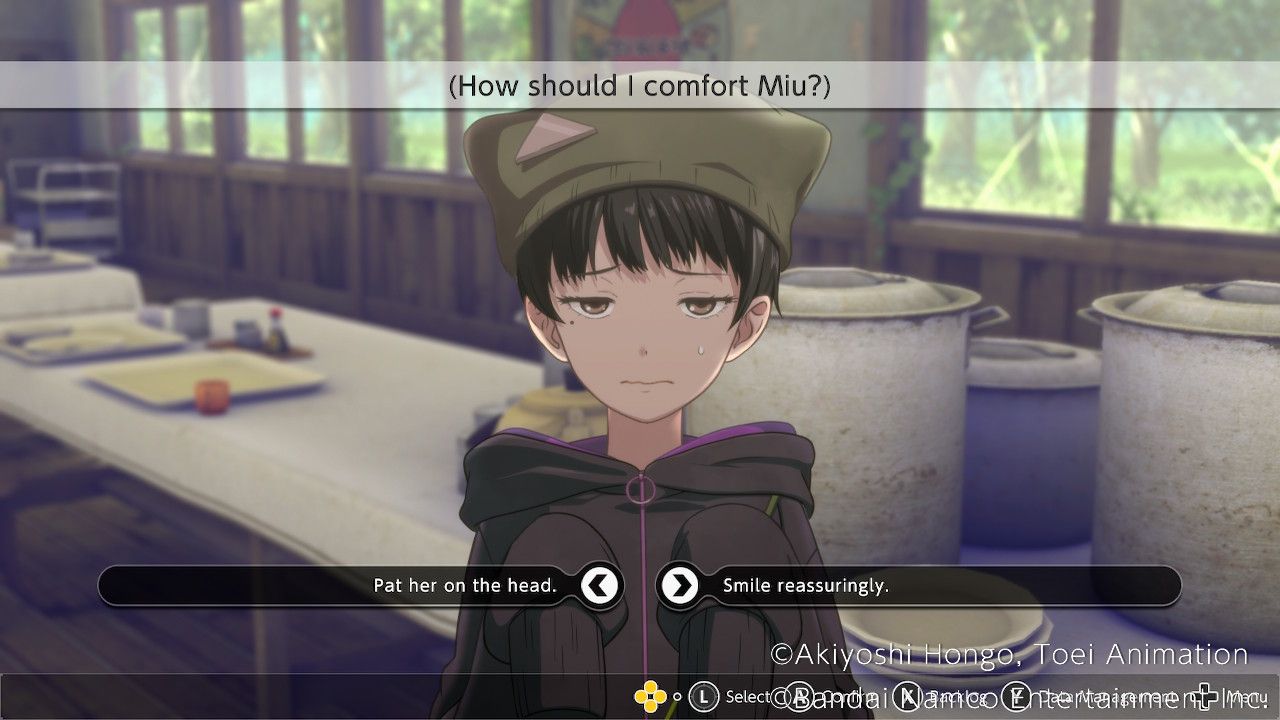
Miu and Syakomon are sitting at a table in the bustling Cafeteria. Miu's eyes widen with surprise as she notices Takuma approaching. Her mind races with worry, wondering if he is upset with her for advocating that the group focus on rescuing Miyuki instead of searching for Aoi. Seeing her unease, Takuma racks his brain for the perfect solution to comfort her.
Pat her on the head. | Miu Affinity Up! |
Smile reassuringly. | No Effect. |
Spider Lilly Forest
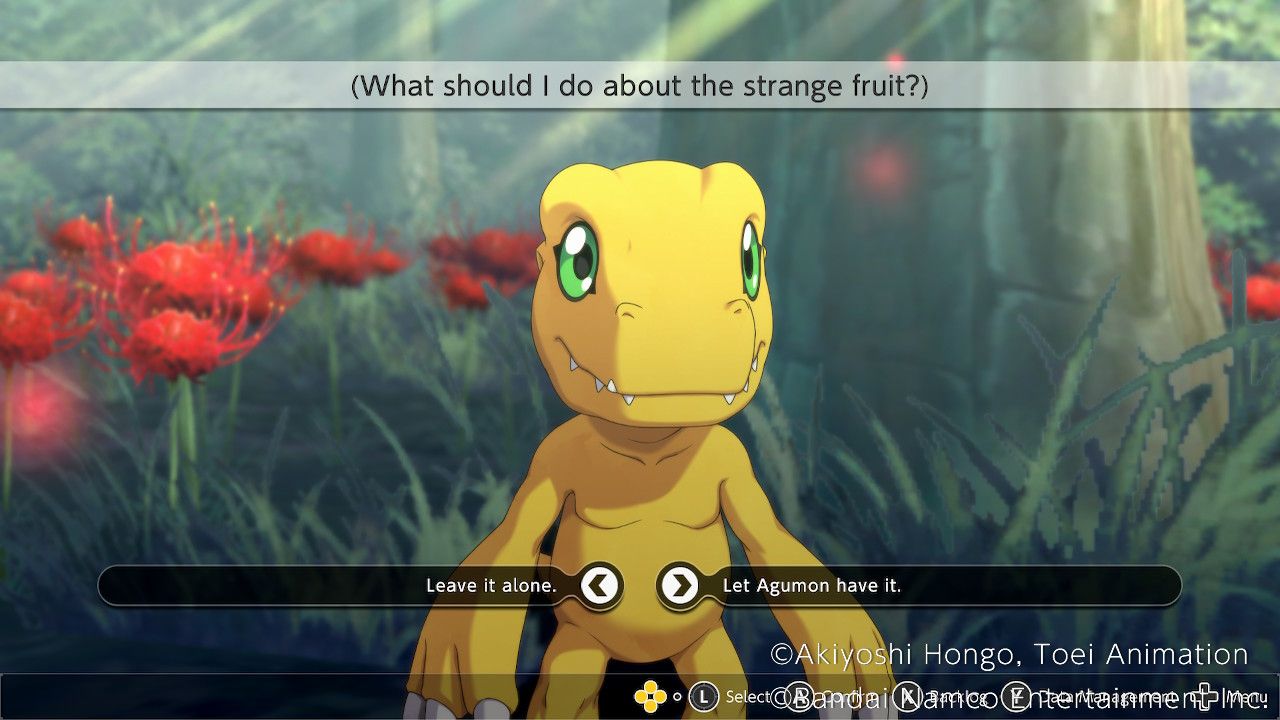
Heading to the Spider Lily Forest will cause an interaction with Agumon. Using the Camera to find what he was sensing will spend an action to find a strange fruit.
Leave it alone. | No Effect. |
Let Agumon have it. | Agumon gets a Power Boost. |
Free Action - Part 2
After spending five actions, the Dam-Underground, Mountain Pass Area, and Library Area will open up.
Free Battles
Players can engage in the Free Battle in the School Area and face a variety of formidable opponents such as Zudomon, Marineangemon, Etemon, Bluemeramon, Monzaemon, Grankuwagamon, Triceramon, Dinorexmon, Spinomon, Dokugumon, Arukenimon, Garudamon, Andromon, and Wargreymon.
In the Forest Area Free Battle, players will encounter challenging adversaries like Crowmon, Megaseadramon, Metalseadramon, Kuwagamon, Okuwamon, Grankuwagamon, Garudamon, and Phoenixmon.
The Underground Free Battle at The Dam presents opportunities to confront JewelBeemon, BanchoStingmon, Triceramon, Spinomon, Dinorexmon, Wendigomon, Fangmon, and Marinedevimon.
In The Mountain Pass Free Battle, you'll encounter Dokugumon, Arukenumon, Skullgreymon, Cyclonemon, Machinedramon, Leomon, IceLeomon, and SaberLeomon.
In the Library Free Battle, players have the chance to face numerous powerful Digimon including HerculesKabuterimon, MegaKabuterimon, Kabuterimon, Grankuwagamon, Kuwagamon, Okuwamon, Crowmon, Megaseadramon, Metalseadramon, Phoenixmon, Crowmon, SaberLeomon, IceLeomon, Leomon, and Garudamon. This presents an excellent opportunity for players to recruit a diverse selection of allies along their journey, and they should make the most of it.
Old School

The Professor can be found at the Old School, keeping an eye on it while the others search further afield for Aoi. He gives Takuma an Ultimate Enlightenment Slab.
Spider Lily Forest
Agumon's interaction here is accessible during both parts of the exploration phase.
Shrine
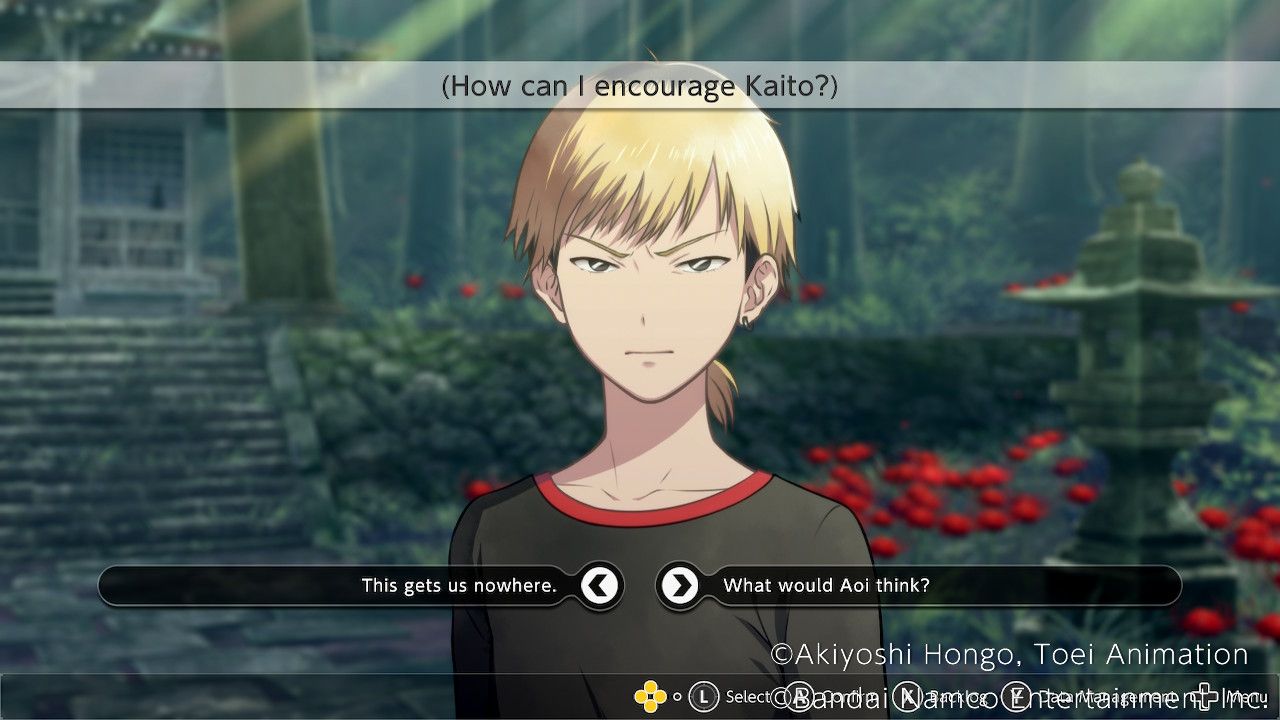
Kaito is at the Shrine with Dracmon, upset about not stopping Aoi from running off when they found Haru during the previous chapter.
This gets us nowhere. | No Effect. |
What would Aoi think? | Kaito Affinity Up! |
Waterway Entrance
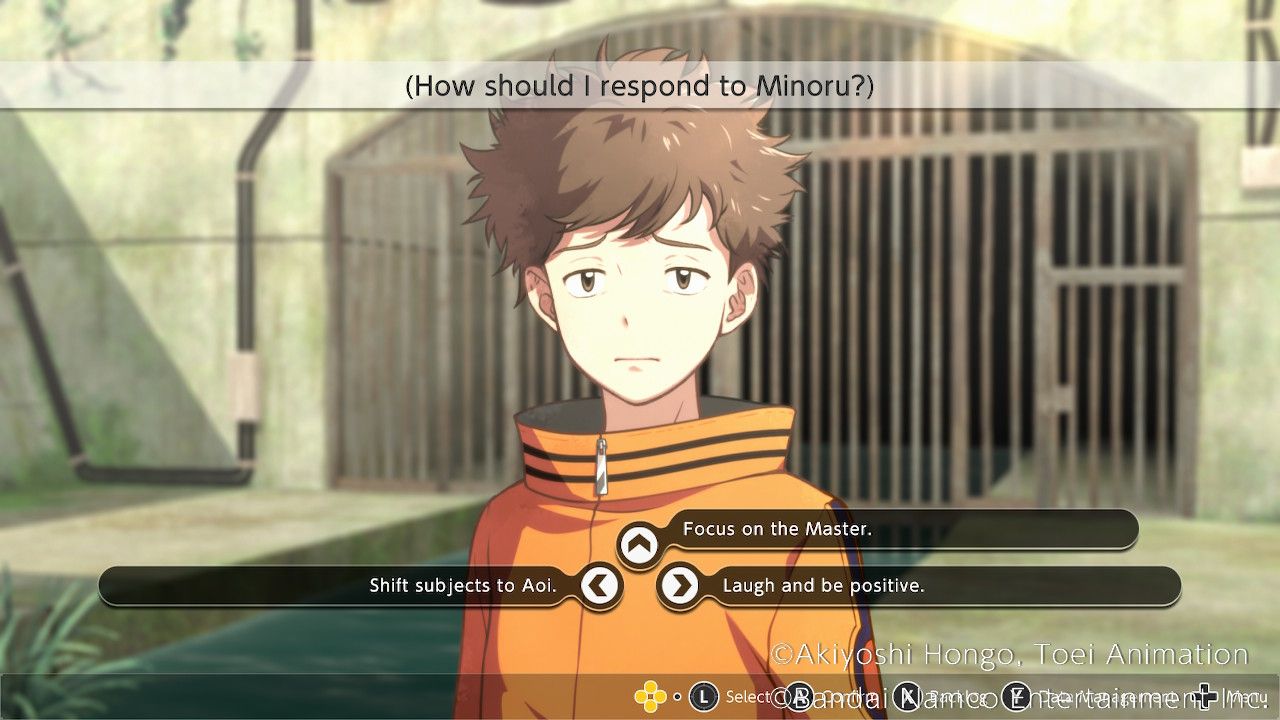
Minoru and Falcomon are investigating the Waterway near the Dam. He seems discouraged by the unerring presence of the fog which has been hindering the search for Aoi.
Shift subjects to Aoi. | No Effect. |
Focus on the Master. | No Effect. |
Laugh and be positive. | Minoru Affinity Up! |
Woods by Library

This encounter disappears when there are only two Moves left, but Haru/Renamon can be located at this location. Engaging in conversation with them reveals their knowledge of how to locate the Master and Miyuki. However, they are waiting for Aoi to rejoin the group before sharing the information with everyone. Additionally, they kindly hand over a Giant Odd Mushroom.
Old School - Final Visit
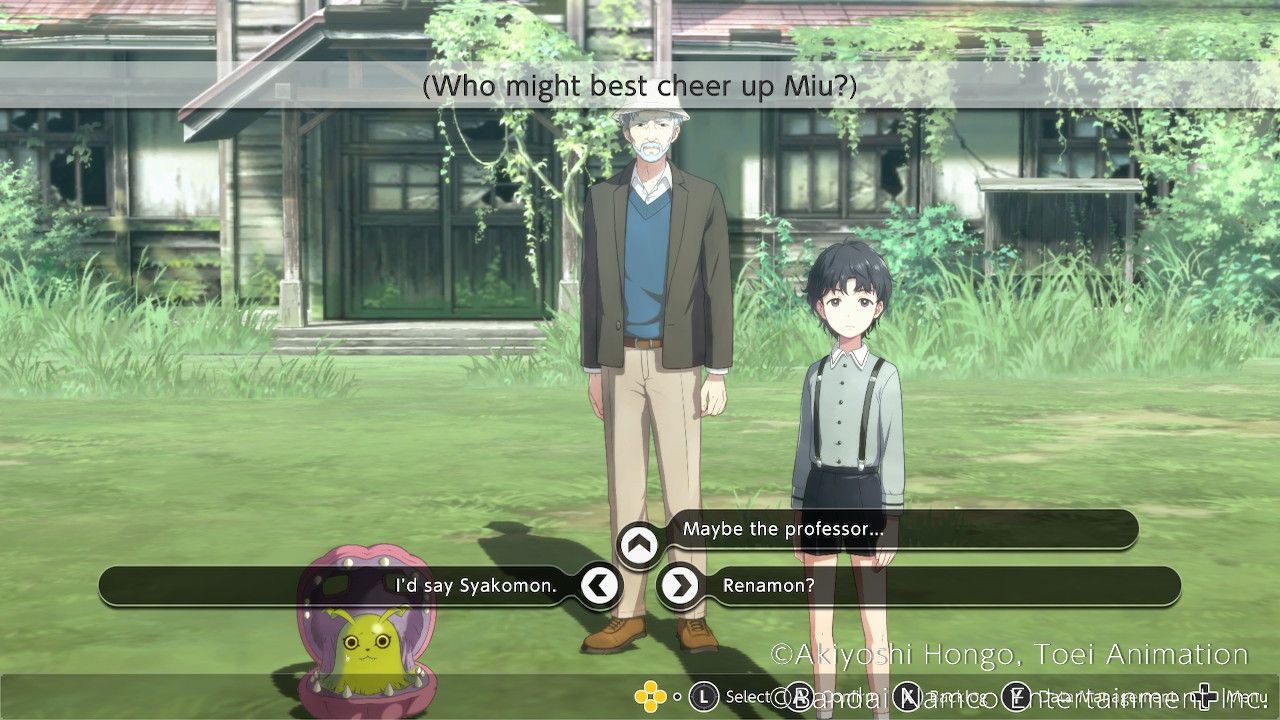
Once there are only two actions left, Miu and Syakomon will make an appearance at the Old School alongside Renamon. Noticeably upset, Miu's disposition prompts Takuma to contemplate who would be most suitable to uplift her spirits.
I'd say Syakomon. | Miu Affinity Up! |
Renamon? | No Effect. |
Maybe the professor... | No Effect. |
Haru will also point out that, due to the fog, it is likely that Aoi and Labramon will be near the School, Shrine, or Inner Shrine, making it easier to search for them.
The Story Continues
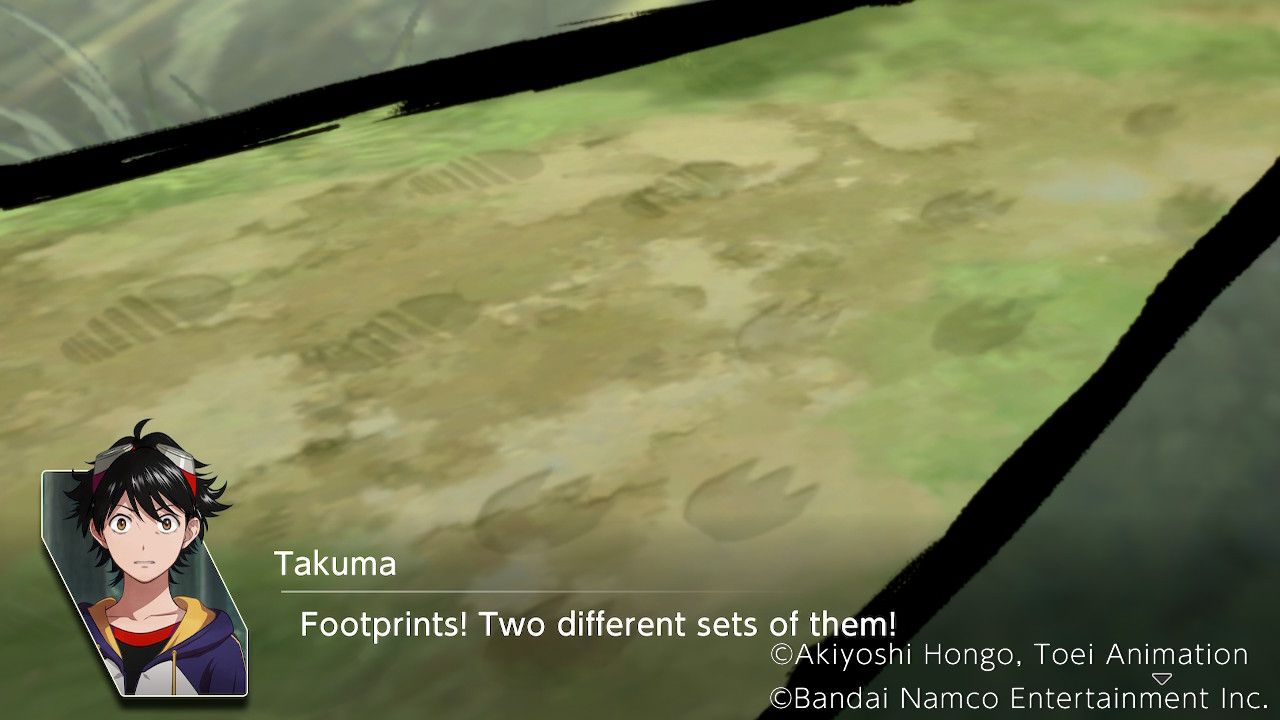
After coming across footprints, Takuma and Agumon are convinced that they belong to Aoi and Labramon, as the prints lead away from the School. The arrival of Kaito and the rest prompts Haru to concur with Agumon's suspicion of imminent danger ahead. Therefore, the group makes haste and follows the footprints, determined to catch up with Aoi.
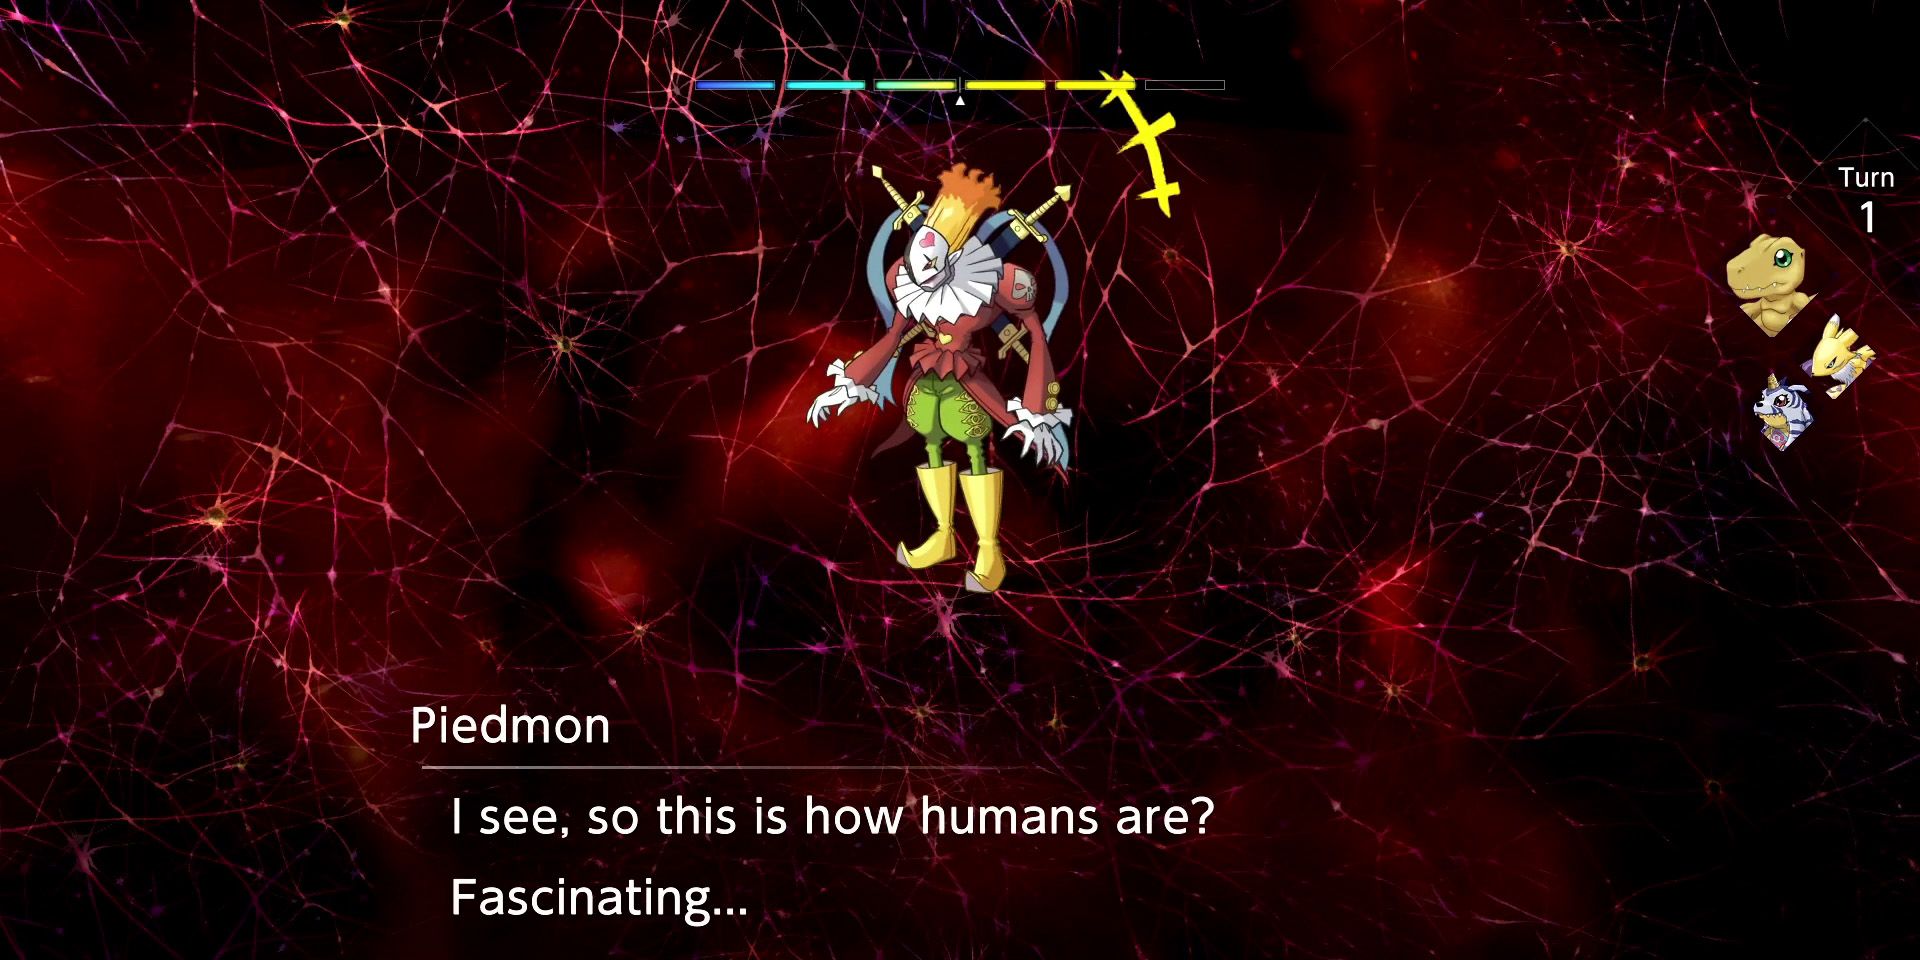
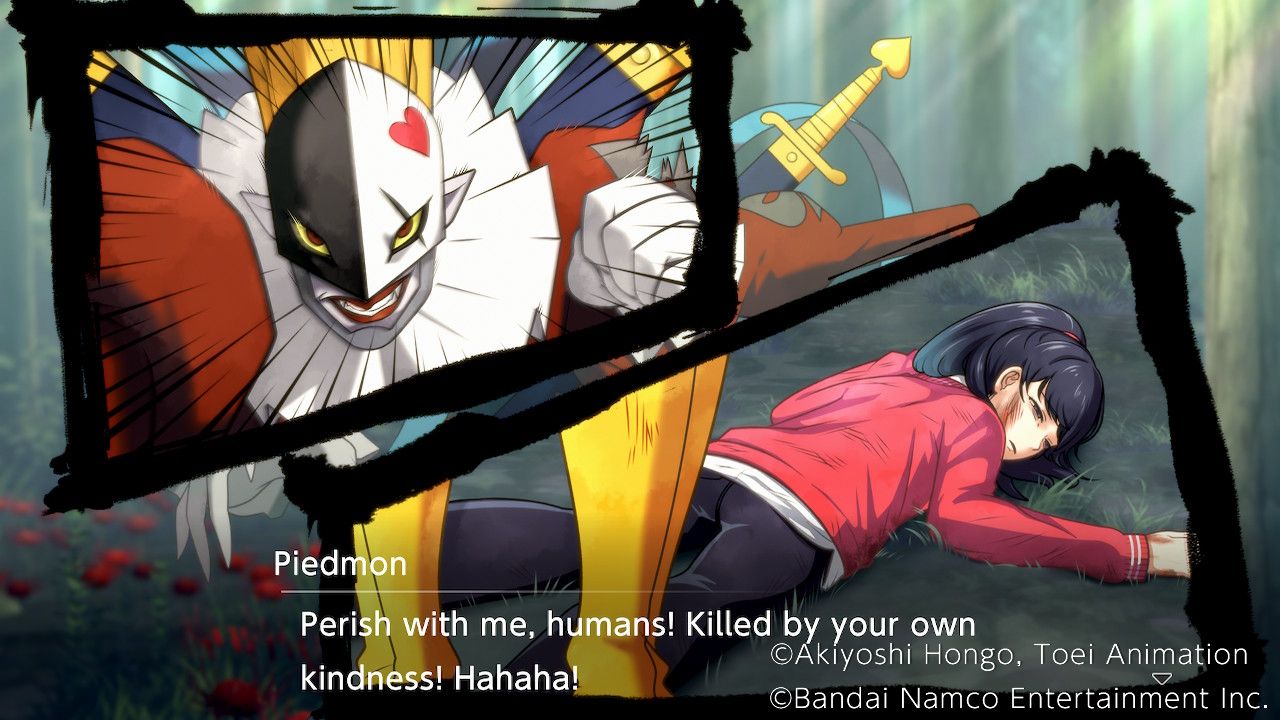
Meanwhile, Aoi and Labramon take a brief pause to converse. Aoi's mind continues to whirl as she strives to discover a means to bring everyone together "for the greater good." Labramon appears to make progress in penetrating her thoughts, but their conversation is abruptly halted by the arrival of an injured Piedmon. Aoi makes an effort to convince Piedmon to join forces with their group, going as far as utilizing Labramon's healing abilities to restore him.
However, Piedmon demonstrates his gratitude by ruthlessly strangling Aoi, leaving both her and Labramon teetering on the brink of death, just as the rest of the group arrives. The clash commences, with Piedmon standing as the sole foe.
Battle: Piedmon
The only enemy in this area is Piedmon and players can bring along three allies. MarineAngemon, the final evolution of Miu and Syakomon, is the best ally for this battle. Any Digimon with the vaccine attribute that the player has recruited so far will also be helpful, especially those with light element attacks. Thanks to the Anti-Element Crystal that Piedmon carries, he is highly resistant to dark attacks and partially resistant to all other elements. His weakest resistance is to light attacks and his lowest defensive stat is Physical Defense.
Approach cautiously, making sure to grab the chest along the way, and always attack Piedmon from the sides or the back to inflict maximum damage. It's recommended to assign someone to handle healing since Piedmon's damage output is extremely powerful.


