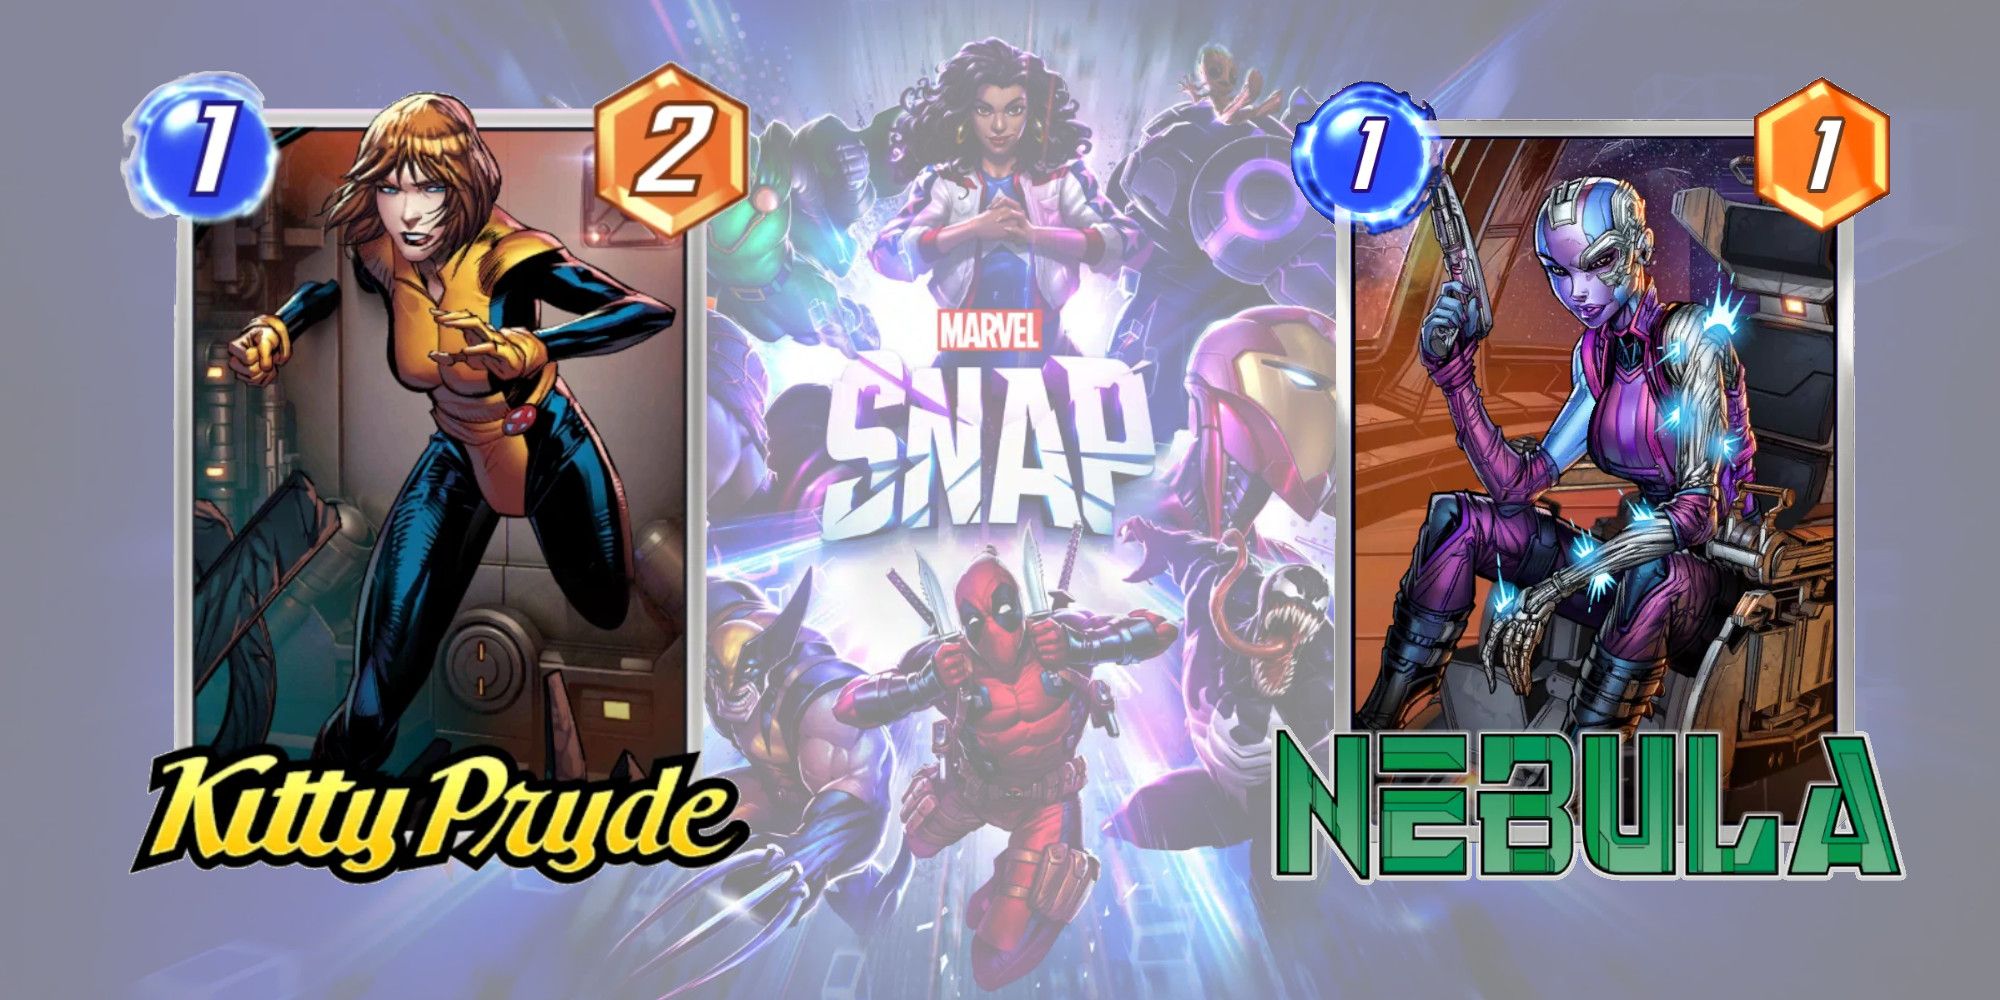
Unleash Ultimate Chaos with These 10 Deadly Kitty Pryde Combos
Unleash the power of Kitty Pryde with these 10 unbeatable combos in Marvel Snap! From using The Collector to cloning locations like Bar Sinister and powering up with Shuri's Lab, Muir Island, or Quantum Realm, discover the ultimate strategies to dominate your opponents
Kitty Pryde has become a force to be reckoned with in the Marvel Snap world, causing her to be removed from gameplay after just two days of action due to her overwhelming power. Despite undergoing subtle changes, Kitty still remains a formidable character, making her a must-try for those unfamiliar with the X-Men's Shadowcat. With every return to a player's hand, Kitty gains +2 Power, making her a 1 Cost, 10 Power card under normal circumstances. Combining her moves increases her potency significantly, placing her back into Marvel Snap's "broken" category.
10 The Collector
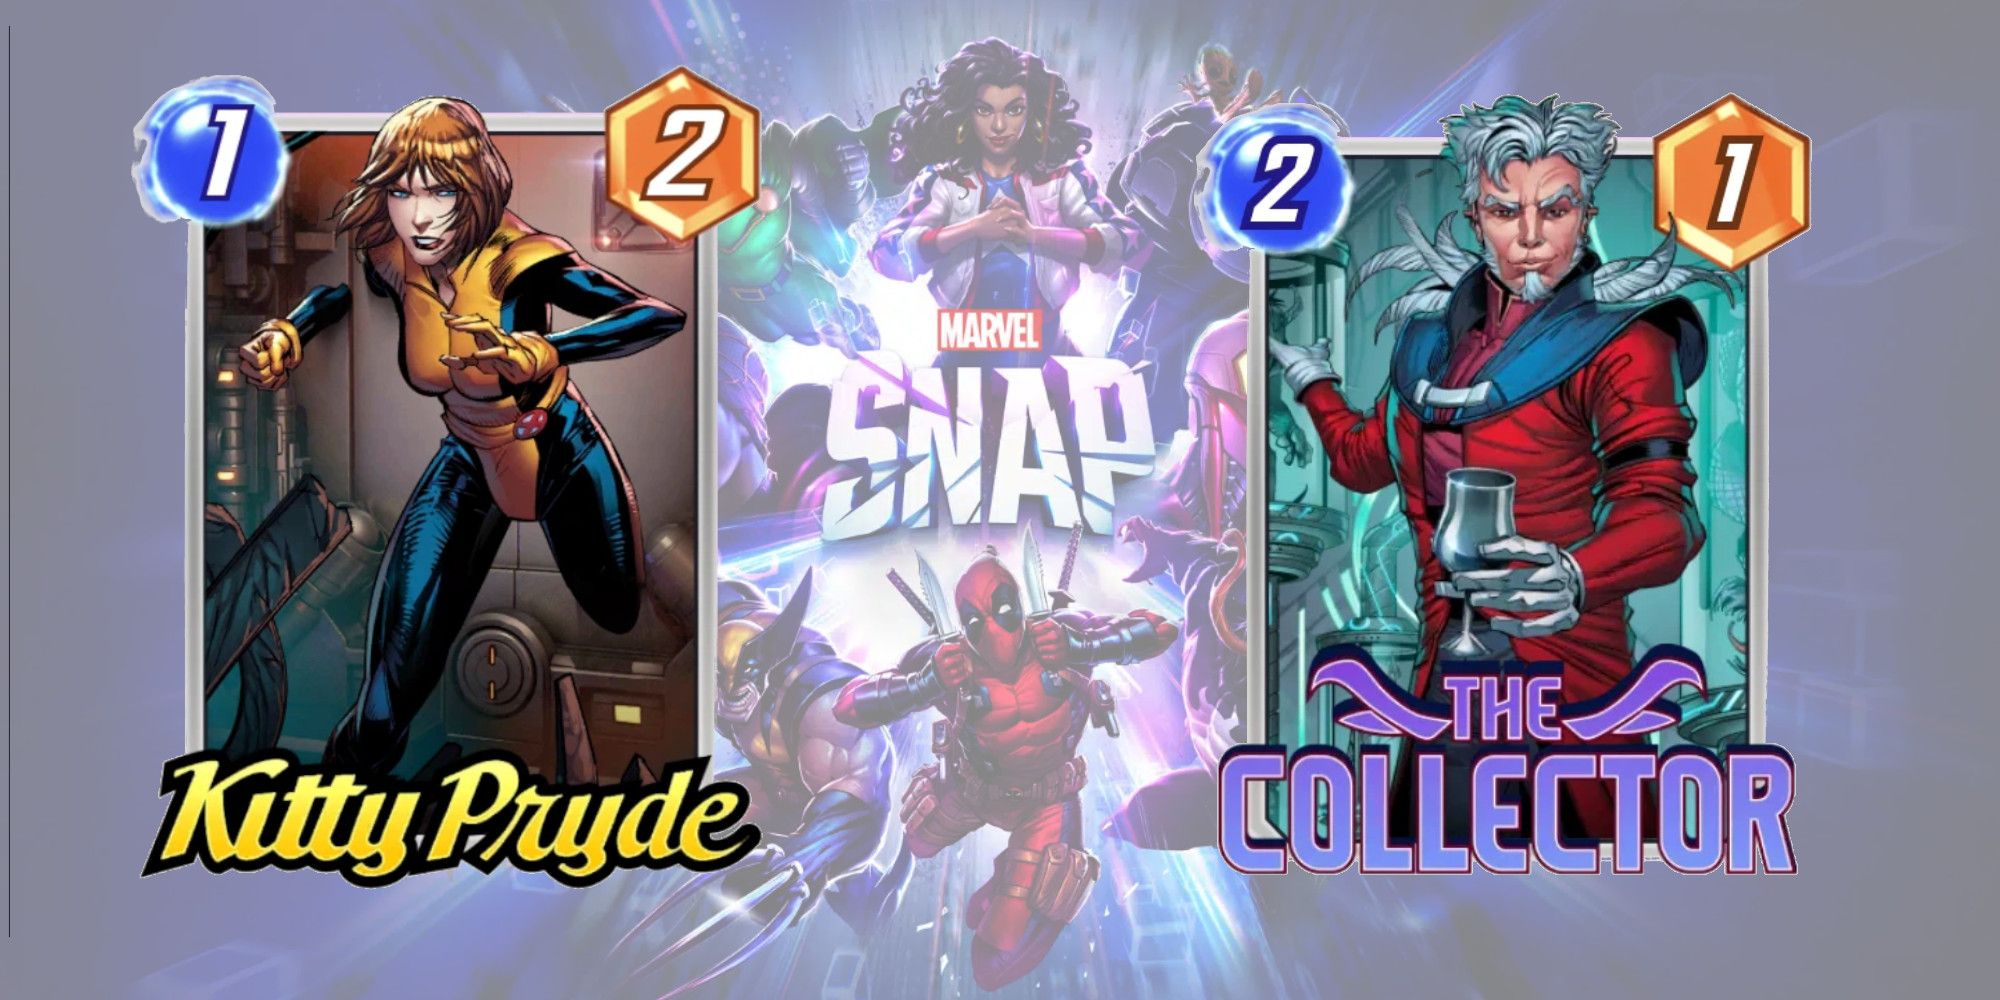
One crucial element of a Bounce Deck is The Collector, which benefits greatly from Kitty Pryde's mechanics. Each time Kitty returns to the player's hand, The Collector gains +1 Power. If both cards are in the starting hand, players must choose whether to keep Kitty off the board in the second round or play both cards together in the third round.
Other cards, including Agent 13, Cable, and Sentinal, are often used in conjunction with The Collector, resulting in a surplus of cards in hand. It's important to keep track of the number of cards, as if it reaches the limit of seven, Kitty Pryde cannot return to the player's hand and the opportunity to power up is missed.
9 Angela and Bishop
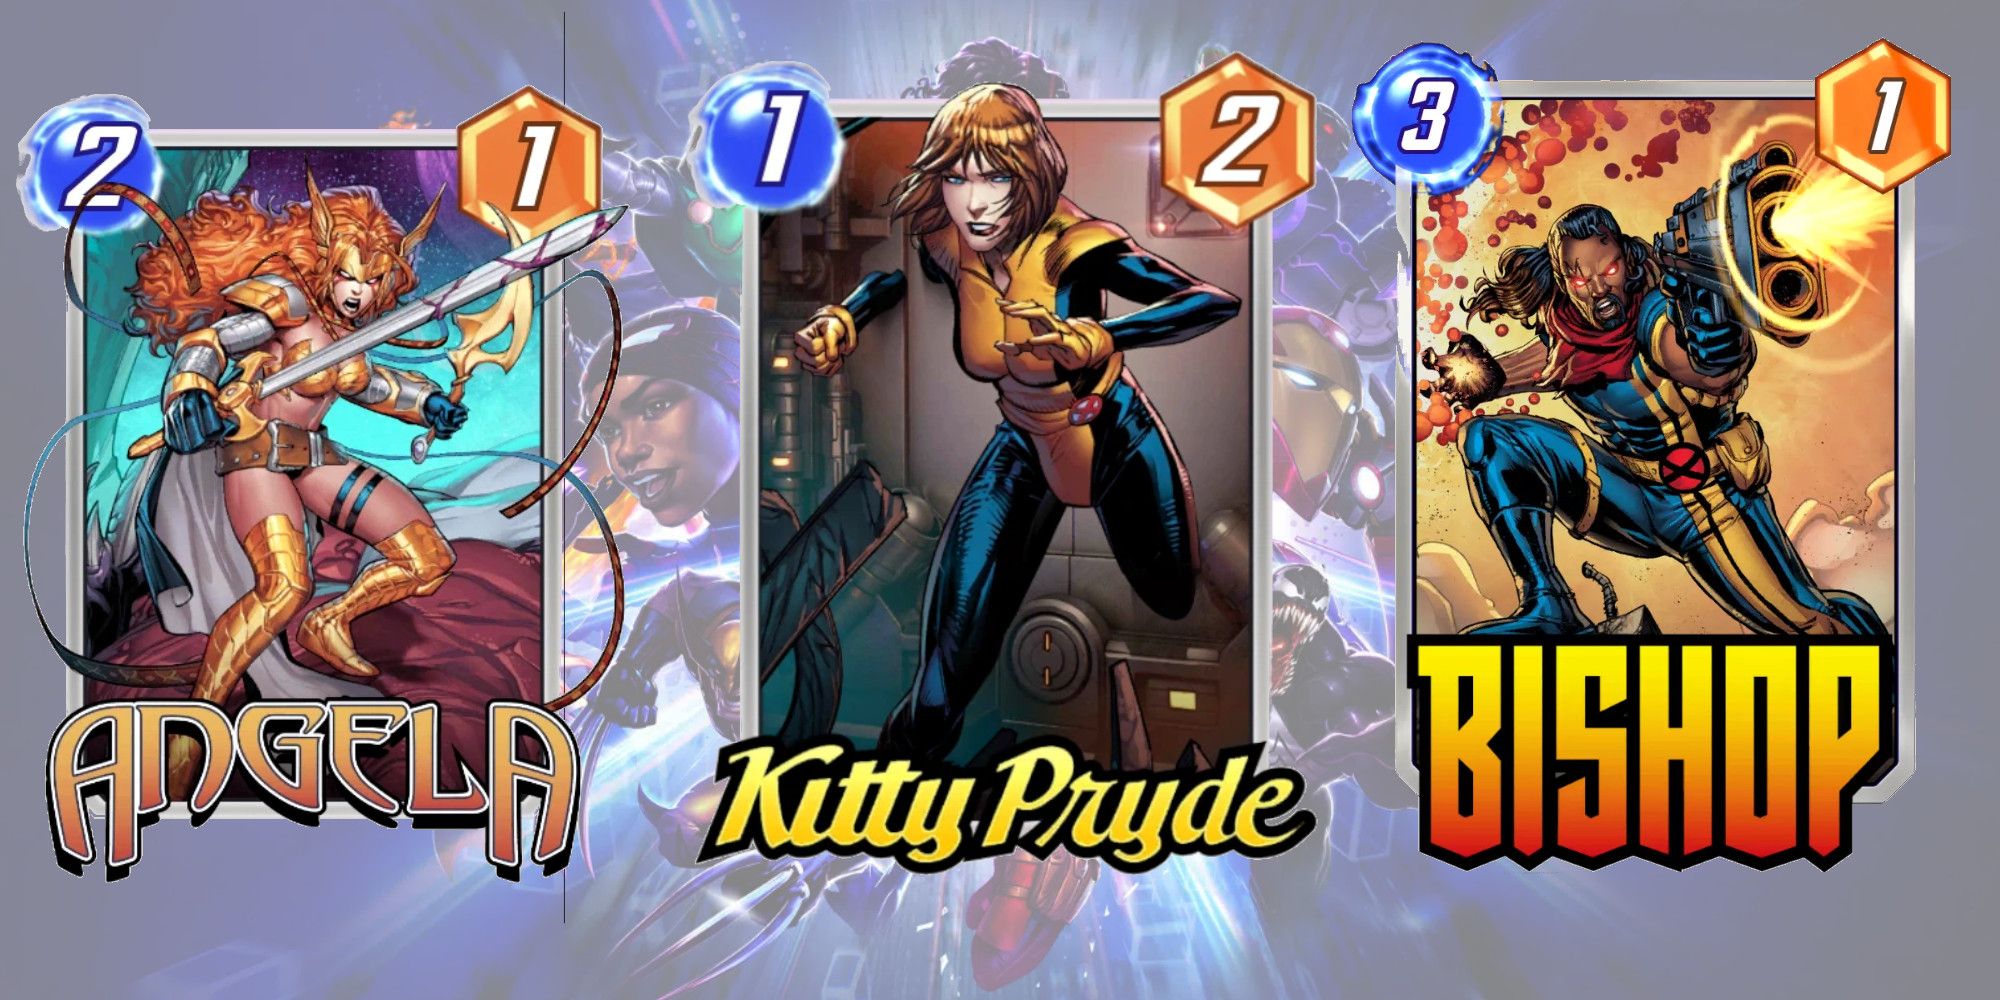
Boost your gameplay with strategically positioned and cost-effective booster cards. These game-changers offer power-ups after each round, giving players an edge over their opponents. While some cards like Angela have limited power potential, with only a +2 Power ability until the location is full, she can still receive a boost every time Kitty Pryde visits. This makes low-cost booster cards a valuable addition to any player's deck.
Bishop produces a similar result, although there is more freedom regarding Kitty's location choice. If one manages to get all three cards in on the action, that essentially means +5 power each round (over and above whatever other cards are in play.)
8 Wolfsbane, Rescue, and Hawkeye
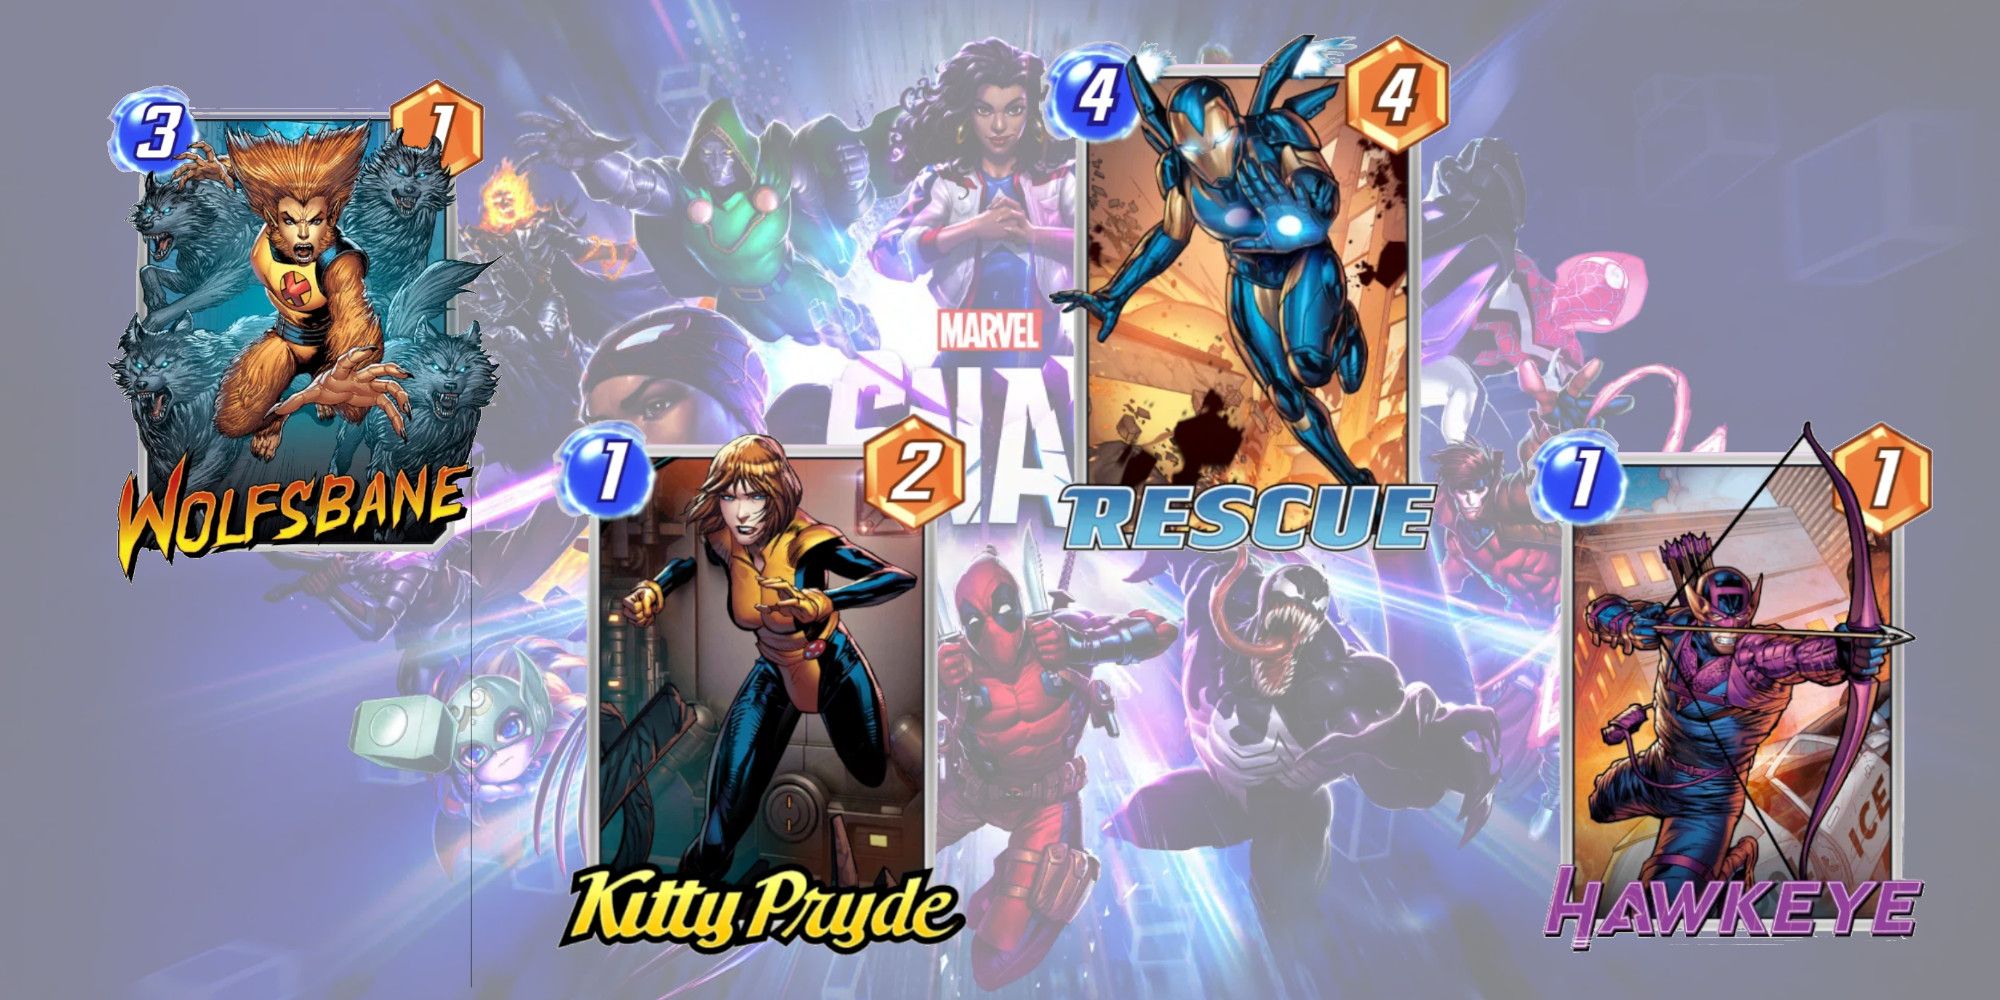
Wolfsbane is a valuable asset with a low cost of only 3 Energy and the potential to add +7 Power. However, to fully utilize her power, she must be the last card played, which can pose a problem in the later stages of the game. By playing Kitty Pryde before Wolfsbane, players can maximize her power and also free up a card slot for future strategy.
The same strategy can be applied to Rescue and Hawkeye. Typically, Hawkeye is played early-game, with low-powered cards filling up the location. By using Kitty Pryde to activate Hawkeye's power, players can keep him relevant until the end-game. On the other hand, Rescue has a higher cost of 4 Energy and is often played later in the game. Using Kitty Pryde to activate Rescue's +5 Power ability can help players avoid putting all their strong cards in one basket and leave room for more potent cards elsewhere.
7 Forge, Shuri, Bast, or Hulk Buster
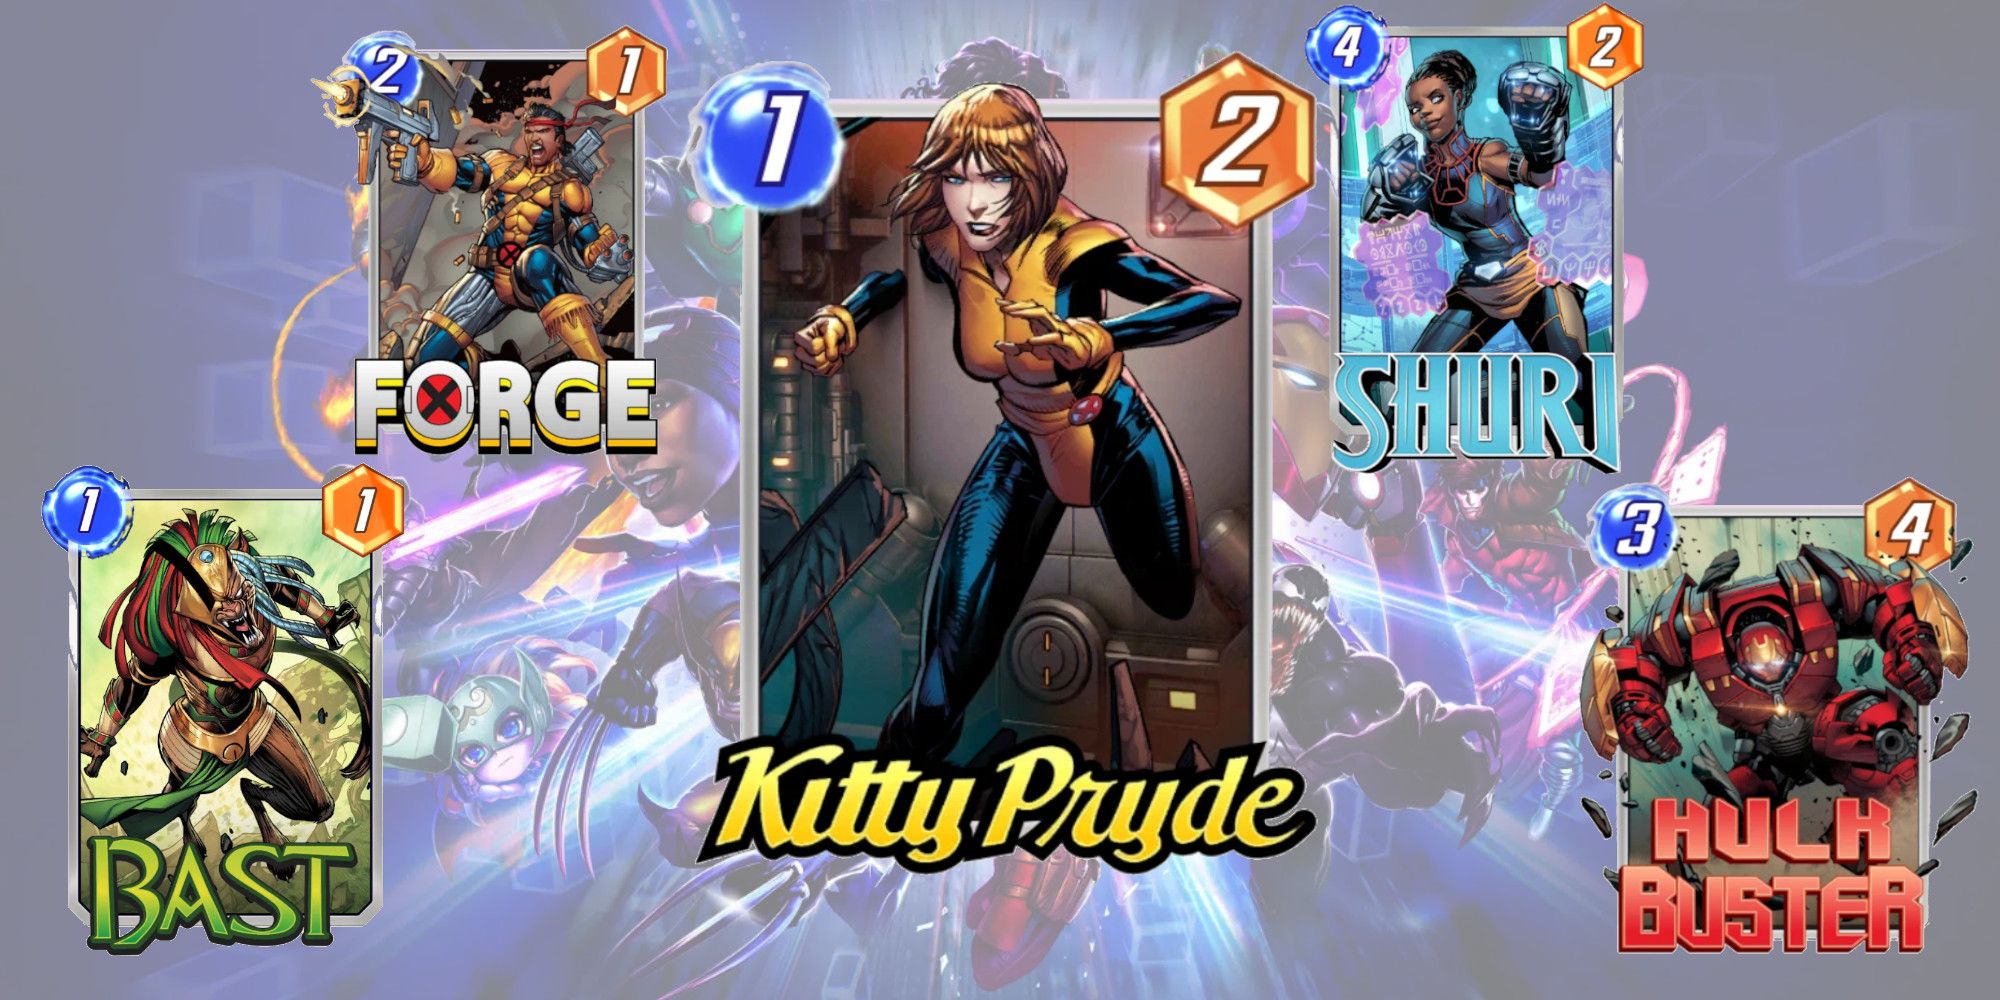
Having Bast in the early game can give a significant 3-point power boost to Kitty and set her up for a strong gameplay. Forge is a valuable addition from round three onwards to avoid missing out on a power boost. Shuri is most effective towards the end of the game when Kitty is at her strongest, so it's recommended to keep a useful 1 Cost card like Ant-Man, Rocket Racoon, or a Demon for a powerful finale.
Strategically playing cards can allow Kitty to gain a companion to join her on her travels. Placing her in an empty location with Hulk Buster can add a massive +4 Power to her already impressive abilities. This combo has the potential to end the game with Kitty Pryde boasting +12 Power or more with the addition of other power-ups.
6 Beast or Sera
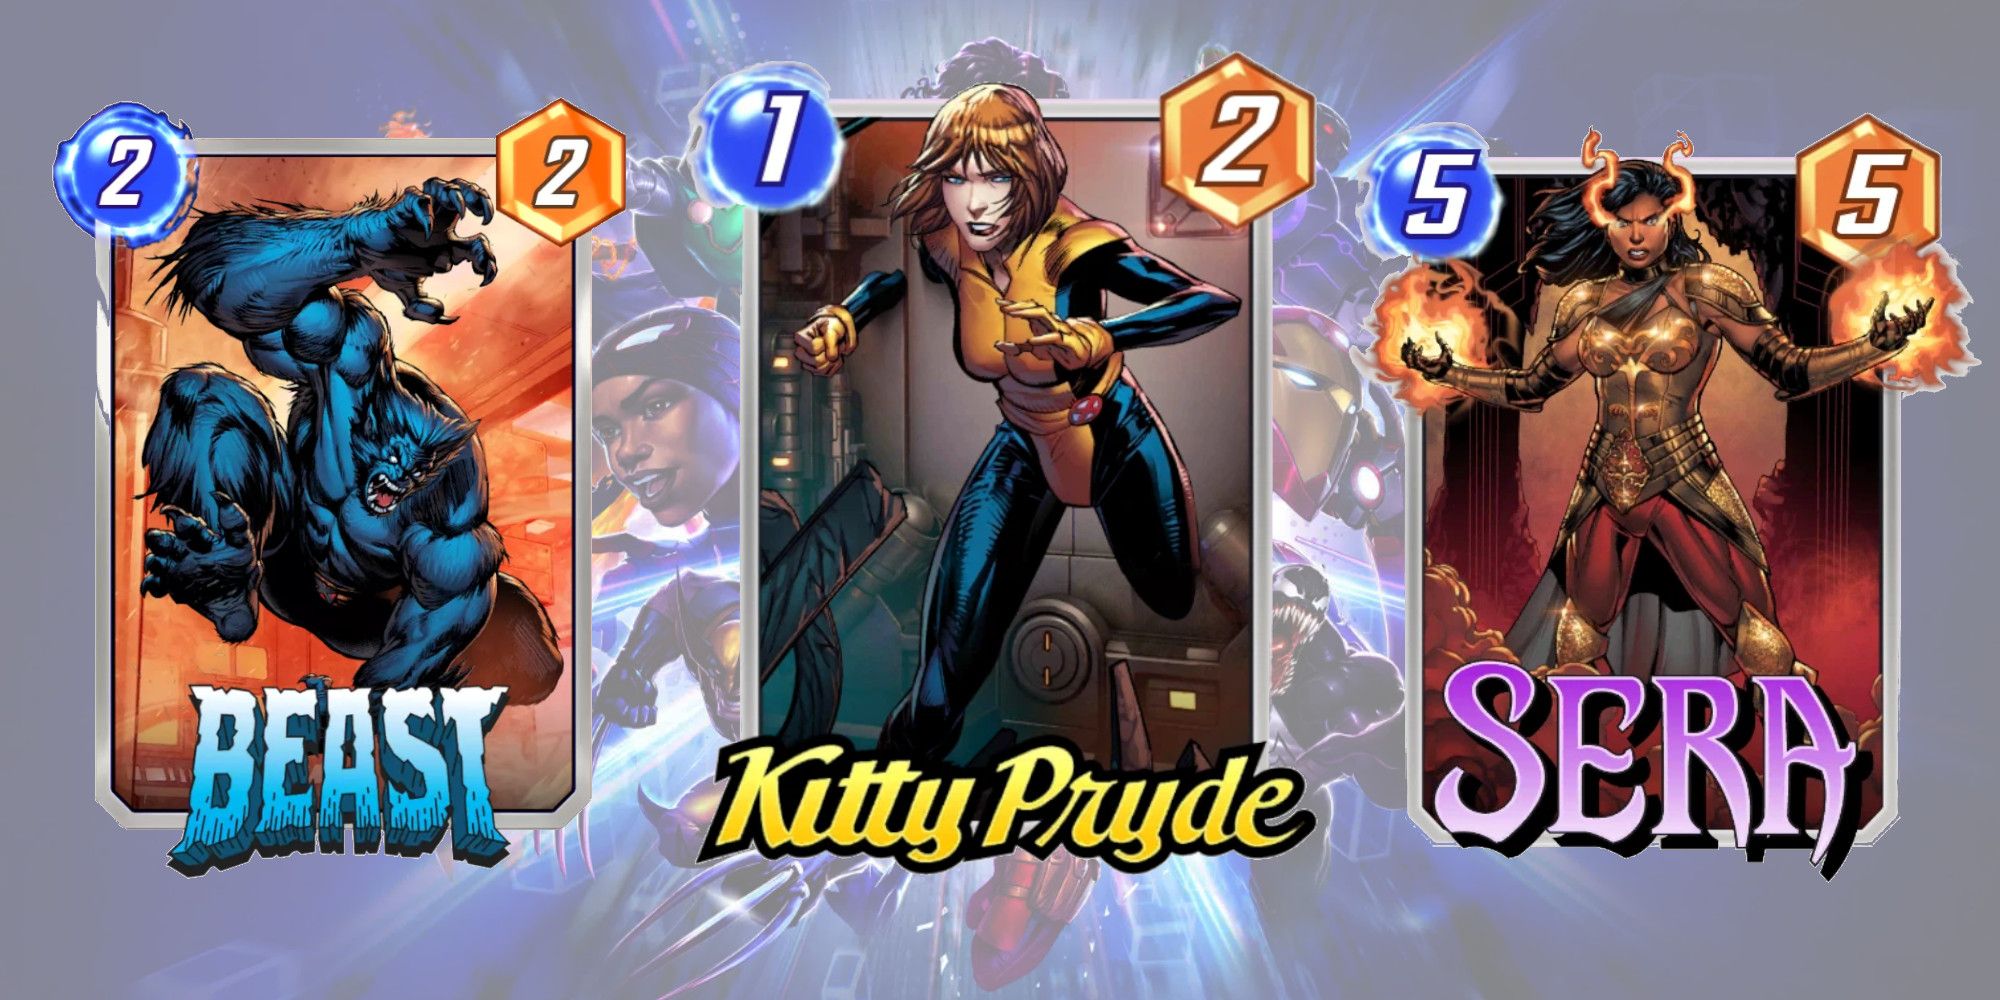
Playing Kitty Pryde every round may seem like a good idea due to her low cost, but it can disrupt a carefully planned strategy and prevent the use of a powerful 6 Cost card in the final round. Luckily, there are cards that can help reduce costs, such as The Raft location which adds a strong card to your team without any additional cost.
Kitty becomes a powerful 0 Cost slaying Queen thanks to Beast, allowing for the inclusion of higher cost cards in the mid-game. While Sera may not be as useful early on, she is the perfect solution for getting a 6 Cost card onto the board alongside Kitty.
5 Moon Girl

The success of utilizing the Moon Girl combo relies heavily on the specific game situation, but it can be an enjoyable experience for those willing to take the risk. It's important to note that Kitty Pryde must be left out of play during this round, however, the potential benefit of having two Kitties at your disposal makes it worthwhile. It's important to be cautious as this strategy can backfire if the seven-card hand limit is exceeded. To prevent this, Kitty Pryde must be included in the first three cards of a small hand (maximum four), and two additional open slots must be available for Kitty to return to after play.
4 Taskmaster or Arnim Zola
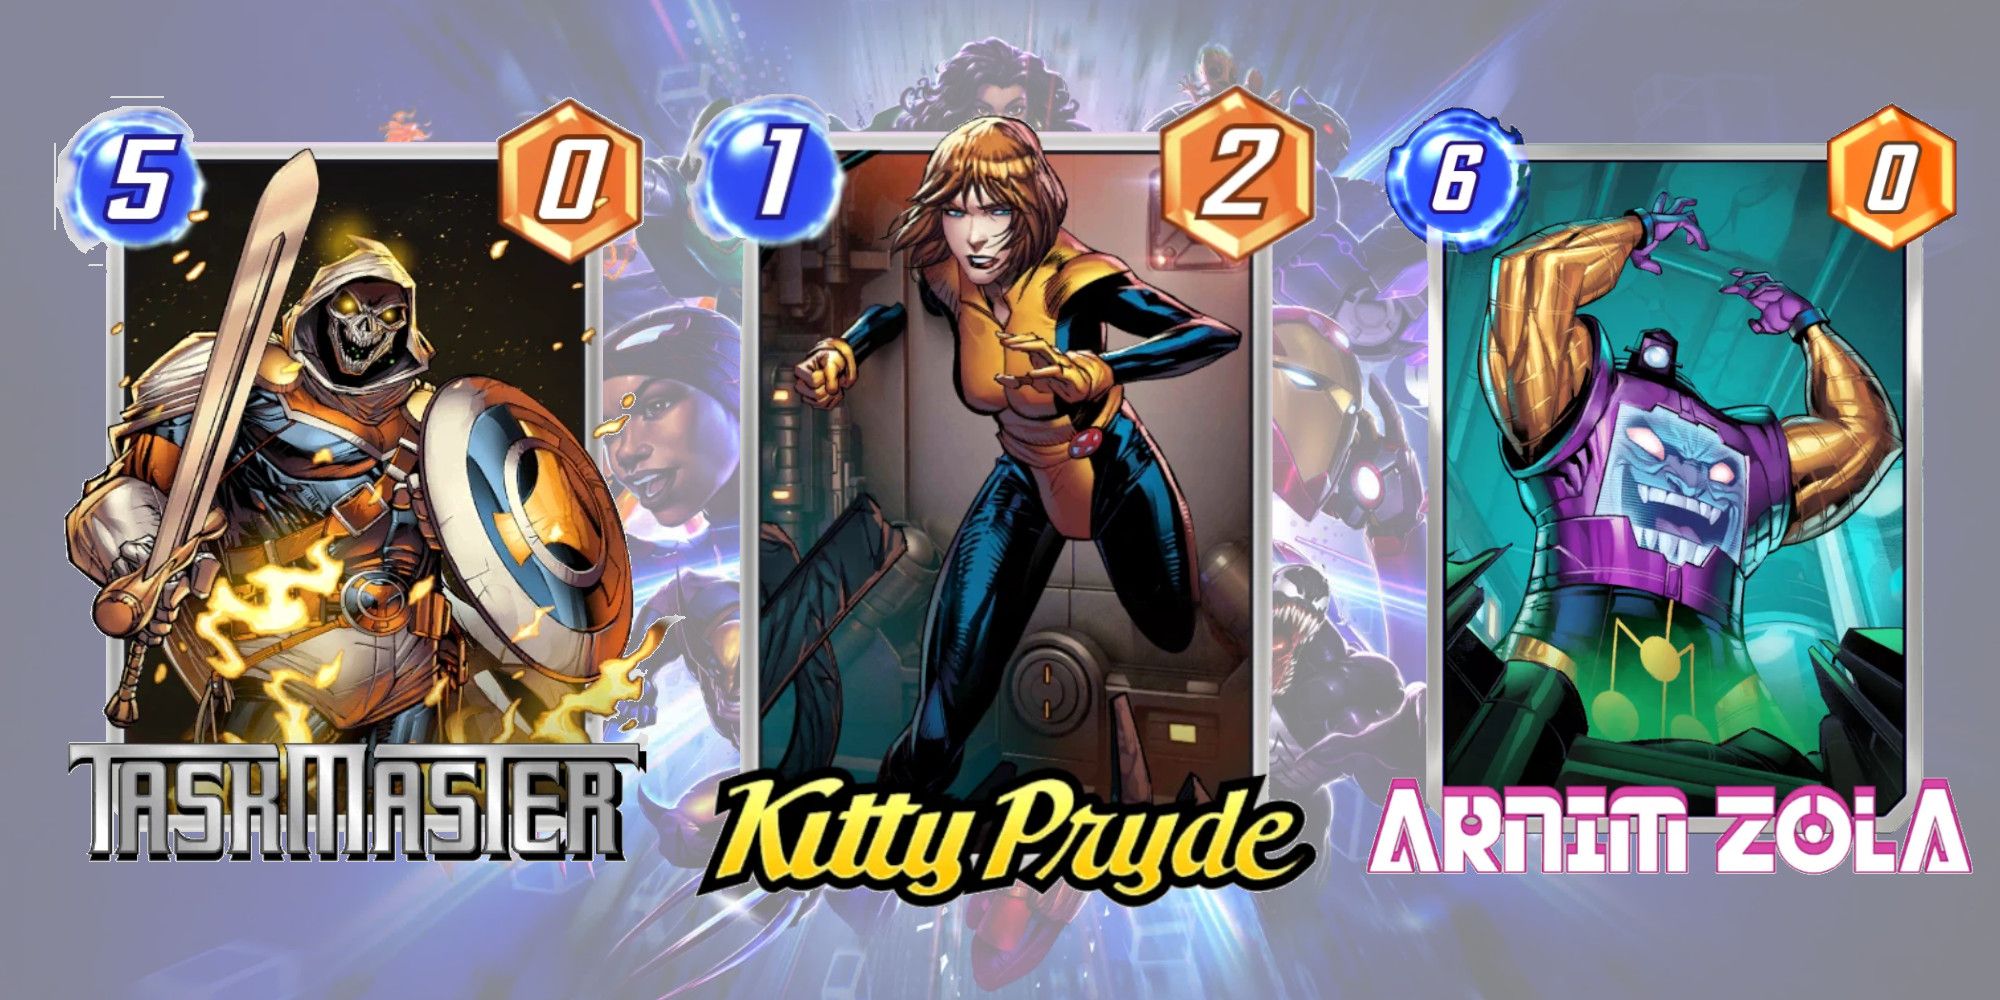
By including Kitty Pryde in your deck, you'll quickly learn the importance of valuing your 5 Cost cards. While there are several strong options available, pairing Kitty with Taskmaster is a particularly effective combo. This is especially true if you can play Kitty when she has 10 Power or more, as Taskmaster essentially becomes a two-for-one deal.
While Arnim Zola could potentially achieve a similar result, this strategy is much trickier and less reliable. It's only possible if you're able to reduce your card costs somewhere along the way, either through The Titan/Raft Locations or convenient card abilities. However, if you're able to pull off this combo successfully, you'll likely find yourself grinning from ear to ear when you see your Victory screen.
3 Counter to Nebula
Nebula can be a problematic card to deal with, impacting every decision made each round. Furthermore, players generally only get about four chances to counter her ability, as once the location is full, Nebula's power-ups are guaranteed.
Kitty Pryde is a formidable opponent for Nebula as she has the ability to nullify Nebula's special power repeatedly, rendering her useless with just one power card. Additionally, Kitty's affordability allows for energy allocation to other locations as well, making her a valuable asset in any battle.
2 Cloning Locations: Bar Sinister, Cloning Vats, or Sinister London
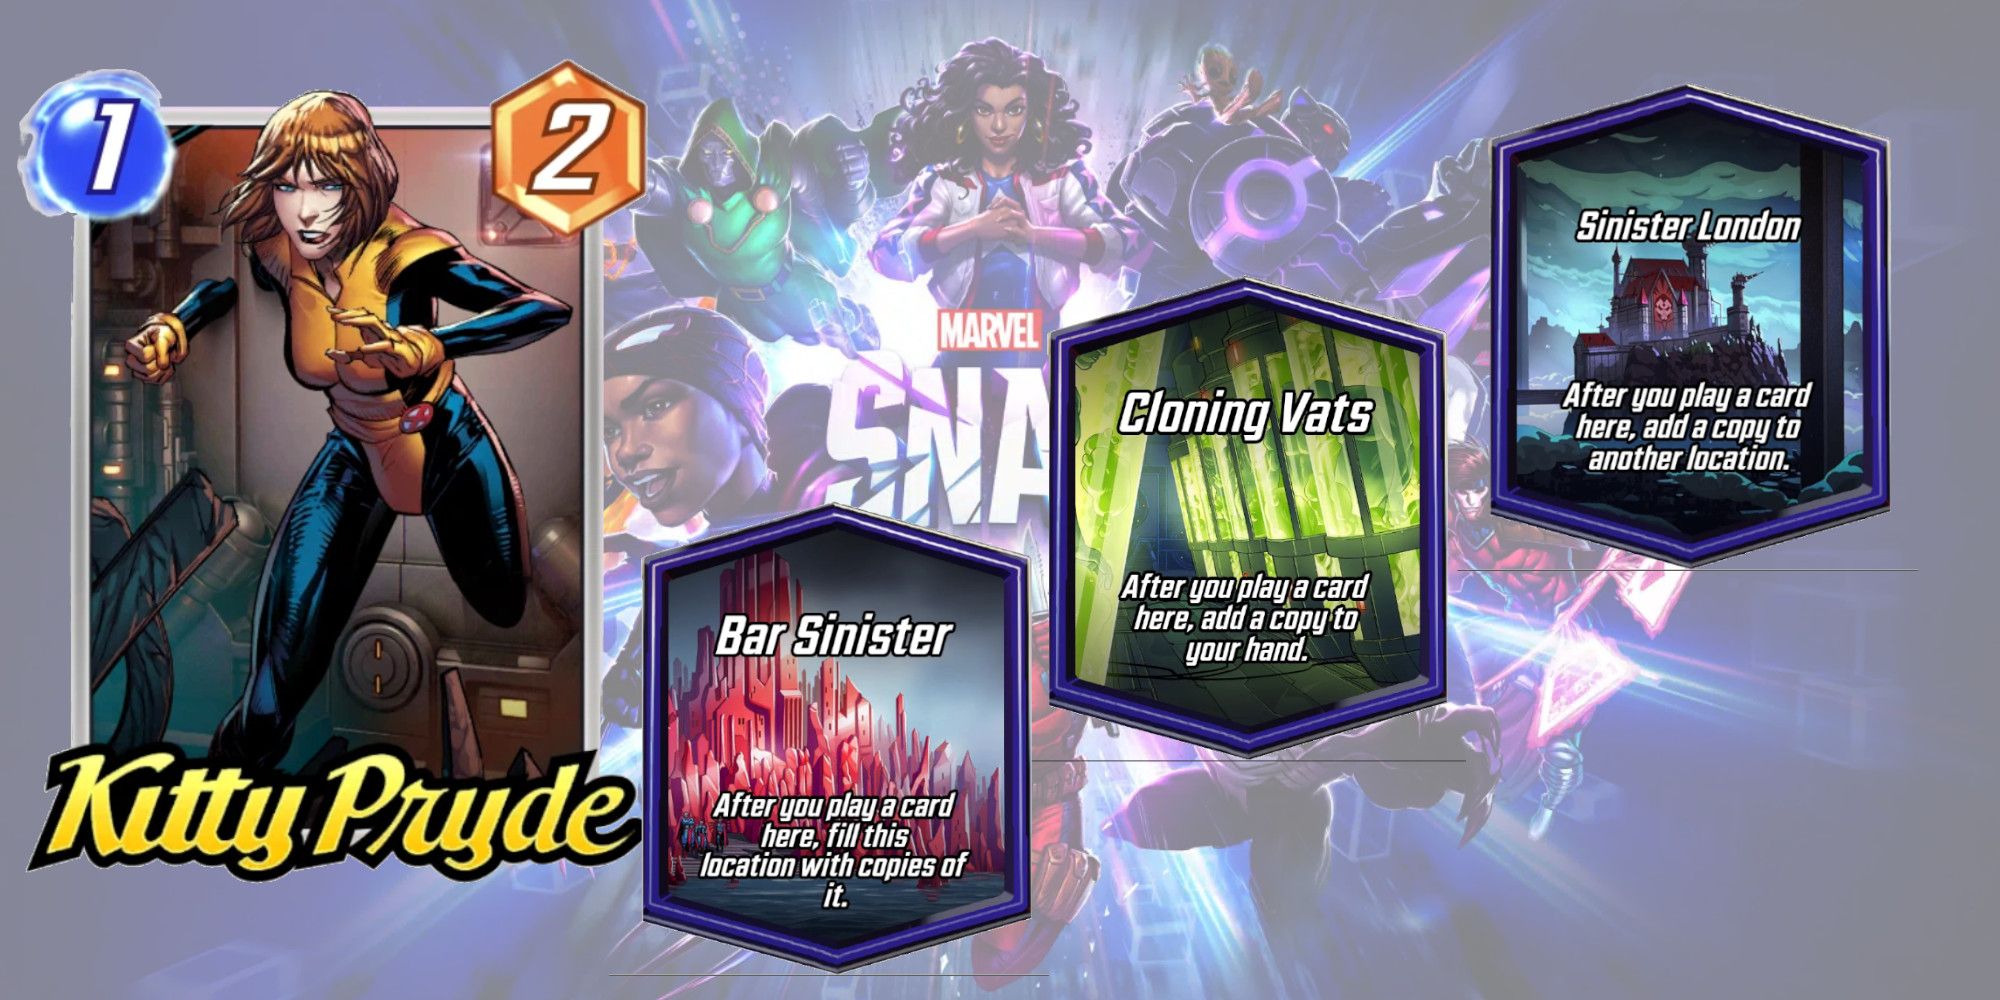
Bar Sinister offers great potential for utilizing overpowered location-card combos, with Kitty Pryde being a top contender. To fully maximize Kitty's potential, it's important to pay close attention to the hand limit and play the highest-powered Kitty at Bar Sinister each round. While having a destructive deck makes it easier to make room for more Kitties, having a ton of powerful 1 Cost cards is still quite enjoyable!
Alternatively, Kitty may also prefer the Cloning Vats as her hideout, which is much easier to work with since the player doesn't have to compensate for four extra cards each round. Sinister London can also be useful in bulking up the Kitty force, as long as there's enough space in the player's hand for all the duplicates.
1 Power-Up Locations: Shuri's Lab, Muir Island, or Quantum Realm
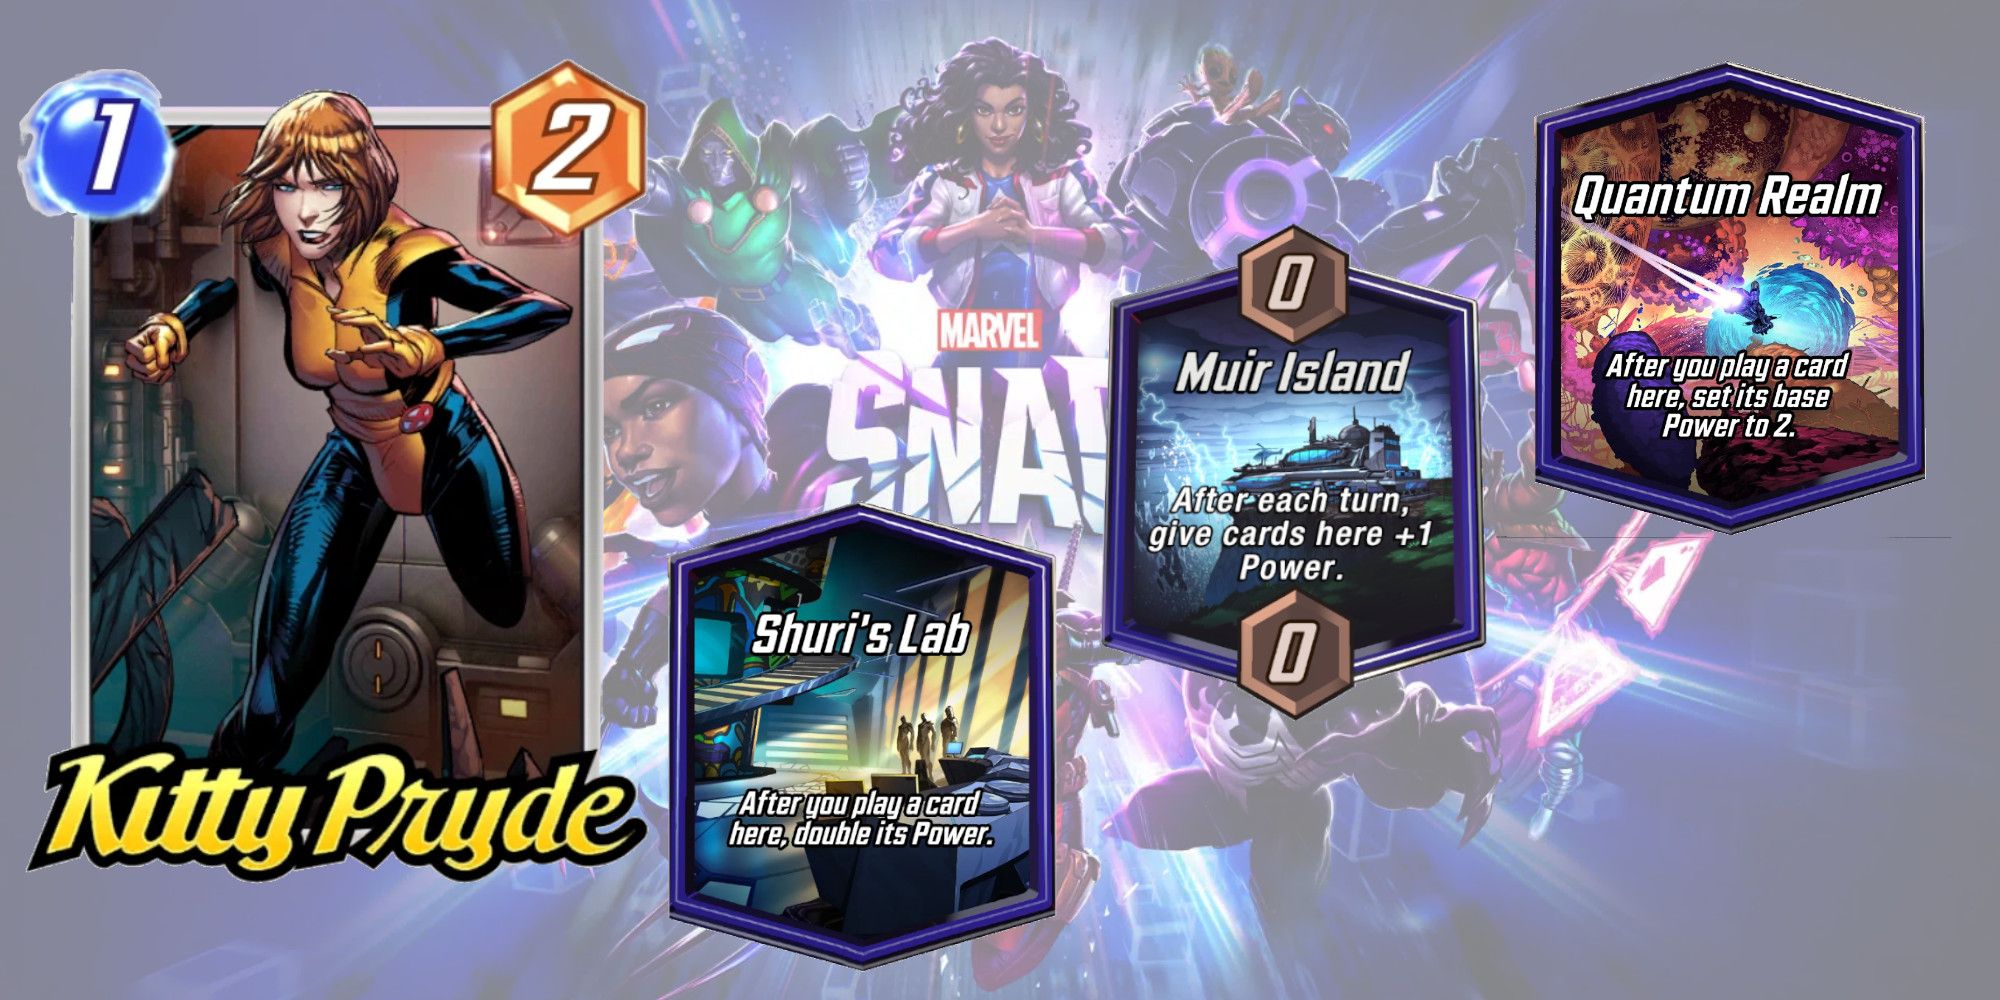
Utilizing the Quantum Realm may only benefit Kitty during the first round, but every power boost is valuable in this game. By having a 12 Power, 1 Cost card available at the end of the game, it could potentially be the deciding factor, without causing destruction like Death.
The Muir Island combination is easy to understand and proves to be effective since Kitty returns to the player's hand at the beginning of each round, resulting in a +1 Power boost. While it may not be necessary to send Kitty to Shuri's Lab in the first round, it's important to always keep a slot open for her in this location from then on. If everything goes according to plan, Kitty could end the game with a whopping 124 Power. Pow!