The Ultimate Guide to Mastering the Gauntlet of Shar in Baldur's Gate 3
Baldur's Gate 3: Conquer the formidable Gauntlet of Shar in Act 2, even without Shadowheart Discover how to navigate treacherous trials, defeat Balthazar, obtain the Spear of Night, and overcome Yurgir Unleash your skills to emerge victorious!
Quick Links
How to Open the EntranceHow to Handle Balthazar
The Silent Library and the Spear of Night
The Faith-Leap Trial
The Self-Same Trial
The Soft-Step Trial
Dealing with Yurgir
In the Shadow-Cursed Lands of Baldur's Gate 3, located at the north end of Reithwin, there lies a mausoleum. Beneath this seemingly ordinary structure hides a colossal temple known as the Gauntlet of Shar. Completing this gauntlet holds significant importance for Shadowheart, yet even players who do not utilize her will find it necessary to venture into this area.
Players who successfully conquer the Gauntlet of Shar will be granted entrance to a gateway leading to the mysterious realm of the Shadowfell. Hidden beyond this portal lies the elusive wellspring of Ketheric Thorm's everlasting life force. Regardless of the chosen path, all players must endure the grueling challenges of the Gauntlet in order to advance through Act 2 of Baldur's Gate 3.
How to Open the Entrance
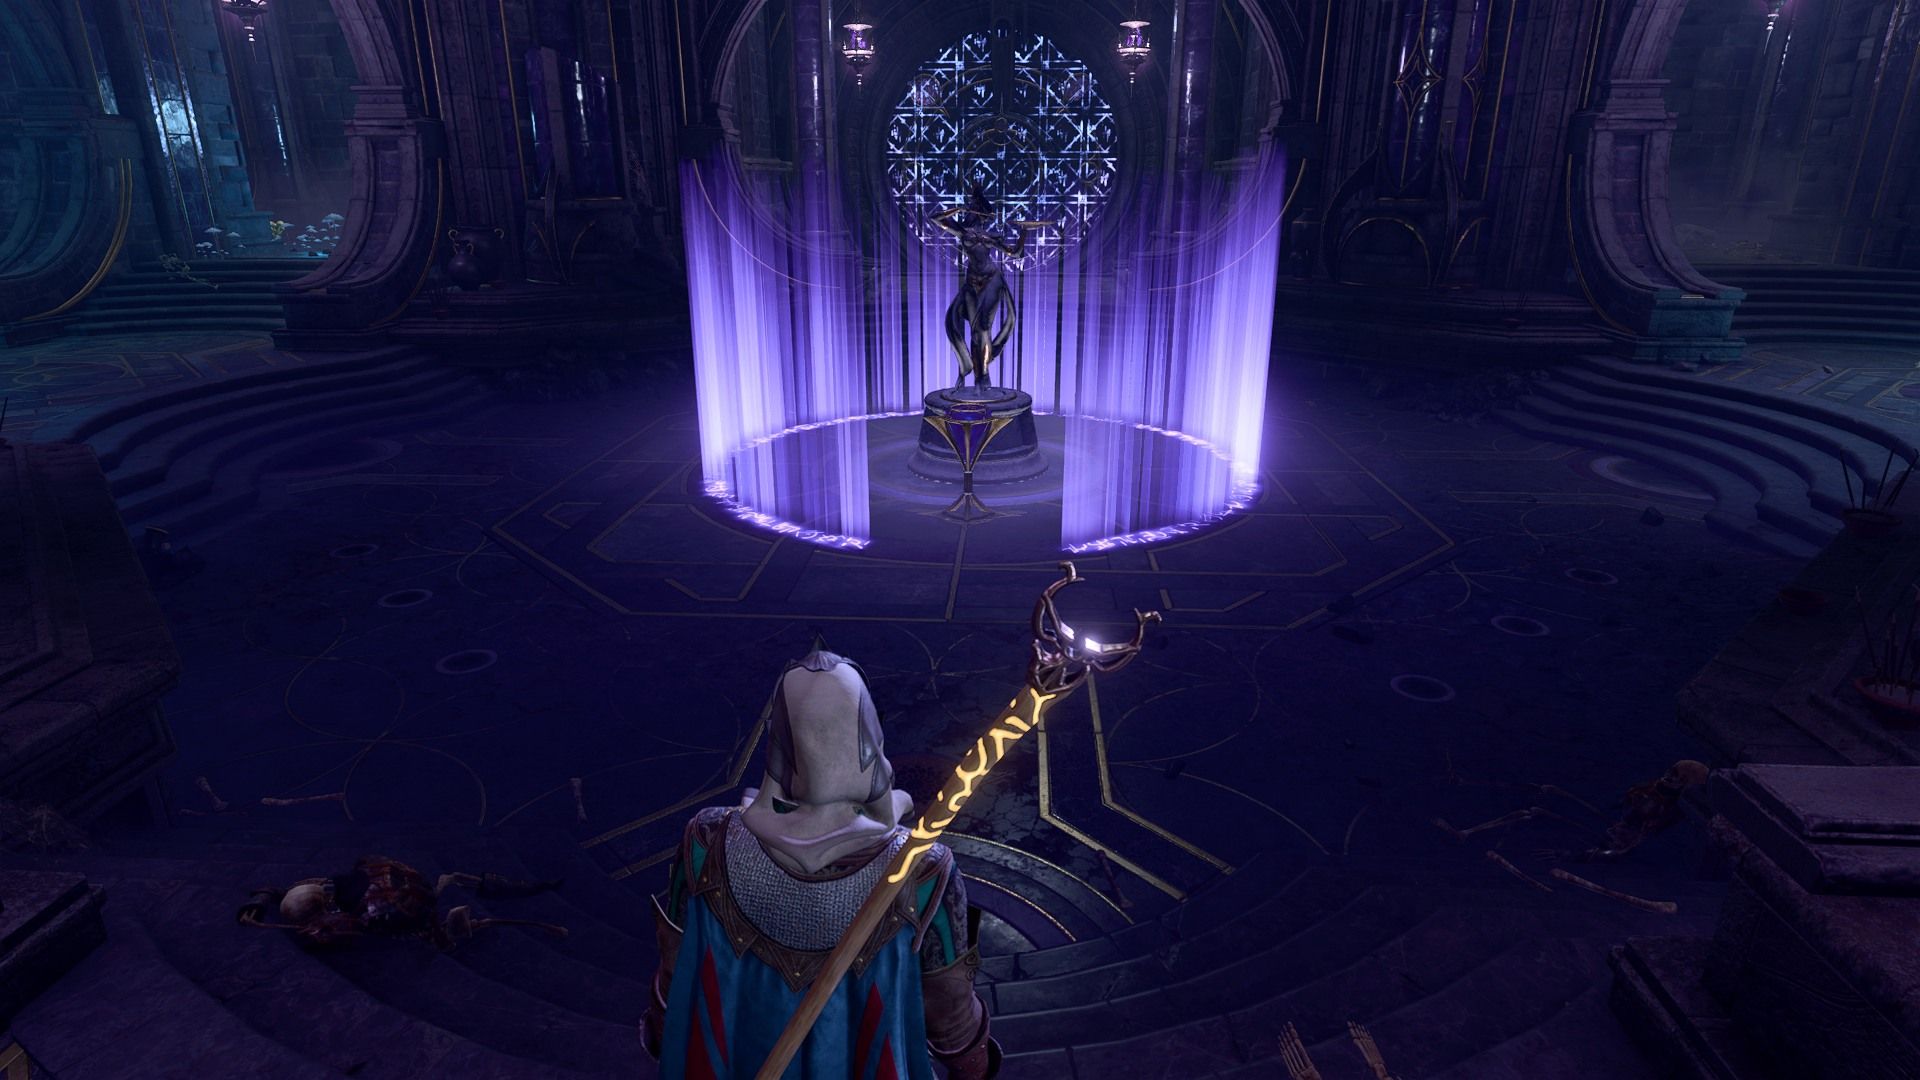
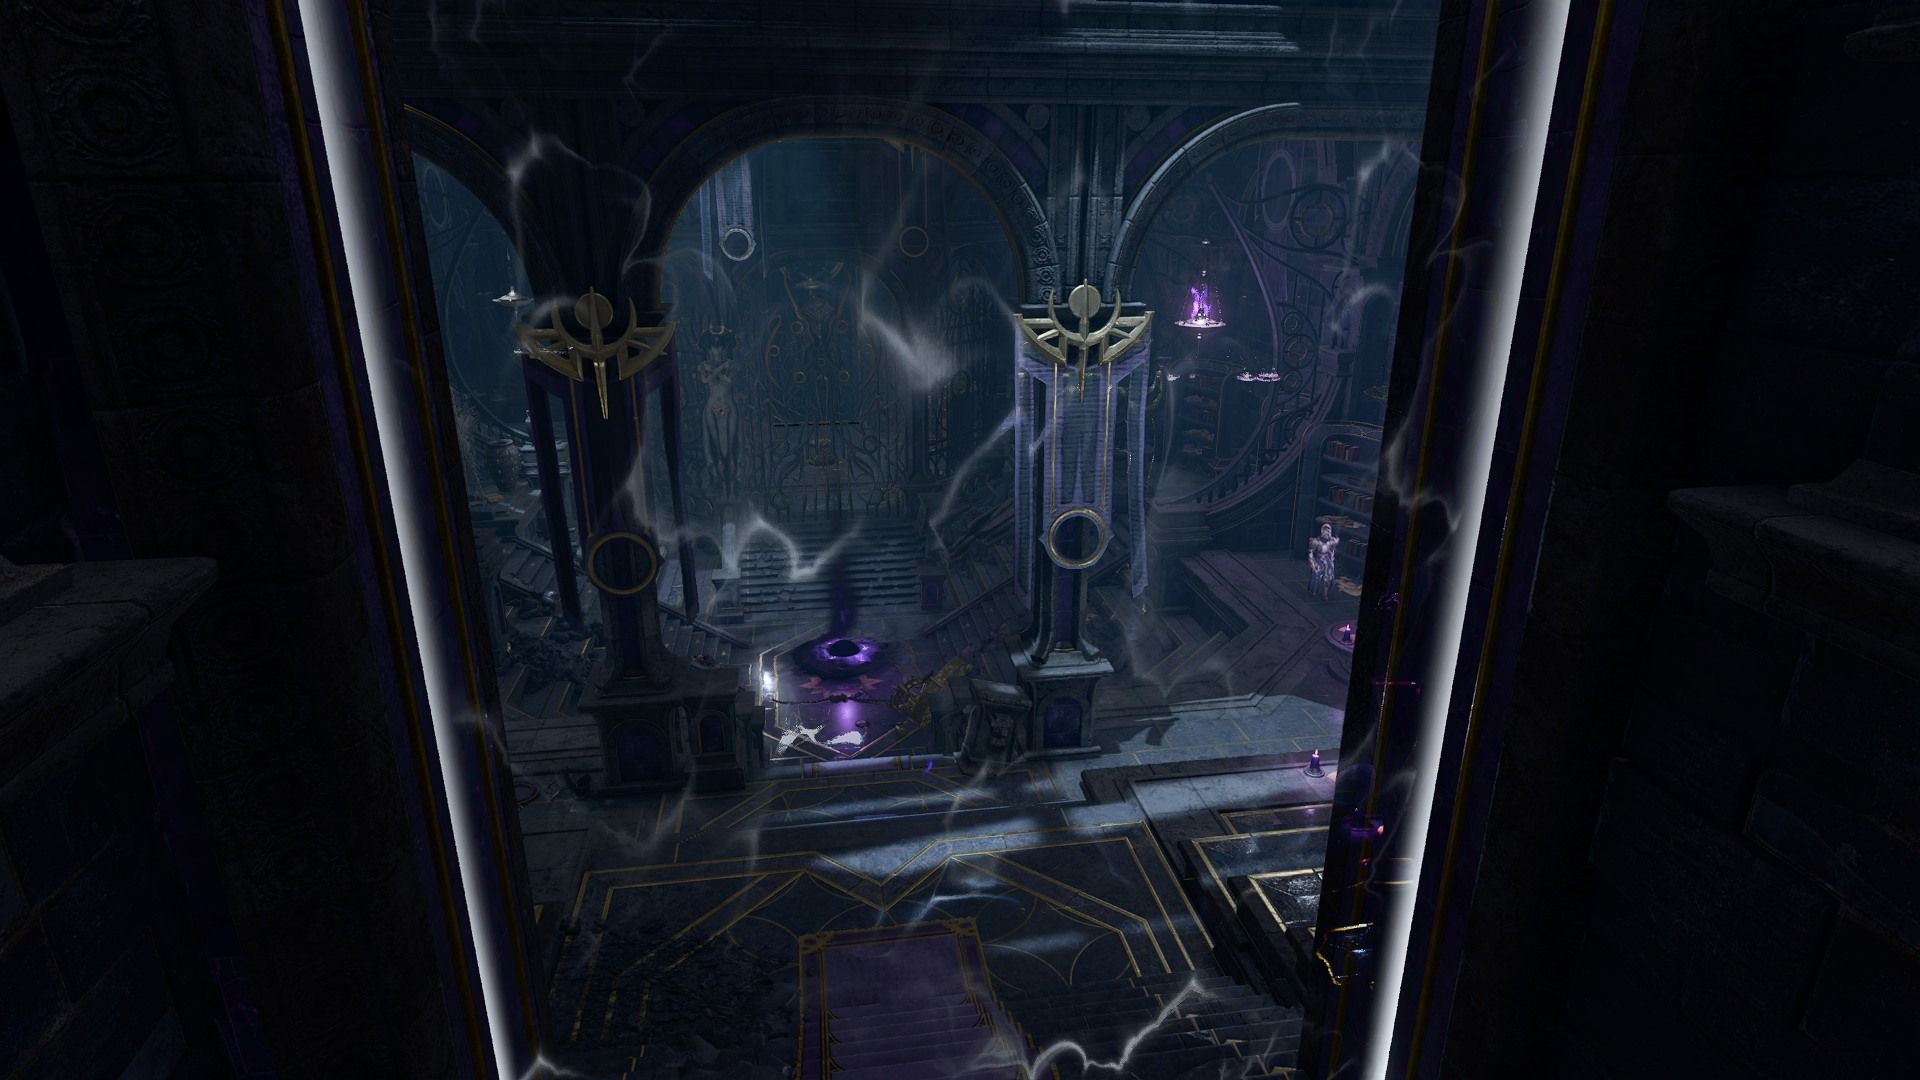
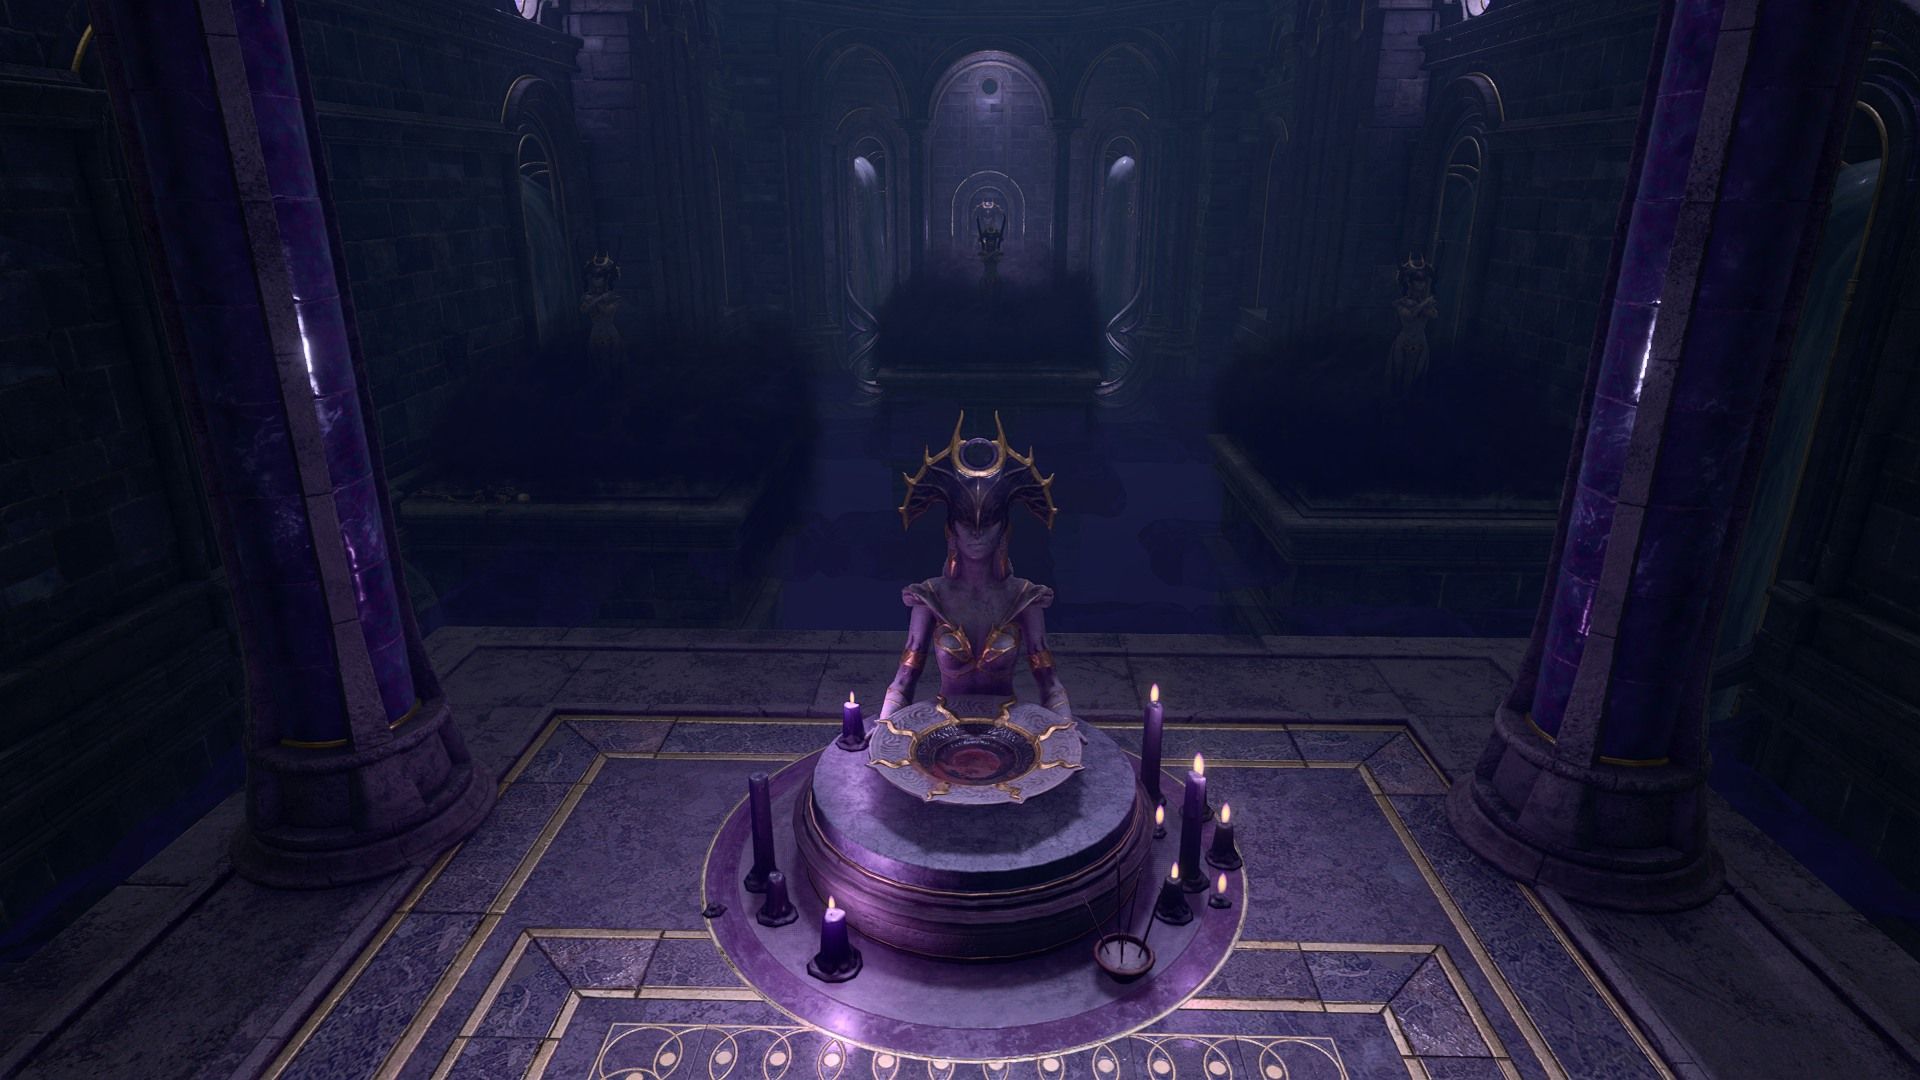
Prior to reaching the Gauntlet itself, players are required to undergo a test at the entrance. Positioned in the center of a spacious chamber is a striking statue of Shar, encircled by resplendent purple runes on nearly all sides. Should players attempt to proceed forward, a powerful repulsion force forcefully propels them back to the edges of the room, ensuring no harm is inflicted. Moreover, the door located at the far end of the chamber is safeguarded by a mystical seal.
The objective of this puzzle is to successfully reach the Umbral Gem located in front of the statue, despite the interference caused by the repulsion effect. To overcome this obstacle, players must choose to go either left or right and enter the small rooms on those sides. It is essential to have Astarion or another party member skilled in trap detection and disarmament to lead the way, as these rooms are filled with numerous traps.
Each of the side rooms contains a lever, which when activated, lowers two of the Mystic Thuribles that illuminate the main chamber. Players can then interact with the Mystic Thuribles to deactivate them. Once all eight Thuribles are turned off, a second set of purple runes will become visible. These runes have always been present but were previously concealed by the brightness of the Thuribles.
How to Handle Balthazar
: Improved VersionPlayers now have the ability to send a designated individual through the interstices of the ancient mystical symbols, allowing them to directly access the coveted Umbral Gem and pave the way forward. For the cautious, fortuitous, and astute players, there is also an option to traverse through the gaps in the runes, avoiding contact with the thuribles altogether. This particular path can be found on the eastern side of the chamber.
Upon entering the premises, players will be confronted by three formidable undead warriors. These warriors will act as vessels for a necromancer's voice, while numerous Umbral Portals manifest and release hordes of undead Dark Justiciars. It is crucial to swiftly obliterate these portals, as they continually regenerate more Justiciars with each passing round.
If any undead warriors remain animated after the battle concludes, they will retreat towards the west. Pursuing them will lead players to the next room where a new set of Umbral Portals will appear. It is recommended to prioritize destroying the larger Umbral Portal located at the center of the room, as it is responsible for spawning Dark Justiciars and additional Umbral Portals.
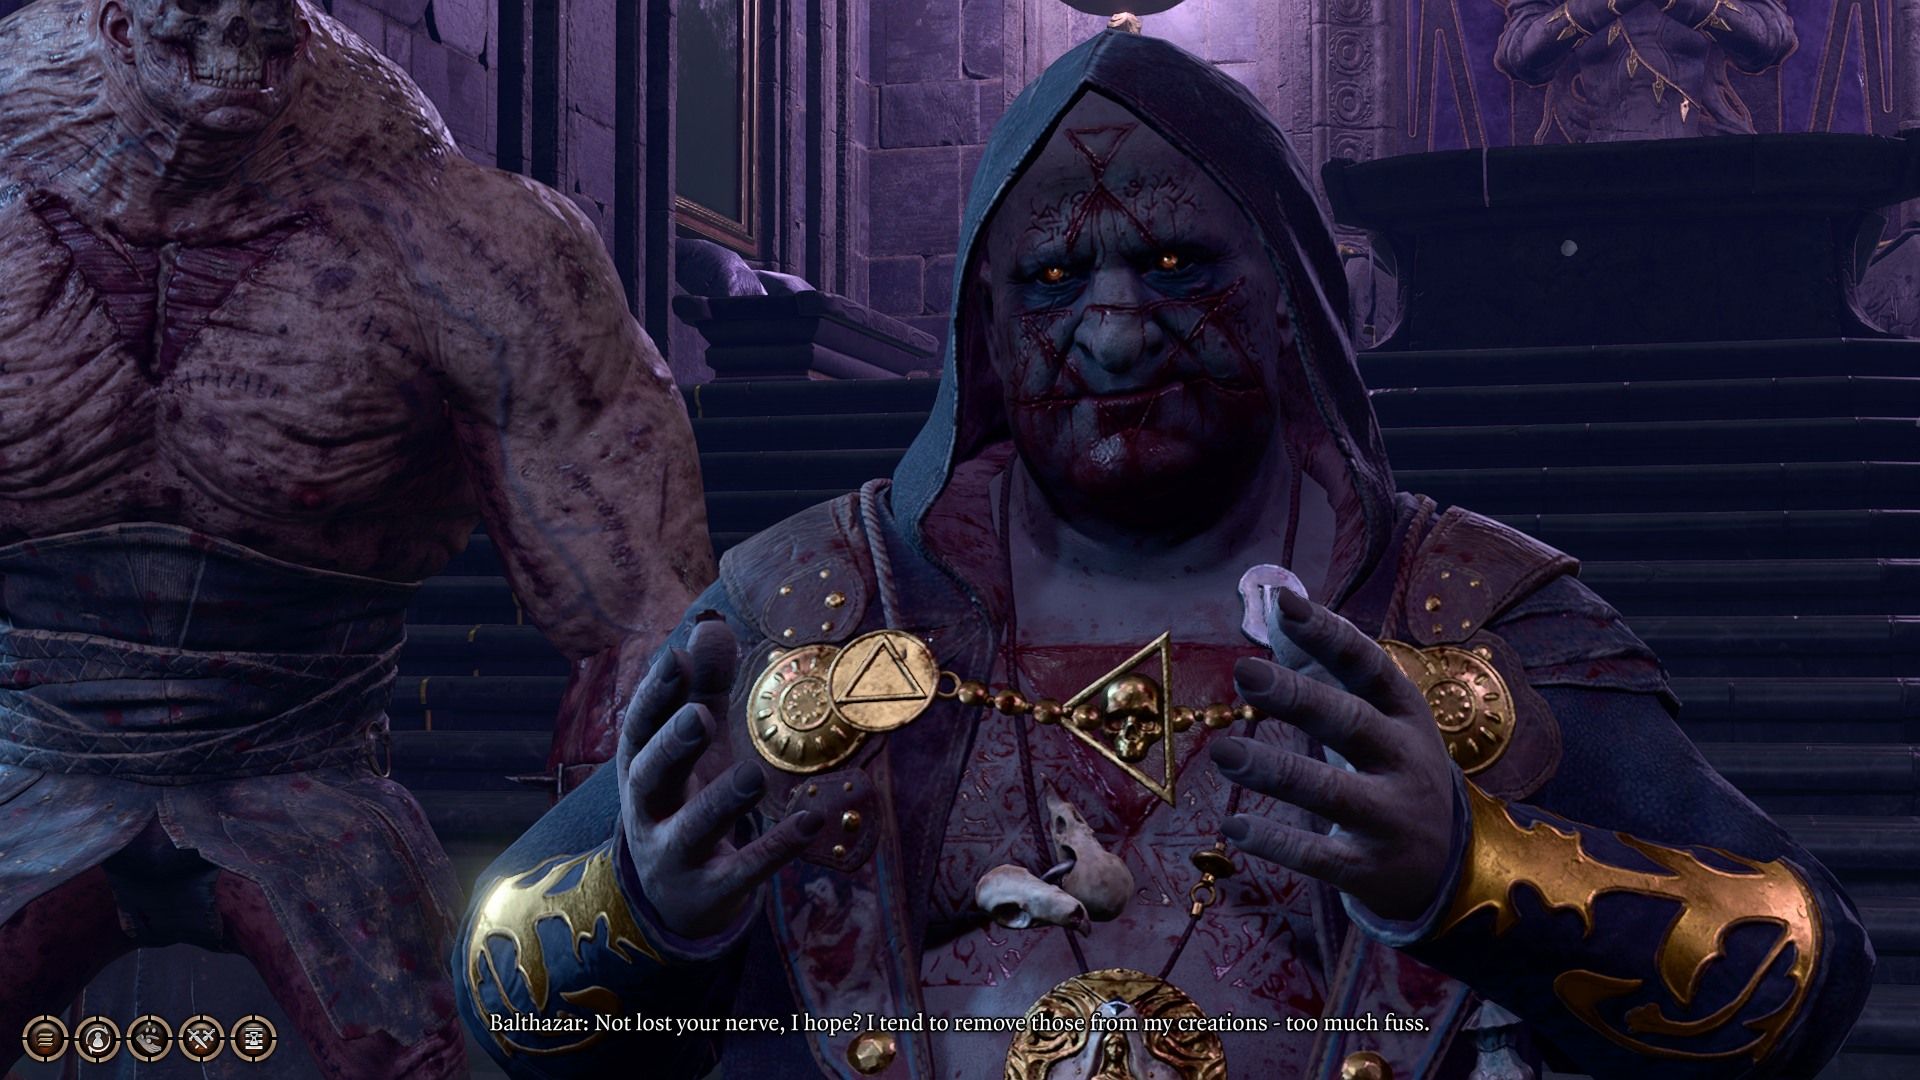
Once all the portals are eliminated and all Justiciars are defeated, the necromancer Balthazar will open the door to his chamber. Regardless of whether players are aligned with the True Souls or not, Balthazar will assume that the party is there to assist and will command them to create a path towards the heart of the temple. Players have the option to comply, engage in immediate combat, or entirely disregard Balthazar. In fact, conversing with Balthazar is not necessary to complete the Gauntlet.
If players choose to engage Balthazar in combat, it is advisable for them to start by attempting to pick his pockets. Balthazar possesses the ability to consistently act first and avoid being caught off guard, in addition to always consuming a Potion of Speed at the beginning of combat. With these advantages, coupled with his fondness for casting the Cloudkill spell, defeating Balthazar proves challenging whether players face him immediately or at a later time.
Irrespective of the approach players take towards Balthazar, it is recommended that they spare a moment to explore the two adjoining rooms connected to the chapel adjacent to Balthazar's chamber. The northern room contains a well-guarded vault with valuable items behind a sturdy lock, while the southern room leads to a dining area and a naturally-formed cave teeming with mushrooms.
The Silent Library and the Spear of Night
After dealing with Balthazar, players should proceed to the Gauntlet of Shar waypoint, heading north. It is advisable to disregard the side doors at this point and instead take the stairs leading downwards. Upon reaching the lower hall, players will come across an elevator and a broken lever. They can use the elevator to return to the top and then place the lever in its corresponding base, thus restoring full functionality to the elevator. This will prove to be a valuable shortcut.
Located just north of the elevator is a side room, distinguished by a white magical field in place of a door. This field serves as the entrance to the Silent Library, aptly named as it initiates a Silence effect within its boundaries. Within this field, no one is able to cast verbal spells, which poses a challenge considering the presence of Dark Justiciars throughout the library.
Luckily, players have the option to put an end to the effect by destroying The Librarian, a special Umbral Portal located at the heart of the library. This action will also prevent any more Dark Justiciars from appearing, so make it a top priority. Once accomplished, dealing with the remaining Justiciars should pose no difficulty.
While The Silent Library holds an abundance of valuable books, players should focus their attention on the bookshelves. There are a total of four shelves situated on the northern wall and one on the southern wall. It is crucial to exercise caution around these bookshelves as they are all booby-trapped. Among these shelves, three hold books containing clues pertaining to the primary tests of the Gauntlet of Shar, while the fourth shelf houses a book that proves beneficial specifically within the library.
After passing the main library, you will come across a large metal portcullis that requires unlocking. Inside the cage room, there is a pedestal featuring the Riddle of the Night: "What can silence the Nightsong?" To successfully solve this riddle, players are required to place the book Teachings of Loss: The Nightsinger on the pedestal. Failure to do so will trigger numerous gas pit traps scattered across the room, while successfully answering will reveal a secret door on the opposite side. Additionally, it is advised to explore the shelves in the cage room, as they contain several valuable spell scrolls.
Continuing past the cage room, you will find an altar that houses the Spear of Night. Beneath it lies a suit of Dark Justiciar Half-Plate. Currently, wielding the Spear of Night may not be worthwhile, but its power can be enhanced based on the choices made later on. On the other hand, the Dark Justiciar Half-Plate would be a suitable armor option for Shadowheart immediately. Moreover, players have the opportunity to acquire a highly rare Dark Justiciar Helmet from the gilded chest located behind the altar.
The Faith-Leap Trial
Exit the Silent Library and proceed to the other door located in the lower hallway to access the Faith-Leap Trial. The library book advises players to only step where instructed by Lady Shar, as deviating from her path will cause harm during the trial.
To determine Lady Shar's desired route, position the group near the trial entrance and direct the camera towards the dimly lit area beyond the altar. Keen observers will notice purple blocks concealed within the apparent empty spaces amidst the three statues. However, these blocks vanish when approached by a team member, requiring players to memorize their original positions in order to navigate the room safely.
Walking into a gap between the purple blocks will result in the character being teleported to the nearest statue base and losing a third of their hit points. Three failed attempts will lead to the character's death. It is possible for characters to jump between safe spots, but crossing too much of the forbidden area will be considered a loss.
The solution to this trial can be seen in the floor mural located in front of the altar. It is recommended to refer back to it while progressing, but only one party member should enter the darkness to avoid the others unintentionally entering the wrong spot and receiving a penalty. At the end of the trial, an Umbral Gem can be found. Take it and then utilize the Umbral Transporter to return to the altar.
The Self-Same Trial
The Self-Same Trial is a unique battle that takes place in a mirror-like arena. To initiate the trial, proceed through the north door in the upper hallway and present blood as an offering on Shar's altar. Then, proceed further into the arena. The trial is subject to specific conditions:
Upon the trial's commencement, every member of the party present in the room will have a mirrored counterpart spawned in the arena. These mirror images will remain concealed and launch a surprise attack once approached. However, a successful perception check will unveil their whereabouts.
The copies possess equal class levels and equipment as their counterparts, although they have reduced hit points and a standardized selection of spells.
As stated in the Silent Library book, it is crucial for party members to solely target their respective copies. If they mistakenly attack a different copy, they will incur a -1 penalty to all their attacks, checks, and saves until the subsequent long rest. This penalty is incurred for harming each copy at least once; thus, a party member who injures one copy thrice will face a -1 penalty, while a party member who damages all four copies with an area attack will face a -3 penalty.
By sending a single member from their party to approach their duplicate unnoticed, players can cleverly take advantage of this trial to gain a surprise round.
Once all the duplicates have been eliminated, an Umbral Gem will materialize at the topmost location in the arena, and an Umbral Transporter will conveniently transport the entire party back to the entrance.
The Soft-Step Trial
The third and final trial takes place in the upper hallway. Known as the Soft-Step Trial, it evaluates the stealth and trap detection abilities of the players. It is advisable to send in Astarion or any other skilled rogue with a high level of Stealth and Sleight of Hand. The objective of this trial is to successfully maneuver through numerous patrolling observers and avoid several marble plate traps. Fortunately, this trial is more lenient compared to the challenging Faith-Leap Trial. In the event of being caught, players will be teleported back to the starting point without any harm.
Throughout the trial, participants will come across various levers that can move walls and open doors. There is also a lever conveniently positioned near a window, allowing players to pull it from there. Additionally, a key can be found on a table, and there are multiple traps to be aware of. Different strategies can be employed to successfully complete this trial. At the end of the trial, there is another Umbral Gem placed on a Transporter. Grabbing it will mark the completion of the trial.
How to Deal with Yurgir
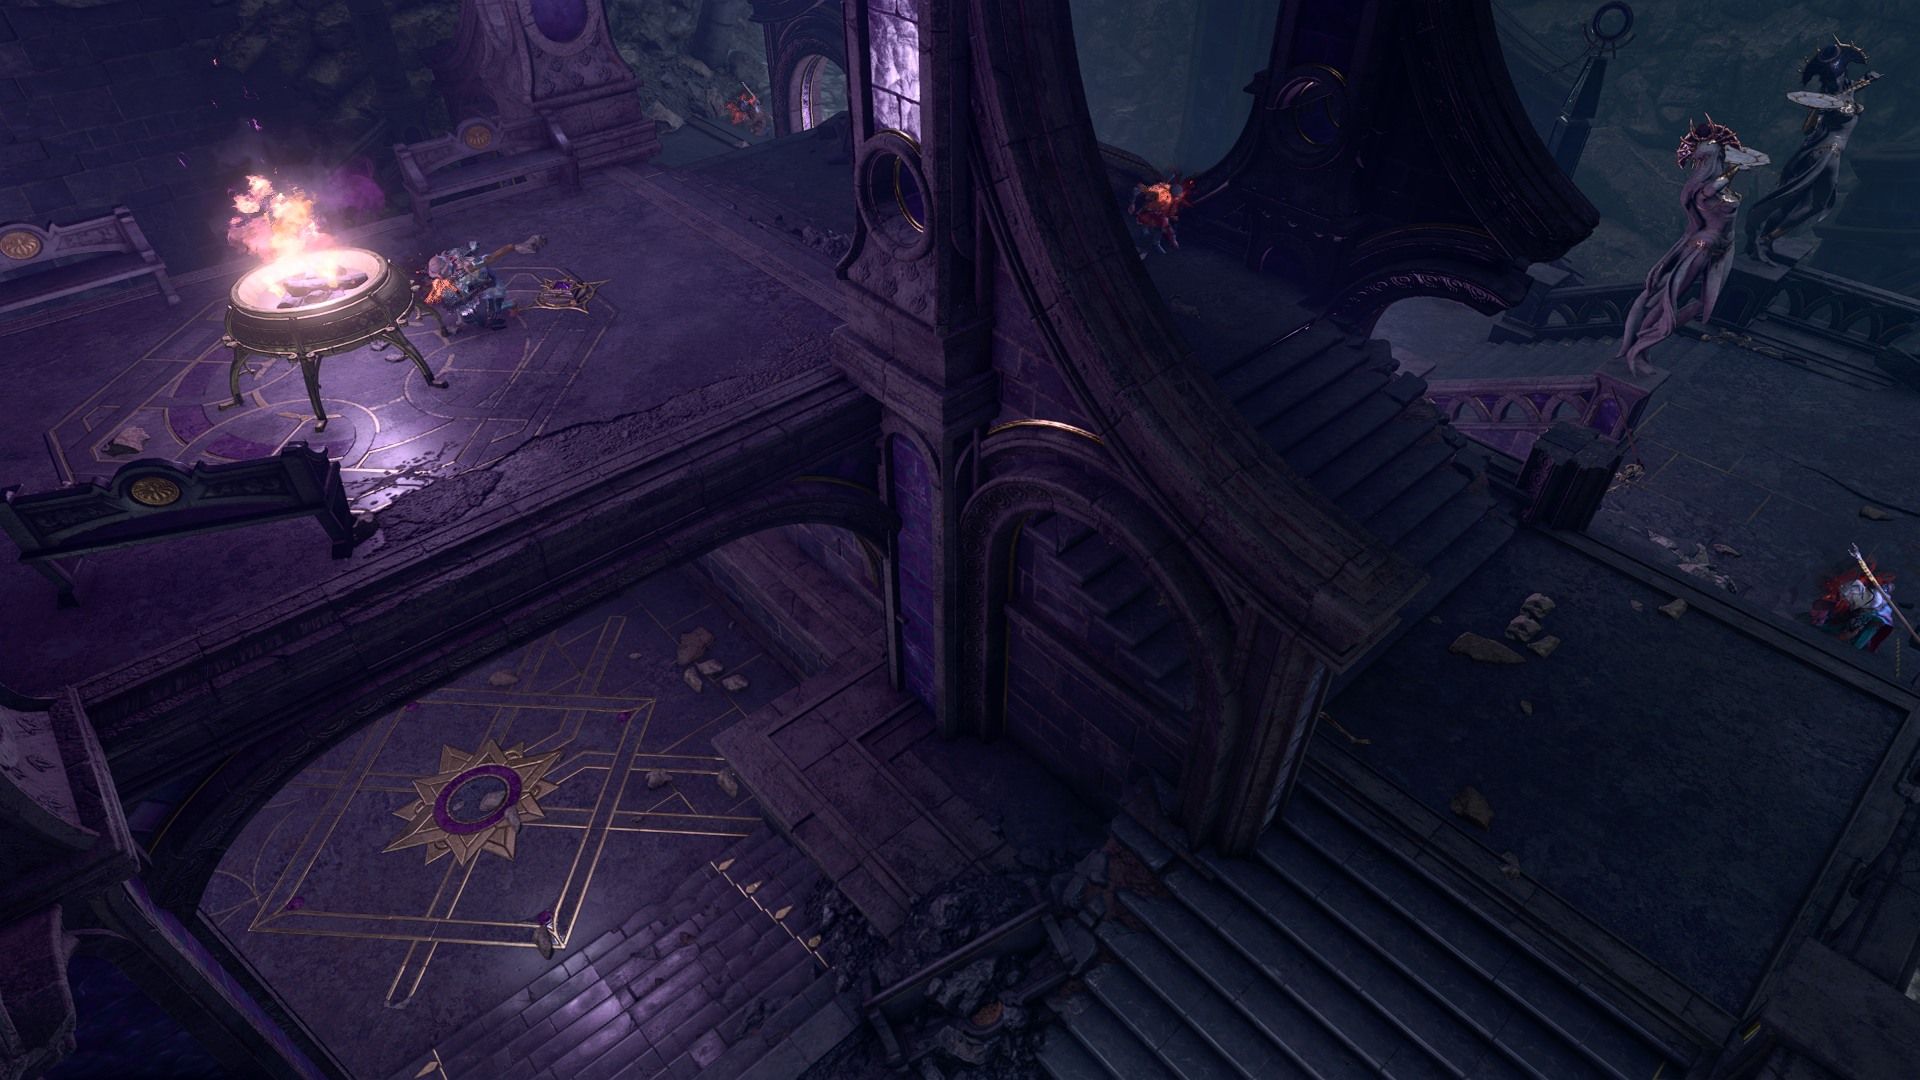
Players currently possess three Umbral Gems, but they require a total of four in order to enter the depths of the temple. To obtain the fourth gem, they must return to the Pedestal of Reckoning and proceed eastward along the damaged staircase. At the bottom of the stairs stands a displacer beast, which initially flees toward the left (north) and then turns right (east) as the party approaches.
If players choose to pursue the displacer beast, they will stumble upon the Umbral Gem resting on the ground before a gruesome throne. However, a devil named Yurgir and six merregons await on the floor above, armed with crossbows. Falling into their trap will initiate a dialogue, allowing players to negotiate their way out. However, be advised that those wishing to turn the tables on their would-be ambusher should disregard the displacer beast and instead leap directly across to another damaged staircase. Although the gap may appear too wide for characters with low Strength, once one party member successfully jumps across, the rest will follow suit.
Pay close attention to Yurgir's grenades during the fight as he and his minions frequently use them. When Yurgir sustains enough damage, he scatters around a dozen grenades in his vicinity, so players should retreat and disperse. Besides that, this battle is challenging but manageable, particularly if players surprise the ambushers.
Alternatively, players have the option to communicate with Yurgir and propose assistance against Raphael. Most party members do not favor this course of action, and Astarion particularly despises it if players have previously arranged a pact with Raphael to uncover the secrets of his scars.
To complete his contract, Yurgir must eliminate all remaining Dark Justiciars in the Gauntlet of Shar. However, despite his belief that the task is finished, something is hindering him from accomplishing it. The solution lies within the temple's infestation of rats. By obtaining the ability to Speak with Animals through a potion or spell, players can gather clues from these creatures.
To progress further in this quest, players need to exterminate three rats in three different locations. Subsequently, they must descend into the pit located at the foot of the colossal statue. At this point, the rats will launch a series of attacks, although they possess very low hit points. Employing persistent damage spells like Spirit Guardians or Hunger of Hadar will swiftly eliminate the swarm.
After the swarm is defeated, the remaining rat will transform back into Lyrthindor, the Dark Justiciar who has been missing. At this point, players have the opportunity to kill him in order to break Yurgir's contract. Furthermore, Lyrthindor will drop the incredibly rare Justiciar's Scimitar and Justiciar's Greatshield.
Ultimately, Raphael will still achieve his desired outcome, but Astarion will not. This is because the agreement specifically required Yurgir's death in order to obtain the necessary information. While killing Lyrthindor is a simpler task compared to battling Yurgir, taking this course of action will effectively conclude Astarion's personal quest, as he will never obtain the information needed to continue.
Regardless of the scenario, players can now acquire the final Umbral Gem. Gather all four gems, along with the Spear of Night, and take them to the Pedestal of Reckoning. Beyond that lies the Ancient Altar, which will grant access to the Shadowfell and the origin of Ketheric Thorm's eternal life.
Baldur's Gate 3 can now be enjoyed on macOS and PC platforms.