The Ultimate Guide to Building the Perfect Gaming PC: Unleash Your Gaming Potential
Learn how to effortlessly build your own gaming PC with our step-by-step guide From collecting the necessary tools to understanding the basic parts, our easy-to-follow instructions will ensure a successful build Discover essential tips, troubleshoot common issues, and get answers to frequently asked questions Start your gaming journey today!
A gamer may choose to build their own PC from scratch for various reasons. Some do so because their current computers or gaming consoles do not meet the requirements of the games they want to play. Others prefer the option of a more versatile system or enjoy the freedom of customizing their own setup. Building a gaming PC also offers an excellent experience for avid do-it-yourselfers who want to dive into the process. Although it may seem daunting and complex for beginners, there are numerous advantages to building a gaming PC. These systems are typically more durable, powerful, and customizable compared to pre-built alternatives. Additionally, they allow for continuous upgrades to adapt to the user's growing needs and keep up with the latest technological advancements.
Collect the Tools
Below is a comprehensive guide that contains easy-to-follow tips for novice users in developing a gaming rig that perfectly suits their gaming preferences and usage requirements. Let's dive in and get started.
Building a new gaming PC doesn't necessarily involve acquiring a plethora of unfamiliar tools. Nonetheless, it is crucial to familiarize oneself with the necessary requirements and have them readily available before beginning the process. Adequate preparation of the workspace is also paramount in ensuring the safety of both the user and the components. Here are some key preparatory measures to remember:
Get the Hardware Ready
While software and other components are important, it is the hardware that truly drives the entire outcome of a gaming PC build. The hardware determines the performance of the ultimate gaming rig, including speed, multitasking capabilities, responsiveness, and frame rates. The performance of software and other accessories relies heavily on the quality of the hardware used. When constructing a gaming PC, it is crucial to prioritize certain essential hardware components, such as the motherboard, processor, graphics card, case, power supply unit, RAM, CPU cooling systems, flash drive with the operating system, and gaming peripherals.
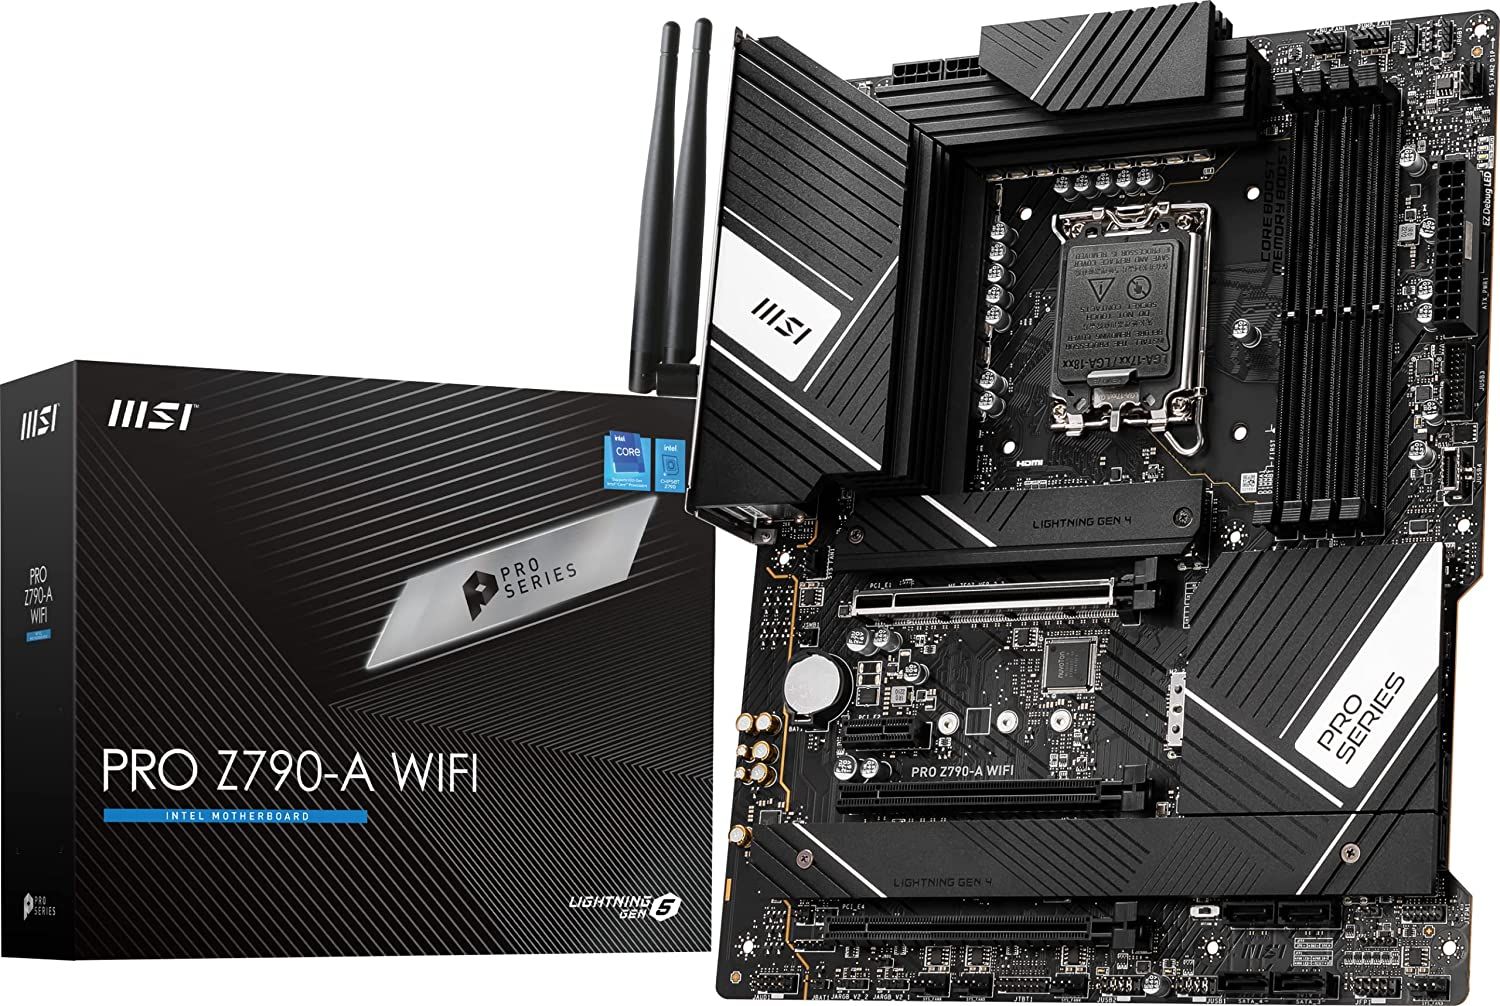
Get the MSI PRO Z790-A Wi-Fi Gaming Motherboard for a discounted price of $210, saving you $70. This motherboard offers extensive connectivity options and is compatible with Intel's 12th and 13th-generation processors. With its impressive 16+1+1 phase power delivery mechanism, it performs exceptionally well and is competitively priced against Intel's budget B760 motherboards. You can find it for $220 on Amazon or grab an even better deal at $210 on Best Buy.

See at Amazon $139 at Best Buy
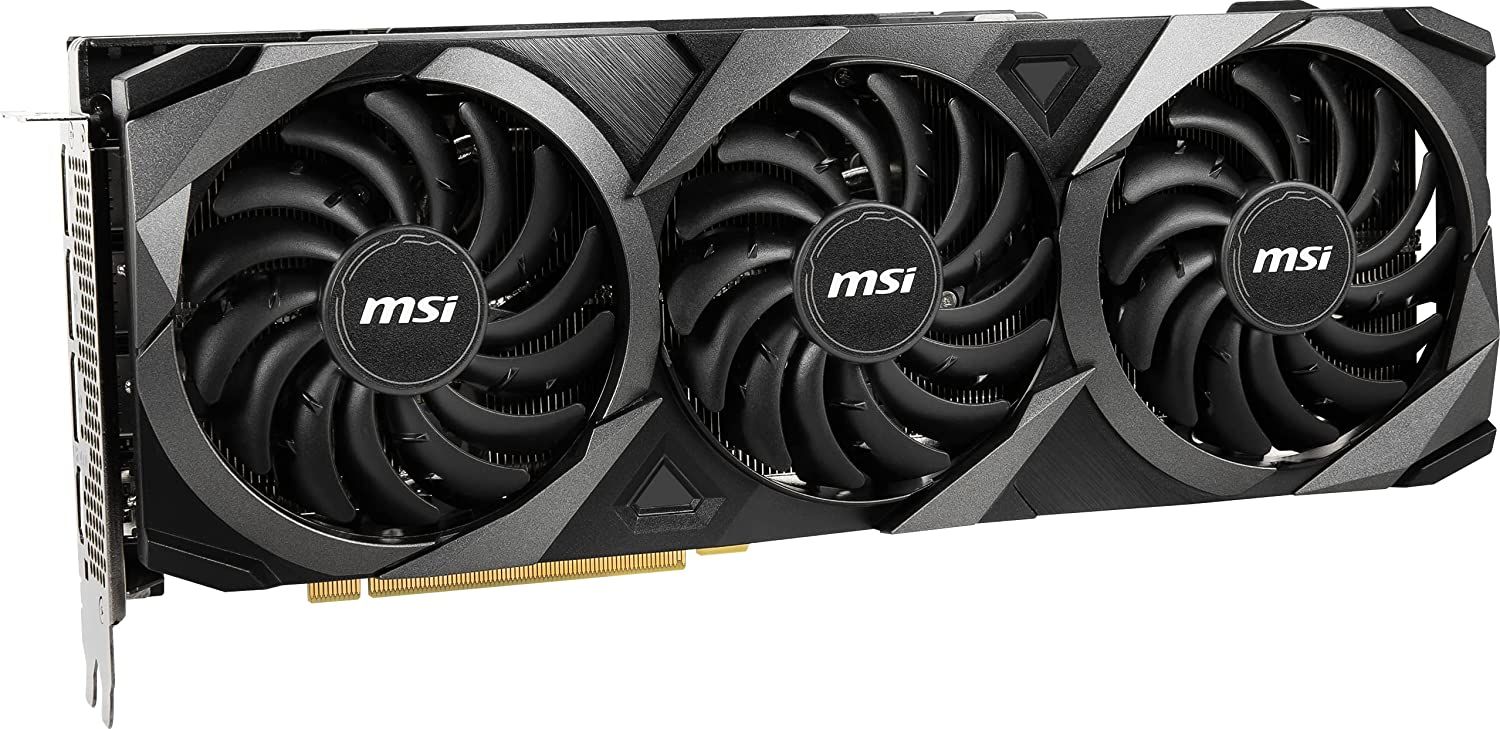
This MSI graphics card features the powerful Nvidia GeForce RTX 3080, which is considered one of the top GPUs available. Despite the announcement of its successor by Nvidia, this graphics card still holds its place. With 12 gigabytes of GDDR6X memory and a 384-bit memory interface, it provides exceptional performance. It also boasts a boost clock speed of up to 1740 MHz. In addition, the card supports ray-tracing technology and is equipped with three DisplayPort 1.4a ports and one HDMI 2.1.
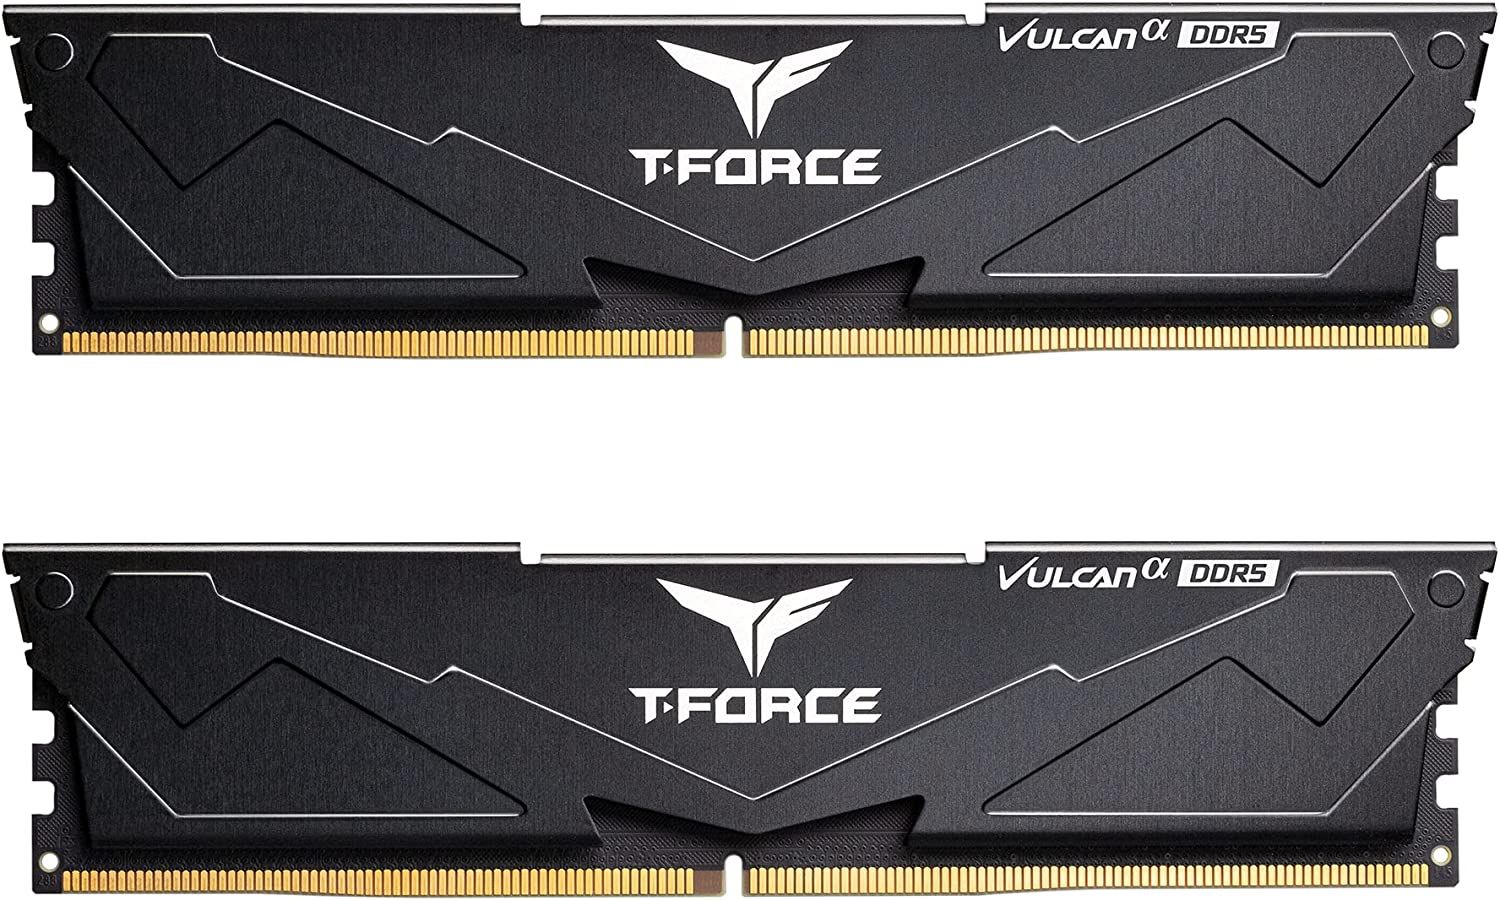
The TEAMGROUP T-Force Vulcan Alpha DDR5 Ram 32GB Kit offers stable DDR5 memory performance at an affordable price. With a CAS latency of 38-38-38-78 and AMD Optimized EXPO profiles, these Vulcan Alpha Rams provide excellent value for budget-conscious users upgrading to DDR5 this generation. Available for just $87 on Amazon.
Understanding the Basic Parts
To begin the project, it is crucial to have a clear understanding of each component and its significance within the overall system. This section also serves as a helpful checklist for users to ensure they have all the necessary tools for constructing their gaming rig. Presented below are the fundamental components needed to successfully build a gaming PC.
The processor, also known as the central processing unit (CPU), serves as the brain of the computer. Its primary function is to execute instructions, seamlessly transferring data between different systems within the machine. A superior processor guarantees swift information transmission and enhanced responsiveness for both hardware and software operations.
A Graphics Processing Unit (GPU), also known as a graphics card, is a crucial component in a gaming PC. Its main function is to showcase images from the computer to the monitor. The quality of in-game graphics and settings improves as the GPU becomes more powerful.
Also, a game with complex and elaborate images will require a high-power GPU for optimum delivery. Check out our best CPU and GPU deals in 2023.
Motherboard
The motherboard is responsible for housing and coordinating all of the computer's hardware, allowing the components to function harmoniously. It is crucial to select a motherboard that is compatible with all the required parts for the complete system. Additionally, users may want to explore motherboards that offer extra features such as integrated Wi-Fi systems, GPUs, and more.
Random Access Memory (RAM) is responsible for determining the computer's capacity to process data at any given moment. Also known as memory, it serves as the storage space for the necessary data that the PC needs to access quickly. The significance of the RAM's size cannot be understated, particularly for gamers and the overall productivity of the system. A larger memory capacity, coupled with a high-quality processor, results in improved efficiency.
Storage
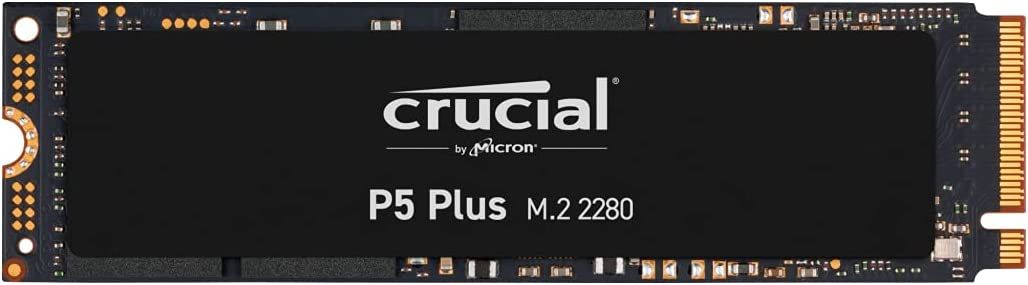
Save $22 when you purchase the Crucial P5 Plus M.2 SSD for $105 instead of $127. This high-speed drive offers a transfer rate of up to 6600MB/s and provides outstanding data protection. It is specially designed for demanding tasks such as gaming and creative applications. While it performs best in a Gen 4 slot, it is also compatible with Gen 3.0 slots. Available on Amazon.
$32 at Amazon
Computer storage comes in two ways: hard disk drives (HDDs) or solid state drives (SSDs). It's the store that keeps files that aren't in use.
Most users prefer bigger SSD/HDD storage, which means they can keep many files, games, media, and more.
The Operating System (OS)
As the name suggests, OS refers to the computer's operating system. While there are several options, most users prefer Linux and Windows 10 operating systems.
The CPU Cooling System
$35 at Amazon $50 at Newegg
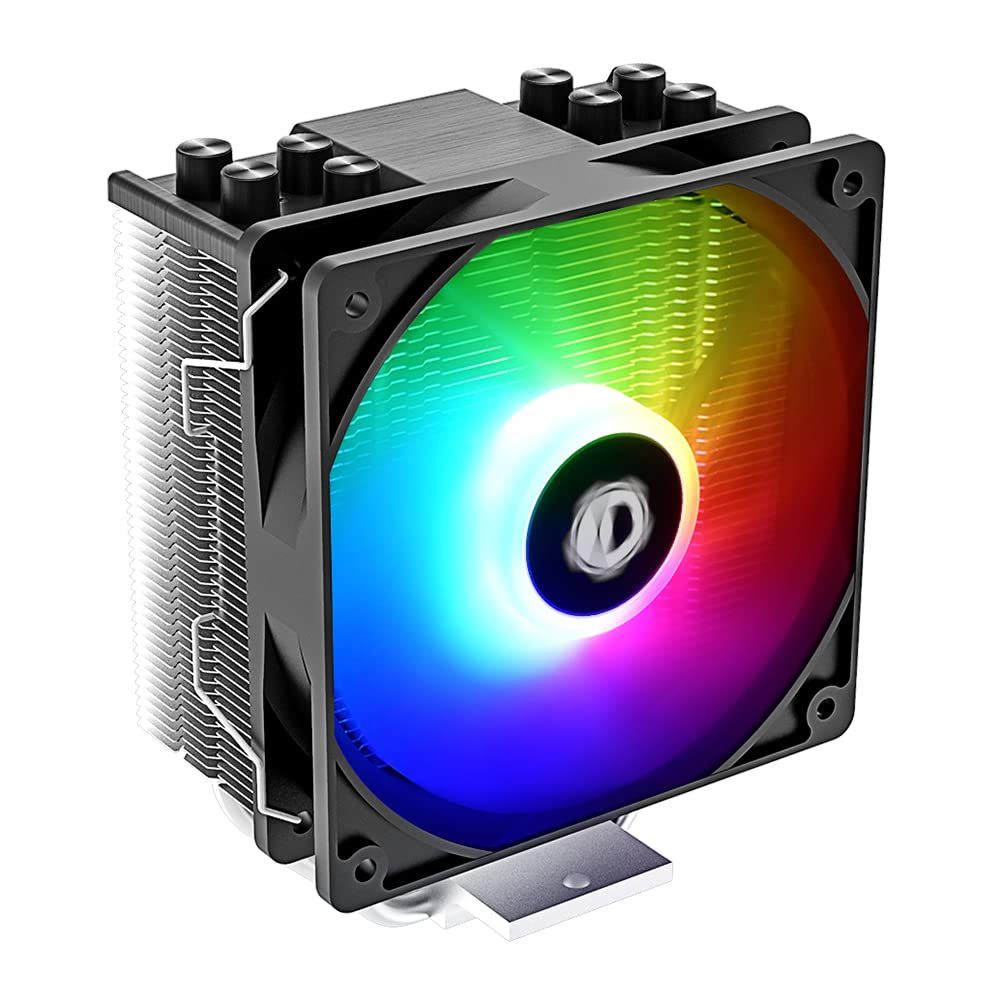
The ID-COOLING SE-214-XT ARGB CPU Cooler stands out as a top-quality air cooler on the market, surpassing stock coolers offered by Intel and AMD. It performs exceptionally well, all while maintaining an affordable price point that is too good to pass up. Designed to cool CPUs with up to 180W TDP, it includes a fantastic bundled PWM ARGB fan, providing both vibrant color and effective cooling. Don't overlook this incredible deal available on Amazon.
This system prevents the CPU from overheating.
Power Supply Unit (PSU)
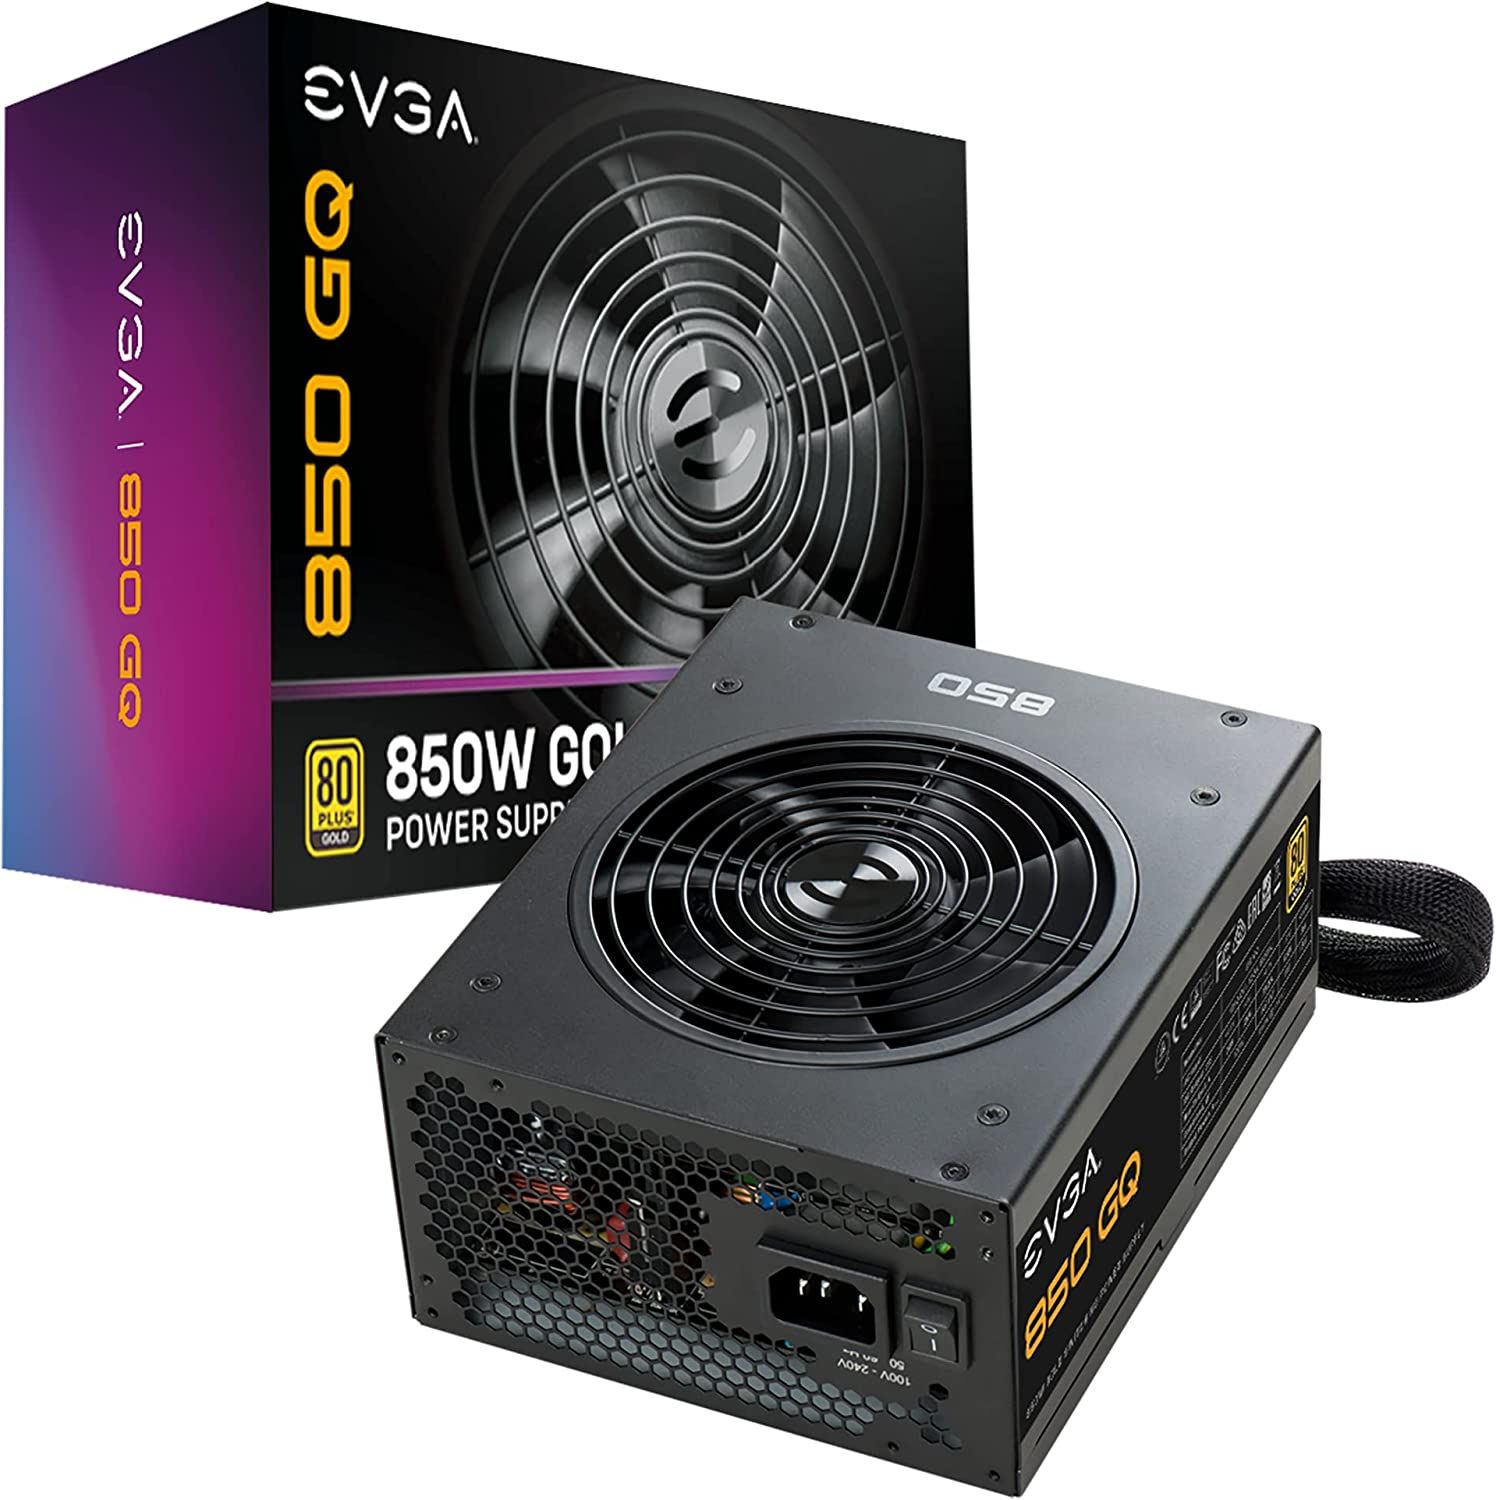
$80 at Amazon $118 at Newegg

Save $32 on the Thermaltake Toughpower Grand RGB 650W power supply unit (PSU) at Amazon. This PSU features a 256-color RGB-lit 140mm Hydraulic-Bearing fan, designed for low-noise operation and efficient cooling performance. The fan blades have been optimized to enhance static pressure, providing excellent cooling. The PSU has a unique lighting button at the back, allowing users to choose from five different lighting modes: RGB Cycle, Red, Green, Blue, White, or completely turn off the LED. With an 80 PLUS Gold rating, the Thermaltake Toughpower Grand RGB 650W provides up to 90% efficiency.
The PSU supplies the computer system with electric currents from an outlet. Ensure the PSU rating has proper voltage for the computer to avoid system blowup.
The Computer Casing
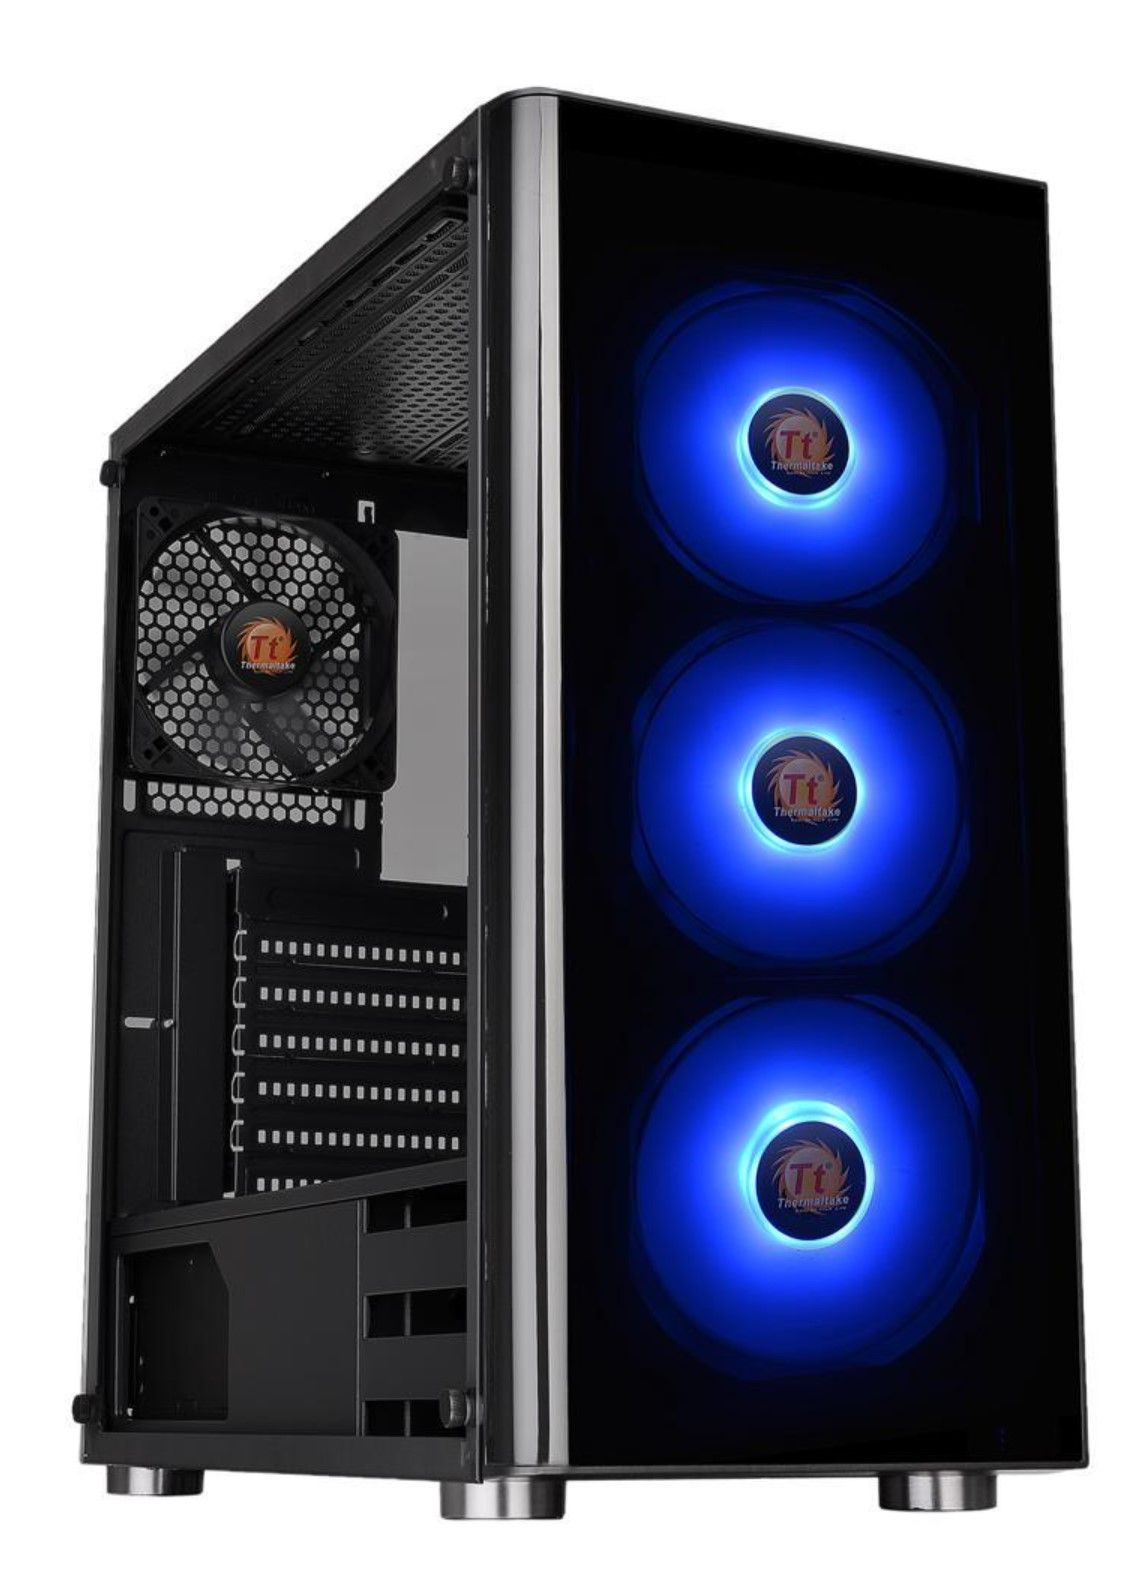
$70 at Newegg $80 at Walmart
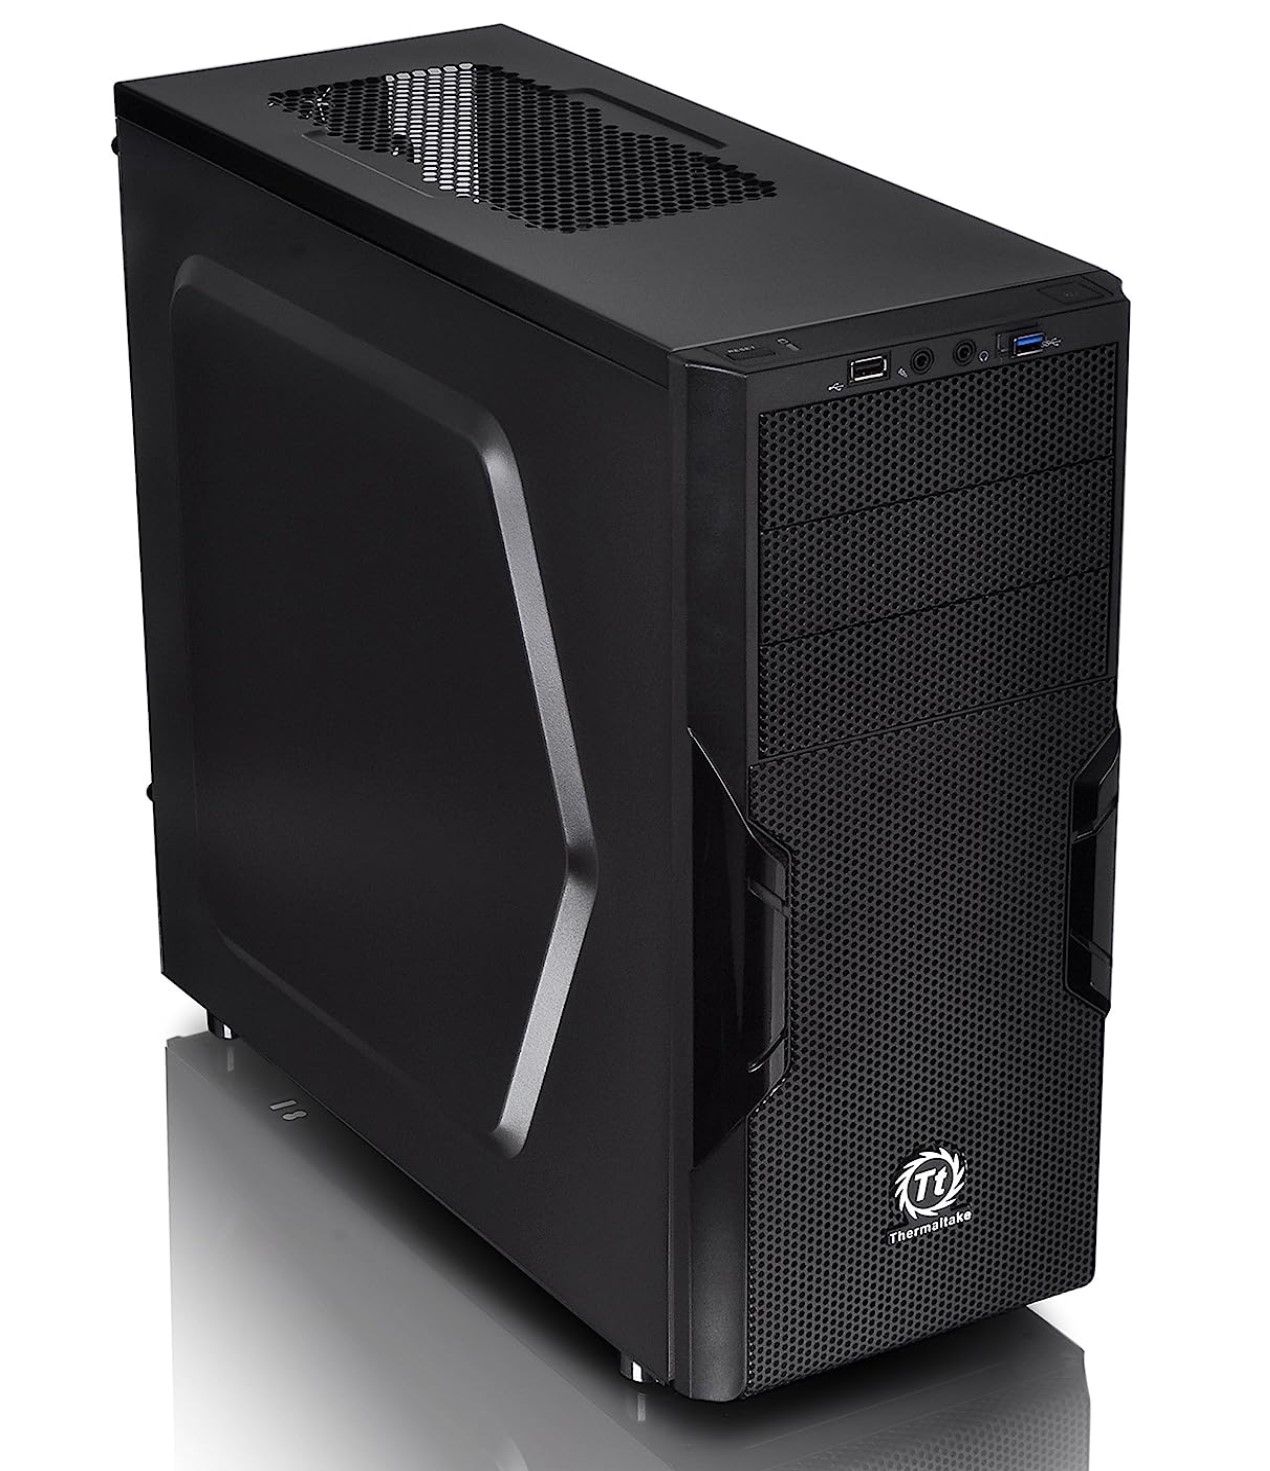
The Thermaltake Versa H22 is a specially designed ATX Mid-Tower case for gamers. It combines efficient heat dissipation with a sleek and compact design, featuring perforated metal mesh front and top panels. With support for both Micro ATX and standard ATX motherboards, the Thermaltake Versa H22 offers versatility and compatibility for all your gaming needs.
Available for purchase on Amazon and Newegg, priced at $88.
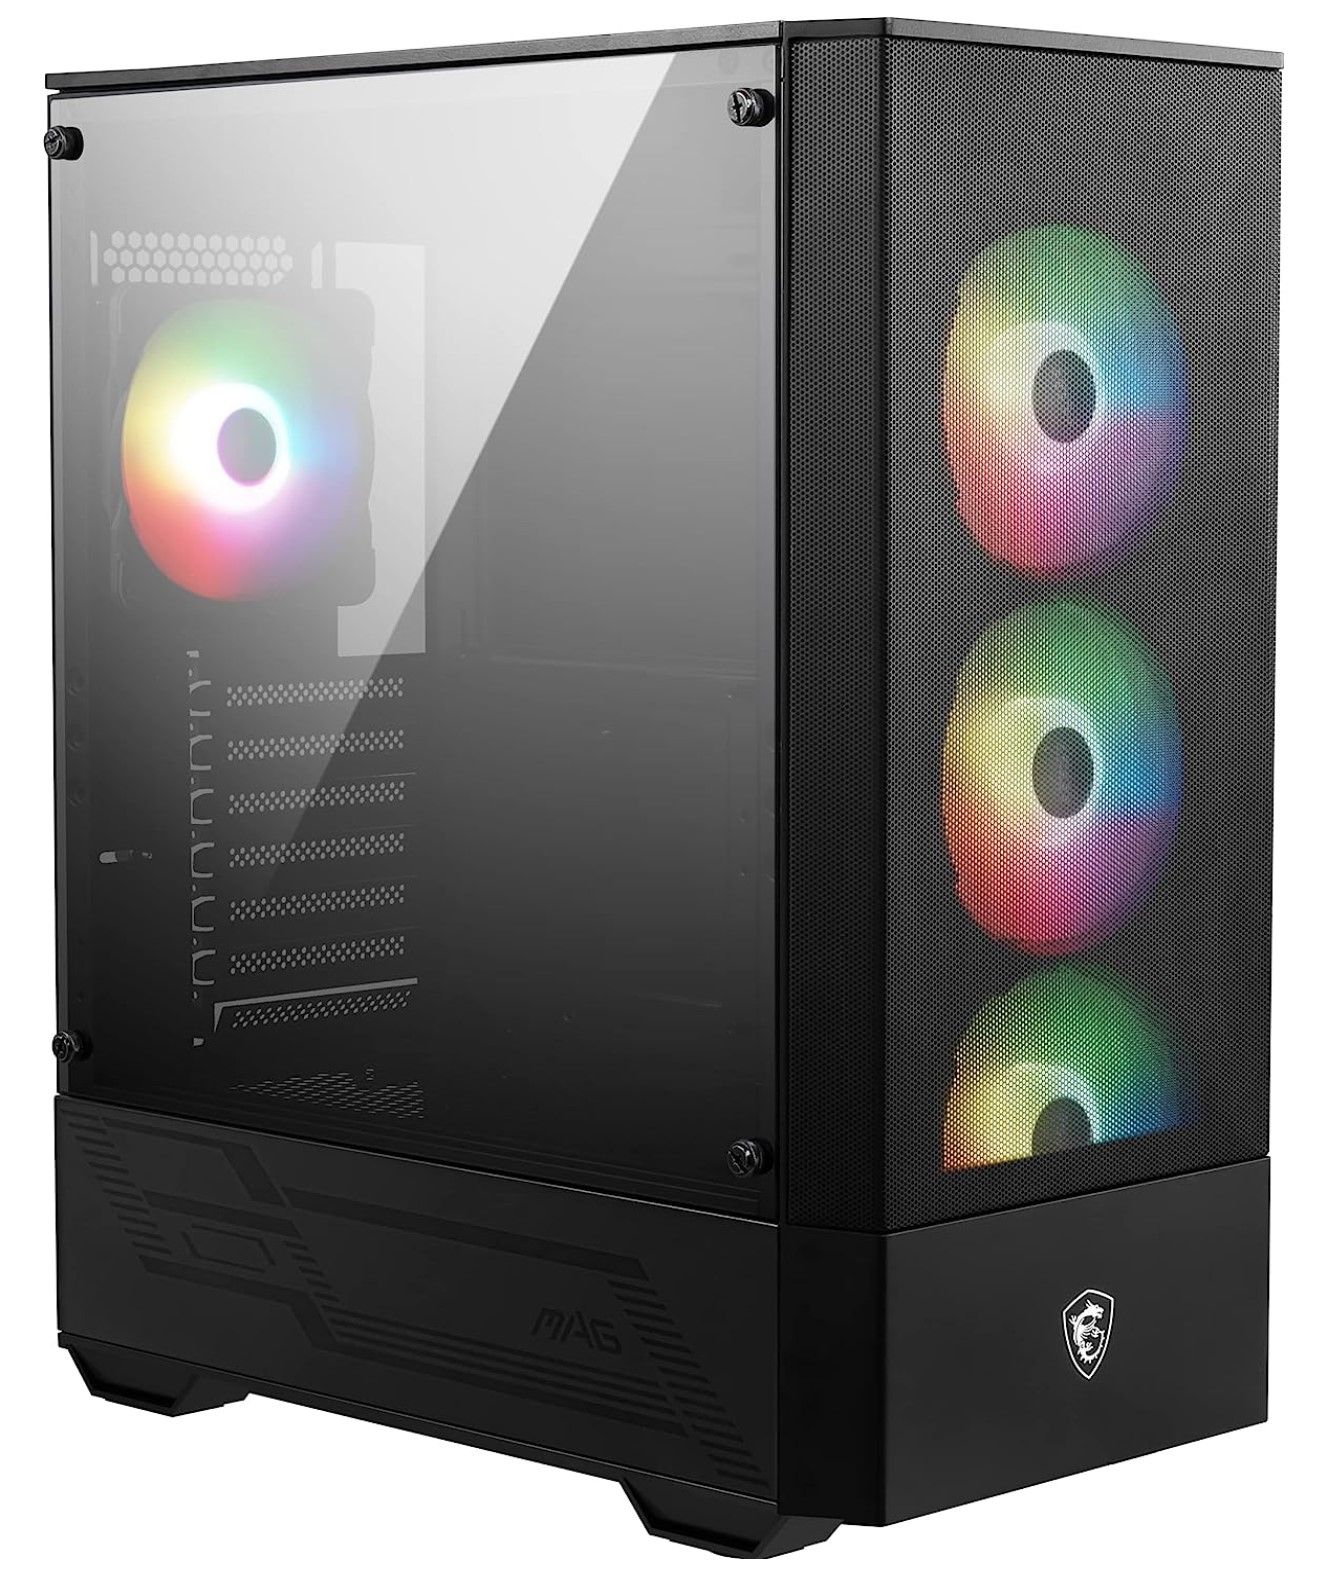
The casing of a computer serves both as an aesthetic enhancement and as a protective barrier against dust and debris. Additionally, certain case models are equipped with fans to enhance the cooling system of the computer.
Additional Terms to Keep in Mind
The gaming PC building process will include some terms that may sound strange to a new user. Here are some common words to keep in mind.
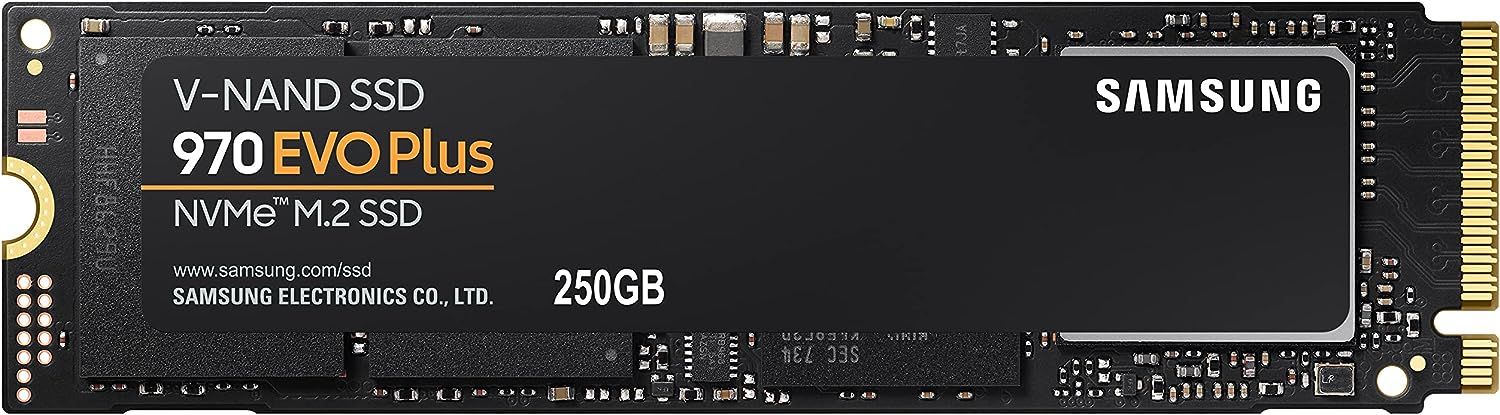
SATA, PCIe, and NVMe are different connection types similar to USB. SATA is typically used for transferring data with SSDs and hard drives. PCIe is commonly used for GPUs and M.2 SSDs, while NVMe is primarily supported by M.2 SSDs. NVMe offers faster data saving and access capabilities.
M.2 SSD
M.2 SSD refers to a minor stick that offers storage space to the PC. The M.2 SSD comes in SATA-based or PCIe-based options, with the latter supporting NVMe.
Prepare the Workspace
When it comes to the workspace, it is crucial to ensure that it meets certain criteria. This is where the entire building process takes place, so it must provide ample space while also being safe. One major concern is avoiding accidental electrostatic discharge, which can cause damage to sensitive components. To create an efficient PC building space, it is recommended to use a large table, laminate floor, or wooden surface. It is important to steer clear of carpeted surfaces as they can significantly increase the impact of static electricity on both the body and the materials being worked on. As a precaution, it is advisable to frequently touch an unpainted metal surface or wear an electrostatic discharge (ESD) wrist strap. These measures will help protect the sensitive components during the building process.
Step 1: Lay the Motherboard at the Workspace
One potential problem to be aware of is the possibility of the interface collecting dirt and debris while installing the SSD, processor, or memory. However, this can be easily avoided by having a can of compressed air handy to clean the surfaces. Once you have all the necessary parts and a suitable workspace, it's time to begin the process of assembling and building your gaming PC. This step-by-step guide is designed to make the entire process smooth and error-free, even for someone who is doing it for the first time.Please ensure you have a motherboard as it serves as the fundamental component for all other hardware in the system. To simplify and expedite the process, it is advisable to assemble the motherboard outside of the case. It is crucial to frequently refer to the manual to prevent any potential mistakes throughout the procedure.
Step 2: Install the Processor
: The specifications and installation instructions for PC components differ depending on the motherboard's manufacturer, size, and additional features. To ensure smooth installation, refer to the manual provided, which provides detailed guidance on each step, including where to apply pressure and which parts require delicate handling.You will need a motherboard and a CPU for this task.
Locate the CPU socket on the motherboard, which is covered by a plastic cap. Take note of the arrow on either the socket or one of the corners of the cap. To open the socket tray, press down the metal arm and pull it gently away from the socket. Carefully remove the package containing the processor and proceed to install it. It is important to be cautious, as both the processor and socket can be easily damaged. Avoid touching the bottom pins or the top of the chip, as this can leave dust or oil marks.
When installing, make sure to hold the processor by its edges. Align the arrow on the CPU with the one on the socket as you carefully insert the processor into the socket. Once fully inserted, lower the retaining treadle and push it back into its original position.
While replacing the treadle, some pressure may be required, but placing the processor in the socket should be done effortlessly. Additionally, it is recommended to consult the user manual for optimal outcomes.
Step 3: Install the Storage
What's Needed: Motherboard, M.2 SSDs
Check the user's manual to determine the recommended order for occupying the M.2 slots. Additionally, examine whether the motherboard is equipped with thermal guards on these slots and carefully remove them prior to proceeding. Gently insert the M.2 SSDs into their respective slots, being cautious not to apply excessive pressure. If the correct procedure is followed, the installation process should be straightforward. Ensure that the opposite ends of the installed slots are positioned diagonally upwards. Then, utilize the provided screws to securely fasten the M.2 SSDs into the appropriate locations on the motherboard. Finally, reattach the thermal guards over each M.2 SSD by tightening the screws back into place.
Step 4: Install the Memory
To begin, refer to the user manual to ensure the proper sequential installation of the RAM. Locate the memory slots on the motherboard, gently push down the plastic fasteners on both sides, and carefully insert the modules. Ensure to handle the RAM units by their sides to prevent any contact with the gold pins. Additionally, it is important not to touch the module chips.
Ensure that the notches of the unit are properly aligned with the ridge of the slot and firmly place it, exerting some force until you hear a clicking sound. It may be necessary to apply a 30-pound force to install it correctly. Verify if the fasteners flip up to securely hold the memory. If they do not, there is a high probability that the RAM was not installed correctly.
Step 5: Secure the Motherboard in the Case
To complete the setup, you will need the case and motherboard. Start by identifying the rectangular space in the case and securely attach the I/O shield. Next, gently place the motherboard into the designated area, making sure that all ports align with the shield. Finally, fasten the motherboard onto the standoffs with the correct screws. Be cautious not to overtighten them, as this could lead to cracking. Just ensure that everything is securely in place without excessive force.
Step 6: Install the Graphic Cards
What's Needed: GPU, Motherboard
To create space for fitting the GPU, remove a few expansion slot inserts located at the back of the case. The quantity of inserts needed will vary depending on the type of GPU selected, although typically two are used. Locate the appropriate PCIe Express slot for the graphics card and insert the GPU.
Make sure the PCIe Express slot aligns with the card and firmly press down until the plastic latch flips up and clicks into place. It may not require excessive force, but make sure it securely clicks. Afterward, fasten the GPU's mounting struts to the case by using the holes and screws provided on the slot.
Step 7: Secure in the Cooling
What's Needed: Fan, CPU, Motherboard
Use the provided mounting brackets to securely attach the cooling fan to the motherboard. Prior to this step, determine whether or not the fan already contains thermal paste, or if it needs to be applied during the installation process. If thermal paste is required, apply a pea-sized amount to the center of the CPU and firmly press the fan into place, ensuring it is on top of the processor and paste. Finally, connect all of the necessary cables of the fan system into their respective ports.
Step 8: Install Power Supply Unit (PSU)
Needed: power supply, motherboard, case
Consulting the user's manual for guidance is beneficial. Nonetheless, the procedure should not pose any complications. Detach the PSU retaining bracket and secure it onto the power supply. Carefully insert the power supply into the case until it aligns with the case.
Step 9: Plug in all Required Cables
What's Needed: power supply, case, motherboard
Follow the manufacturer's instructions to plug all required GPU, USB, audio, power supply, drives, cooling cables, and heatsink into the motherboard.
Step 10: Attach the Tools
The next step in the process of assembling a gaming PC is connecting the necessary peripherals to the system. This includes a gaming mouse, monitor, headset, and keyboard. These devices are crucial for enhancing the accuracy and comfort of the gaming experience.
Step 11: Switch on the System
With all components and cables in place, it's time to press the power button. Everything should power on, especially if the gaming PC building process is successful.
Step 12: Boot Up the System
If step 11 is successful, a screen will appear asking for the system BIOS. Place the disk containing the OS in the suitable drive, restart the system, and install the OS.
What if the PC Doesn't Power on?
If the power supply is not attached to the outlet, check and plug it in.
Confirm if the PSU's switch is on.
Ensure all power supply cables are properly attached to the motherboard.
Ensure all case's cables are appropriately attached to the motherboard.
Ensure all parts and components are properly secured.
If the reboot process still does not function properly after following the aforementioned steps, it is possible that one or more components are defective. We recommend contacting the manufacturer to inquire about their return policy and whether it covers any flawed parts.
Final Thoughts
FAQ
It's a wrap for tips and steps on how to construct your own gaming PC. This process is often daunting for newcomers, but with the right guidance, anyone can optimize their gaming experience by creating their own equipment. We trust this guide will remove any obstacles in building a high-performing, long-lasting, and user-friendly gaming setup. Also, don't forget to refer to the final section for answers to any related inquiries.FAQ
.Q: Why does my gaming PC fail to boot after building?
If your gaming PC fails to power on after assembly, there are a few possible reasons to consider. Firstly, ensure that the system is properly connected to a power outlet and check if the PSU switch is turned on. Additionally, verify if any components have been installed incorrectly. Should these factors not be the cause, it is possible that one of the components may be experiencing issues. In such cases, we recommend reaching out to the manufacturer for further assistance.
Q: Is there a way to build a gaming PC in Budget?
There are budget advantages to building a gaming PC at home. Users have the opportunity to explore different options and find the best prices for components. This allows them to only acquire what they actually need, eliminating the cost of unnecessary, expensive parts.
Q: Which are the most essential parts of a gaming PC?
A gaming PC includes seven main components to build and get running. These include the case, motherboard, GPU (s), storage, power supply, processor, and memory.