
When players visit the myconid colony in the Underdark region of Baldur's Gate 3, they encounter a deep gnome afflicted by duergar poison. Treating her condition reveals the distressing fate of a recent deep gnome expedition that fell victim to a duergar raid. To aid the myconids, players have the option to eliminate the duergar at the nearby camp. However, to rescue the captured deep gnomes, players must venture to the docks and use the duergar ship to journey across the lake to Grymforge.
Upon arrival in Grymforge, players can choose to immediately assault the duergar camp, although this is not required for the successful rescue of the deep gnome expedition. Similar to other quests in Baldur's Gate 3, players have the opportunity to pursue a more peaceful approach by cooperating with select locals.
Where to Find Philomeen
Upon arriving in Grymforge and receiving permission to explore, players should seek out the two duergar who are discarding gnome bodies into the water. Behind them lies a sizable locked door, although the lock icon does not appear red. Consequently, the duergar are indifferent to whether players choose to unlock the door in their presence or enter directly.
Beyond the door lies a dining hall adorned with valuable silverware, yet the main objective for players is a button located in the rear-left corner of the room. This button will illuminate upon a successful Perception check, but even without this accomplishment, players can locate and press the button. Doing so will trigger the opening of a concealed passage in close proximity.
Next, players must defeat three ochre jellies on the staircase. Make sure to search their bodies for loot and check the base of the other staircase for a chest. After that, follow the path upwards and leap across a few gaps to reach another massive door. This door can also be picked open by players, but there is an easier way inside as the wall to the left of the door has collapsed.
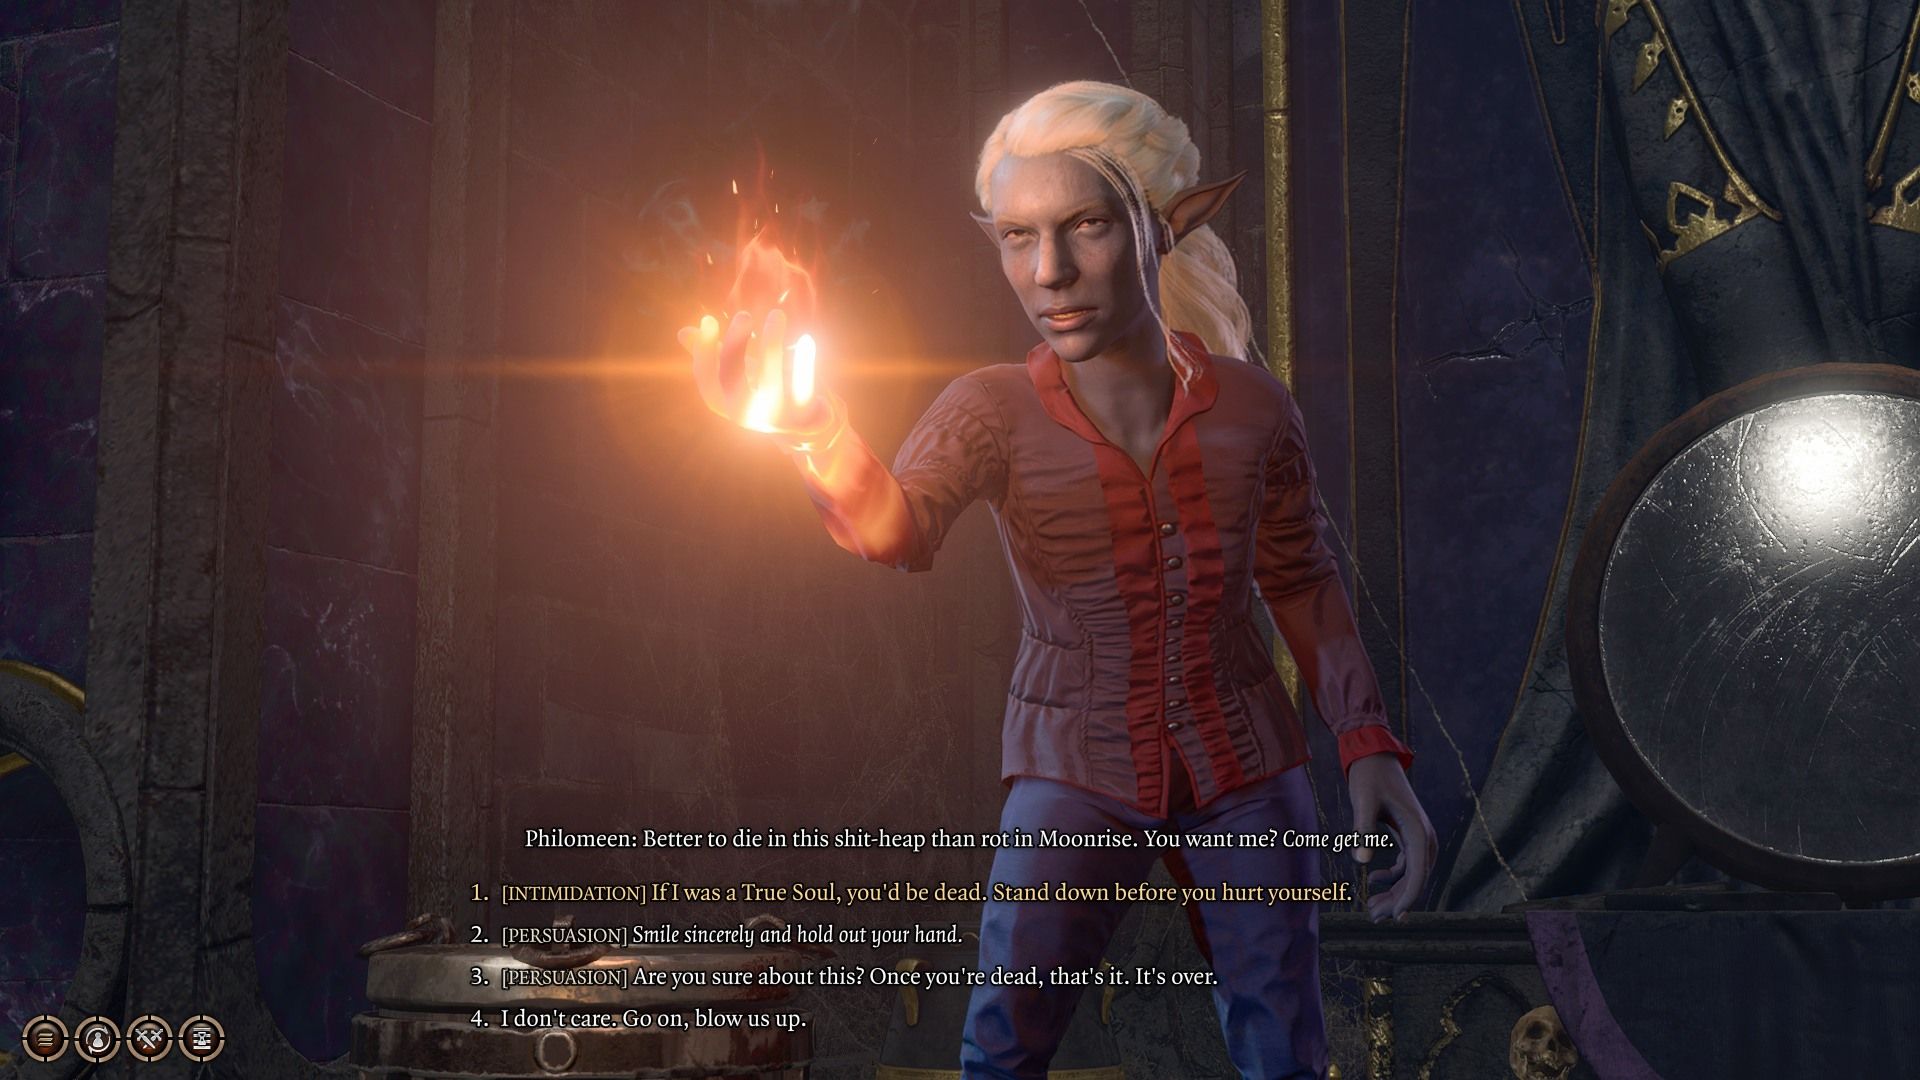
In this room, you will find Philomeen, a deep gnome who managed to escape from her captors. She has come across a barrel of runepowder, which is the primary objective of her expedition. She threatens to detonate the powder if the party attempts to capture her, but players can convince her otherwise by either intimidating her or passing one of two persuasion checks. Additionally, the speaker has an opportunity to recall the significance of runepowder through a history check during this conversation.
At this juncture, players have the option to release Philomeen, request some of the powder, or engage in an attack against her. It is advisable for players to request the powder, as it will prove beneficial in rescuing the remaining gnomes. Philomeen is willing to relinquish only a vial of the substance, not the entire barrel, but a vial will suffice for the remainder of this quest.
With the expedition deemed a success, players may now proceed to return to the deep gnome within the myconid colony. However, there are additional deep gnome captives in Grymforge, providing players with an opportunity to save a majority of them.
How to Ally With Elder Brithvar
The following is a better way to rewrite the given content
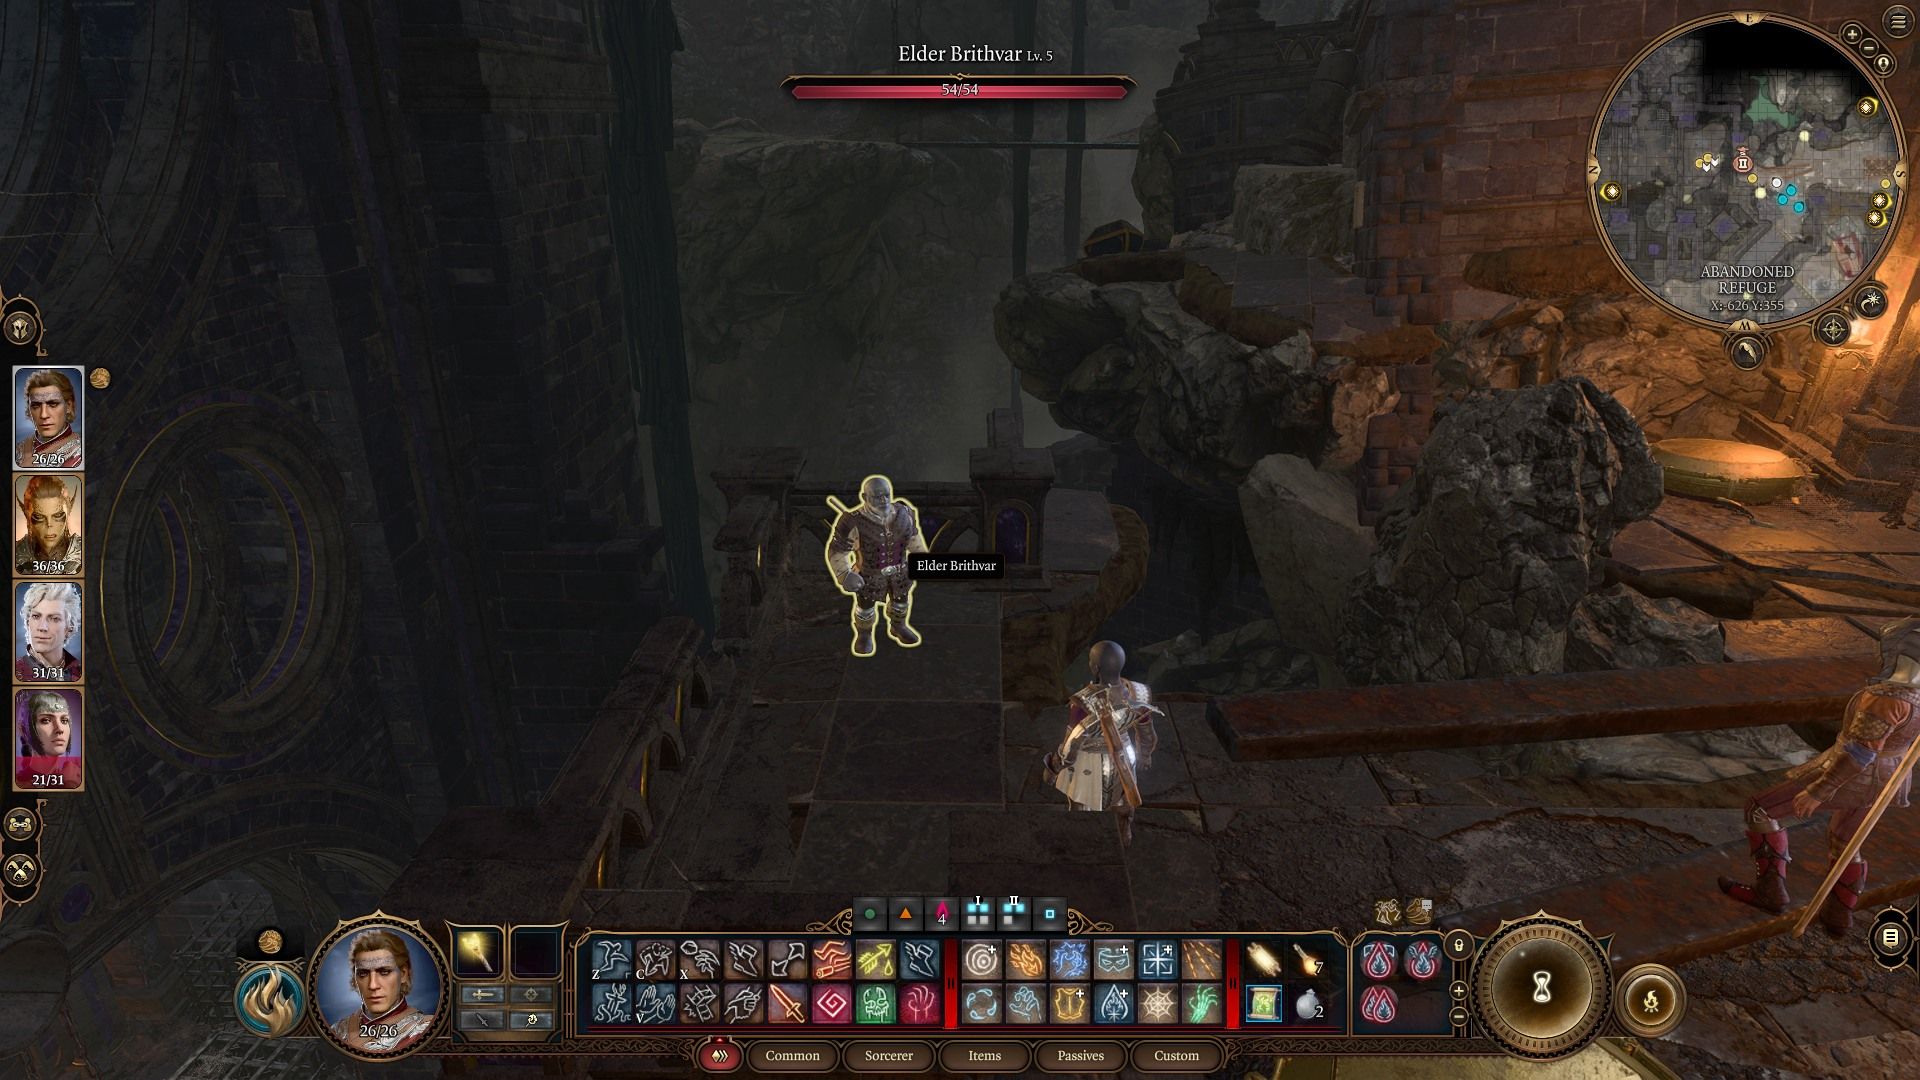
To progress further, forward-thinking players should seek out Elder Brithvar, who frequently resides on a balcony to the south of the Grymforge dock. Disgruntled with both True Souls and the Absolute, Brithvar possesses the ability to detect the mind flayer parasite lurking within the minds of the party. However, by utilizing Deceive, players can persuade him that they were once True Souls but now seek revenge.
Once Brithvar is convinced of the party's alliance, he will propose assisting players in their quest to eliminate Nere, the leader of the expedition and a True Soul drow. The initial phase of this strategy involves obliterating the Scrying Eye hovering within Grymforge. Players must exercise caution during their attack on the Eye, as any harm inflicted upon it will be considered assault, while its complete destruction will be regarded as murder. Furthermore, even though the Eye does not leave behind a physical remains, if guards stumble upon the location of its explosion, they may become aware that something perished.
With the Eye put away, inform Brithvar that his plan can now be executed without any hindrances. At this juncture, the only remaining task is to liberate Nere and the deep gnomes who are presently ensnared by debris in the adjoining room flooded with scorching magma.
How to Free (and Betray) Nere
Inform Sergeant Thrinn about the explosive powder obtained from Philomeen. She will then motivate the party to utilize it by throwing the vial at the Cave-In object. It is important to note that the vial will not detonate immediately, allowing both the gnome slaves and duergar guards to move to a safe distance. Once they, along with the party, have reached a safe distance, take aim at the vial using a ranged weapon or cantrip and trigger the explosion, causing the Cave-In to collapse.
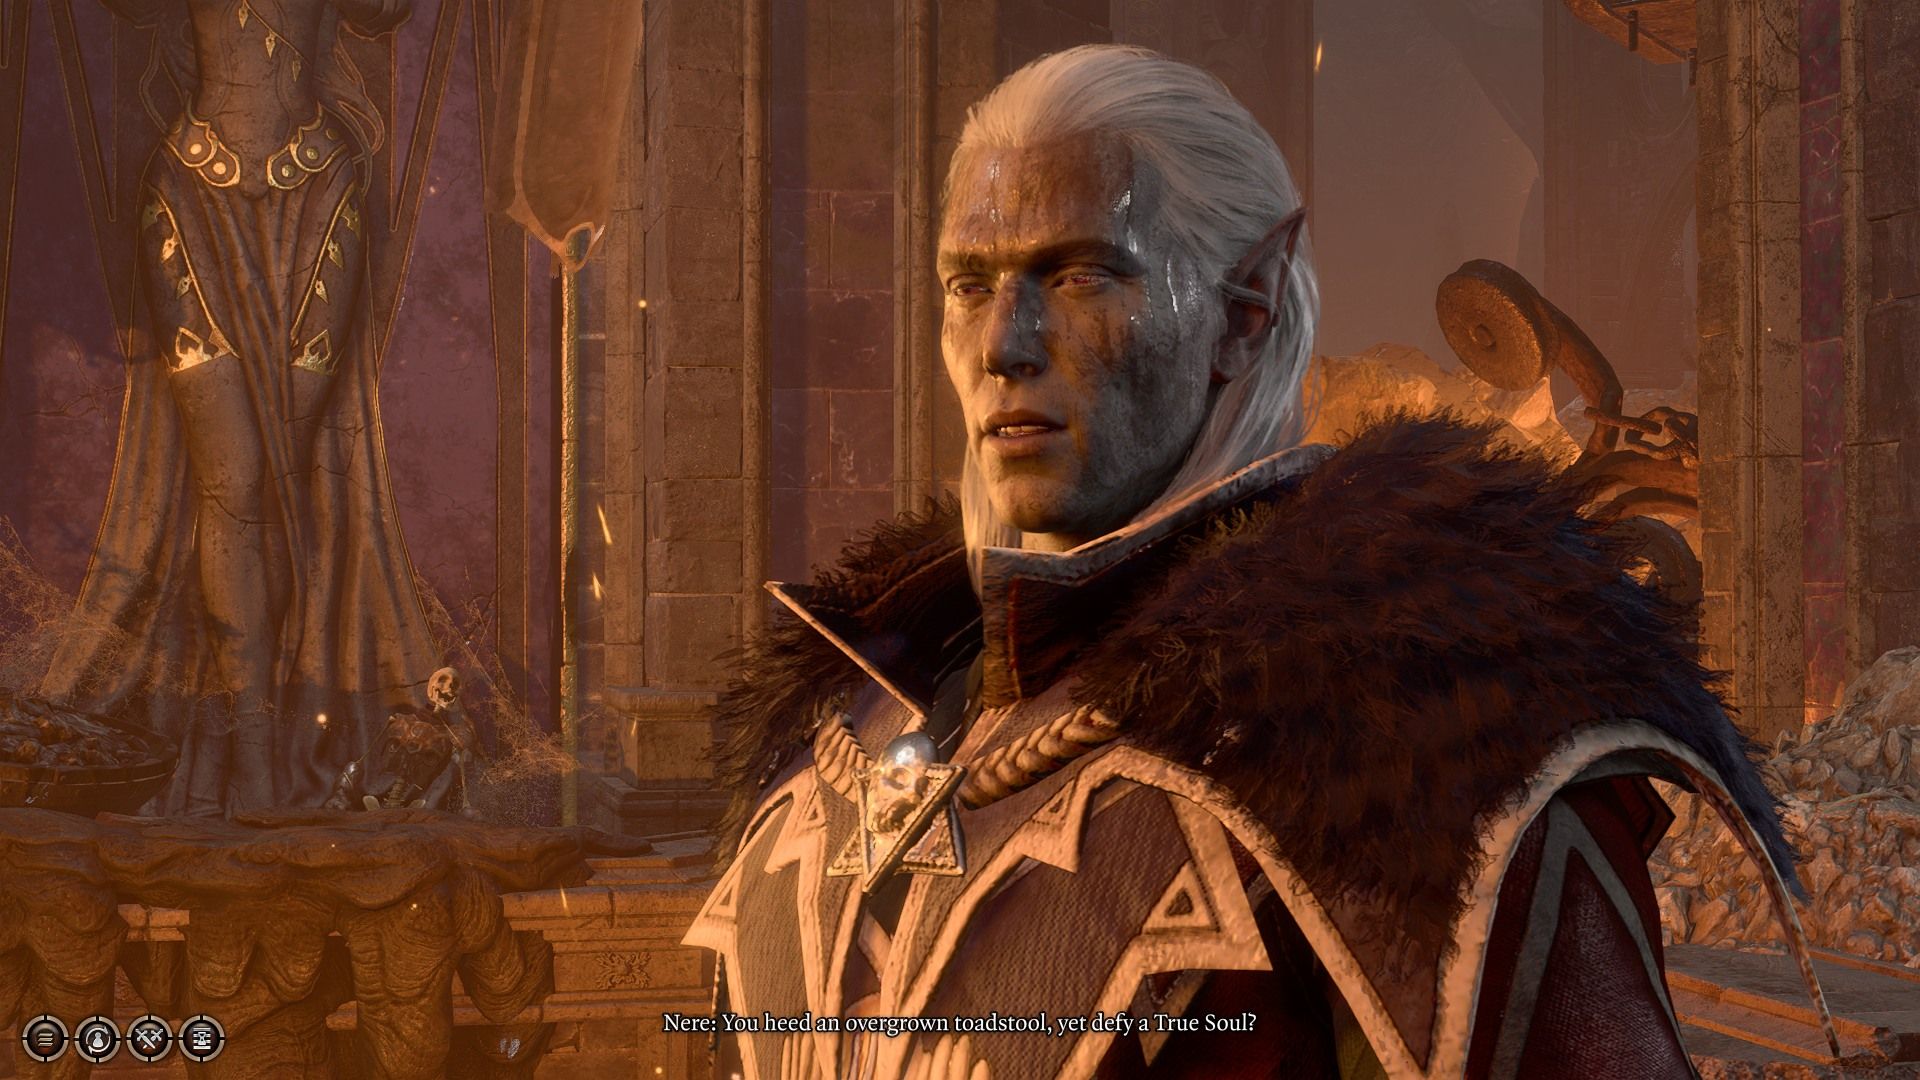
Nere and a group of gnomes emerge from the scene. Without hesitation, Nere swiftly kicks one gnome into the magma. However, players now have the choice to intervene or support his actions. As the players are here to save the gnomes, it is advisable to demand Nere to cease his actions, assert that the party aims to eliminate him, and enlist Brithvar's help. A final opportunity is given to the players to choose their allegiances before a fierce battle ensues.
This battle entails confronting Nere and a chamber filled with duergar. Nevertheless, if players have sided with Brithvar, they will be accompanied by a similar number of duergar allies. This evens the odds and renders the fight more manageable. Players can swiftly dispatch some of the duergar by pushing them into the magma, but it is important to remember that the enemies possess the same capability and can target party members and their allies.
If Brithvar survives the fight, he will address the party once the combat is over. If he does not, players will converse with Kirgrath instead. In either case, players will receive a payment in gold and the duergar will mention the necessity of departing. Players now have the option to employ Persuasion or Intimidation in order to convince the duergar to abandon their deep gnome slaves. If they are unsuccessful, players can still engage in combat with the remaining duergar to liberate the gnomes.
With the departure of the duergar, the deep gnomes will express their gratitude towards the party. Although their expedition leader is still missing, the True Souls have taken him to Moonrise Towers, a location that players will encounter later on. After a period of time elapses, the deep gnomes will reappear in the myconid colony, where players can receive a reward for their efforts. Furthermore, the myconids are also seeking Nere's head, making this an opportune moment to return and complete both quests. Subsequently, players can make their way back to Grymforge, where they can freely loot any objects without encountering any opposition.
Baldur's Gate 3 is available now on macOS and PC.


