
Ghostrunner 2: Locating Every Artifact in the Game

Discover the hidden world of Ghostrunner 2 through a thrilling collection of artifacts Unveil their locations as you journey through chapters filled with mystery, danger, and adrenaline Your quest awaits in Chapter 1, 4, 5, 7, 8, 10, 11, 14, 16, 17, and 18 Prepare for an epic adventure!
In Ghostrunner 2, the cyberpunk realm presents players with not just intense combat and parkour, but also the chance to discover a plethora of collectibles. Among these treasures are artifacts, scattered throughout the game. However, spotting these valuable items can be quite a challenge, as they are often concealed in secretive locations. Keep reading to uncover the guide on locating all collectibles in Ghostrunner 2.
Where to Find All Collectibles in Ghostrunner 2
Chapter 1
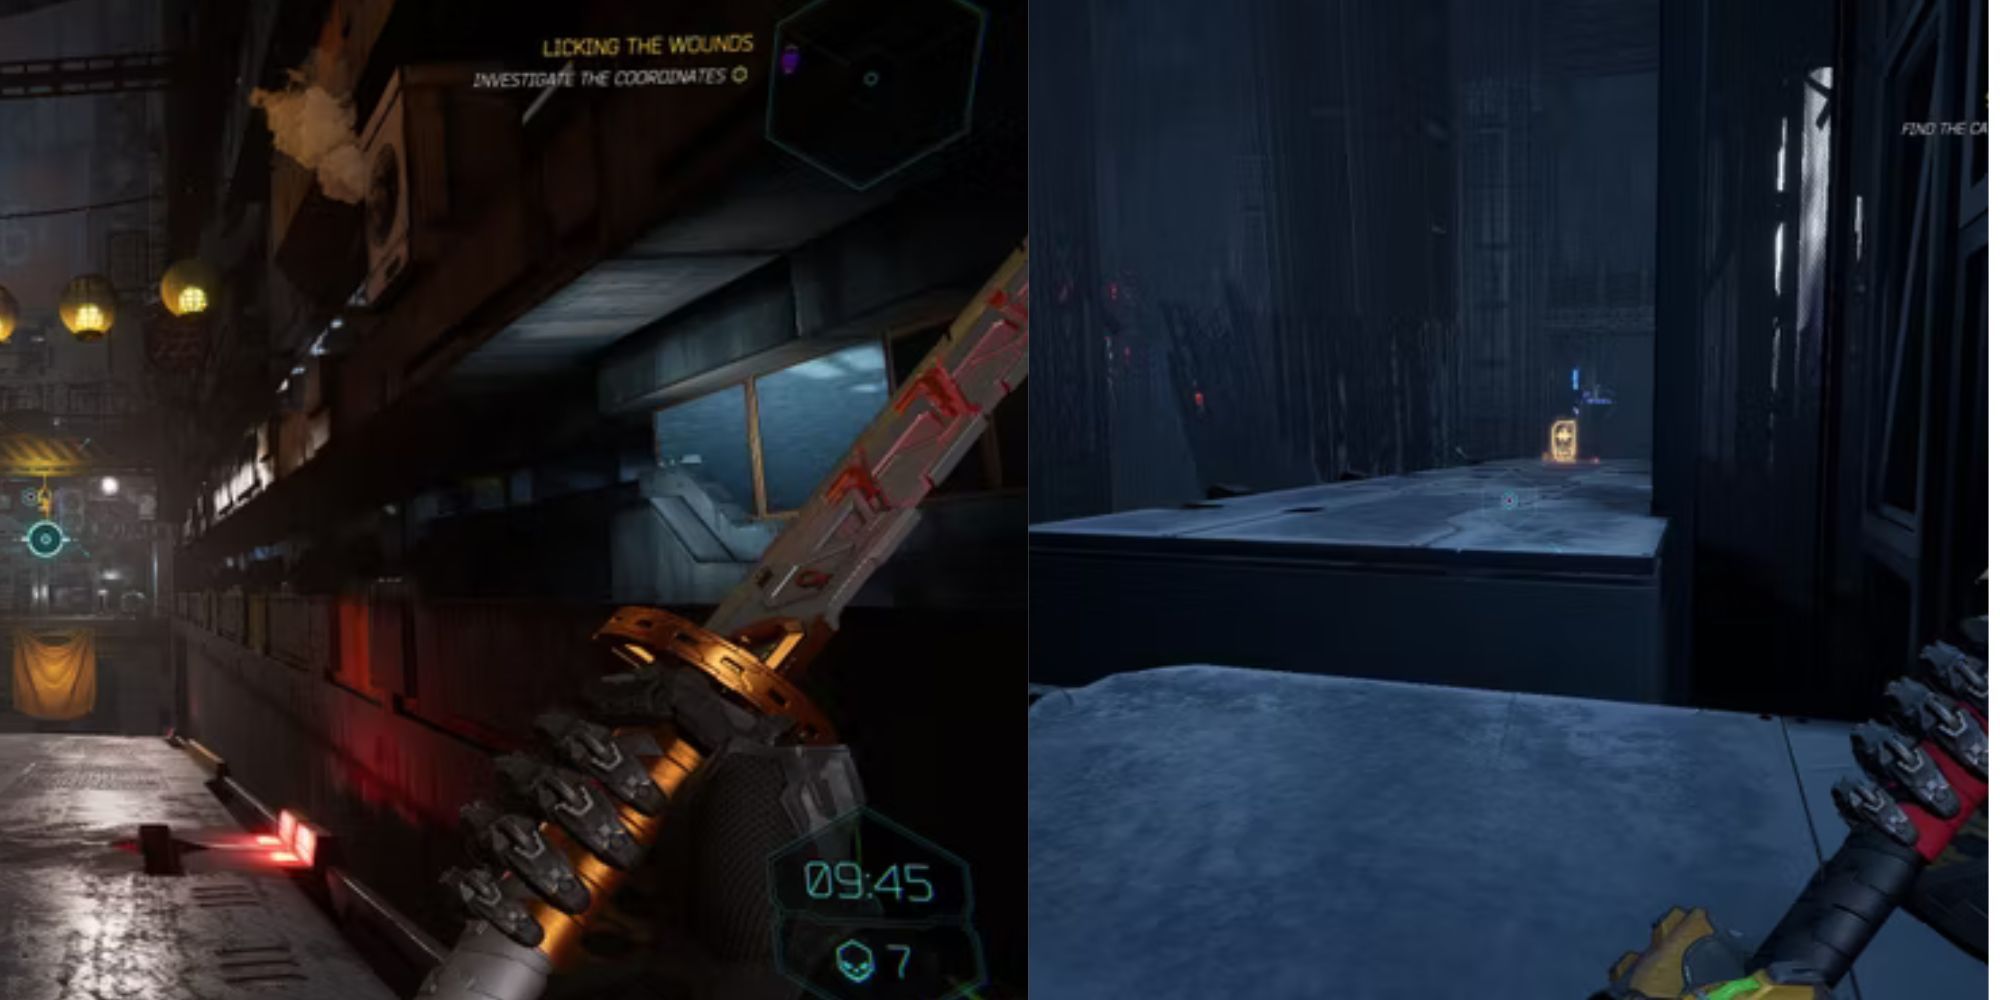
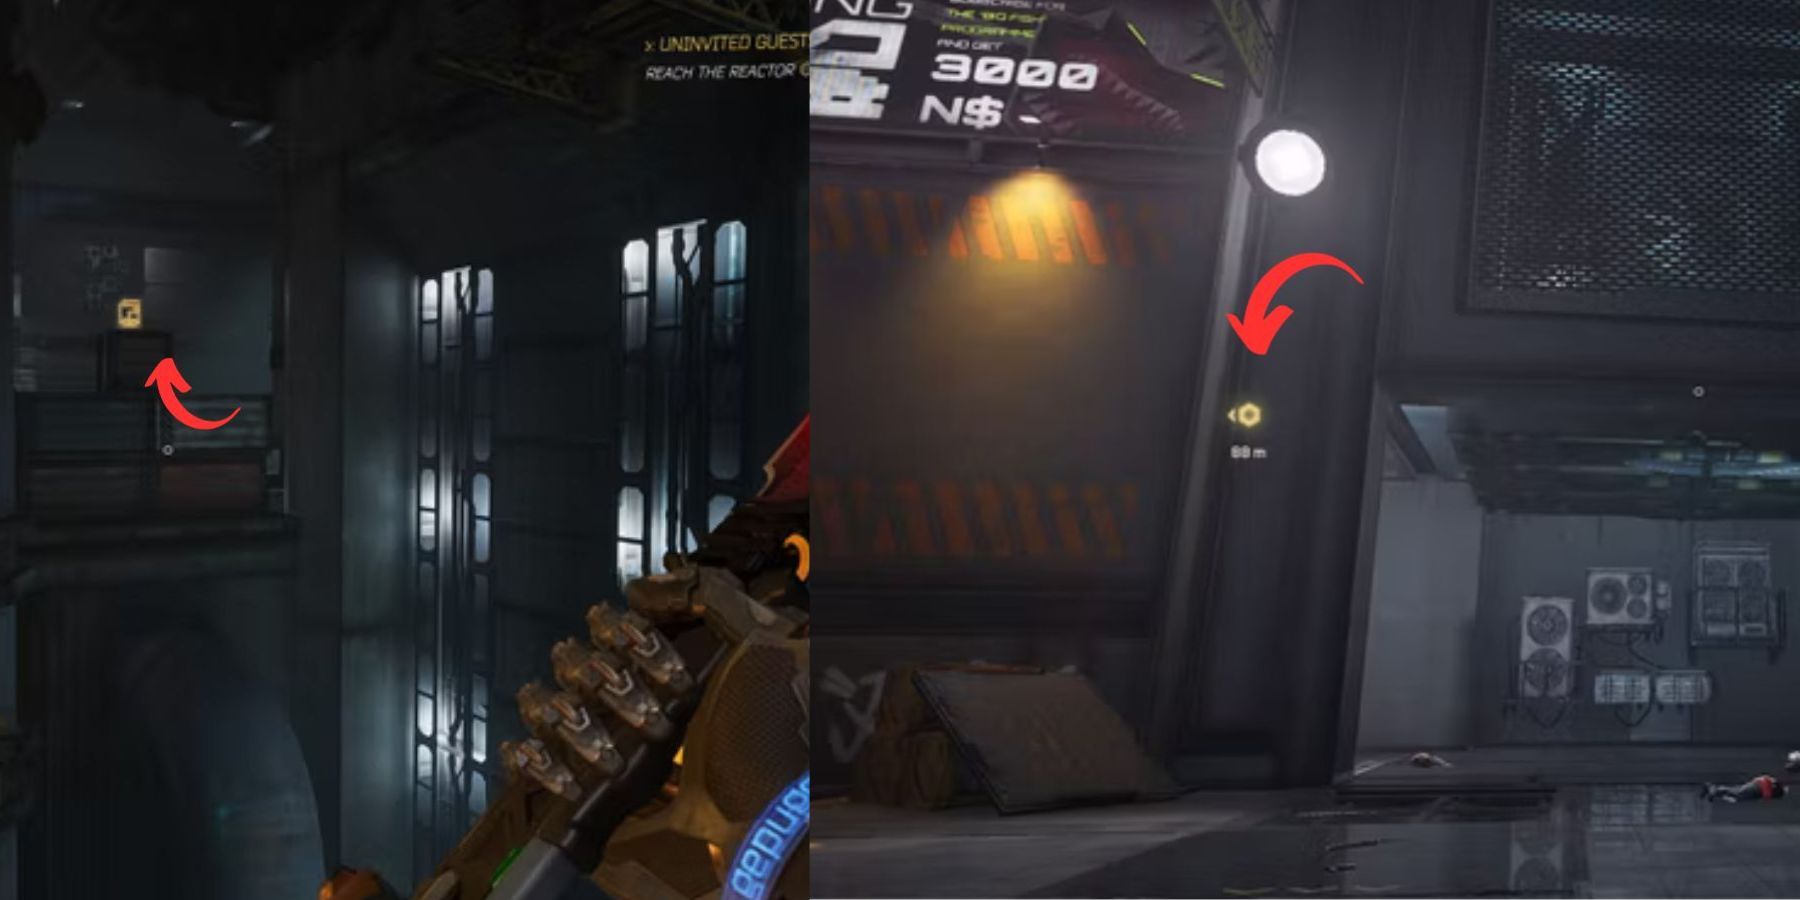
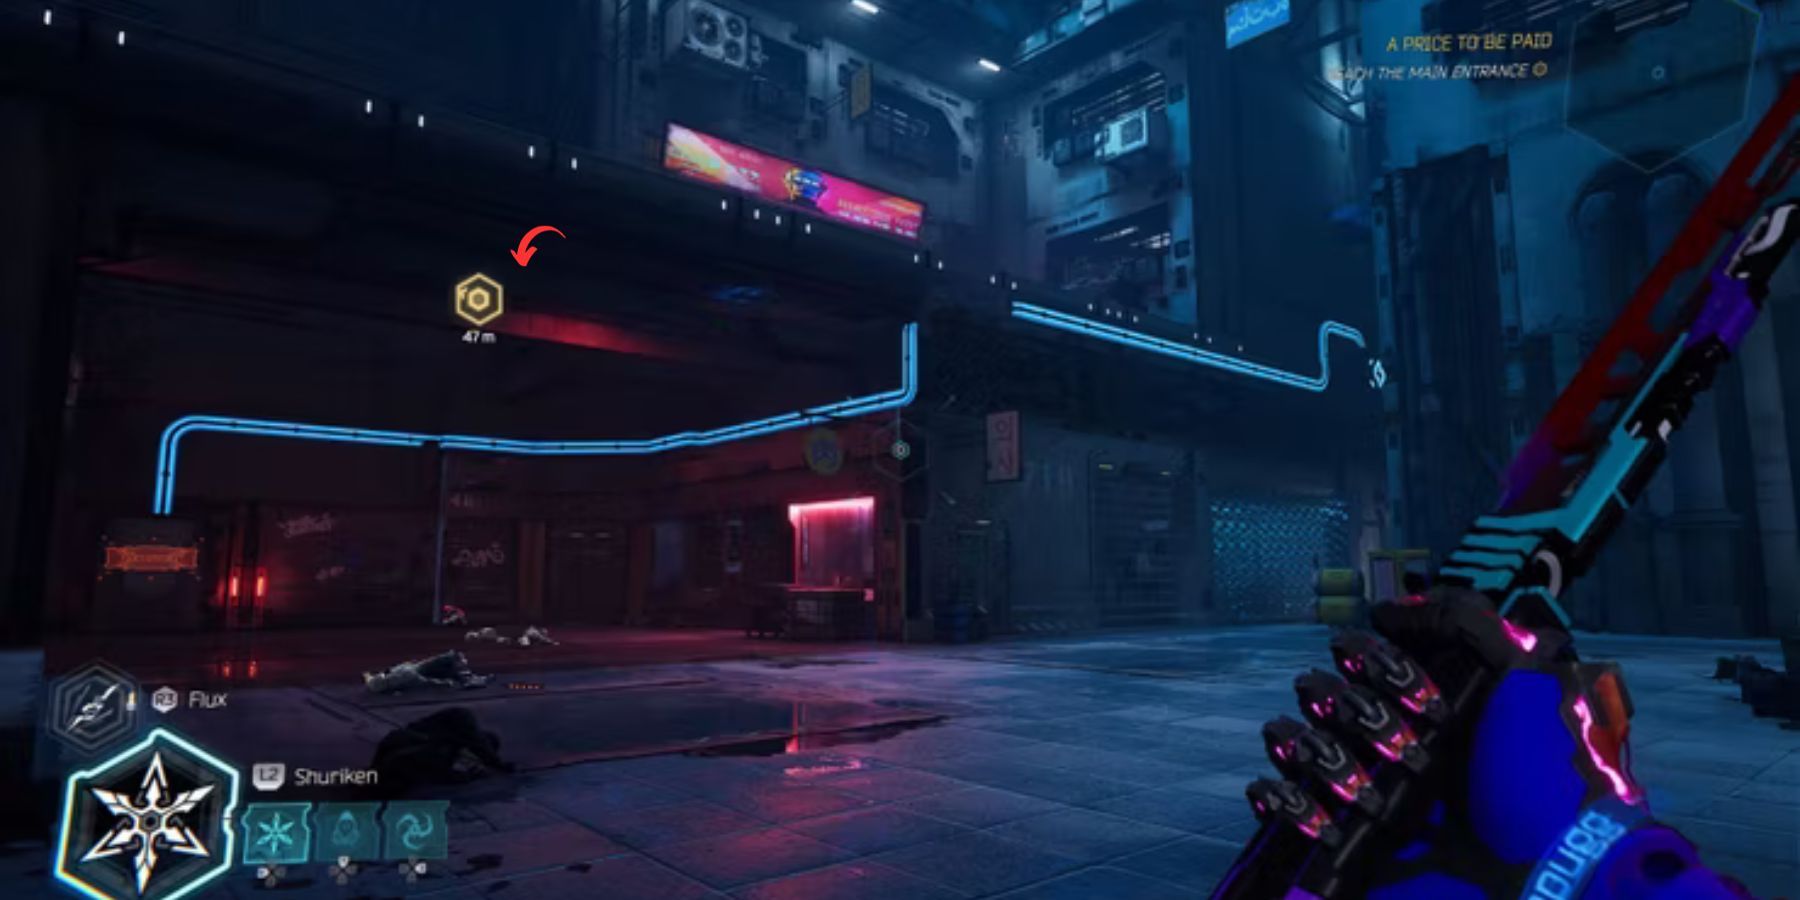
In the first chapter of Ghostrunner 2 titled "Uninvited Guests," players have the opportunity to discover five artifacts. Upon executing the 'parry' action for the first time, players gain access to a ventilation shaft that leads them to the first artifact, the Recruitment Flier. Moving forward along the main route, players will encounter a container room where they can easily spot the second artifact, an Energy Drink sitting atop one of the containers. In the same area, there are stacked containers, and to the left of them is a crate containing Alternate Currencies.
In a later stage of this chapter, players will encounter a room adorned with a vibrant sign above it. It is crucial not to enter this room. Instead, players should proceed to the right towards the sliding area. After successfully sliding, players can walk along the left wall to reach an elevated platform where they can retrieve Tarot Cards located within a ventilation shaft. The final artifact, Grilled Rat Meat, can be found near the Challenge Terminal situated next to the containers.
Chapter 4:
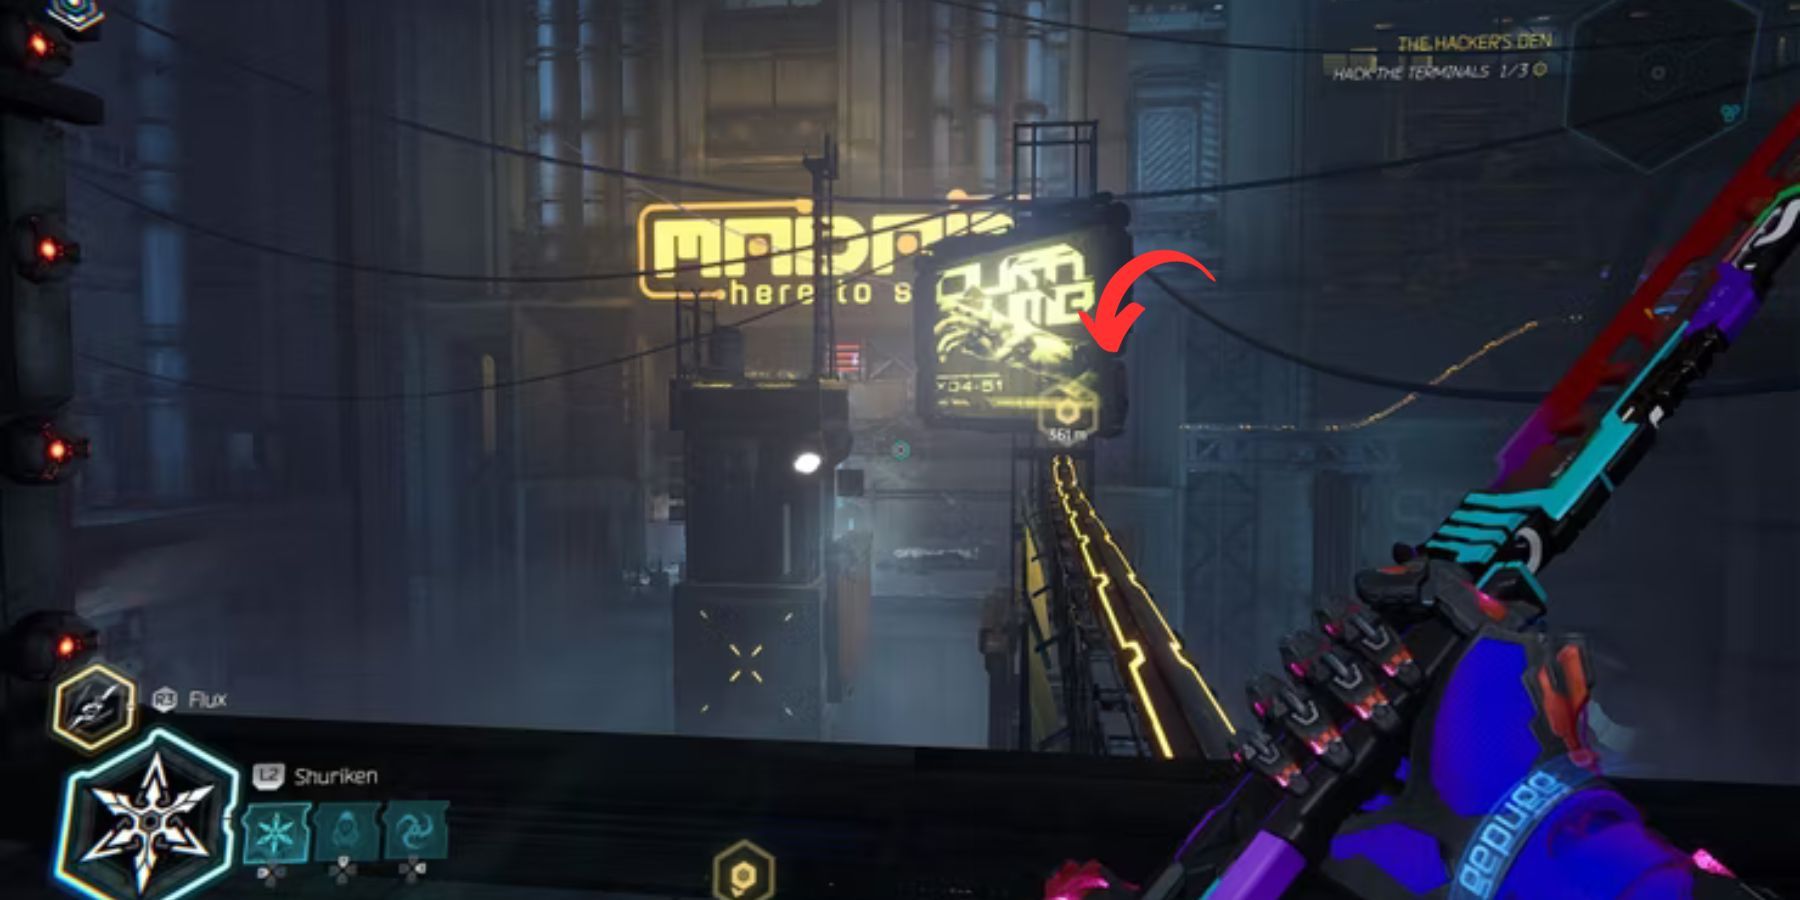
In this chapter, gamers will discover three artifacts. In the lobby area, players should search for a boost pad on their left. By activating this pad, they can reach the top of the building and run along the billboard. Afterwards, players will need to navigate through a ventilation shaft to find the Video Tape.
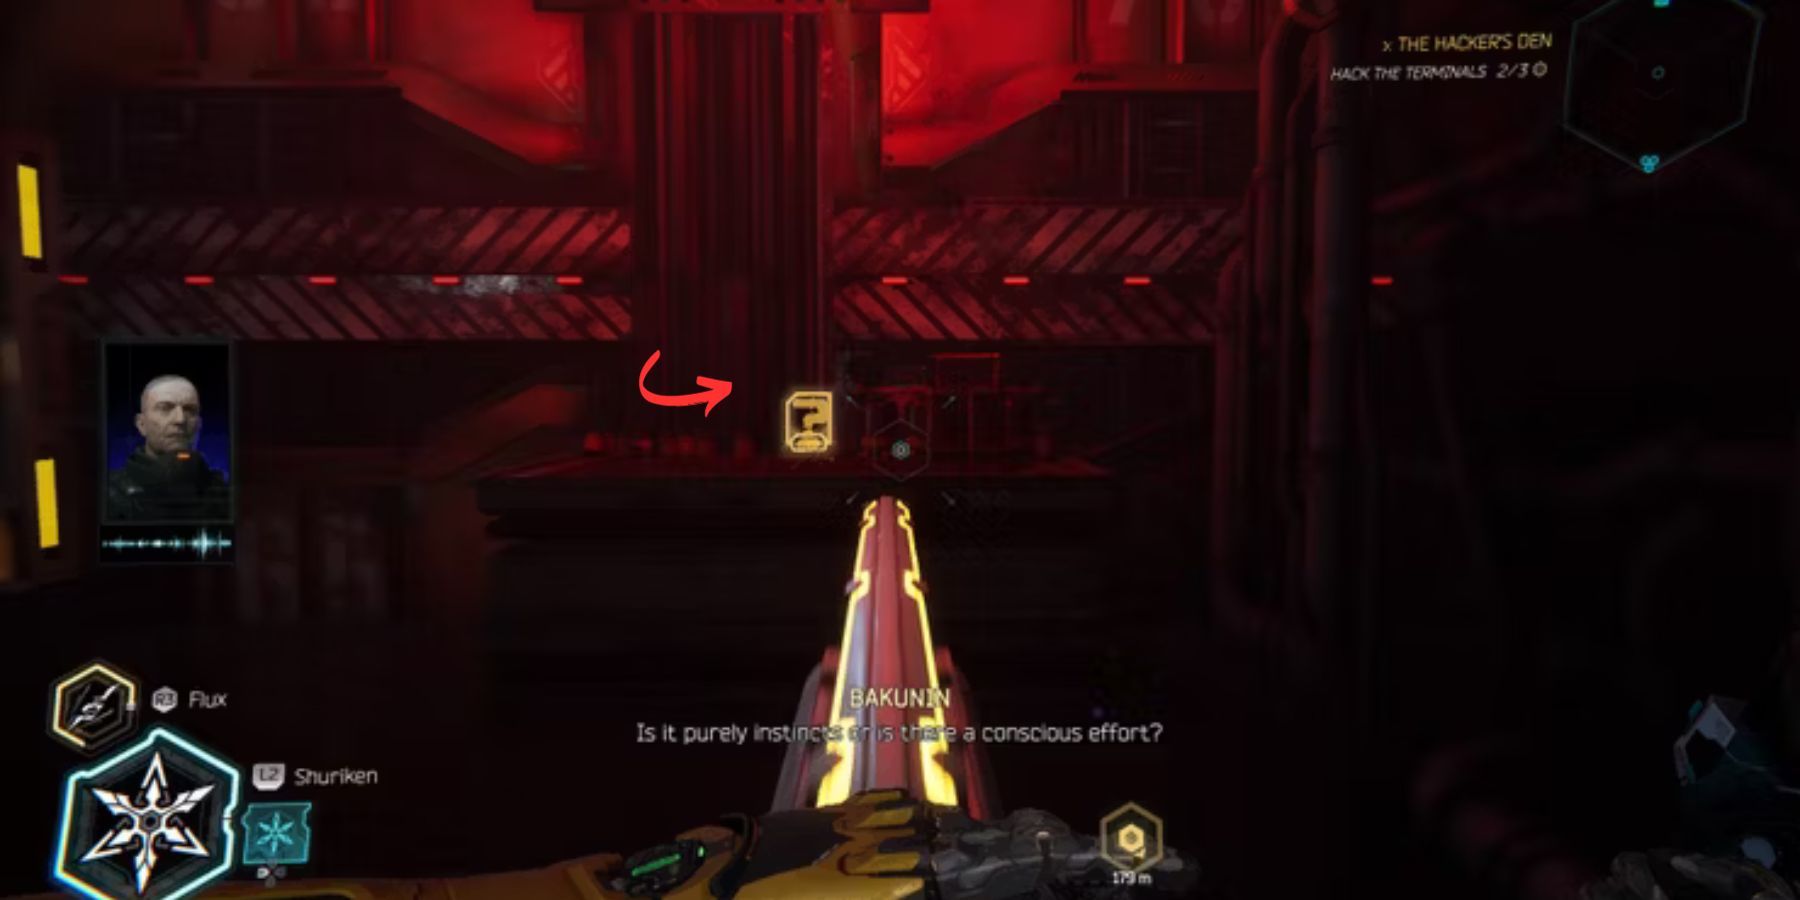
To obtain the next artifact, the Ghostrunner Miniature, players must make their way to the second terminal. They can achieve this by using the boost pad to return to the rooftop, but this time, they should go left to deactivate the laser barrier. From there, players should continue along the main path and bypass the locked door using the Shuriken. After eliminating enemies, they can dash through the lasers to acquire the Ghostrunner Miniature.
In order to acquire the DIY Toy, players must utilize their hacking skills to access the second terminal and employ the Shuriken ability to burst the balloons. Subsequently, players will progress to the third terminal and face off against adversaries while expertly maneuvering between walls. It is at this juncture that players will come across the coveted DIY Toy.
Chapter 5:
The following item can be located within the 'Behind the Curtain' section. Within this section, players will gain access to the Phantom skill, enabling them to generate a replica of Jack in order to redirect the focus of foes. To obtain the Mask of the Arcane Sacrifice, players must position Phantom directly in front of the beam of light.
Chapter 7:
In this chapter, players will learn the technique of utilizing Shuriken to create grapple points. Once they have mastered this skill, players will advance to a battle arena. Following their triumph over the enemies, players will venture into an alleyway where they will stumble upon Holotat near a massive, radiant door.
Upon obtaining the Holotat, players will need to turn around and notice a box. By striking this box with a well-aimed Shuriken, players can proceed through the door and obtain the powerful EMP Grenade.
Chapter 8
Once players have cleared a few enemies, they can proceed along the main path until they encounter an enemy who is shielded. However, rather than immediately engaging with this enemy, players should first turn to their left and make their way through a series of walls to find the Electric Handcuffs.
Chapter 10
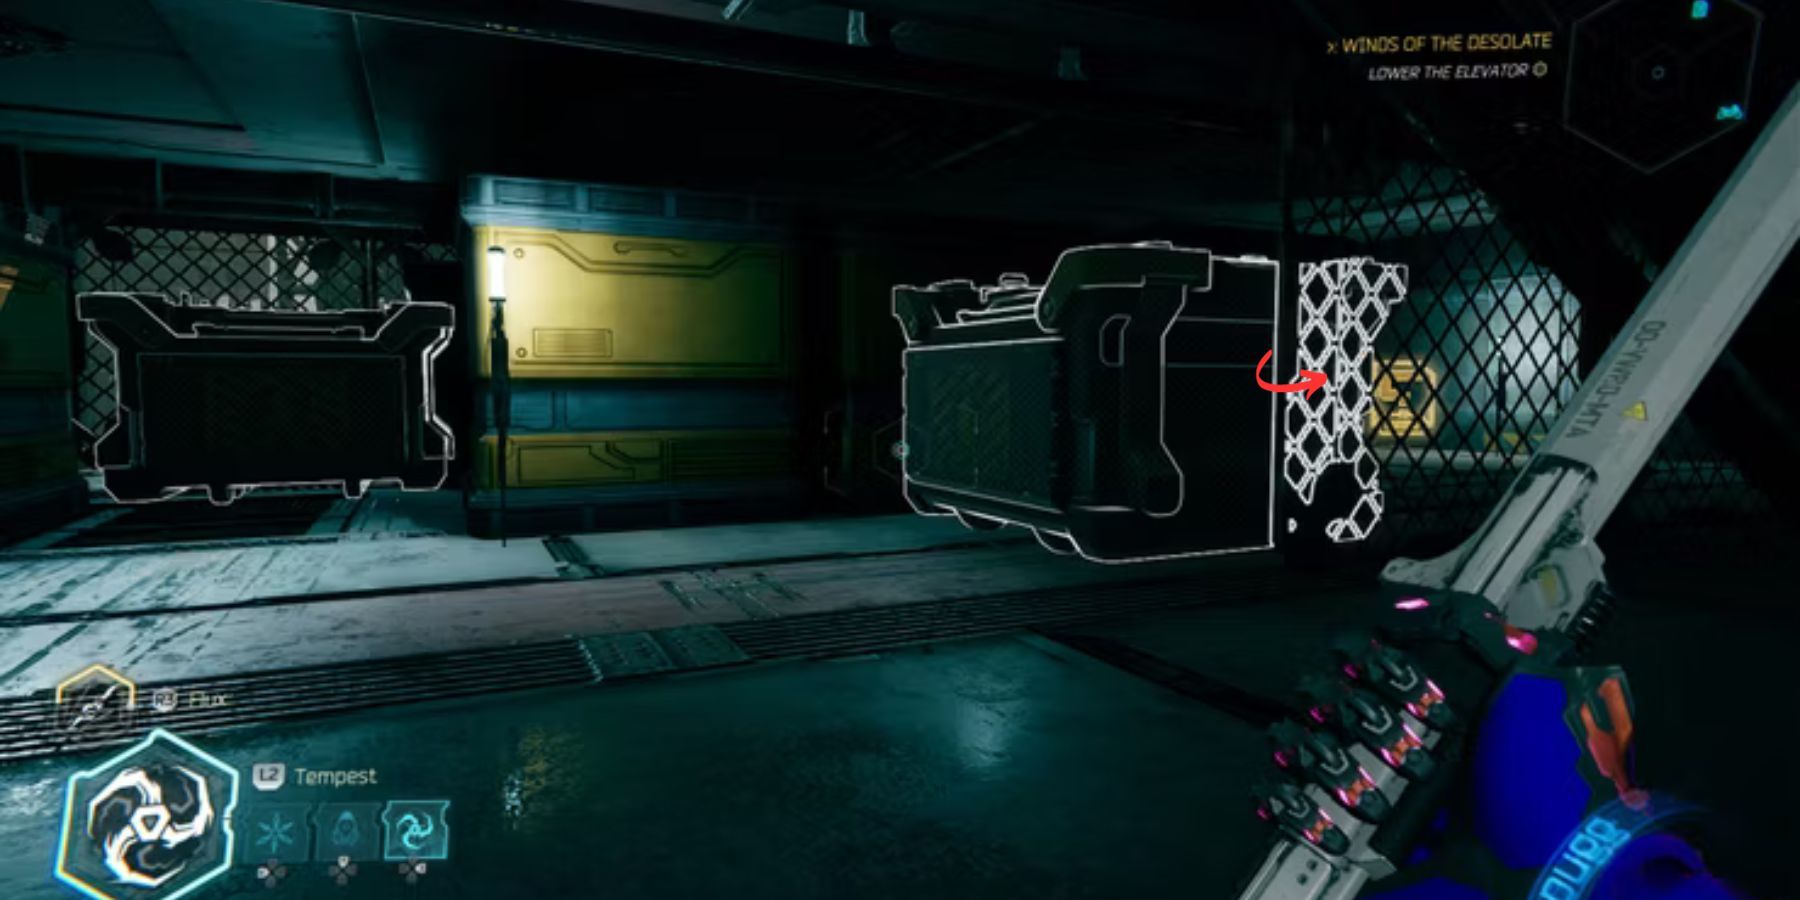
While advancing in the 'Winds of the Desolate' level, players will come across a tower with several arenas. Upon clearing the final arena, they should utilize the Shuriken to activate the boost pad. Continuing along this path, gamers will descend the stairs and discover the Weathered Ring positioned beside a gate.
Further into the level, players will be directed to utilize the Shuriken to create a grapple point. At this juncture, they should veer left and activate the boost pad. This will launch players upwards, allowing them to gather the Dynamo Lighter.
Chapter 11
In Pillar of Creation, players can discover three artifacts. To obtain the underwear, they should first explore the three towers, then proceed to the west tower. As gamers approach this tower, they will encounter a massive serpent-like creature. Once spotted, they should carefully search the surroundings to find the underwear.
To acquire the Environmental Suit, players can begin by returning to the starting point and then heading towards the North Tower. Upon arrival, they will come across a region dotted with numerous demolished structures. At this point, they should utilize Tempest to access the garage area and retrieve the artifact.
Now, players are required to make their way to the East Tower, where they will encounter a group of adversaries. Once they have successfully handled the situation, players will be able to utilize the Shuriken to unlock the crate. At this point, a bounce pad will come into view, which players can utilize to acquire the 17th artifact, known as Survival Rations.
Chapter 14:
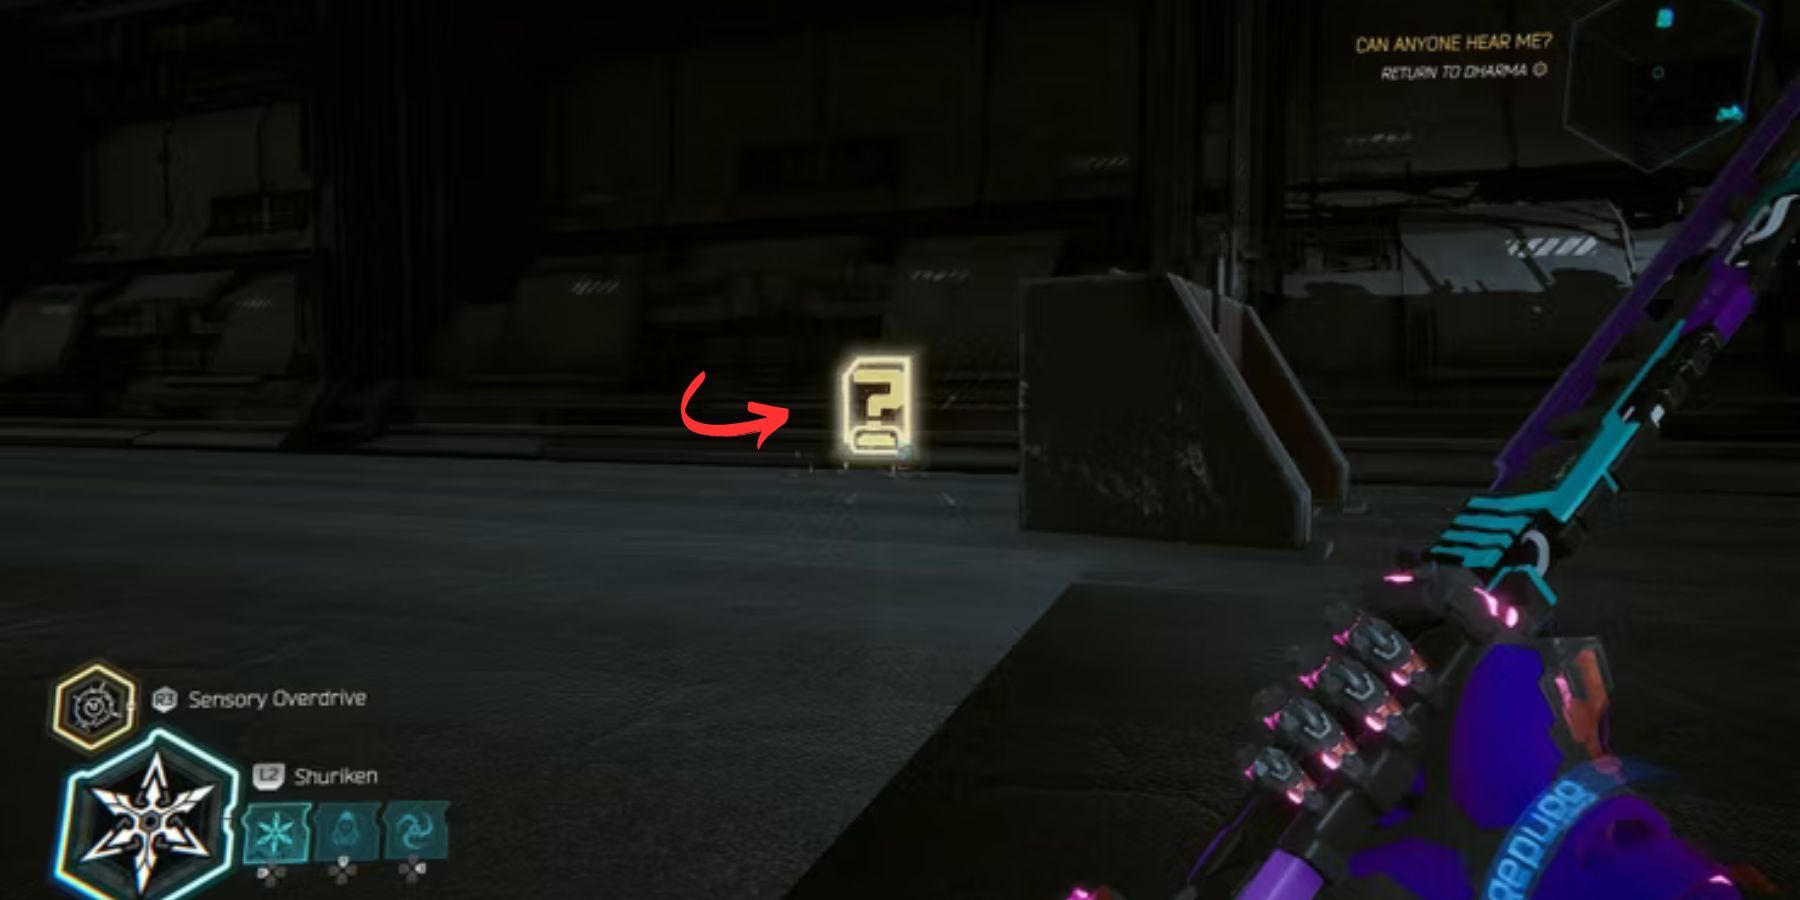
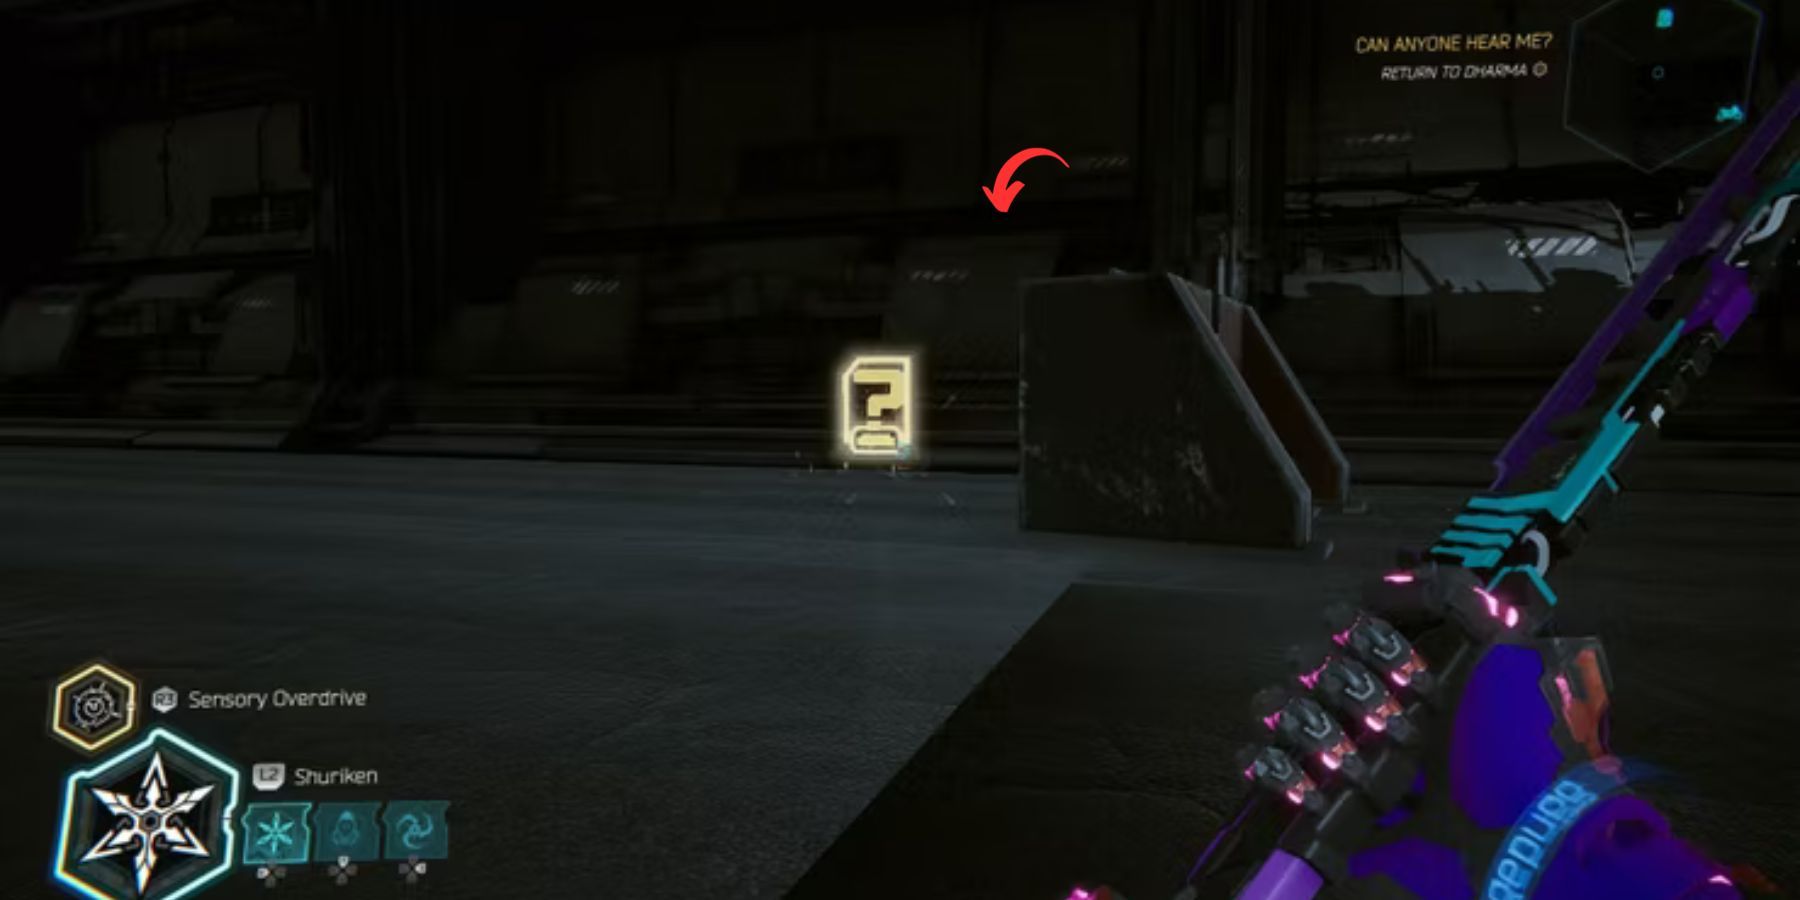
The main focus of the ‘Can You Hear Me’ chapter is returning to Dharma Tower. Throughout this journey, players will be required to disembark from their motorcycle upon reaching the second door in order to acquire explosives.
Chapter 16:
In order to acquire the Water Ratio Token, players must first freeze the initial wheel in the Elevator Maintenance stage. From there, they need to navigate through multiple arenas until they are once again able to freeze objects. Once they have reobtained this ability, they can freeze the first wheel, utilize the updraft to move left, freeze another wheel, and finally collect the Water Ratio Token.
Chapter 17
Upon unlocking the wingsuit and giving it a go, gamers will find themselves in a square room equipped with fans that propel them skyward. Clear out all the adversaries within the vicinity and utilize another fan to ascend to the pinnacle of the arena, unlocking the Grappling Hook.
Chapter 18
The final item can be located within the ultimate stage of Ghostrunner 2, known as The Monolith of Humanity. Soon after acquiring the Grappling Hook ability, players will venture into a different chamber equipped with fans, where they must confront a swarm of adversaries. Once they have dealt with the enemies, players will then have to make use of their wingsuit, which will guide them towards a fresh path leading to the discovery of pills.
Ghostrunner 2 is available to play on PC, PS4, PS5, and Xbox Series X/S
Editor's P/S
In Ghostrunner 2, the cyberpunk realm presents players with not just intense combat and parkour, but also the chance to discover a plethora of collectibles. Among these treasures are artifacts, scattered throughout the game. However, spotting these valuable items can be quite a challenge, as they are often concealed in secretive locations.
In this guide, we will reveal the locations of all artifacts in Ghostrunner 2, so you can uncover the hidden world of the game and complete your collection. From Chapter 1 to Chapter 18, we've got you covered. Whether you're searching for the Recruitment Flier, Energy Drink, Alternate Currencies, Tarot Cards, Grilled Rat Meat, Video Tape, Ghostrunner Miniature, DIY Toy, Mask of the Arcane Sacrifice, Holotat, EMP Grenade, or Electric Handcuffs, we'll guide you to them all. So, get ready for an epic adventure as you embark on a quest to discover the secrets of Ghostrunner 2.


![Rampaging Monsternado Unleashes Prehistoric Beasts in Jaw-Dropping Trailer [HOT]](https://ik.imagekit.io/dvcgogwev/hocmarketing-org/10/05/og--rampaging-monsternado-unleashes-prehistoric-beasts-in-jaw-dropping-trailer-hot?tr=w-370,h-250)


