Alan Wake 2: Lost in the Shadows - Enigmatic Path Guide
Embark on an eerie investigation in Alan Wake 2: Return 3 - Local Girl Explore the enigmatic town of Watery, seeking a hidden trailer Uncover secrets, navigate the Coffee World Gift Shop, locate a safe, and venture to the haunting Lighthouse Trailer Park Confront cultists, reclaim your weapon, and face the formidable adversaries Mulligan and Thornton Prepare for an intense showdown in this thrilling sequel
In the previous chapter of Alan Wake 2, additional details about Alan's experience in the Dark Place were unveiled. It is important for players of Alan Wake 2 to note that the order in which the chapters are played can vary, including both previous and future chapters mentioned in this guide.
To mitigate potential repetition in gameplay, it is recommended to switch between playing as Saga and Alan regularly, rather than completing one character's chapter before moving on to the other. In Saga's upcoming chapter, Return 3: Local Girl, the same structure as Return 2: The Heart is followed. However, there is an increased focus on combat, thus players should ensure they are properly prepared.
This walkthrough contains spoilers, so players should proceed with caution.
Go to Watery
Make your way to the car and venture into the open. In this chapter, players are presented with the freedom to decide their destination. Although progressing in the plot requires a visit to Watery, players also have the choice to return to Cauldron Lake should they desire.
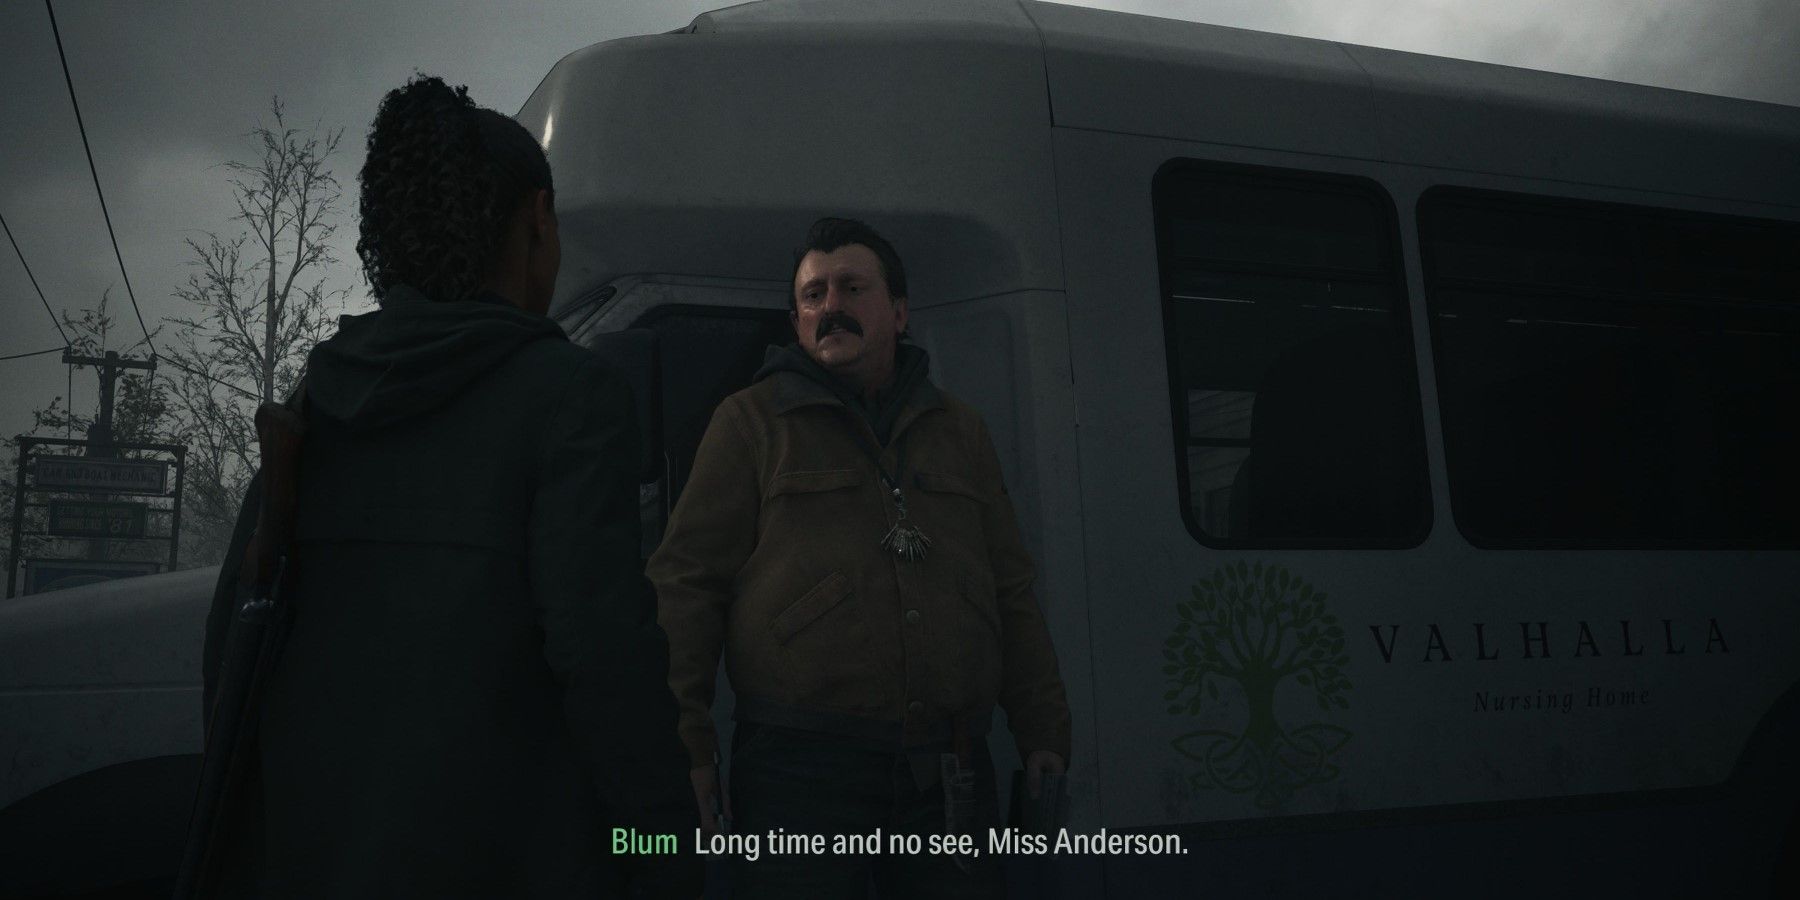
Upon arriving at Watery, head towards the bus adorned with the Valhalla Nursing Home logo. Engage in a conversation with the bus driver for obtaining relevant information, and subsequently, proceed to the building on the right. Upon entering, you will find a map of the town conveniently placed on the left side.
Find a Way to the Trailer Park
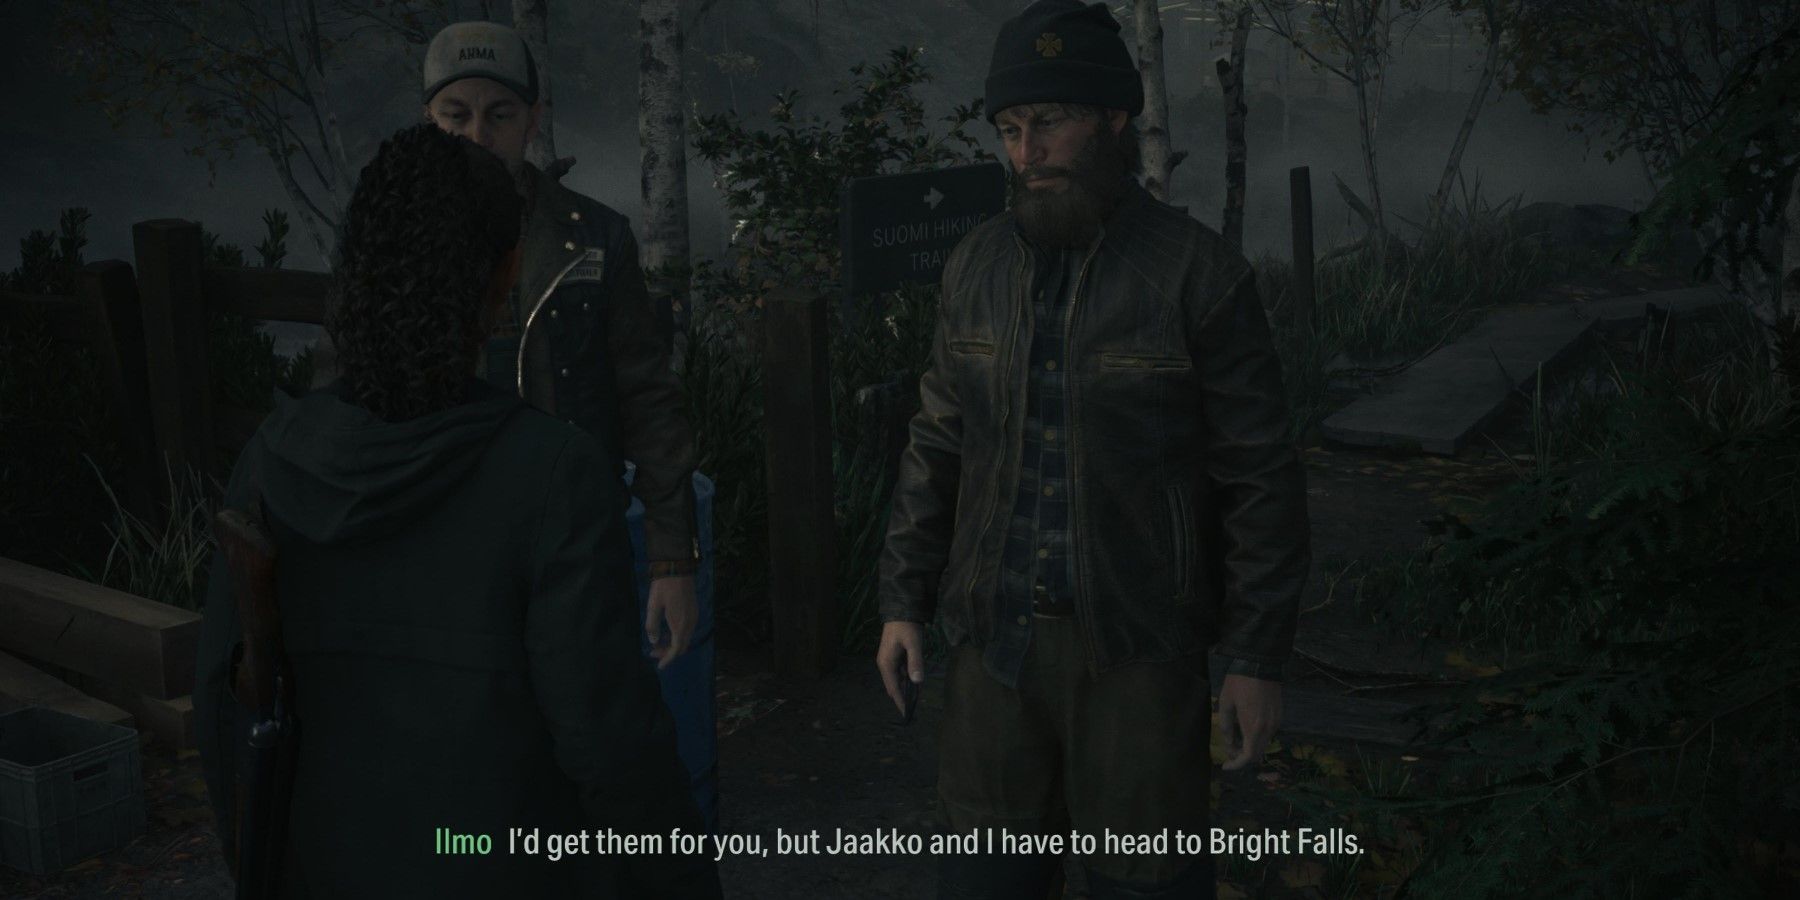
Head west towards the broken bridge and approach Ilmo. Engage in a conversation with both him and his brother, Jaako, and make sure to gather information about them. Once done, engage in another discussion with them. As a result, they will kindly move aside, granting Saga access to the path behind them. The key to Saga's presumed trailer home can be found at the gift shop of Coffee World. Unfortunately, the bridge is currently inaccessible, forcing players to take a longer route.
Continue along the trail, venturing deeper into the dense woods. However, beware, for in the realm of Alan Wake 2, a spine-chilling horror game, the tranquility of the surroundings soon dissipates. A formidable creature known as a Taken emerges, hurling menacing axes in your direction. Evade these lethal projectiles with nimbleness, but refrain from expending excessive ammunition in futile attempts to eliminate this elusive foe, as it possesses the ability to teleport away for the time being.
Remain patient and vigilant until the opportune moment when the Taken materializes on the path before you. Utilize the brilliant beam of your flashlight to dismantle its protective shield, and subsequently deliver the fatal blow. Keep a watchful eye, as there are two of these sinister beings lurking in the vicinity, ready to strike from unexpected angles. Stay determined and forge ahead, adhering to the trail's unerring path. As you progress, a tempting sidetrack beckons, concealing a mysterious rhyme puzzle. Unveil the secrets of this enigma by adorning the tree with the Moose Doll, revealing a charmed Coffee Mug statue along your route.
Continue along this route, ensuring to make a detour at the Hunting Shack. By activating the generator, a checkpoint is established for future use. Additionally, inside the shack, a Manuscript Page awaits. Adjacent to the Hunting Shack, you will discover a secured container holding the Crossbow. The combination code to unlock it is 527.
Within the squares adjacent to the chest, you will find arrows that serve as ammunition for the Crossbow. Feel free to collect and utilize them accordingly.
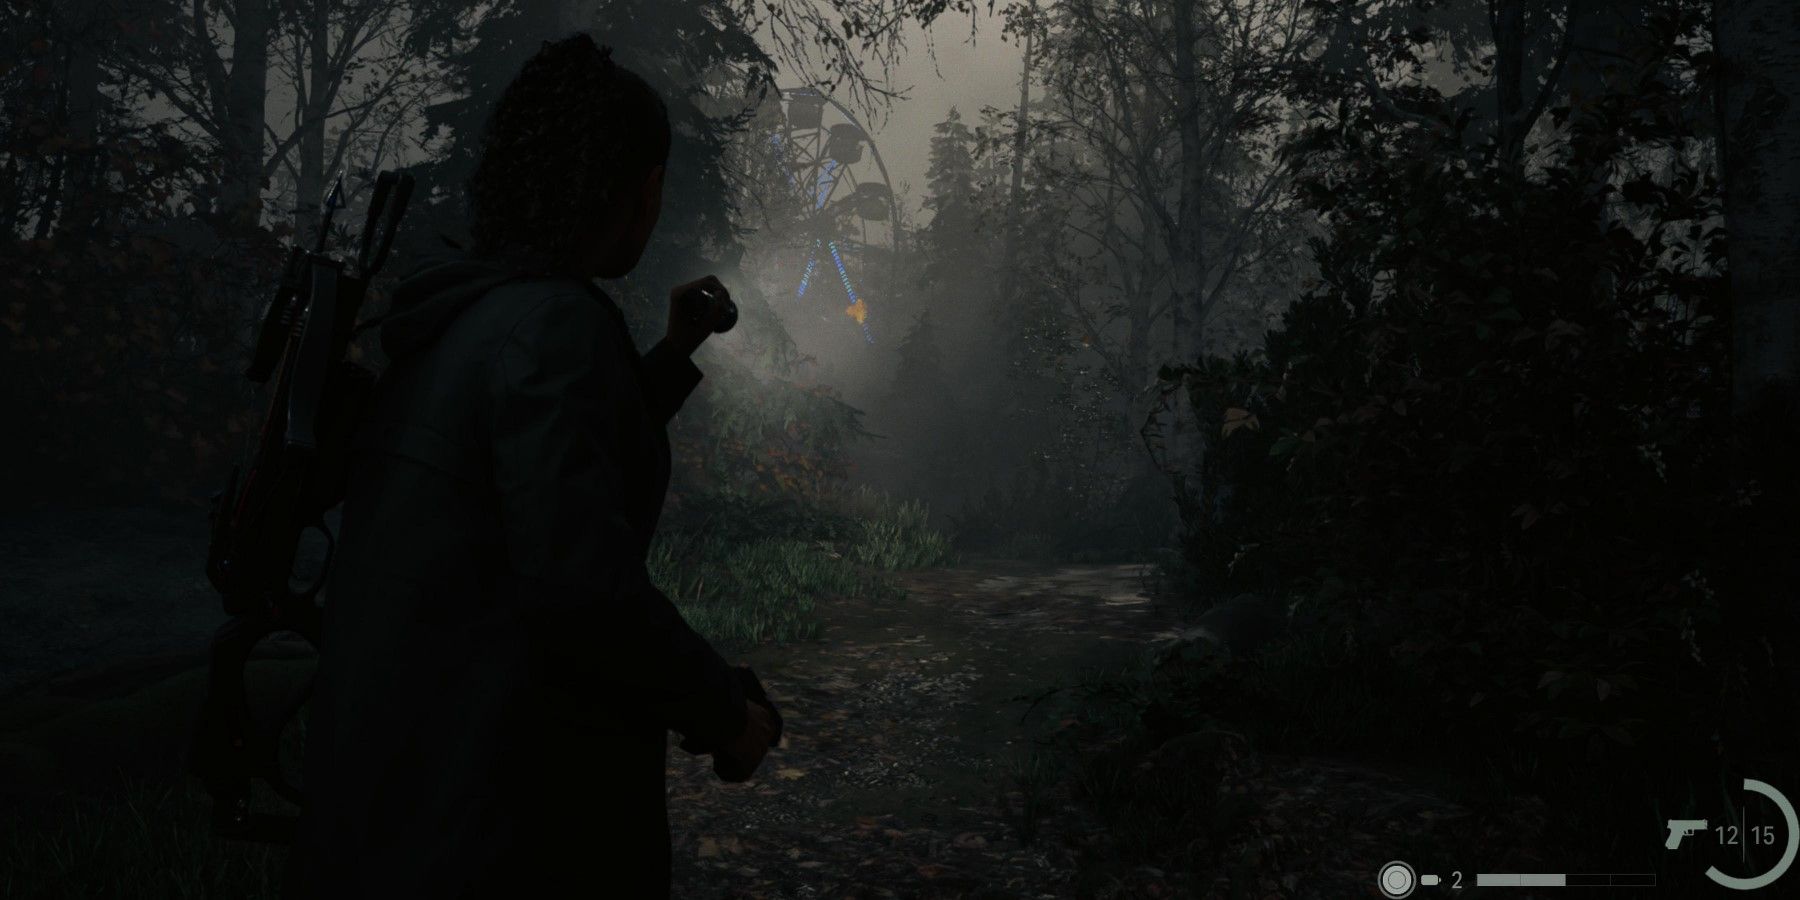
Proceed further towards Coffee World once prepared. As players approach the point on the trail where they can traverse the river, they will come across additional Taken adversaries. Tackle them according to the situation and continue progressing.
Once players have crossed the bridge, they will start to hear music emanating from Coffee World. Remember to make a quick stop at the save point before entering Coffee World. Proceed to the entrance of the gift shop and approach the door.
How to Get Inside the Coffee World Gift Shop

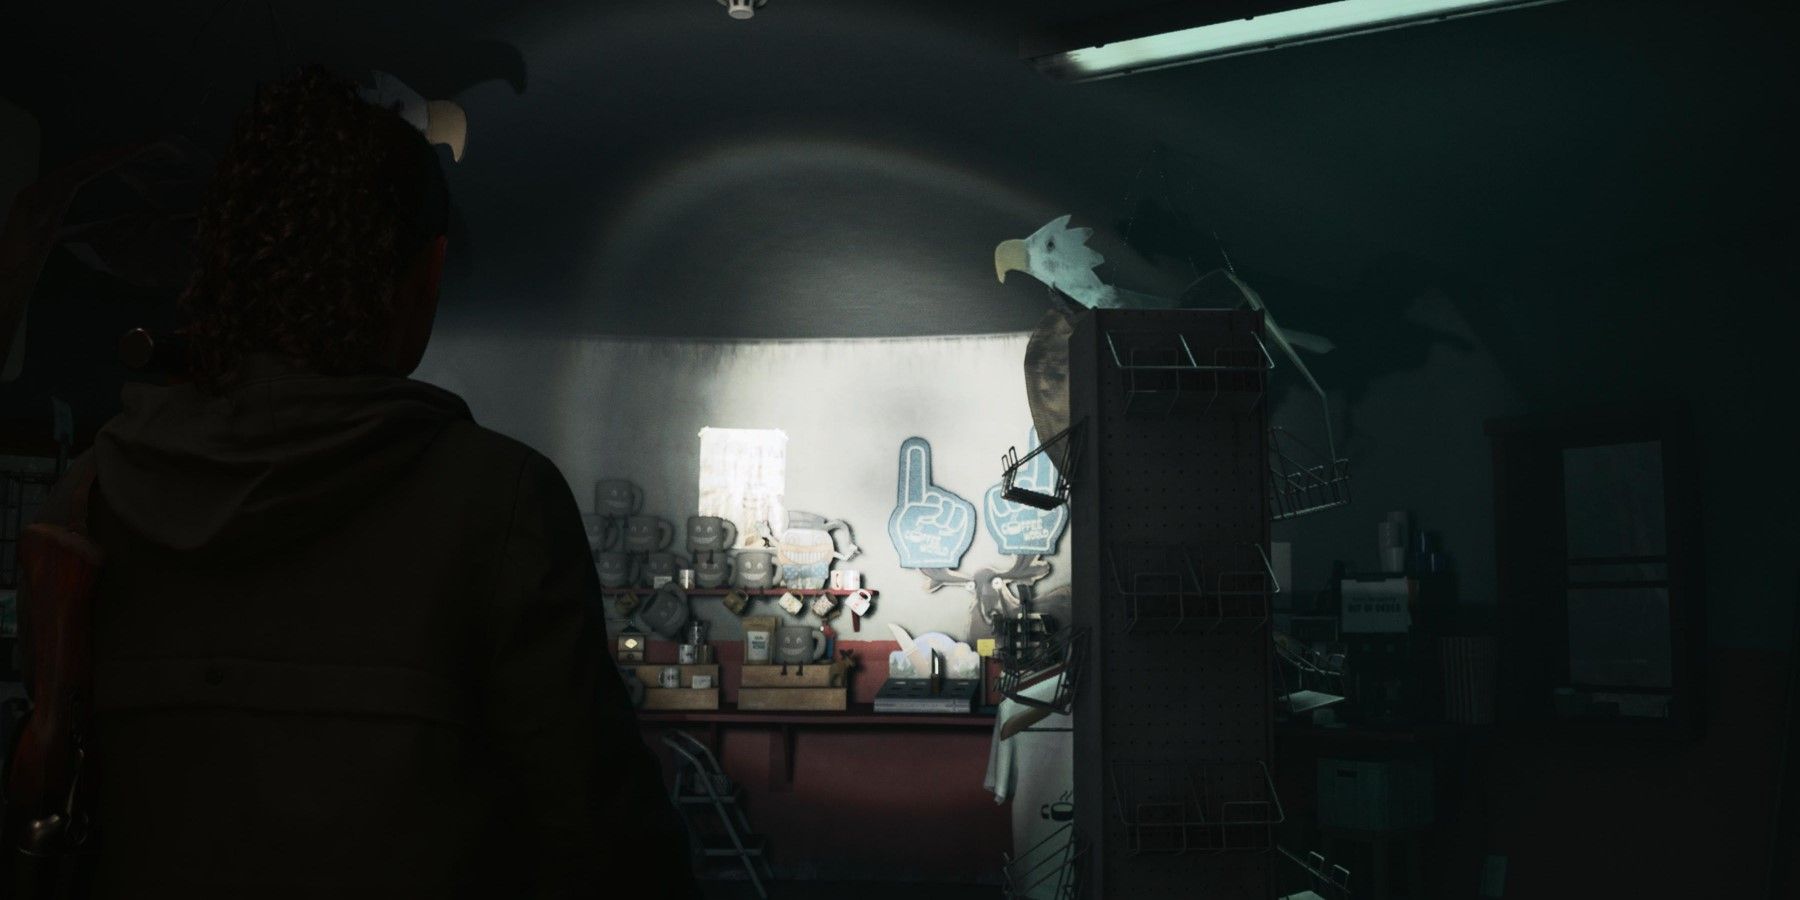
Regrettably, the entrance to the gift shop is currently inaccessible as the door is locked. On the right side of the door, there is a note that warrants examination, presenting two valuable clues. Proceed to the Case Board where you can access the Trail of the Cult Case. Display the gathered evidence on the board and subsequently depart from the location.
To access the gift shop, players must locate the screwdriver for entry. Proceed deeper into the park and approach the Percolator ride. Cease the movement of the ride and unlock the gate. As anticipated, players will encounter a surprise attack from two axe throwing Taken. Eliminate one and employ the Crossbow to dispatch the one positioned on the ride's apex. Exercise patience and refrain from shooting until the coffee mug cover descends.
Retrieve the screwdriver from atop the control panel of the ride. Begin the journey back to the gift shop, exercising caution as numerous Taken lurk throughout the theme park. Upon arrival at the gift shop, inspect the lock and utilize the screwdriver to remove it.
Find the Safe
In the gift shop, players will discover supplies and a Manuscript Page near the entrance. The safe, positioned behind the counter, initially conceals its code. To uncover it, examine the notes adjacent to the safe and subsequently investigate the Koskela brothers.
Following this, inspect the employee board within the gift shop. This board reveals the code, determined by the quantity of stickers on specific employees' pictures. The code is 146. Obtain the key from within the safe and depart from the gift shop.
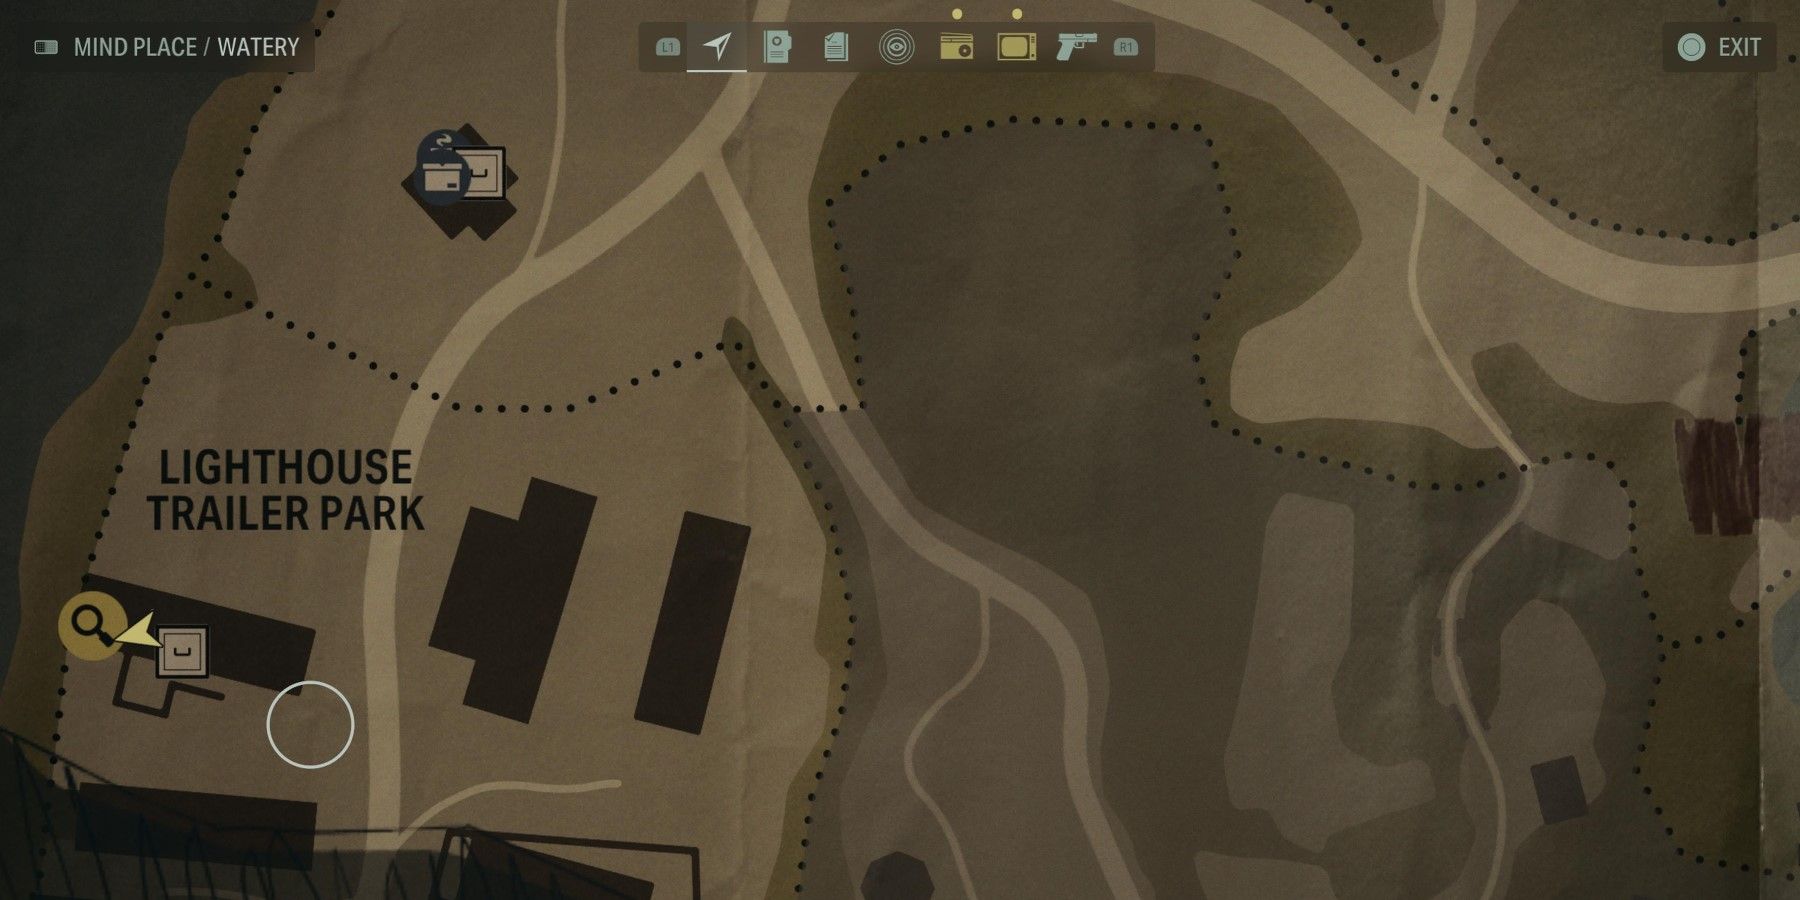
Go to Lighthouse Trailer Park
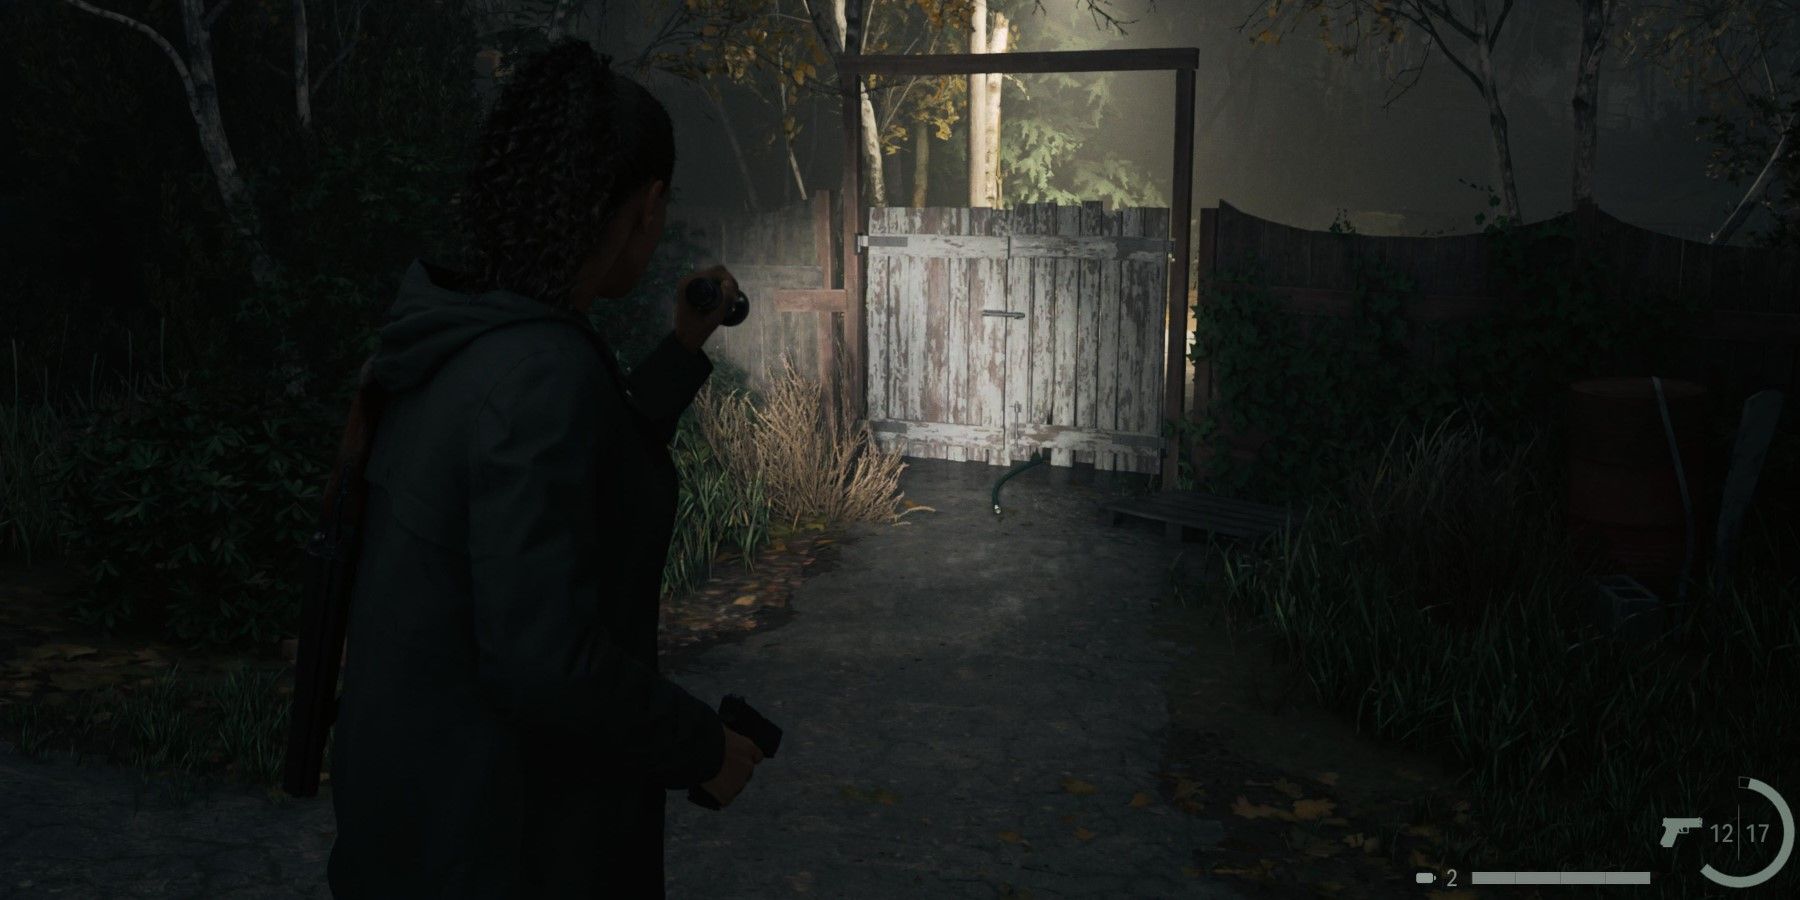
Follow the path leading away from the park and head south towards the Lighthouse Trailer Park. Adjacent to the trailers, there is a compact structure featuring a save point. Proceed by unlocking the gate to gain access to the trailer park and ignite a cutscene.
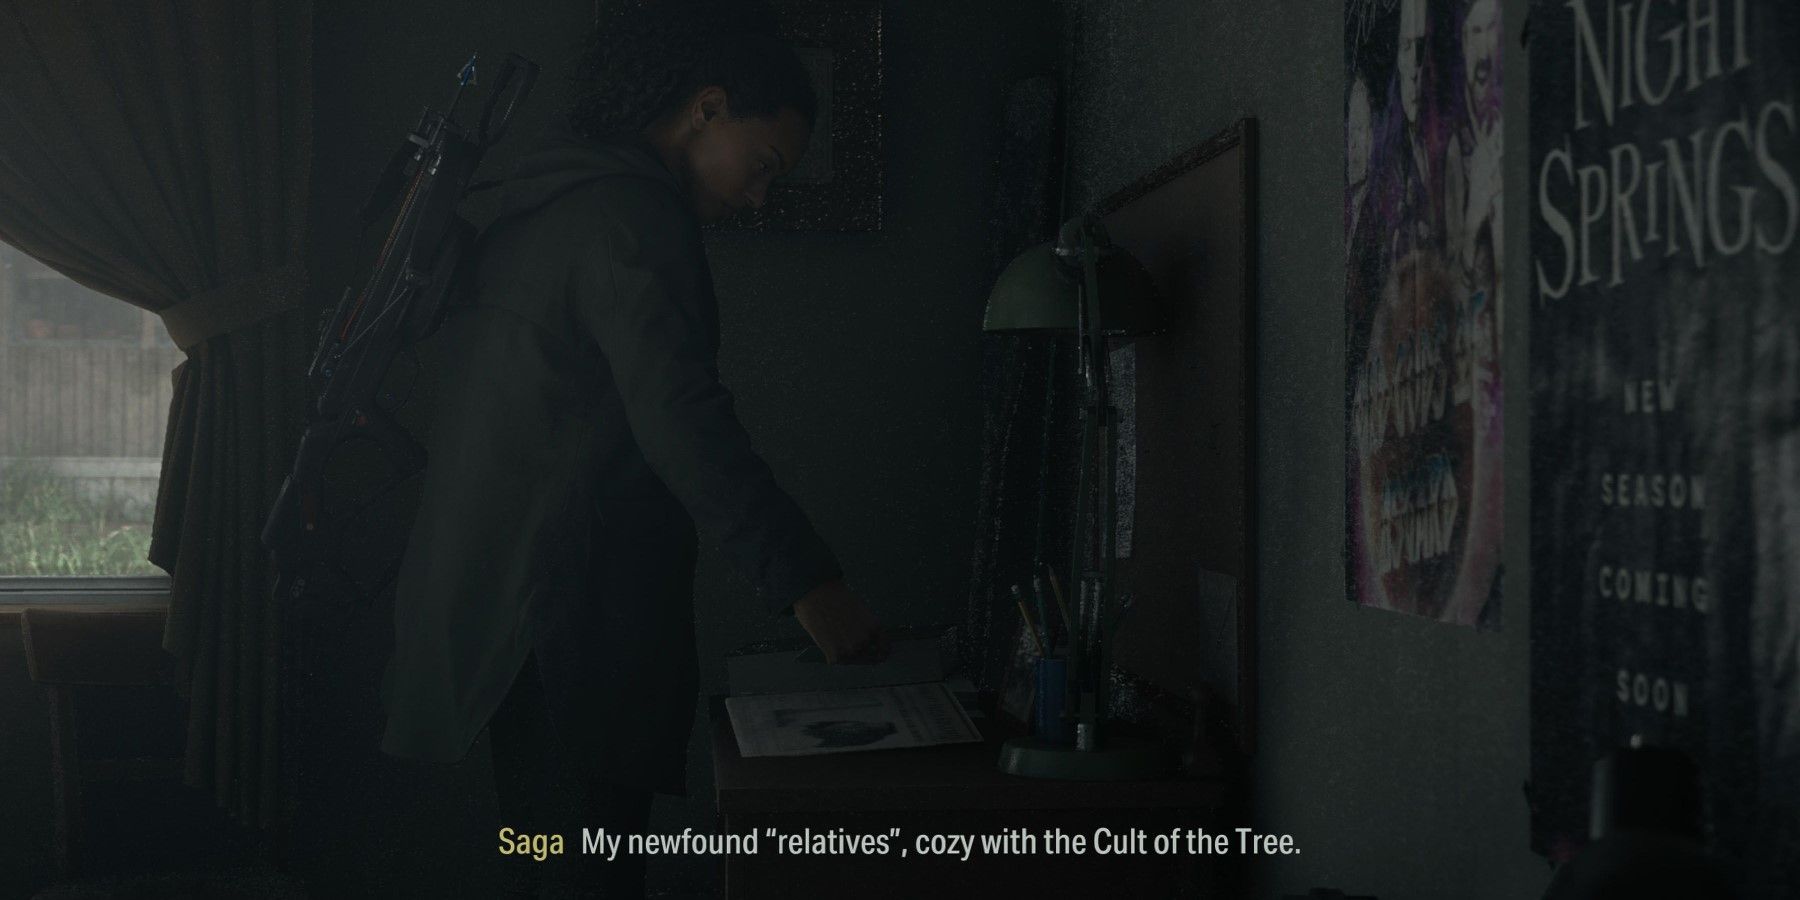
After encountering Odin and Thor, proceed to the trailer shown in the aforementioned image. Thoroughly investigate each room, specifically Saga's bedroom and Logan's bedroom, in search of valuable clues. Once all the evidence has been collected, navigate to the Case Board and access the Fact or Fiction Case to submit the newly acquired evidence. Keep an eye out for a photograph featuring Odin and Thor, as it will prompt a captivating cutscene.
Follow the Cultist
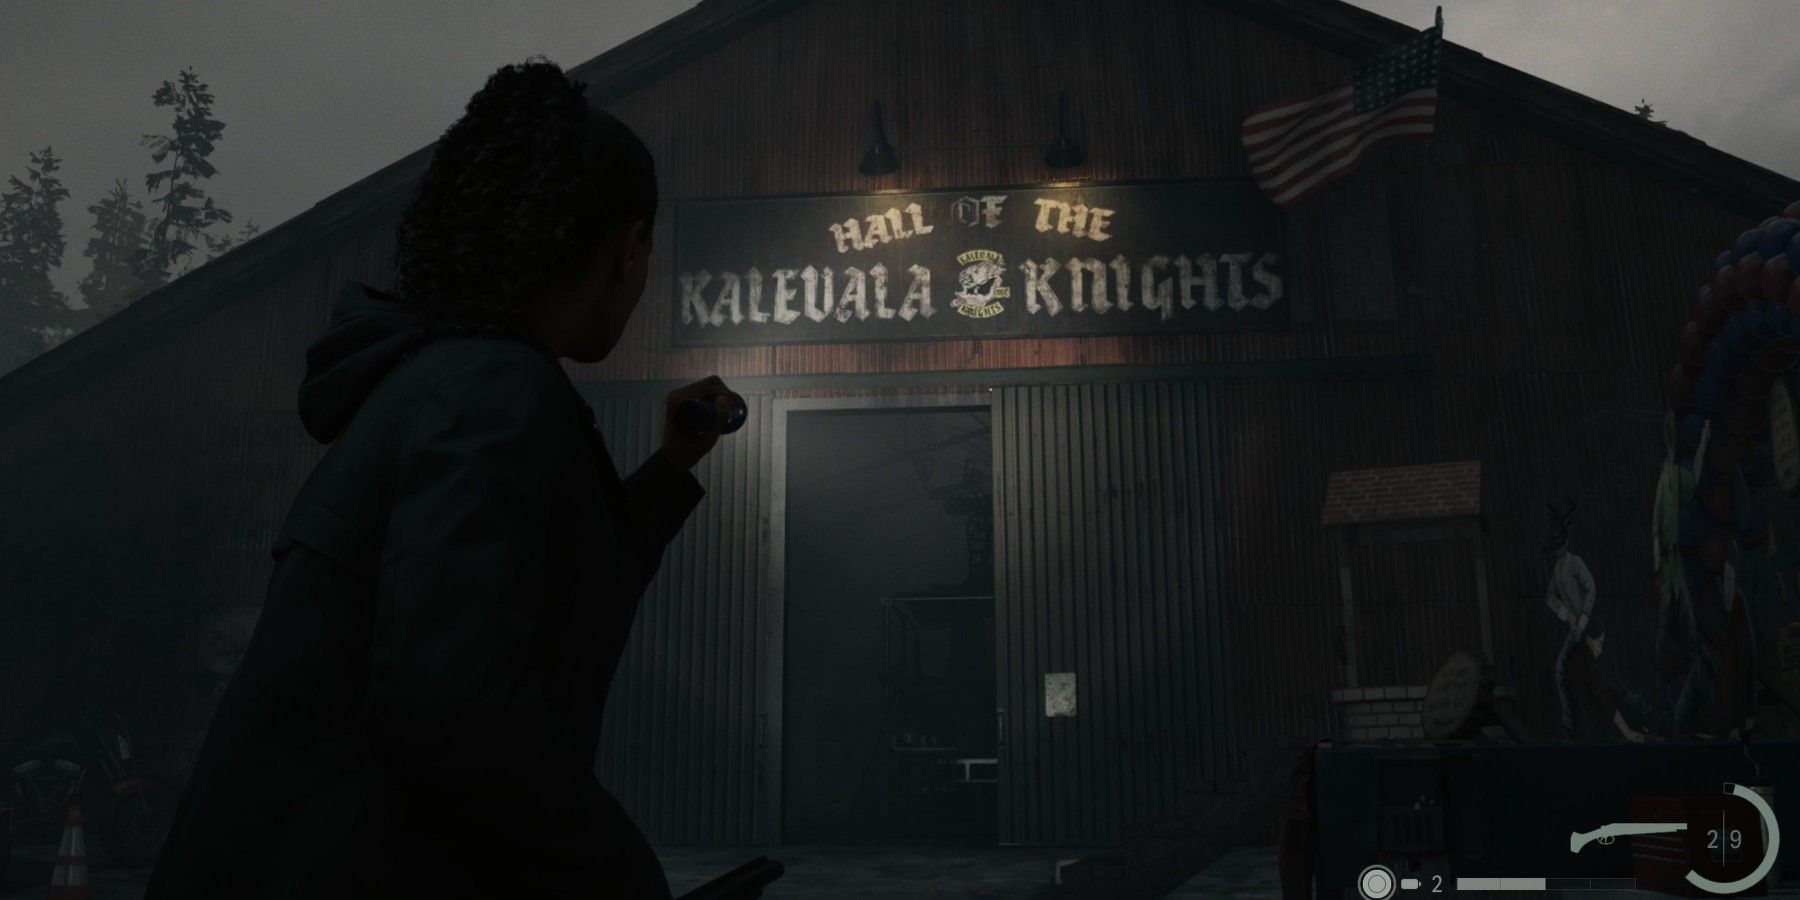
After the cutscene concludes, proceed to accompany the cultist belonging to the infamous Taken group. It would be wise to save your progress at this moment, thus take advantage of the conveniently located save point nearby. Head northwards towards the Kalevala Knights Workshop. Once you reach the entrance of the warehouse, enter it. Inside one of the adjacent rooms, you will discover a bag that effectively expands your inventory space.
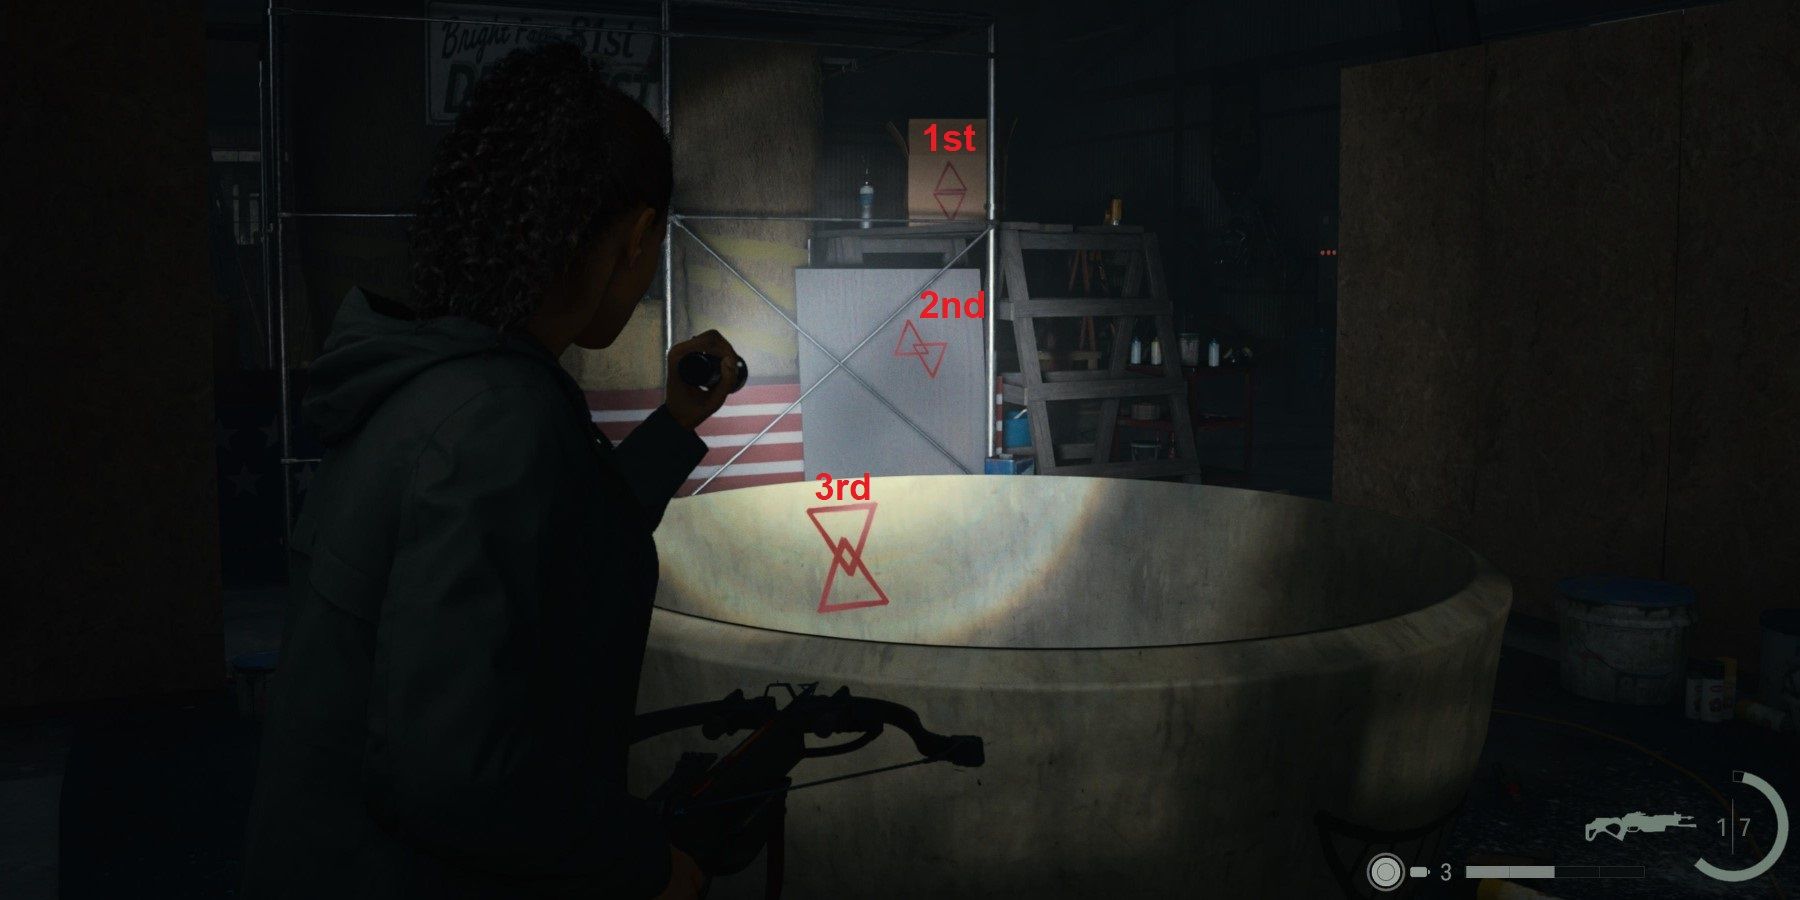
To gain access through the locked door within this room, backtrack to the area where the warehouse is assembling the oversized coffee mug. Observe the image above for three distinct symbols that are present. The uppermost symbol signifies the initial step, the second symbol in the middle corresponds to the subsequent action, and ultimately, the symbol within the coffee mug represents the third and final element in the sequence.
Go into the room and analyze the board to gather evidence. Save the game and proceed towards the basement when you are prepared. Approach the altar and try to acquire the Clicker, or at least make an attempt. Once the cutscene is over, examine the profiles of the deputies and then return upstairs.
Get the Clicker Back
The Clicker is now in the possession of Mulligan and Thorton. However, as players try to make their way out, they will unexpectedly be ambushed by a Taken enemy. Take it down and then approach the darkness that is blocking the exit. Step outside and grab the Manuscript Page to advance the storyline. To access the Overlap area where the Clicker is located, players must first complete the float that is outside the warehouse.
Examine the float to gather clues. Proceed to the nearby tent and examine the notepad to discover the locations of the required parts for completing the float. Three of these parts can be found at Coffee World. Fortunately, players can take a shortcut right next to the float to avoid the need to backtrack all the way to Coffee World.
Before proceeding, players should place the evidence they have already found onto the Case Board. This will provide them with the option to profile the Koskelas once again. After that, profile the deputies twice to obtain the location of the mask. Prior to any other actions, head to the warehouse save point and retrieve the fuse. Proceed to the well and collect the mask. Finally, bring the mask to the float and place it on the man who has a face resembling a mask.
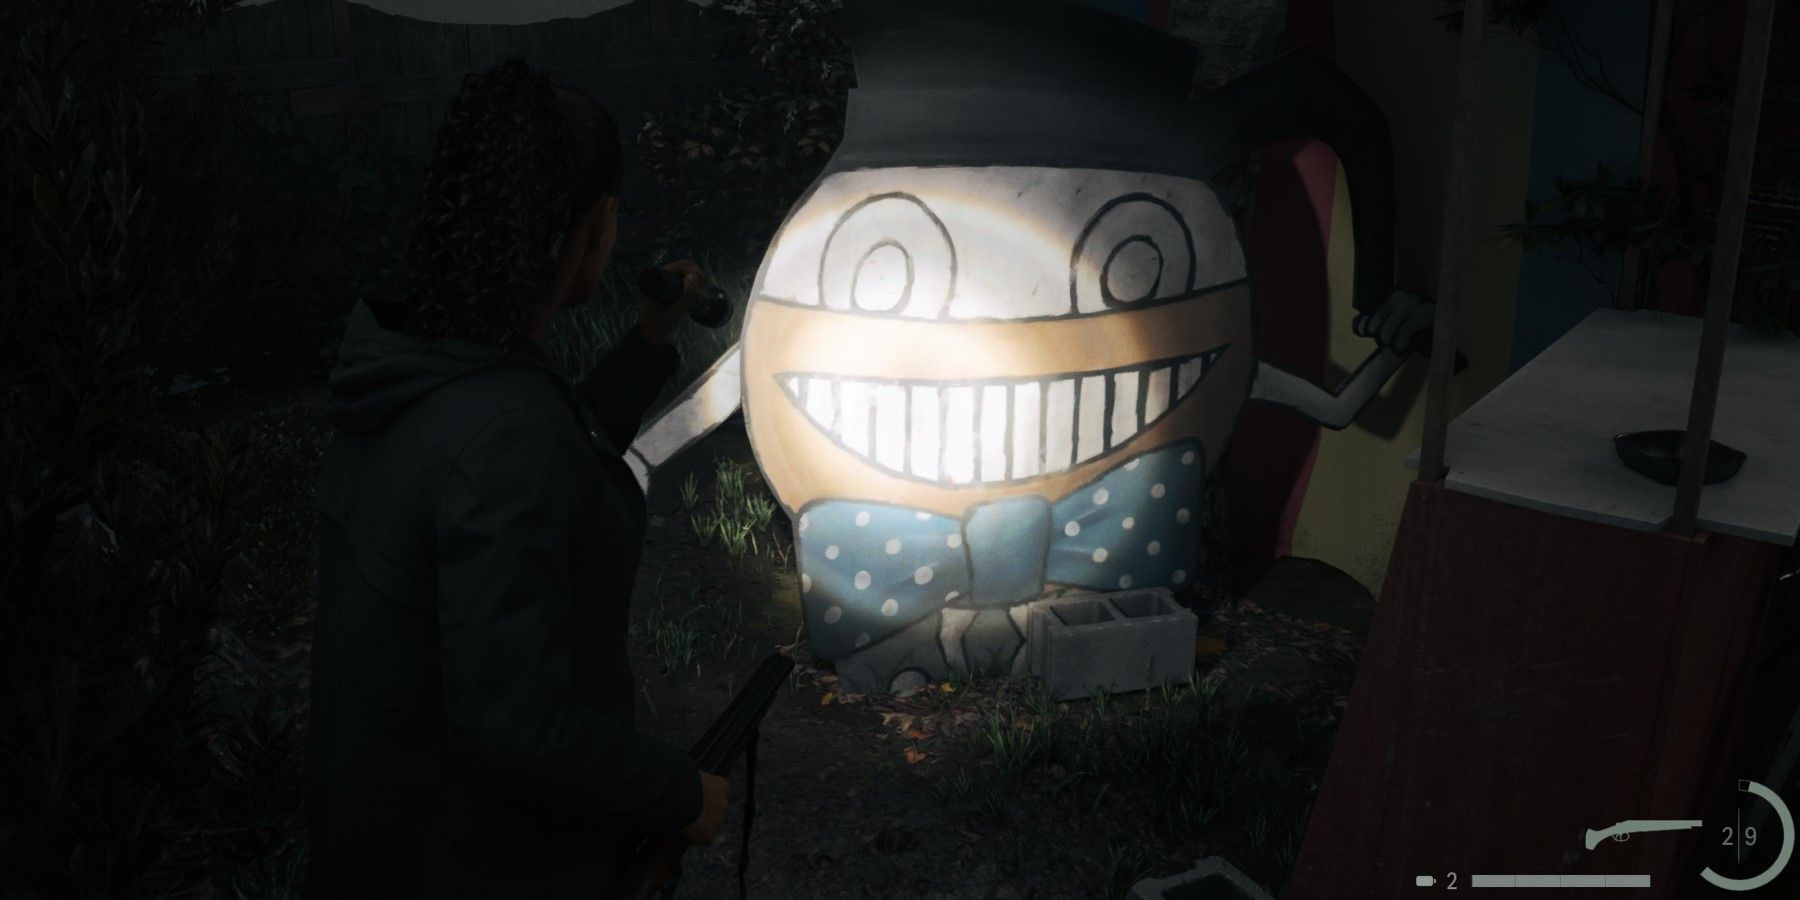
Afterward, return to Coffee World and make your way to the Fair Trade Fun Zone. Locate the animated cut-out of Mr. Drippy and carefully remove the tape player from him. Proceed to the gift shop and enter. Claim the toy knife next to the coffee mugs. Lastly, head over to the Espresso Express and approach the machine. Unfortunately, the circuit board is inaccessible. Navigate towards the control panel for the ride and thoroughly examine it. As the fuse requires replacement, trace the yellow cable until you reach the fuse box. Insert the missing fuse and then ascend back up to the platform.
To commence, activate the control panel and ensure it is deactivated once the path downwards is unobstructed. Removing the circuit board will cause the ride to malfunction. Trace your steps back to the workshop, but stay vigilant for the emergence of two Taken from the well.
Subsequently, affix the circuit board onto the float, insert the knife into the hand of the model adorned with the moose skull, and then deposit the tape into the well. Once all the components are in place, the passage leading to the Overlap will become accessible. Approach the well and descend the ladder.
Find Mulligan and Thornton
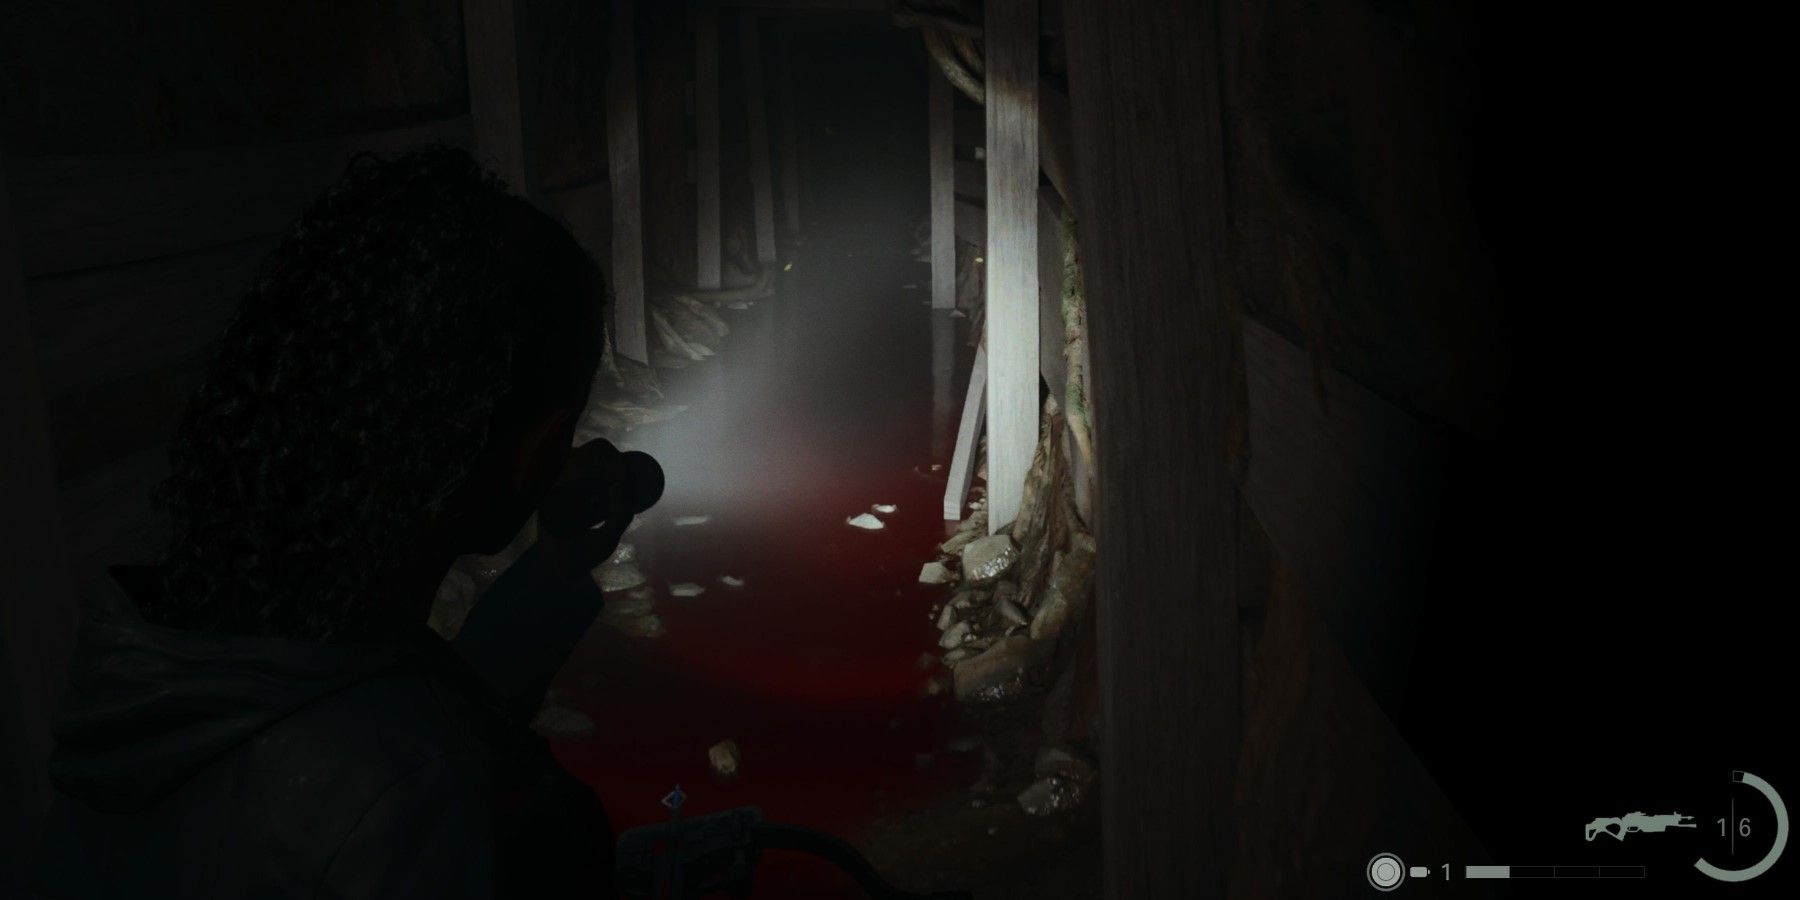
Continue along the pathway to a new area. Make your way towards the dock and then follow the trail of wooden planks, leading deeper into the woods. In due course, you will stumble upon a well that descends downwards. Take this route to eventually circle back to the starting point. Approach the well once again, and then continue on the path that lies behind it, following a moment of sudden fright.
Press onward and trace the enchanting melody as closely as possible. After a while, you will encounter the well once more, this time void of any blood. Descend the ladder to return to the cabin. Switch off the radio resting on the table and proceed along the same path. Notably, a shoebox and provisions await nearby, indicating something crucial.
How to Beat Mulligan and Thornton
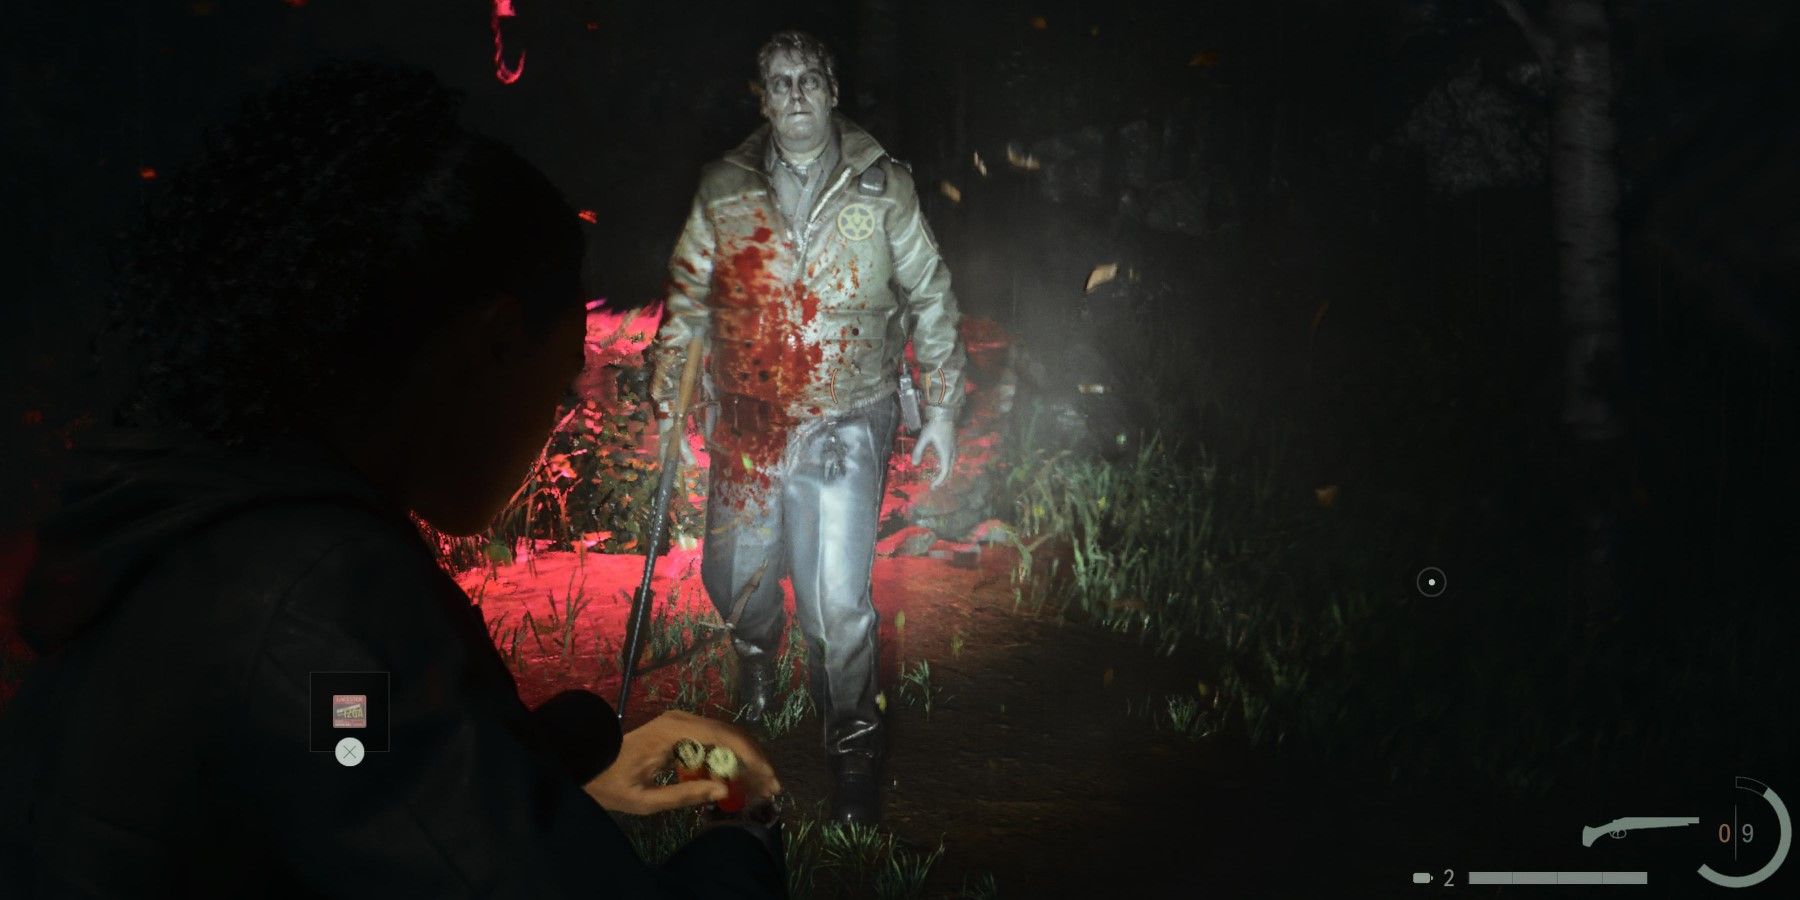
It's time for a boss battle, but defeating Mulligan and Thornton requires strategy. While they are easy to kill, they will keep reemerging from the well after each death. Additionally, they possess guns, which sets them apart from other encountered Taken. It is important to avoid getting shot, as it can be painful for players.
To defeat them, players must search for dark clusters scattered around the arena. By focusing the flashlight on these clusters, they can be destroyed. It is advisable to do this while Mulligan and Thornton are respawning. Once Saga mentions that they will not return, it is time to permanently eliminate the two villains. Upon their demise, players will earn an achievement or trophy. The boss battle concludes with a cutscene, after which players should return to the car and head to Bright Falls, thus concluding the chapter.
Alan Wake 2
Platform(s) PC, PS5, Xbox Series S, Xbox Series XReleased October 27, 2023Developer(s) Remedy EntertainmentPublisher(s) Epic Games
Editor's P/S
Alan Wake 2: Lost in the Shadows - Enigmatic Path Guide
Embark on an eerie investigation in Alan Wake 2: Return 3 - Local Girl Explore the enigmatic town of Watery, seeking a hidden trailer Uncover secrets, navigate the Coffee World Gift Shop, locate a safe, and venture to the haunting Lighthouse Trailer Park Confront cultists, reclaim your weapon, and face the formidable adversaries Mulligan and Thornton Prepare for an intense showdown in this thrilling sequel
In the previous chapter of Alan Wake 2, additional details about Alan's experience in the Dark Place were unveiled. It is important for players of Alan Wake 2 to note that the order in which the chapters are played can vary, including both previous and future chapters mentioned in this guide.
To mitigate potential repetition in gameplay, it is recommended to switch between playing as Saga and Alan regularly, rather than completing one character's chapter before moving on to the other. In Saga's upcoming chapter, Return 3: Local Girl, the same structure as Return 2: The Heart is followed. However, there is an increased focus on combat, thus players should ensure they are properly prepared.
This walkthrough contains spoilers, so players should proceed with caution.
Make your way to the car and venture into the open. In this chapter, players are presented with the freedom to decide their destination. Although progressing in the plot requires a visit to Watery, players also have the choice to return to Cauldron Lake should they desire.
Upon arriving at Watery, head towards the bus adorned with the Valhalla Nursing Home logo. Engage in a conversation with the bus driver for obtaining relevant information, and subsequently, proceed to the building on the right. Upon entering, you will find a map of the town conveniently placed on the left side.
Head west towards the broken bridge and approach Ilmo. Engage in a conversation with both him and his brother, Jaako, and make sure to gather information about them. Once done, engage in another discussion with them. As a result, they will kindly move aside, granting Saga access to the path behind them. The key to Saga's presumed trailer home can be found at the gift shop of Coffee World. Unfortunately, the bridge is currently inaccessible, forcing players to take a longer route.
Continue along the trail, venturing deeper into the dense woods. However, beware, for in the realm of Alan Wake 2, a spine-chilling horror game, the tranquility of the surroundings soon dissipates. A formidable creature known as a Taken emerges, hurling menacing axes in your direction. Evade these lethal projectiles with nimbleness, but refrain from expending excessive ammunition in futile attempts to eliminate this elusive foe, as it possesses the ability to teleport away for the time being.
Remain patient and vigilant until the opportune moment when the Taken materializes on the path before you. Utilize the brilliant beam of your flashlight to dismantle its protective shield, and subsequently deliver the fatal blow. Keep a watchful eye, as there are two of these sinister beings lurking in the vicinity, ready to strike from unexpected angles. Stay determined and forge ahead, adhering to the trail's unerring path. As you progress, a tempting sidetrack beckons, concealing a mysterious rhyme puzzle. Unveil the secrets of this enigma by adorning the tree with the Moose Doll, revealing a charmed Coffee Mug statue along your route.
Continue along this route, ensuring to make a detour at the Hunting Shack. By activating the generator, a checkpoint is established for future use. Additionally, inside the shack, a Manuscript Page awaits. Adjacent to the Hunting Shack, you will discover a secured container holding the Crossbow. The combination code to unlock it is 527.
Within the squares adjacent to the chest, you will find arrows that serve as ammunition for the Crossbow. Feel free to collect and utilize them accordingly.
Proceed further towards Coffee World once prepared. As players approach the point on the trail where they can traverse the river, they will come across additional Taken adversaries. Tackle them according to the situation and continue progressing.