Unveiling Elden Ring: Conquer the Treacherous Lake of Rot - Ultimate Walkthrough
Discover the treacherous Lake of Rot in Elden Ring Unveil the secrets of this terrifying area as we guide you through crafting, gathering essential items, battling the fearsome Dragonkin Soldier Boss, clearing out the treacherous lake, and exploring the enigmatic Grand Cloister
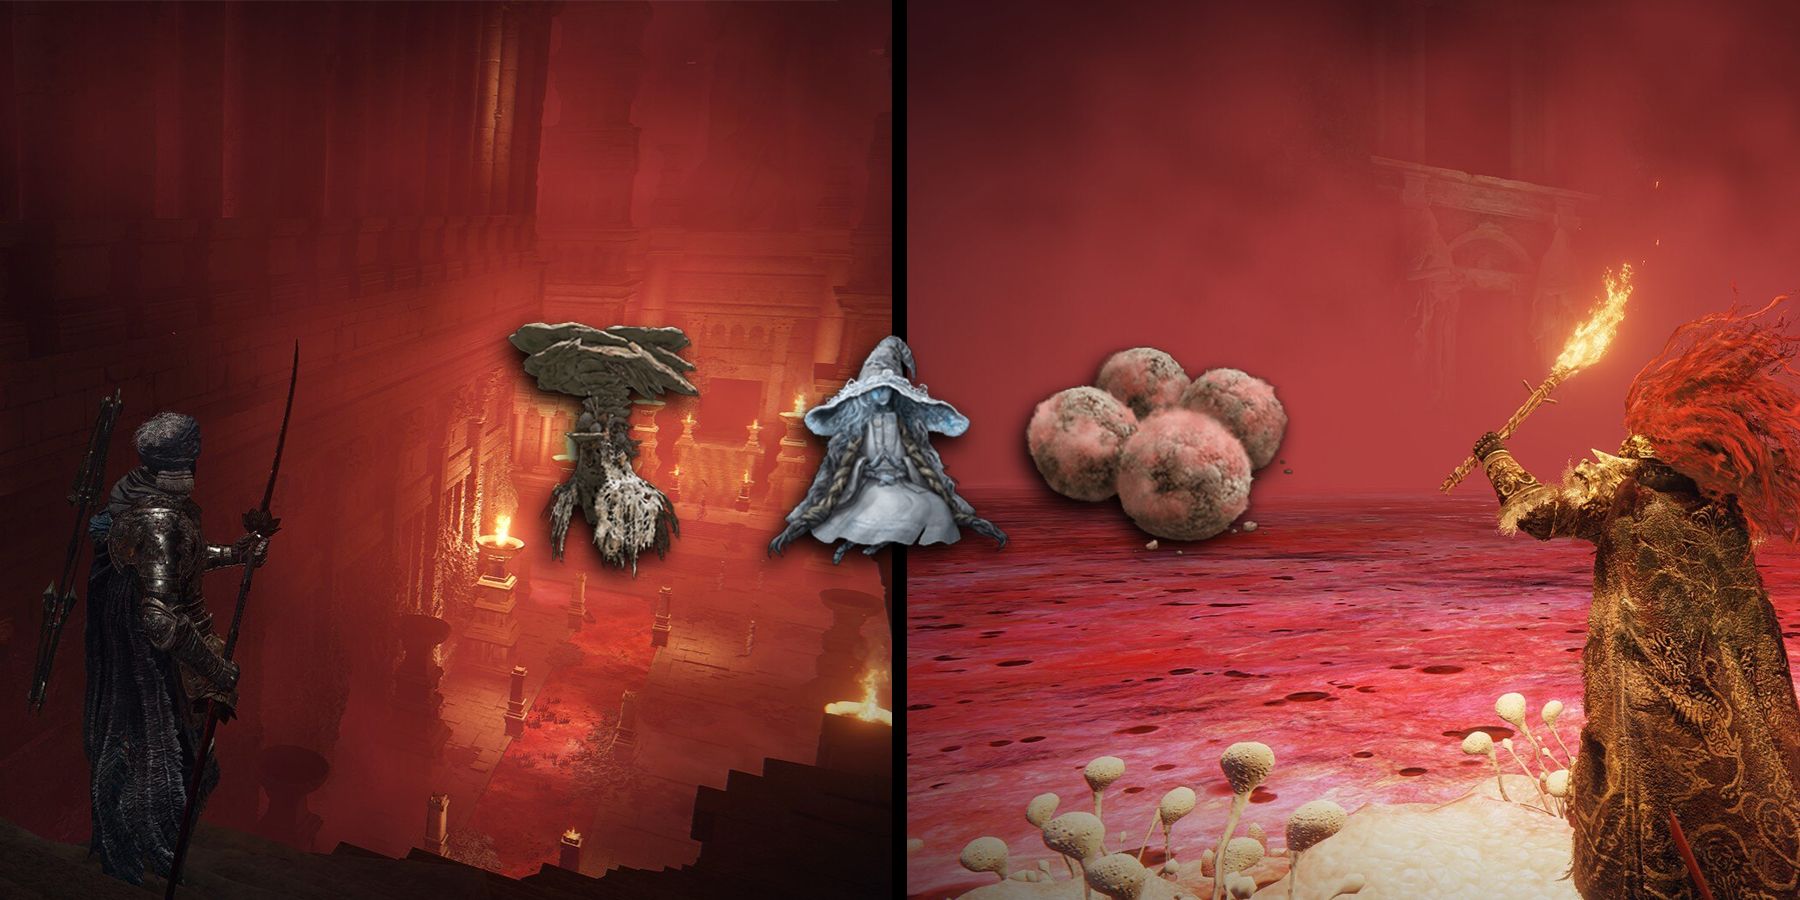
From Software's love for poison swamps is no secret, as they have incorporated them into all their SoulsBorne and Soulslike games. Examples include the Swamp of Sorrow in Demon's Souls, Blight Town in Dark Souls, Black Gulch in Dark Souls 2, Farron Keep in Dark Souls 3, The Nightmare Frontier in Bloodborne, and even the Ashina Depths in Sekiro. It wouldn't be surprising if Armored Core 6 also features a deadly swamp. These areas prove to be a major challenge for those who don't approach things cautiously. In Elden Ring, a game known for its vast open-world, players must be careful not to linger too long in the various locations, as they can cause death.
One such treacherous area in Elden Ring is the Lake of Rot, where the 'Outer God' of Scarlet Rot, allegedly connected to the unpredictable Malenia, is sealed deep beneath the surface. Stepping in this massive hazardous site for more than a few seconds will infect the Tarnished with Rot, an incredibly horrifying ailment. Fortunately, there are some tips and tricks to survive this perilous section of Elden Ring.
Arriving At The Lake Of Rot
Surviving the Lake of Rot in Elden RingAs of August 19th, 2023, Jacob Buchalter provides an update on the enduring challenge of the Lake of Rot in Elden Ring. Among the various obstacles in the game, the infliction of Scarlet Rot stands out as one of the most vexing Status Ailments. Naturally, the Lake of Rot serves as a location where players will frequently confront this detrimental condition. Despite the initial daunting appearance, traversing the treacherous waters of the Lake of Rot is not as insurmountable as it may first appear. This guide will delve into the strategies players should employ to survive in this grim setting, as well as highlight valuable treasures to scavenge and potential boss encounters that may lie ahead.

Fortunately, accessing this region is possible through the main Ainsel River, with players only needing to venture southwest from the Nokstella Waterfall Basin Site of Grace. Along this path, they will come across a lift that descends to the starting point of the Lake of Rot, allowing the Tarnished to proceed. However, given the immense size of Elden Ring's map, locating this area may still prove to be a lengthy endeavor for players.
Everything Player's Need To Gather & Learn About The Lake Of Rot
Upon arriving at the Tarnished, resting at the Lake of Rot Shoreside Site of Grace, players will have the opportunity to acquire a map fragment of the area from a corpse found nearby on the shore. Once this SoG is unlocked, it is common for most players to warp out and visit various NPC Merchants and areas in order to obtain a wide range of Consumables, Armor Sets, and Items that effectively counteract the Rot Ailment.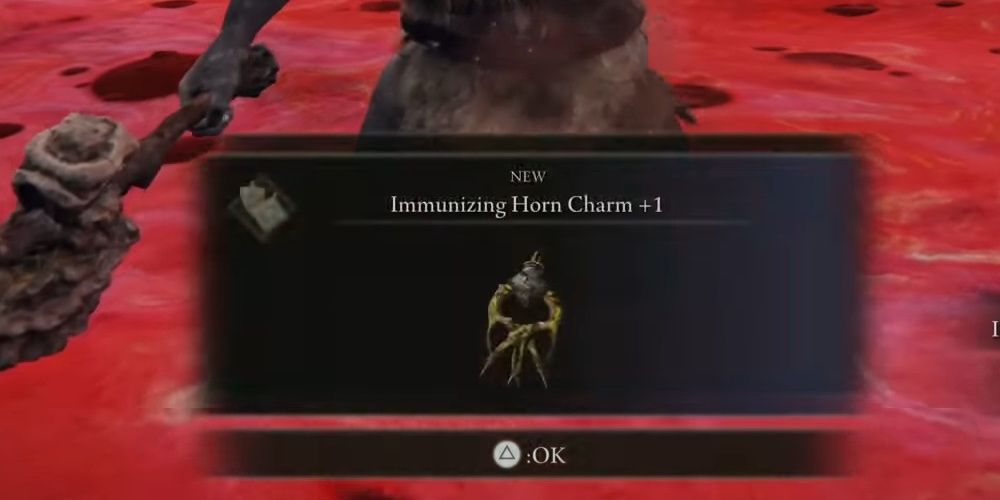
Helpful Scarlet Rot-Countering Items: | Preserving Boluses (Consumable) | Mushroom Set (Armor Set) | Flame, Cleanse Me (Incantation) | Immunizing Horn Charm (Talisman) | Immunity Boosting Equipment & Consumables |
|---|
Exploration in this less picturesque region of the Lands Between is challenging and exhausts the player's resources rapidly to survive. Hence, a wise strategy for scavenging while exploring this location with minimal risks is to teleport back to the Lake of Rot Shoreside Site of Grace whenever the player is at the brink of death from the Scarlet Rot. Alternatively, players can opt for the conventional approach of depleting all their resources, persistently attempting to advance through this area, and repeatedly dying until they reach the next Site of Grace. On reaching the destination, they can then proceed through the just traversed area at their own pace, confident that they have made permanent progress.
Those acquainted with the From Software game collection are likely already acquainted with the 'death run' technique of acquiring items or progressing through daunting sectors, having probably employed it in a previous Souls game at some point.
How To Craft Preserving Boluses Instead Of Buying Them
: The Importance of Preserving Boluses for Players in Single-player or Co-opThe Preserving Boluses play a crucial role in protecting players (in both single-player and co-op) from the Scarlet Rot, offering an effective alternative to the somewhat inexpensive 'death run' method. Unlike the latter, these boluses are considered the most essential tools for warding off the disease. It is important to note, however, that once the build-up of the Scarlet Rot has been neutralized, the player must be cautious as this status effect will start to climb again. Consequently, Preserving Boluses are typically reserved for critical situations where dying poses a significant setback, such as during intense boss fights.
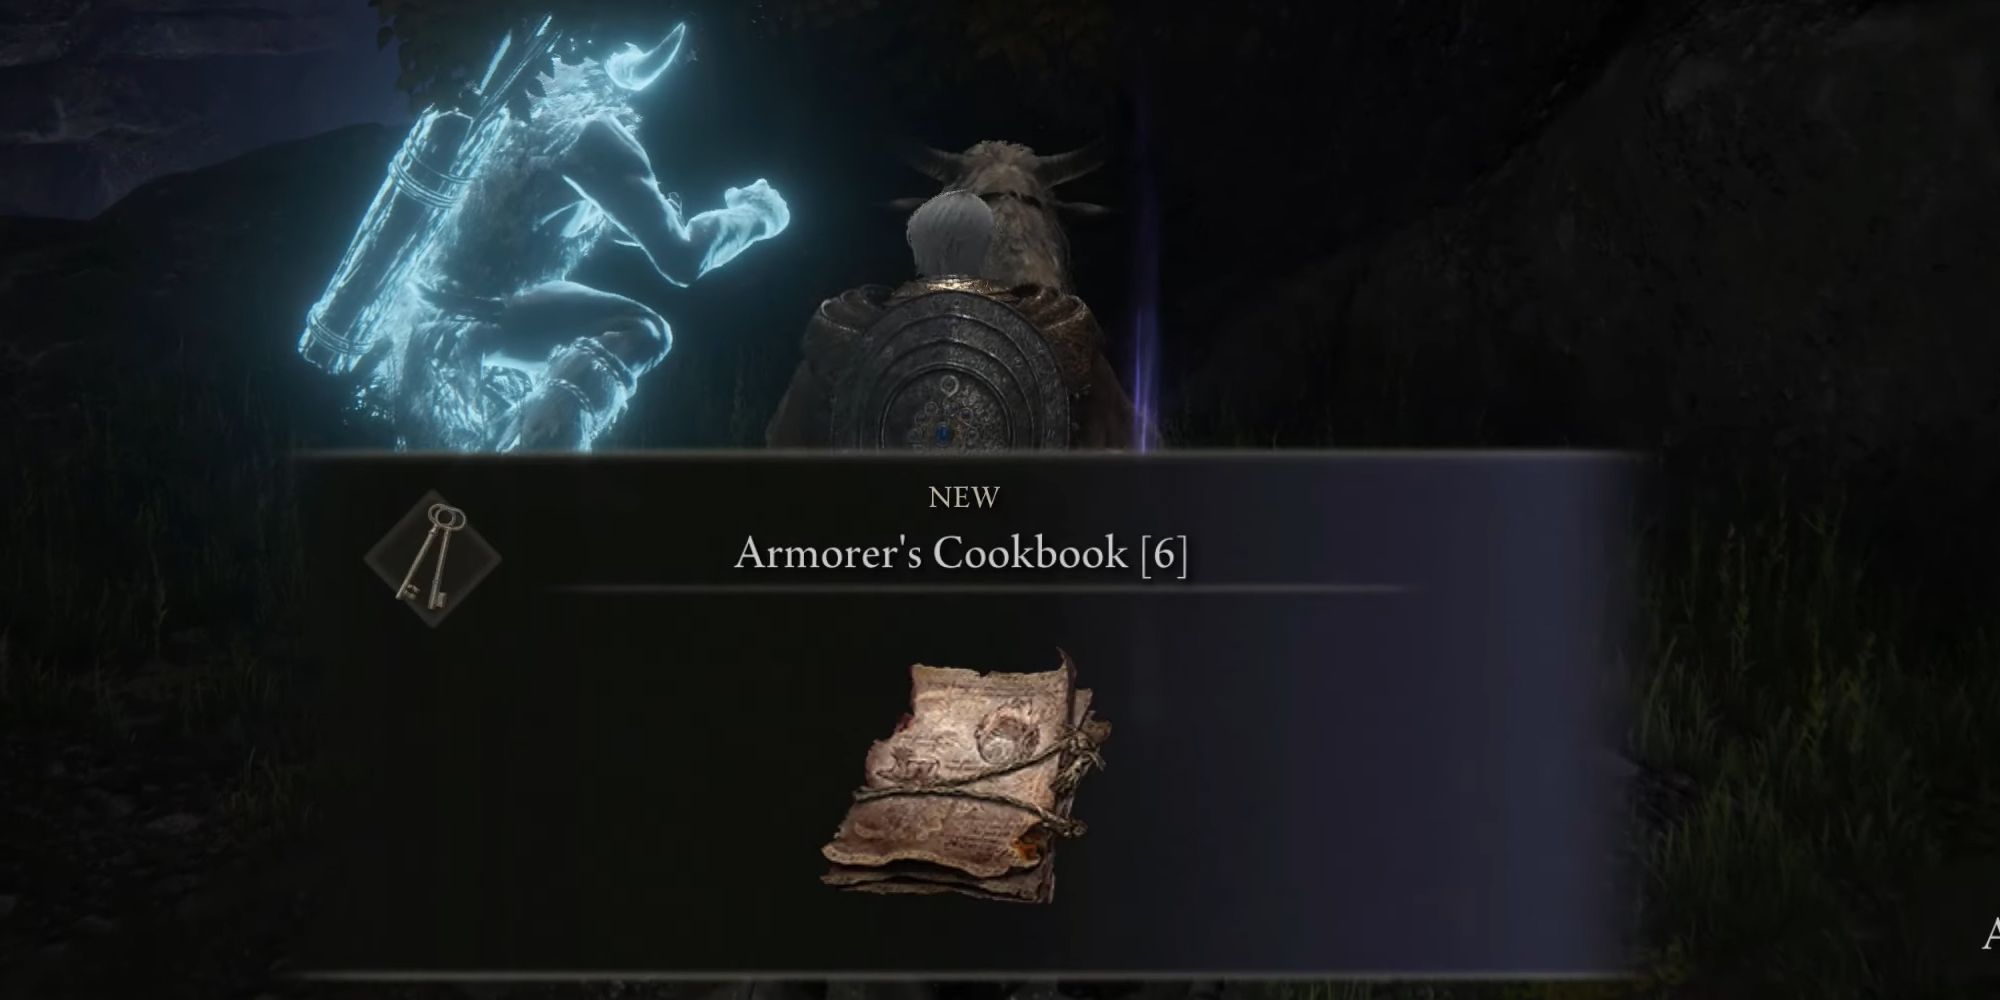
Acquiring Preserving Boluses can be challenging as they are not readily available from the numerous Merchants in the Lands Between. Thus, it is highly recommended to obtain the item that enables players to craft these Boluses themselves. In order to acquire the 'recipe' for Preserving Boluses, players must embark on a journey to the Siofra River to retrieve the Armorer's Cookbook 6. To locate the book precisely, make your way to the Siofra River Well, descend via the lengthy elevator, and continue forward until reaching a second lengthy elevator that ascends to the Siofra River Bank.
Head to the Hallowhorn Grounds, also known as the location where the corpse of the Ancestor Spirit is placed. Find the stairs and then turn completely around to face the opposite direction. Proceed straight to the other side of the riverbank, where you will come across a small raised area. Follow this terrain along the left-hand side until you spot the Armorer's Cookbook 6. It will be situated right behind an Ancestral Follower who is busy exploring the nearby shrubbery.
All Other Items That Help In The Lake Of Rot & How To Get Them

In addition to employing the Preserving Boluses, players have access to various equipment that significantly simplifies navigating the Lake of Rot in Elden Ring. Below is a comprehensive list of all the gear available, along with their respective effects and locations.
Name | Item Type | Location | Effect |
|---|---|---|---|
Mushroom Set | Armor Set | The Mushroom Crown is found on a corpse that has been strewn over a pillar in the southeastern corner of the Lake of Rot. The remaining pieces of the set are all found in Seethewater Cave. | Each Armor Piece has the highest immunity stat compared to all the other armor pieces in the game. The full set gives +243 Immunity. |
Flame, Cleanse Me | Incantation | On a corpse in the camp of Fire Monks, just southeast of the Church of Vows. | Cures most status buildups, including Scarlet Rot, while also dealing a small bit of damage to the player in exchange. |
Ant's Skull Plate | Greatshield | Found in Nokstella, the Eternal City in a small enclosed room with a Nox Swordstress just at the bottom of some stairs. | Grants a high amount of passive Immunity and can also inflict deadly poison on enemies & players if they use enough Shield Bashes on them. |
Eclipse Crest Greashield | Greatshield | Random drop from the Mausoleum Knight enemies. | Grants a high amount of passive Immunity as well as Robustness and Focus. |
Immunizing Horn Charm | Talisman | Found on a corpse in an ant pile near the Ainsel River Downstream Site of Grace. | Grants an absurd amount of passive Immunity. |
Mottled Necklace Talisman | Talisman | Found on a corpse at the end of a destroyed bridge in the Siofra River, the location is only accessible from the Four Belfries Waygates. | Raises Immunity, Robustness, and Focus by a pretty sizeable amount when equipped. |
In order to effectively explore the Lake of Rot, it is crucial for players to prioritize increasing their Immunity levels as much as possible. Failing to do so would result in excessive backtracking and respawning, as the debilitating effects of the Scarlet Rot damage could continuously threaten their progress.
Actually Traversing & Clearing Out The Lake Of Rot
Enemies In This Area: | Dragonkin Soldier (Boss) | Basilisks | Alabastor Lord x1 | Ancestral Follower x1 |
|---|
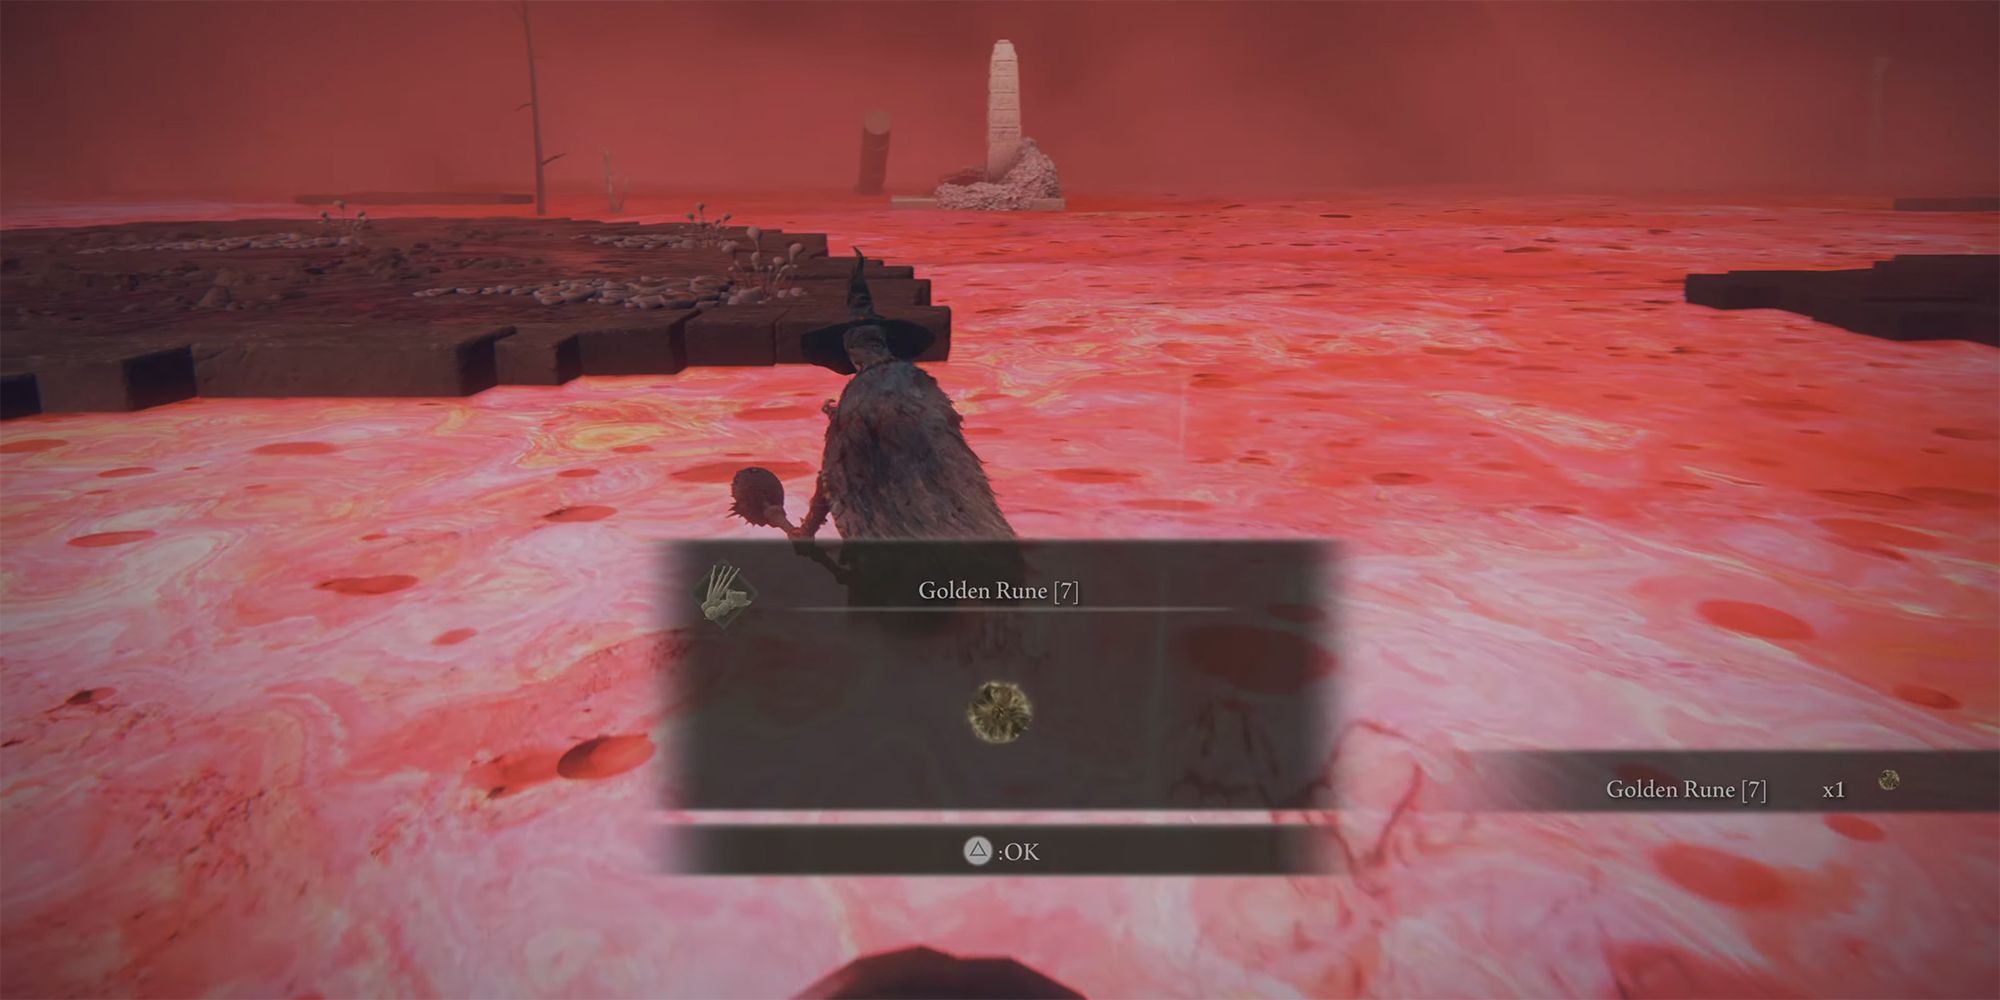
Upon entering the lake for exploration, players will discover scattered stone pillars adorned with levers. By manipulating these levers, the Tarnished can raise platforms, providing secure areas for their exploration. In close proximity to each other, a total of four pillars await activation. Once all pillars are engaged, a substantial pathway will unveil itself, leading through a significant portion of the vast Lake.
As players traverse these platforms, they will come across the beloved (or despised) Basilisks that From Software fans are familiar with. Dealing with these creatures on the Lake can be incredibly frustrating. Eventually, the Tarnished will reach a section of the Lake that leads them to the Grand Cloister. However, if they choose to further explore the Lake and head towards its eastern side, they will encounter the formidable Field Boss known as the Dragonkin Soldier.
The Dragonkin Soldier Boss Fight

To level the playing field against the Dragonkin Soldier, the Tarnished must activate a weighted pad on an eastern pillar to raise multiple large platforms around the boss. By doing so, players can engage in combat without the constant concern of the Scarlet Rot ailment. Without these elevated platforms, this relatively manageable boss can become quite troublesome to deal with.
The most efficient way to swiftly defeat this boss is to immediately immerse oneself in the battle. As the Dragonkin Soldier emerges from below the "water," the player can seize the opportunity to land numerous consecutive strikes before the boss retaliates. Subsequently, employ the customary strategies employed against any of the other Dragonkin Soldier bosses encountered throughout the game, while adhering to the essential principle of evading its frontal attacks as much as possible. Although these colossal soldiers may not represent the most arduous boss encounters in the game, familiarizing oneself with their tactics is still a worthwhile undertaking.
Attack | Attack Description |
|---|---|
Arm Sweep | A long sweep in a cone in front of the boss with one arm. |
Spinning Claw | Uses the right claw to drag along the ground clockwise around itself. |
Grasping Slam | Crawls a bit forward before reaching out with its right claw fully, slamming it down to create a shockwave. |
Close-Range Slam | Fully raises its left hand up before slamming it down close to itself, creating a powerful shockwave. |
Elbow Slam | Lifts right elbow up before slamming it down, creating a shockwave near the point of impact. |
Slam & Shovel | Shoves the left claw into the ground parallel to its body, creating a shockwave. Then, a second later, rips up the earth to free its claw, creating another shockwave before lunging forward with the same arm and flopping down. |
Two-Handed Hammer Slam | Raises both hands clasped together above its head before slamming them down in front, creating a larger-than-usual shockwave. |
Belly Flop | Slowly stands up, creating small shockwaves with each movement to do so. Then, immediately falls forward onto its stomach, creating a huge shockwave on impact. |
Standing Slam & Shovel | Same as Slam & Shovel, but the Soldier stands first, additionally, it doesn't do the lunging part of the attack either. |
Roaring Barrage | Lets out a roar that staggers players nearby, slams its right claw down to create a shockwave, and lunges forward with its left claw, before ending the combo with a sweep with the right claw. |
Clearing Out The Rest Of The Lake
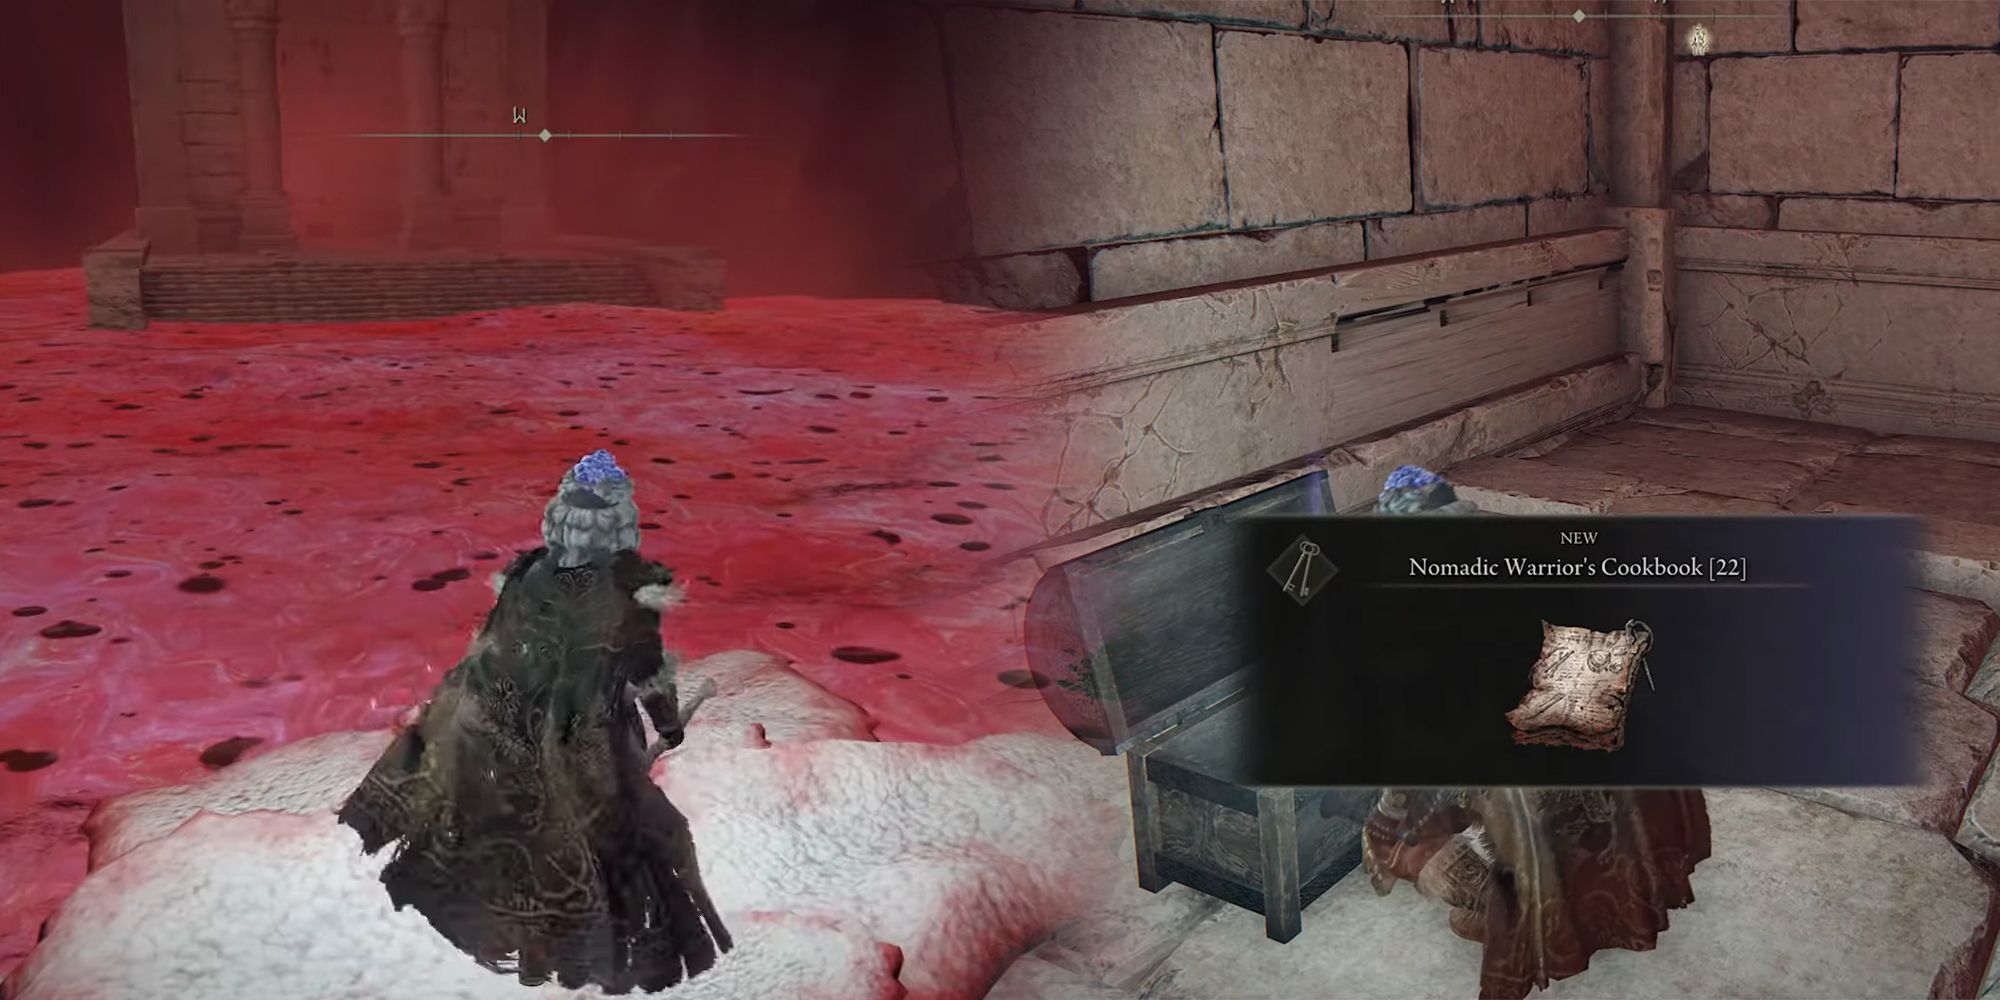
After passing the Dragonkin Soldier, the player will come across several small areas that contain valuable items such as high-level Somber Smithing Stones and the Nomadic Cookbook 22.
The Nomadic Cookbook 22 enables the Tarnished to craft Rot Pots, Rot Grease, and Drawstring Rot Grease using items from their inventories.
After ascending the fourth and final platform, the player will be transported to an elevated area where they can engage in a battle with the formidable Alabaster Lord. Defeating this powerful adversary will reward the player with the renowned Alabaster Lord's Sword and a coveted Somber Smithing Stone. With these valuable items in their possession, the player will have effectively cleared out all the crucial elements of the challenging Lake of Rot landscape. With newfound confidence, they can then proceed towards the Grand Cloister, where they will encounter Astel, Naturalborn of the Void, and reach the ultimate steps of Ranni's extensive questline. This journey, also known as the Age of Stars Ending path for Elden Ring, culminates in a remarkable conclusion.