The Ultimate Guide to Creating a Powerful Windows 10 USB Boot Drive
Effortlessly install Windows 10 with this comprehensive guide on creating a bootable USB drive Learn the essential steps and tools required for a seamless installation process
Key Takeaways
To enhance your Windows experience, utilize the complimentary Windows Media Creation Tool provided by Microsoft. Connect a USB flash drive to your computer and proceed to execute the Windows Media Creation tool. Follow the on-screen instructions to effortlessly generate a Windows 10 USB drive that can be used for booting.
What Do You Need To Make a Bootable Windows 10 USB?
: The Benefits of Installing Windows 10 from a USB DriveWe'll be focusing Microsoft's recommended method to make a bootable Windows 10 USB drive. It requires:
The Windows Media Creation Tool, which you can download for free
A Windows PC
An eight-gigabyte flash drive (or larger)
A working internet connection is required. You can utilize USB storage devices larger than eight gigabytes, such as external hard drives, external solid-state drives, and SD cards compatible with your computer.
If you're creating a USB drive on a Mac, Linux, or using Rufus, the requirements are similar:
A functioning PC
An eight-gigabyte flash drive (or larger)
An internet connection, or a Windows 10 ISO file
How to Create a Bootable Windows 10 USB Drive
To make a bootable Windows 10 USB drive, begin by downloading the Media Creation tool from Microsoft's Download Windows 10 website. Click "Download Tool Now" on the page.

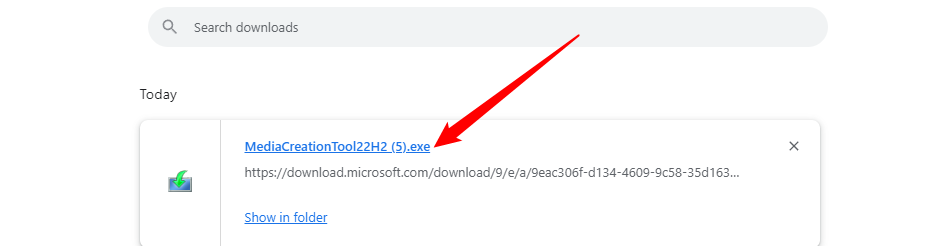
Once the file has completed its download in your web browser, press Ctrl+j to access your browser's downloads - a menu will appear displaying your recent downloads. Locate "MediaCreationTool21H2.exe" in the list and click on it. (Alternatively, you can also open this file directly from your downloads folder.)
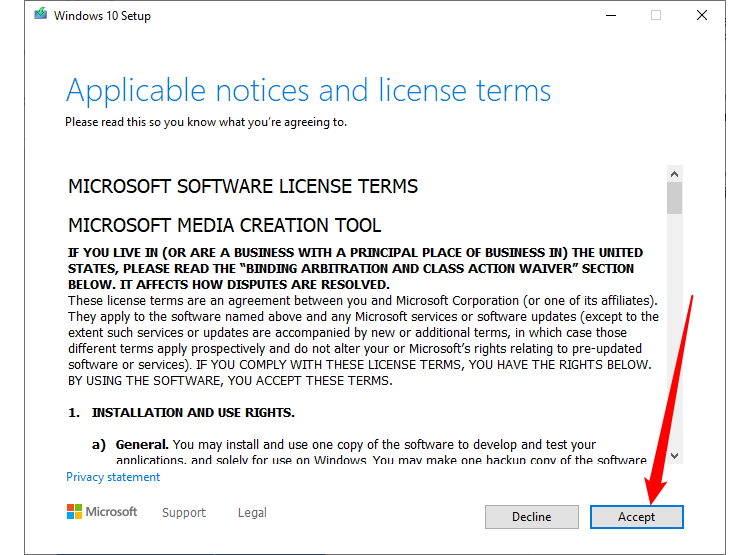
Click "Accept" in the bottom right-hand corner of the Terms and Conditions page.
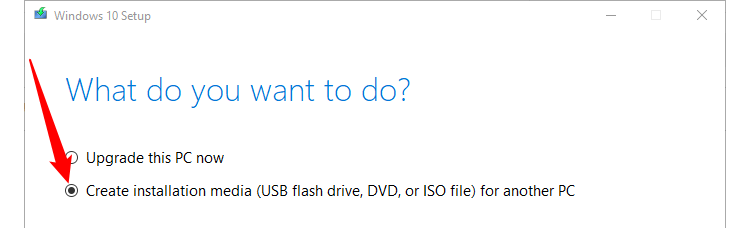
Select "Create Installation Media" and then click "Next" in the bottom-right corner of the window.
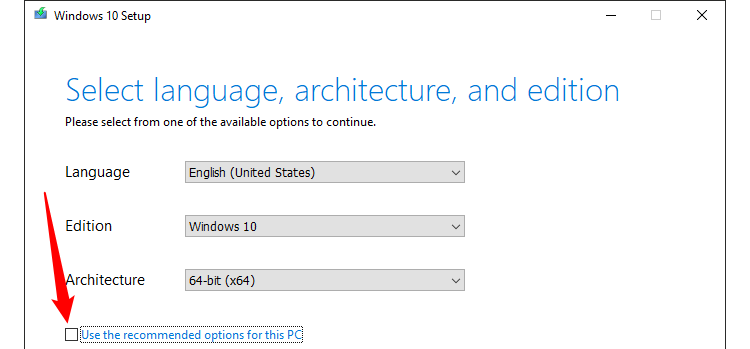
You should leave the default settings alone if you don't have a specific need to install a different version of Windows 10 (such as Windows 10 Home or Pro). Then, click "Next."
Select "USB Flash Drive" and click "Next."
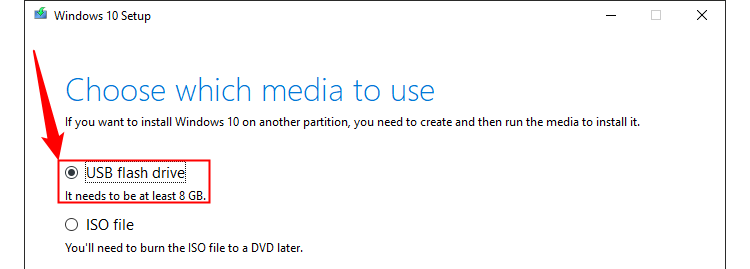
The Media Creation Tool will completely wipe any USB drive you choose to use. Back up any files you want to save before proceeding.
Select the desired USB drive and proceed by clicking on the "Next" button. The Media Creation Tool will then proceed to download Windows 10 and generate a bootable USB drive for you. Please note that the download size is several gigabytes, so the duration may vary depending on the speed of your internet connection.

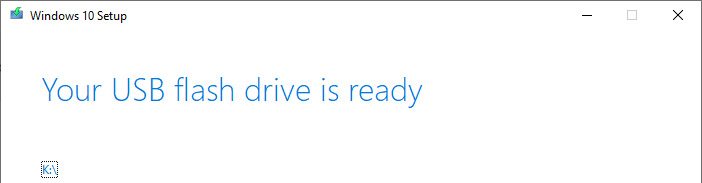
Once the download and configuration of the bootable drive are complete, click on the "Finish" button. You may also open the bootable drive in File Explorer by clicking on the drive letter displayed on the final screen.
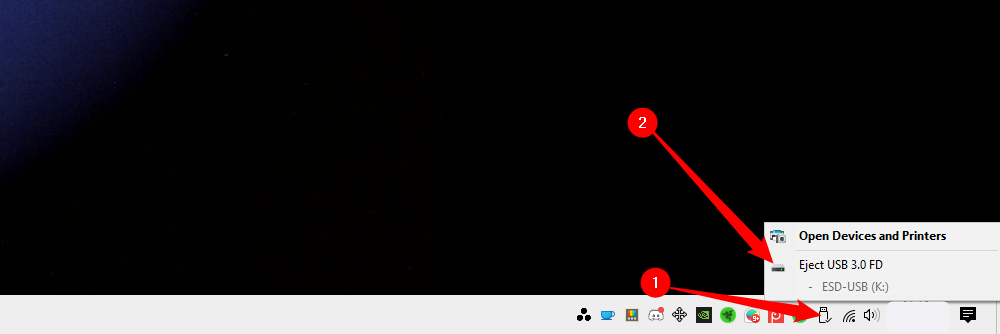
You should safely eject unless you've set up your PC so it isn't necessary. Click the USB drive icon on the taskbar, and then click "Eject."
Your bootable USB drive for Windows 10 is prepared and ready to use. To utilize it, adjust your PC settings to prioritize booting from a USB drive instead of the hard drive. Once this is done, you can either reinstall Windows 10 on your existing computer or install it on a new PC.
How to Create a Bootable Windows 10 USB with Rufus
Rufus is a convenient tool that allows users to easily create bootable USB drives for various operating systems, with a specific focus on Windows 10 in this instance.
To begin, visit the Rufus website and download the most recent version of the software. You have the option to choose either the installable or portable version, as both are equally effective. We personally prefer the installable version due to our regular usage.
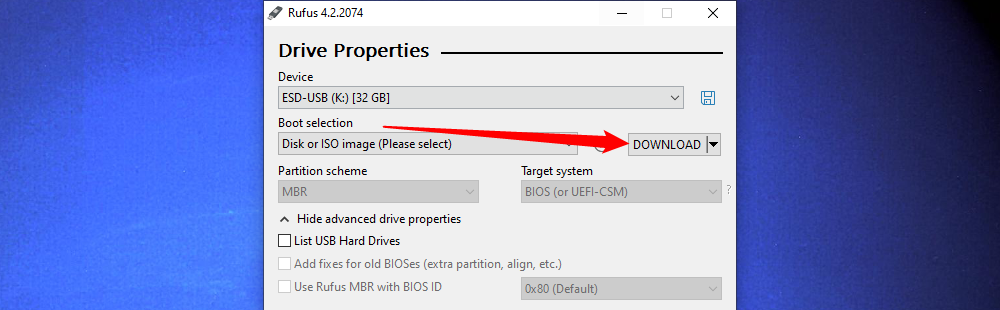
Once you install and open Rufus, click the small arrow on the right side next to "Select," and change it to "Download" instead.
![]()
Now, click the "Download" button.
Click the dropdown menu and select "Windows 10" from the list of Windows operating systems.
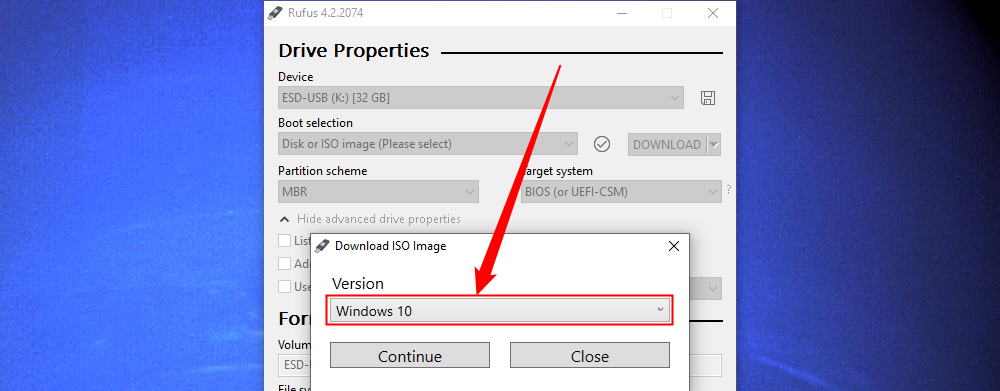
Rufus will now walk you through a series of choices. You will be presented with several minor options, but if you don't have a specific preference, it is recommended to stick with the defaults. The choices will be presented step by step, and once you reach the end, click on the "Download" button located at the bottom to obtain the Windows 10 ISO from Microsoft.
This is a about a six gigabyte download. You shouldn't expect the download to be done instantly.

Once you have downloaded the ISO, Rufus will automatically detect and select the Windows 10 ISO, as well as adjust the necessary format settings. Ensure that you have correctly chosen the USB device, and then click on the "Start" button. Rufus will prompt you to pre-select specific options available during the Windows installation process — the decision is entirely up to you, and you can always modify these settings later if you prefer something different.
Creating the bootable drive may take some time as it depends on the speed of the USB drive (or USB port) being used. Multiple instances of File Explorer may appear on the screen during the process. Once Rufus completes, you can safely remove the drive from the USB port. It can then be used to install Windows 10 on another PC or kept as a backup for future reinstallation on your own PC.