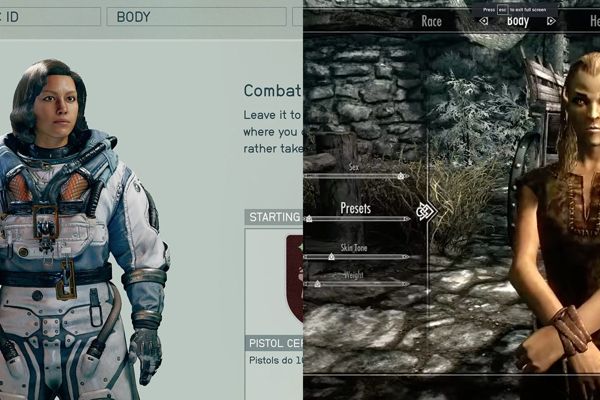
Unveiling the Ultimate Guide to Starfield's Revolutionary HUD
Discover the intricacies of Starfield's immersive heads-up display (HUD) and its symbolic representations Uncover the components such as the Compass HUD, Radar, Day & Night Cycle, Stamina Bar, Hazards and Conditions, and the Combat HUD featuring Weapons and Ammo, Health Bar, and Boost Bar
Starfield's HUD: Unveiling the Secrets of its Retro-Futuristic Icons and Symbols
All Components of the HUD in Starfield
Starfield's UI features a sleek heads-up display comprising of two main components: the Compass and the Combat HUDs. The Compass provides essential geological details like planet name, oxygen level, and the day and night cycle. On the other hand, the Combat HUDs display vital information such as equipped weapons, ammunition, fuel, and HP.
The Compass HUD
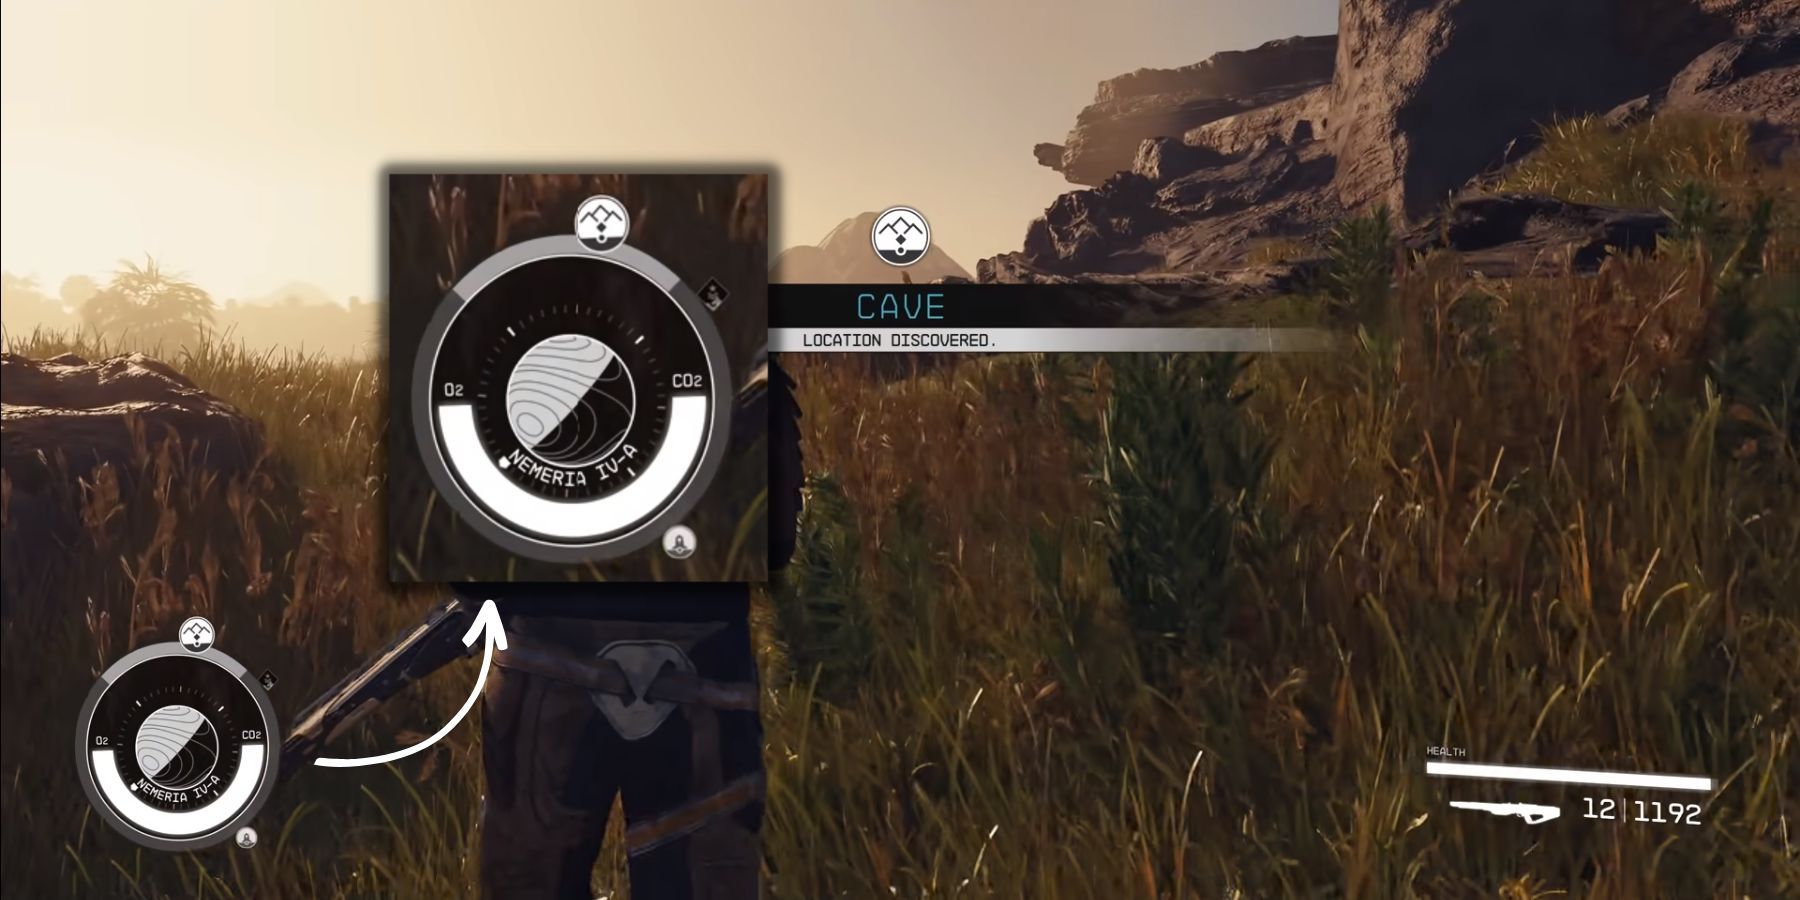
The Compass HUD, situated at the screen's bottom-left side, serves as a mini-map. It employs landmark icons and visual cues to expose undiscovered regions and objects. Additionally, it functions as players' radar system by unveiling potential threats and adversaries. The latest Starfield Direct presentation revealed the four specific functions of the Compass HUD, outlined as follows.
Radar
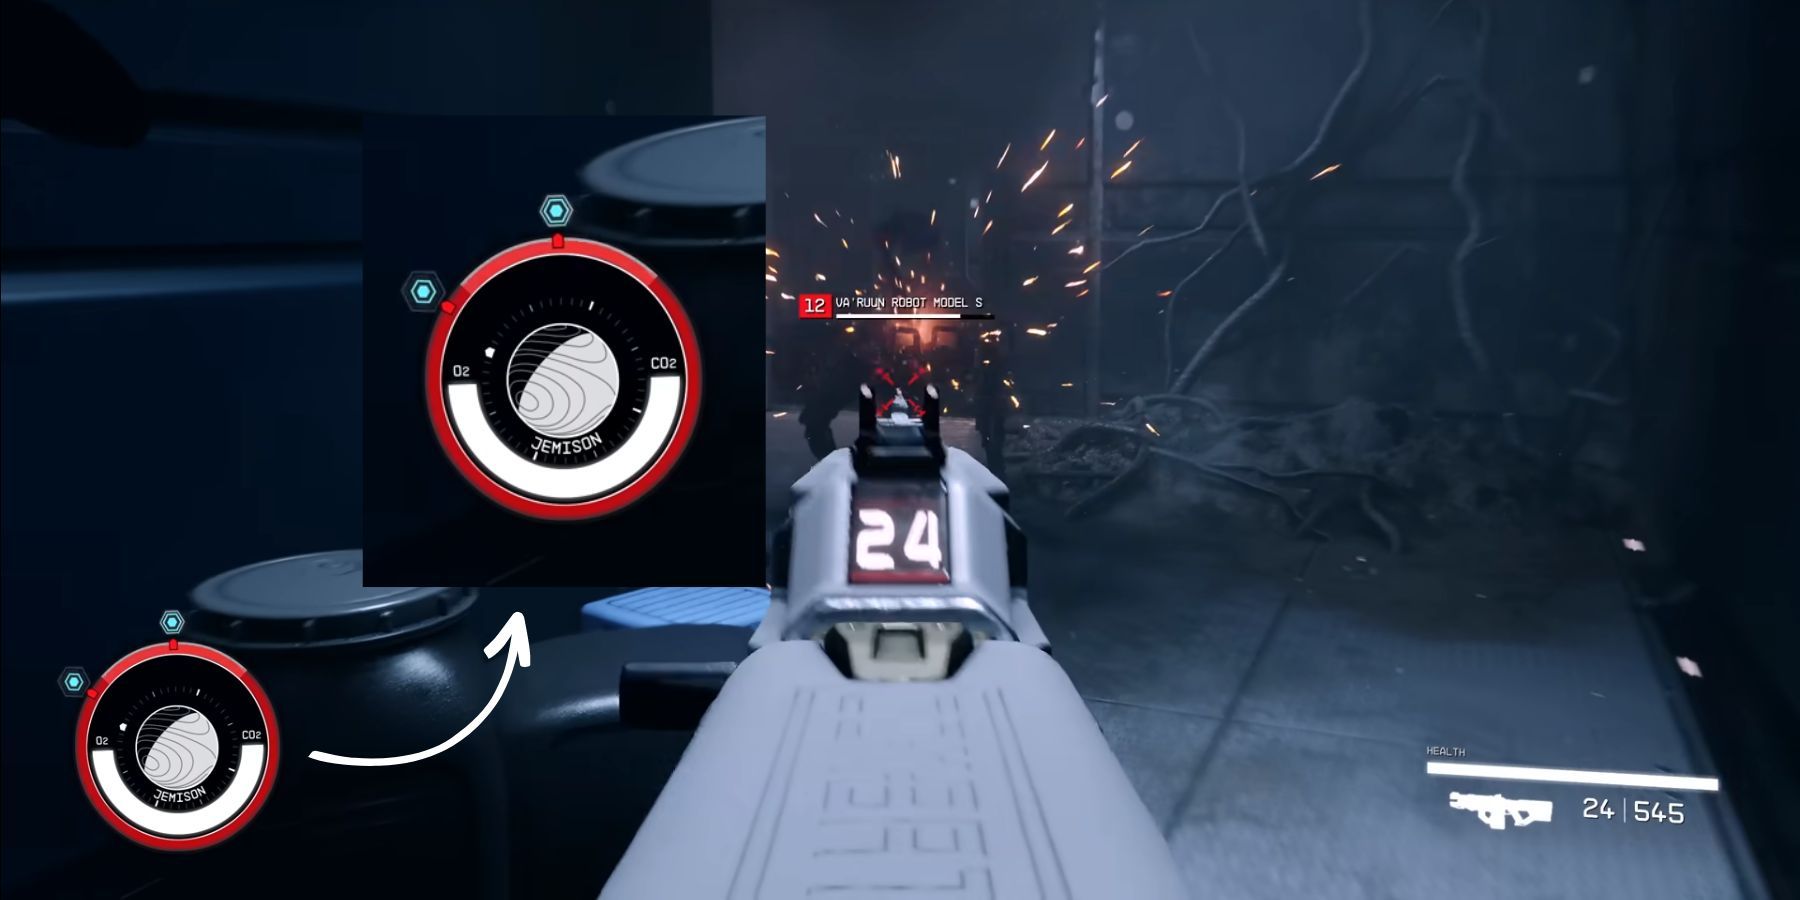
The player's field of view is represented by the gray circle surrounding the Compass. Icons on this circle indicate objects, locations, vehicles, companions, or enemies, with larger icons representing closer entities. If the radar turns red, it signifies that enemies have detected or are pursuing the player. To understand the icons on the radar, follow these guidelines:
Red markers show enemies or hostile creatures.
Blue hexagons or blue circles point out missions and objectives.
Diamond-shaped icons resemble civilizations or artificial structures.
Gray or white circles are often biological landmarks.
Day & Night Cycle
Stamina Bar (Oxygen Indicator)
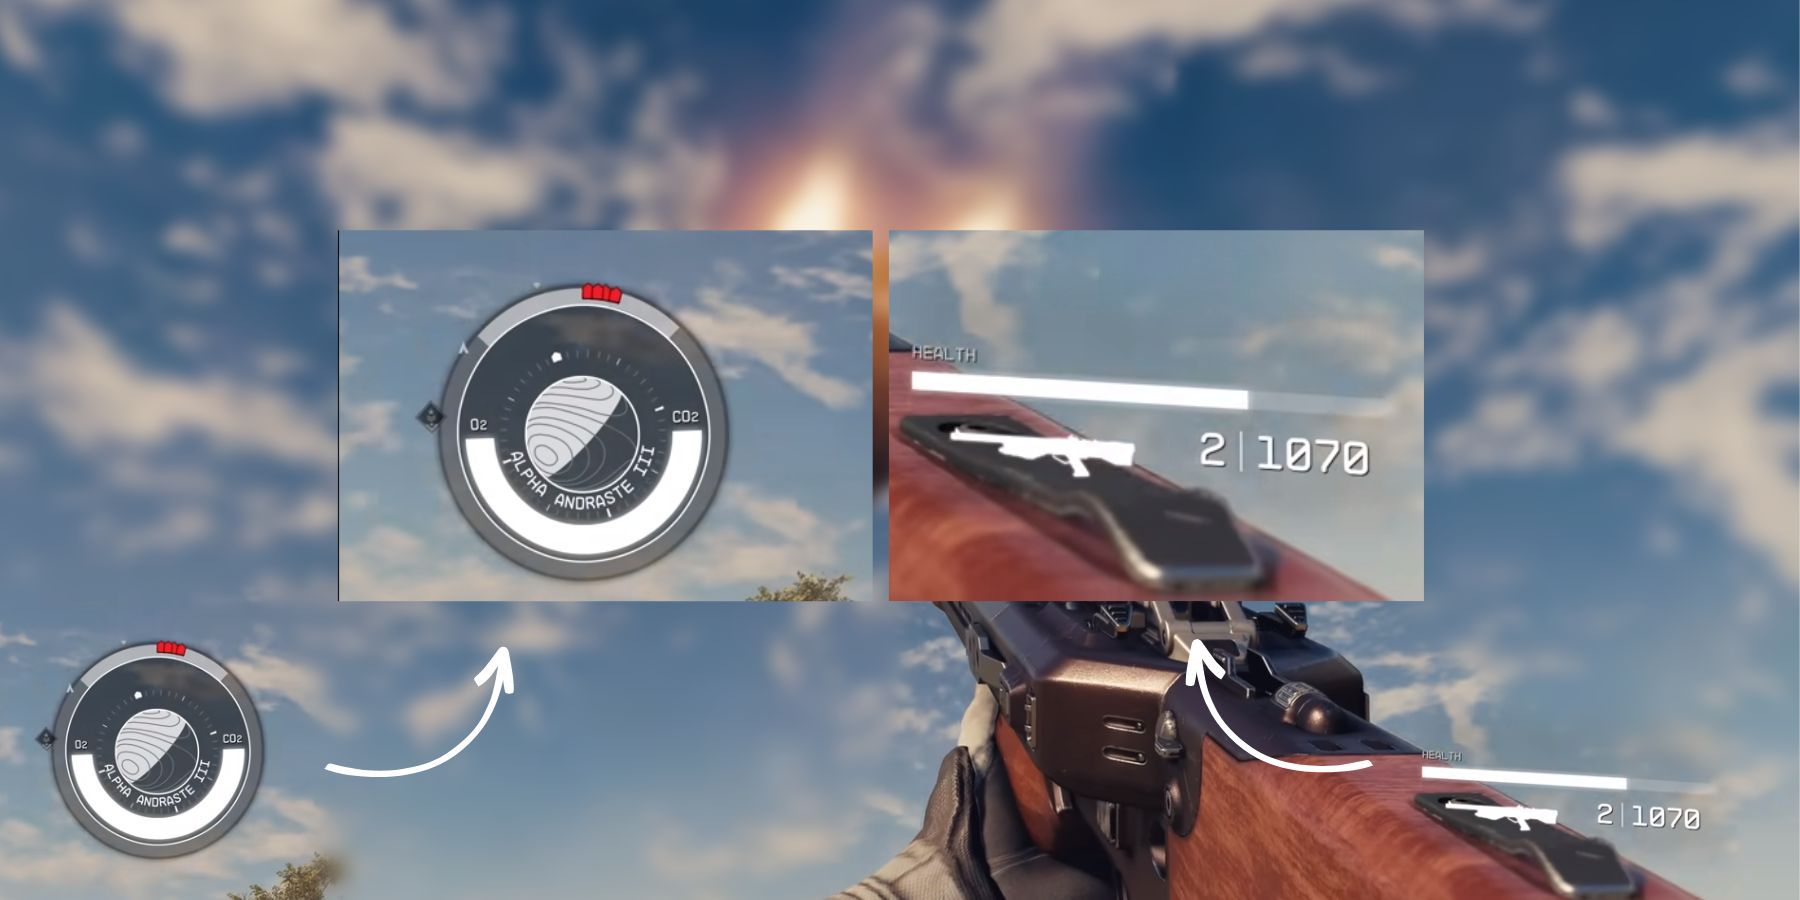
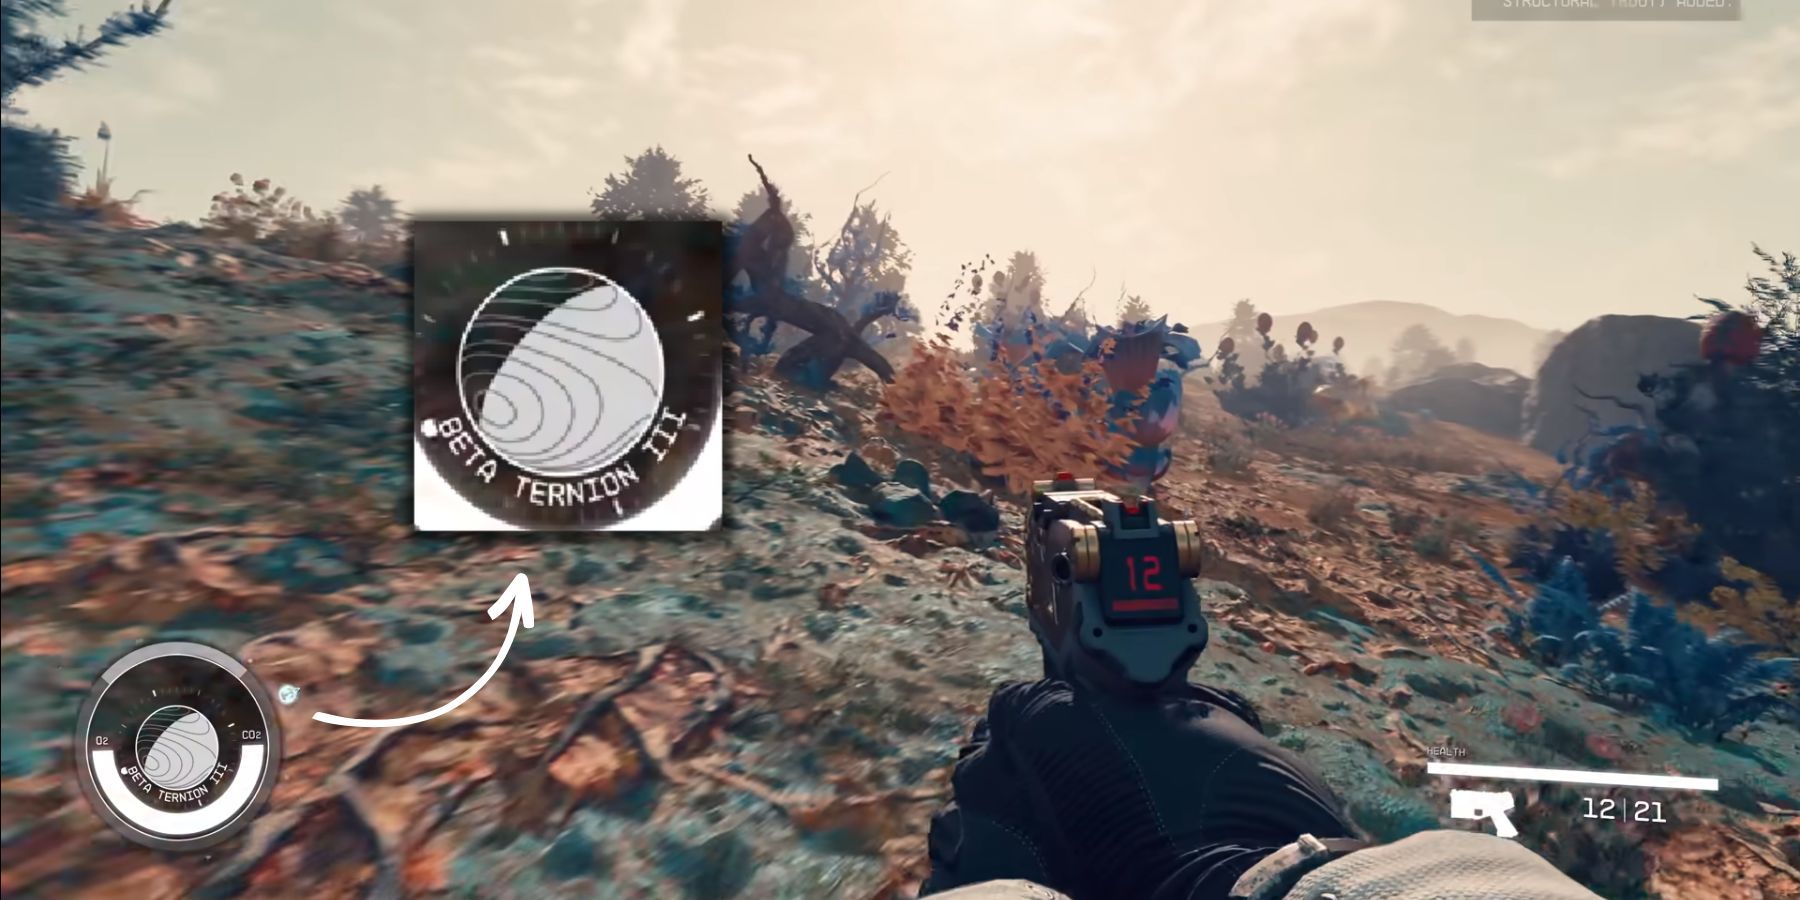
The time of day is displayed on the Compass HUD through a planet icon located at its center. As Starfield planets have a spherical shape, whether it is day or night is determined by the players' position. Hence, when the larger hemisphere of the icon appears dark, dusk is approaching, whereas if it appears white, dawn is drawing near.

Directly beneath the day & night indicator, a gracefully arcing bar emerges, featuring two distinctive symbols on either side: O2 and CO2. Within the vast expanse of Starfield, this bar embodies not only the oxygen supply of the spacesuit, but it also serves as a visual representation of the players' stamina. Engaging in vigorous activities such as sprinting or engaging in close combat consumes this resource, while taking moments of repose replenishes it anew.
Hazards and Conditions
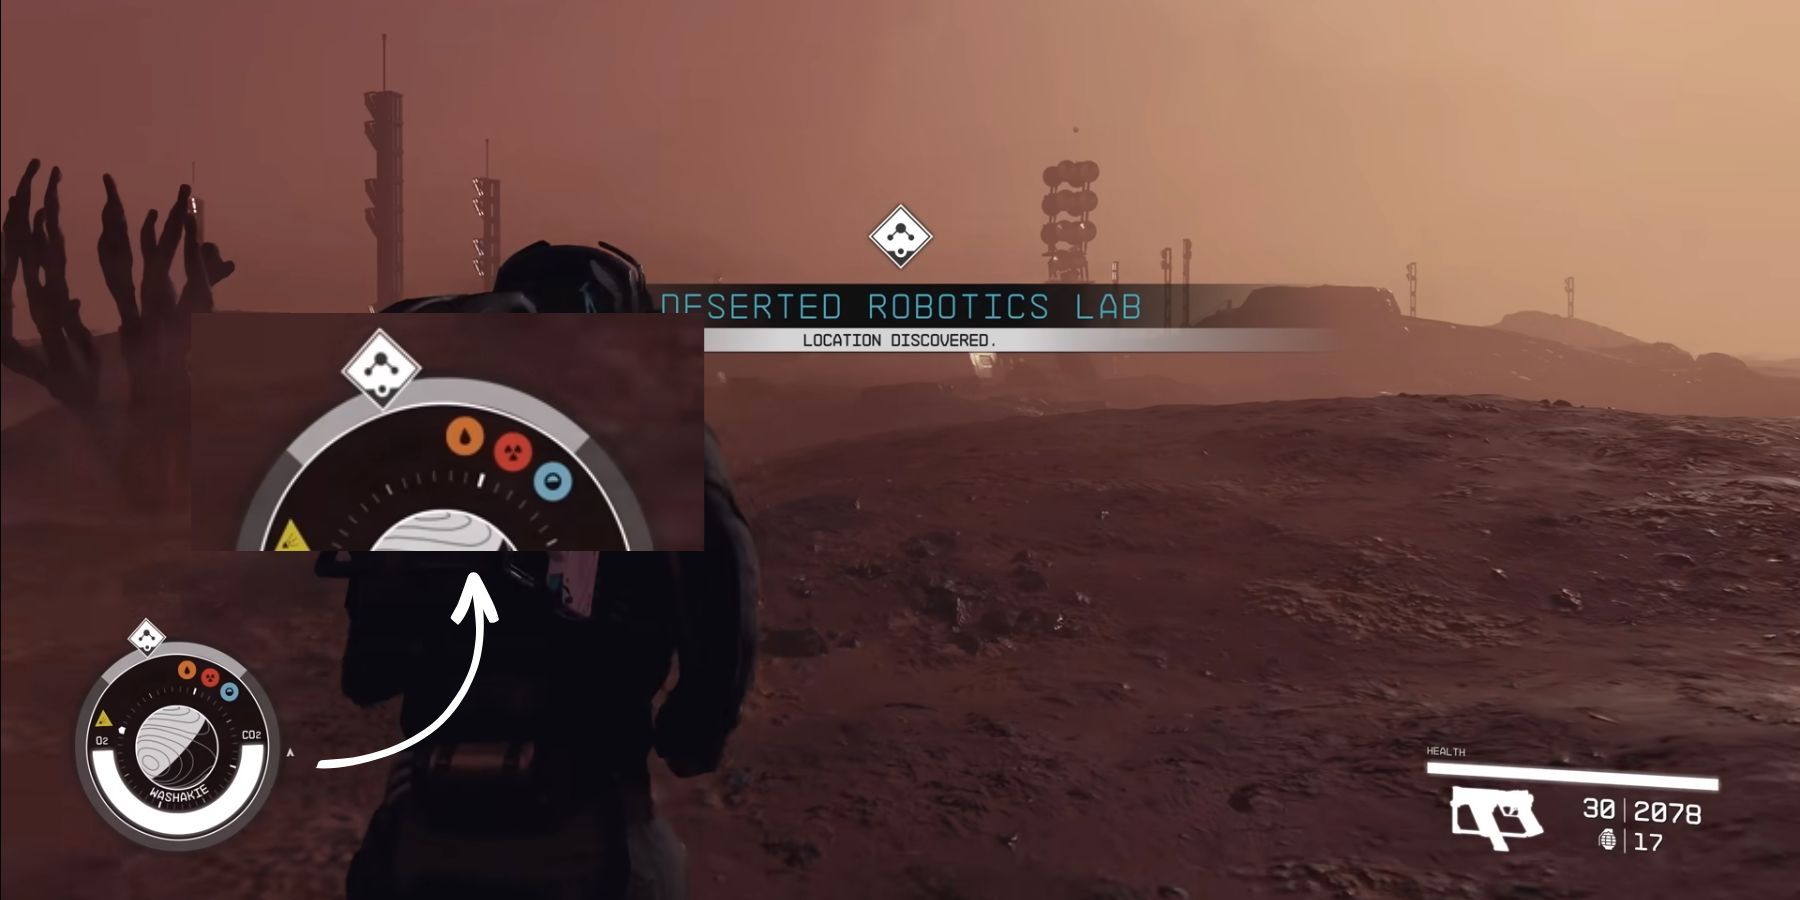
In Starfield, survival elements play a crucial role, with hazards and conditions being key aspects. Hazards, indicated by round signs on the radar, serve as warnings for environmental threats. On the other hand, conditions, represented by triangle signs, inform players about the health status of their character.
The hazards encompass various geological states, including Radiation, Thermal, and Corrosive. Conditions, on the other hand, encompass issues such as coughing, joint pain, or soreness, which impact the overall performance of the main character.
The Combat HUD
Weapons and Ammo
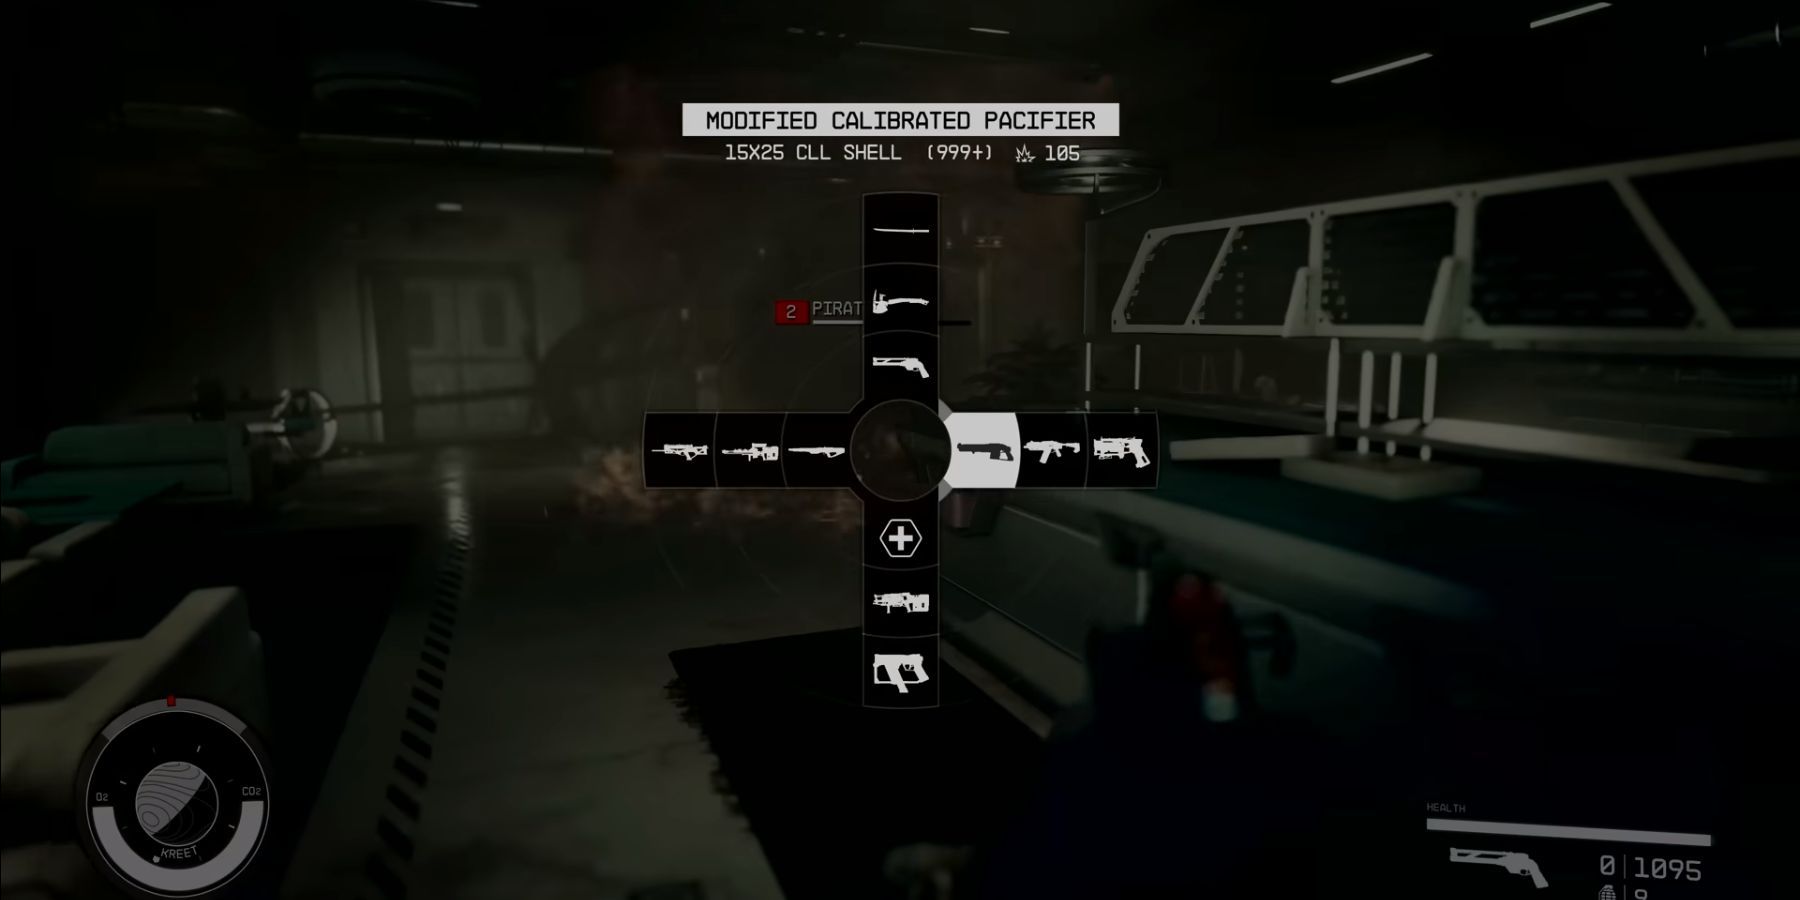
The Combat HUD is located in the bottom-right corner of the screen and provides essential information such as the currently equipped weapon, ammunition and magazine details, health status represented by a bar, jetpack fuel level, and the availability of throwables.
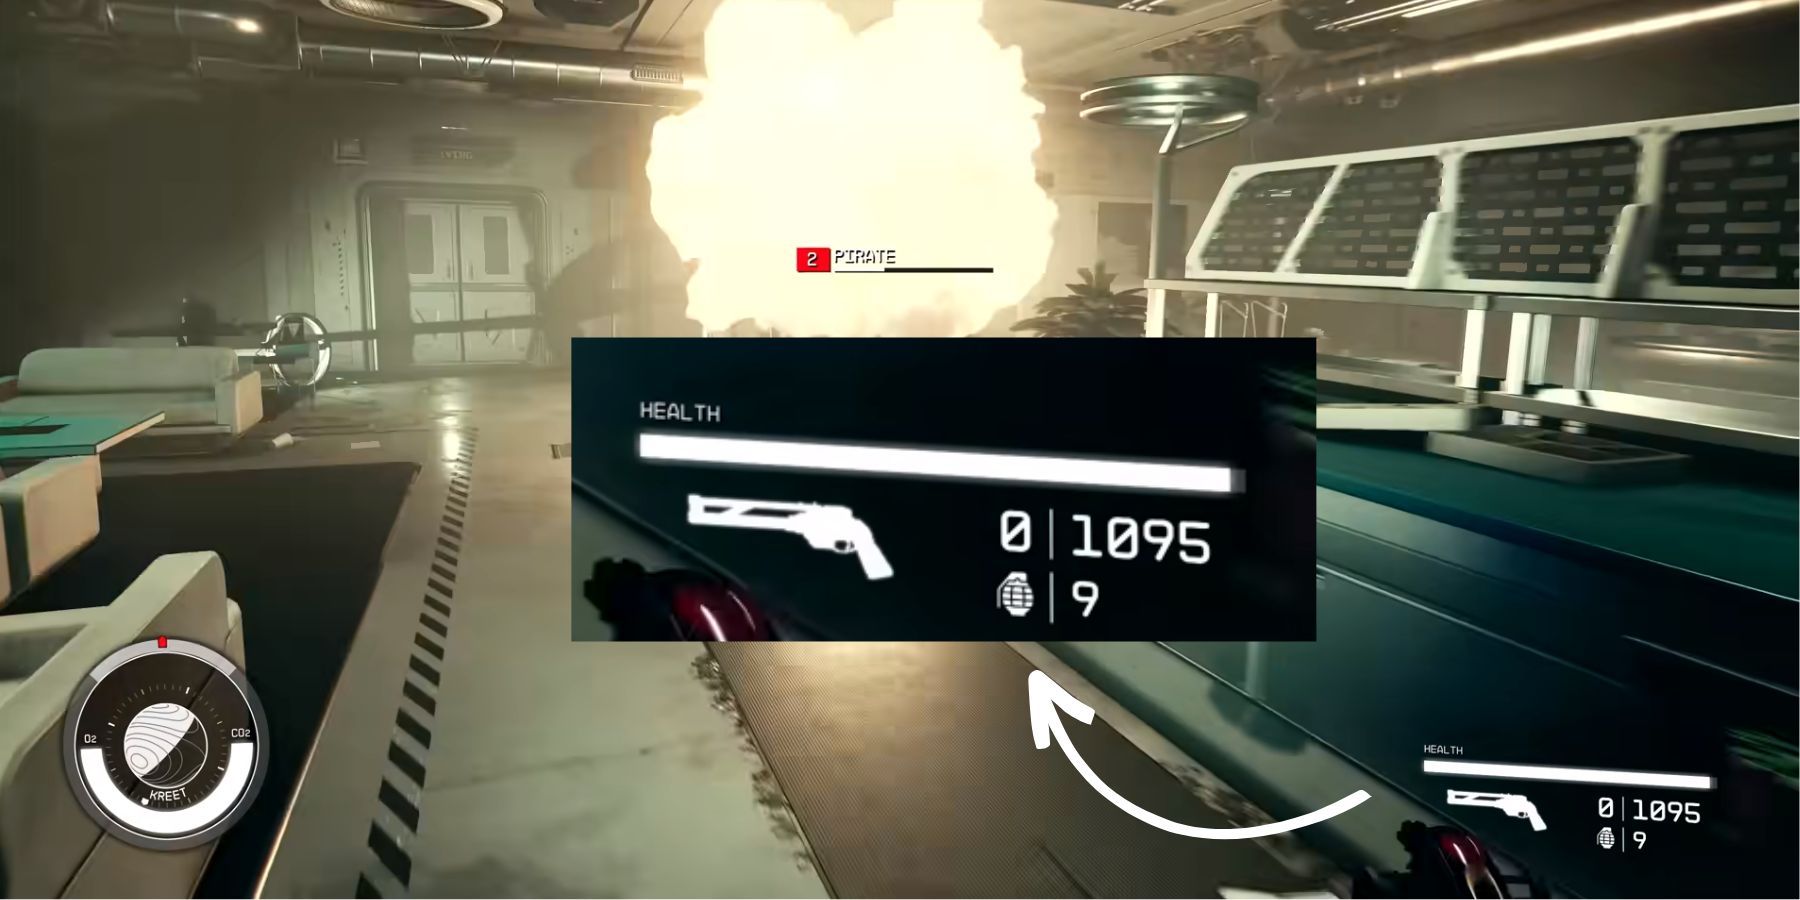
Starfield's weapon and ammo heads-up display (HUD) takes inspiration from the Fallout series, adopting a minimalist approach. The HUD features a sleek representation of the wielded gun, with accompanying digits indicating the ammunition count in both the magazine and the overall inventory.
Health Bar
To the highest point of the firearm's Heads-Up Display (HUD), a conspicuous white bar displays the current HP of players. This indicator may gradually decrease as a result of various factors, including attacks, environmental dangers, the struggle to satisfy basic needs (such as hunger, thirst, etc.), and existing health ailments. Moreover, an orange bar emerges from the right side of the HP gauge, indicating that players are being subjected to a hazard that progressively erodes their health.
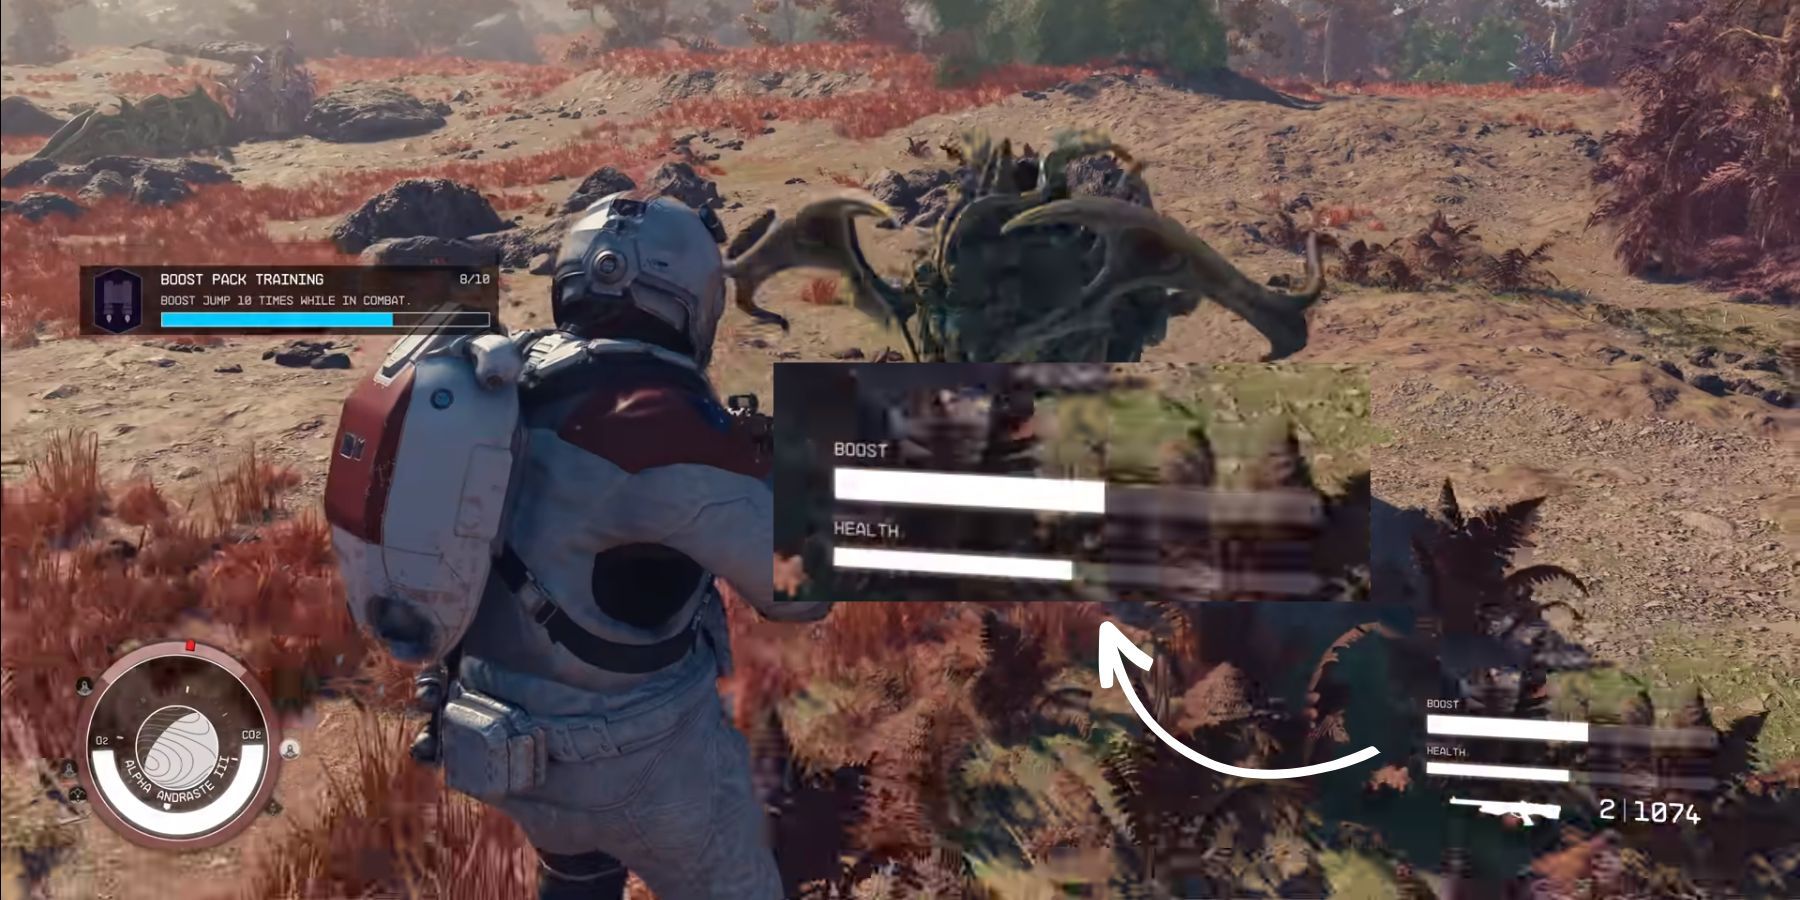
Boost Bar (Jetpack Fuel)
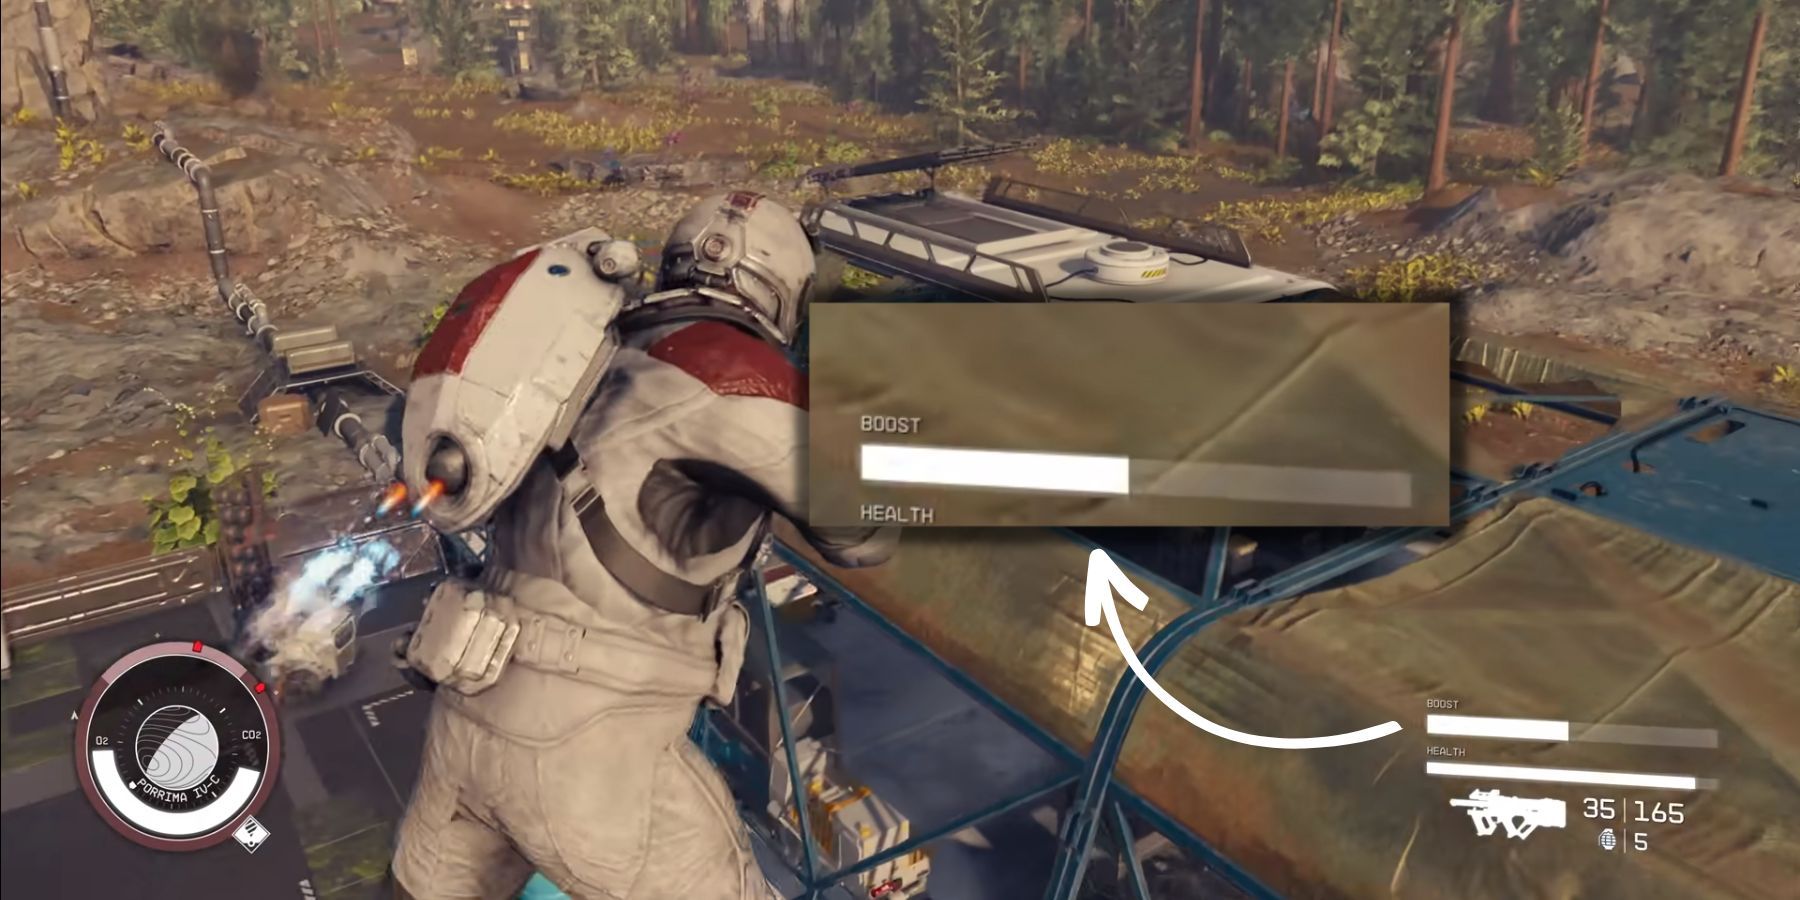
A boost is a type of jump propelled by a jetpack, which can be performed repeatedly as long as there is sufficient fuel. Every boost consumes a portion of the fuel gauge. However, in Starfield's jetpack system, there is an automatic fuel regeneration feature that refills the gauge whenever the character rests.
Starfield will be available for Xbox Series X|S and PC on September 6, 2023. Early Access kicks off on August 31.