
Unraveling the Mystery: Kuma's Test and Zoro's Trials in One Piece Chapter 1097
Discover the profound significance of Zoro's heroic sacrifice in Thriller Bark as One Piece chapter 1097 unveils Kuma's compelling flashback Explore the parallel between Zoro and Kuma, and understand the true iconic nature of Zoro's selfless act for Luffy
Roronoa Zoro, known for his strength, determination, and integrity, is highly admired among One Piece fans. Serving as Monkey D. Luffy's loyal lieutenant, Zoro fearlessly safeguards and aids his captain, regardless of the perilous circumstances.
In an earlier storyline, taking place during the Thriller Bark arc, Zoro valiantly battled Bartholomew Kuma, a formidable member of the Seven Warlords. While Luffy was unable to fight and the rest of the Straw Hat crew were powerless, Zoro stepped forward to confront the enemy head-on.
Zoro's life was at stake as he bravely risked it all to save Luffy. In a surprising turn of events, Kuma, genuinely impressed, chose to release them. One Piece chapter 1097 provides a fresh viewpoint through Kuma's flashback, emphasizing Zoro's selflessness and incredible determination even more. Please be aware that this article contains significant spoilers from the One Piece manga up to chapter 1097.
Kuma's flashback in One Piece chapter 1097 makes Zoro's sacrifice in Thriller Bark even greater in hindsight
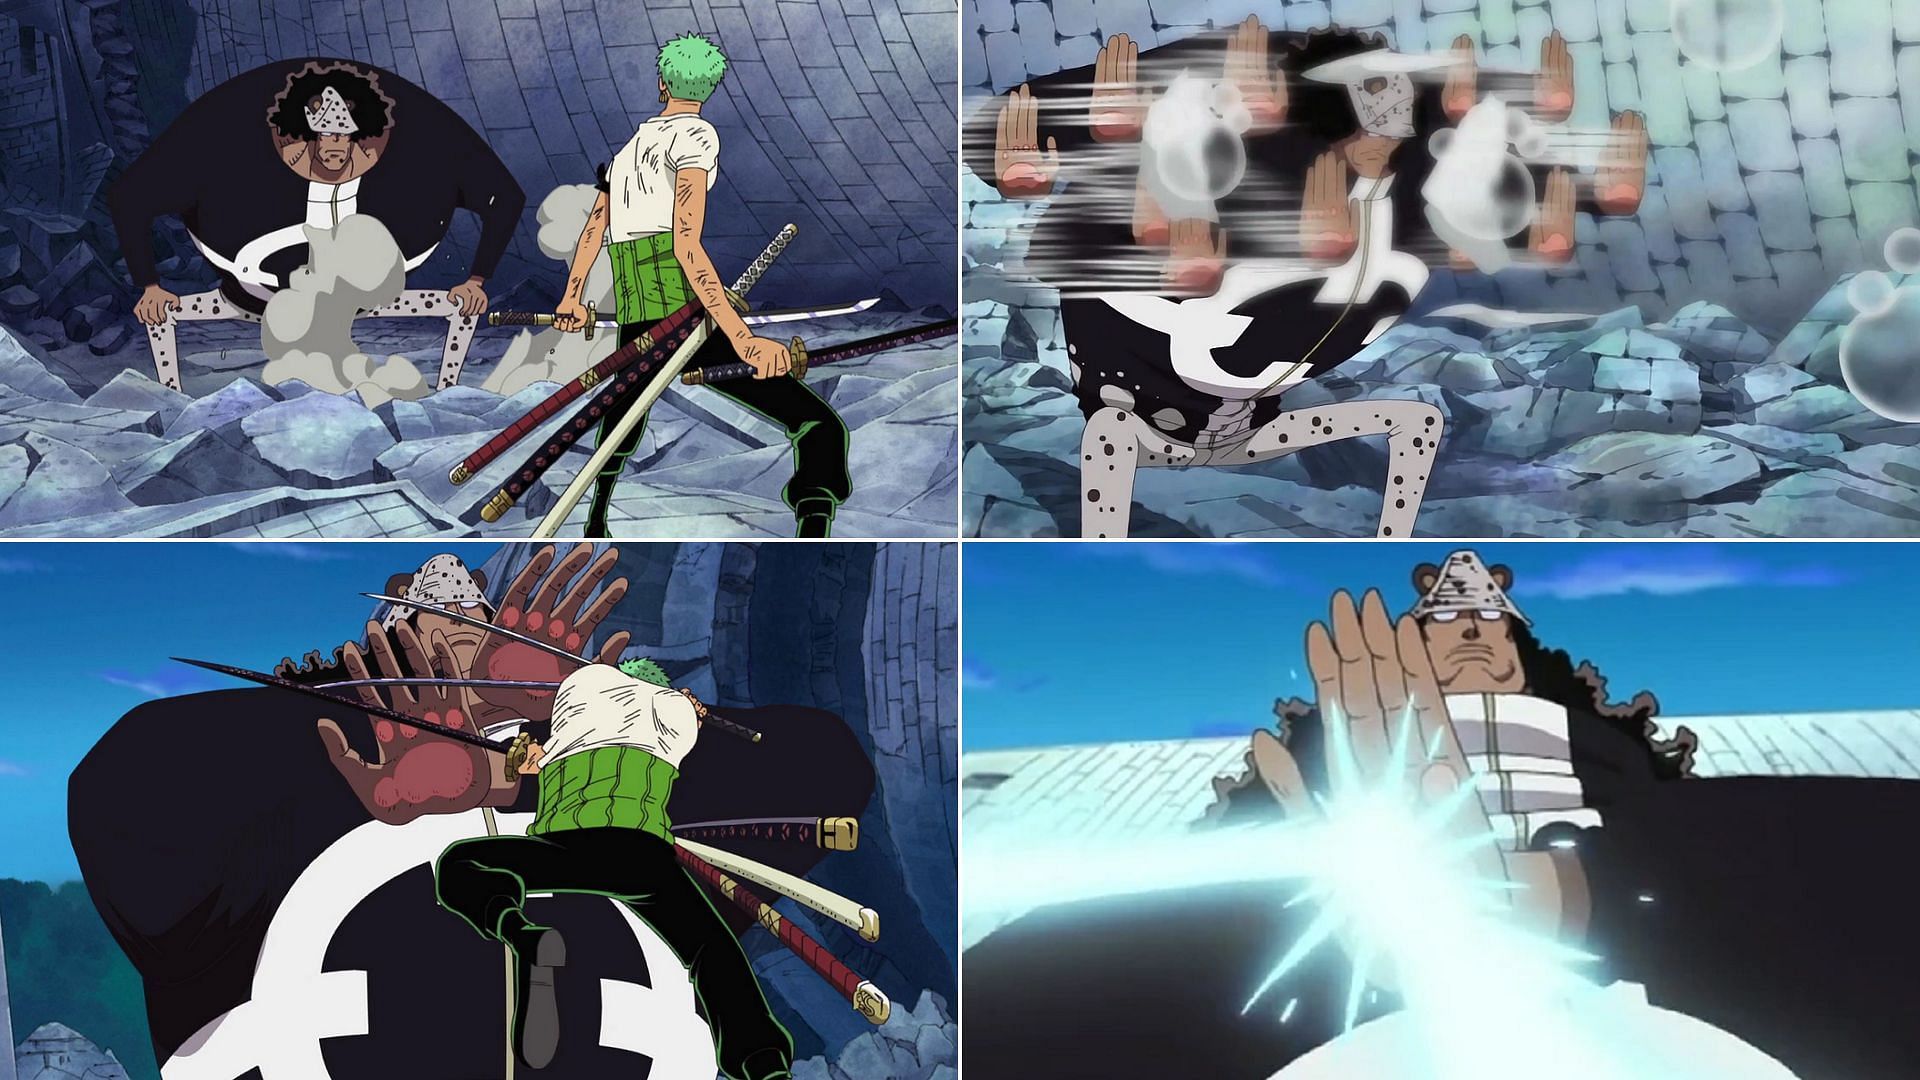
Zoro vs Kuma (Image via Toei Animation, One Piece)
After their battles against Oars and Gecko Moria, the Straw Hat Pirates were thoroughly exhausted. Luffy, drained from utilizing his Gears to the max, collapsed from sheer fatigue. Soon after, Bartholomew Kuma arrived at Thriller Bark to capture Luffy on behalf of the World Government.
With Luffy unconscious, Zoro stepped up to defend him and his crewmates. However, Kuma effortlessly deflected all of the green-haired swordsman's strikes using his Paw-Paw Fruit powers. The Warlord then unleashed a barrage of devastating attacks by repelling air at lightning speed, which Zoro narrowly managed to evade.
Kuma was then struck by Zoro using the powerful Lion Song attack, as depicted in the image shown below.
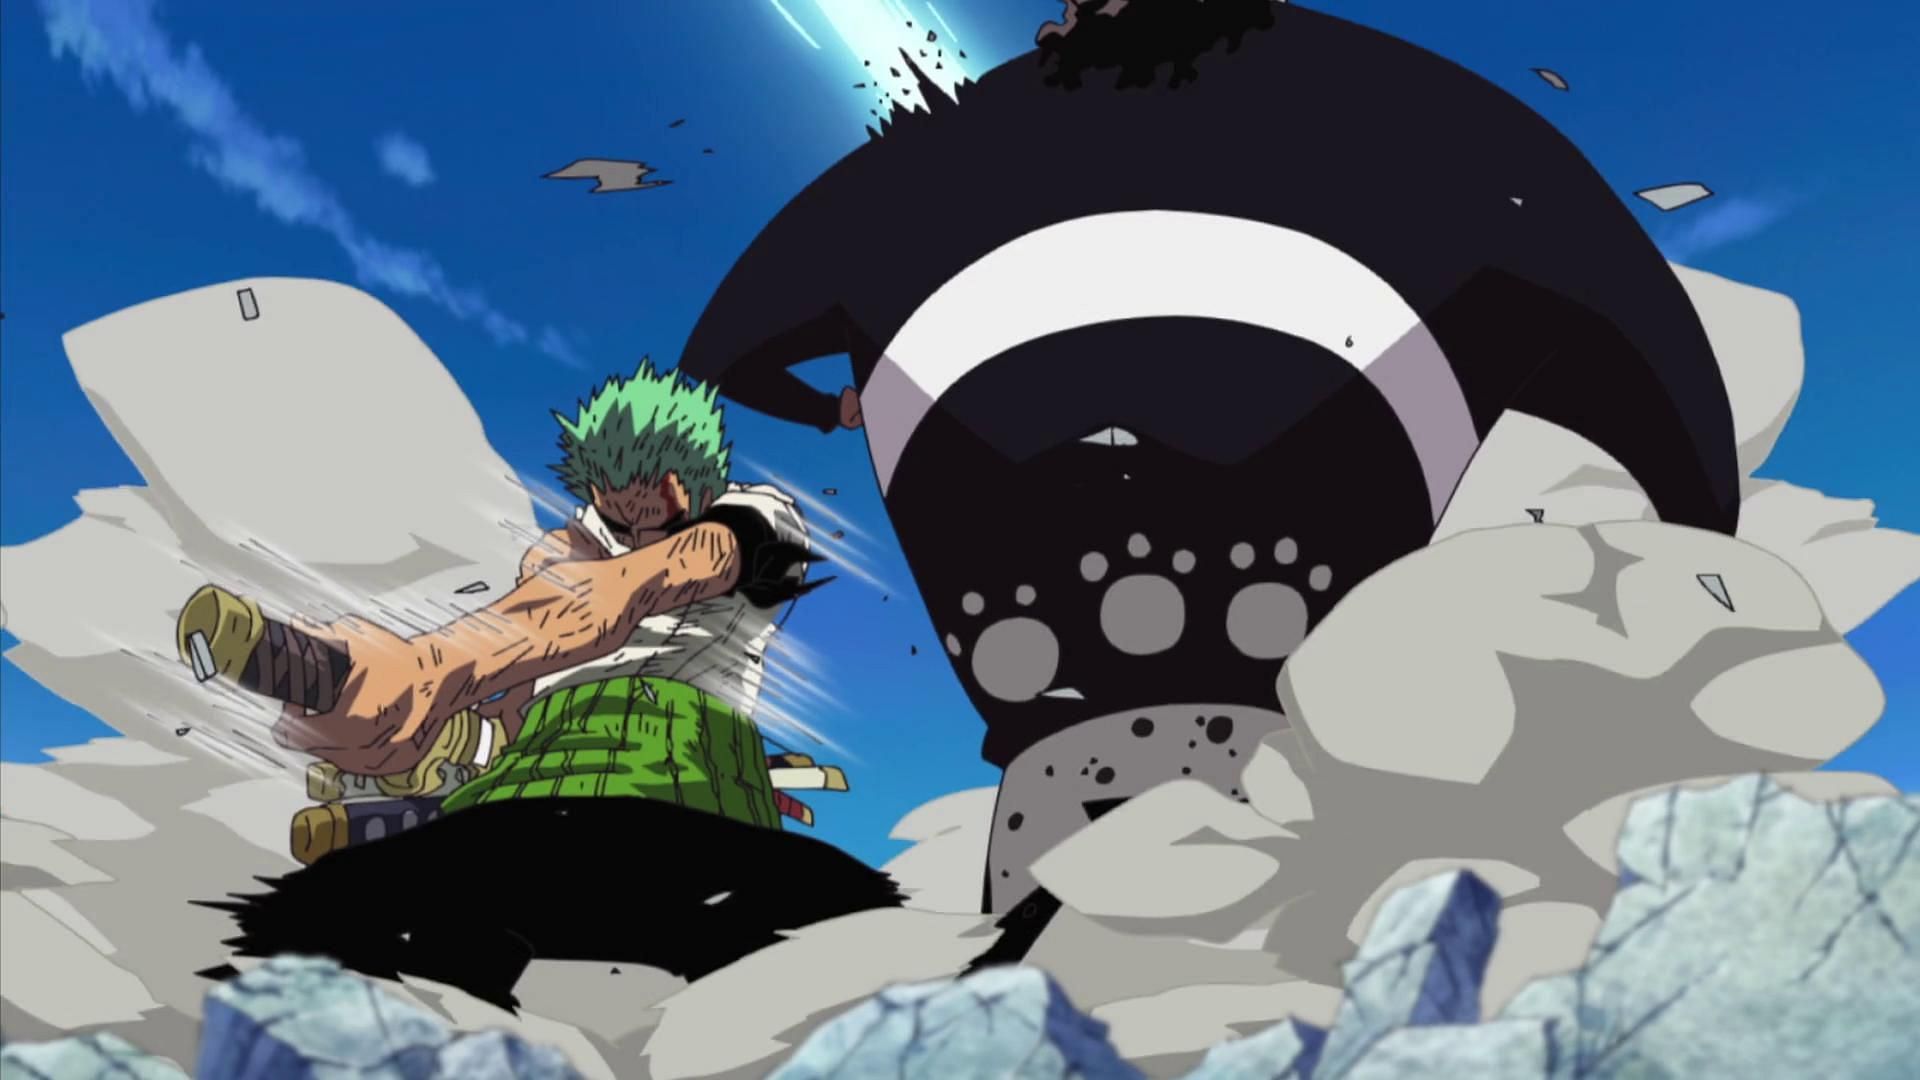
Zoro striking Kuma with the Lion Song (Image via Toei Animation, One Piece)
Zoro utilized his Lion Song technique to effectively land a blow on Kuma, slicing through his shoulder and revealing his cyborg identity. Recognizing his inability to overpower Kuma, Zoro proposed sacrificing his own life in exchange for sparing Luffy. Simultaneously, Sanji arose and selflessly volunteered himself to take Zoro's place. Comprehending the responsibility of being the crew's second-in-command, Zoro incapacitated Sanji and resubmitted his proposition to Kuma, ultimately reaching an agreement.
In return for sparing Luffy's safety, Kuma demanded that Zoro endure a grueling trial. Utilizing the abilities of the Paw-Paw Fruit, Kuma deflected all the injuries and exhaustion inflicted upon Luffy during his prior fights.
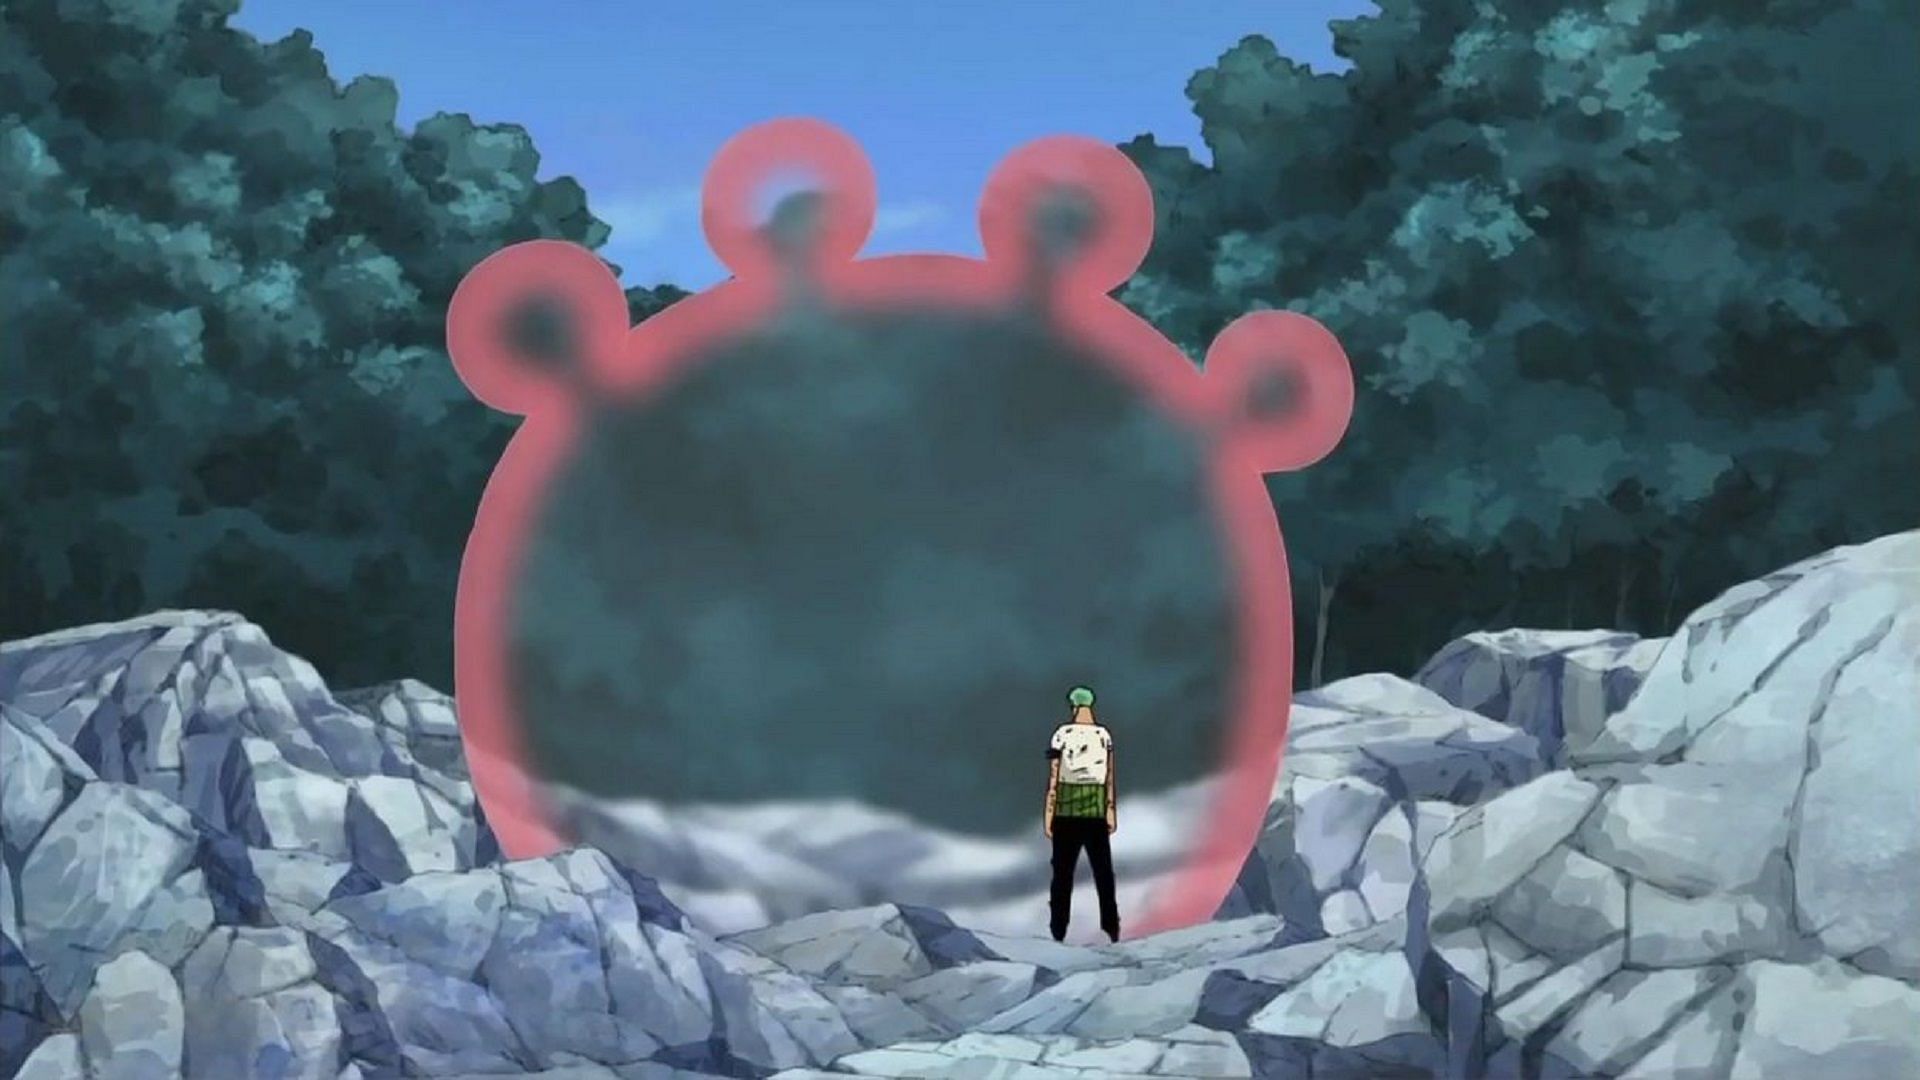
After being separated from Luffy's body, the excruciating agony metamorphosed into an enormous bubble of energy, resembling the shape of a massive paw. Its dimensions far surpassed even Kuma's colossal stature of nearly seven meters.
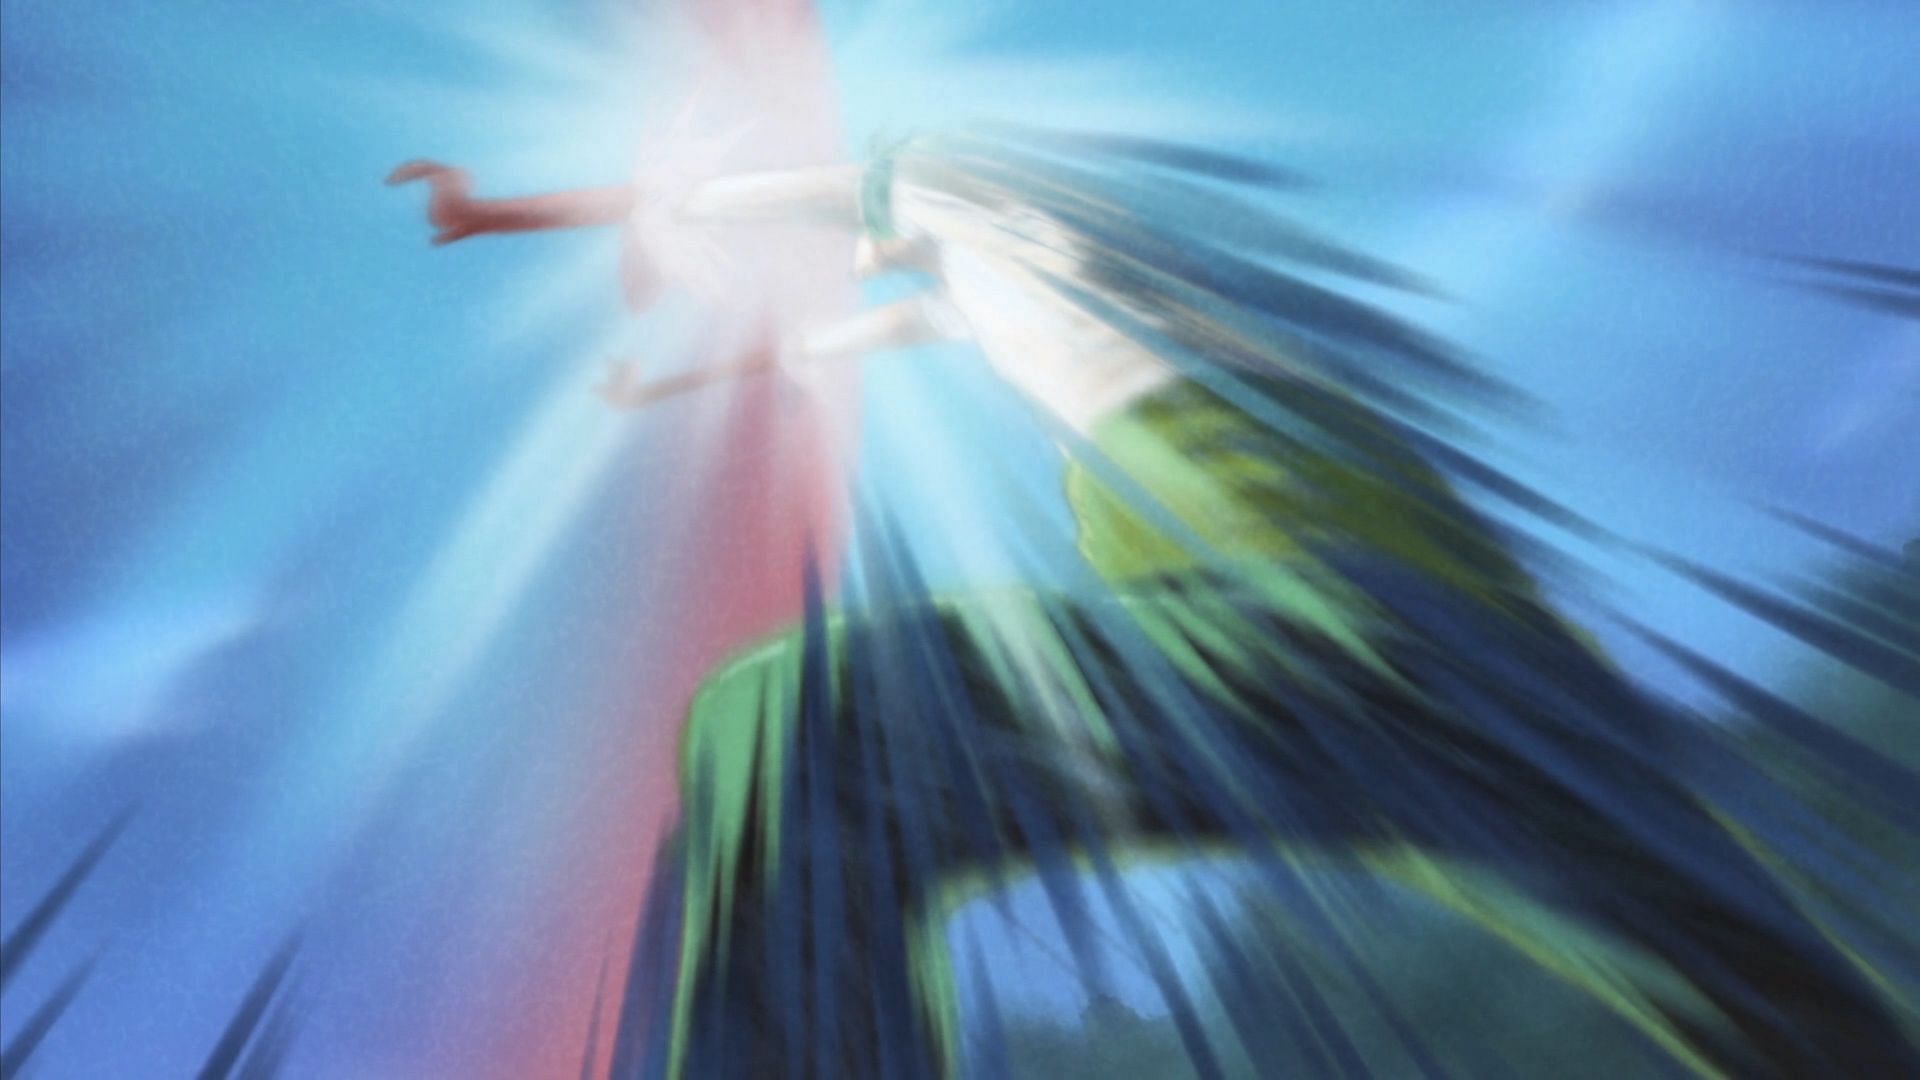
Having gathered his composure, Zoro boldly stepped into the colossal bubble, willingly subjecting himself to the formidable challenge of absorbing every ounce of Luffy's anguish and exhaustion. The sheer magnitude of the suffering was mind-boggling, as Luffy had pushed his physical limits to the extreme in his preceding encounters.
Luffy had excessively utilized the Gears, causing severe strain on his body and shortening his lifespan. He went to extreme measures by absorbing a hundred shadows into his body, far exceeding what a normal human could handle, resulting in heightened fatigue.
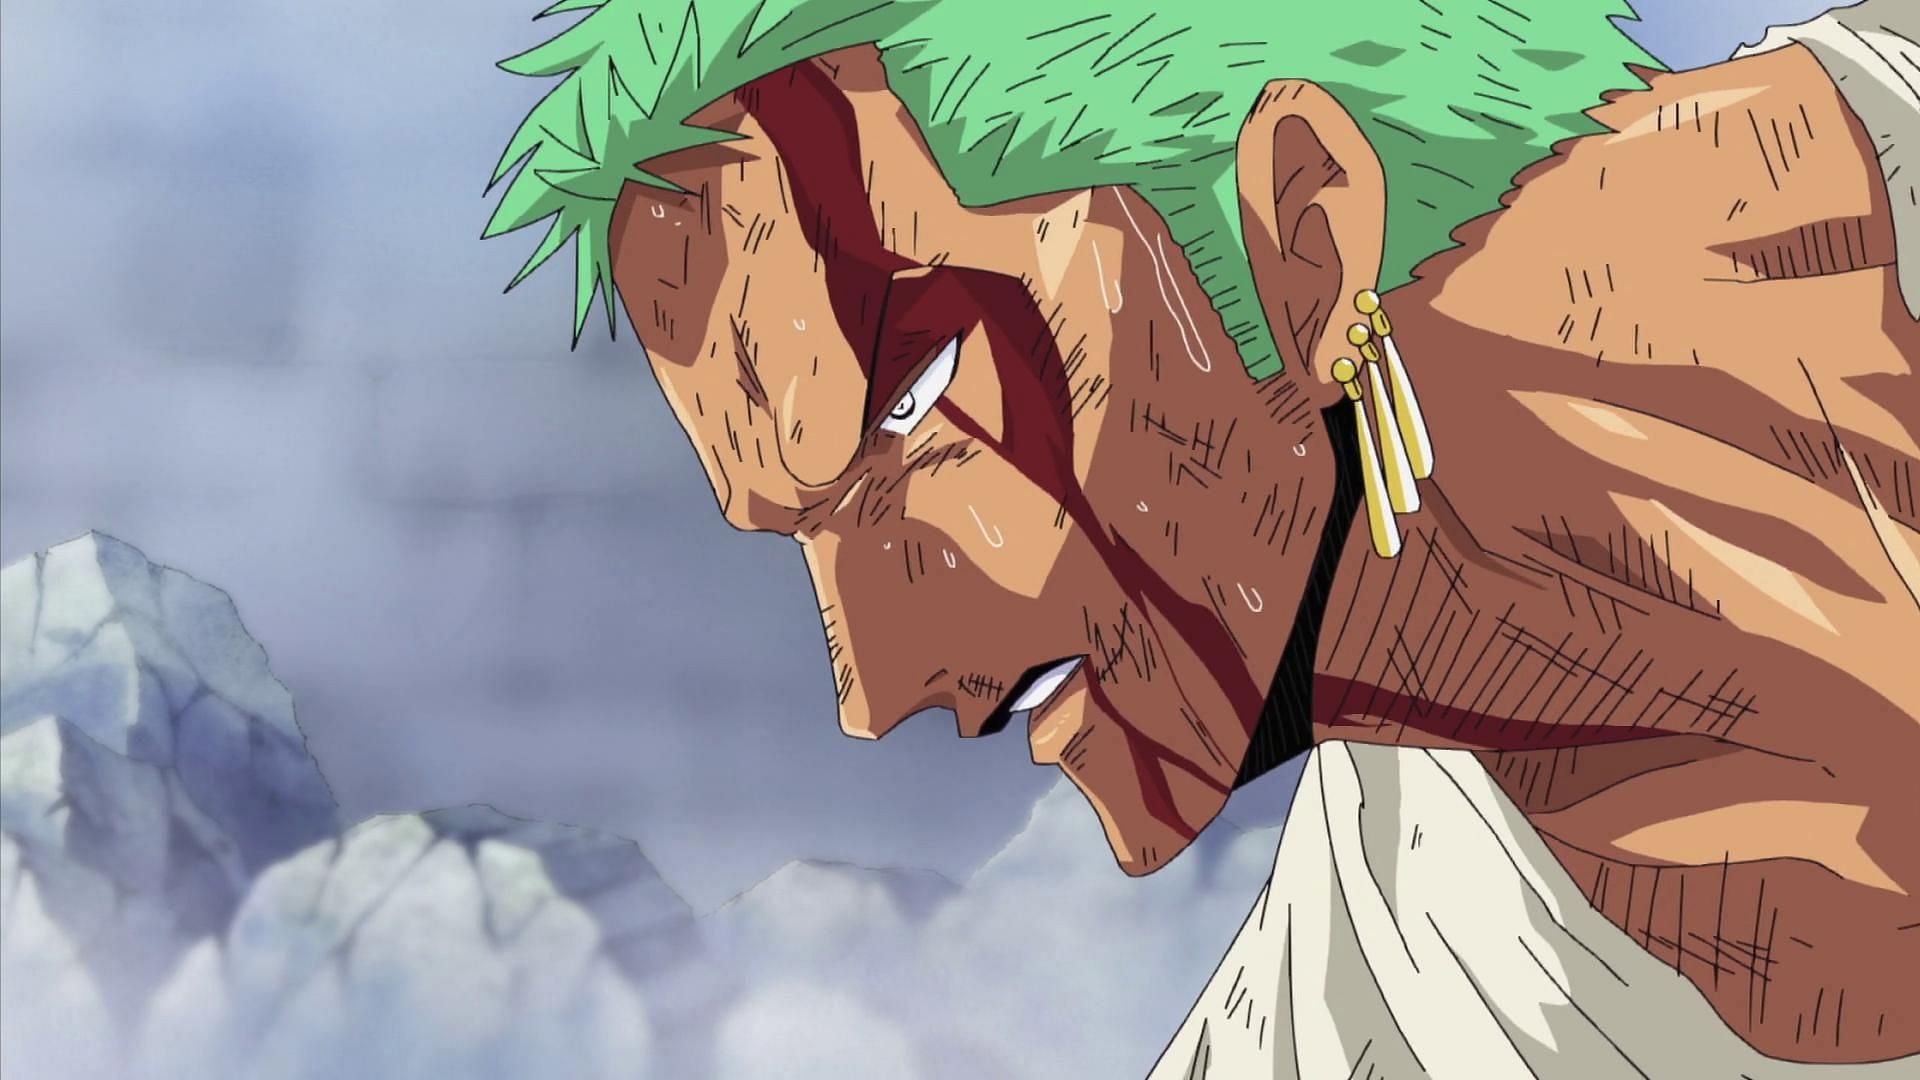
Unsurprisingly, this extensive damage only compounded the injuries that Zoro had already endured. After some time, everyone eventually regained consciousness. Sanji went in search of Zoro and discovered him in a nearby forest. Despite being alive and conscious, Zoro was completely drenched in blood and standing steadily on his feet.
As a shocked Sanji asked him what occurred, Zoro answered:
"Nothing happened... nothing at all."
One Piece chapter 1097 creates a parallel between Zoro and Kuma
Continuing the emotional voyage into Bartholomew Kuma's history, chapter 1097 of the One Piece manga delves deeper into his past. Once settled in the Sorbet Kingdom alongside Ginny, it was unveiled that Kuma had earned himself the title of "Miracle Hand".
This distinction was bestowed upon Kuma due to his extraordinary capability to alleviate the suffering of the destitute and elderly inhabitants of the country. Through the unique power of the Paw-Paw Fruit, Kuma would extract their pain and ailments, resulting in a colossal bubble taking the form of a paw, composed of all the accumulated agony he had relieved from the people of the Sorbet Kingdom.
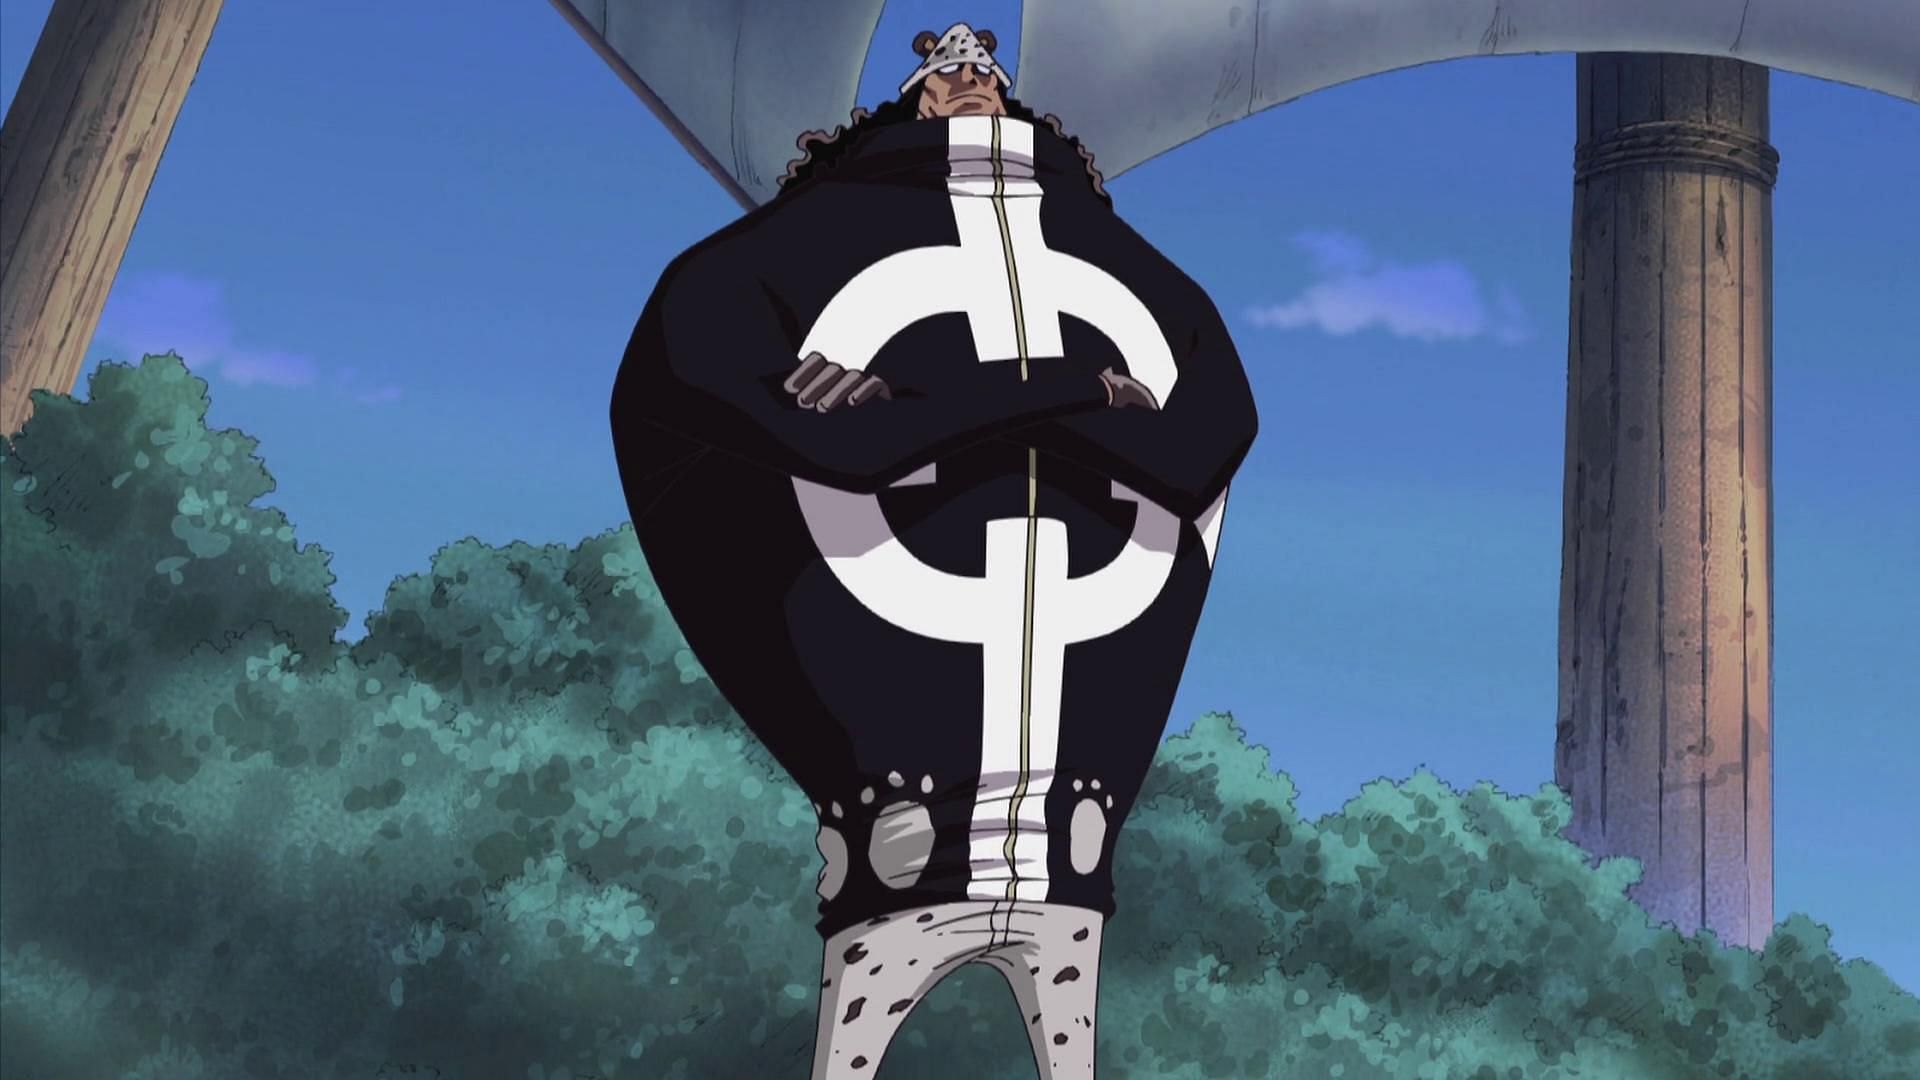
Bartholomew Kuma can be seen in Thriller Bark wearing the Warlord title. Being a member of the Revolutionary Army, he followed a similar path as Zoro, taking on the pain and suffering of the citizens. In One Piece 1097, the episode further explores this concept and reveals the underlying reason behind Kuma's behavior. This revelation also sheds new light on the iconic moment involving Zoro in Thriller Bark.
Kuma admitted that he was obligated to endure the suffering of the people in the Sorbet Kingdom because of the power of the Paw-Paw Fruit. This fruit gave him the ability to extract their pain, but someone had to take it in order for it to disappear. If Kuma were to simply leave the pain in the bubble, it would return to the person it was taken from.
Witnessing Kuma's agony every time he entered the bubble, Ginny couldn't help but cry. It was a further testament to Kuma's kind-heartedness that he never ceased to remove people's pain and bear it himself, despite the suffering it caused him. He found happiness in helping others.
As Zoro prepares to step into the bubble, the image captures the moment perfectly (Image via Toei Animation, One Piece). The significance of Kuma's elegant character becomes even more apparent, underscoring the importance of Zoro's actions in Thriller Bark and shedding light on why he was subjected to such a demanding trial.
If Zoro had been too weak to bear all of Luffy's pain or if he had chosen not to enter the bubble, all of the damage would have been inflicted on the captain. Fully aware of this, Kuma sought to test Zoro's strength and loyalty, a test that Zoro passed with flying colors, solidifying his position as an exceptional right-hand man for Luffy.
Without hesitation, Zoro put his life on the line, willing to sacrifice his own dreams for the survival and fulfillment of Luffy's. Impressed by Zoro's actions, Kuma upheld his promise and departed Thriller Bark, reassured that Luffy, the son of his leader Monkey D. Dragon, was in capable hands.
Why Zoro's sacrifice for Luffy is truly iconic
Zoro during the confrontation with Kuma (Image via Toei Animation, One Piece)
The situation was equally brutal, revealing the extent of Zoro's determination. Just as he willingly endured being slashed by Mihawk, Zoro once again displayed fearlessness in the face of excruciating and potentially deadly pain.
Recognizing the young pirate's potential, Mihawk delivered a devastating slash that left Zoro near death, yet also challenged him to continue living and face him once more. This compelled Zoro to conquer his debilitating injury and progressively grow stronger.
Hence, it is unlikely that Zoro harbors any animosity towards Mihawk, despite being pushed to the brink of death by him. Similarly, he most likely valued Kuma for honoring their agreement, even though the severe injuries he sustained during their encounter took a significant amount of time to fully recover from during the two-year time skip.
Zoro impressively endured all of Luffy's pain and exhaustion, while maintaining complete consciousness. Even after enduring this ordeal, he continued to stand on his feet, reminiscent of the unparalleled resilience displayed by Edward Newgate "Whitebeard" during the Marineford War, where he ultimately perished while standing.
A noteworthy aspect is that Kuma concealed his sacrifices from the Sorbet Kingdom's inhabitants, similar to Zoro's desire to keep his actions for Luffy hidden. This selfless conduct exemplifies the honor possessed by both Zoro and Kuma.
Lastly, the "Nothing happened" incident demonstrates the extraordinary bond between Luffy and Zoro. Upon joining Luffy, Zoro agreed to support him but emphasized that he would eliminate him if he impeded his dream.
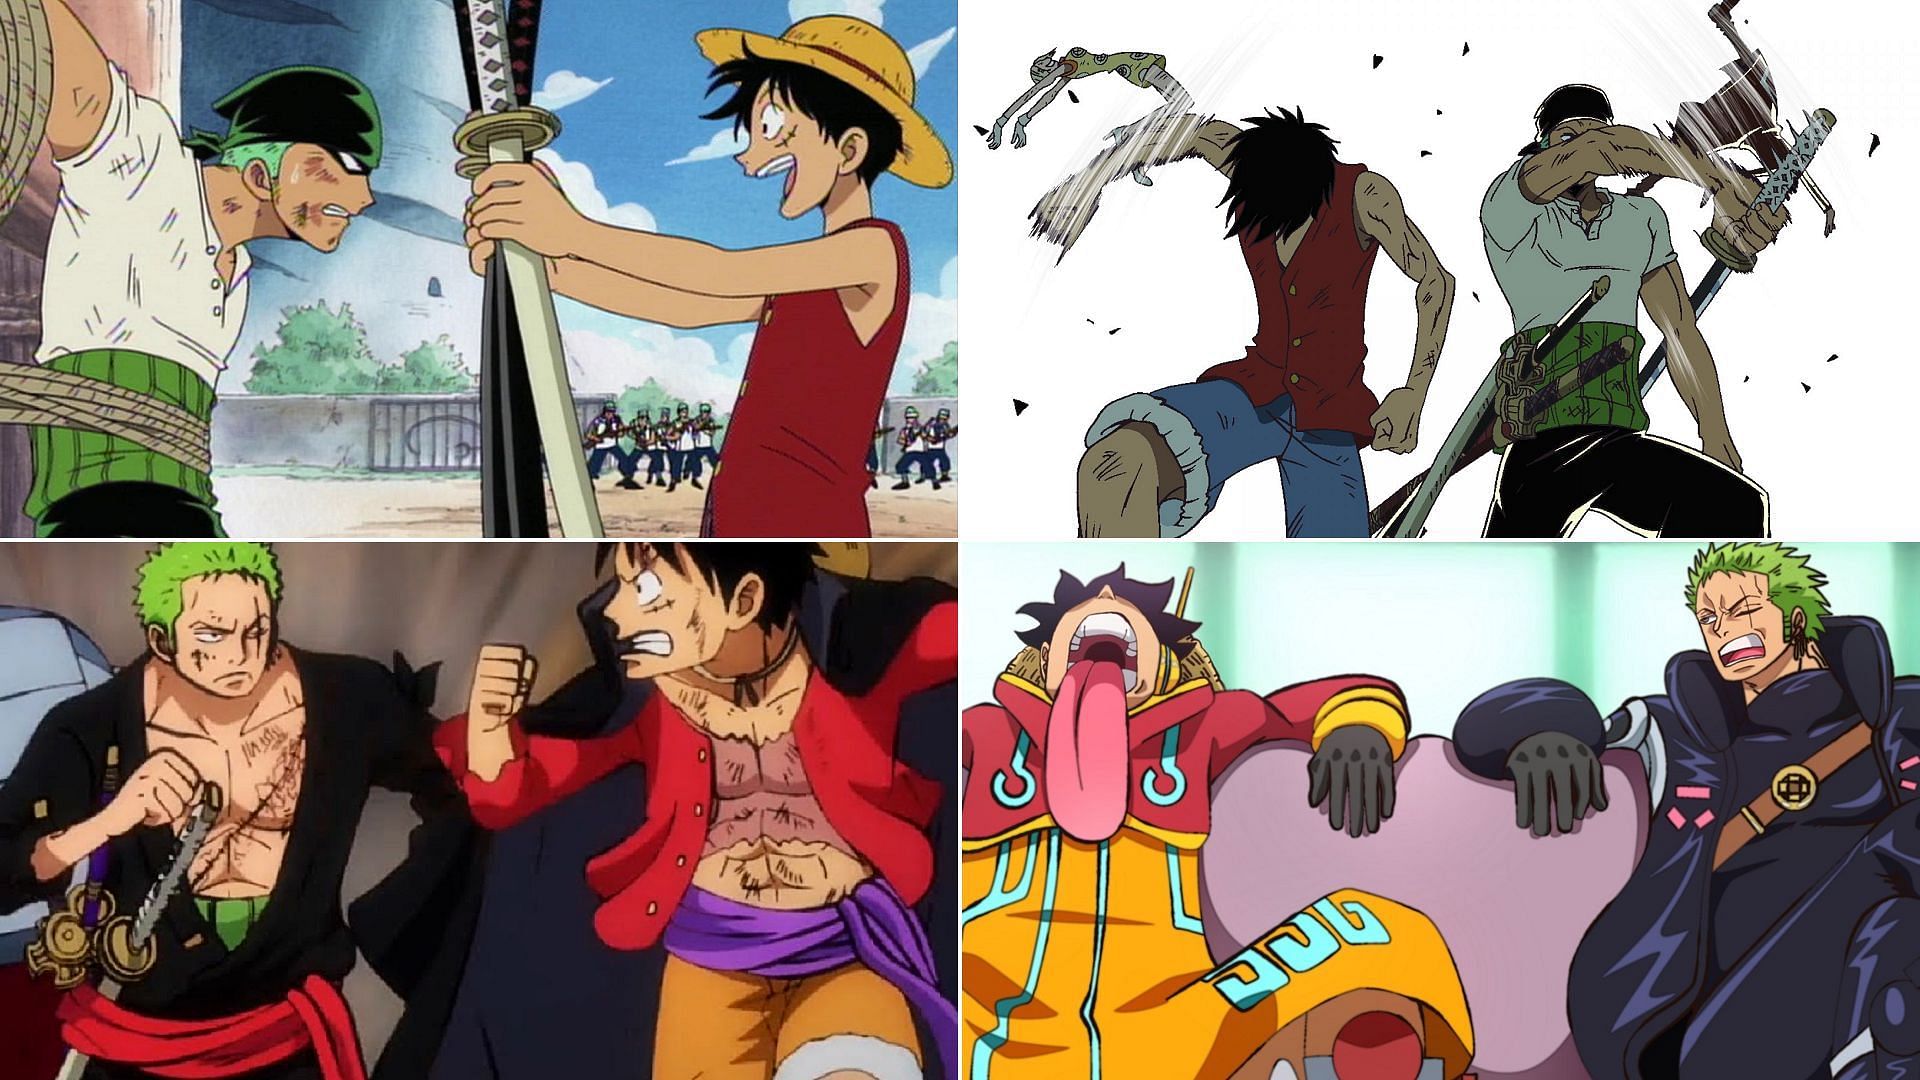
Throughout the journey in One Piece, Luffy and Zoro have been inseparable. In the captivating arc of Thriller Bark, Zoro's character development took a remarkable turn. He showcased his unwavering loyalty as a trusted right-hand man to Luffy by prioritizing his responsibilities over his personal aspiration of surpassing Dracule Mihawk and claiming the title of the World's Strongest Swordsman.
Zoro's recent revelation as a Conqueror's Haki user, capable of even mastering its advanced form, adds to the already astounding fact that he chose to stand by Luffy's side. Their bond clearly surpasses the usual captain-subordinate relationship, resembling the unparalleled connection between "Dark King" Rayleigh and the legendary Pirate King, Roger. With Zoro as his incredibly strong and dependable second-in-command, Luffy forms an unstoppable duo.
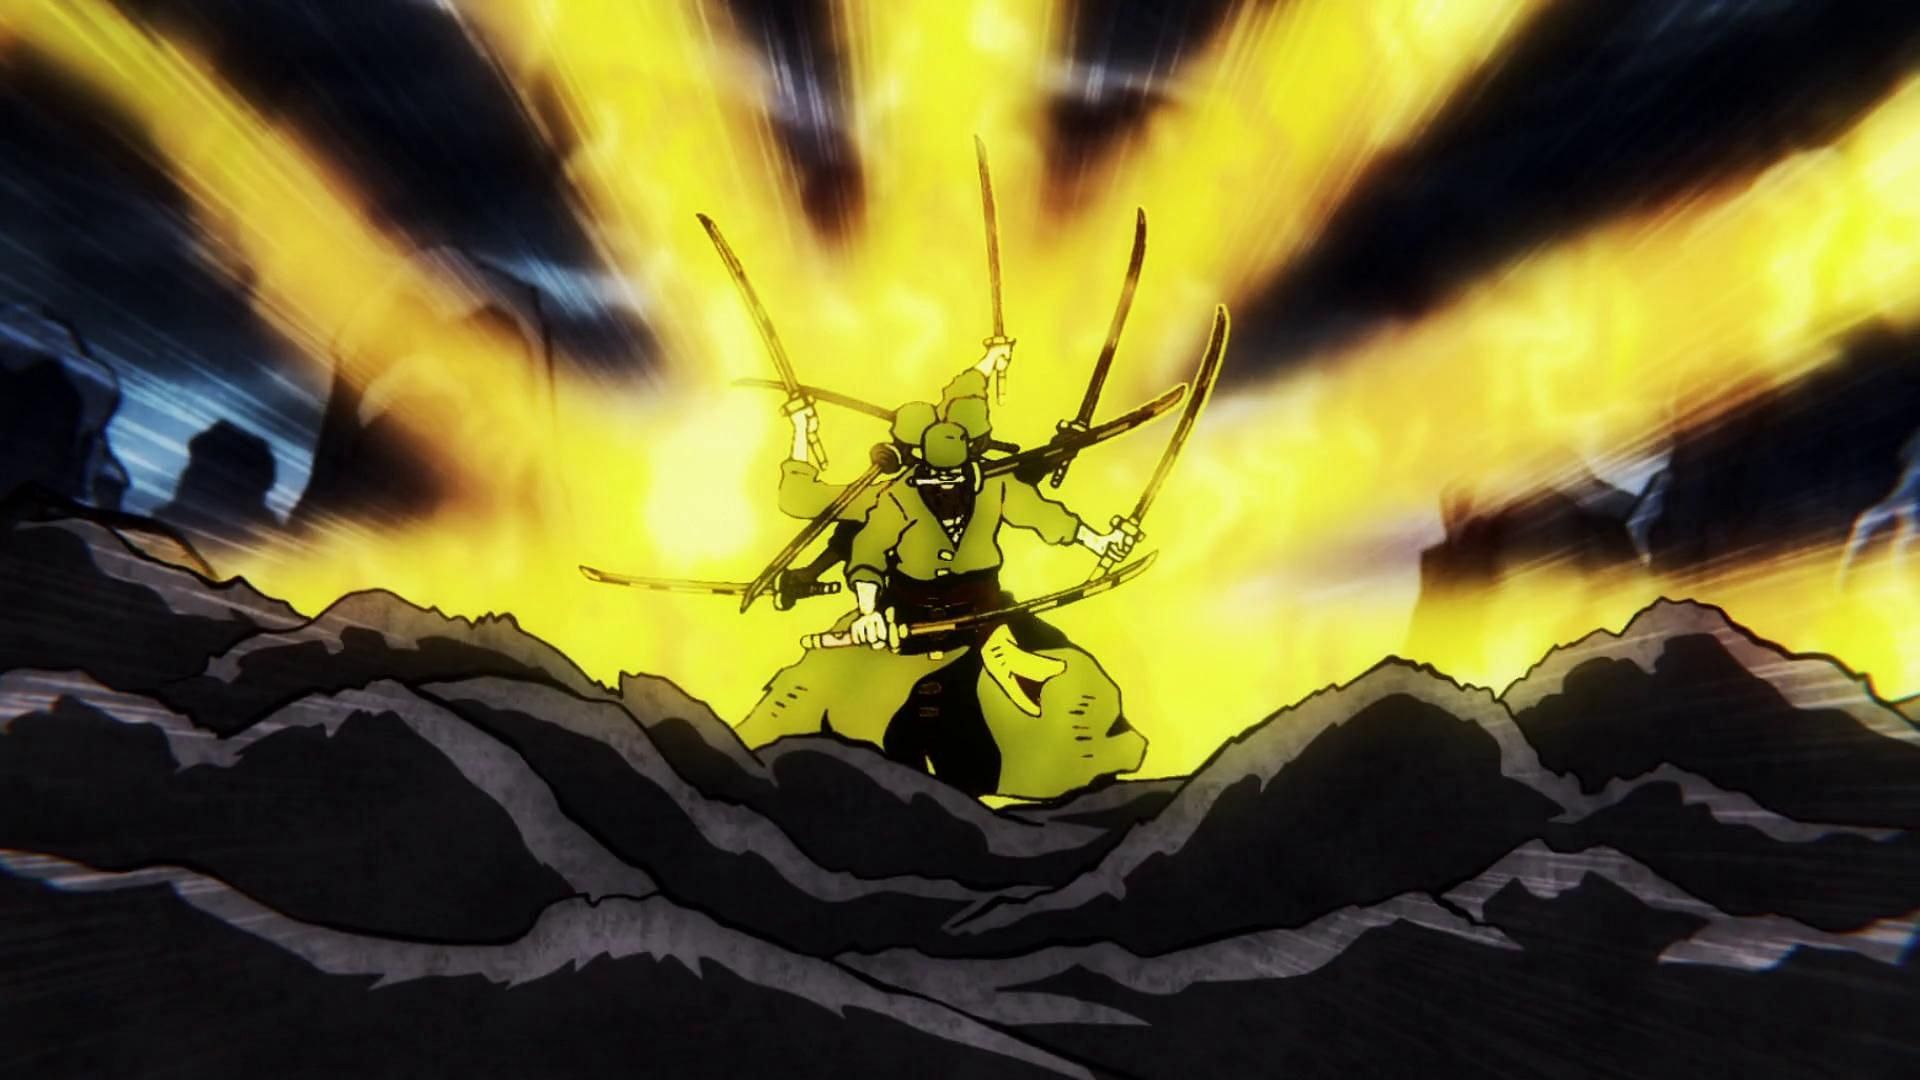
Zoro, with his iconic green hair, demonstrates his formidable power by unleashing the mighty Ashura attack against the formidable Kaido. This striking image, courtesy of Toei Animation's One Piece, showcases Zoro's unwavering loyalty to Luffy and his indomitable strength.
Throughout the series, Zoro consistently proves himself to be an unparalleled asset to the Straw Hat Pirates. None among their ranks can compare to his heroic feat in Thriller Bark, where he exhibits unwavering dedication to protect Luffy. It is moments like these that solidify Zoro's reputation as the strongest and most reliable ally that Luffy could ever ask for.
During the battle against Kaido and Big Mom, Zoro bravely struck and injured Kaido in order to protect Luffy. He then fearlessly thwarted the joint attack of Kaido and Big Mom, and even confronted Kaido once more when Luffy was incapacitated, inflicting a lasting wound on the formidable Emperor.
Zoro put his own life on the line to accomplish these remarkable feats, enduring severe injuries. Without Zoro's courageous actions, Luffy would not have survived and would have missed the opportunity to gain the powers that ultimately enabled him to conquer Kaido. Considering all these factors, Zoro unquestionably shines as Luffy's unwavering comrade.
Keep up with One Piece manga, anime, and live-action as 2023 progresses.
Editor's P/S
As a Gen Z fan, I am thrilled to witness the unraveling mystery surrounding Kuma's test and Zoro's trials in One Piece chapter 1097. The profound significance of Zoro's heroic sacrifice in Thriller Bark is further emphasized through Kuma's compelling flashback. The parallel drawn between Zoro and Kuma highlights the true iconic nature of Zoro's selfless act for Luffy.
Zoro's unwavering determination and willingness to lay down his life for his captain is a testament to his unwavering loyalty and unwavering spirit. His selfless act not only showcases his strength and courage but also solidifies his position as a crucial member of the Straw Hat Pirates. It is through such moments that the bond between the crew members is solidified, and their journey towards becoming the Pirate King becomes even more compelling.


