
Unleashing Destiny 2's Full Potential: Mastering the Kell Echo Challenge
Defeat the formidable Kell Echo, a massive Taken Captain, as you triumphantly conclude the Prophecy in Destiny 2
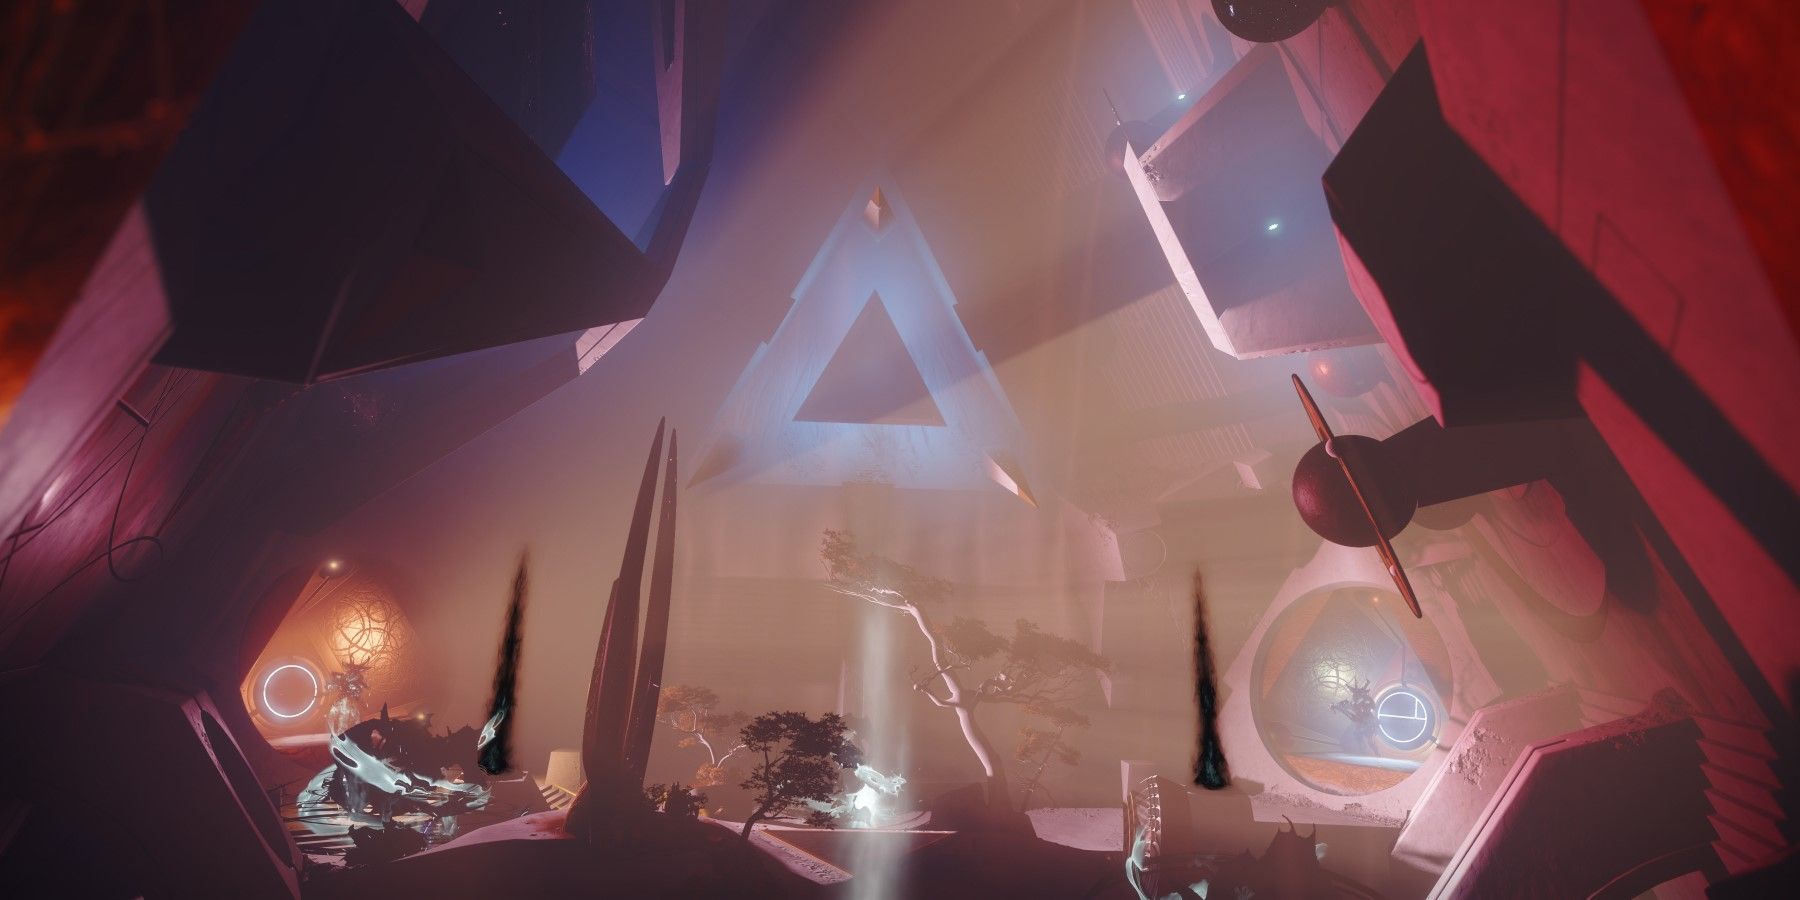
After completing the Cube encounter in Prophecy, Destiny 2 players will be over halfway through the dungeon. They should proceed by following Kell Echo to another building in the wastelands, which brings them to the well-known ribbon road sparrow section of Prophecy. At the conclusion of this section, players will find themselves in an arena.
In this arena, players will face off against a formidable Taken Captain that has been present throughout the dungeon. Although Kell Echo is a more manageable adversary compared to Phalanx Echo, it possesses a substantial amount of health and defeating it will require more time and effort. Here is the essential information that Destiny 2 players need to be victorious against Kell Echo.
How to Beat Kell Echo
When it comes to loadout options for battling Kell Echo, players have a wide range of flexibility. It is highly recommended to have a heavy weapon that deals high boss damage, particularly if it has long range capabilities. Liner Fusion Rifles like Taipan and Cataclysmic are excellent choices. For players who have confidence in their headshot accuracy, Cloudstrike is also highly effective in this encounter. Additionally, having one player equipped with Witherhoard can be quite useful. In addition to focusing on damage, it is important to have weapons that can clear enemies with range during the damage phase.
At the start of the encounter, three copies of Kell Echo will spawn in each corner of the room. Each clone will be accompanied by a pillar of energy, similar to those encountered throughout Prophecy. Before taking any other action, it is crucial to identify the color of each pillar and communicate it to other players (unless playing solo). As before, players should stand in either light or shadow while eliminating the Taken Knights. After eliminating them, collect the motes and deposit them into the corresponding pillars.
To optimize gameplay, it is advisable for players to swiftly move to dunk motes at the beginning of the encounter and during intervals between damage phases. All three Kell Echos will actively attack players. If players are sluggish, the combined force of the boss and its additional enemies can overpower them.
After successfully depositing the appropriate colored motes into the pillar, the corresponding Kell Echo will vanish. Immediately afterwards, be prepared for the emergence of a Taken Ogre at the exact location where the Kell Echo was previously positioned. Utilizing a Fusion Rifle may effectively stagger the ogre, allowing one player to swiftly eliminate it before it inflicts harm. This sequence will repeat at each pillar. Once all Kell Echos have vanished, the damage phase will be initiated.
Before proceeding to the damage phase, it is advisable to quickly search for any special or heavy ammunition that may have been dropped.
To initiate the damage phase, players must position themselves on the platform located at the center of the arena. Once all players have gathered there, they will be instantly transported to a different area. In this new area, the boss will gradually retreat while taking shots at the players. As soon as players arrive, they should commence dealing damage without delay.
When shooting the boss, make sure to eliminate the Taken Hobgoblins to avoid being killed by their attacks. Additionally, apart from the boss's regular assault, it will unleash a powerful blight attack towards the left, center, or right side of the room. Being hit by this attack will teleport players back to their starting point in the room.
It is crucial to stay within close proximity to the boss at all times. Kell Echo generates an aura that players must remain within, otherwise they will start accumulating stacks of a debuff called Dark Entropy. If a player reaches ten stacks of Dark Entropy, they will instantly perish. Therefore, while damaging the boss, players must be mindful of their Dark Entropy stacks, dodge Kell Echo's attacks, and handle the Taken Hobgoblins.
If players are in close proximity to the Kell Echo, their Dark Entropy stacks will gradually diminish.
The damage phase concludes when the boss reaches the platform located at the room's end. Shortly thereafter, it will teleport away, prompting players to deposit motes to initiate another damage phase. Continue engaging in damage phases until the boss is defeated. Soon after, players will be transported elsewhere and rewarded with a chest containing abundant loot from the Nine.
Destiny 2 is available now on PC, PS4, PS5, Xbox One, and Xbox Series X/S.


