Unleash Your Overwatch 2 Skills: 10 Hidden Techs You Must Try

Unlock the secrets to becoming a top-tier player in Overwatch 2 with these 10 must-know techs Elevate your gameplay by optimizing damage output, mastering map positioning, and creating a strong team composition Dedication to these skills will lead to more victories and higher rankings
.
Overwatch 2 highly rewards players who invest time and effort into honing their skills, including optimizing damage output for each hero, mastering effective positioning on each map, and collaborating with teammates to create a cohesive team composition. Devoting time to mastering these aspects of the game will ultimately result in more victories and higher ranks than those who neglect them.
However, there are several hero-specific techniques that are not commonly known among players, which could prove crucial in gaining a competitive edge and achieving victory.
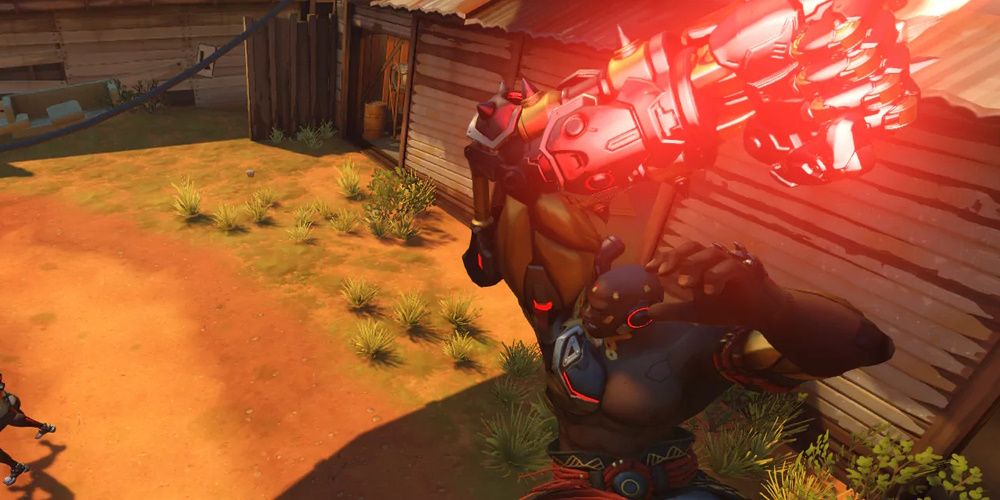
One such technique is the Doomfist Slam Cancel, which allows players to cancel Doomfist's Slam ability mid-animation, enabling them to quickly follow up with another ability or attack.
Doomfist's Seismic Slam can provide a strategic advantage by enabling players to leap significant distances, catching the enemy team off guard and creating chaos. However, players can take this maneuver to the next level by utilizing a slam cancel technique. This involves aiming high into the air, executing Seismic Slam, and then immediately following up with either Rocket Punch or Power Block. By doing so, Doomfist's momentum is maintained for a longer period, enabling him to travel even further than with a standard Seismic Slam.
Using Power Block to cancel the slam transforms Doomfist into an armored distraction, drawing fire from the enemy team and providing cover for allies. Alternatively, canceling with Rocket Punch allows Doomfist to deliver a powerful vertical strike, reaching elusive targets such as Widowmaker or Pharah.
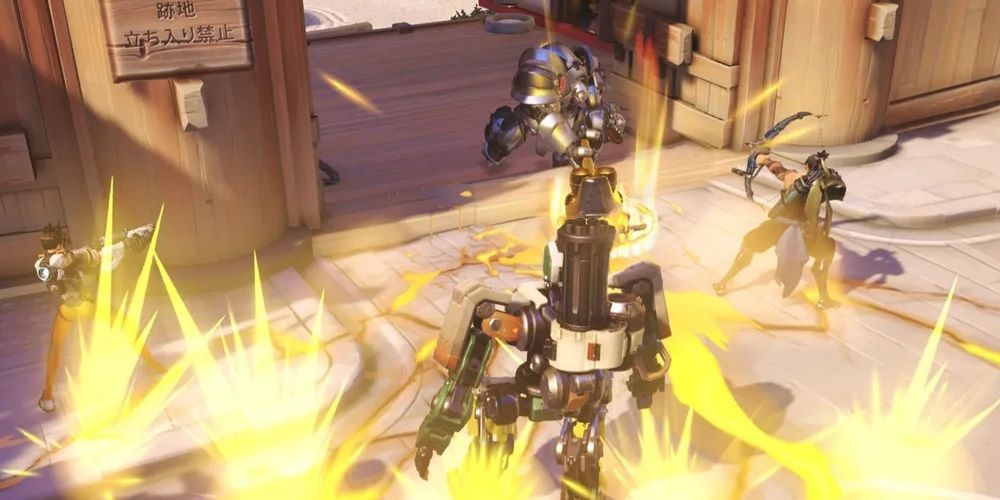
Reinhardt's Earthshatter has the potential to be a game-changer with its wide area of effect and ability to stun enemies instantly. When paired with Fire Strikes, hammer swings, and follow-up attacks from teammates, a perfectly timed Earthshatter can result in team kills and make the game much easier to win.
However, the effectiveness of Reinhardt's Earthshatter can be limited by its lengthy start-up frames and the loud yell that accompanies it. This gives enemies ample time to respond and either protect themselves or move away from Reinhardt to avoid it. To overcome this, Reinhardt can perform a vertical blink by using Earthshatter and jumping at the same time. This allows him to skip the start-up animation and activate the ultimate much faster, catching the enemy team off guard and not giving them enough time to react.
Tracer's Blink ability is incredibly versatile and allows her to move quickly and efficiently across the map. This is particularly useful for flanking enemies and taking out vulnerable support players, as well as for making a quick escape when things get sticky. Additionally, Tracer can use Blink to maneuver through enemy shields and attack turtling opponents.
While Blink typically only allows Tracer to teleport a set distance horizontally, skilled players can use the level geometry to their advantage. By jumping and then Blinking towards small ledges or curved edges, Tracer can gain additional height and distance. This allows her to take unexpected flank routes and catch her opponents off guard.
Ramattra's Annihilation ultimate ability is a powerful tool for damaging enemies around the Omnic leader. When combined with the slowing effect of his Ravenous Vortex, it becomes even more effective. Additionally, activating Annihilation grants Ramattra a significant boost of 225 armor, making him more durable in combat. By using Nemesis Form, Ramattra can also block and reduce incoming damage while gaining an additional 225 armor. Players can strategically toggle between these two abilities to maximize Ramattra's tanking potential and remain in the fight for longer periods of time.
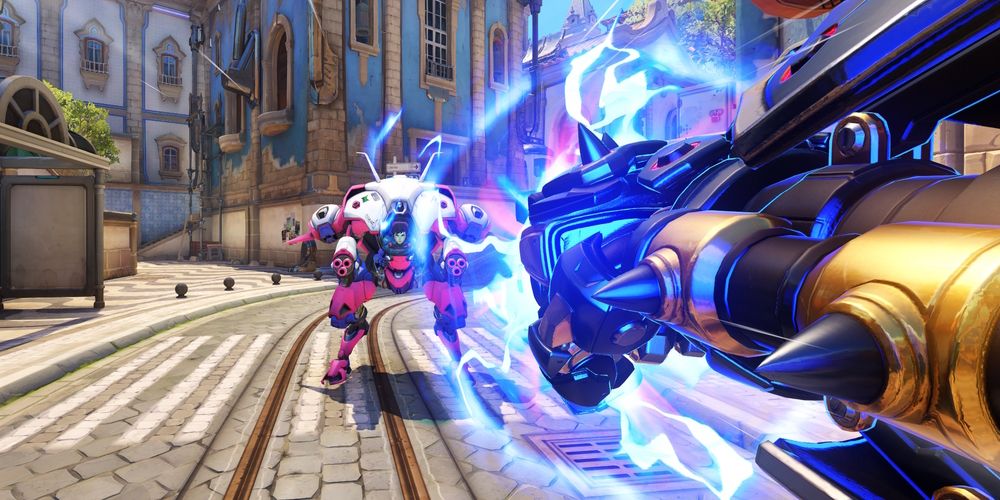
Doomfist's Rocket Punch packs a powerful punch that can wreak havoc on the enemy team in a single hit. However, its predictability and linear movement, coupled with its lengthy charge time, make it an easy target to punish if it misses. With the added boost from Power Block, the Rocket Punch becomes even deadlier, capable of taking out enemies in one swift blow.
By employing a Turn Punch technique, which involves flicking the camera to either side while simultaneously jumping during the travel time of Rocket Punch, players can avoid the weakness mentioned earlier. This strategy enables them to swiftly fly in the direction the camera was facing, giving them an opportunity to catch enemies off guard in an aggressive manner or make a defensive escape around corners.
Sigma's Accretion can serve a dual purpose of damage dealing and crowd control. The gravity-manipulated boulder inflicts significant damage upon direct contact and momentarily stuns enemies by knocking them down. When combined with Hyperspheres primary fire, it provides a guaranteed way to deal potent burst damage. To maximize the damage, Sigma can press the primary fire button immediately after activating Accretion to cancel the animation and launch the Hyperspheres simultaneously with the boulder. This combo can inflict severe damage or even instantly eliminate low health characters like Tracer or Widowmaker, particularly when supplemented with a primary-fire-canceling quick melee at the end.
Mercy's Resurrection ability is a game changer, allowing her to revive fallen teammates and give them a second chance in battle. This ability, combined with her Guardian Angel skill, enables Mercy to quickly enter a team fight, revive a teammate, and escape unscathed, evading enemy attacks. However, Mercy becomes vulnerable during the long cast time of Resurrection, making her an easy target for the enemy team. To counter this, Mercy's large wings have a hitbox that can block shots to her head from behind. By spinning the camera quickly, her head becomes difficult to hit, providing protection from critical damage during Resurrection.
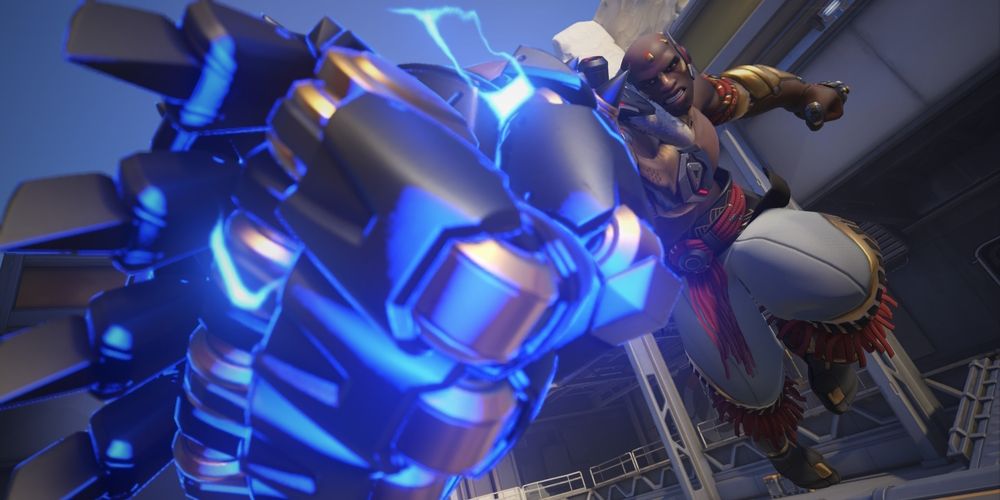
Doomfist's Rocket Punch is a powerful tool for movement, allowing him to cover long distances at high speed. This ability can be even more versatile when used as a Diagonal Punch. By aiming at a ledge or slightly elevated object, such as a fence, and jumping before using the Rocket Punch, Doomfist can collide with the edge of the object and slide upwards to gain valuable vertical distance. This technique can be used to quickly navigate the map or gain a strategic advantage in battle.
.
By utilizing an Empowered Punch to enhance his movement and following it up with a Seismic Slam, Doomfist can cover vast distances in mere seconds and access otherwise unreachable areas. Additionally, the Eject Boost ability of 2D.Va can also provide a similar effect, allowing for swift movement and strategic positioning.
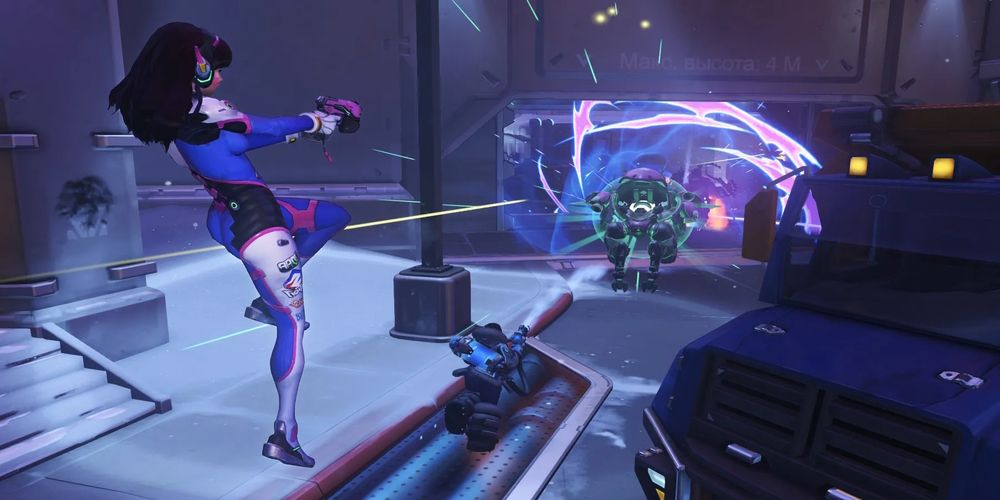
During gameplay, D.Va primarily operates from within her MEKA, utilizing her Defense Matrix to block incoming fire and firing missiles to deal damage. However, once her MEKA's health is depleted, she'll be forced to eject and become vulnerable in her Pilot form, armed only with a weak pistol and lower health until she can call for a new MEKA.
Unfortunately, the animation for ejecting is slow and predictable, making D.Va an easy target for enemy fire. But by holding down the jump key during ejection, players can launch D.Va higher and change her trajectory, allowing her to evade enemy attacks and make a speedy retreat.
1Reaper - Fake Shadow Step
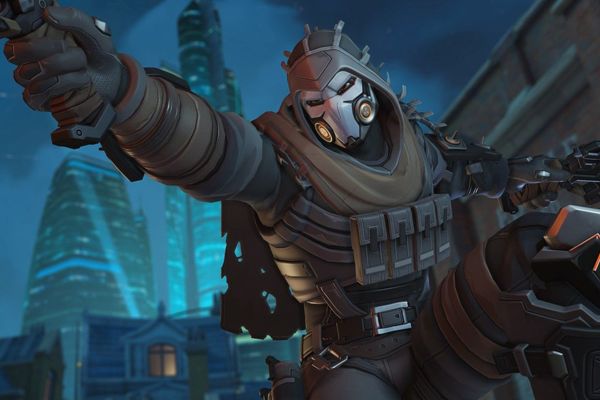
Reaper's Shadow Step is a crucial tool for flanking, allowing him to sneak into enemy back lines and quickly eliminate supports and tanks. His ability to teleport to distant high ground and secluded areas of the map makes him a difficult target for the enemy team to track. However, his Wraith Form can only be used once and may not be available when needed.
To deceive enemies, players can aim Shadow Step at their own feet, tricking opponents into thinking Reaper has teleported away while allowing him to remain invincible for a short time. This tactic can even be used to avoid instant damage attacks like D.va's Self Destruct if timed correctly.
