The Ultimate Guide to The Talos Principle 2: Unraveling Pandora's Statue - Mastering All Puzzles and Collecting Stars

Unlocking secrets in The Talos Principle 2 requires solving challenging optional puzzles Earn vital stars by locating and completing each Pandora statue, including East 1, East 2, East 3, North 3, South 1, South 2, South 3, and West 2
In The Talos Principle 2, there are numerous puzzles, some of which are not immediately apparent. Within each of the game's 12 main areas, there are two statues featuring Pandora, Prometheus, or the Sphinx, each containing their own puzzle. By solving these additional puzzles, players unlock hidden secrets in the game. However, these puzzles can be quite challenging, as some of them are among the most difficult in The Talos Principle 2.
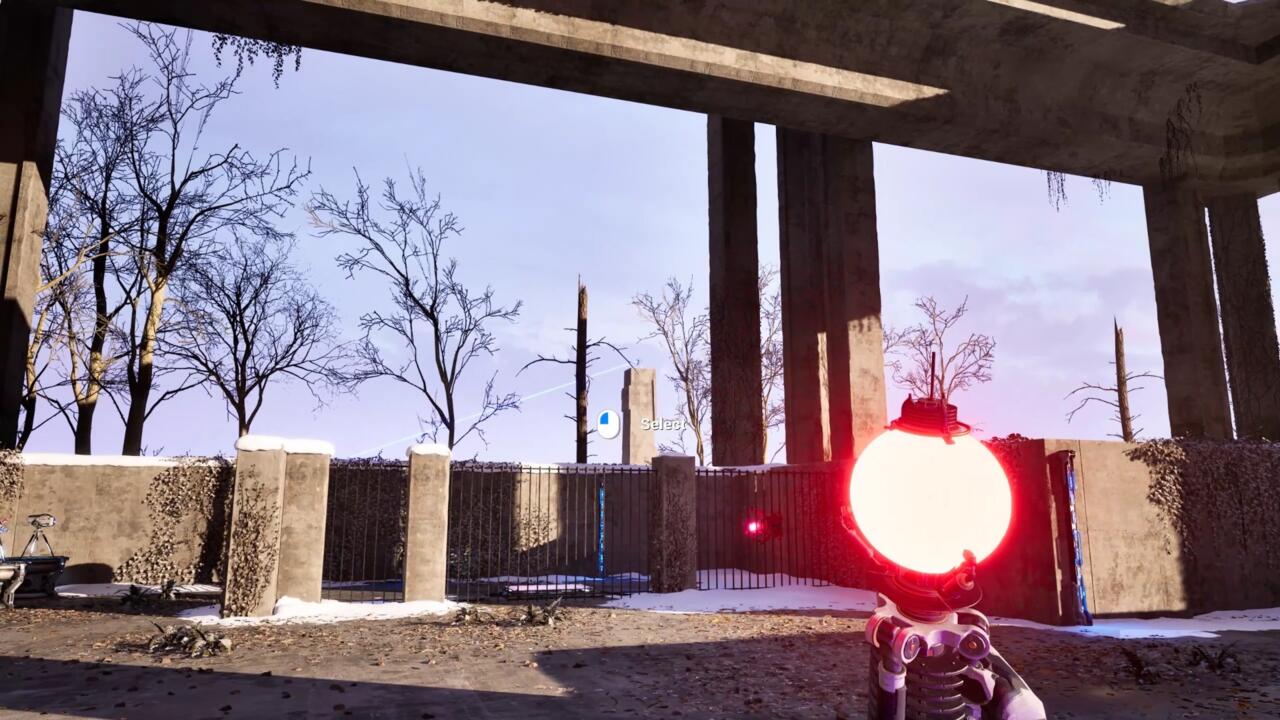
Out of all the hidden puzzles, the ones involving Pandora statues are particularly perplexing. To solve them, players must connect a laser beam to the statue, often requiring them to think beyond the confines of the usual puzzle rooms. In order to find solutions, players will need to combine tools from multiple rooms and utilize elements hidden within the environment.
East 1
To help you claim the stars and uncover the greatest puzzles in The Talos Principle 2, we present a comprehensive guide on solving each Pandora statue.
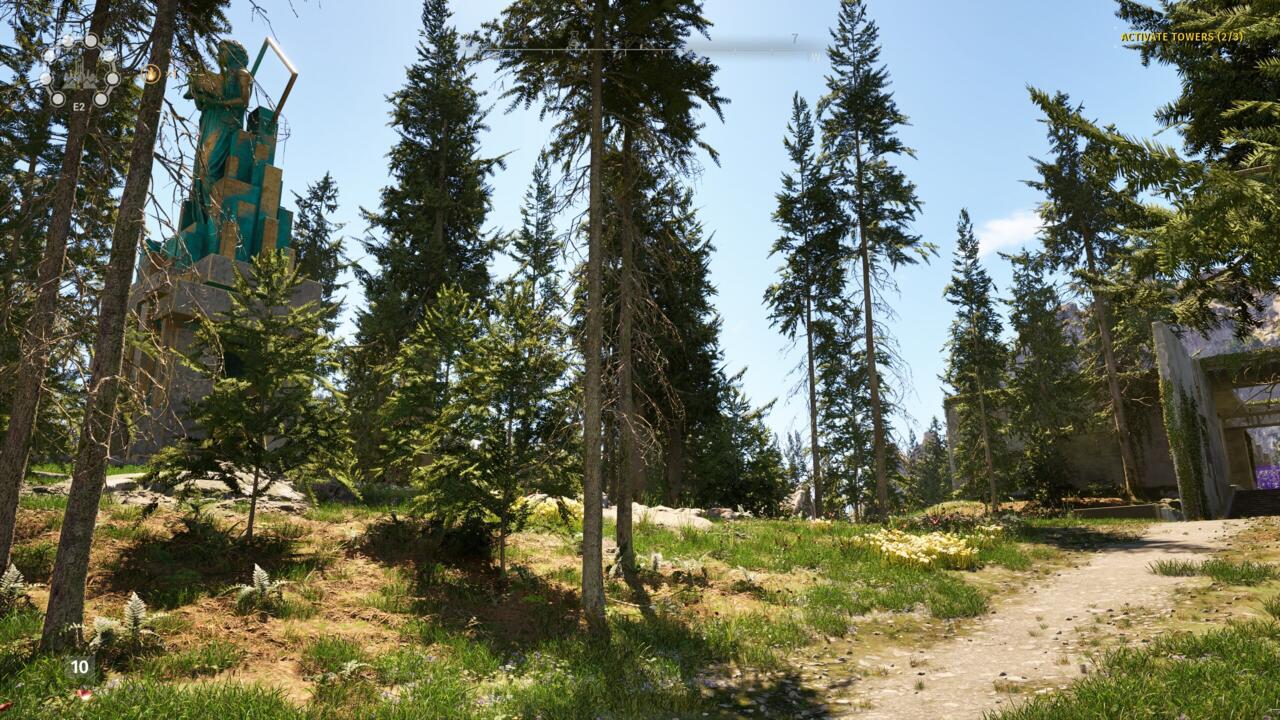
Located near the No. 8 puzzle room, on the right side of the bridge ring in this area, you will discover the Pandora statue. Equipped with a green laser receiver, it requires a green beam to activate. Fortunately, there is a conveniently nearby source for this beam.
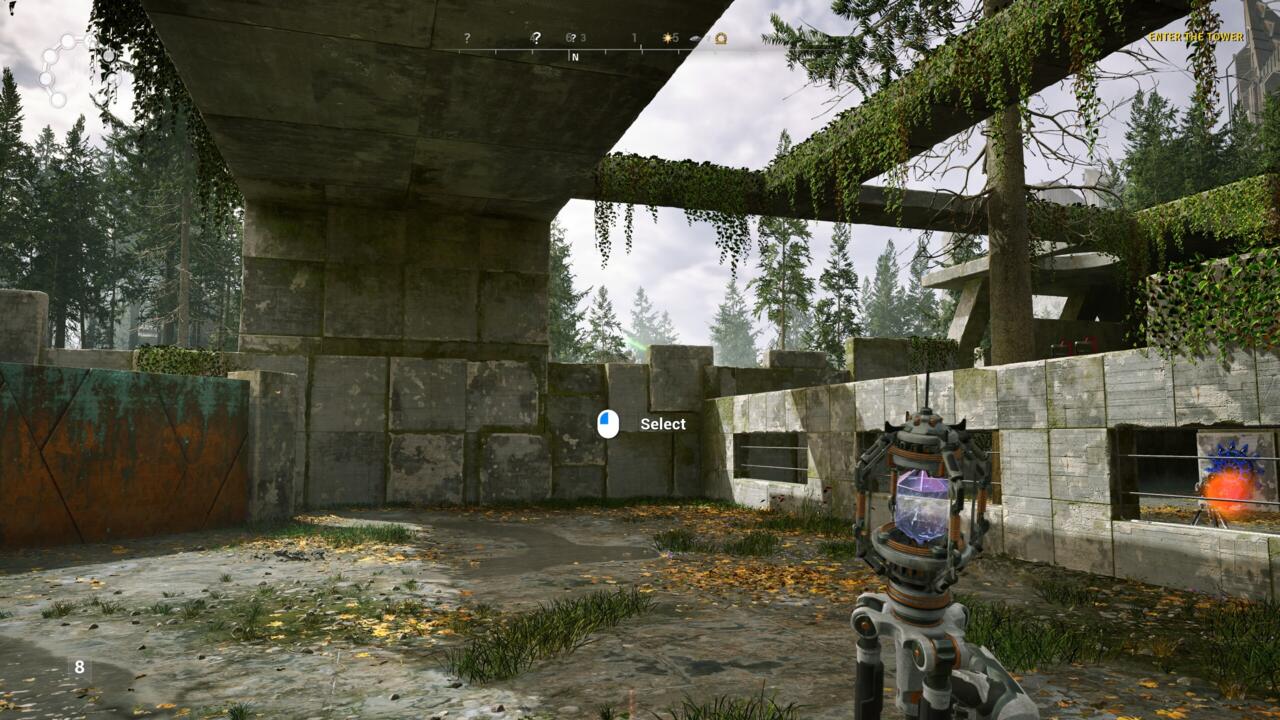
Proceed to puzzle No. 8 for optimal progression. Start by solving the puzzle room to disable the forcefields completely. Equip the crystal tripod, RGB Converter, and hexahedron (cube) for this task.
Attach the crystal to the red beam and position it at the center of the designated zone. This will allow you to direct the red beam towards the distant fan located in the puzzle area. Reach the fan and toggle the switch to deactivate it. Then, place the hexahedron onto the now inactive fan and acquire the RGB Converter. Connect the converter to both the blue beam and the red crystal to transform the light into green.
Start by connecting the RGB Converter to the green receiver located next to the fan. Then, direct your attention towards the external wall in the area. It won't be hard to locate Pandora from this vantage point. Proceed to connect the RGB Converter to the green receiver on Pandora's box. Finally, position the RGB Converter atop the cube.
Activate the fan by flipping the switch, causing the RGB Converter to ascend into the air. As it does so, all the necessary connections will be established, effectively solving the Pandora puzzle. Make your way back to the statue to claim a Star.
East 2
The Pandora statue is located near puzzle no. 7, however, you will begin at puzzle no. 3. Utilize the RGB Converter provided here to generate a green beam. To gain access to one of the colored lasers, employ the Quantum Driller, as well as the two crystal Connectors to transmit the other laser.
Once you have established connections with the RGB Converter, take note of the doorway where you entered and observe the Connector protruding from the triangular archway just beyond the puzzle's entrance. Connect the RGB Converter to this Connector in order to project a green laser that will ricochet throughout the entire area.
Trace the path of the green laser back to puzzle no. 8, located in the vicinity of Pandora. Once inside the puzzle, look over the side wall to spot the green laser hitting a Connector lodged in a rock nearby.
Retrieve a Connector from within the puzzle and utilize it to link the green beam to the green receiver on Pandora, effectively solving the puzzle.
East 3
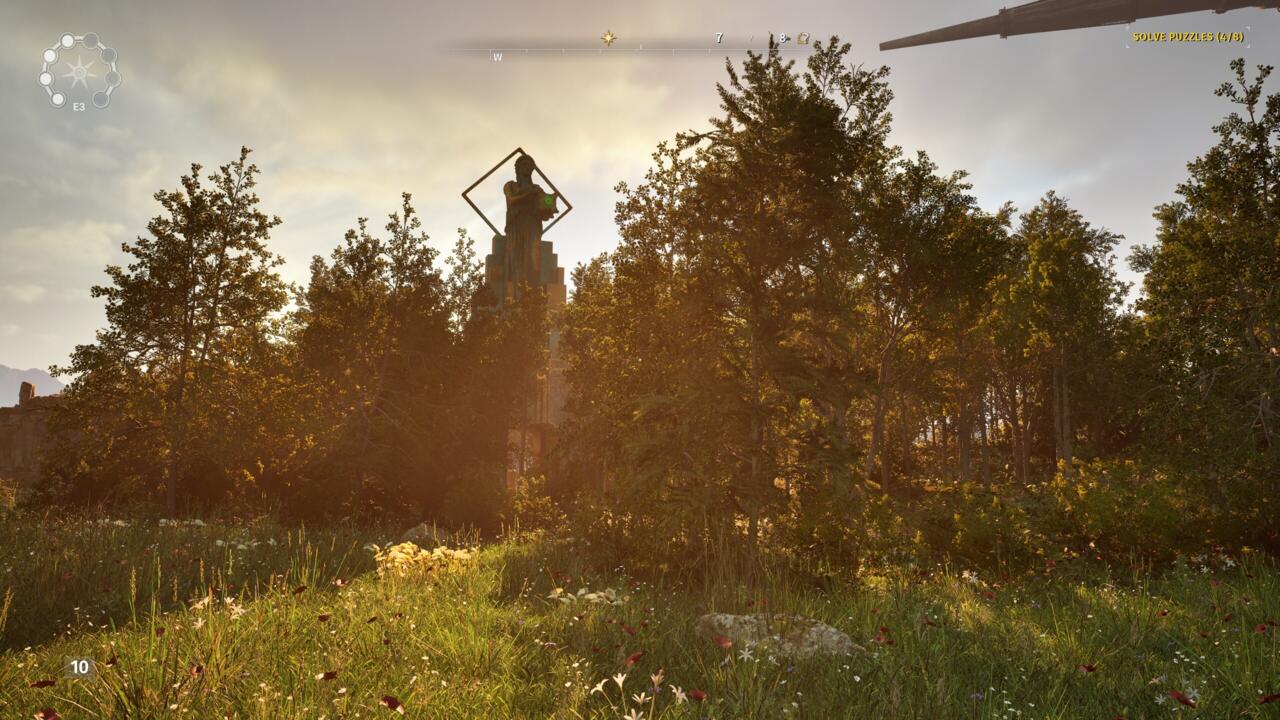
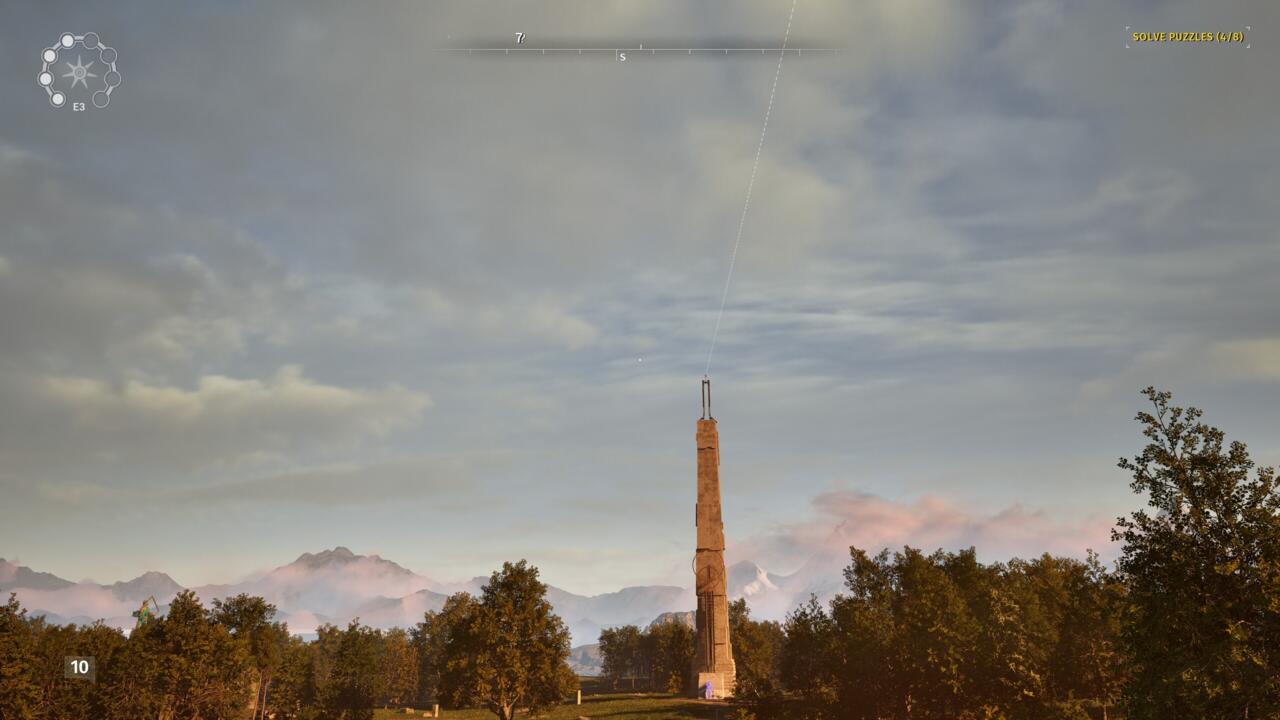
To locate Pandora near the puzzle rooms numbered 6 and 7, you will need a green laser. While traversing this area, be sure to glance upwards and observe a dotted line crossing above you. This line indicates the presence of unpowered Connectors. Tracking the line will provide you with a hint as to where to begin.
Proceed to puzzle number 3, where you will come across an Inverter and an RGB Converter. Utilize the Inverter on the red laser emitter to generate a blue laser, then connect it to the RGB Converter. Afterward, connect the RGB Converter to the red emitter to form a green laser. Direct your attention towards the wall near the right corner of the room, and there you should find the Connector situated at the conclusion of the aforementioned dotted line.
To replicate the effect seen in East 2, utilize a green laser beam to traverse the entire island. Trace the path indicated by the green line until you reach Pandora, and then proceed to puzzle no. 6.
Once inside the puzzle area, employ a Connector to capture the green laser emitted from the Connector positioned atop a tower at the end of the line. Redirect the laser's trajectory towards the Pandora statue.
North 3
To locate the Pandora statue, make your way to the no. 3 puzzle room. From there, you'll need to redirect beams from other areas to this spot. Pay attention to the RGB Converter situated atop a tower on the left side of the Pandora statue. It will enable you to generate the necessary green beam to complete the puzzle.
To begin, head over to puzzle no. 2, which is located behind the Pandora statue. Ensure that you have previously solved this room to have complete access to the required tools. Utilize the fan to retrieve the cube positioned on the ledge above, and then exchange it for the Accumulator. Next, ride the fan up to the ledge and connect the Accumulator to the blue beam. Let it absorb the charge before picking it up once more. Now, direct the beam towards the RGB Converter on the tower situated beyond the right corner of the puzzle room. Although it may be challenging to spot, having the Accumulator in your possession should make locating the connection easier. Place the Accumulator on the ledge with the connected beam.
To access the red beam, you'll need higher ground. Proceed to puzzle no. 5 and exchange an item for the Accumulator. Utilize the Accumulator to capture the red beam. Locate the RGB Connector situated on the tower adjacent to the red beam emitter and establish the connection.
Now go back to puzzle no. 3. Your objective is to connect the green beam, generated by the RGB Converter, to the Pandora statue. Identify the Connector that is causing a red beam to bounce around the puzzle room. However, hitting your targets from this side is not possible. Return to the entrance of the room, retrieve the cube, and substitute it with the Quantum Drill. Direct the Drill towards the wall and thread the Connector through the hole. Circumnavigate to the other side and acquire the Connector.
To complete the puzzle, you can target both the Pandora statue and the RGB Converter.
South 1
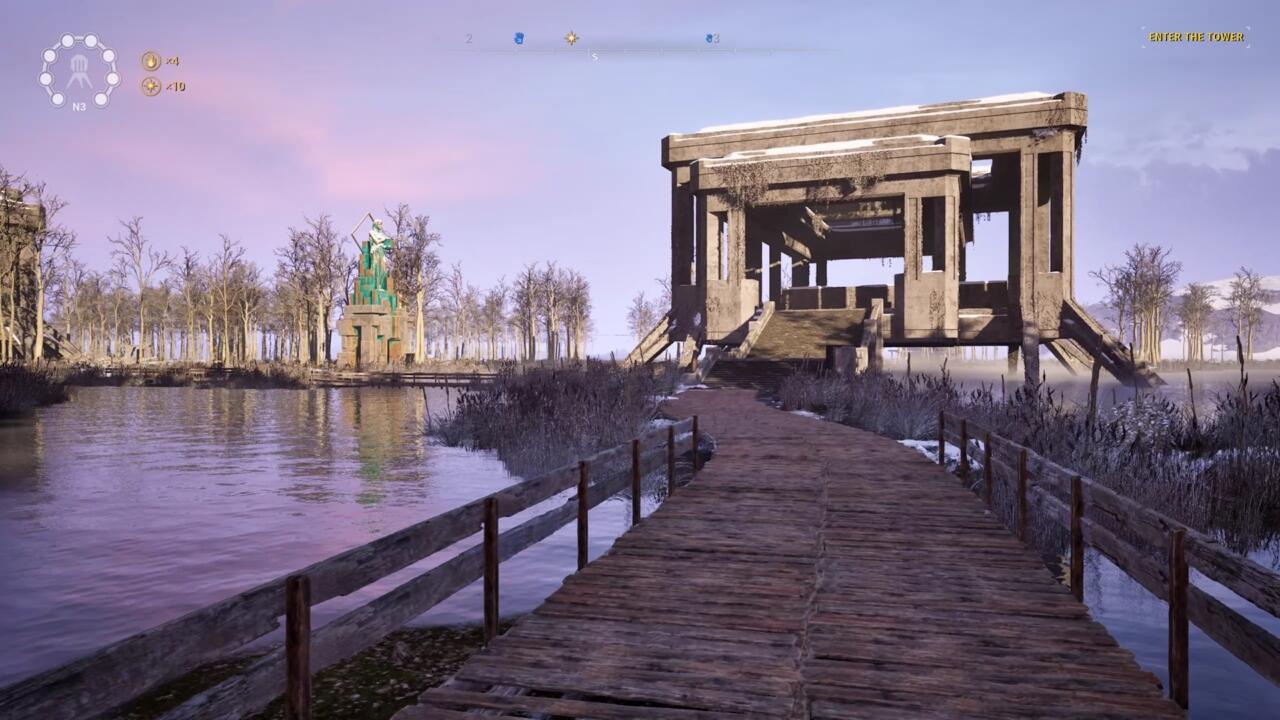
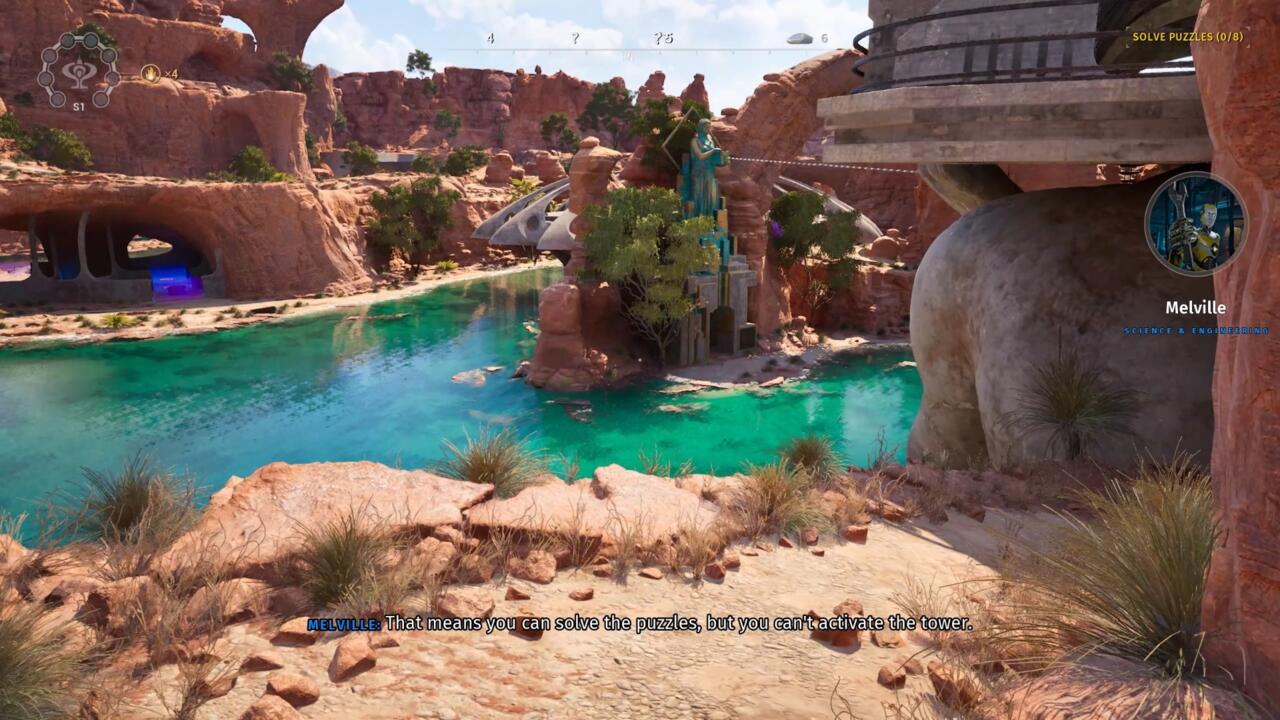
As you leave the transit hub, you will notice the Pandora statue located near the starting area. It is situated along the winding path near the tetromino bridge ring. Additionally, you will immediately notice a dotted line connected to the statue, indicating that nearby Connectors can be used to transmit a green beam.
Start at puzzle no. 2. After completing it, turn your gaze towards the north from this raised area, specifically to the right of the wooden bridge through which you entered the puzzle. You will notice a wall below you, across the water, which can be penetrated using a Quantum Drill. By applying the drill, a hole will appear, leading to the discovery of a hidden green laser emitter. Obtain a Connector from this very same puzzle and connect it with the green emitter. Now direct your attention upwards to a rock spire situated above the emitter. At its summit, you will find another Connector. Proceed to bounce the green laser towards that Connector.
Next, make your way to puzzle no. 4, which can be found near no. 2, slightly below it. Enter the puzzle and secure a Connector. Look upwards in the direction of no. 2 in order to locate the green Connector protruding from the rock tower. Establish a connection with it and then orient yourself towards the transit station. Positioned underneath the flat platform, just to the left of the colossal statue hand that supports it, you will find a Connector. This Connector is extruding outwards and pointing downwards.
To complete the puzzle, use the green laser to bounce it off the Connector and direct it towards the Pandora statue.
South 2
In order to find the Pandora statue, head towards the western alcove from where you initially start in this area. This alcove is located near one of the bonus puzzle rooms. However, it may take some effort to solve this puzzle as the green receiver on Pandora is positioned in a way that it faces away from almost everything in the area.
Start in puzzle room number 2. To reach the other side of the area, circumnavigate the exterior of the puzzle room until you find a cave carved into the rock. Peer up through this pathway to spot a series of Connectors interconnected. Your task is to redirect a laser beam towards this cluster. Returning to room number 2, locate the anti-gravity panels on the ceiling, forming an L-shape. Acquire the Gravshifter and direct it towards the vertical anti-gravity panel. Adjust the aim so that if you were positioned on the panel, you would be sideways, parallel to the ground. Ensure that the Gravshifter is situated on the button that activates the fan, allowing the anti-gravity column to pass over it.
Procure a Connector and utilize the fan to propel yourself towards the anti-gravity panel. Leap towards the uppermost panel, orienting yourself in an upside-down position. Use the Connector to connect the blue laser emitter with the one suspended from the cave pathway's ceiling. You may encounter difficulty locating the latter due to obstructive trees, but you will discern it as the aim passes over and highlights the distant Connector.
Leave no. 2 and make your way back to the bonus puzzle room near the Pandora statue, which can be easily located by following the blue laser. As you approach the bonus room, you will notice a purple particle wall on the cliff wall next to it. This wall acts as a barrier, preventing objects from passing through and indicating the presence of an alcove nearby. Adjacent to the particle field, on the rock walls to the left, you will find an anti-gravity panel. Inside the bonus puzzle room, locate the Gravshifter and direct it towards the anti-gravity panel. By utilizing the anti-gravity column, you can access a pathway that leads to the purple field. Venture through the field to discover an Inverter. Connect the Inverter to the Connector that is receiving the blue beam on top of the bonus puzzle room. While it is sufficient to simply drop the Inverter here with one connection, position it close to the edge to make it visible from the ground.
Now descend and head north, navigating past the bonus puzzle room along the rock wall where the Inverter was found. You will come across a canyon that penetrates through the rocks. On looking up, you will notice a couple of fans. To reach them, you will need to do some climbing, beginning at the corner of the rock wall to your left. Ascend the rocks and make your way towards the fans, using them to propel yourself across the canyon. Beyond the second fan, you will encounter an RGB Converter. Take hold of it and transport it back towards the Pandora statue.
To complete the task, transport the RGB Converter back to the area in front of the bonus puzzle room, located near the statue of Pandora. Attach the RGB Converter to the pre-positioned Inverter and connect it to the blue beam emanating from the Connector positioned above the bonus puzzle room.
By following these steps, you will generate a green beam that can be linked to the statue.
South 3
This puzzle is quite challenging, as it requires you to find the necessary Connectors in order to progress. Head over to the far eastern section of sand where the Pandora statue is located, seemingly isolated with nothing around. Surprisingly, there are no hidden connections present, and it may appear that there is nothing that can be connected to the red laser receiver on the Pandora statue.
To overcome this obstacle, you need to activate a special switch. Begin by making your way to the second puzzle room and then turn around, facing the entrance. Look up towards the towering structure above and locate a prominent blue laser receiver attached to its side. You can spot it through the openings in the ceiling. This blue laser receiver holds the key to solving the puzzle and should be your initial focus.
Connect the nearby blue laser to the receiver on the tower using a Connector. Observe the rise of a Connector rod from the tower to the right of the receiver. Now, you will need to redirect a red laser to that Connector.
To obtain the red laser, exit puzzle no. 2 and make your way around it. Proceed south into the desert until you reach the bonus puzzle room nestled among the dunes. Inside the room, locate a red laser emitter. Utilize a Connector to send the red laser up to the Connector that appeared on the tower near the blue receiver.
To complete the process, you will need to navigate to the Pandora statue and locate the adjacent no. 3 puzzle room. Upon entering the room, immediately turn left and direct your attention to the corner bordering the wall with the entryway. Here, a concealed compartment awaits your discovery, having been unlocked after activating the tower's blue laser receiver. Inside this compartment lies the ultimate Connector required for this task.
Take hold of the Connector and position it onto the elevator platform situated next to the pressure plate. Once in place, step onto the platform and proceed to position the cube onto the pressure plate. This action will cause the elevator to ascend, enabling further progress.
Here's the step-by-step guide on connecting the red laser from the tower to the Pandora statue.
West 2
It's important to mention that we couldn't find the "correct" way to solve this puzzle. If the developers intended for a different approach, we'll update this solution in the future. For now, here's how we managed to solve the final Pandora statue.
To begin, locate the statue in the lower part of the mountain region by descending the stairs from the puzzle room numbered 4. While walking along this path, observe the dotted lines above you, indicating the presence of active Connectors in the area.
Proceed to the room numbered 4 and pick up a Connector. Stand near the entrance and connect the blue laser emitter to the Connector protruding from the rock just outside the room on the right side when facing the entrance. Utilizing the purple entrance field, you can establish the connection effortlessly.
The difficulty level increases from here. To access puzzle room no. 6 situated higher up the mountain, you need to walk along its outer walls towards the right. As you explore, you will come across a wall that can be penetrated using a Quantum Driller. Behind this wall, there is a transparent bubble, indicating the presence of a Universal Activator. This provides a clue about the required equipment.
Unfortunately, we couldn't find the necessary Quantum Driller. However, you can obtain a blue Activator from puzzle room no. 6. Begin by entering the puzzle room and picking up a cube. Position the cube next to the wall on the left side of the entrance, where there is a corner adjacent to the no. 6 sign on the other side. Place a blue Activator on top of the cube and then leave the room. Proceed to the left, passing the no. 6 sign, until you reach a mound of relatively low rocks. By climbing on these rocks, you can reach the top of the heap, allowing you to descend onto the wall of the puzzle room. From there, you can retrieve the Activator from on top of the cube and take it out of the room.
To complete the Pandora puzzles in The Talos Principle 2, return to the Pandora statue. Unlike the others, this statue lacks a receiver for a laser beam. Instead, utilize the Activator to capture the blue beam emitted by the nearby Connector. Transfer it beneath the statue to activate it and obtain your star.
Having accomplished this, your journey through the Pandora puzzles in The Talos Principle 2 is now finished. Interested in more mind-bending challenges from this puzzle game? Be sure to check out our review of The Talos Principle 2.
Editor's P/S
As a Gen Z fan, I am excited about the release of The Talos Principle 2 and the new challenges it brings. The game's optional puzzles, particularly those involving the Pandora statues, seem intriguing and rewarding. I appreciate the detailed guide provided in the article, which will undoubtedly be helpful in solving these puzzles and unlocking the hidden secrets in the game.
Overall, I am impressed by the level of creativity and thought that has gone into designing these puzzles. The fact that they require players to think beyond the confines of the usual puzzle rooms and utilize elements hidden within the environment adds an extra layer of depth and challenge to the game. I am looking forward to putting my problem-solving skills to the test and uncovering all the secrets that The Talos Principle 2 has to offer.


