
The Ultimate Guide to Conquering The Fortress of Winds in The Legend of Zelda: The Minish Cap
Discover essential tips and strategies to conquer the Fortress of Winds, the thrilling third dungeon in The Legend of Zelda: The Minish Cap Uncover the Compass, Dungeon Map, Small Keys, Mole Mitts, Big Key, and defeat the formidable boss Mazaal with our comprehensive walkthrough
Quick Links
How to Get the CompassHow to Get the Dungeon Map
How to Get More Small Keys
How to Get the Mole Mitts
How to Find the Big Key
How to Beat Mazaal
Reaching the Fortress of Winds in The Legend of Zelda: The Minish Cap requires considerable effort on the part of players. In addition to obtaining a new sword, players must also acquire the Pegasus Boots from Hyrule Castle Town. These boots are necessary for safely navigating the Castor Wilds, where the Fortress of Winds is situated.
However, simply finding the Fortress of Winds is just the beginning. Players of The Minish Cap must overcome a series of challenging obstacles within the fortress in order to obtain the third element. This walkthrough will guide players through the process of successfully completing the Fortress of Winds.
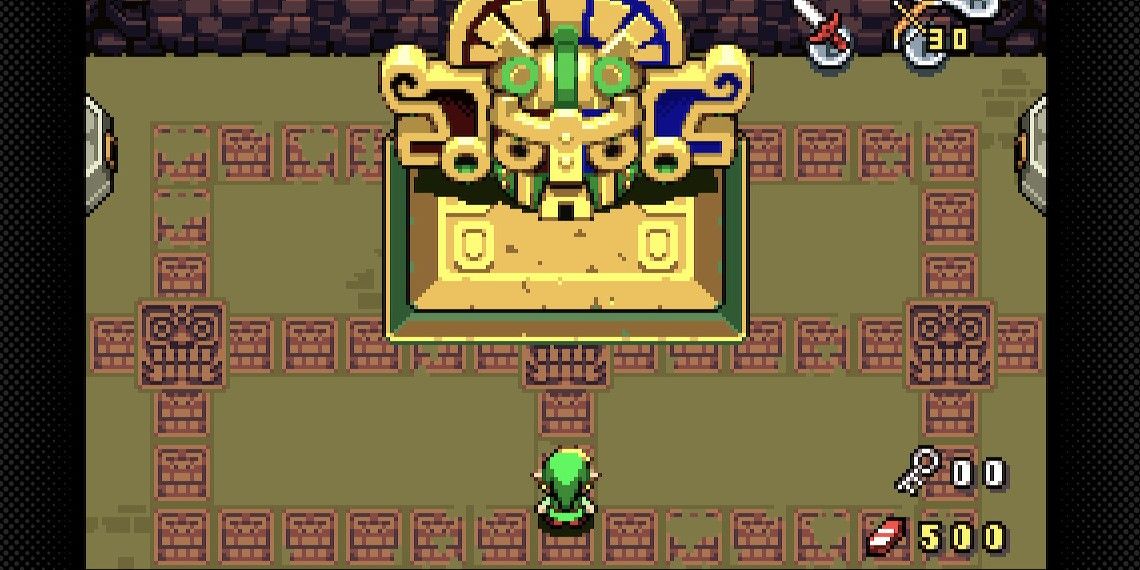
How to Get the Compass
Upon entering the dungeon, players will encounter four doors to choose from. Three of these doors will lead them to a room with stairs going upwards. It is advisable to take the leftmost door and ascend the stairs. Caution must be exercised while navigating the middle of this room, as it leads directly to the floor below. Proceed north and eliminate the flying skulls that materialize. Equip the bow and skillfully target the eye pattern on the wall to unlock the adjacent door.
Upon entering the following room, players will face an ambush by four jumping skeletons. Dispatch them and proceed through the downward-leading door. In this subsequent area, a collection of Rupees awaits, but vigilance is necessary as one of them conceals a Like Like enemy. Towards the right side of the room, another Like Like lurks, camouflaging itself with a red Rupee to entice unsuspecting victims. Defeat it and claim the easily-earned reward.
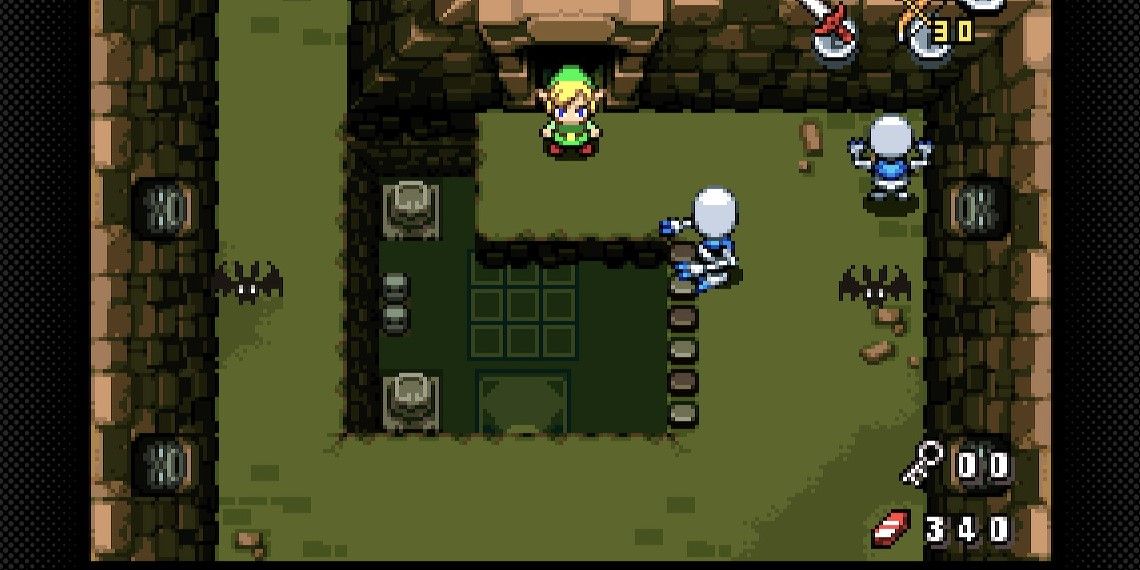
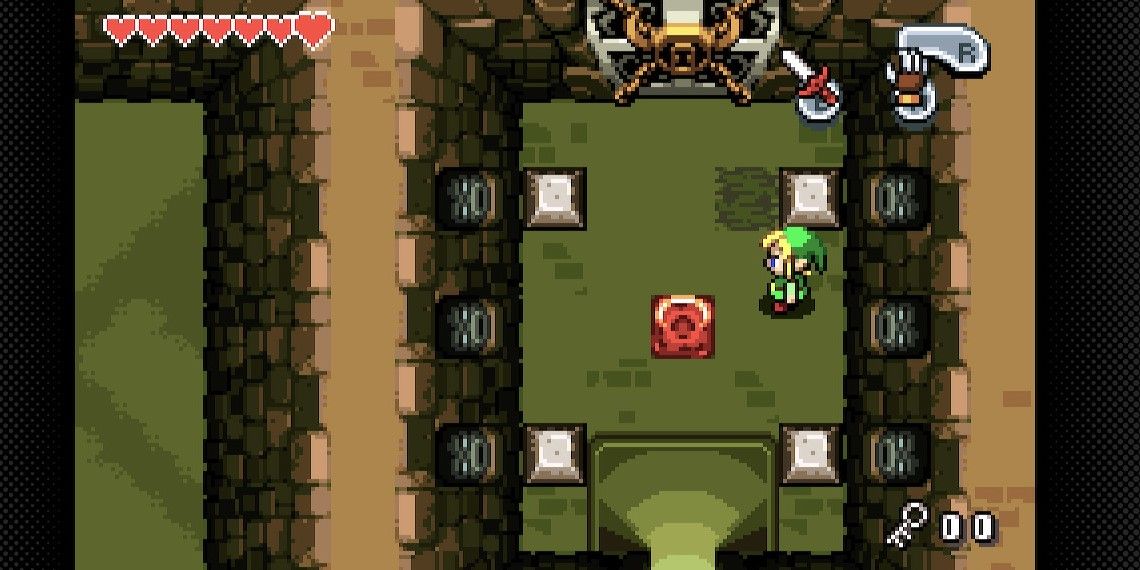
Ascend the ladder to access a new area. Activate the door by targeting the eyes on the wall and proceed through it. Within the subsequent chamber, position yourself on one of the illuminated squares and unleash the mighty sword spin attack. To animate the statues inhabiting this room, stand on both switches simultaneously. Dispatch these statues by launching arrows directly into their eyes, and behold the emergence of a chest that contains the coveted compass.
How to Get the Dungeon Map
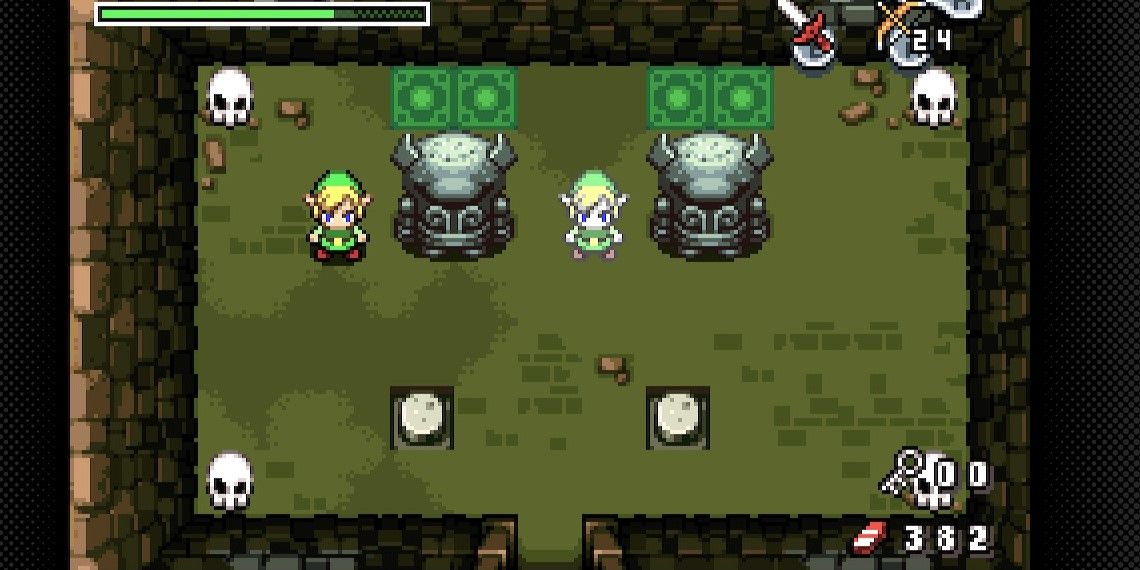
Go back to the chamber with the dynamic platforms and the eerie eyes decorating the walls. Proceed towards the right and unlock the door on this side by skillfully shooting arrows into the watchful eyes. Enter the subsequent chamber, where you will discover an array of luminous squares. Utilize these squares to generate a clone of yourself and then manipulate the clone to push the sizable block towards the right side of the room. This will grant you access to the opposite side of the chamber.
Move the other block to the left, utilizing the illuminated squares to create another clone for the purpose of further pushing the initial large block upwards. Activate the lever, causing a key to descend all the way to the bottom floor. Leap into the hole to acquire the small key. Return to the initial room with the four doorways. Select the door to the right of the leftmost door. Ascend the stairs and eliminate one of the obstructing statues to progress forward.
After demolishing one of the statues, proceed towards the steps and unlock the large chest to obtain the dungeon map. In the most northern section of this room, two locked doors can be found. At this stage, players will possess only one small key. Utilize the small key to unlock the right door.
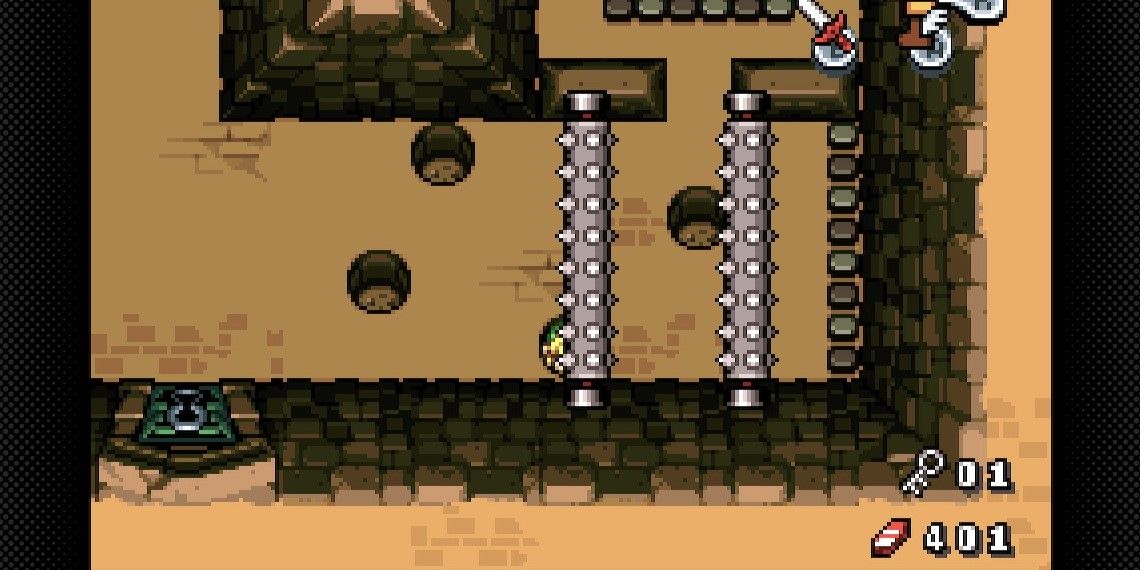
Proceed to the adjacent room and equip the Pegasus Boots. Engage the handle and pull it back as far as possible to trigger the creation of a bridge. Hastily sprint across the bridge using the Pegasus Boots, as it will gradually vanish. Ascend the staircase located on the right to gain access to another chamber. Eliminate the floating hand adversaries to summon a shrinking pedestal, but disregard it momentarily. Progress into the subsequent room and descend, circling around until you reach an area adorned with radiant pedestals. Skillfully maneuver between the rolling spike pins to arrive at the side of the room featuring glowing pedestals and four switches.
Try to avoid being grabbed by the hands, they will take players back to the start of the dungeon.
How to Get More Small Keys
To successfully solve this puzzle, relocate the two statues onto the switches located in the upper left and lower right corners. Afterwards, channel your energy into charging the sword attack while standing on the illuminated platform towards the north side of the wall. Once fully charged, release the attack while positioned on the lower left glowing panel. Take caution while descending to avoid the clone from fading away. Finally, position yourself on both switches to reveal the presence of a second small key.
Use the key to unlock the door located on the southern side of this room. Eliminate the hand enemies in the following area and descend to return to the area where players unlocked the right door. Although there are other places to explore in this area, players will be unable to progress due to the rock walls. Descend back to the starting area.
Proceed through the doorway to the left of the rightmost doorway and ascend the stairs. Head towards the chest on the left, but be cautious of the skeleton and the small, moving sparkling ball in the room. Pull the lever on the left side of the room to open the door. In the next room, climb up the ladder to enter a different area and continue north. Destroy the statue positioned on one of the glowing platforms on the left side of the room.
Stand on the illuminated platform and charge a spin attack. Proceed to the rightmost lit square while maintaining the spin attack. Instruct the two clones to step on the switches located on the right side of the room, then proceed through the door. Utilize the shrink pedestal to return to the room with the glowing platforms. Enter the inactive statue and strike the switch.
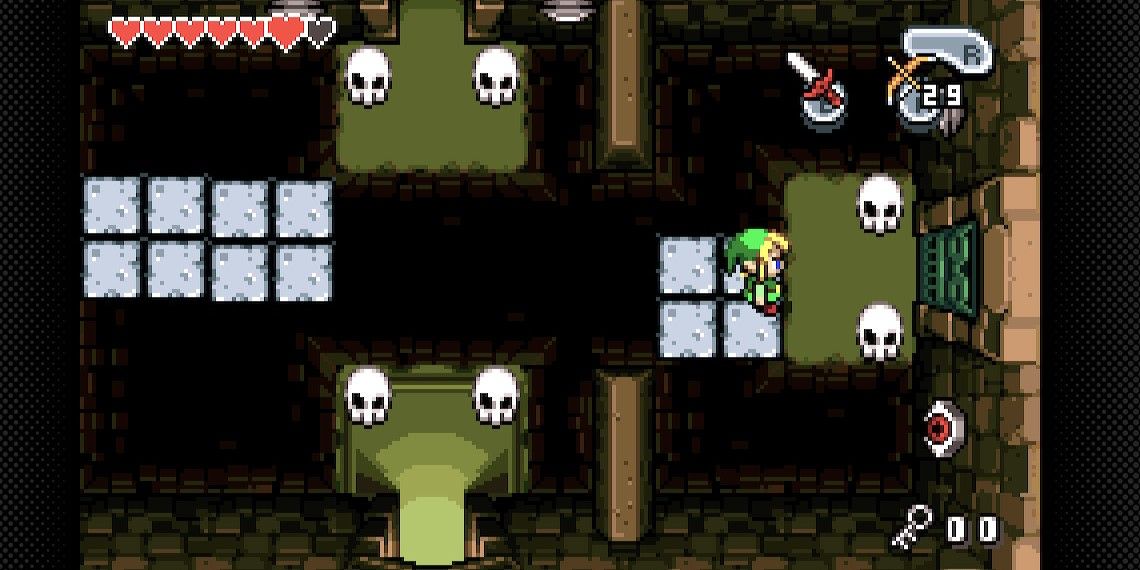
Subsequently, pass through the narrow gap and return to normal size. Destroy the statue and pull the lever concealed behind it to release another small key onto the lower floor. Descend to the bottom in order to retrieve the key. Revisit the room containing the two locked doors and utilize the small key to unlock the left door. Step onto the moving platform and carefully avoid the blocks along the path.
How to Get the Mole Mitts
In the adjacent room, target the two ocular structures embedded in the wall. While engaging in this task, remain vigilant for a looming silhouette on the floor. Prepare for an additional adversary to descend and make an attempt to ensnare the players. Proceed into the following chamber, where the door will seal shut, necessitating a confrontation with a formidable Darknut. Incapacitate the Darknut by utilizing explosive devices, and subsequently strike it to inflict damage. Repeat this sequence thrice in order to vanquish the Darknut. A teleportation pad, leading to the entrance of the labyrinth, shall materialize; however, for the time being, disregard it.

How to Find the Big Key
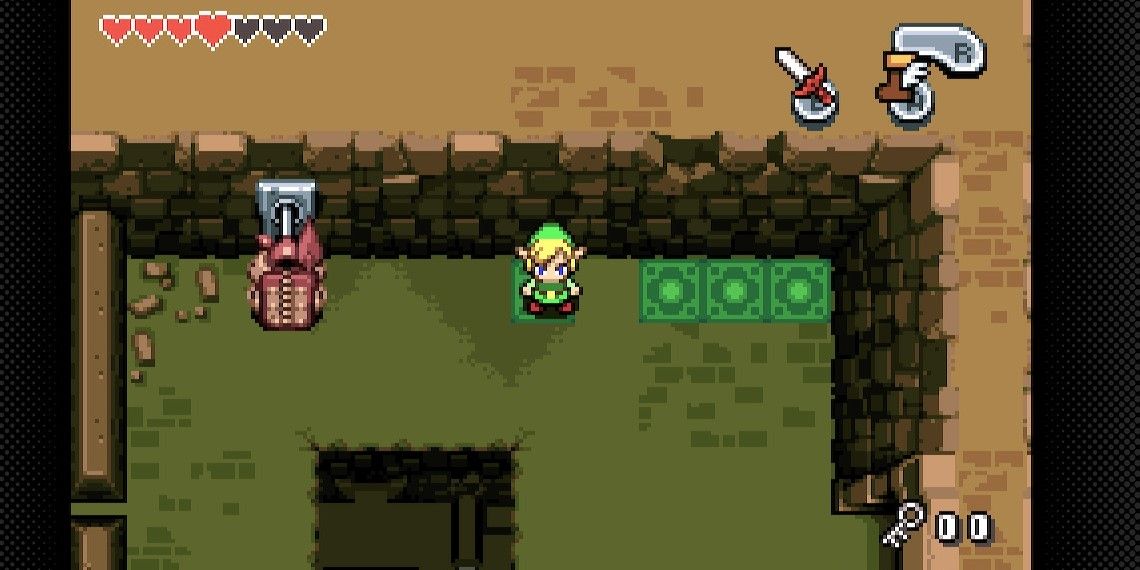
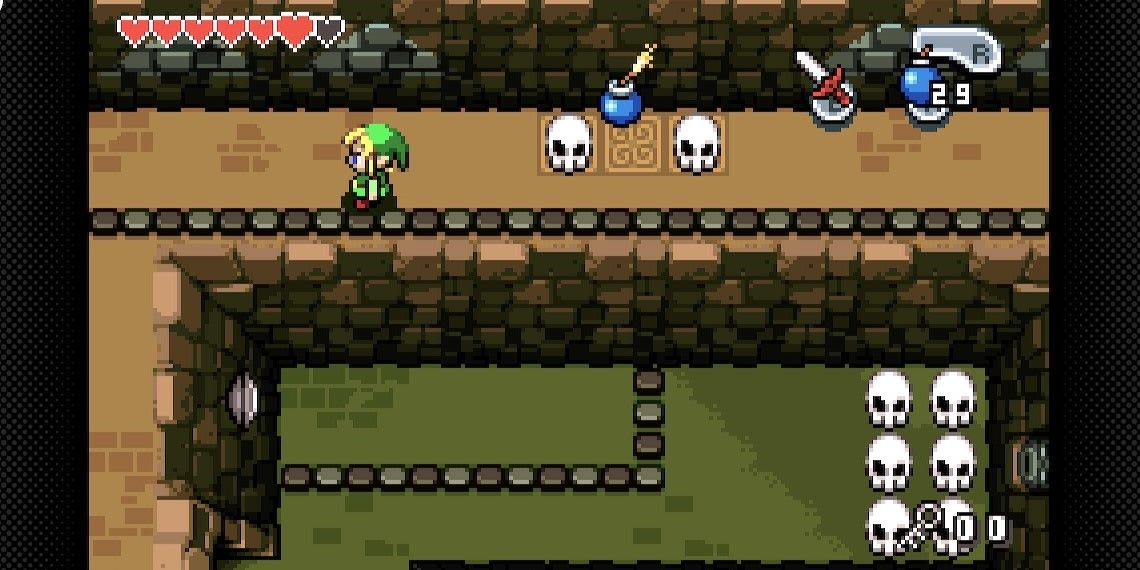
Head south into the adjacent room and proceed with caution towards the switch located on the right side. Step on it and proceed through the southern door. Strategically place a bomb between the two skulls to unveil a concealed chamber. Open the chest to obtain the Mole Mitts, a utility item that allows access to previously inaccessible areas of the dungeon enclosed by rock walls. To utilize the Mole Mitts, equip them and use the designated button to create tunnels through these rock barriers. Don't forget to pillage the small chest in this room, as it contains a valuable stash of 100 Rupees.
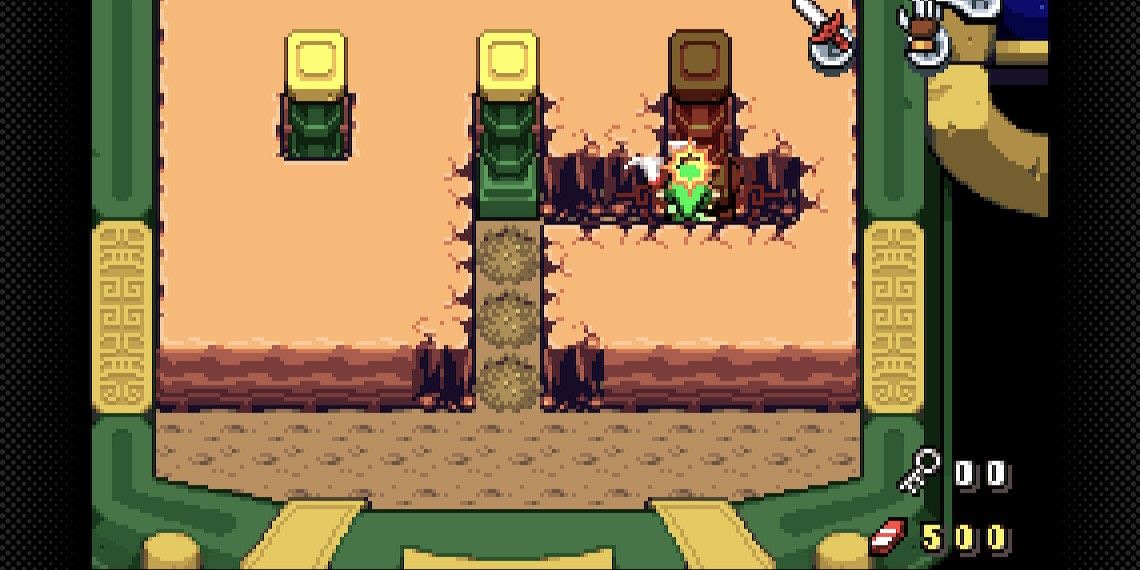
Equipped with the Mole Mitts, players can uncover a variety of concealed items and treasure chests containing valuable Kinstone pieces throughout the labyrinthine dungeon. Return to the chamber previously inaccessible due to locked doors and head south. Ascend the ladder and utilize the Mole Mitts to excavate a path towards the doorway. Shift the block located in the upper right corner to the right, thereby revealing another teleportation pad. The room housing the boss can be found here, yet access to it requires the formidable Big Key. Nonetheless, players will now have the ability to teleport back to this location from the entrance.
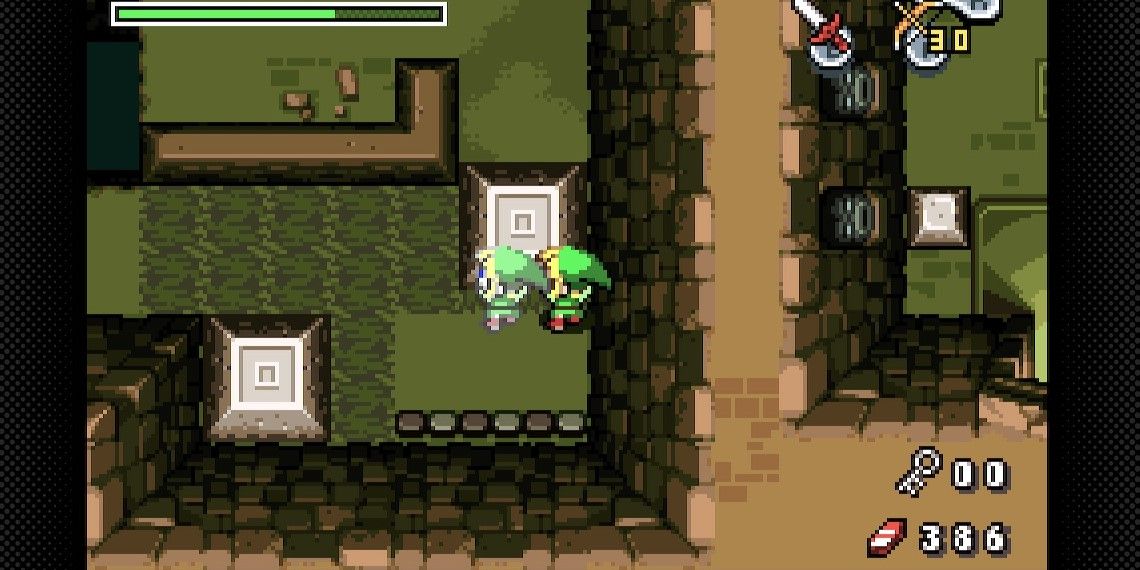
Return to the room where the pedestal shrinks after defeating the hand enemies. Shrink and proceed towards the southern door, avoiding the spike-covered rolling pins. Locate a small hole and enter it to find another shrinking pedestal. Return to normal size and activate the switch, causing a key to fall into one of the holes. Dig towards the key, but be cautious of the electrified enemies. Leave the room and jump down to a shrinking pedestal below.
Head south into a room mostly inaccessible due to rock walls. Equip the Mole Mitts and begin digging a tunnel towards a ladder in the south. Go north to find a locked door, which can be unlocked with the small key. Once opened, jump into the hole on the right to reach a chest containing the Big Key. Return to the entrance and use the red portal to teleport directly to the boss door.
How to Beat Mazaal
As is customary in many Zelda games, Mazaal possesses eyes on his hands. Aim your shots at these eyes to momentarily stun the hands, and then proceed to disable them by striking with your sword. While engaging one hand, beware of the other attempting to slam into you, and prepare for periodic grabbing attempts. Once both hands are vanquished, utilize one of the shrinking pedestals to reduce your size and gain access to the boss's head.
Inside the boss's mind, locate the pillar adorned with eyes and launch an attack to demolish it. This action will forcefully eject players from the mind, causing them to return to their normal size. Proceed to disable the boss's hands once again. Inside the boss's mind this time, there will be obstructions in the form of rock walls impeding progress towards the pillars. Dig a hole to progress and search for the pillar with eyes. Stay alert for the boss's laser beam while disabling its hands for the third time. Once the third pillar is destroyed, the boss will be vanquished. Acquire the Heart Container and proceed into the next room. Investigate the pillar and then pick up the Ocarina of Wind.
Stay tuned for Part 7 of this walkthrough, coming soon.
The Legend of Zelda: The Minish Cap is available now on Game Boy Advance, Nintendo Switch Online + Expansion Pack, and the Wii U Virtual Console.


