
The Ultimate Guide to Activating Your Microphone on Windows 10 and 11: Unleash Seamless Communication!
Unleash the power of your voice on Windows 10 and 11! Learn the simple steps to activate and record with your microphone Let your PC listen to your every word effortlessly
Key Takeaways
Enable microphone access on Windows 10 by opening Settings, selecting "Privacy," and turning on the toggle in the "Allow Access to the Microphone on This Device" section.
Manage microphone access for individual applications by either enabling the "Allow Apps to Access Your Microphone" toggle or adjusting the settings for Microsoft Store and non-Microsoft Store applications.
To activate the microphone on Windows 11, navigate to Settings, choose "Privacy & Security," enable the "Microphone Access" feature, and toggle on the "Let Apps Access Your Microphone" option. From there, you can grant or revoke microphone access on a per-application basis.
To utilize the audio recording or online communication features on your Windows 10 or 11 PC, you will need to enable the built-in microphone if available. You can do this by accessing the Settings option to activate it for either all apps or for selected ones only. We will guide you through the process.
One advantage of Windows' microphone management is that you can grant or revoke mic access to individual apps. This allows you to permit your trusted apps to utilize the microphone while restricting access to all other applications.
Enable Microphone Access on Windows 10
To start using your mic on Windows 10, first, launch the Settings app by pressing Windows+i.
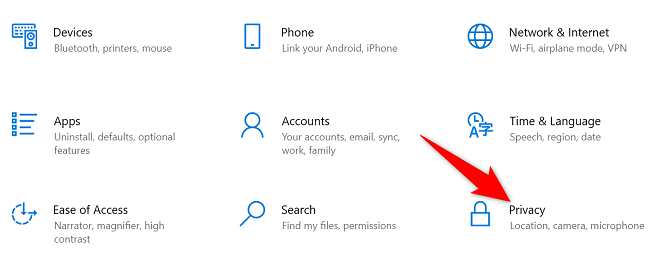
In Settings, select "Privacy."
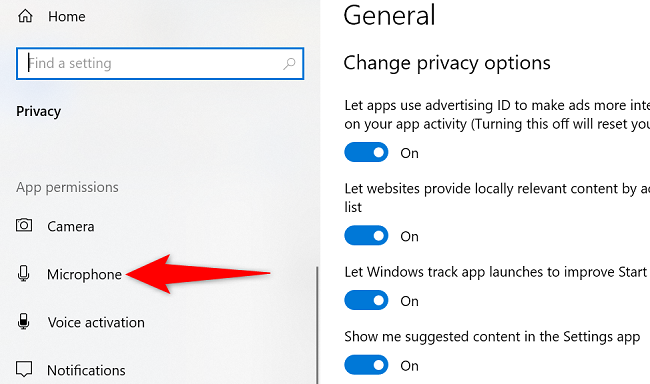
From the "Privacy" sidebar on the left, select "Microphone."
On the right pane, in the "Allow Access to the Microphone on This Device" section, click the "Change" button. Then turn on the toggle that opens.
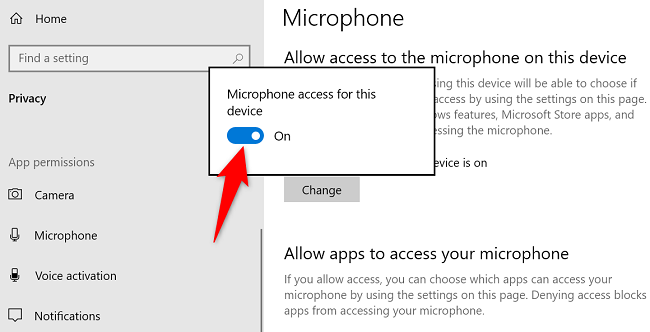
You've successfully enabled the mic on your PC.
If you find your PC doesn't have a built-in mic, consider connecting an external microphone.
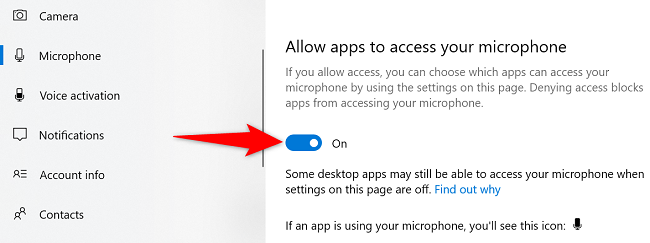
To let your installed apps use your mic, in the "Allow Apps to Access Your Microphone" section, toggle on the button.
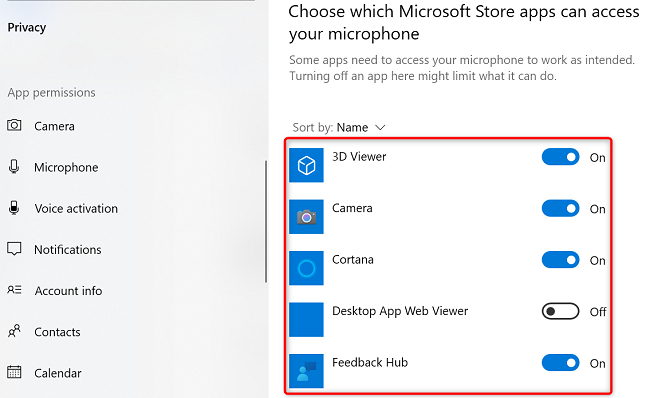
If you desire to customize microphone settings individually for the applications obtained from Microsoft Store, navigate to the "Choose Which Microsoft Store Apps Can Access Your Microphone" section.
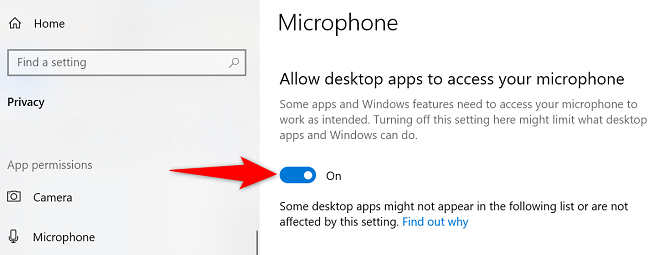
Similarly, to allow your non-Microsoft Store apps to use your mic, use the "Allow Desktop Apps to Access Your Microphone" section.
And that's how you enable and use your Windows 10 PC's built-in microphone. Enjoy!
Activate Microphone on Windows 11
To enable the microphone on Windows 11, first, open Settings by pressing Windows+i.
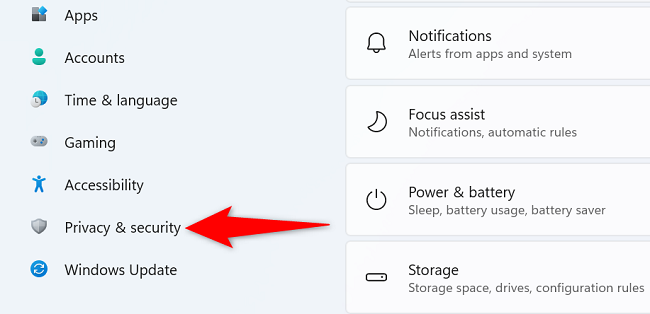
In Settings, from the left sidebar, select "Privacy & Security."
On the right pane, in the "App Permissions" section, click "Microphone."

At the top of the "Microphone" page, enable the "Microphone Access" option. Your mic is now ready to use.

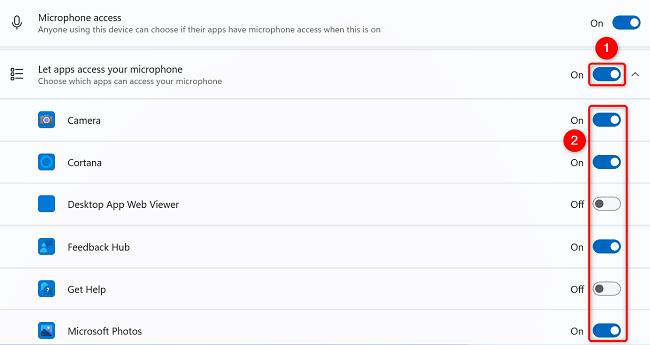
To let both Microsoft Store and non-Store apps use your mic, toggle on the "Let Apps Access Your Microphone" option.
On the same page, use the toggles next to your apps to allow or deny access to the mic on a per-app basis.
You're all set.
Record Audio on Your Windows PC
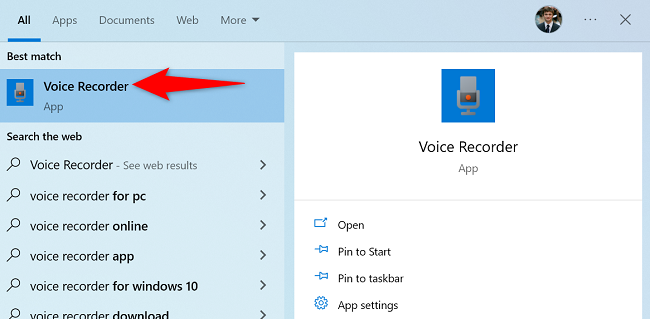
To ensure the microphone is working properly, you can perform a test or record audio using the integrated Voice Recorder application. Begin by opening the Voice Recorder app on your computer. Simply access the "Start" menu, search for "Voice Recorder", and select the app from the search results.
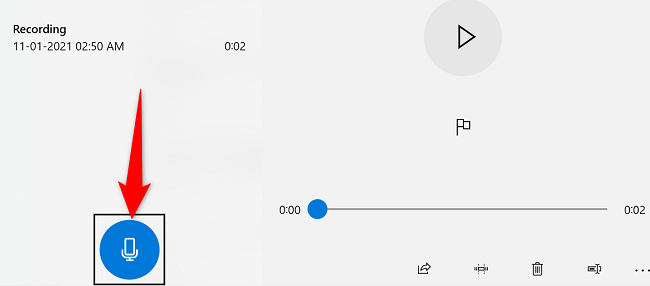
When the app opens, in the lower-left corner, click the mic icon to begin a new audio recording.
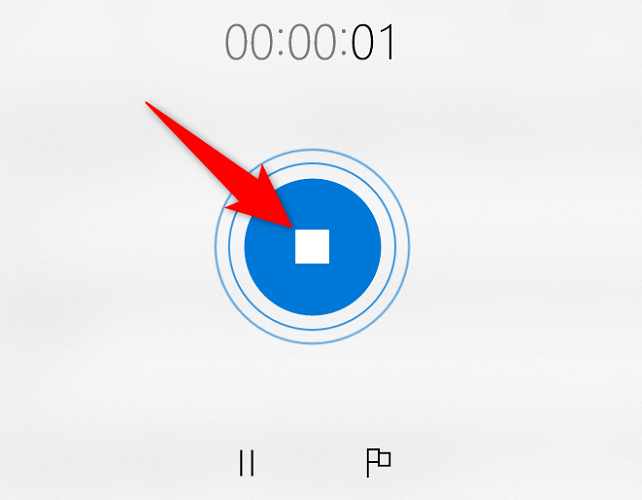
When you've finished recording, click the large stop button to stop the recording. This saves your recorded audio as a file in the app.
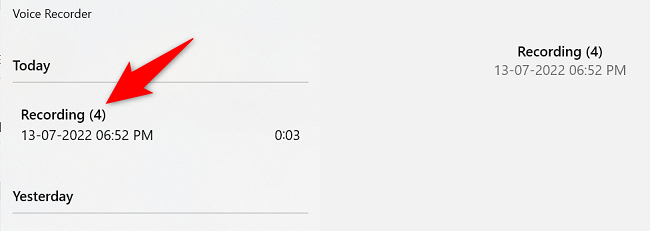
You'll find all your voice recordings in the app's left sidebar.
And that's how you activate as well as make use of the microphone on your Windows 10 and Windows 11 PCs. Happy recording!
On a related note, you may want to change your mic's volume or reduce the microphone background noise for better sound quality. Check out our guides to learn how to optimize those settings.


