Mastering Starfield: Epic Walkthrough for the Ultimate Gaming Experience
Embark on a challenging main mission in Starfield, 'High Price to Pay,' where players face the heart-wrenching loss of their beloved companion Navigate through treacherous paths, defend the Lodge, unravel the mysteries of the Eye, and discover how to retrieve your fallen comrade's precious gear
High Price to Pay is the 11th main mission in Starfield, beginning immediately after players add their latest Artifact to the collection at The Lodge. This mission can be initiated at any time, as long as the player has not yet handed in the Artifact from the No Sudden Moves quest. Prepare for a shocking revelation in the Starborn discovery, along with unforeseen consequences and a devastating death that will surely leave many hearts broken.
Unlike previous missions, High Price to Pay presents two paths to choose from, both leading to the same outcome. The difference lies in who manages to reach the finish line unscathed. Tragedy befalls this Starfield mission, so it is crucial to be well-prepared. Make sure to have a save file, ample Aid, ammunition, and the best available firearms at hand.
This article will contain heavy spoilers for Starfield's High Price to Pay mission in both written content and the images shown.
Place The Artifact At The Lodge

As soon as players deposit yet another Artifact at the Lodge, a message from Vladimir of The Eye will promptly appear. At this juncture, The Lodge becomes off-limits, confining players within its premises. Speaking to Noel becomes imperative in order to advance the mission. Vladimir informs the Constellation group that an assault by the Starborn has occurred, resulting in one member being severely wounded and urgently requiring medical attention. Adding to the urgency, it is revealed that The Hunter, whom some players may have encountered at various bars and saloons throughout the galaxy, is the injured Starborn, imparting philosophical wisdom.
The Hunter reveals their intention to head towards The Lodge and retrieve the Artifact pieces. At this crucial moment, players are confronted with a decision. They can either embark on a mission to rescue the crew aboard The Eye, including Vladimir and the three beloved companions from Starfield with whom they share a close bond. Alternatively, they can stay behind and confront The Hunter, defending both the Artifact and the remaining crew members, consisting of Matteo, Noel, Vasco, Walter, and their least compatible companion.
The outcome of this choice will determine the fate of certain characters. It is advisable to save the game before proceeding or brace oneself for the permanent loss of a cherished companion. The forthcoming guide will present both paths and the ultimate destiny of the characters involved. It should be emphasized that although specific characters may perish, the overall storyline will remain unaltered regardless of their demise.
Path One: Defend The Lodge
If players opt to stay and engage in combat, they can simply await the Hunter's entry while staying clear of the front doors within the Lodge. Armed and ready, they can patiently await the opportune moment for the Hunter's intrusion. However, this cunning killer expertly utilizes Walter as a hostage, subsequently launching an assault on both the player and the Constellation within the Lodge. Meanwhile, Noel frantically disassembles the Artifact and commences a hasty retreat.
It is advisable for players to confront and engage with The Hunter, as they will be rewarded with a formidable weapon in a later stage of the mission, provided they successfully evade the Hunter's grasp at least once. It is important to note, however, that players cannot eliminate the Hunter in Starfield during this particular mission. Therefore, it is wise not to exhaust all ammunition in attempting to neutralize them, but strategically doing so once will establish the player as a worthy adversary in the eyes of the Hunter.
After collecting all the Artifact pieces, Noel and the other members of the Constellation will quickly make their way to the basement and continue through to The Well. It is important for players to stick close to Noel, even if being pursued by The Hunter. Rather than engaging in combat, it is advisable to keep running as The Hunter cannot be defeated and will easily eliminate players and NPCs who try to fight back. It is recommended to have healing items on hand.
Following the chaotic events at The Well, players will need to hurry to the Spaceport of New Atlantis and board their ship to escape. The Hunter will relentlessly chase after them, so players must sprint to their ship as quickly as possible and blast off into space. Once aboard their ship, Scorpius, the Hunter will inform the player that they are ceasing their pursuit. This then assigns players the new objective of embarking on a mission to The Eye in order to rescue their friends.
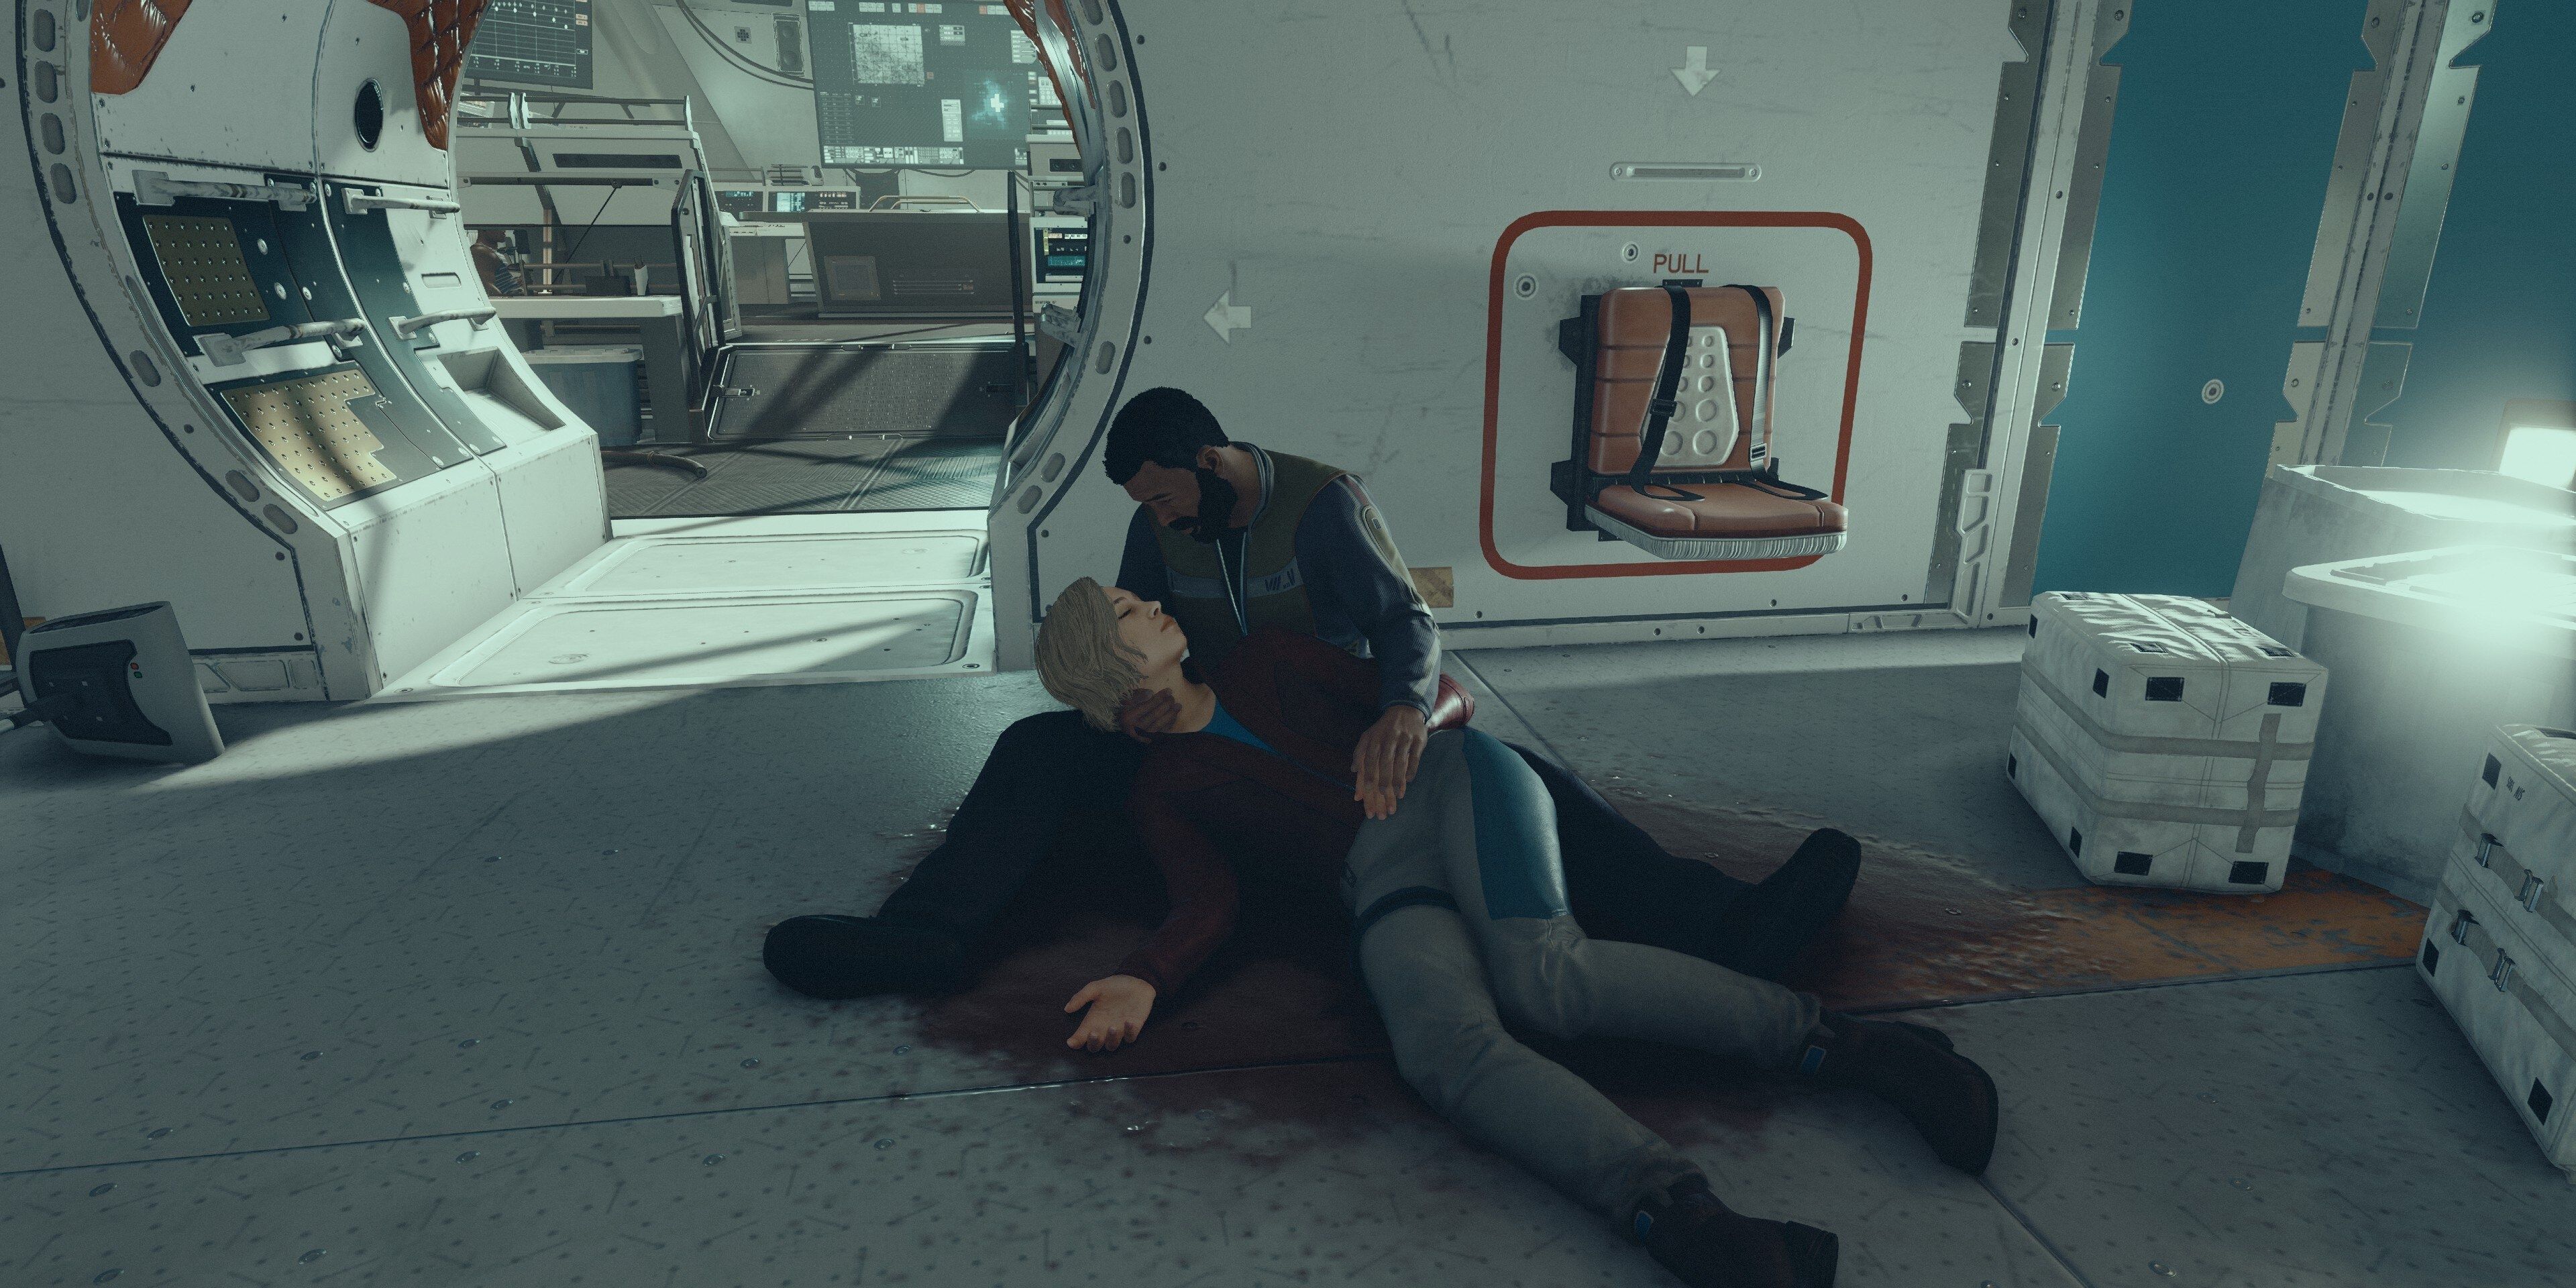
Upon reaching The Eye, players will realize their untimely arrival. The majority of their comrades are wounded, and tragically, within the crew, a fatal incident has occurred, claiming the life of the character with the strongest bond to the player in Starfield. Consequently, players may find themselves mourning the loss of their cherished character or Spouse.
After aiding the injured crew members in standing, there is no time for reflection. With urgency, players reboard their vessel and embark on the task of constructing the Armillary, a new designation for the fragments of the Artifact. The choice is then presented to either carry it, construct it aboard their ship, or utilize an outpost.
The likelihood of Starborn attacks varies based on the placement of the Armillary. If the player has the Artifact pieces in their inventory, attacks will be more frequent across all locations compared to when the pieces are on the ship or an outpost. Following this, players must return to the Lodge and listen to Matteo, who will present them with the next main quest in Starfield.
Path Two: Go To The Eye
To save their favorite companion in Starfield, players must choose the path that leads them to The Eye instead of defending the Lodge. By swiftly reaching the front door before The Hunter attacks, players can prompt their companion with the weakest bond (such as Barrett) to discourage leaving and, ultimately, barricade the door. It's crucial to note that once players decide to leave, there's no turning back.
To proceed, players can swiftly make their way to the Starport and directly fly to The Eye to dock and check on their crew. On arrival, they will discover that all companions have sustained injuries but have managed to survive without any fatalities. This signifies the success of rescuing players' beloved follower. Once everyone has recuperated, players should head to the Lodge and witness the consequences suffered by Constellation.
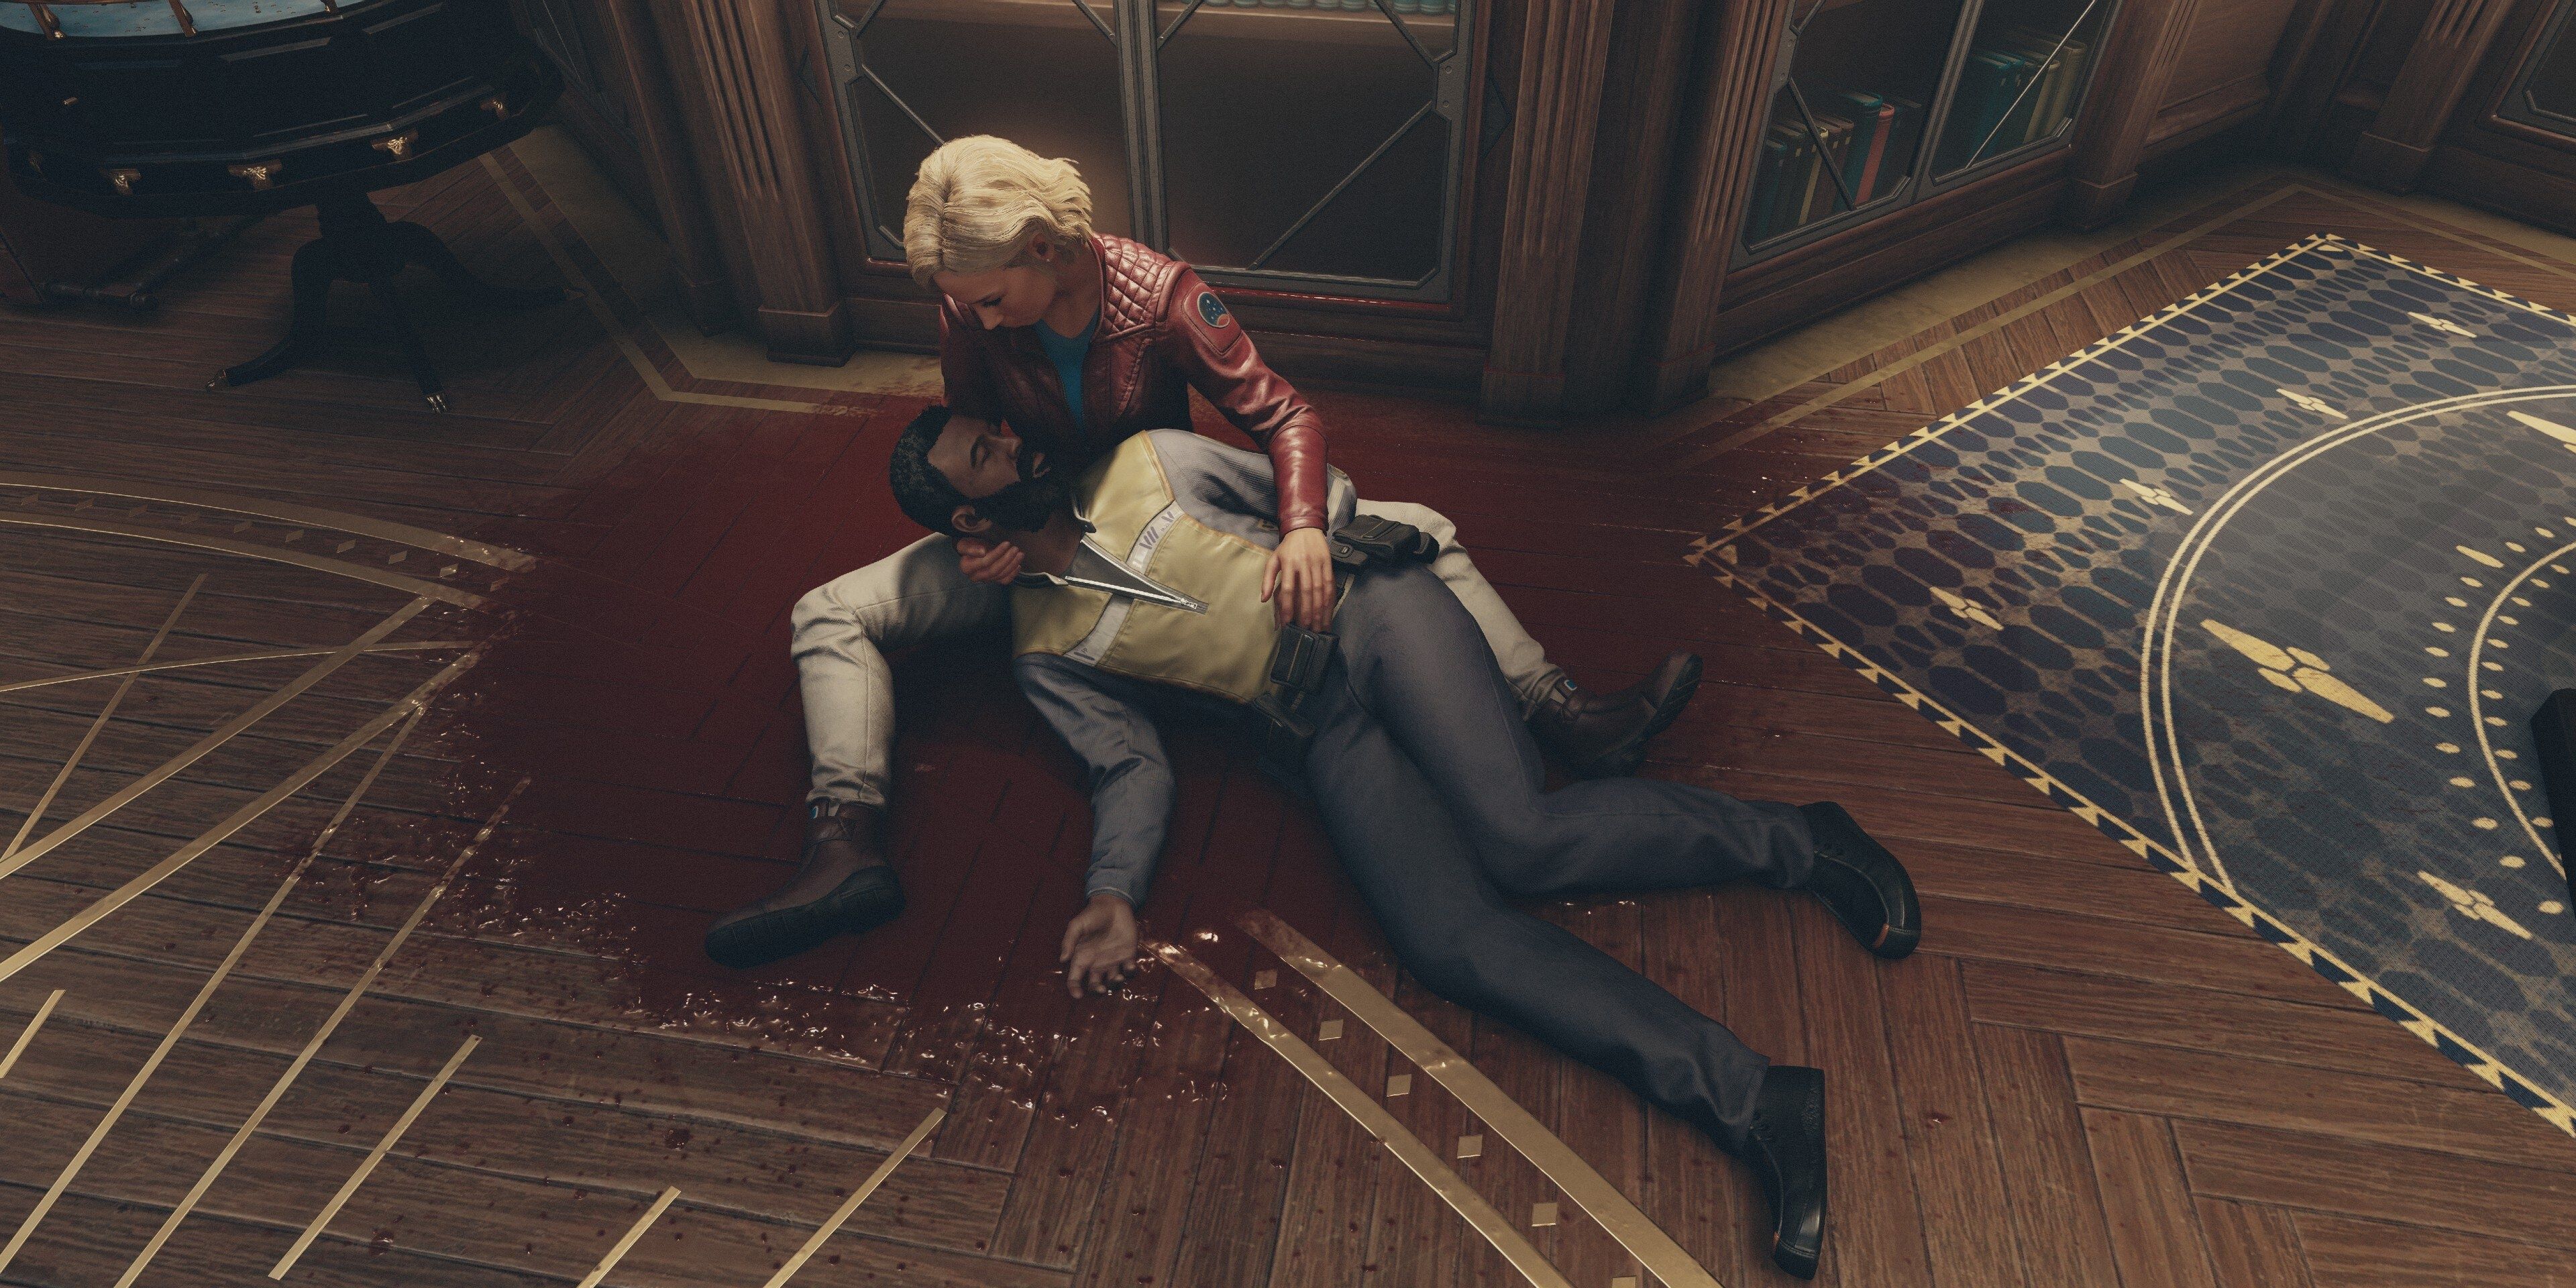
Upon entering the Lodge, the remaining members defending themselves have sustained injuries, with one fatality. Barrett, being the companion with the weakest bond, sacrificed his life to protect the crew and now lies lifeless on the floor. In Starfield, there is no means to revive deceased companions, making this a difficult decision.
Once everyone is gathered, players must proceed to the basement and venture into The Well to locate Noel, who had fled and concealed themselves with the Artifact. This will initiate a repetition of the initial path, requiring players to engage in battles and evade The Hunter as they wreak havoc in the streets of New Atlantis.
How To Get Dead Companion’s Gear
Players must escape to their ship, where the Hunter aboard their Scorpius vessel will reward those who fought valiantly. Next, they must make a swift journey to the Eye and inform Vladimir about the death in the Lodge in order to proceed. Once done, players will have the Artifact pieces in their possession and can decide whether to store them on the ship, carry them personally, or leave them at an outpost. Regardless, they must return to New Atlantis and pass through the destruction caused by their battle with the Hunter to reach the Lodge and hear what Matteo has to say. This marks the conclusion of the High Price to Pay quest, with both outcomes resulting in the loss of either a beloved or disliked companion in Starfield. There is no way to save one, as a life must always be sacrificed. Therefore, players should carefully choose whom they would be willing to part with by cultivating relationships with their team members. Even console commands cannot bring the dead back to life in this scenario.
In the event that players lose a companion with whom they had exchanged gear, they should make their way to the basement of the Lodge. There, they will find a storage crate that contains all of their companion's belongings. This includes their attire, allowing players to acquire distinctive clothing in Starfield by allowing characters like Sam Coe to meet their demise.
Starfield is available now for PC and Xbox Series X|S.