Mastering Efficiency: Unleash the Power of a Keyboard Shortcut to Instantly Launch the Windows Snipping Tool
Capture anything on your screen effortlessly! Learn how to quickly open the Windows Snipping Tool with a handy keyboard shortcut Don't miss out on this essential tool for capturing and saving important content
Key Takeaways
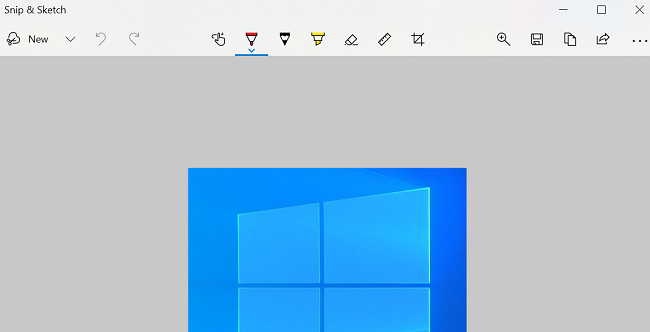
To open the Snipping Tool on Windows 10 or Windows 11, simply press Windows+Shift+S. This powerful tool allows you to capture rectangular region screenshots, full-screen screenshots, screenshots of a specific window, or even freeform screenshots. Additionally, you have the ability to make annotations or drawings on the captured screenshot before saving it.
Snipping Tool vs. Snip and Sketch
: How to Quickly Take a Screenshot on Your PC Using Windows' Snipping Tool.The original Snipping Tool, introduced in Windows Vista, continued to exist in Windows 7 and was eventually replaced by Snip and Sketch in Windows 10. However, despite being replaced, the Snipping Tool remains popular and both the Snipping Tool and Snip and Sketch are commonly referred to as "Snipping Tool."
To add to the confusion, Microsoft merged the legacy Snipping Tool and Snip and Sketch into a new application also called Snipping Tool with the release of Windows 11. The new Snipping Tool features a user interface that resembles the legacy snipping tool but includes all the features of Snip and Sketch.
Technically, Windows+Shift+S will launch a program known as Snip and Sketch on Windows 10, while on Windows 11 it will open the Snipping Tool. Nonetheless, for the sake of consistency, we will refer to it as "Snipping Tool" throughout this article, as that is the term commonly used by most people.
Launch Snipping Tool With a Windows Keyboard Shortcut
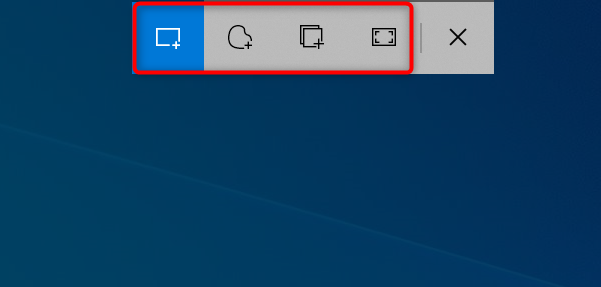
Press the Windows+Shift+S keyboard shortcut on your keyboard to open the pre-installed Snipping Tool on Windows 10 or 11. The screen will darken as an indication that the tool is activated. At the top of the screen, you will find five icons, four of which enable you to select the desired shape for your screenshot.
Here's what clicking each icon does, from left to right:
Rectangular Snip: This is the default option and it captures your screenshots in a rectangular shape.
Freeform Snip: If you'd like to capture screenshots in a freeform way, select this option.
Window Snip: This option captures the entire window of a specific app open on your PC.
Fullscreen Snip: This option allows you to capture your entire screen, including all open windows and the taskbar.
Close Snipping: If you do not want to take a screenshot, click this option to close the tool.
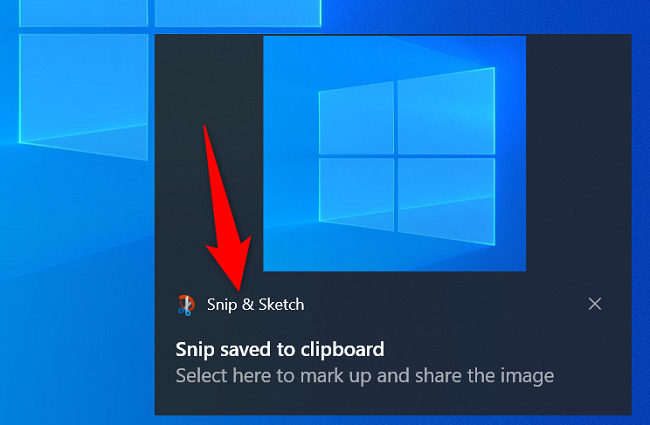
To access all the features of Snipping Tool after capturing a screenshot, simply click on the notification displayed in the lower-right corner of your screen. This will open Snipping Tool and allow you to utilize its functionalities.
Launch Snip and Sketch via the Start Menu on Windows 10
Here are some useful keyboard shortcuts you can use while Snipping Tool is open:
Ctrl+N: Use this to take a new screenshot.
Ctrl+S: To save your current screenshot in your chosen folder and selected file format, press this shortcut.
Ctrl+C: This copies your current screenshot to your clipboard.
Ctrl+P: You can print your screenshot with this option.
And that's how you open Windows' built-in screen capture tool to make and edit your screenshots. Very useful!
Besides Snipping Tool, both Windows 10 and 11 also have other ways to take screenshots. Feel free to use whatever method that's convenient for you.