
Disabling the iPhone Passcode: A Step-by-Step Guide
Enhance your iPhone's security and privacy by learning how to disable the passcode Safeguard your personal data with our easy-to-follow guide No more worries about unauthorized access!
Some Noticeable Information
To disable the passcode, go to Settings, select "Face ID & Passcode", tap "Turn Passcode Off," then enter your current passcode and Apple password to confirm.
Please consider the following revision:
Note that without a passcode, anyone who has physical access to your device can freely use it. It is important to ensure that you are comfortable with this before moving forward.
The passcode on your iPhone serves as a safeguard against unauthorized access, but if you feel that it is unnecessary, you have the option to disable it. Keep in mind that this will make your iPhone accessible to anyone, and while we do not advise it, we will guide you through the process.
Disable the Passcode on iPhone
To turn off your iPhone's passcode, start by launching the Settings app on your iPhone.
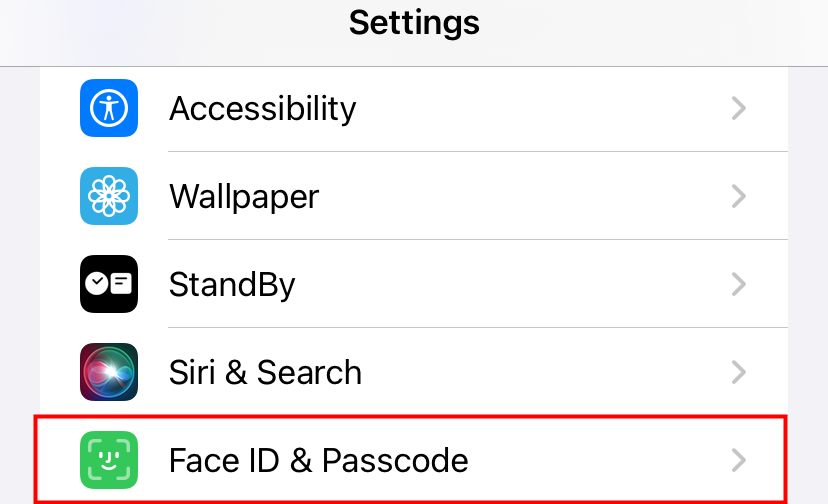
To disable the passcode on your iPhone, you need to have both your current passcode and Apple ID password. These details will be entered in the Settings menu, where you'll find different options based on your iPhone model. Those with an iPhone X or later should tap on "Face ID & Passcode," while earlier models should select "Touch ID & Passcode." If your iPhone doesn't have Touch ID, choose the "Passcode" option.
In our example, we will select the "Face ID & Passcode" option.
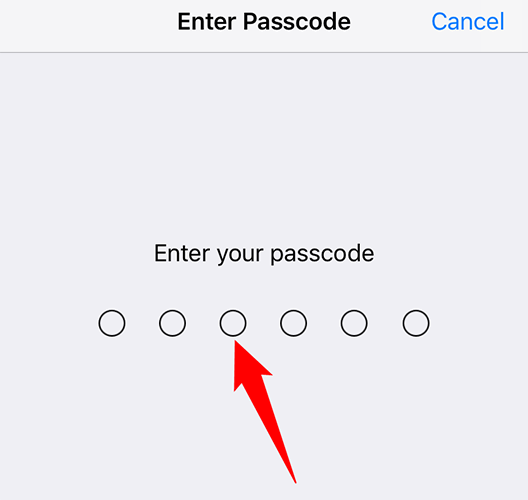
On the "Enter Passcode" screen, enter your current iPhone passcode.
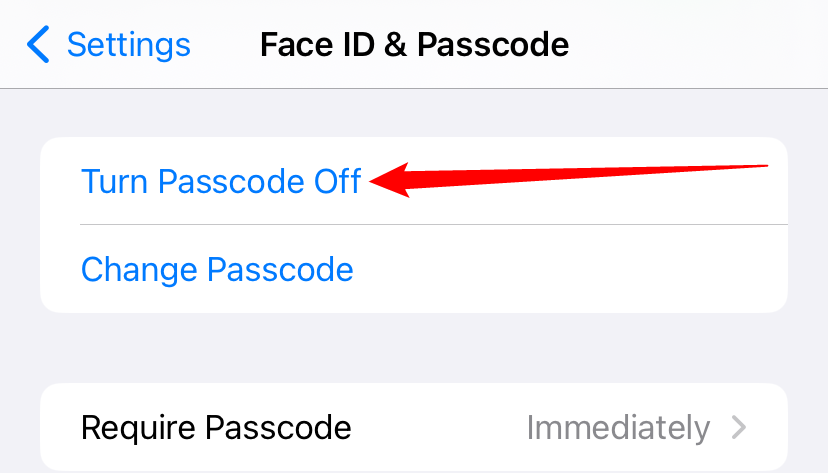
On the following screen, to disable the passcode, tap "Turn Passcode Off."
Tap "Turn Off" in the prompt.
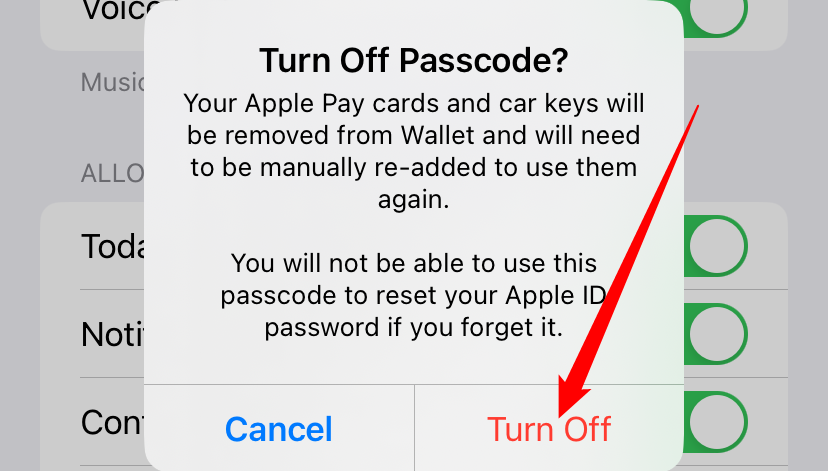
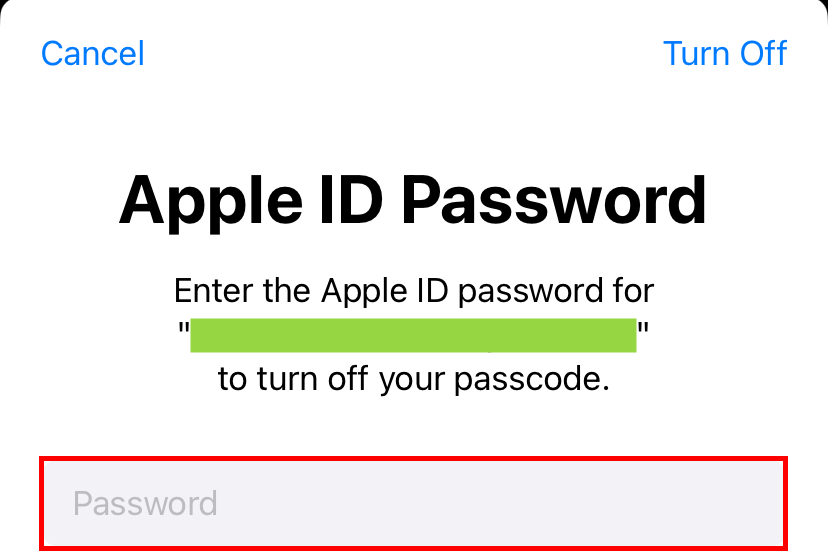
In the "Apple ID Password" prompt that opens, type your Apple ID password and tap "Turn Off."
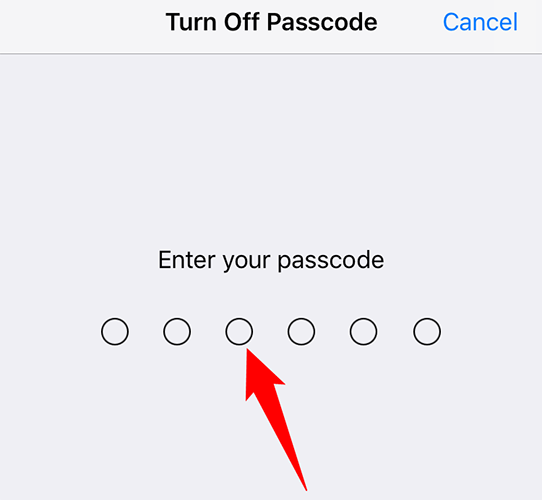
Enter your current passcode on the "Turn Off Passcode" screen to proceed. Please consider the implications of not having a passcode on your iPhone, as anyone with physical access to your device will have unrestricted authority. Ensure you are fully comfortable with this before moving forward.
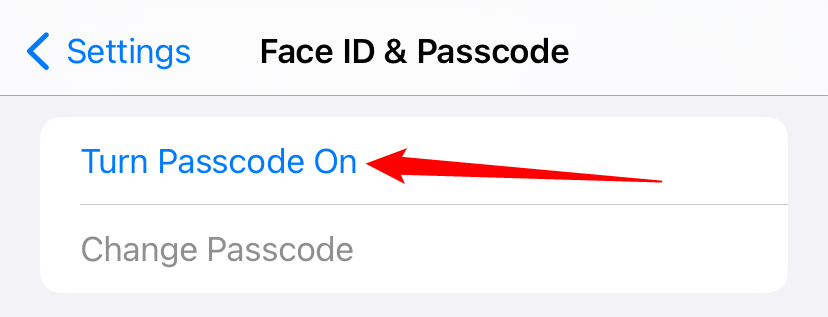
Returning to the passcode settings screen on your iPhone, you will notice a change. The option that previously read "Turn Passcode Off" has now been replaced with "Turn Passcode On," indicating that the passcode has been successfully disabled. Additionally, all the passcode options below are now inactive and appear greyed out. When you are ready to enhance the security of your iPhone once again, simply tap on that button.
And you are all set.
Want to disable Touch ID or Face ID and only use a passcode to unlock your iPhone? There's a way to do that, too.
Editor's P/S
As a Gen Z fan, I have mixed feelings about disabling the iPhone passcode. On one hand, it can be convenient not having to enter a passcode every time I want to use my phone. On the other hand, I'm concerned about the security implications of not having a passcode. If my phone is lost or stolen, anyone could access my personal information and data.
In general, I think it's important to weigh the pros and cons of disabling the iPhone passcode before making a decision. If you're concerned about security, I recommend keeping the passcode enabled. However, if you're willing to take the risk, disabling the passcode can be a convenient way to unlock your phone.


