
Alan Wake 2: Return - Complete Walkthrough Guide
Embark on an enthralling journey in Alan Wake 2: Return 1 - Invitation Unravel the mysteries of Brightfalls as you navigate through eerie locations, encounter intriguing characters like Saga Anderson, solve perplexing puzzles, and uncover the truth behind a chilling murder
Return 1: Invitation is technically the second chapter of Alan Wake 2, but the first chapter is essentially just an interactive cutscene. As players embark on Return 1: Invitation, they will gain a deeper understanding of the mechanics of Alan Wake 2 and what their role as Saga entails.
Throughout this chapter, Cauldron Lake and the adjacent town of Brightfalls are introduced to the players. Although it is a relatively straightforward chapter, there is a substantial amount of investigation and exploration required to advance the storyline.
Go Forward
Check the Map
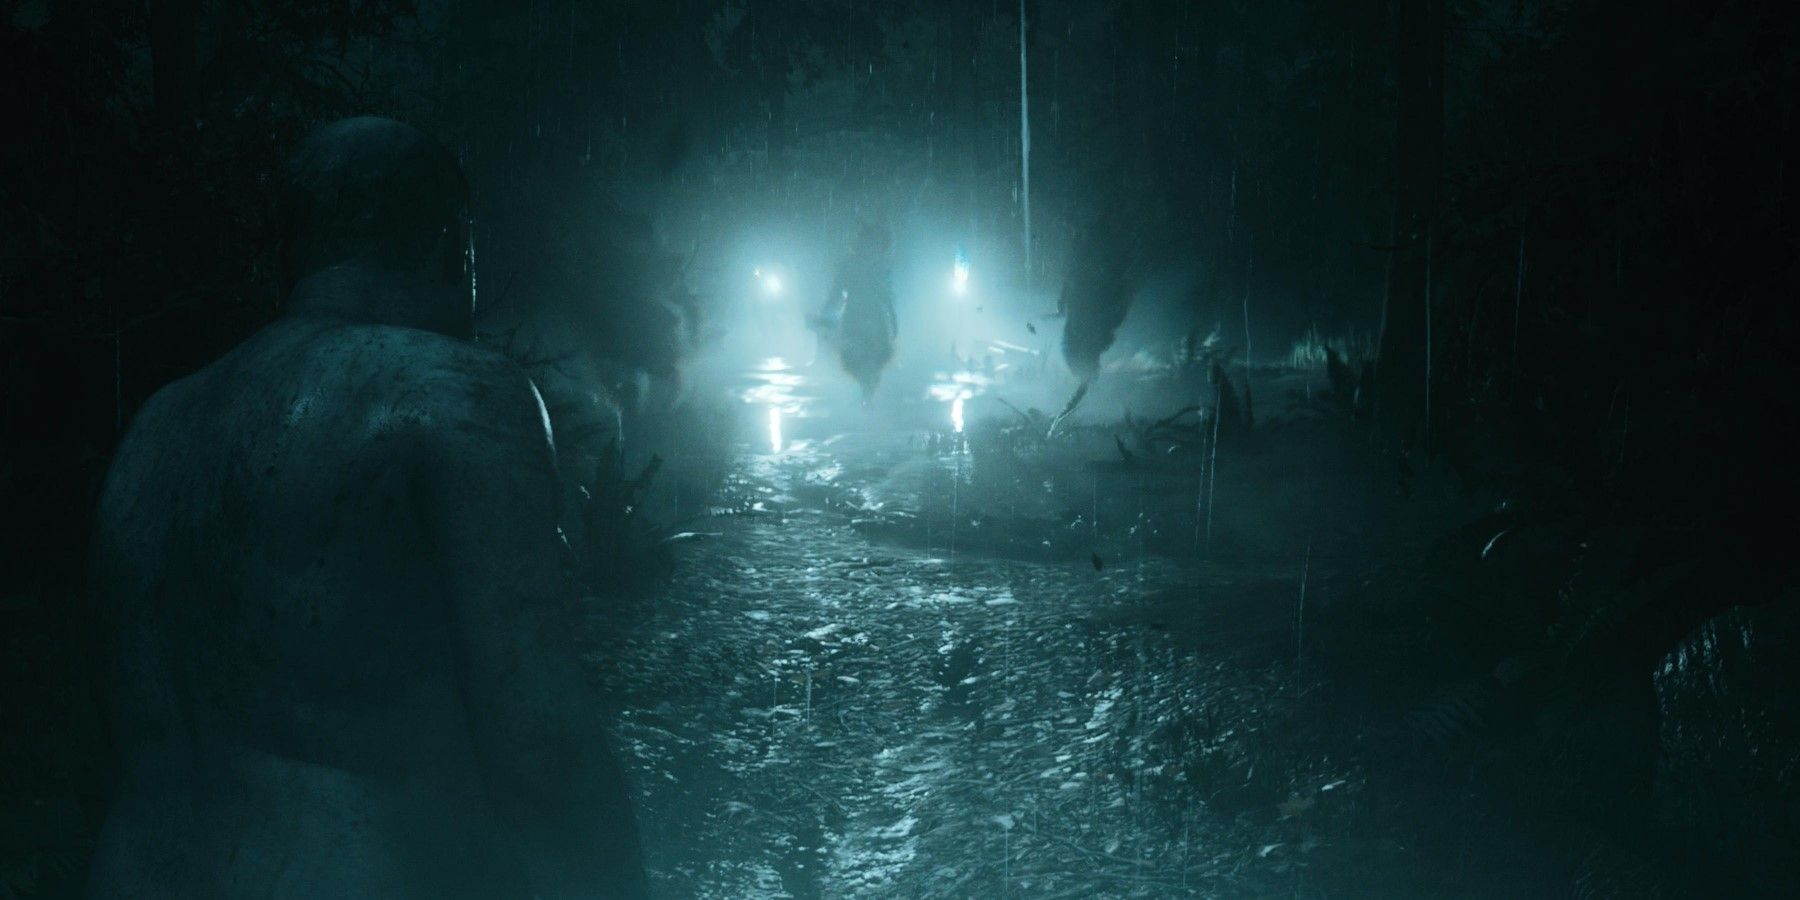
After selecting a difficulty level and adjusting other settings, a cutscene will initiate. Once Alan finishes speaking, players will assume control of a mysterious man who appears to be without clothing. The only available option for players is to simply move forward along the path ahead. Eventually, players will come across a group of shadowy figures. Although players can attempt to flee, escaping is not possible. This action triggers a cutscene, signaling the end of the prologue.
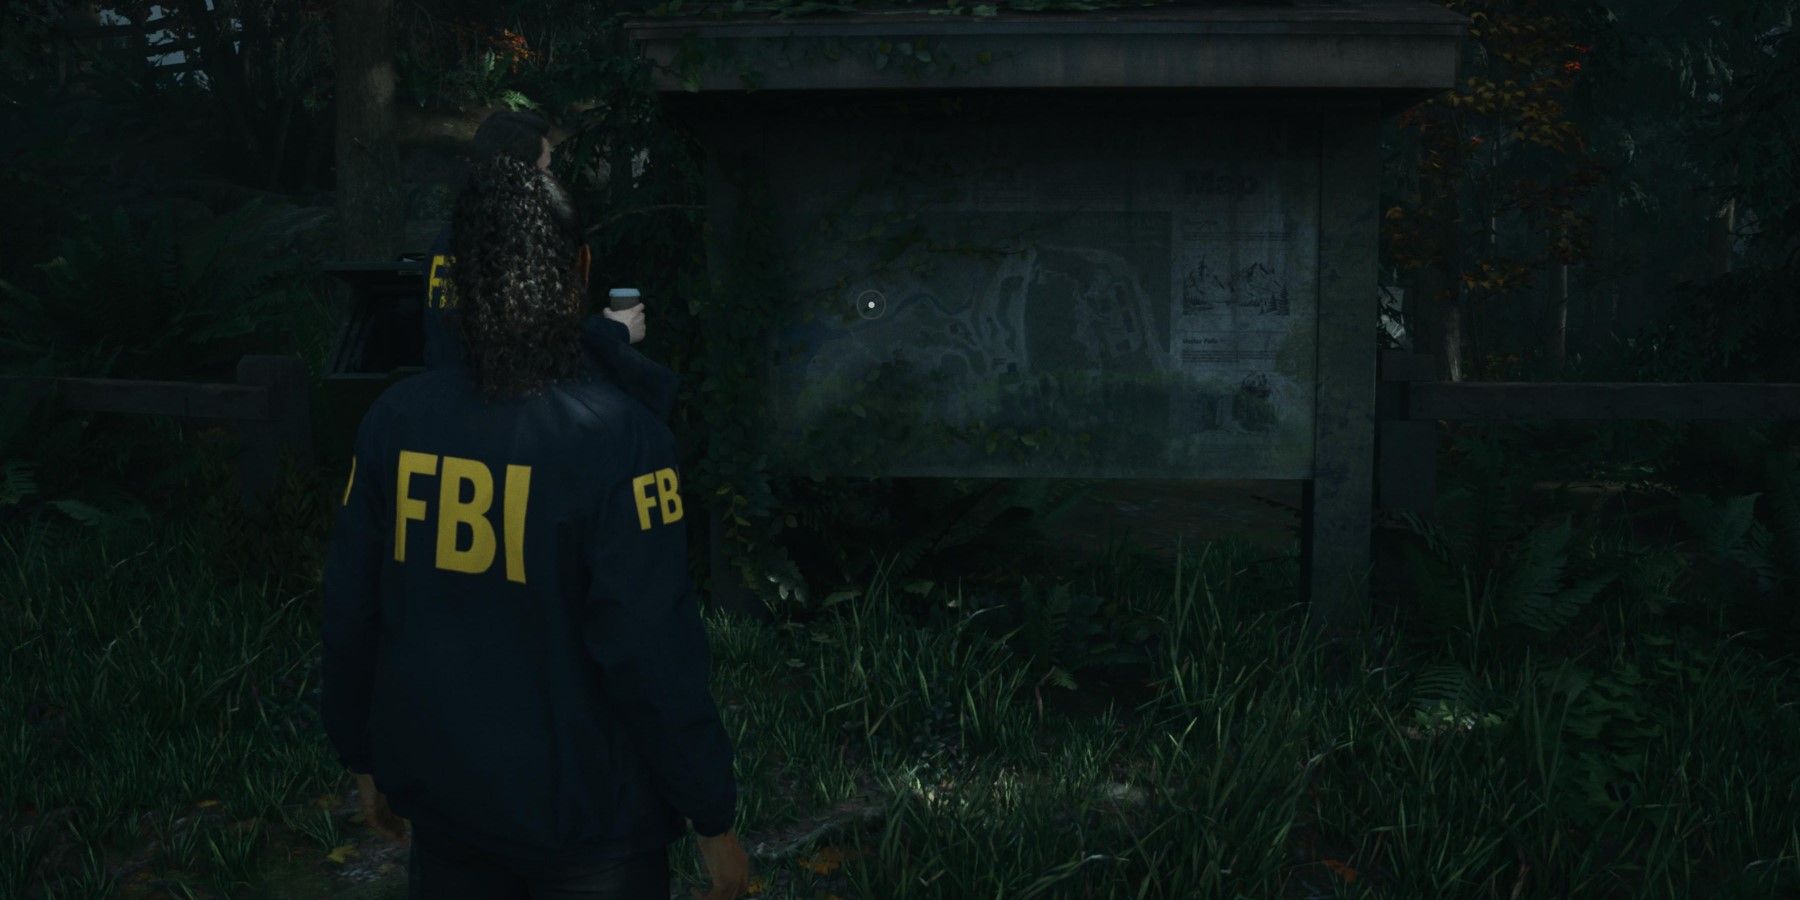
Once the introductory cutscenes featuring Saga Anderson and her partner Alex Casey conclude, players will assume control of Saga. The initial objective is to approach the map, granting players constant access to an area map whenever needed. Additionally, accomplishing this task will earn players an achievement/trophy.
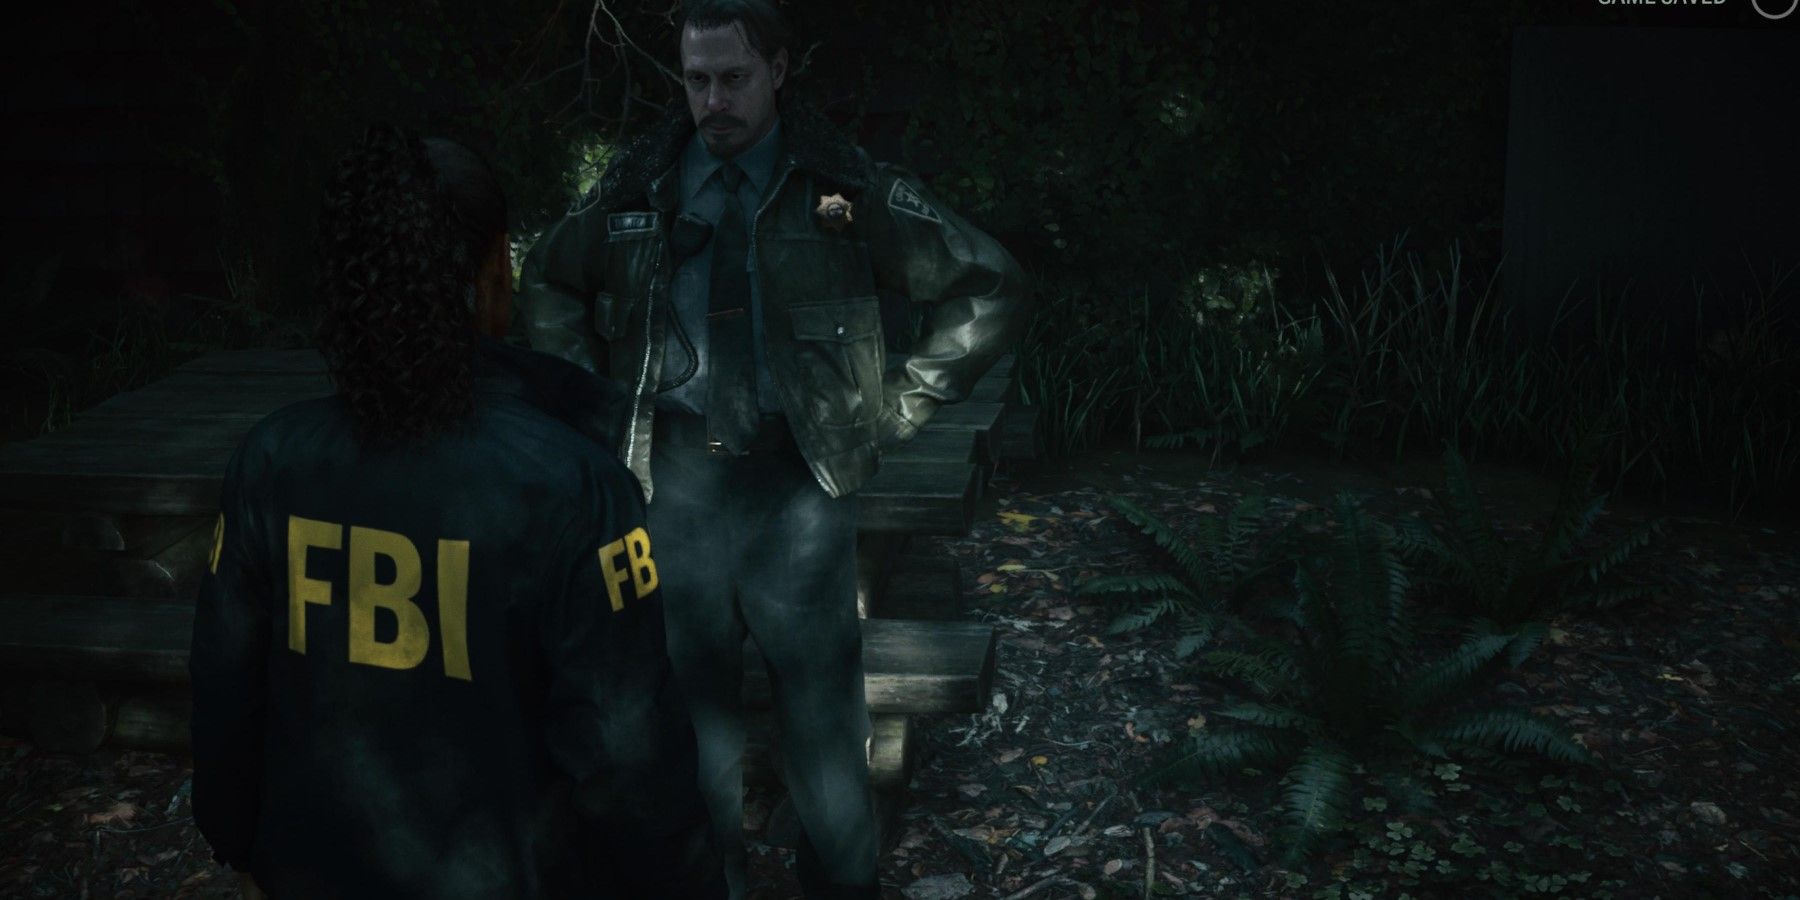
Follow the sound of voices and approach Deputy Mulligan in order to engage in a conversation and advance the storyline. Within this dialogue, players will be presented with two options for response. It is important to note that selecting the bolded option will drive the plot forward, whereas choosing the non-bolded option will provide players with additional supplementary information.
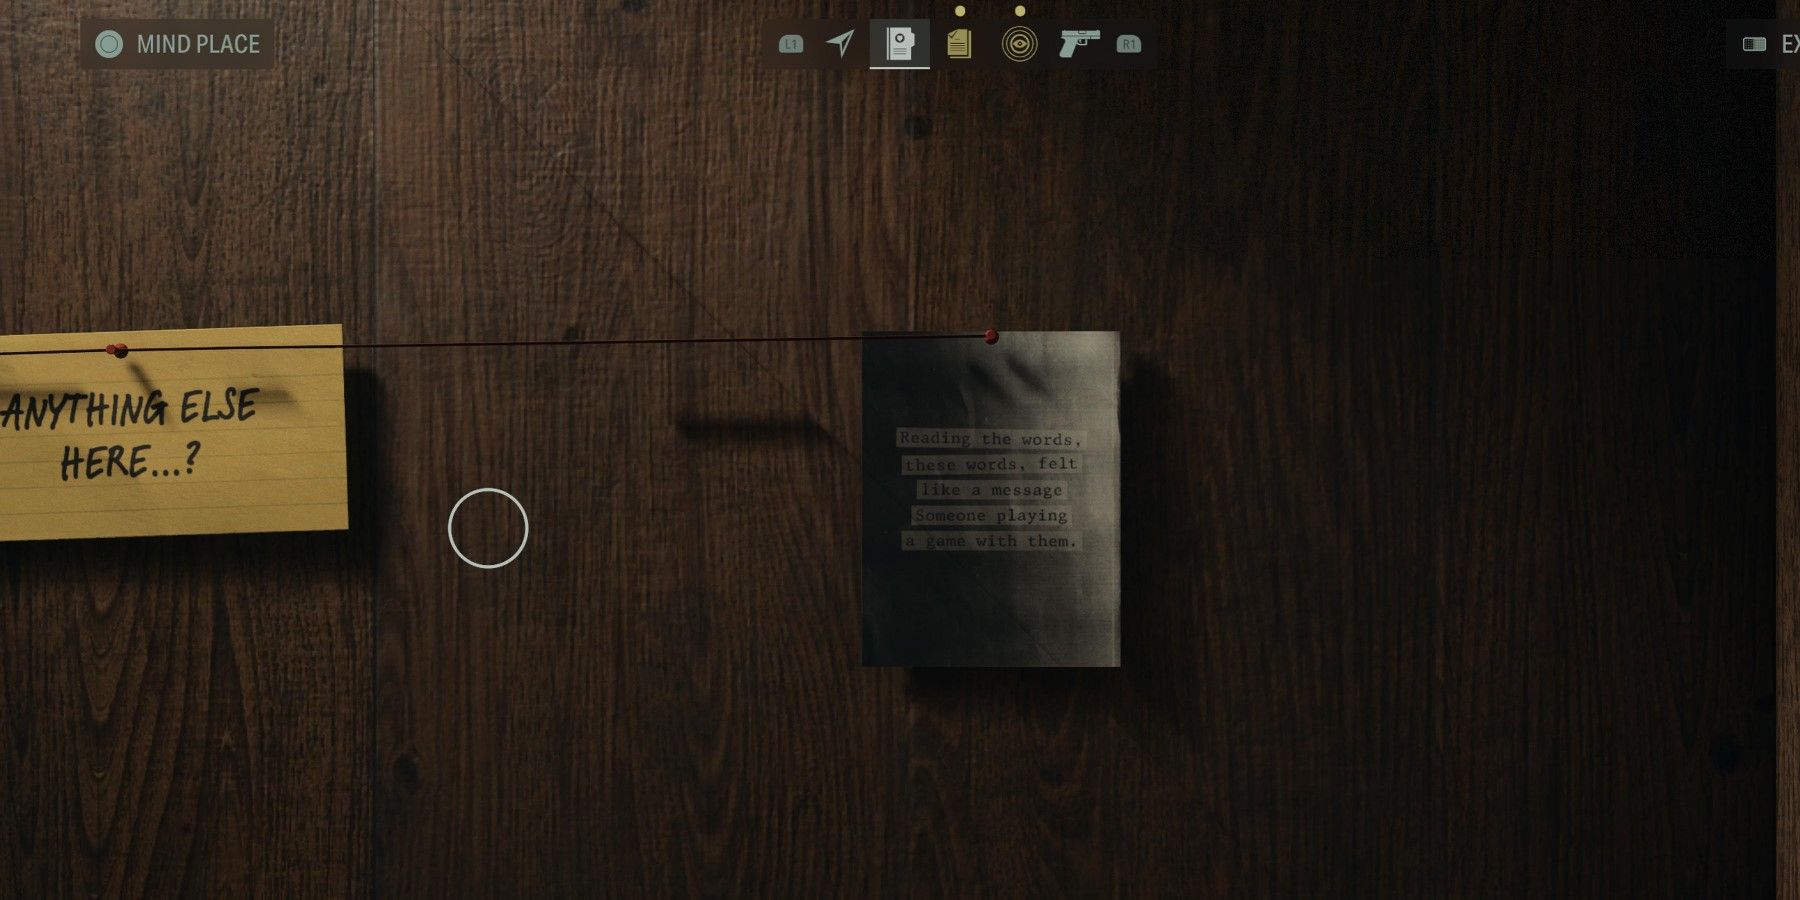
The Mind Place
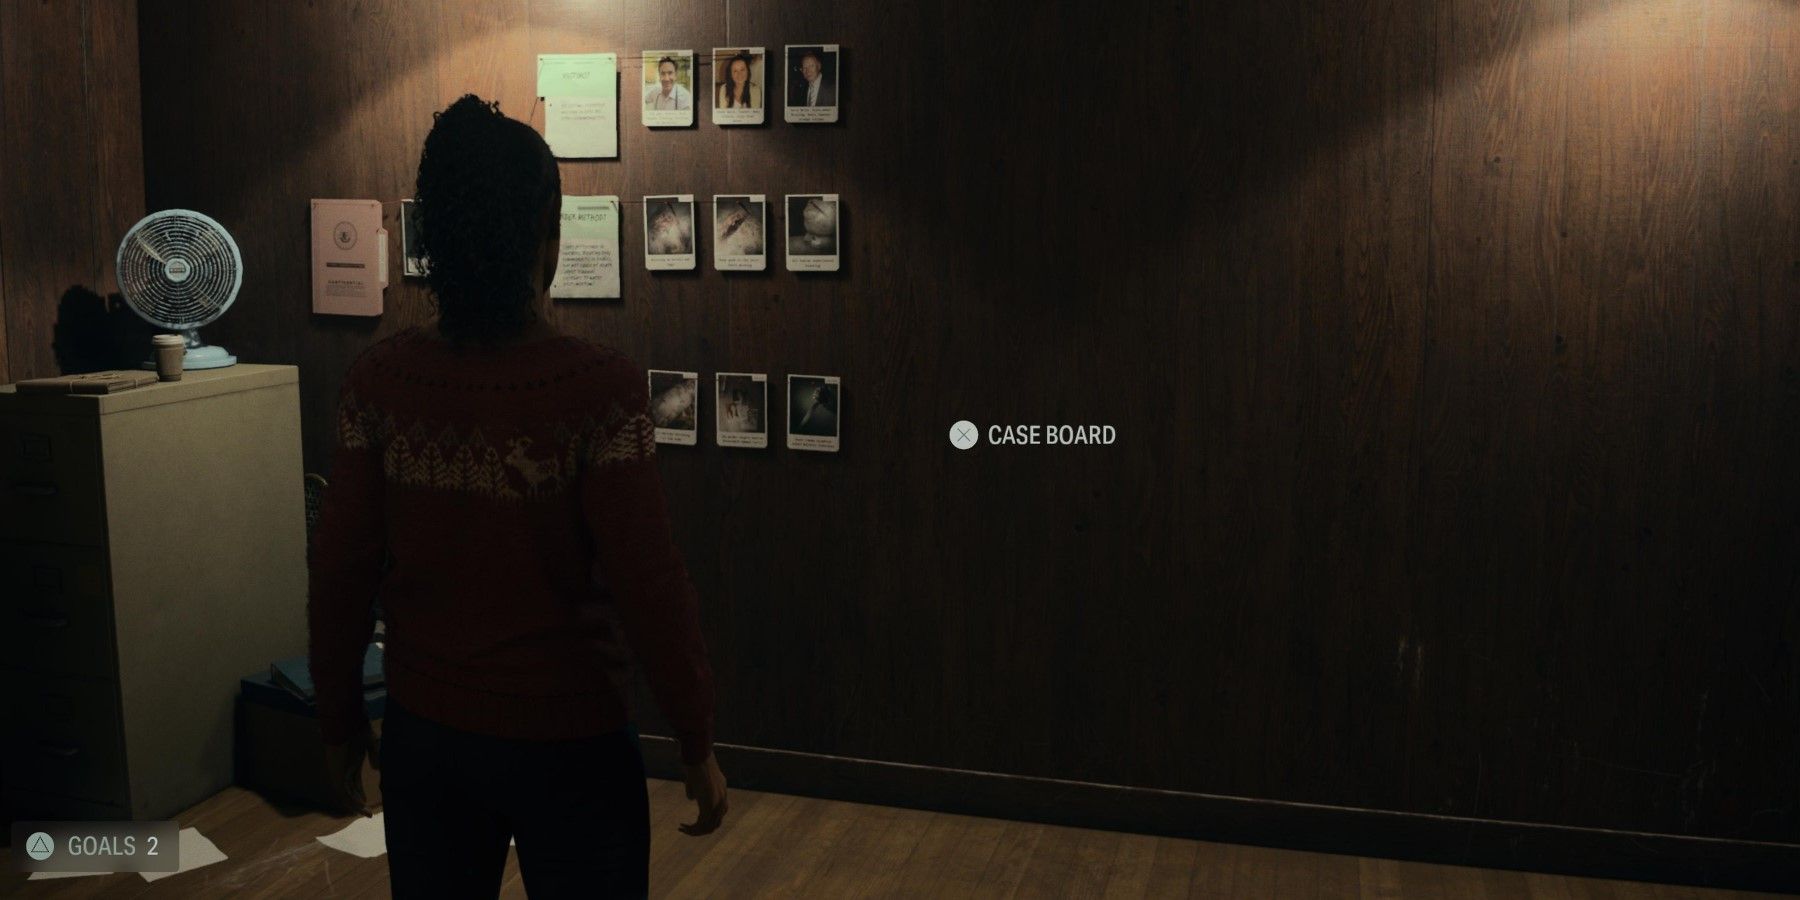
After concluding the conversation with Deputy Mulligan, proceed by passing through the gap in the fence. Prior to progressing any further, players will need to go through a tutorial for Saga's Mind Place. This distinct location can be accessed at any given time, enabling players to review all the evidence they have gathered thus far.
Find Thorton at the General Store
As you head towards the General Store, keep an eye out for a set of stairs on your right. On the ground, you'll find an old newspaper that can be read by players. Once done, continue through the forest. Eventually, you'll reach a set of broken stairs. Jump down and examine the nearby sign for more information about Mirror Peak.
Open your map and head west to find another sign with details about Mortar Falls. Turn around and go left to discover a lunchbox containing Manuscript Fragments. These fragments can be used to upgrade weapons, so it's important for players to be on the lookout for more of them.
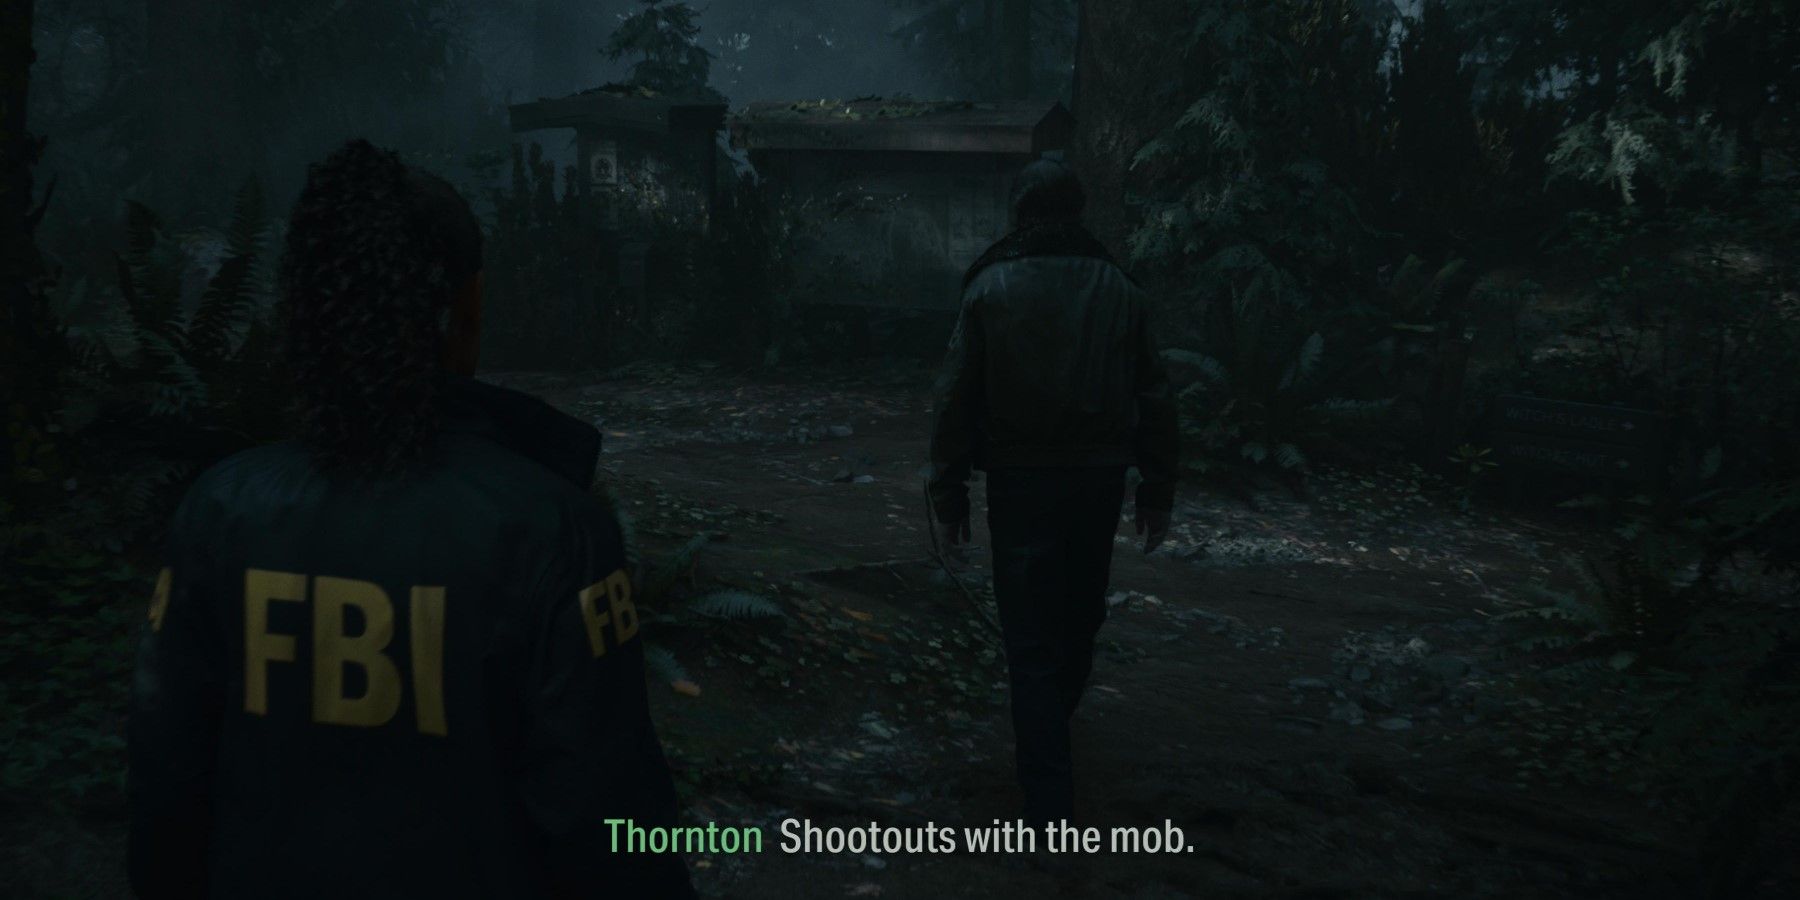
Return to Casey's location and proceed along this path in the forest. As soon as players come across a sign indicating the direction to the General Store, they can be certain they are heading in the correct direction. Approach Thorton and trail behind him until reaching the crime scene.
Examine the Body
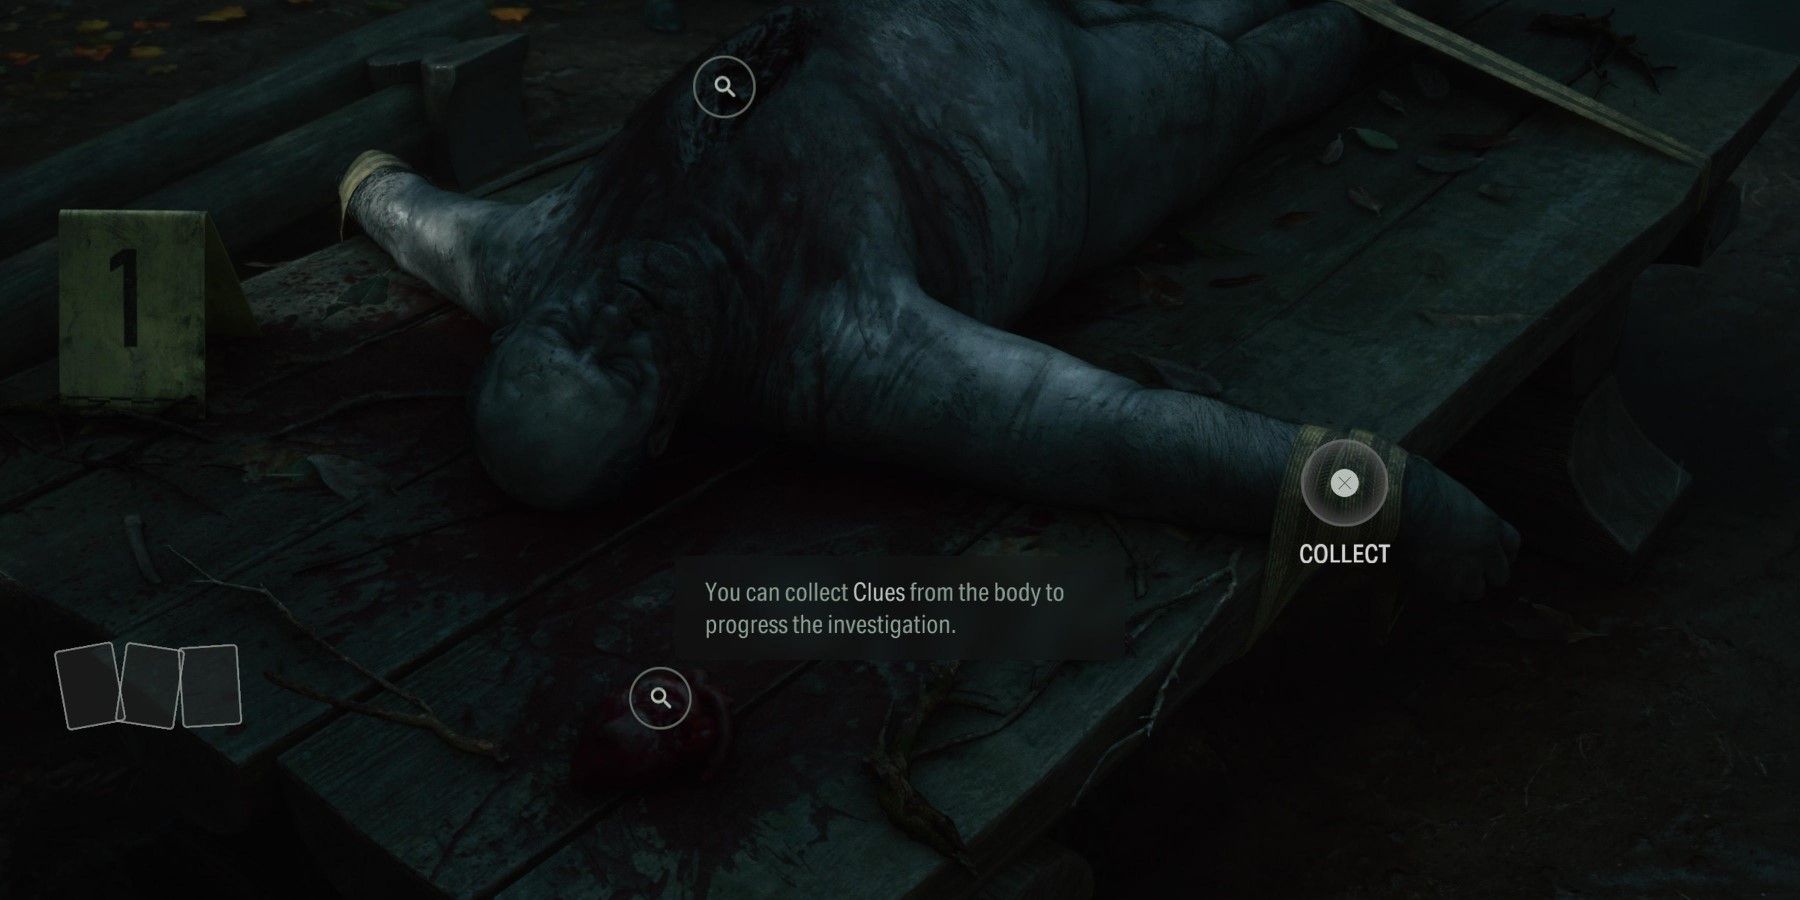
Upon reaching the deceased, players will be presented with the opportunity to conduct an examination. This action will reward them with a Key Image that can be positioned on the Mind Place of the game board. To familiarize themselves with the process of placing objects on the board, players can refer to the case board for a concise tutorial. Once this tutorial is complete, players can leave the Mind Place and proceed to investigate the body for valuable clues.
Once the three clues have been located, return to the Mind Place and position the three photos on the right side of the question. In order to advance the investigation, players must uncover evidence pertaining to both the killers and the victims.
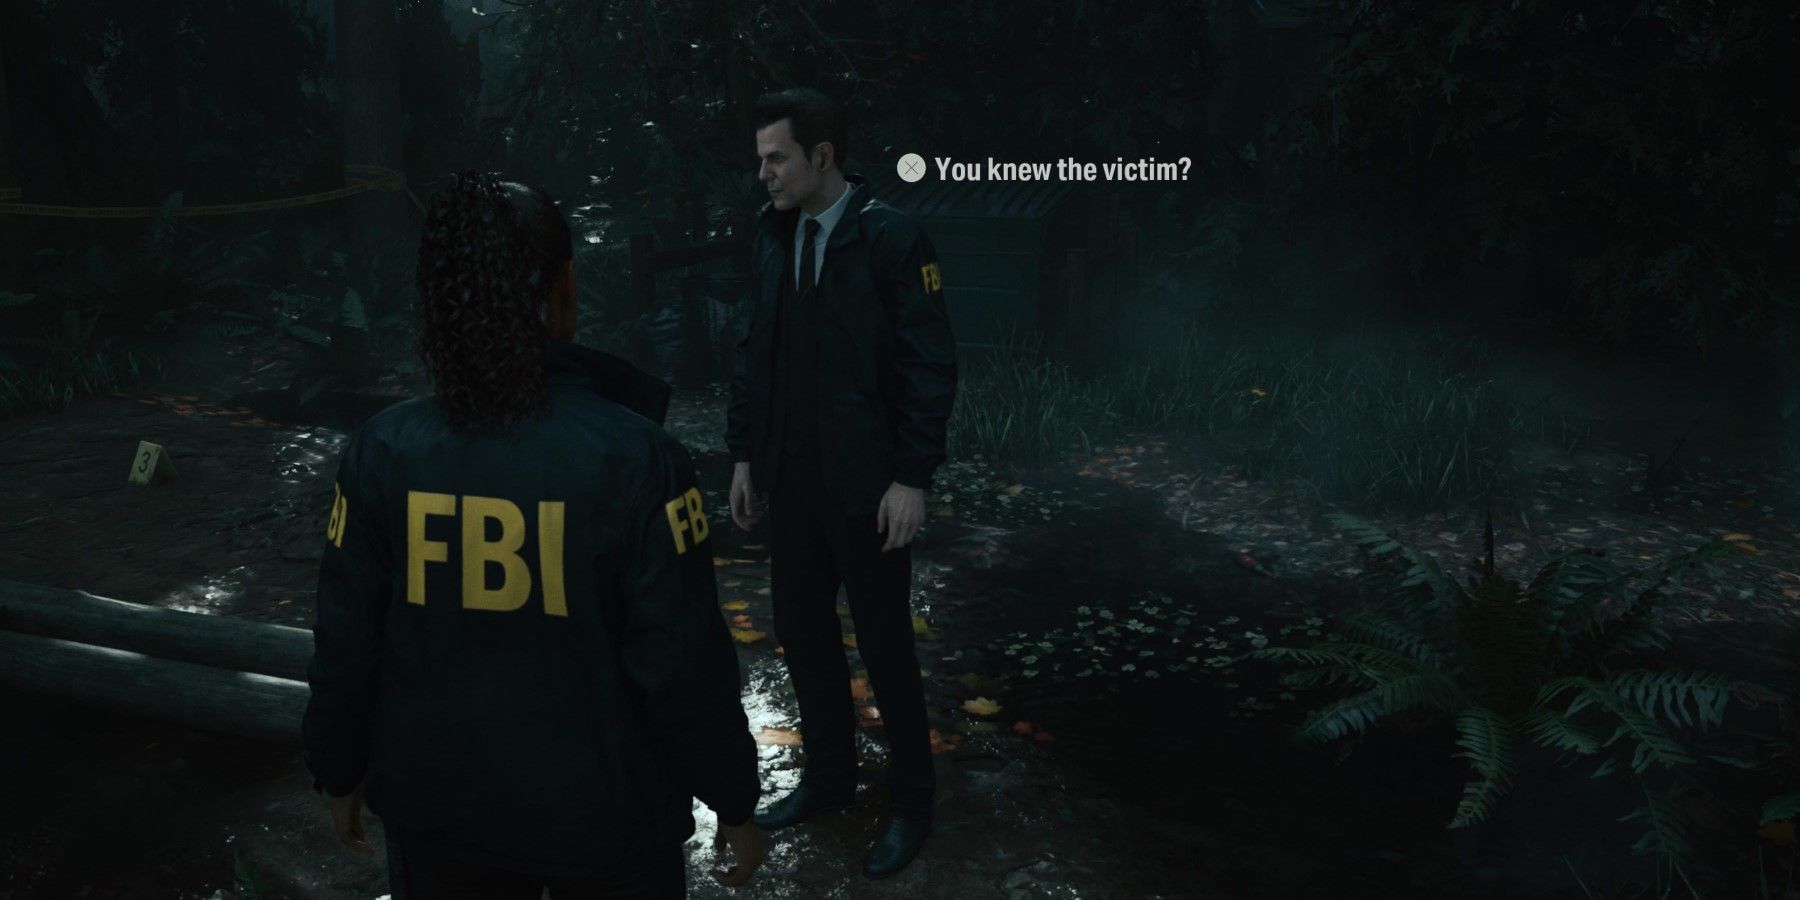
Players must first examine any card with a number and speak to Thorton to gather information about the latest victim. Additionally, they should talk to Casey to obtain another piece of evidence and learn more about the victim, Nightingale.
Once the section regarding the victim and killers is complete, players should search for two additional pieces of evidence near the cooler where empty beer bottles are located. These pieces of evidence will help determine whether the murder was premeditated or spontaneous.
After collecting all the necessary evidence, players should go to the table in the center of the room to start profiling Nightingale. This process will provide another piece of evidence, which should be placed on the board. Finally, players should exit the Mind Place.
Go to the Lake
Saga can infer that Nightingale originated from the lake, but she will need to personally visit the location to gather more information. Accompany Casey, but remain vigilant for a pathway leading up to the Witch's Hut. Cross the bridge and open a cooler to discover two Battery Packs. Take a right turn and proceed ahead to stumble upon another lunch box containing Manuscript Fragments.
Afterwards, return to Casey and continue following him towards the lake. Along the way, players will notice a sign featuring a strikingly familiar woman. Just ahead of the sign, the path may seem obstructed. Approach the obstruction and inspect it to uncover tracks and a paper. Examining both will advance the narrative.
Once the cutscene concludes, players should head back to the Mind Place and affix the evidence onto the board. Additionally, players can reexamine Nightingale's profile to gather further information and obtain an additional piece of evidence.
If players have come across any lunch boxes, they can place corresponding photos on the evidence board to keep track of the number collected. Although unrelated to the main storyline, this serves as an enjoyable method of monitoring collectibles.
Return to Thorton
Upon the realization that something had been inserted into Nightingale, return to the crime scene and speak with Thorton. He consents to transferring the body to the morgue and provides players with a key that grants them access to a shortcut leading back to the parking lot.
While making your way back to the parking lot, approach the FBC Station. Ascend the ledge situated behind it to uncover yet another lunch box. Proceed to accompany Casey as he leads the way towards the parking lot.
Use the key to unlock a second gate further up the path. Proceed towards the car and engage with it to initiate a cutscene. When the cutscene concludes, players will find themselves in Brightfalls, a town. Head towards the map located directly ahead and slightly to the right. Interacting with it will activate the town's map, allowing players to determine their current location.
Brightfalls
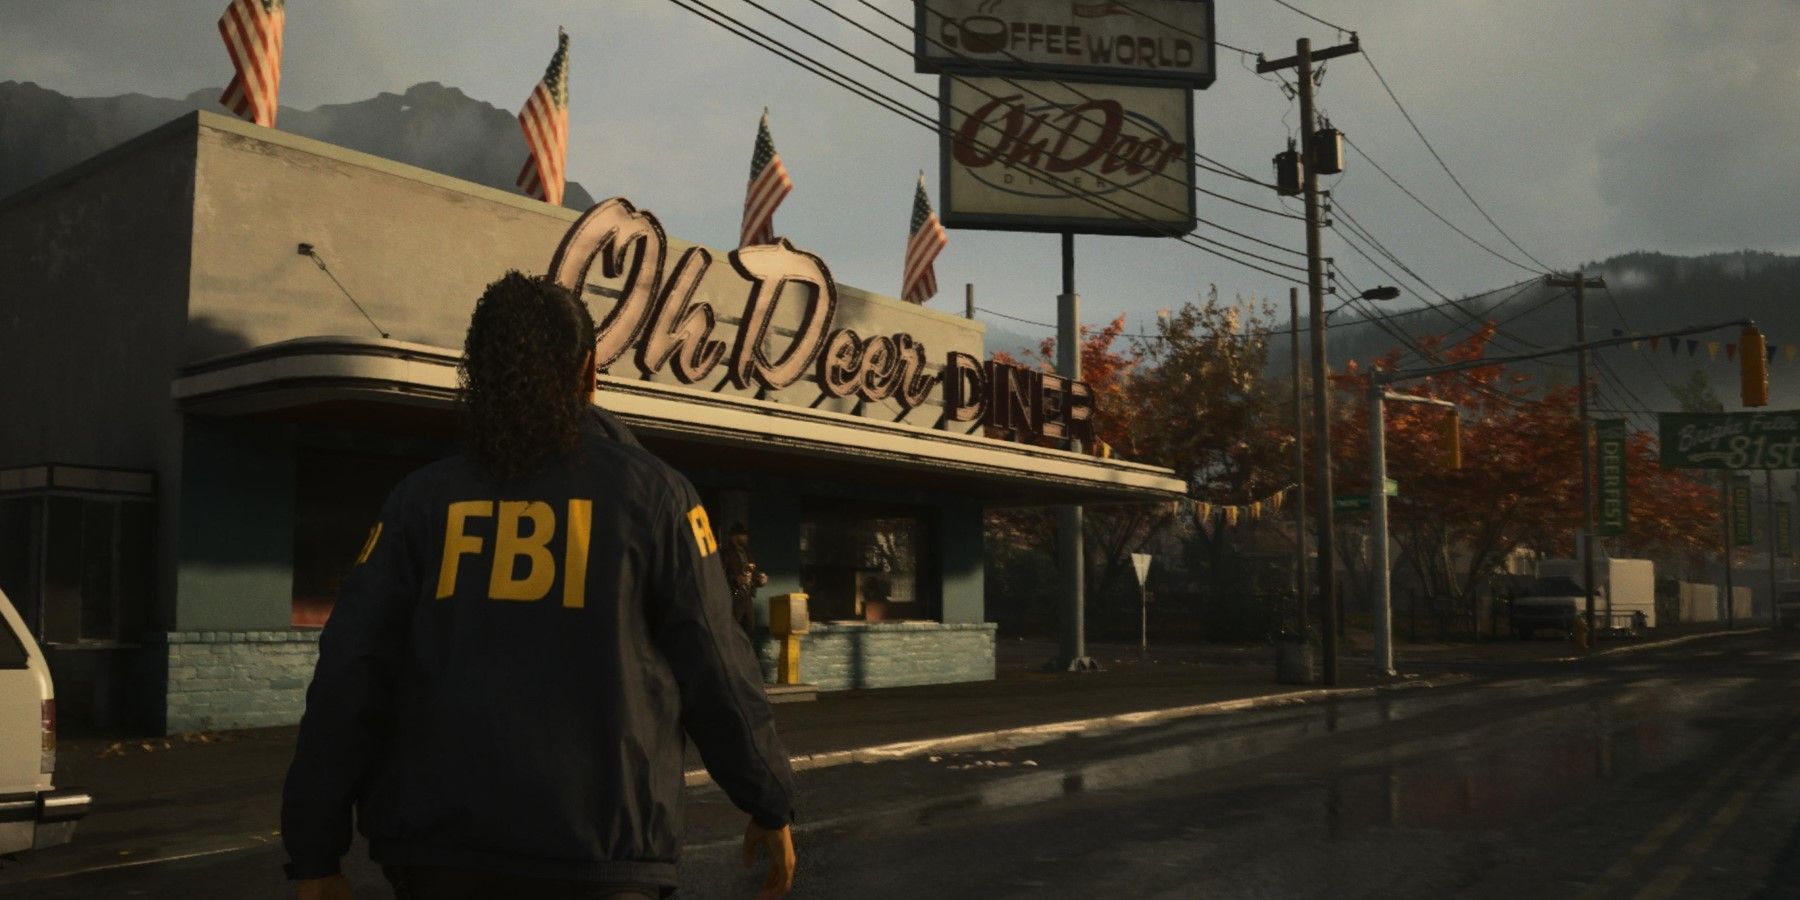
The Oh Deer diner can easily be spotted with its prominent giant sign. On approaching, engage in a conversation with the sheriff. Then, head inside the diner and speak to the couple situated on the right side. Upon exhausting all possible questions, an additional profiling option for the Bookers in the Mind Place will be unlocked. After profiling them, engage in conversation with the couple once more.
Pick up the necklace on the table to initiate a cutscene showcasing a character from the previous game. Prior to departing the diner, revisit the Mind Place and commence the investigation concerning the Cult of the Tree. Subsequently, exit the diner and engage in a conversation with the sheriff. Accompany him to the station where the morgue is situated.
Examine the Body Again
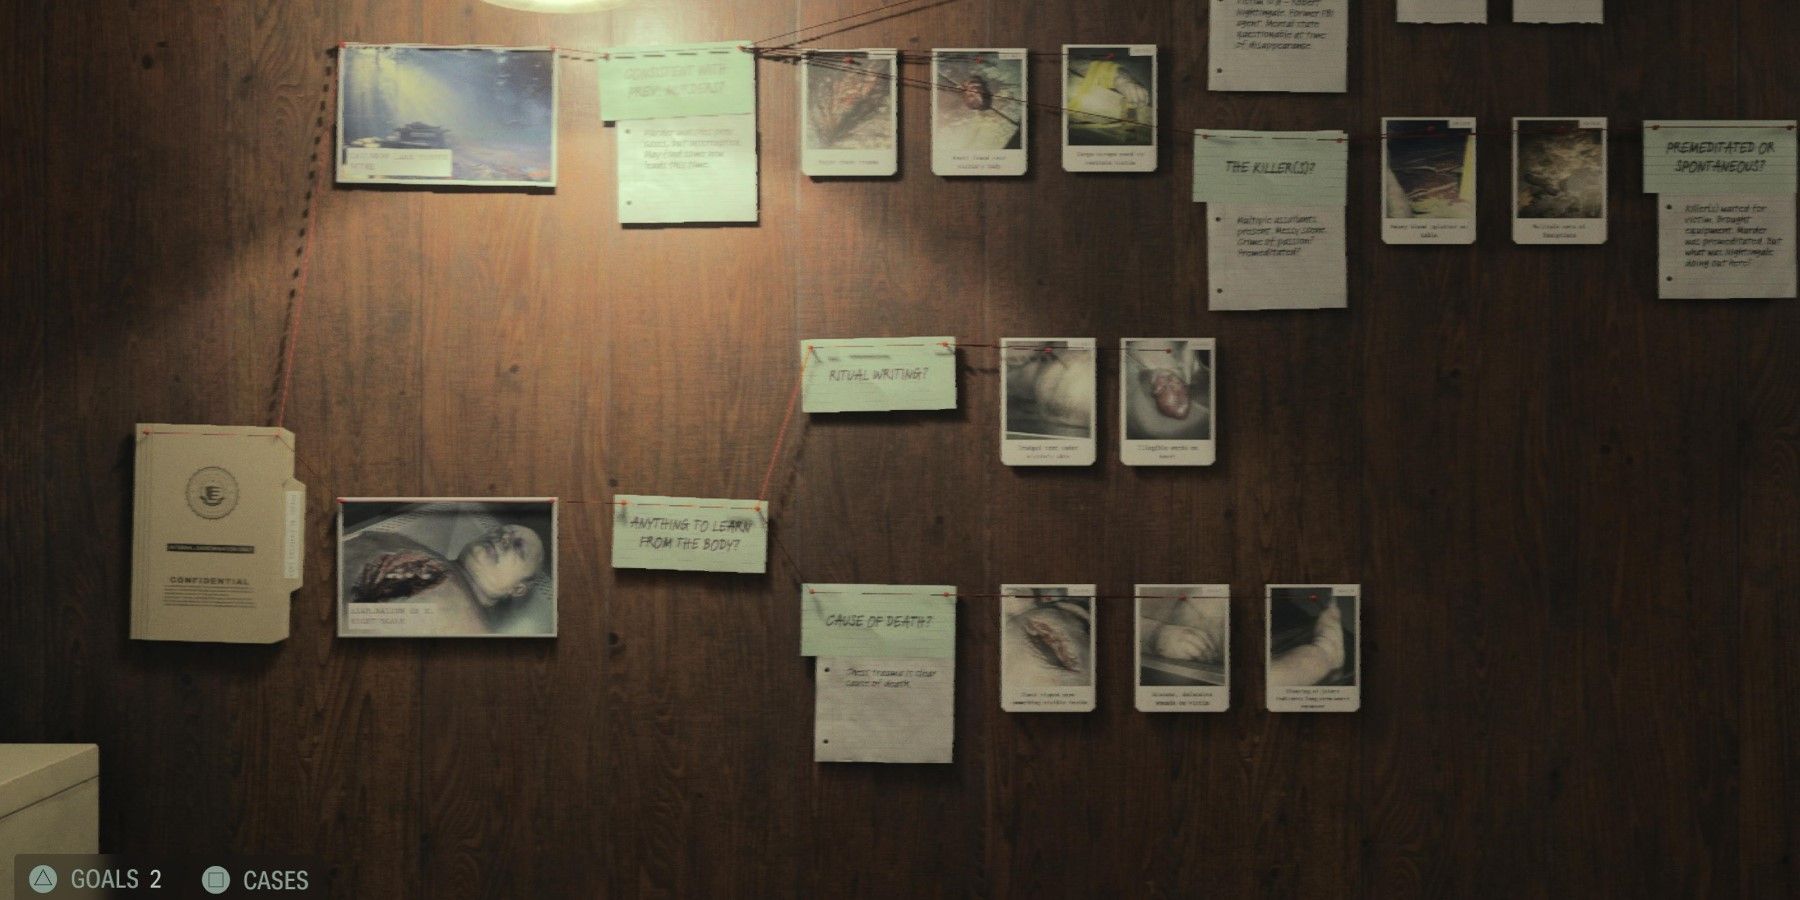
To gather evidence on the murder case, players can examine the heart, head, wound, shoulder, and hand of the corpse. Once all five pieces have been collected, head back to the Mind Place. Switch to the Murder at Cauldron Lake case and arrange the evidence as shown in the screenshot above. Leave the Mind Place and interact with the corpse to initiate a cutscene.
Find the Gun

Players must swiftly move towards the light to avoid instant death if caught by Nightingale. They should remain in the safety of the light until Nightingale retreats into the adjacent room on the left. Then, they should proceed towards the doorway on the right with the exit sign and proceed down the hallway towards the location of the firearm on the floor. Once the gun is retrieved, Nightingale will gradually approach. It is crucial to shoot at him until he disappears, which will trigger a cutscene.
Talk to Casey

Both Casey and Saga are understandably shaken by Nightingale's sudden rampage. Begin by conversing with Casey and then retrieve the manuscript page from one of the deceased deputies. Engage in another conversation with Nightingale and proceed to the Mind Place in order to properly place the newly obtained evidence. Once all the evidence has been positioned, speak to Casey once more. Collaborate with him to devise a plan to return to Cauldron Lake, and follow Casey out of the morgue. Lastly, head back to the car to trigger a cutscene that concludes the current chapter.
Alan Wake 2 is available now on PC, PS5, and Xbox Series X/S.


