
7 Foolproof Solutions to Restore the Missing Wi-Fi Option on Your Windows PC
Discover effective solutions to restore the missing Wi-Fi option on your Windows PC with these 7 simple fixes Restart, troubleshoot, update drivers, modify settings, and more to resolve the issue efficiently
Key Takeaways
The Wi-Fi option may be missing from your Windows PC due to a temporary glitch, misconfigured services, or a recently installed Windows update.
Before diving into extensive troubleshooting, it is advisable to restart your Windows PC to eliminate any potential minor issues.
In case a computer restart doesn't resolve the problem, you can proceed with additional troubleshooting measures. These may include disabling and enabling the Wi-Fi driver, utilizing the built-in troubleshooter, updating drivers, modifying the status of important services, or reverting a recent Windows update.
If you're experiencing the frustration of not being able to connect to the internet on your computer, specifically due to a missing or malfunctioning Windows Wi-Fi interface, we are here to provide assistance. Please keep in mind that the following troubleshooting steps focus solely on resolving issues related to the Wi-Fi interface on your Windows PC, rather than addressing any problems between your laptop or PC and the local network. If you are able to access the Wi-Fi menu on your PC, choose a network, and enter the password, but still cannot establish a connection, we suggest moving ahead with these Wi-Fi troubleshooting suggestions.
1. Restart Your Computer
In case the Wi-Fi option on your Windows PC disappears, the initial step you should take is to restart your computer. By doing so, any temporary bug or glitch that may be causing the issue will be resolved.
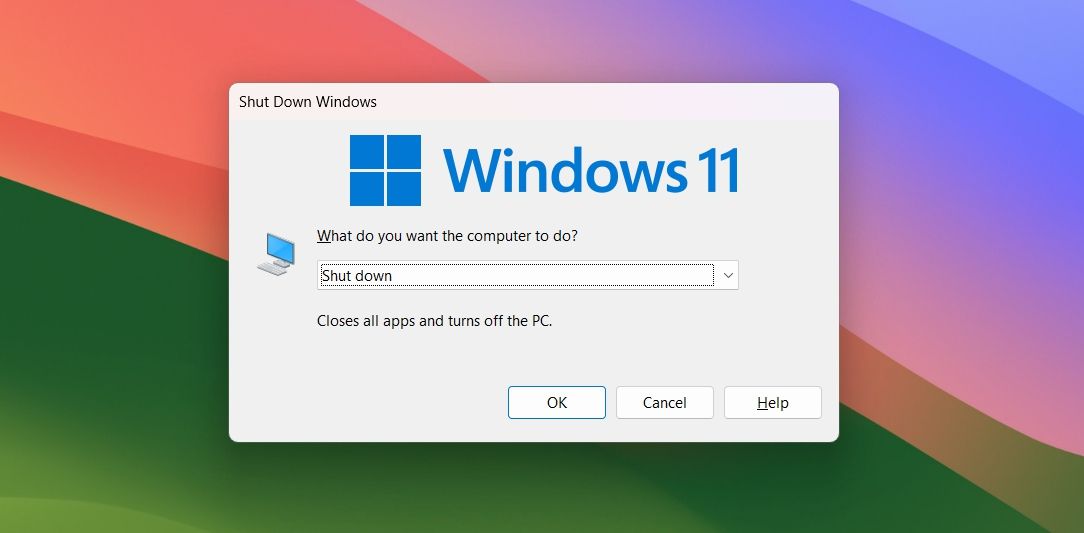
To restart your computer, press the Alt+F4 key together, choose "Restart" from the drop-down menu and click "OK."
After restart, check if the Wi-Fi option appears. If not, try the next solution.
2. Check for a Physical Switch
Some laptops, particularly those intended for government and corporate purposes, feature a physical switch for the Wi-Fi connection. Not all laptops have this switch, but it provides a secure means of disconnecting from a network, rather than relying on software controls. While most individuals may not utilize this switch in their daily lives, it proves essential for those working in environments where the Wi-Fi must be disabled at a hardware level. If you encounter Wi-Fi issues that cannot be resolved through other troubleshooting methods, it is wise to inspect your laptop's surfaces and edges for this kill switch and verify that it has not been unintentionally enabled.
Laptops may also be equipped with a dedicated key to manage Wi-Fi. In the event that you unintentionally press this key, it can lead to confusion regarding the functionality of your Wi-Fi. It is important to note that there is no standardized key for this purpose, as it varies among different laptop brands. If you are uncertain about which key to press, start by searching for a key featuring an "airplane" or "Wi-Fi" icon.

Aman Kumar
If that doesn't work, press that key in combination with the "Fn" key on your laptop.
3. Run the Network and Internet Troubleshooter
To troubleshoot Windows Wi-Fi problems, you can utilize the built-in troubleshooting tool which can effectively identify and fix issues detected by Windows. Here's how you can run this troubleshooter: Open "Settings" by pressing Windows+i, choose "System" from the left sidebar, and then click on "Troubleshoot" in the right pane. Finally, click on "Other troubleshooters."
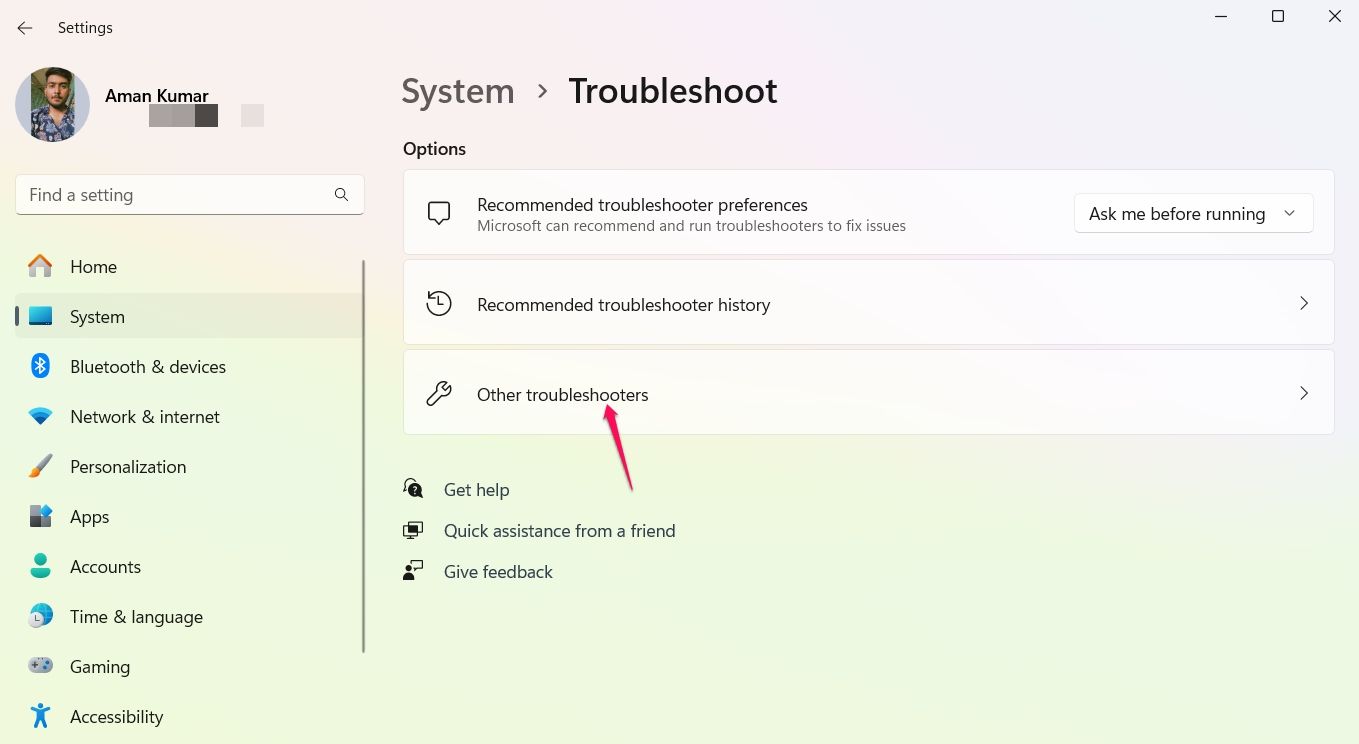
In the window titled "Other troubleshooters," you will find a collection of troubleshooters designed to assist you in various scenarios. As you are experiencing difficulties with your connection, locate the option labeled "Network and Internet" and click on the "Run" button beside it.

The troubleshooter window will be displayed and will scan your system for any network issues. If any issues are detected, it will attempt to resolve them automatically. In the event that no problems are found, there is no need to worry; we have a wealth of tips available to help you proceed with the process.
4. Disable and Enable the Wi-Fi Driver
The software responsible for enabling your device to establish a wireless connection is known as the Wi-Fi driver. In the event of a temporary bug or glitch, it is possible for this driver to be impacted, which may result in the Wi-Fi option being inaccessible on your computer.
To resolve this issue, follow these steps:
1. Access the "Start" menu and search for "Device Manager".
2. Open the Device Manager from the search results.
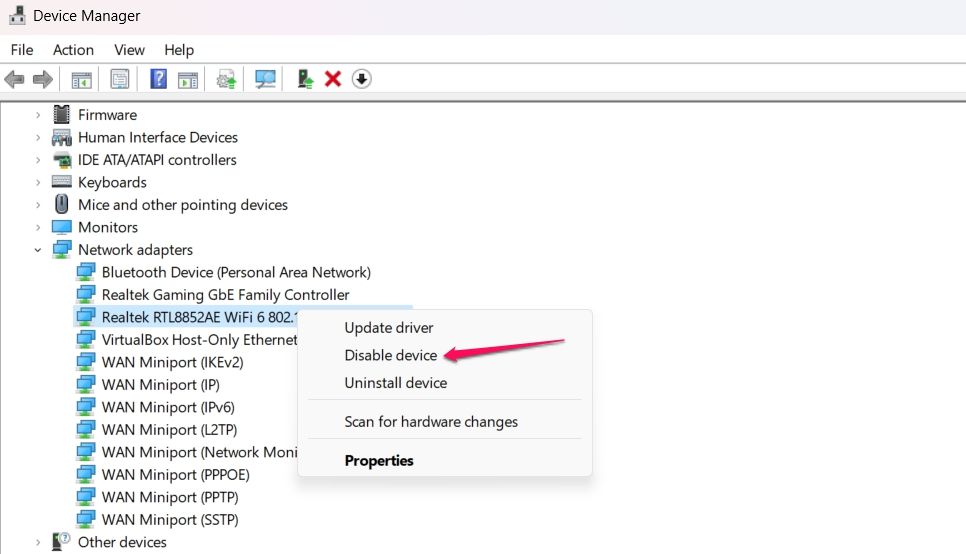
3. Locate and double-click on the "Network adapters" category.
4. Right-click on your Wi-Fi driver and select "Disable device."
Wait for a few seconds, and then right-click your Wi-Fi driver again and choose "Enable device."
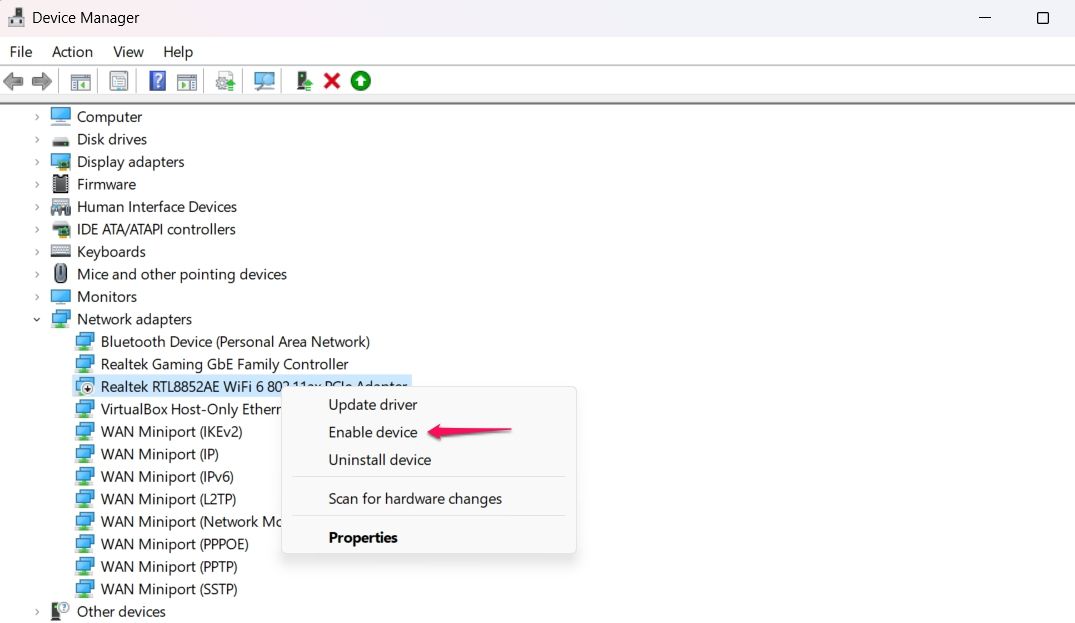
Now, check if the Wi-Fi option appears. If not, continue with the guide.
5. Scan for Hardware Changes
Did the Wi-Fi option disappear following an update to the network driver or a computer reset? If so, it is probable that Windows was unable to recognize the modifications or restore the correct settings.
To detect any modifications made to your network adapter, you will need to employ the Device Manager. Follow these steps:
1. Launch the "Device Manager" and access "Network adapters."
2. Proceed by clicking on "Action" from the top toolbar.
3. Choose the option "Scan for hardware changes."
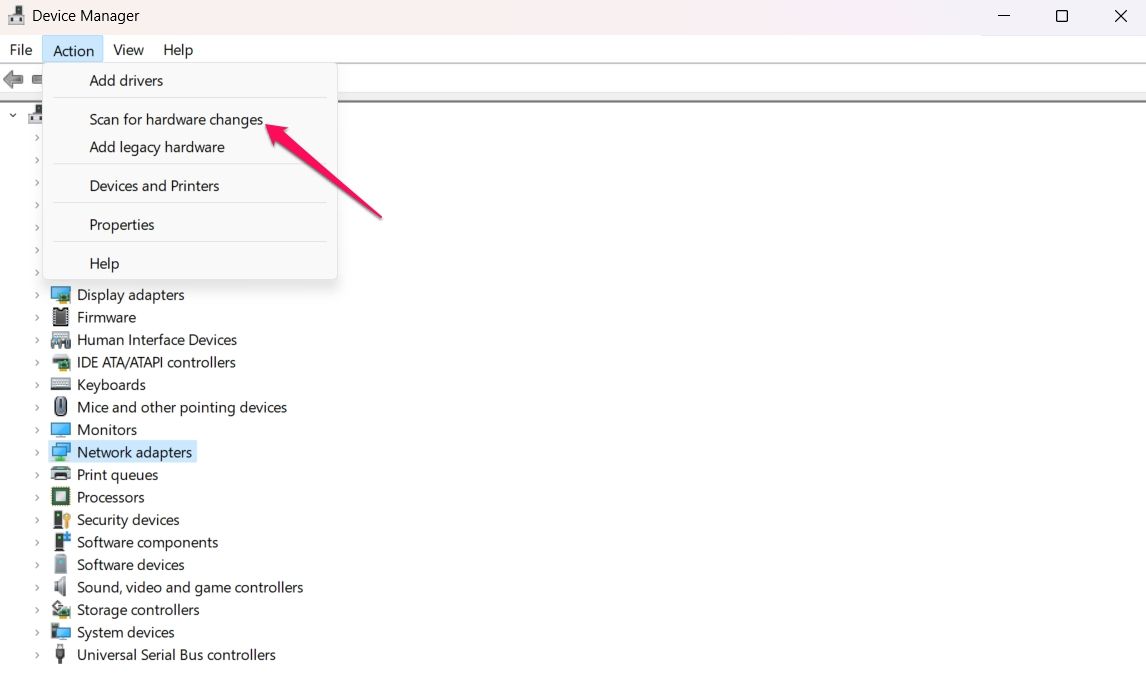
The Device Manager will automatically search and install the latest drivers. After completion, simply restart your computer to see if the Wi-Fi option is restored.
While Windows has greatly improved its reliability in updating drives, you may still prefer to manually download updated drivers directly from your PC or wireless card manufacturer for the best possible performance.
6. Change the Startup Type of the WLAN AutoConfig Service
The WLAN AutoConfig service is essential for connecting your device to the internet. If this service is not running, you may experience various connection problems.
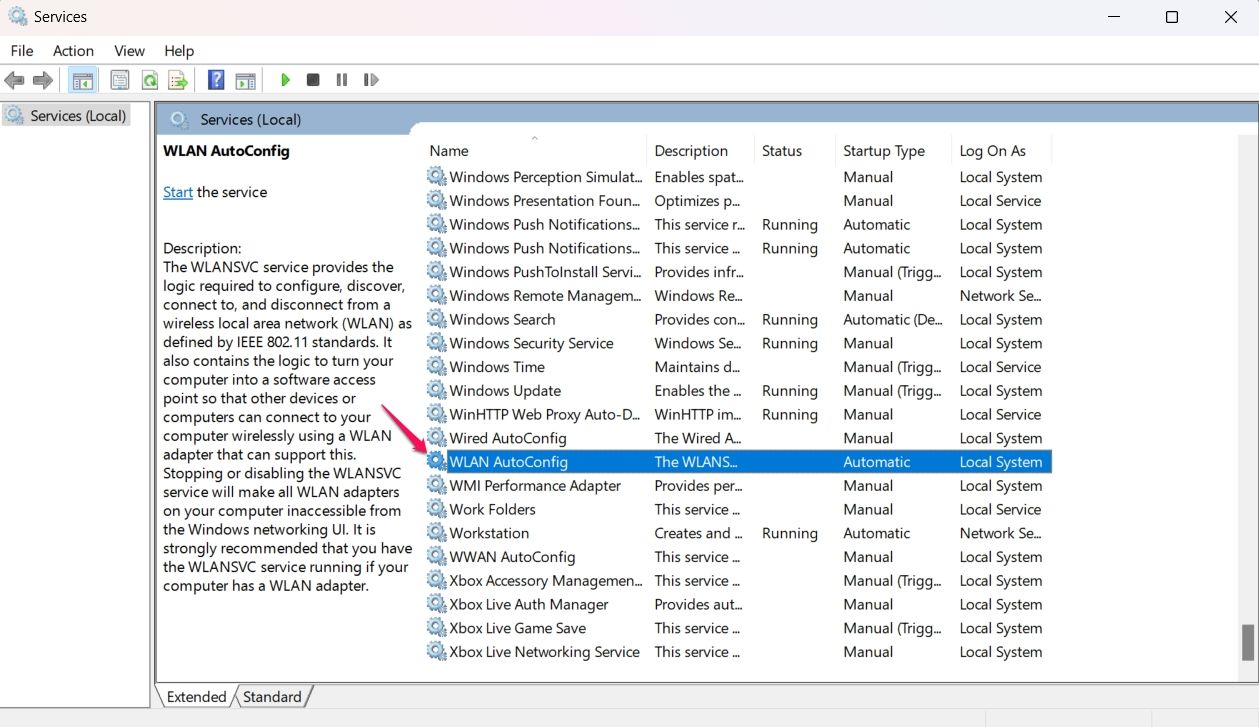
To initiate the WLAN AutoConfig service, access the "Start" menu, enter "Services" in the search field, and hit "Enter." In the Services window, find and double-click on the "WLAN AutoConfig" service.
Change the "Startup type" to "Automatic" and click "Start." Then, click "Apply" and "OK."
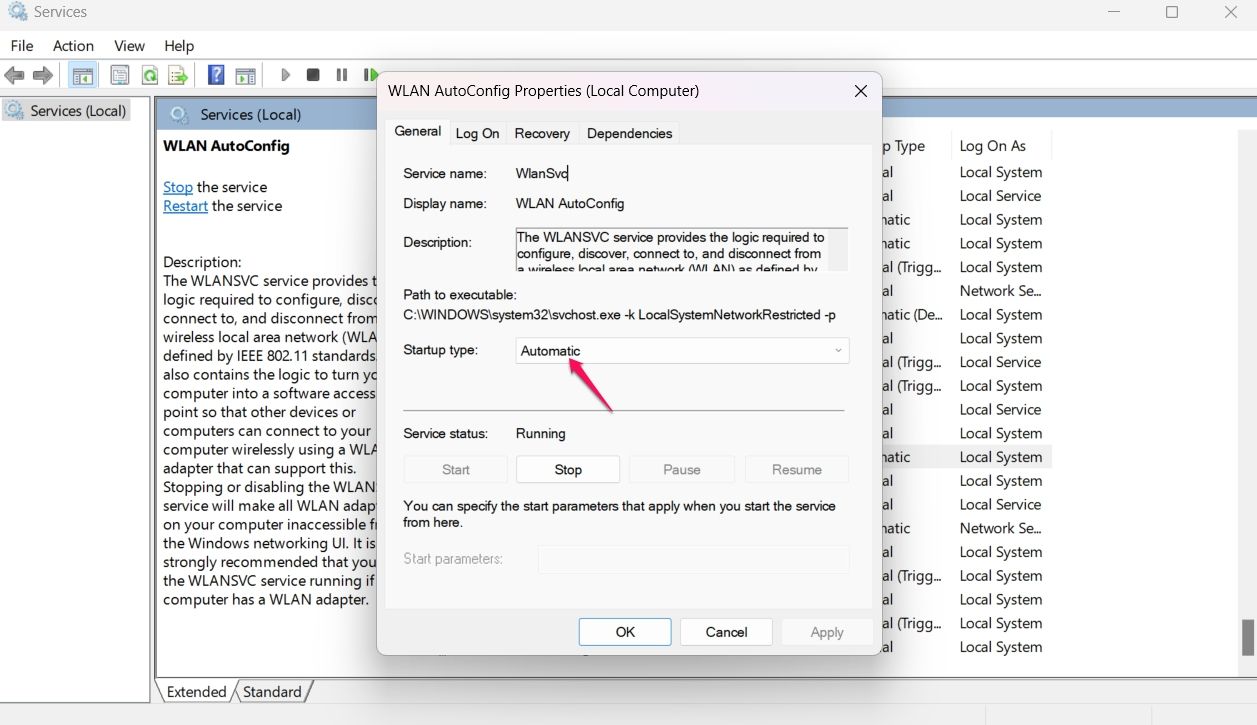
If the Startup type is already "Automatic," change it to "Disabled" and click "Stop" under "Service status." Afterward, restart your computer. Once your computer has restarted, reopen the "Services" window and change the "Startup type" of the "WLAN AutoConfig" service back to "Automatic." Finally, click "Start."
Besides the WLAN AutoConfig service, you need to verify the status of other services. Ensure that the following services have their Startup type set to Automatic:
Network List Service
Network Location Awareness
Network Store Interface Service
Network Connection Broker
Restart your device after altering the startup type of these services to determine if the problem persists. In the event that it does, a Windows update that was downloaded recently might be the cause of the issue.
7. Uninstall a Recent Windows Update
It is highly recommended to regularly update Windows. Fortunately, issues related to updates have become much less common than in the past. However, if you recently updated your computer and are now experiencing Wi-Fi problems after downloading a Windows update, it is likely that the update you installed has a bug.
This typically occurs if you are a Windows Insider participant, as their updates can be unstable and may contain bugs. However, it can also happen with more stable releases. To resolve the issue, you will need to uninstall the problematic update. However, we suggest attempting other solutions first and always maintaining regular updates for your computer. Only use this uninstallation method as a last resort.
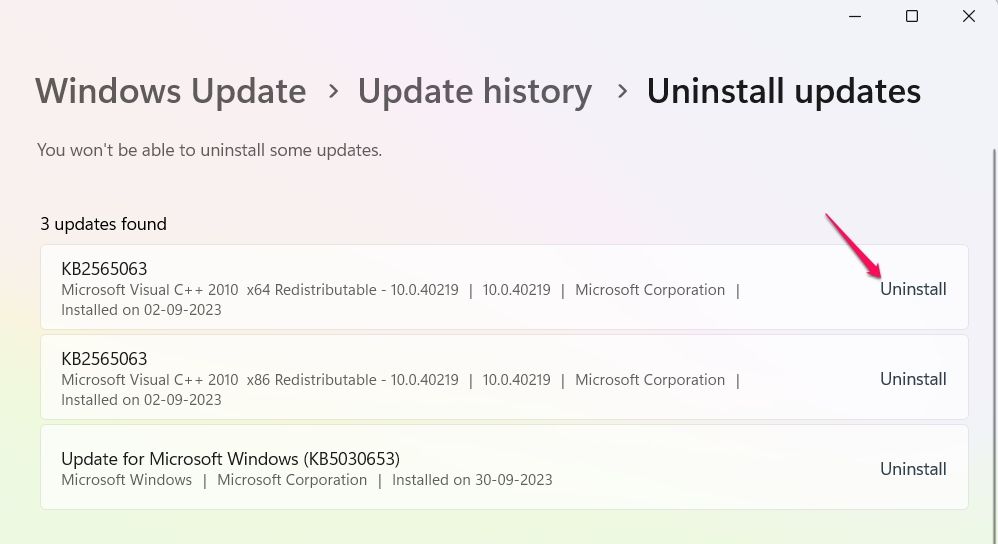
To remove a recently installed Windows update, access the "Settings" menu and navigate to Windows Update > Update history > Uninstall updates. Locate the last update you installed and select "Uninstall." Subsequently, patiently await the release of another Windows update that resolves the bug.
Updating Windows is crucial, not just for rolling back updates but also for addressing any Wi-Fi problems you may be experiencing. Moreover, keeping your system up-to-date introduces you to exciting new features.

After successfully completing these troubleshooting steps, you should now be able to connect to the internet without encountering any problems. Additionally, if you wish to enhance your connection further, we have compiled a list of helpful tips to boost the speed of your internet connection.


